This knit infinity scarf pattern will leave you feeling infinitely cozy with its simple repeat of knit and purl stitches. Worked flat using straight needles and seamed into a circle scarf, this project is meditative and straightforward, even for inexperienced knitters.
Get the free eternity scarf pattern below or purchase the ad-free, printable PDF.
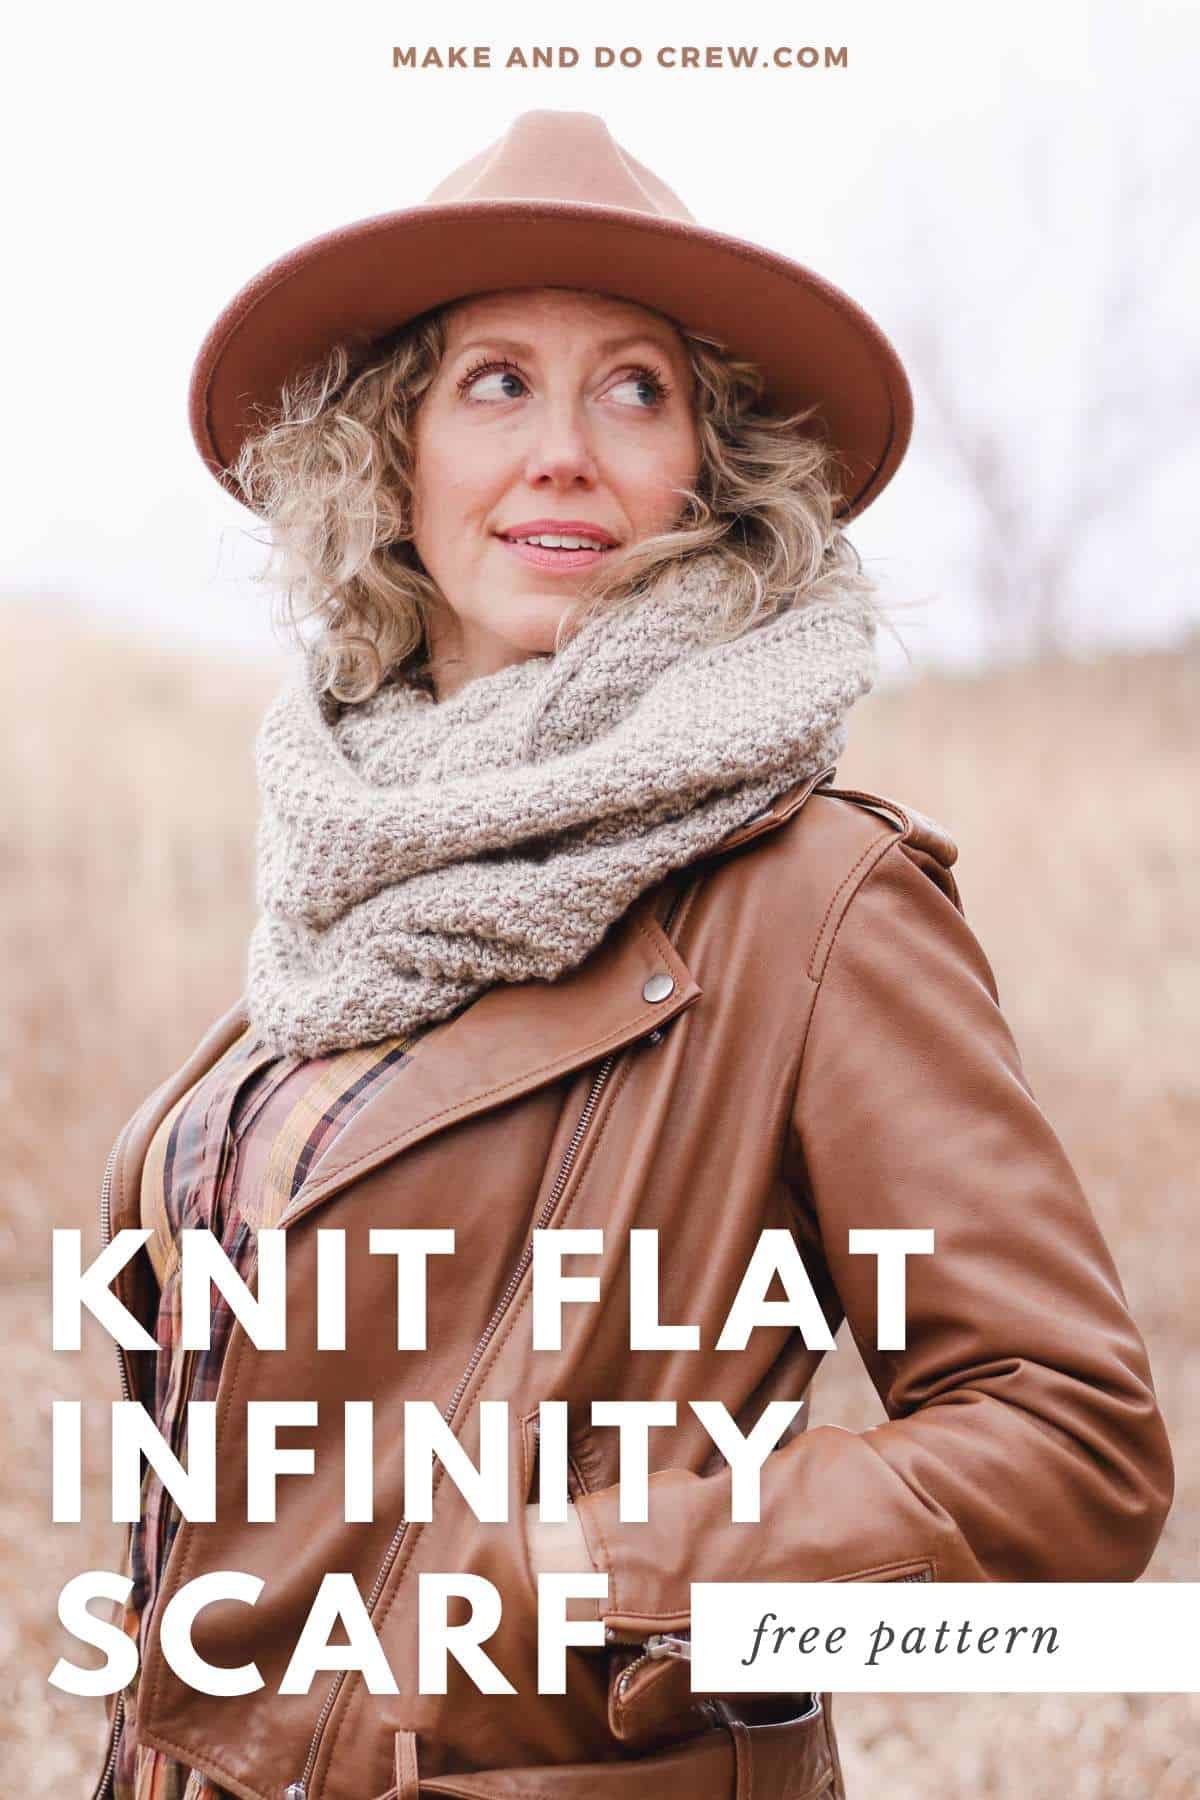
This knit loop scarf pattern is part of a collaboration with Lion Brand Yarns. This post contains affiliate links.
Jump to:
An Infinity Scarf Knitting Pattern with Straight Needles
Some infinity scarves are made in the round using circular needles, but I prefer to work them flat using straight knitting needles. Why? Because this gives me more room for error–or should I say, "adjustments"–to the tightness or looseness around the neck.
If you're new to learning how to knit, this is a great method of making an easy circle scarf. You'll be able to try it on and modify the length of the rectangle if your gauge is a bit off.
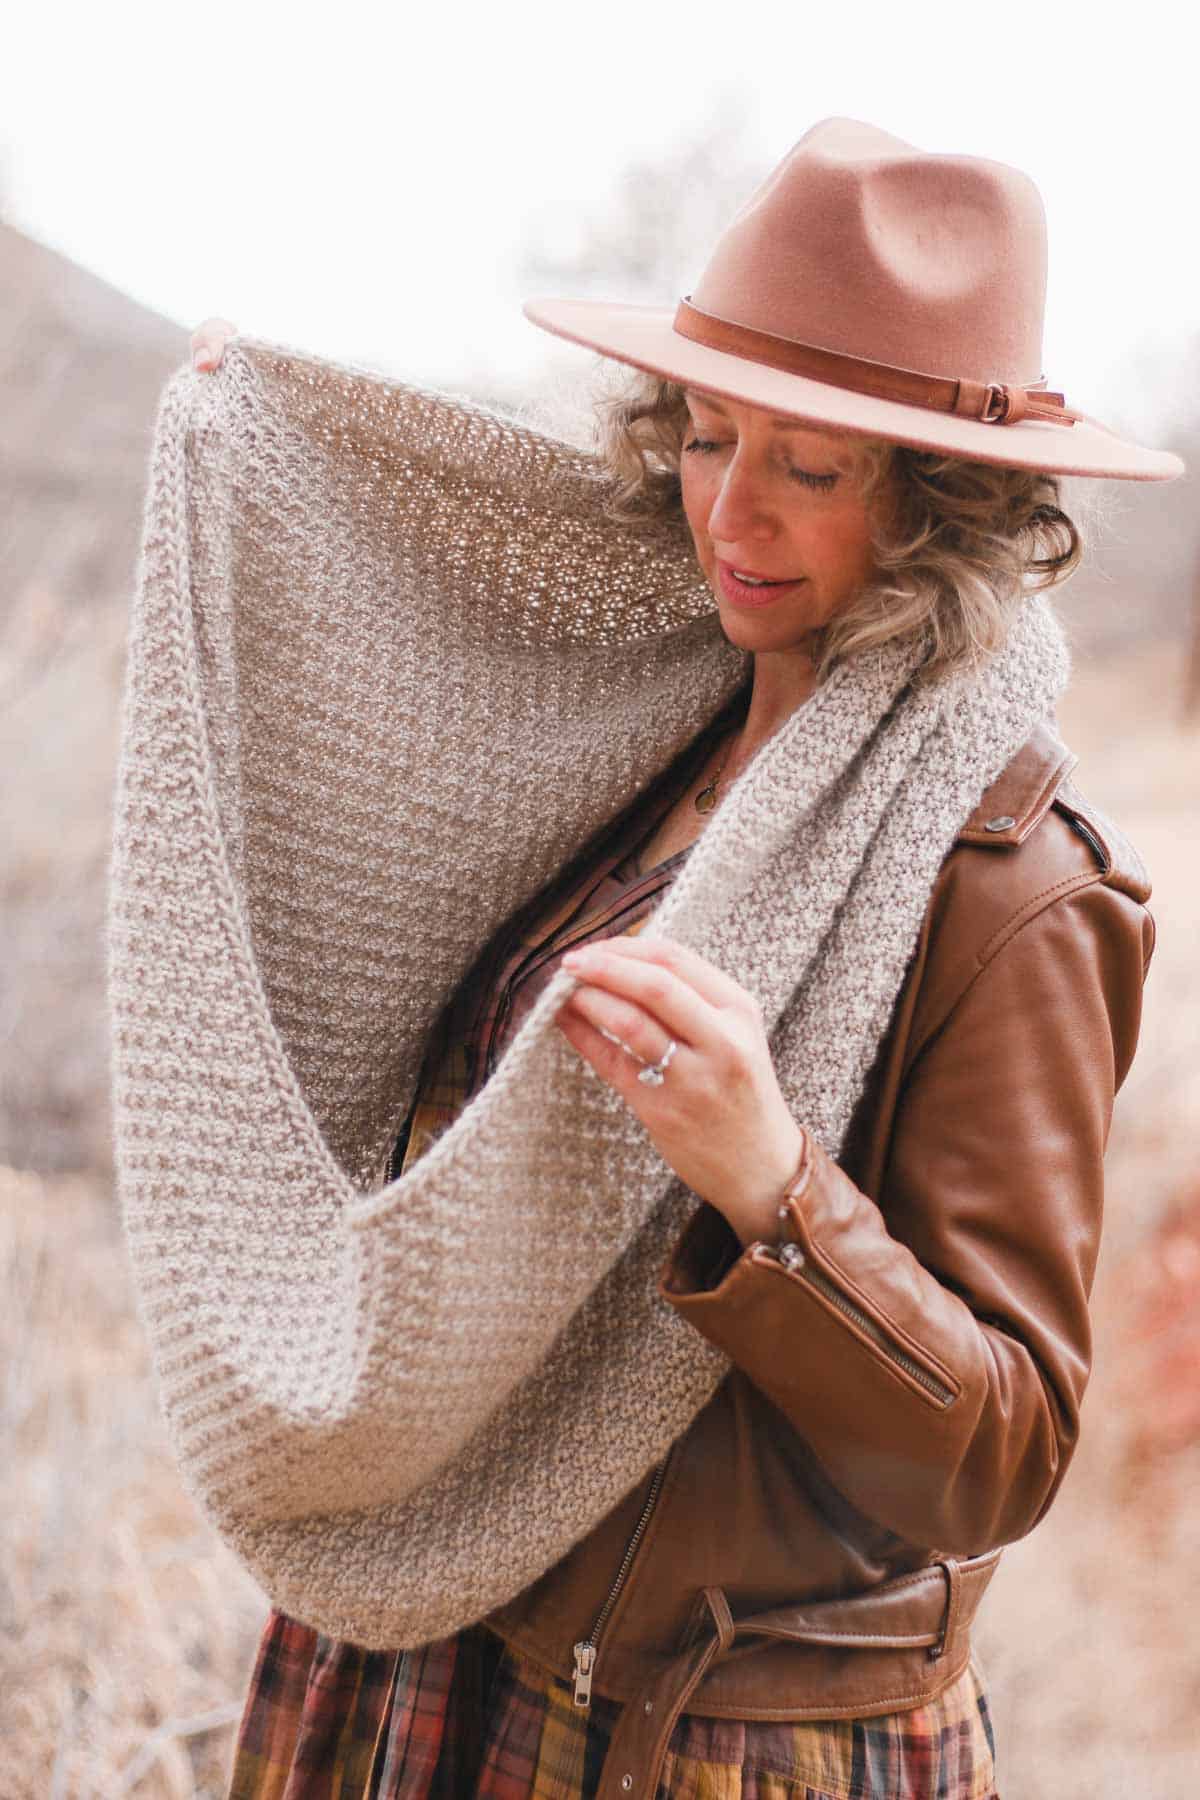
Skills You'll Practice
This circle scarf pattern will give you a chance to work on the following beginner knitting skills:
- Reading a knitting pattern
- Long tail cast on
- Knit stitch
- Purl stitch
- Basic knitting seaming
- A fun trick that knits two together to create tidy, straight edges
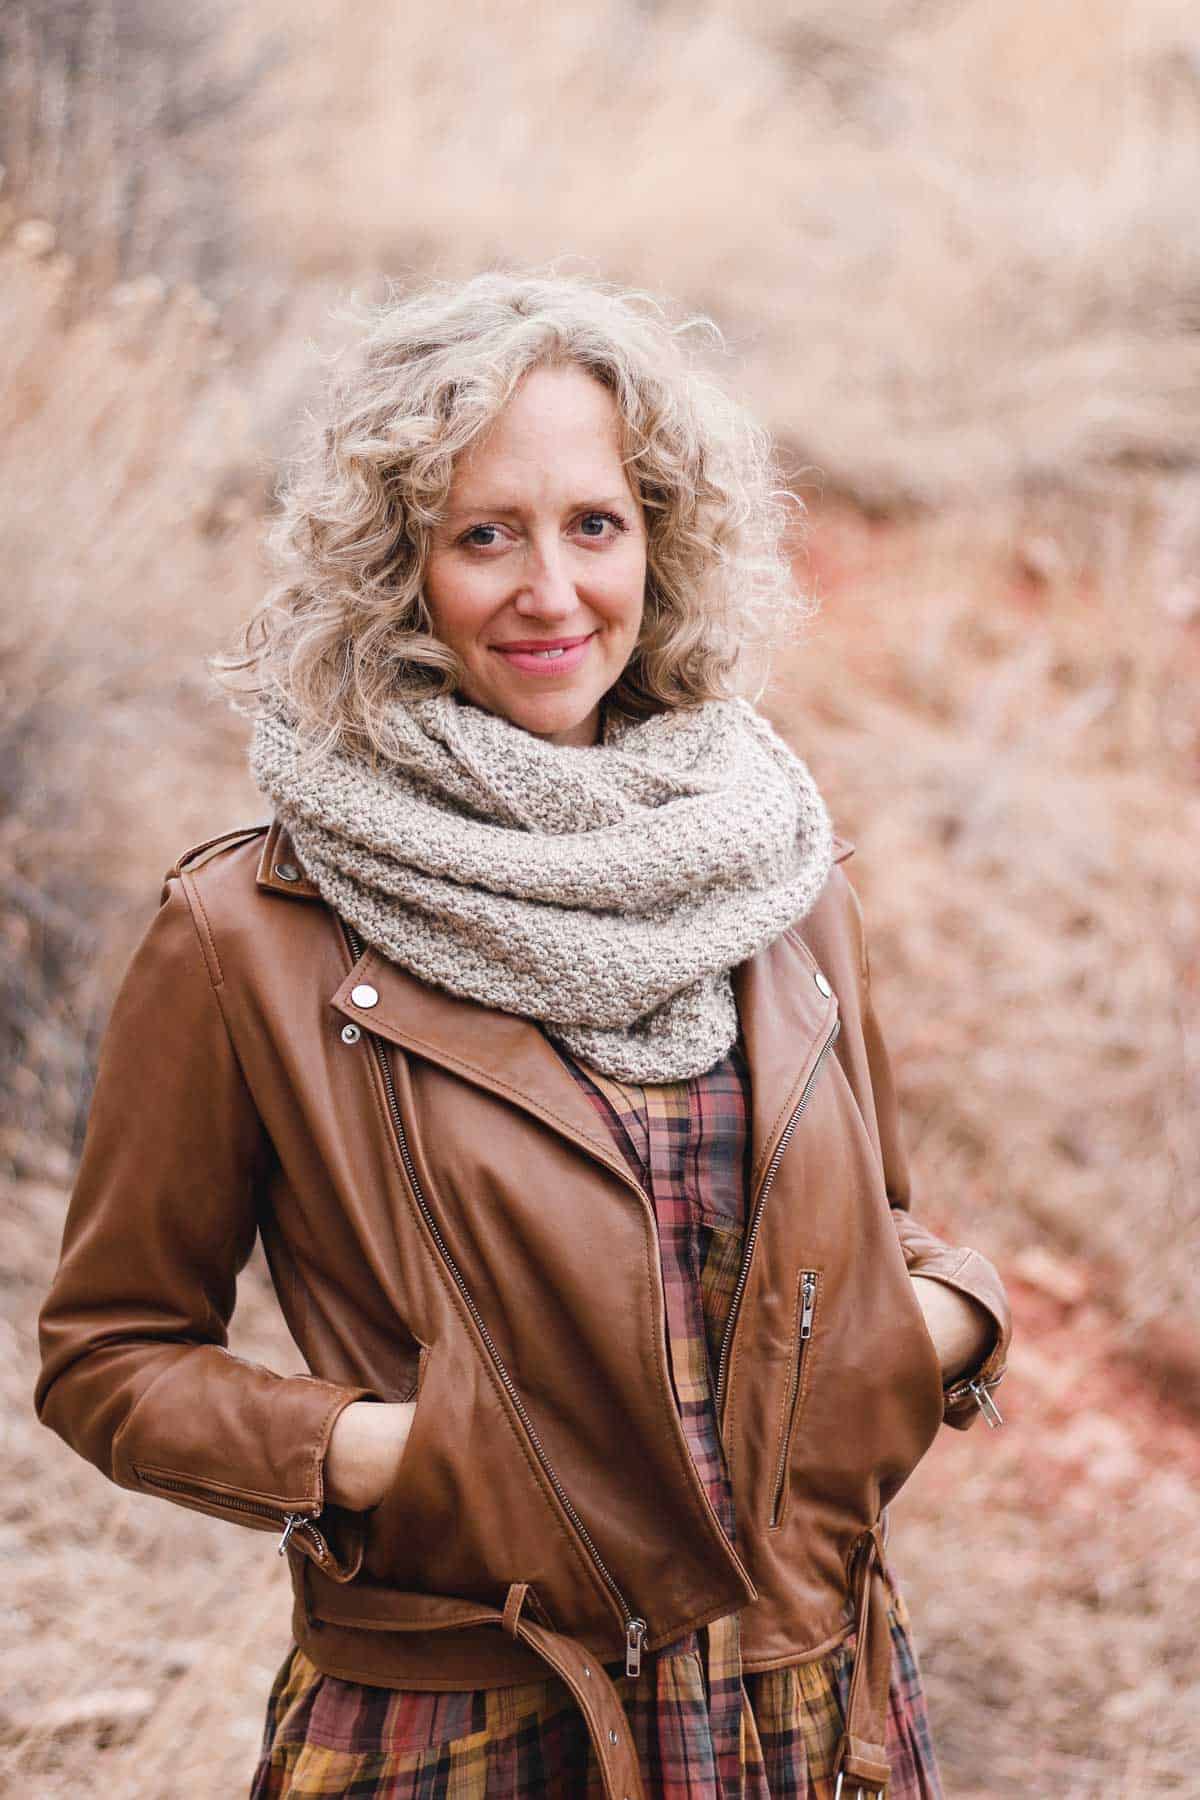
All-in-One Knitting Kit
The all-in-one kit is a perfect way to make your Butte Knit Infinity Scarf. This bundle from Lion Brand includes all the Heartland yarn you'll need, plus a bonus printable PDF of the pattern (delivered digitally).
Butte Infinity Scarf - Free Knitting Pattern
Supplies + Materials
Order an all-in-one kit from Lion Brand here.
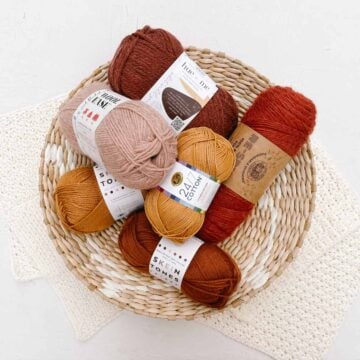
- Lion Brand Heartland (Weight: 4/Medium - 251 yds, 5 oz, 142 g)
Color: Dry Tortugas (136-099Q) – 4 skeins [(approx. 380) g)] - Tapestry needle
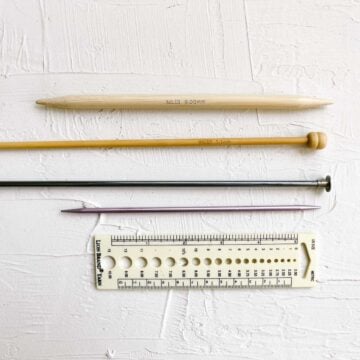
- Size 10 (6.0 mm) pair of straight knitting needles or size needed to obtain gauge
- Size 2 (2.75mm) or 3 (3.0mm) one straight knitting needle for cast on only
- 2 stitch markers
- Scissors
Measurements
16” x 60” before seaming
Gauge
18 stitches and 24 rows = 4” as worked in main stitch pattern
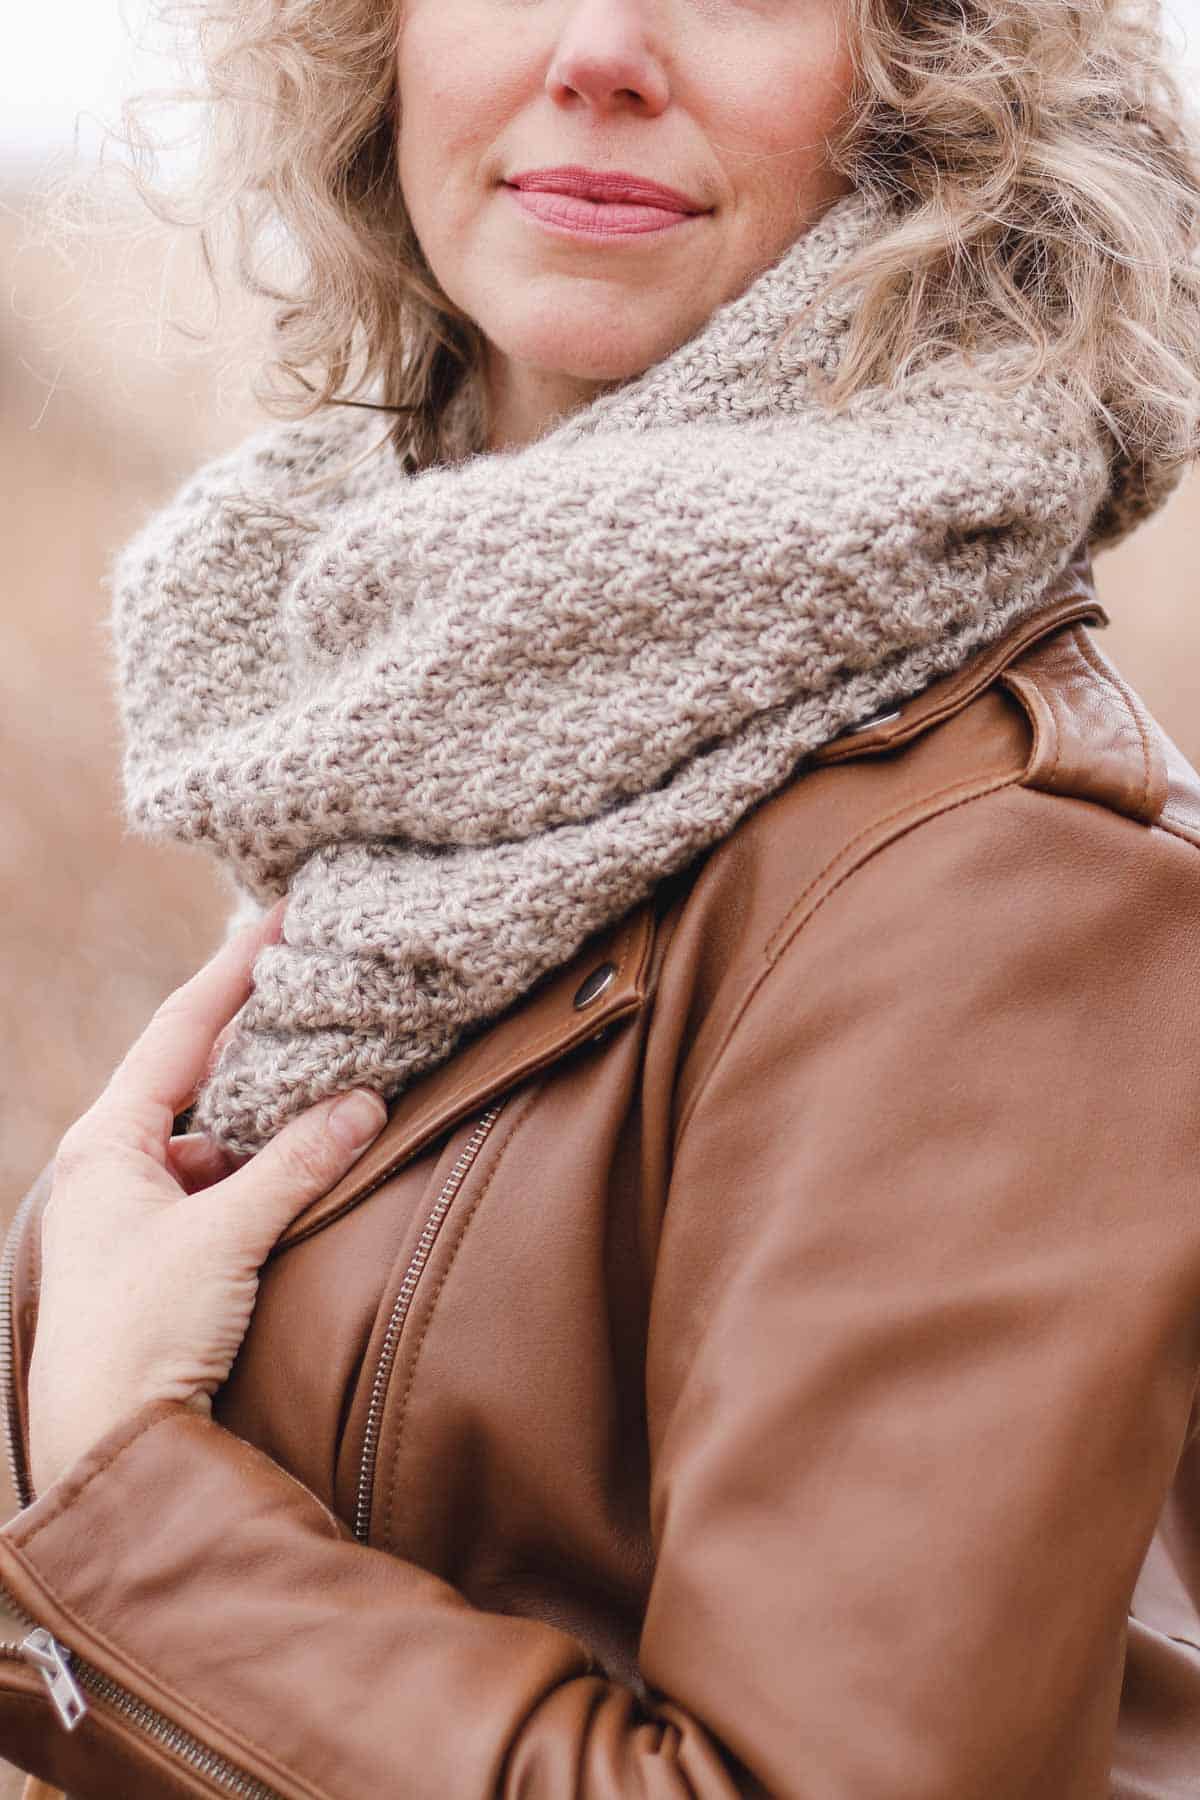
Abbreviations + Glossary
CO – cast on
K – knit
K2tog – knit 2 stitches together
P – purl
PM – place marker
psso – pass slipped stitch over last stitch
rep – repeat
sl – slip
st(s) – stitch(es)
yo – yarn over
Print this Pattern
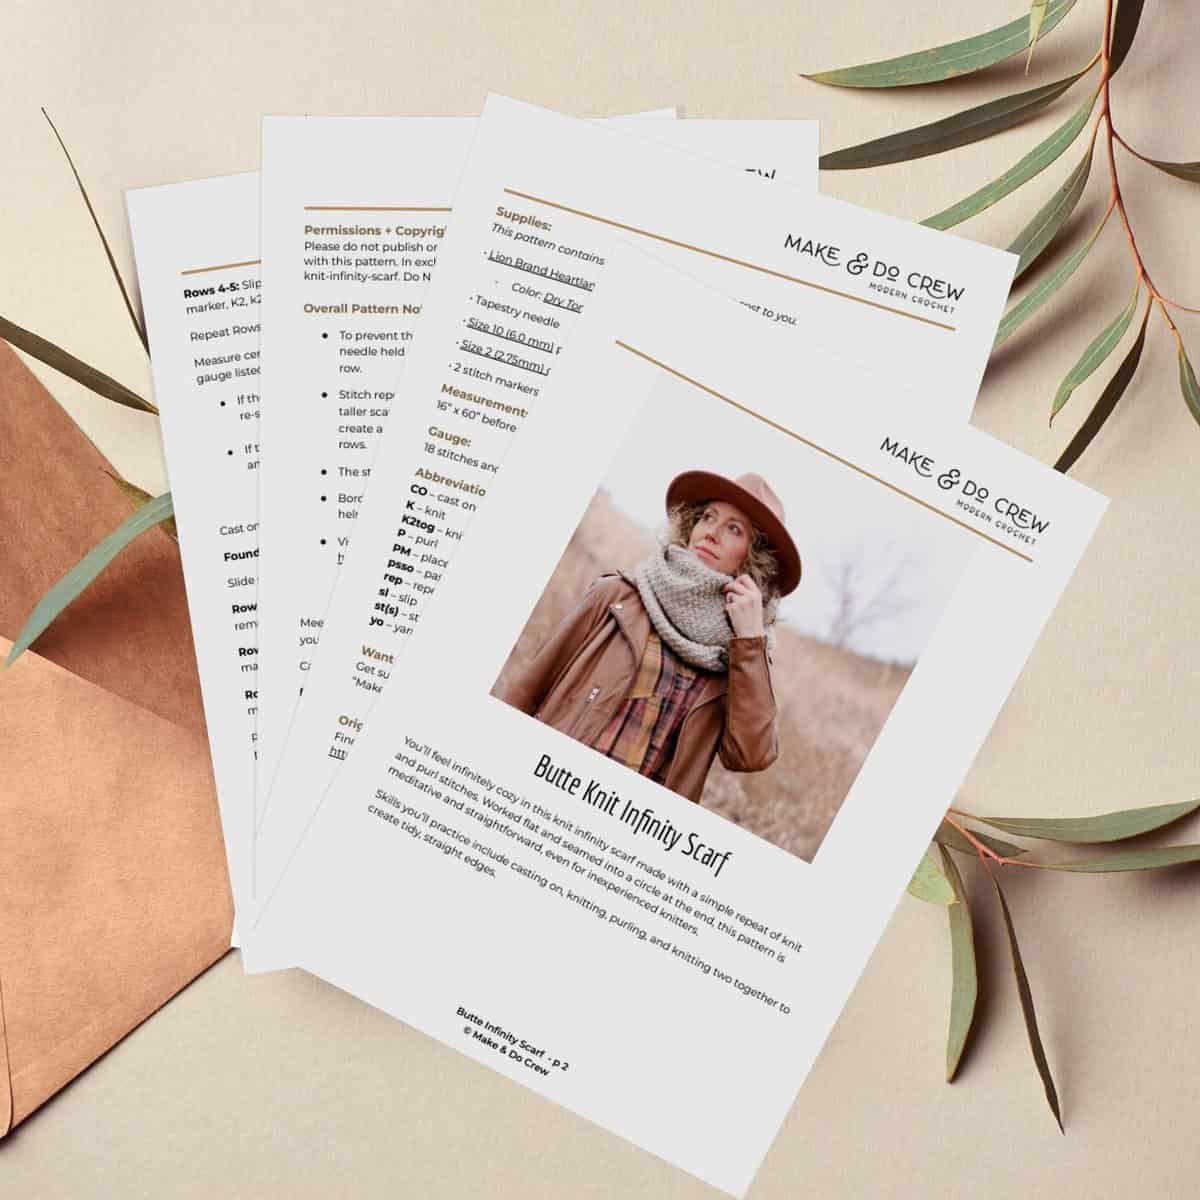
Prefer a printed knitting pattern? You'll love the premium PDF! The instantly downloadable, ad-free file is formatted for easy printing and includes the complete pattern and several photos.
Overall Pattern Notes
Here's what you need to know before you begin knitting.
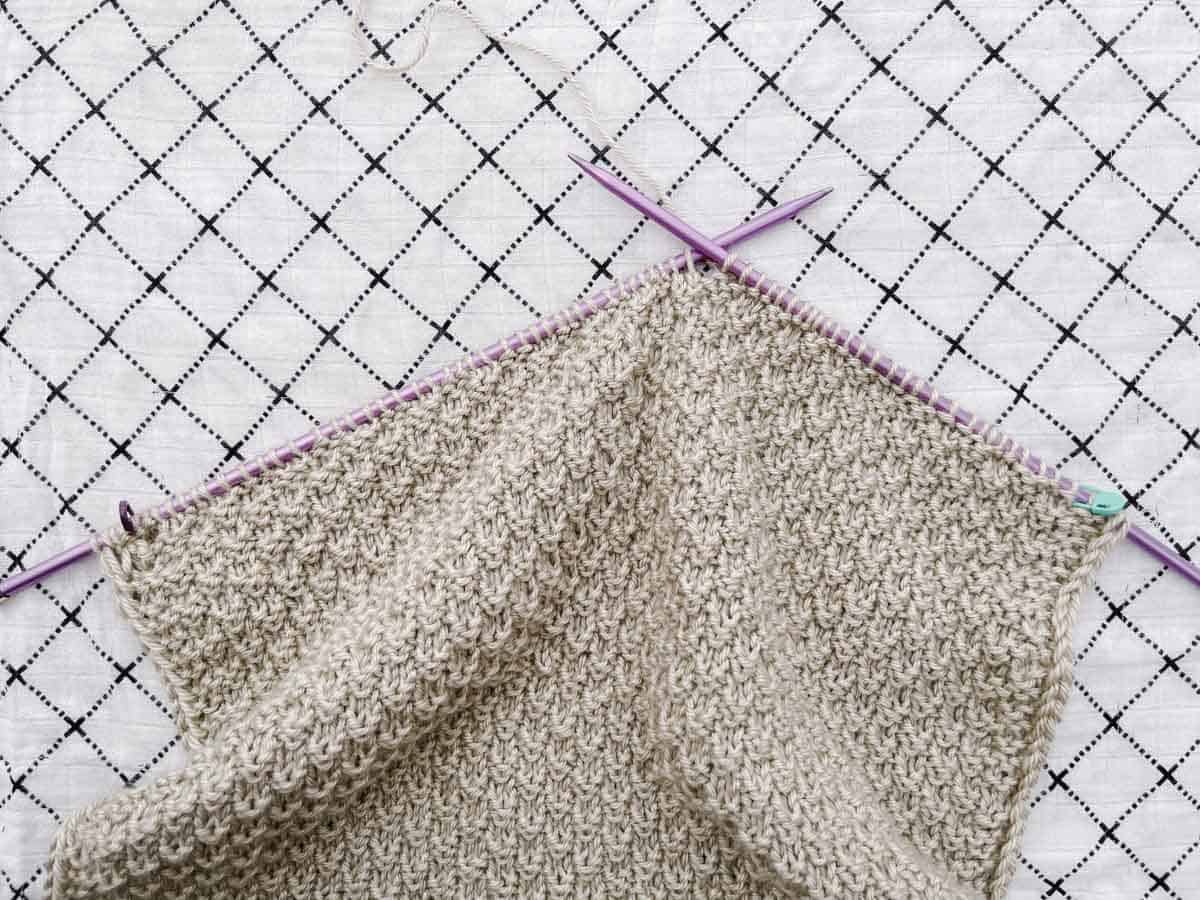
- To prevent the first row from being too tight, use larger needle and smaller needle held together to cast on stitches. Slip smaller needle out to begin first row.
- Stitch repeat is 4 + 2 for body of scarf. Each border is 4 stitches. If you desire a taller scarf increase in multiples of 4 + 2 and add 8 total stitches for borders. To create a looser scarf that can wrap around your neck more times, knit more rows.
- The stitch is reversible, so there is no right or wrong side of the fabric.
- Borders on each side of scarf are four stitches wide. Stitch markers are used to help differentiate border stitches on each row. Slip markers as you work.
- View a tutorial on the stitches used to make the edges tidy and straight here:
!! Gauge Check !!
Meeting the pattern gauge is not essential with a scarf, but it’s a good idea so that your finished project is the expected size.
Cast on using larger and smaller needles held together.
Foundation Row: Cast on 38 stitches. (28 + 2 + 8 = 38 sts)
Slide smaller needle out from foundation stitches and continue with larger needles.
Row 1: Slip first st purlwise with yarn in front, yo, knit next 2 st, PM, K2, *P2, K2, rep from * until 4 sts remain, PM, K2, k2tog.
Rows 2-3: Slip first st purlwise with yarn in front, yo, K2, P2, *K2, P2, rep from * to next marker, K2, k2tog.
Rows 4-5: Slip first st purlwise with yarn in front, yo, K4, *P2, K2, rep from * to next marker, K2, k2tog.
Wanna save this pattern?
Repeat Rows 2-5 five more times for a total of 25 rows.
Measure center four inches of swatch vertically and horizontally. Compare to pattern gauge listed above.
- If there are too many stitches in 4” horizontally, increase your needle size and re-swatch.
- If there aren’t enough stitches in 4” horizontally, decrease your needle size and re-swatch.
Print This Pattern: purchase the ad-free, printable PDF
Main Body of Scarf
Cast on using larger and smaller needles held together.
Foundation Row: Cast on 74 sts. Slip smaller needle out and proceed.
Slide smaller needle out from foundation stitches and continue with larger needles.
Row 1: Slip first st purlwise with yarn in front, K2, PM, K2, *P2, K2, rep from * until 4 sts remain, PM, K2, k2tog.
Rows 2-3: Slip first st purlwise with yarn in front, yo, K2, P2, *K2, P2, rep from * to next marker, K2, k2tog.
Rows 4-5: Slip first st purlwise with yarn in front, yo, K4, *P2, K2, rep from * to next marker, K2, k2tog.
Repeat Rows 2-5 until piece measures 60” or desired length. Bind off all stitches in pattern. Fasten off leaving a 32” tail for seaming.
Blocking
Block your scarf by laying it flat and directing steam at it from an iron or steamer. Avoid touching the heat source to the yarn.
See this guide to learn more about blocking knitting.
Seaming Scarf
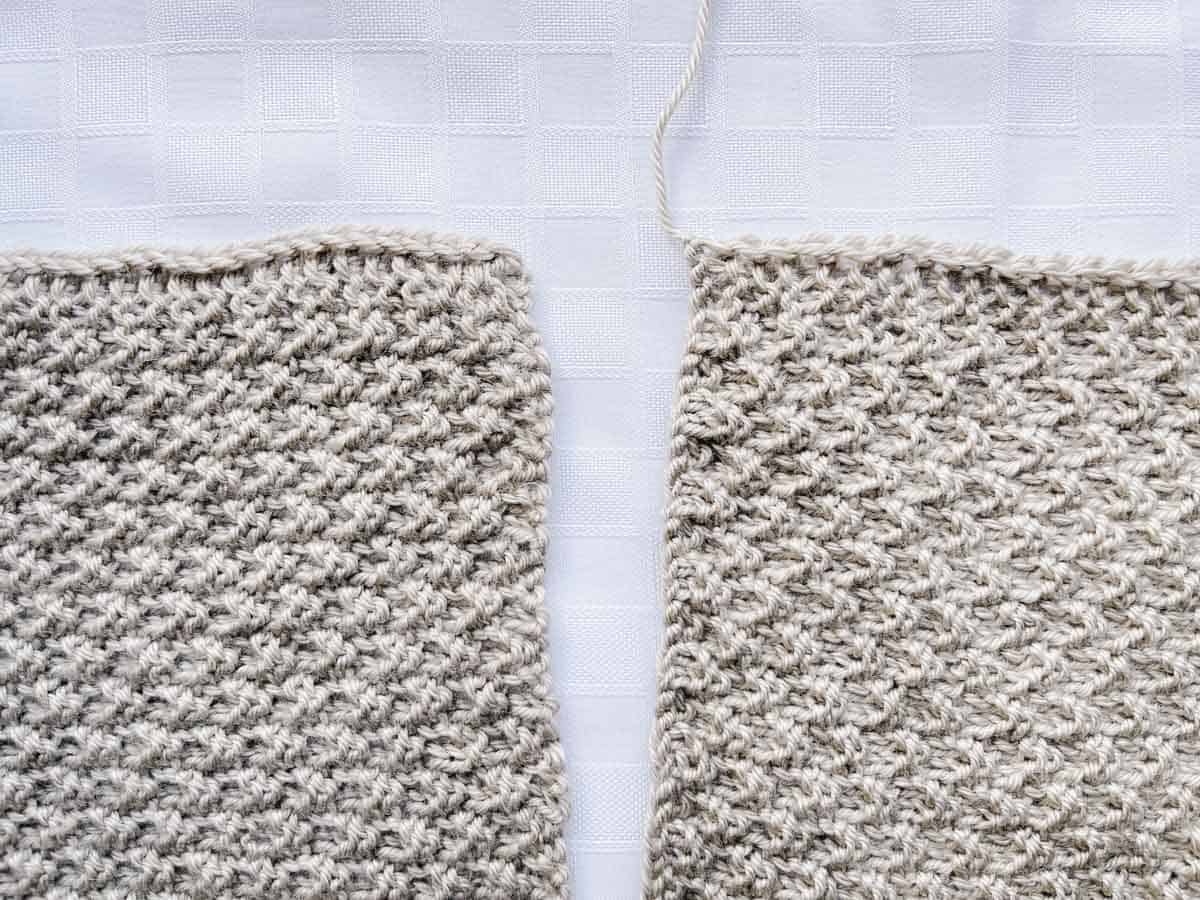
Decide which side you would like as the right side. Lie scarf flat with wrong side facing up. Bring right and left ends together (right side is now on top). Seam using the mattress stitch.
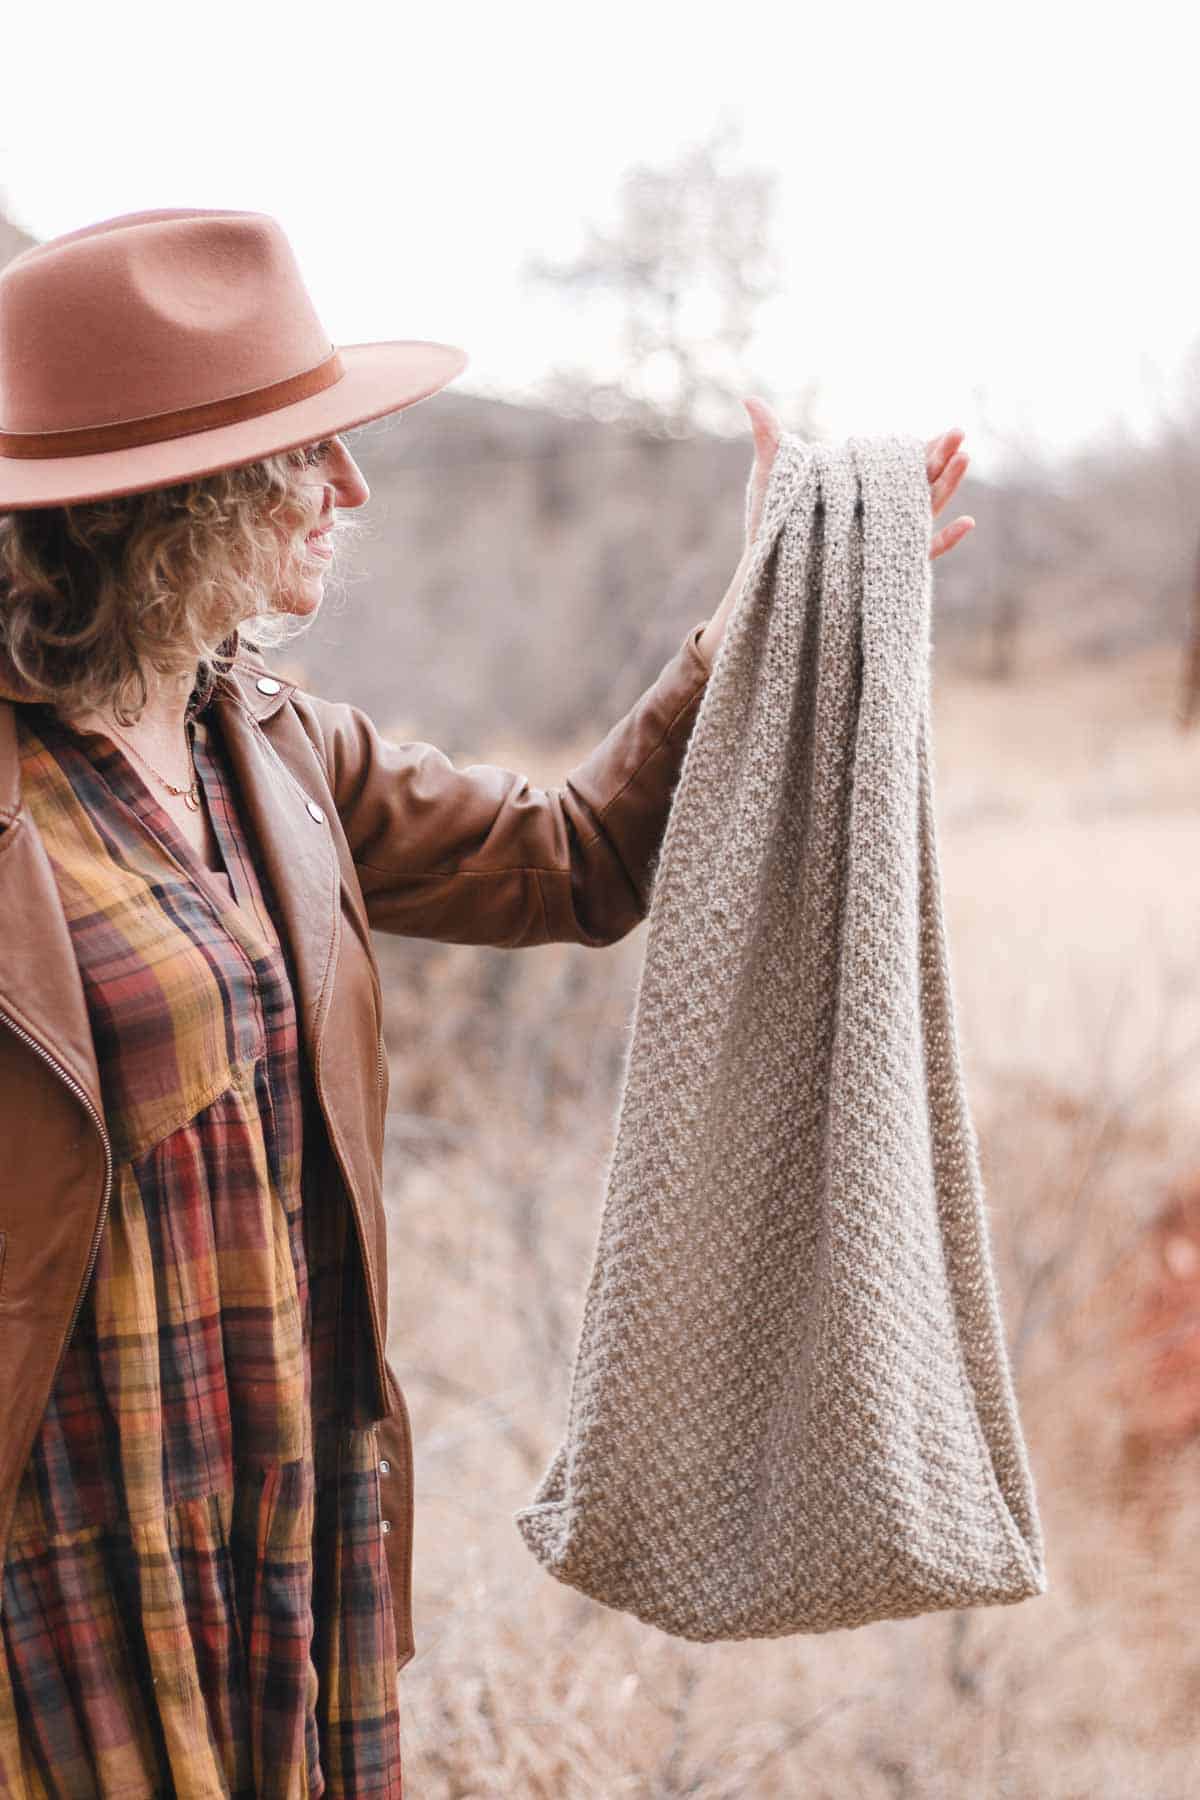
Feel infinitely cozy in your new knit infinity scarf!
Ways to Make this Knit Infinity Scarf Pattern Your Own
I love to see how you customize our free knitting patterns to make items that complement your style and wardrobe. Here are some ways to change this basic infinity scarf pattern to get just the right look.
Knit a Chunky Circle Scarf
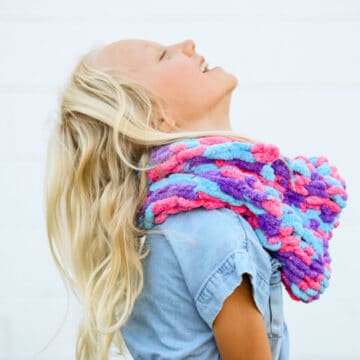
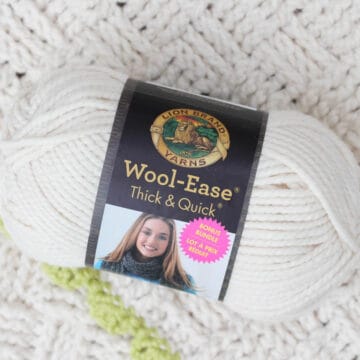
To make an oversized loop scarf, try using a super bulky weight yarn such as Lion Brand Wool-Ease Thick & Quick. You may want to reduce the total number stitches on the needle using the instructions on modifying the stitch count above. Then, work fewer rows total to end up with a speedy, cozy scarf!
How to Knit a Child's Infinity Scarf
To knit this pattern for a child, I recommend casting on 18 or 26 stitches, depending on the age of the child. Knit rows until the scarf measures 44-48 inches. Then follow the seaming instructions above to join your rectangle into a mini loop scarf.
Make a Single Loop Cowl
You can knit a cowl using this pattern by simply eliminating about half the rows of your main rectangle. If you find double-wrap circle scarves to be too warm or overwhelming, this is a perfect option!
Pin the piece into a loop and try it on when it measures about 26 inches. Then, work a few more inches if you prefer a looser cowl.
More Free Knitting Patterns + Tutorials
We've got lots more free knitting patterns that use basic skills to create modern garments, accessories and home decor.
- How To Knit Slippers In 2 Hours With Straight Needles
- How to Knit a Cardigan - Free Pattern with Plus Sizes
- Rib Stitches In Knitting: 6 Easy Ways to Create Ribbing
- How to Read Knitting Patterns | Stress-Free Beginners Guide
- Knitting Needle Sizes Explained + Printable Conversion Chart
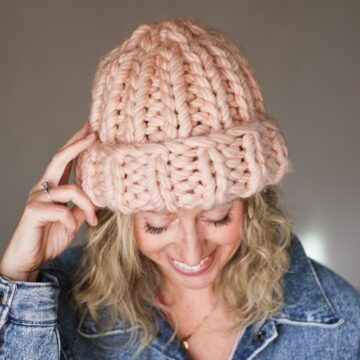
- 1.5 Hour Free Chunky Hat Knitting Pattern
That was so fun! Now what?
Invitation to our Facebook group
Come discuss knitting infinity scarves and lots of other projects and techniques in our Make & Do Crew Facebook group. Here, thousands of helpful crocheters and knitters answer each other's questions and share their stitches. Join us!
How to Knit an Infinity Scarf
Materials
Yarn
- Lion Brand Heartland Weight: 4/Medium - 251 yds, 5 oz, 142 g
- Color: Dry Tortugas 136-099Q – 4 skeins [(approx. 380) g)]
Additional Supplies
- Tapestry needle
- Size 10 6.0 mm pair of straight knitting needles or size needed to obtain gauge
- Size 2 2.75mm or 3 (3.0mm) one straight knitting needle for cast on only
- 2 stitch markers
- Scissors
Abbreviations + Glossary (US Terms)
- CO – cast on
- K – knit
- K2tog – knit 2 stitches together
- p – purl
- PM – place marker
- psso – pass slipped stitch over last stitch
- rep – repeat
- sl – slip
- st(s) – stitch(es)
- yo – yarn over
Abbreviations and Glossary (US Terms):
Want some company while you crochet?
Get support (and camaraderie!) in the Make & Do Crochet Crew Facebook Group. Search “Make and Do Crochet Crew” on Facebook.com.
Permissions + Copyright
Please do not publish or share this pattern as your own. You may make items to sell with this pattern. In exchange, please link back to this page. Do NOT use my photos as your own sales photos.
Overall Pattern Notes
Instructions
How to Check Your Gauge Before Beginning
- 1. Foundation Row: Cast on 38 stitches. (28 + 2 + 8 = 38 sts)
- 2. Row 1: Slip first st purlwise with yarn in front, yo, knit next 2 st, PM, K2, *P2, K2, rep from * until 4 sts remain, PM, K2, k2tog.
- 3. Rows 2-3: Slip first st purlwise with yarn in front, yo, K2, P2, *K2, P2, rep from * to next marker, K2, k2tog.
- 4. Rows 4-5: Slip first st purlwise with yarn in front, yo, K4, *P2, K2, rep from * to next marker, K2, k2tog.
- 5. Repeat Rows 2-5 five more times for a total of 25 rows.
- Measure center four inches of swatch vertically and horizontally. Compare to pattern gauge listed above.
How to Knit the Main Rectangle
- 1. Foundation Row: Cast on 74 sts. Slip smaller needle out and proceed.
- 2. Slide smaller needle out from foundation stitches and continue with larger needles.
- 3. Row 1: Slip first st purlwise with yarn in front, K2, PM, K2, *P2, K2, rep from * until 4 sts remain, PM, K2, k2tog.
- 4. Rows 2-3: Slip first st purlwise with yarn in front, yo, K2, P2, *K2, P2, rep from * to next marker, K2, k2tog.
- 5. Rows 4-5: Slip first st purlwise with yarn in front, yo, K4, *P2, K2, rep from * to next marker, K2, k2tog.
- 6. Repeat Rows 2-5 until piece measures 60” or desired length. Bind off all stitches in pattern. Fasten off leaving a 32” tail for seaming.
Blocking
- Block your scarf by laying it flat and directing steam at it from an iron or steamer. Avoid touching the heat source to the yarn.
Seaming Scarf into a Loop
- Decide which side you would like as the right side. Lie scarf flat with wrong side facing up. Bring right and left ends together (right side is now on top). Seam using the mattress stitch.
- Feel infinitely cozy in your new knit infinity scarf!
Overall Pattern Notes
- To prevent the first row from being too tight, use larger needle and smaller needle held together to cast on stitches. Slip smaller needle out to begin first row.
- Stitch repeat is 4 + 2 for body of scarf. Each border is 4 stitches. If you desire a taller scarf increase in multiples of 4 + 2 and add 8 total stitches for borders. To create a looser scarf that can wrap around your neck more times, knit more rows.
- The stitch is reversible, so there is no right or wrong side of the fabric.
- Borders on each side of scarf are four stitches wide. Stitch markers are used to help differentiate border stitches on each row. Slip markers as you work.
- Scroll up for the complete free pattern and tutorial.


Leave a Reply