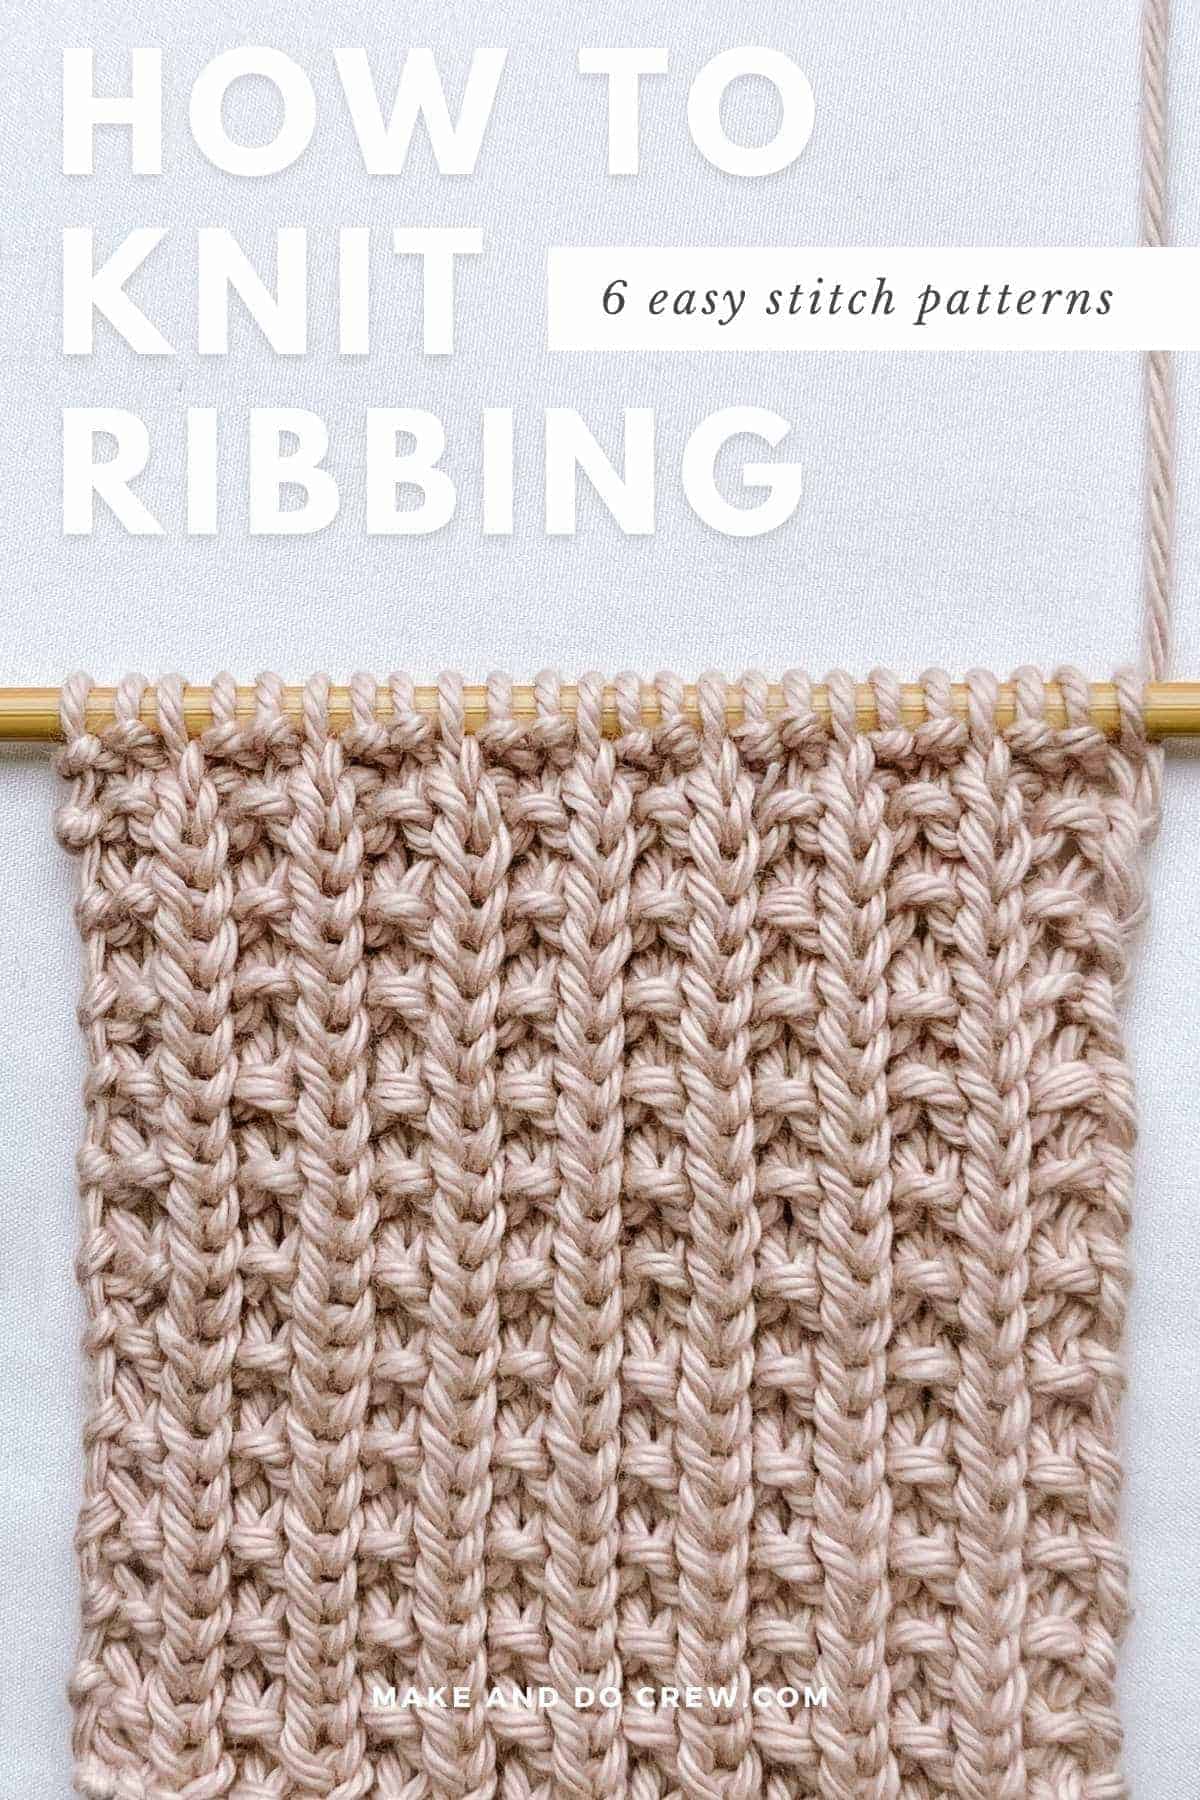
The rib stitch in knitting is used to create fabric with elasticity. But where should you use ribbing stitches exactly? And which rib stitch patterns should you choose?
Don't worry! I’ll take you through the benefits and uses of different types of knit ribbing and provide step-by-step instructions and video tutorials for each.
This guide contains affiliate links.
Jump to:
- What is a Rib Stitch?
- Common Varieties of Rib Stitch Patterns
- Rib Stitch Patterns for Beginners
- How to Knit Rib Stitch
- Casting Off Ribbing
- Intermediate Rib Stitch Patterns
- Tips for Knitting Rib Stitches
- Rib Stitch in the Round
- Projects to Use Rib Stitches
- Why Add Ribbing to Knit Projects?
- FAQs
- Invitation to our Facebook group
- Find Your Next Free Knitting Pattern
What is a Rib Stitch?
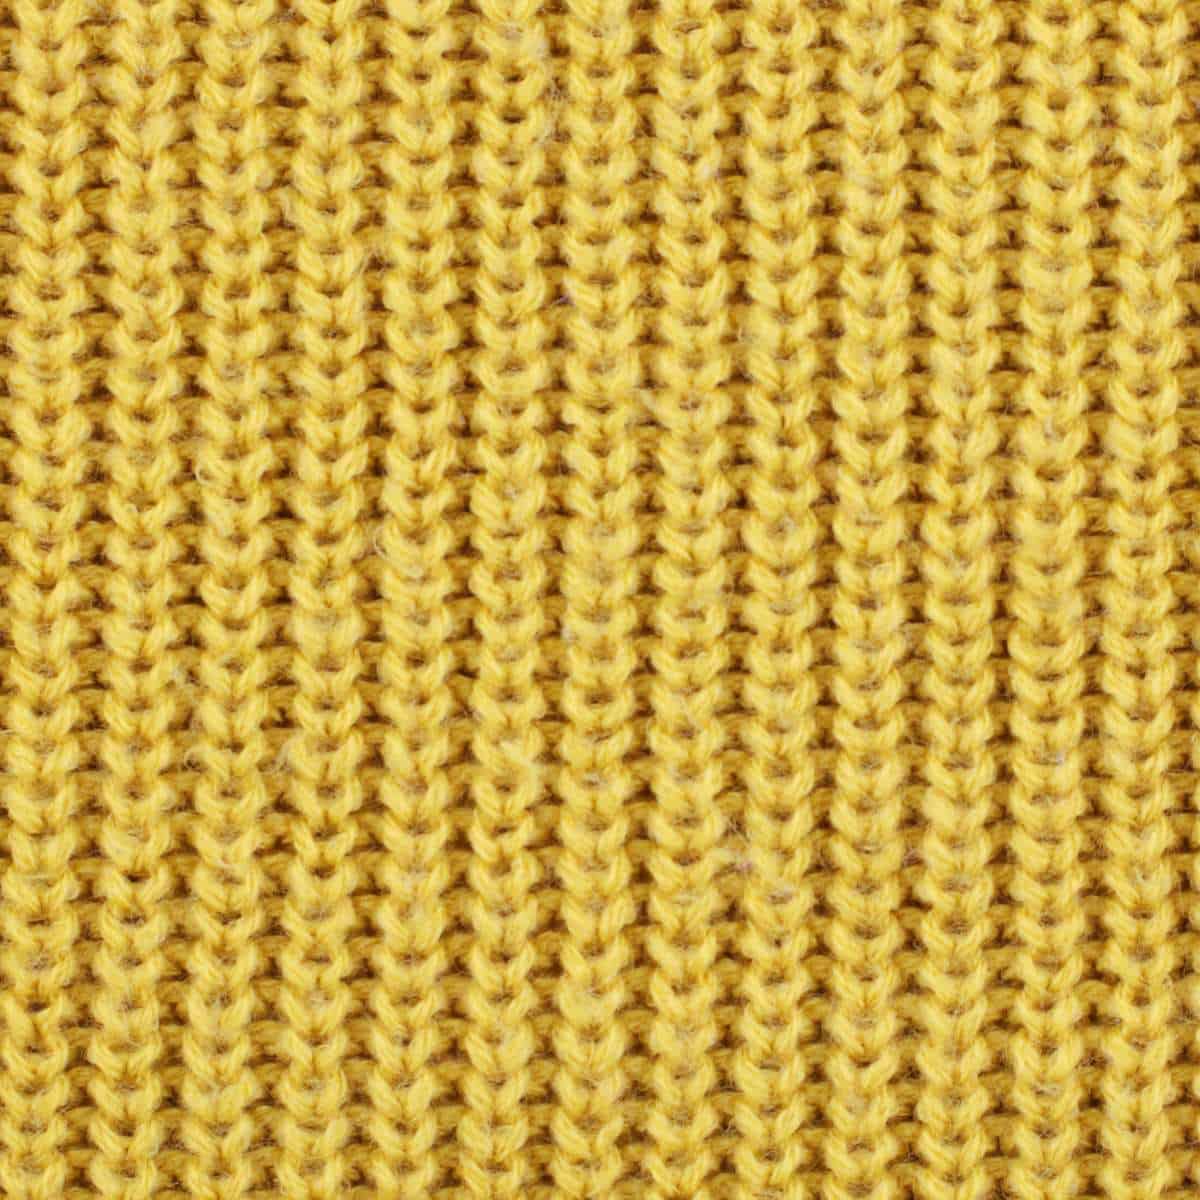
The term 'rib stitch' refers to patterns made of vertical columns alternating between knit and purl stitches. It’s known as a "rib" stitch because it creates ridges on the surface of the knitted fabric.
Knowing how to knit rib stitches is essential, whether you're a beginner or an expert knitter. It's a technique you’ll frequently find in knitting patterns, from socks to sweaters.
The elasticity of the ribbed fabric produced is helpful in anything that requires a little stretch, like a sleeve cuff or hat brim.
Key Insight
The more frequently you alternate stitches, the more elastic your ribbing will be. For example, knitting one knit stitch followed by one purl stitch (1x1 ribbing) creates a super stretchy fabric.
However, achieving a neat look can be more difficult when you're alternating stitches frequently.
My suggestion for beginners: I find that 2x2 ribbing - two knit stitches then two purl stitches - makes for a good compromise between practicality and aesthetics.
Common Varieties of Rib Stitch Patterns
Your choice of rib stitch depends on your goals for the look and function of the project.
By adjusting the width of the knit and purl columns, you can create several beginner rib stitch patterns, such as:
Rib Stitch Patterns for Beginners
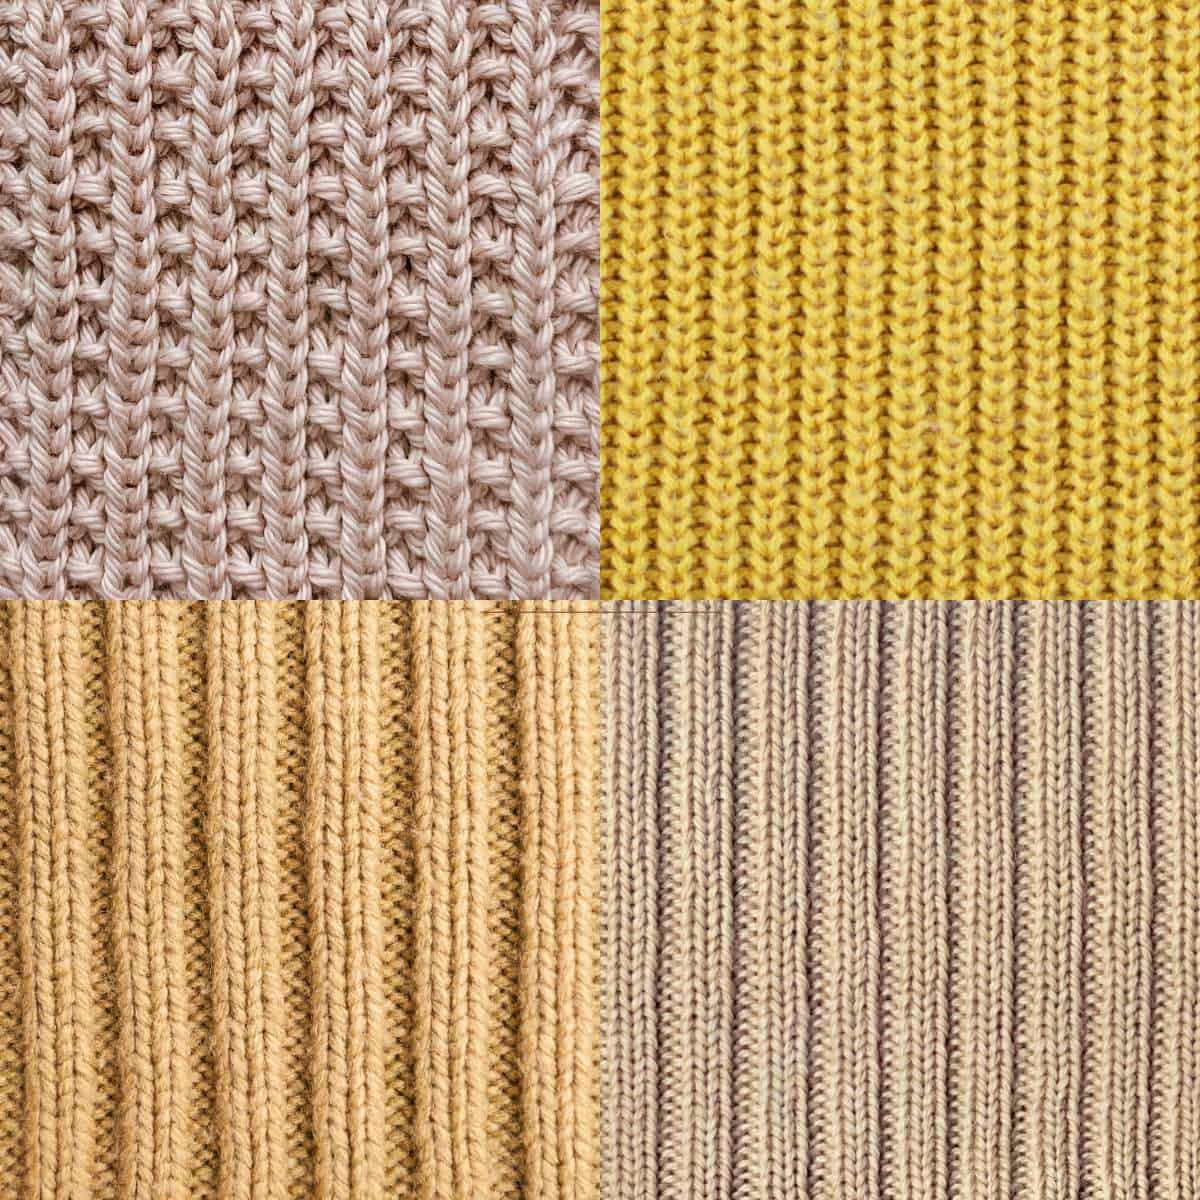
There are many unique rib stitch patterns in knitting, but here are the most popular versions.
If you're new to knitting, check out our guide to reading written patterns.
1x1 Rib Stitch
The 1x1 rib stitch is made by alternating one knit stitch, then one purl stitch in a single row. This produces a tight yet stretchy pattern for sleeves, collars, and other snug-fitting edges.
In my experience, 1x1 ribbing can look messier than other rib stitch patterns. This untidiness can come from difficulties keeping an even tension when alternating stitches.
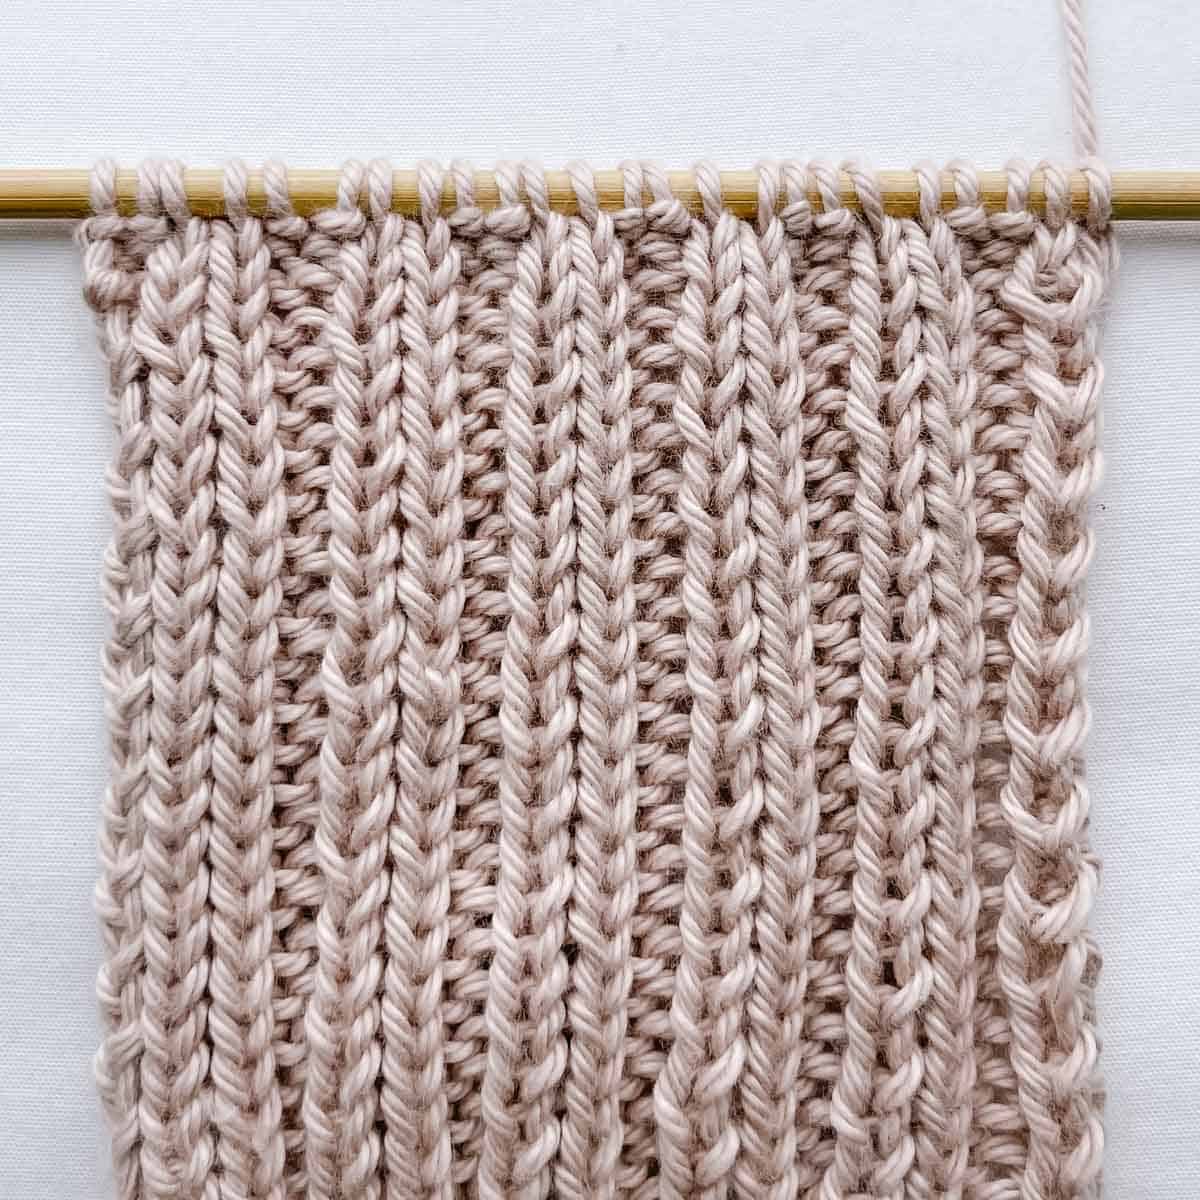
2x2 Rib Stitch
The 2x2 rib stitch is the product of switching between two knit and two purl stitches.
Repeating this combination of stitches creates a wider, more textured fabric, popular for scarves, caps, and sweaters.
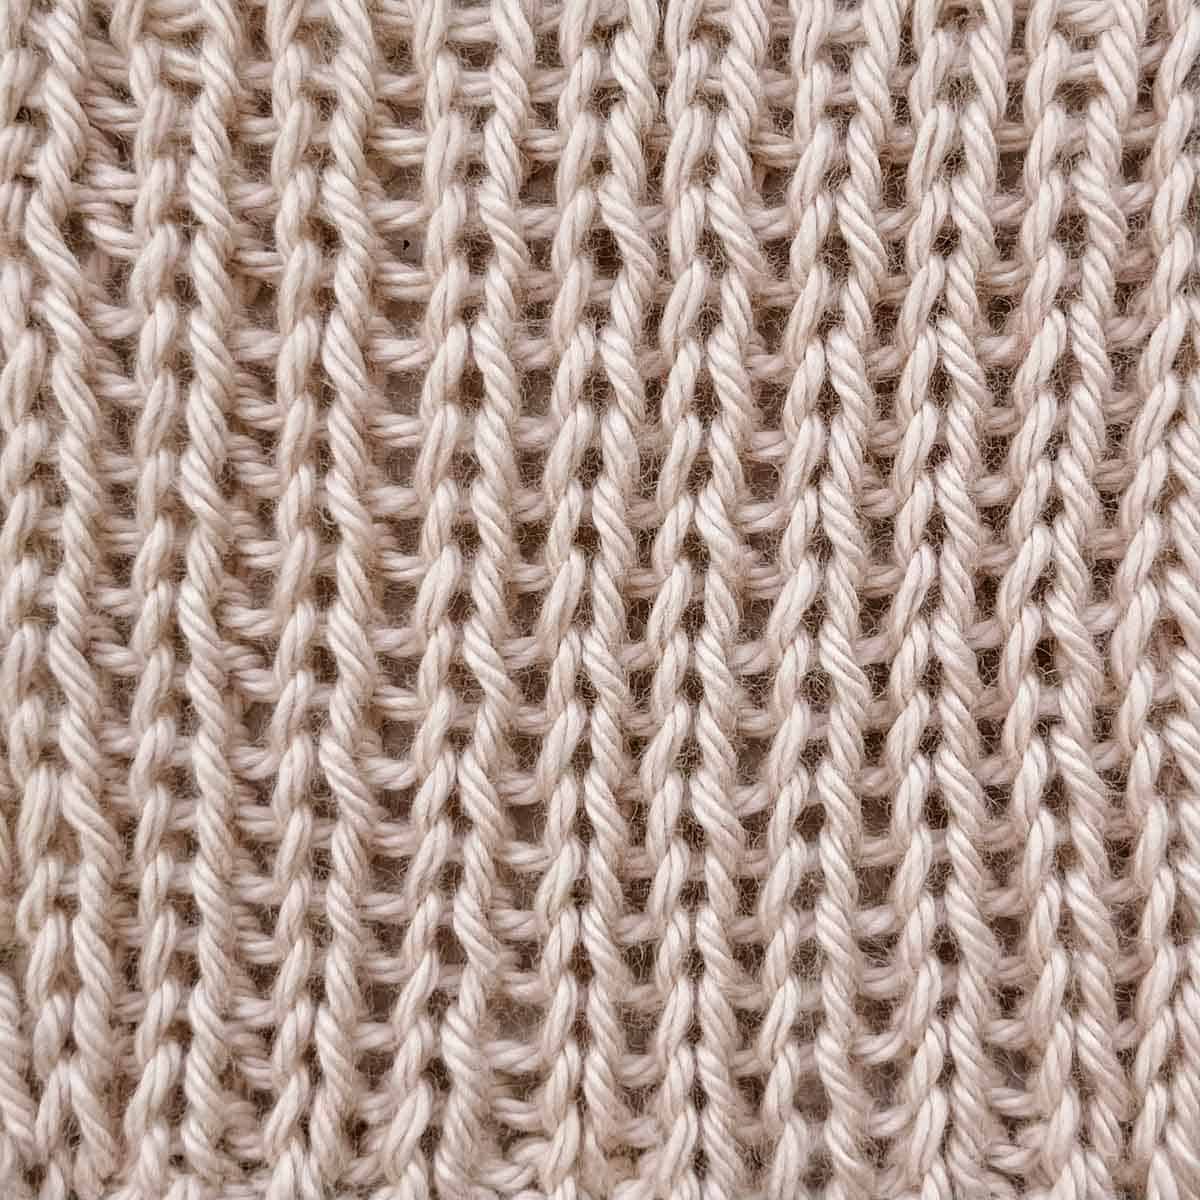
Fisherman's Rib Stitch
The fisherman's rib pattern is produced by knitting every other stitch into the row below. Different techniques use a combination of knit and purl stitches, while some simply require knit stitches after the set-up rows. The result is a thick, fluffy fabric ideal for blankets and cozy accessories.
Many knitters consider this fisherman’s rib a more accessible alternative to the popular-but-tricky brioche stitch.
How to Knit Rib Stitch
Are you ready to add your first rib stitch to your box of knitting tricks and tools? Let’s do this!
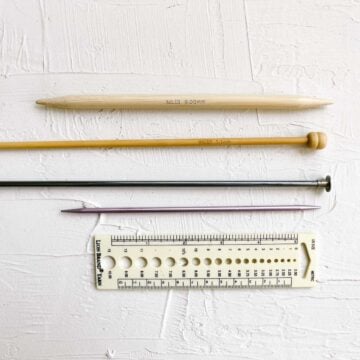
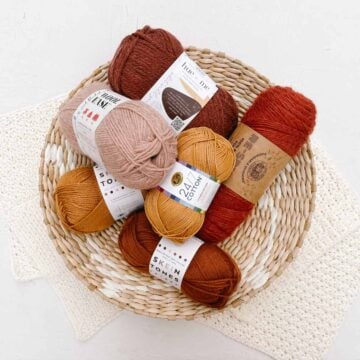
Materials
You can knit a rib stitch with any yarn, but some fiber characteristics make the ribbing look even better.
Choose a smooth, light-colored yarn to reveal the clearest stitch definition and make the texture pop. For beginners, I recommend pairing a worsted weight yarn with 5mm (US size 8) knitting needles.
1x1 Rib Stitch Instructions
As you might expect, the 1x1 rib alternates one knit stitch followed by one purl stitch.
Here’s how to knit a 1x1 rib stitch step-by-step:
- Cast on an even number of stitches.
- Knit the first stitch.
- Purl the next stitch.
- Repeat steps 2 and 3 until the end of the row.
- Turn your work.
- For the next row, purl the first stitch, then knit the second.
- Repeat steps 2-5 until the fabric is the desired length.
Pro Tip: To keep your rib columns tidy, tighten your working yarn before each purl stitch. This will help keep the correct tension.
Video Tutorial
Watch this video tutorial to see nice, slow step-by-step instructions for the 1x1 rib stitch.
2x2 Rib Stitch Instructions
Like 1x1 ribbing, the 2x2 rib stitch repeats knit stitches followed by purl stitches. In this case, two of each.
Here’s how to knit a 2x2 rib:
- Cast on a multiple of 4 stitches.
- Knit 2 stitches.
- Purl 2 stitches.
- Repeat steps 2 and 3 until the end of the row.
- Turn your work.
- When working on the “wrong side,” start by purling the first two stitches, then knit the next two.
- Repeat steps 2-5 until your work is as long as you need.
Pro Tip: Once you have created a few inches of fabric, the columns and dips of ribbing will start to appear. Pay attention to them and knit into the raised (knit) stitches and purl into the lower (purl) stitches. Checking in this way takes away stress from counting the individual stitches.
Video Tutorial
Here’s a video tutorial that shows you how to knit 2x2 ribbing step-by-step.
Fisherman’s Rib Stitch Instructions
The fisherman’s rib stitch requires one set-up row on the wrong side of your knitting before you start the two-row repeat.
Here’s how to knit the fisherman’s rib:
- Cast on an even number of stitches.
- Knit every stitch in the first row. This is the first of two set-up rows.
- Start your second set-up row by knitting the first stitch. Then, knit into the bump of yarn below the next stitch.
- Purl the next stitch.
- Knit into the stitch below.
- Repeat this combination of purling one, then knitting one in the row below until you reach the end of the row.
- Finish the row with one knit stitch. Your two set-up rows are now complete.
- Start each new row with a knit stitch, then one stitch knitted into the row below.
- Repeat these two stitches along the row, and finish the row with one knit stitch.
- Work each row like this until your work reaches your desired length.
Pro Tip: The knit stitches at the beginning and end of each row act as selvage stitches. Adding these will bring neatness and structure to your work.
Video Tutorial
Here’s a video tutorial that walks you through the fisherman’s rib stitch step-by-step.
Casting Off Ribbing
Ribbed knitting can be cast off using basic bind-off techniques. However, depending on your individual project's needs, you may opt for a method that will bring some different qualities to the work.
Here are a few questions to consider when choosing the right cast-off to finish up your ribbing project:
- Should the cast-off create a straight edge or carry on the ribbing pattern of the rest of the section?
- How much stretch does the edge need?
Standard Cast-Off in Pattern
Knitting every stitch while casting off will form a visible row at the edge of your knitting. While this can be an attractive design element, you should cast off in pattern if you want a less noticeable cast-off.
Casting off in pattern means you knit all the knit stitches and purl the purl stitches. Doing this will guarantee a neat, consistent look.
For instance, you can use this method to cast off 2x2 ribbing:
- Knit 2 stitches.
- Use your left needle to bring the first stitch you knitted over the second one. Drop this first stitch off the needle.
- Purl one stitch.
- Pick up the knit stitch on the right needle, pull it over the new purl stitch, and drop the knit stitch.
- Purl one stitch.
- Lift the rightmost purl stitch over the new stitch and off the right needle.
- Knit one stitch.
- Lift the rightmost purl stitch over the new stitch and off the right needle.
- Knit one stitch.
- Lift the rightmost knit stitch over the new stitch and off the right needle.
- Repeat steps 3-10 until one stitch is left on your lefthand needle.
- Cut the working yarn to a tail of a few inches.
- Remove the needle from the stitch and thread the tail through this final loop, securing the work.
Jeny’s Surprisingly Stretchy Bind-Off (JSSBO)
Jeny’s Surprisingly Stretchy Bind Off is a knitter favorite for projects that require more elasticity. I recommend this cast-off technique for projects with 1x1 ribbing.
JSSBO is slightly more complex than a standard cast-off, so you should be comfortable with yarnovers before you begin.
Here’s how to achieve JSSBO in 1x1 rib:
- Knit one stitch.
- Do a yarnover, bringing the yarn to the front, then up and over the righthand needle. It should look like there are two stitches on this needle.
- Purl one. You should now have three stitches on the righthand needle.
- Use your left needle to bring the middle stitch on the right needle up and over the stitch closest to the end.
- Lift the rightmost stitch on the righthand needle up and over, dropping it off the needle.
- Do a yarnover so the working yarn is in front of the righthand needle.
- Knit one stitch.
- Use your left needle to bring the middle stitch on the right needle up and over the stitch closest to the end.
- Lift the rightmost stitch on the righthand needle up and over, dropping it off the needle.
- Repeat steps 2-9 until one stitch remains on the lefthand needle.
- Cut the working yarn to a tail of a few inches.
- Remove the needle from the stitch and thread the tail through this final loop, securing the work.
Pro Tip: Remember to adjust this bind-off for the type of ribbing you have. This means knitting all the knit stitches and purling all the purl stitches.
Video Tutorial
Here’s a video tutorial that shows you how to do Jenny’s Suprisingly Stretchy Bind Off step-by-step.
Wanna save this pattern?
Intermediate Rib Stitch Patterns
Advanced beginners and intermediate knitters can experiment with the diverse range of ribbing techniques available.
Countless combinations of knit and purl stitches can inject more structure, texture, or embellishment into your basic raised ribbed columns.
Here are three slightly different ribbing effects you can try.
Twisted Rib Stitch
The twisted rib stitch is great for establishing extra definition and structure. Knitted with the same repeat as 1x1 or 2x2 ribbing, simply knit each knit stitch in the back, twisting the yarn while creating a new stitch. Follow with the same number of purl stitches, and repeat.
When to Use It
This simple adjustment tightens the yarn with each stitch. The result is a knitted fabric with a little less flexibility and more rigidity.
More structured fabric is perfect for cuffs or hems that need to stay in place, such as socks or hats that you want to prevent slipping. The tighter fabric holds in air better, making this stitch ideal for winter knitwear.
Here’s a video tutorial that walks you through the twisted rib stitch step-by-step.
Broken Rib Stitch
The broken rib stitch doesn’t follow the straight lines of regular ribbing, which results in a less uniform look. Instead, you can create new and interesting designs by switching up your starting knit stitch and varying how many knits and purls you do in each line of knitting.
Here’s a video tutorial that shows you the broken rib stitch step-by-step.
Zigzag Rib Stitch
Try the zigzag rib stitch for a unique, geometric look. Instead of straight-edged columns, this funky pattern creates texture with a wiggling column of meandering zigzags.
Because of its added complexity, this stitch is most suitable for intermediate knitters already familiar with other rib stitches.
Here’s a video tutorial that walks you through how to do the zig zag ribbing stitch step-by-step.
Tips for Knitting Rib Stitches
Learning how to knit ribbing like a pro is a skill you can get familiar with and master quickly. Here are some tips to speed up the learning process or perfect your crafting.
Check Your Stitches Frequently
The most common beginner mistake with rib stitches is forgetting if you’re supposed to knit or purl. Count each stitch, or learn to “read” your work and recognize knit and purl stitches. You always want to knit the stitches that look knit and purl the stitches that look purled to ensure flawless ribbing.
Try Out Smaller Needles
Keeping consistent tension makes a big difference in how even your ribbing looks. Try a smaller knitting needle size if your rib stitches look a little loosey-goosey.
Remember to Move Your Yarn From Back to Front
Knitting rib stitches requires a lot of back and forth with the working yarn. Always check if the next stitch is knit or purl, and make any necessary changes with the working yarn before inserting your needle to create a new stitch.
Rib Stitch in the Round
Knitting rib stitches in the round is incredibly common, as many tubular items or elements benefit from the stretch and elasticity of ribbing. Transitioning from knitting flat ribbing projects to knitting in the round is simple, but there are two things you should keep in mind.
Check for Twisted Stitches
Firstly, ensure your stitches are not twisted before initially joining them into a circle. Spread out the cast-on stitches and check they’re consistent before connecting the ends to form the continuous loop.
Keep The Same Side Facing
Secondly, there is no distinction between right and wrong sides when knitting in the round because you’re not turning your work. This means you can repeat the same stitch pattern for every round, for example, K2 P2.
Translating Flat Instructions Into The Round
If the pattern you’re following includes instructions for the wrong side, you’ll need to adjust accordingly. This might mean disregarding the wrong side instructions. For example, if the first row is K2 P2 and the second row is P2 K2, knit every round as K2 P2.
Projects to Use Rib Stitches
Since they are practical and timeless, rib stitches appear in many knitting patterns.
Here are some types of projects where knit ribbing can be particularly useful, plus some ideas for how to use rib stitches on their own as the main design element.
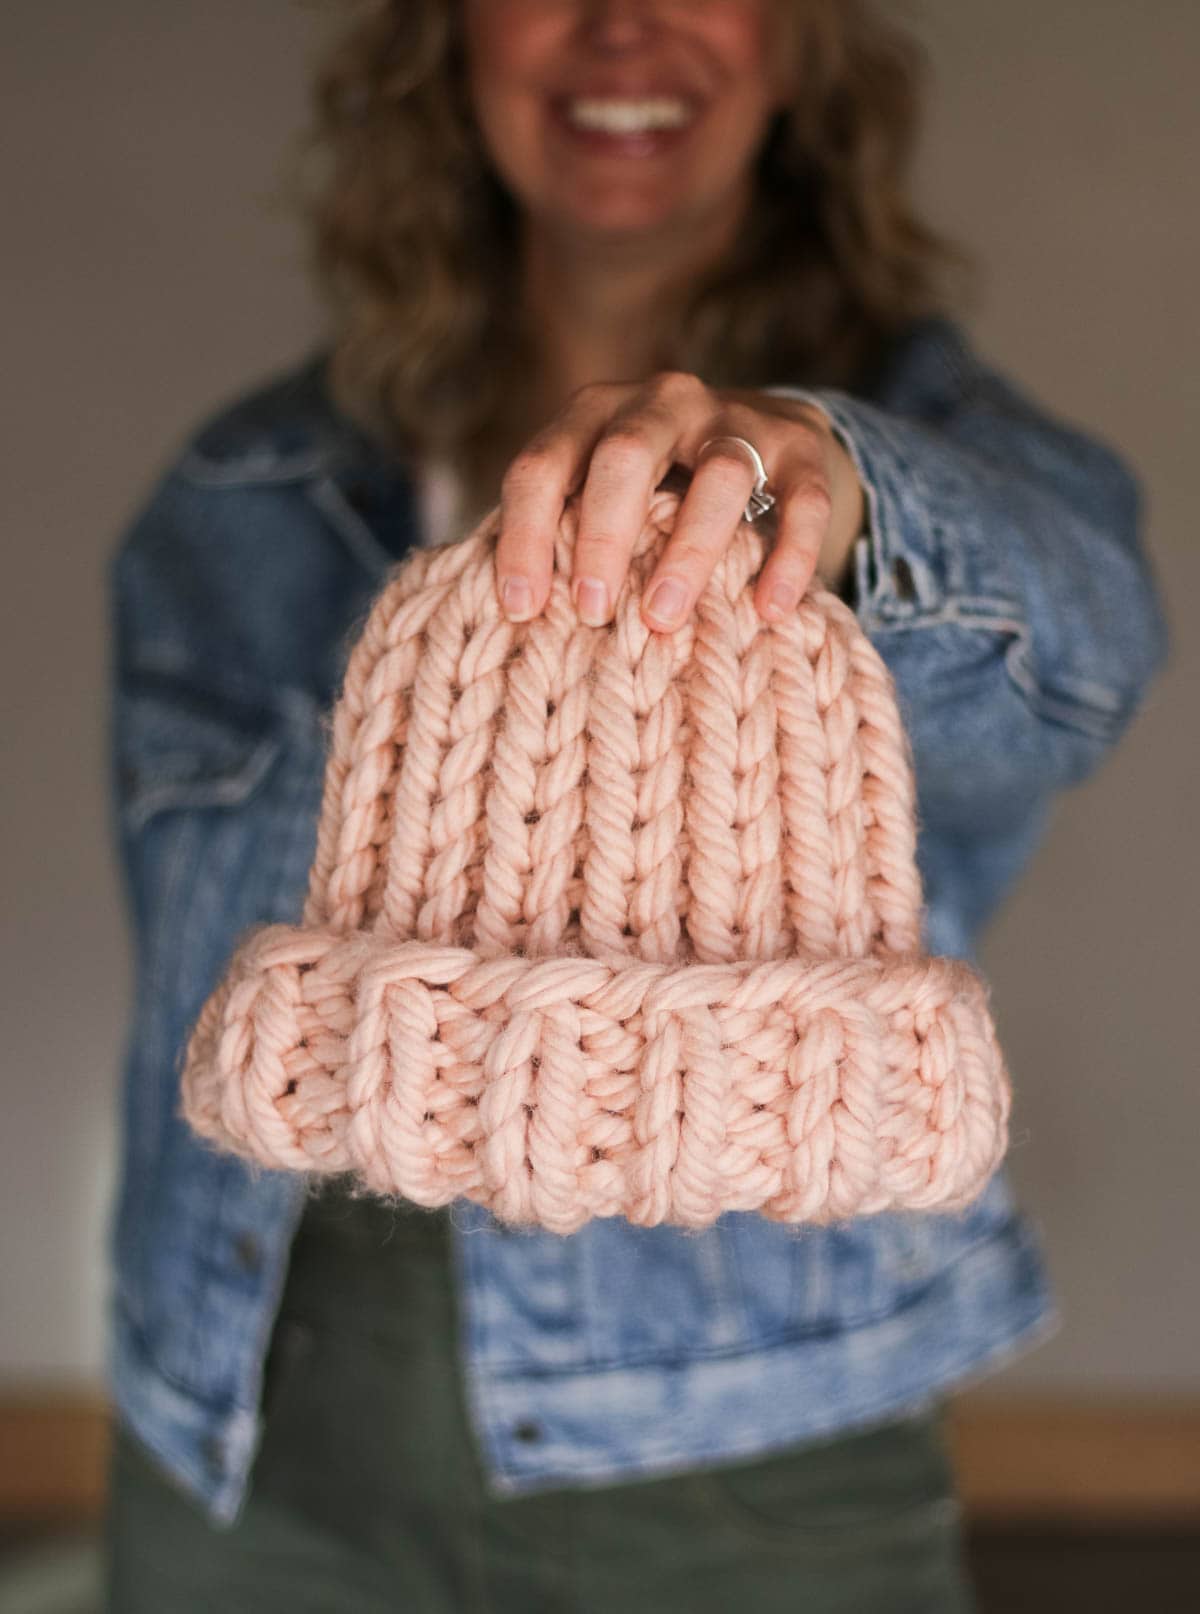
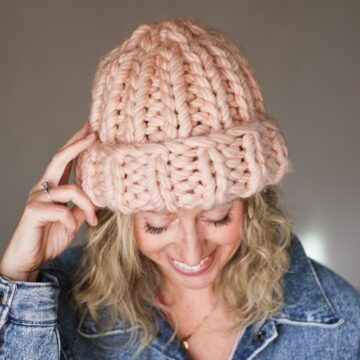
Hats
Ribbing is ideal and often essential when knitting hats because it creates a stretchy elastic band that fits the head tightly. Rib stitches don’t have to stay relegated to hat trim, though; try knitting an entire beanie with 2x2 or 3x3 rib stitches.
Scarves
Practice any of the ribbing patterns above to knit a chunky statement scarf. Grab a bulky yarn like Lion Brand Wool-Ease Thick & Quick and pair it with a set of 9mm/US 13 needles. Cast on 7-10” of stitches and work in your preferred ribbing stitch until the scarf measures 60-70”.
Sweaters
In knit sweaters, rib stitch is frequently used for the cuffs, collars, and hems, but it can also be used throughout the entire garment. Try making a straightforward pullover or cardigan with a 2x2 rib stitch for a classic look.
Socks
Rib stitch is frequently used for handmade socks since it produces a snug, stretchy fabric that hugs and accommodates the foot.
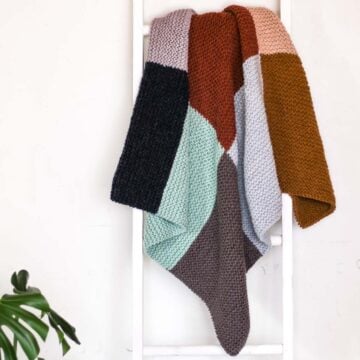
Blankets
A rib stitch blanket combines irresistible warmth and wonderful texture. You can also add a ribbed trim to finish your blanket edges and prevent curling.
Related: 33 Crochet Borders to Add to Knit and Crochet Blankets
Why Add Ribbing to Knit Projects?
Ribbing stitches are a favorite among knitters because they can be used anywhere a snug fit is desired. The stretchiness adds flexibility to the sizing of knitted items. Think hats, hems, and even waistbands of skirts and pants.
It’s not just elasticity that ribbing can bring to your project; here are some more benefits of rib stitches.
Fixing Curled Edges
A fantastic perk of knit ribbing is that it lays flat and does not curl as some other stitches can. This makes it perfect for edges and borders that would otherwise roll up, like a scarf knit in stockinette.
Check out our guide to blocking knitting for lots more ideas to solve the curling issue.
Reversible
Many rib stitches look the same on both sides. This is perfect for projects like a knit blanket or scarf, where both sides of the work will be visible.
But, be aware that not all ribbing creates a reversible fabric. Stitches such as zigzag rib, which we’ll talk about later, have a right and a wrong side.
Adding Texture
The ridges of knit stitches and dips of purl stitches yield a beautiful physical texture. This visually exciting element adds another layer of interest to your otherwise basic knits.
Extra Warmth
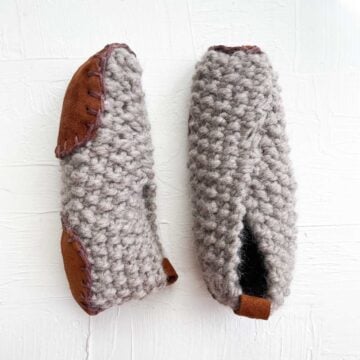
Rib stitch knitted fabrics trap air between the stitches, creating a layer of insulation. This makes ribbing an excellent choice for the cuffs of winter pieces such as mittens.
Easy to Memorize
With minimal complication in the stitch repeats, ribbing is accessible even for knitting novices. Don’t let the simplicity deceive you, though. It’s crucial to keep track of your stitches because mistakes in ribbing tend to be quite visible. (Ask me how I know!)
FAQs
Rib stitch is an accessible pattern for novices, but it takes some focus to knit. Ribbing is a simple way to add extra texture, stretch, and structure to your work, even if you’re a beginner.
You can use any sort of yarn for rib stitch. Concentrate on the needs of your specific project. For instance, if you're knitting a scarf, you might want to use a soft and cozy yarn. If you're making socks, you might want to select a sturdy and stretchy yarn instead.
Fixing mistakes in rib stitches is easy, but it takes a bit of focus. First, you need to identify where you went wrong. Then, simply unravel the stitches you’ve made since that mistake. Take out the error, re-knit it correctly, and then carry on with your project from there.
The difference between rib stitch and stockinette lies in the combination of knit and purl stitches. In stockinette, you alternate a full row of knit stitches with a row of purl stitches. In contrast, rib stitch alternates between knit and purl stitches in every row to create a pattern of raised columns.
1x1 ribbing may look similar to stockinette stitch, especially if the ribbing isn’t blocked.
Rib stitch can absolutely be used with other patterns, like cables or lace, to produce original designs. Many items, particularly garments, benefit from a functional rib stitch edging where more stretch is needed, like the cuffs of a sweater.
Although rib stitches are usually knit with an even number of stitches, it is possible to knit a rib stitch with an odd number of stitches. To keep the pattern consistent, you would begin and end each row with a knit stitch.
You can actually knit ribbing at the start of a project or as a finishing touch. For example, some sweaters start with several rows of ribbing at the bottom and then proceed to making the main body.
Other times, a pattern may instruct you to knit the project and pick up stitches to add a ribbed edging at the end.
That was so fun! Now what?
Invitation to our Facebook group
Come discuss knitting ribbing and lots of other projects and techniques in our Make & Do Crew Facebook group. Here thousands of helpful knitters and crocheters answer each other's questions and share their stitches. Come join us here.
Find Your Next Free Knitting Pattern
Now that you know how to knit ribbing, what will you make next? Here are some free patterns and tutorials I think you'll enjoy.


Leave a Reply