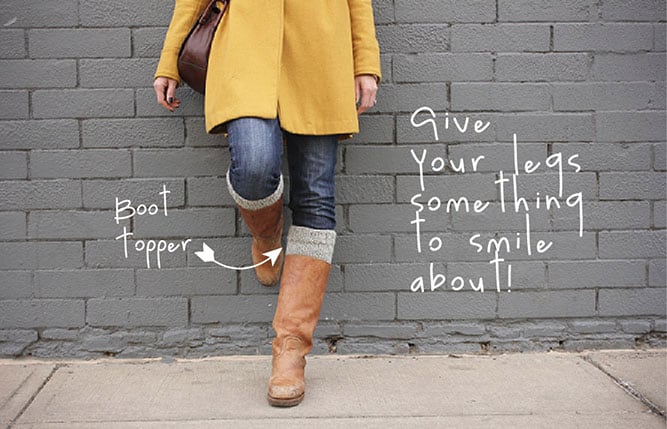
I know you're thinking, "Well, Jess, you think you're so crafty, you could just knit some tall socks." And to that I say, "I may knit some crazy things, but I will never, not ever, ever knit a pair of socks. Ever. Like even if I've been barefoot in Antarctica for 21 years."
I just don't see the point. They're so tedious. And then the glorious finished product gets hidden in a shoe, relegated to soaking up your foot sweat all day.
Enter the perfect solution: the boot topper.
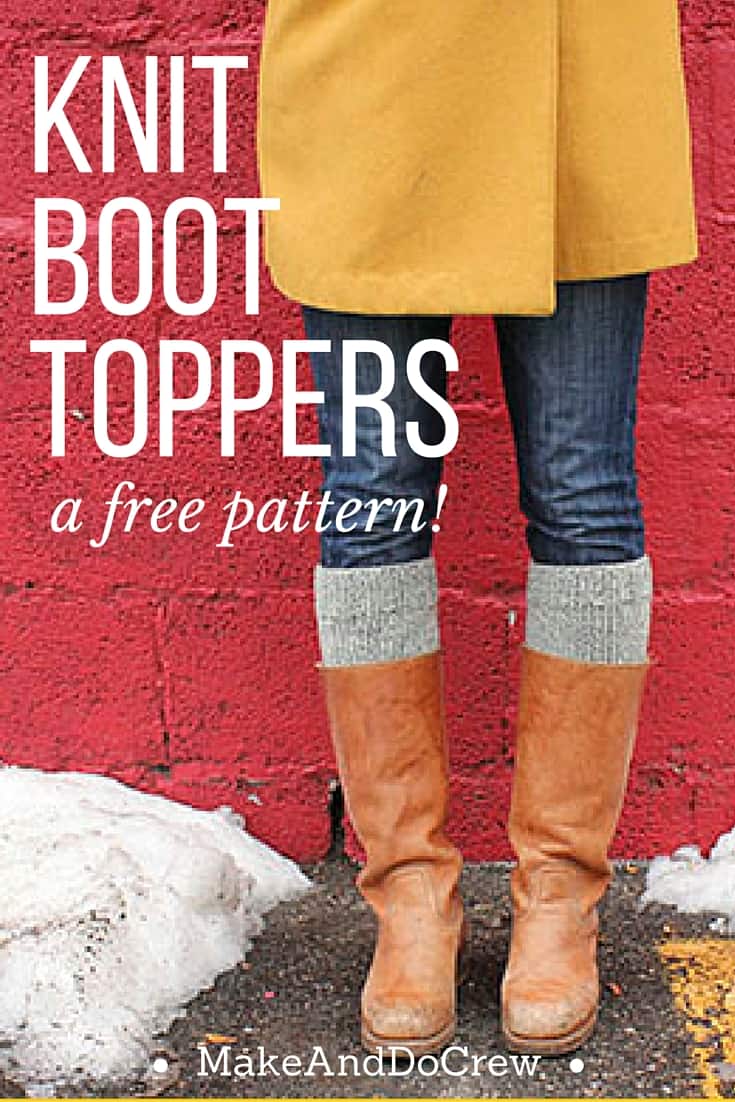
The great thing about a boot topper is that it gives the illusion of the I-snowshoed-to-work-today vibe without all the bulk of an actual Eskimo sock. I whipped up several pairs of these as Christmas gifts this year and found I could crank one out for every two episodes of Breaking Bad I watched. Not such a bad pace for an awesome DIY gift.
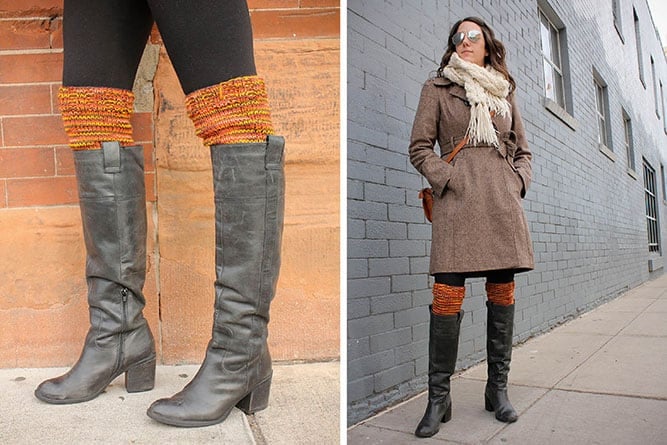
It's super easy (and surprisingly cozy) to make your own little calf Snuggies. I used worsted weight wool and size 7 double pointed needles for these boot toppers, but really, you can use any yarn you want as long as you adjust the needle size accordingly. I find it pretty fun to knit the basic tube and then add some variety in the stitches at the top (the part that sticks out of the boot). These boot toppers aren't super tapered because we tend to be a family of pretty thin chicken calves. But if your calves are on the larger side, just add a few extra stitches once you've completed the bottom ribbing.
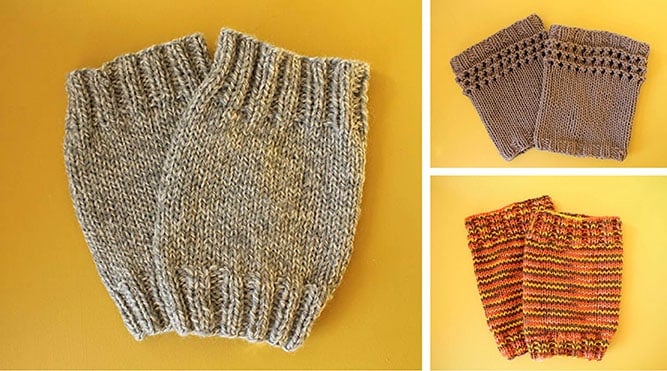
Basic Knit Boot Topper Pattern:
Worsted Weight Wool (although you can use anything that makes your legs smile)
Size 7 DPNs
Yarn Needle to sew in ends
Wanna save this pattern?
Cast on 44 stitches.
Ribbing: K2 P2 and continue this ribbing until you're happy with its length
Body: Knit in the round until piece measures about 6"
(If you have larger calves, increase four stitches, dispersed evenly on the first full knit row.)
Top: K2 P2 and continue this ribbing until you're happy with its length
(Or make up your own fancy design for the top)
Bind off all stitches, weave in the ends, pull on some comfy leggins and hit the road--or a mural of a road.

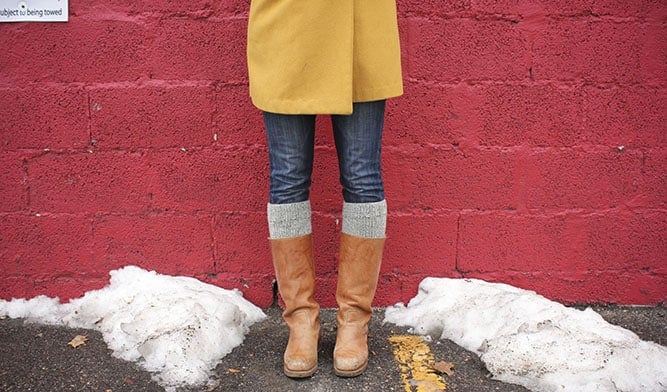
I love these boot toppers because they're a super easy accessory that can look completely different based on the yarn and stitches you choose. Try a seed stitch. Or ribbing throughout. Or straight up garter stitch goodness. You really can't go wrong.
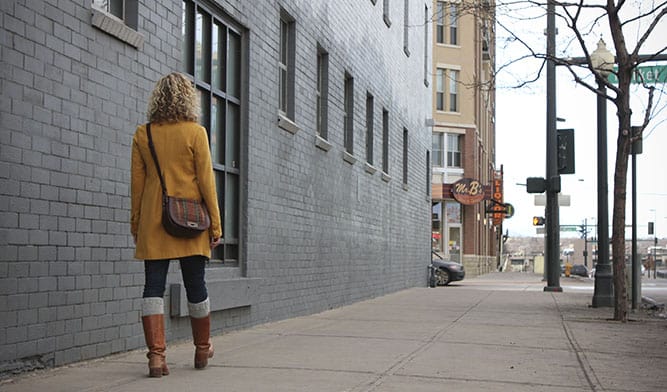
Thanks to my ever-stylish sister, Mich, for modeling. You're really a natural calf model.



Tiffany says
Would love it if you would also sell these...already made...on etsy or something. Love the look, but I don't have time to learn to knit right now. I would have already bought them if they were for sale, though.
Make and Do Girl says
Thanks for the idea, Tiffany. I afraid I don't have a lot of extra time to tackle that right now, but I'll definitely let you know if I decide to start selling some. Boy, that would be a fun, cozy business to launch!
j
Tamera Burchett says
I too would like to know the pattern for the boot toppers with the top that is not ribbed. Please let me know when it is available. That boot topper is very adorable. Thanks!
Renee Dervay says
Hi Jess. Thanks for your response, but I'm not sure if we're talking about the same boot topper. I was wondering how to make the pattern on the brown boot topper (above the photo of the variegated boot topper.) I can't figure out how you knit those three rows that look like a seeded stitch.
Renee Dervay says
I lOVE the brown boot topper on pattern 5, but can't figure how you knit the "ripple" stitches on the top. I will be be making these using #7, 9" circular needles.
Make and Do Girl says
Hey Renee,
The ripple is a knit 2, purl two ribbing. Simply knit 2 stitches, then purl the next 2. If you're not sure now to do a purl stitch, there are a lot of great videos on Youtube. Hope that makes sense.
Happy knitting!
j
Renee Dervay says
I'm going to make these boot toppers using 9" circular needles. It's a lot easier than double points.
Make and Do Girl says
Great idea! I'd love to see how they turn out.
j
Lynne says
where can you get 9" circulars? I have 16" circulars...wonder if they would work??
Jess @ Make and Do Crew says
Hey Lynne, I think the 16"ers would work, but you would have to slide the stitches around periodically because there wouldn't be enough to cover the entire needle. Essentially, you'd have a strand of the needle cord sticking out like a loop from your knitting as you rotate the stitches through. Does that make sense?
deb says
thanks for the idea & the pattern. I made 4 pair for Christmas gifts and then made myself a pair with the leftover wool. I knitted 1/2 way then changed the wool to another color to finish them off to length. so I can wear them as if they were 2 pair because the bottom half (in one color) is tucked into the boot while the top is exposed. Reversible!
Make and Do Girl says
Deb,
I LOVE THIS IDEA! It's brilliant! I was thinking of making a new pair of boot toppers soon and I'm definitely going to take your suggestion. Thanks!
j
Fran says
If knitting in the round on four kneedles scares beginners, try just knitting back and forth on two needles, and sewing up a seam as tidily and smoothly as you can.
Remember to change to P2 K2 for ribbing when knitting back on the even rows to make ribbing. Then knit a row, purl a row, to desired length, before finishing with final ribbing rows.
Make and Do Girl says
Thanks for the helpful tip, Fran. You're totally right--skipping the double pointed needles is just dandy. Thanks for pointing out this work around.
Happy crafting.
j
Jackie says
I use 16" circular needles and is easier for newbies to knitting or straight and do a nice seam .....works any of those ways. Thanks so much for the pattern..Jackie
Gail says
My daughter just called me and wants me to make some for her. I'm more a crocheter. Knitting scares me but I'm going to give it a try.
Make and Do Girl says
Hey Gail,
I've made some crocheted boot toppers and it worked great, but I'd definitely say you should give knitting a shot. Maybe I'll make a crocheted boot toppers tutorial soon!
Good luck, you're daughter's a lucky girl!
j
Sam says
Just found your page and I love these boot toppers! BUT I don't knit. Tried it, didn't like it. I would love a crocheted pattern for them though 😀 Were you ever able to make one? I see that these comments are four years old...
Jess @ Make and Do Crew says
Hey Sam! I'd love to translate this into crochet. I'll add it to my list for the upcoming months. 🙂
Kate says
This is my first time knitting with DPNs. In the tutorials I have watched, you have to divide the stitches evenly across the needles. Does this mean that you were working with 5 needles if you started with 44 stitches? I only bought 4, so I'm trying to re-work this pattern in my head!
Barbara says
I laughed out loud at your comments about socks. Dittos! Great
pattern and with all the wonderful yarns out there the possibilities
are endless.
kim says
wow such a way with words and pictures add to it a free pattern very kind of you - was wondering if anyone has come across a crochet version-I, too am a newbie to knitting - kinda scared as I don't have the correct needle size, that is suggested and not sure of the number of needles - any info and/or suggestions would be appreciated, or hey I just might put caution to the wind and try with what I have
(really not sure I can do that though, lol)
Again love your sense of humour and kindness for sharing
keep creating
Diane says
Love this pattern! I just finished making a pair of these for my daughter. Will be sending them to her in the mail - she's going to love them, I know! I'll email you a picture of them. I used Lion Brand Amazing yarn.