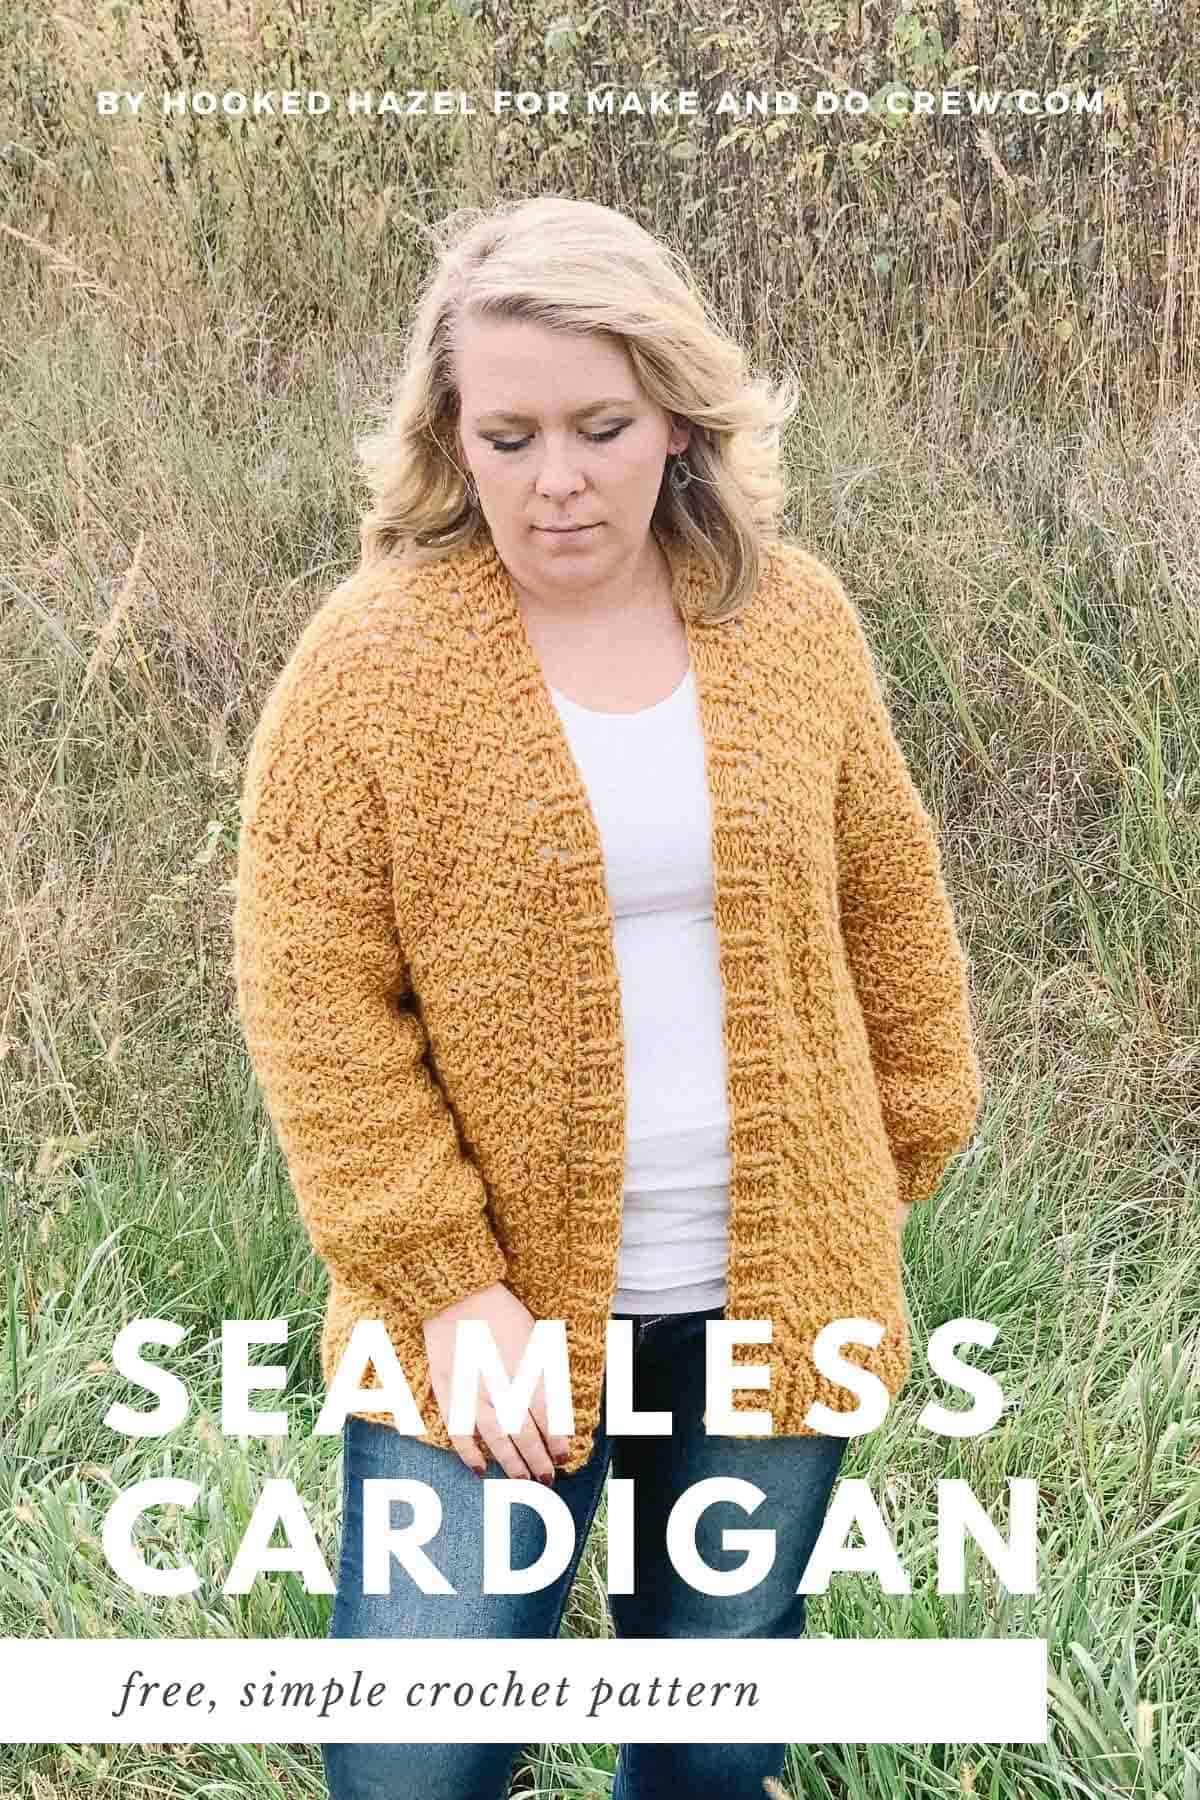
This nearly seamless crochet cardigan is perfect for sweater-making newbies who want to spend more time crocheting and less time seaming.
Thanks to Lion Brand Yarns for supplying the yarn for this nearly seamless crochet cardigan free pattern. This post contains affiliate links.
Jump to:
Today Emily from Hooked Hazel is here with her free seamless crochet cardigan pattern! You can see lots of of Emily's crochet patterns her blog, Hooked Hazel, and on Etsy and Ravelry. And be sure to check her out on social media too: Instagram, Pinterest, and Facebook. Emily, take it away!
Why You'll Love This Seamless Cardigan
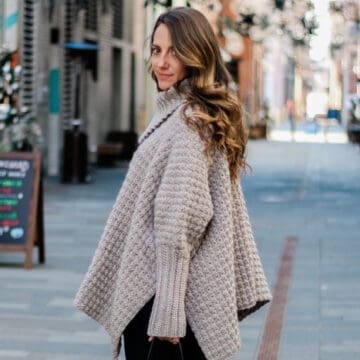
Hi crochet friends! My name is Emily - I'm the maker and designer behind Hooked Hazel. I'm so excited to share the Maple Woods Cardi with you.
Sweater season is my favorite - you can usually find me in my comfiest jeans, a worn in t-shirt, and a sweater or cozy hoodie.
My design philosophy is pretty simple - I only want to make things that I'll actually wear, that are versatile, and will work with the other clothing in my wardrobe.
Rich Color and Texture
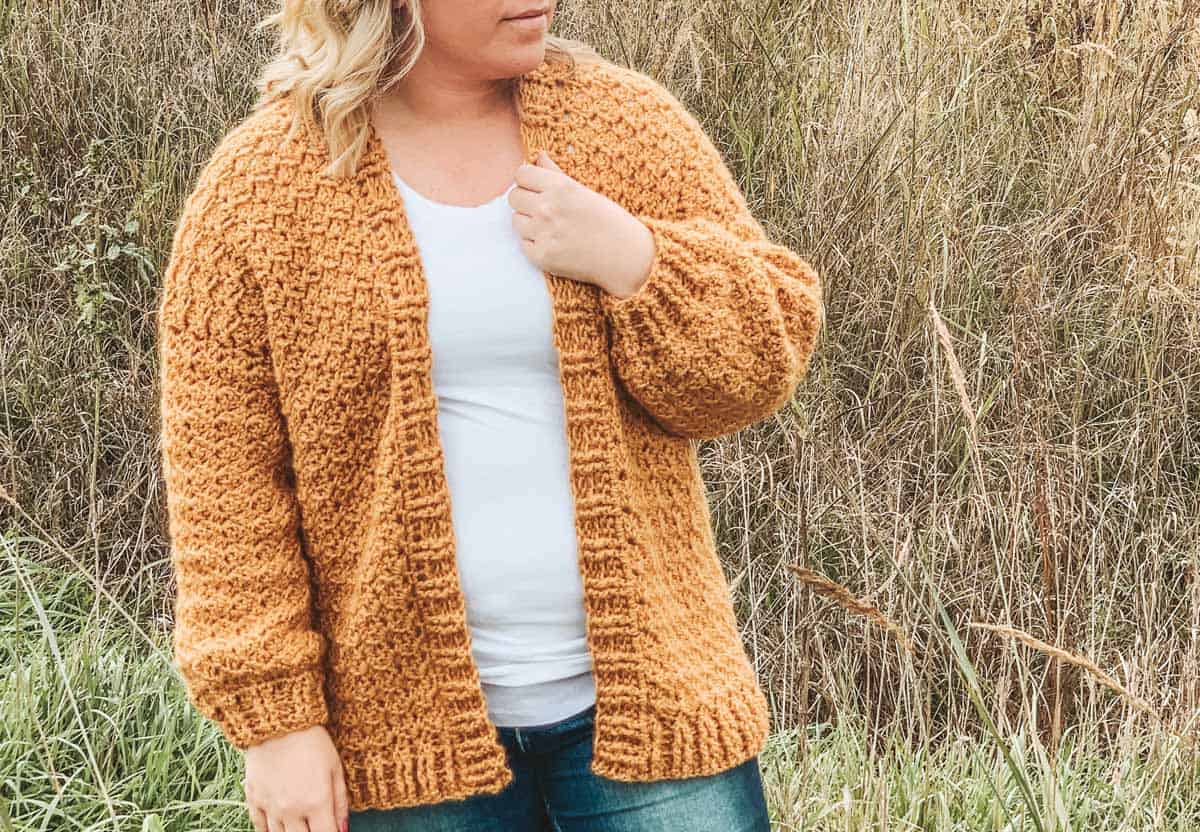
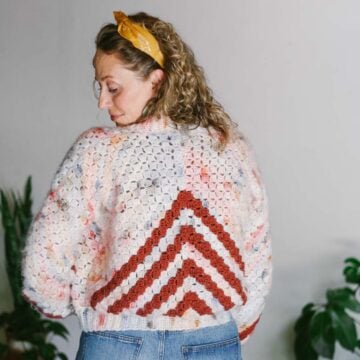
The texture in the Maple Woods Cardi reminds me of the layers of maple leaves that cover the ground in my hometown each winter. And, of course, the golden mustard color I used is 100% on-trend!
You can pull this piece out of your closet and throw on over leggings when you're puttering around the house or pair it with denim for a casual Friday at the office.
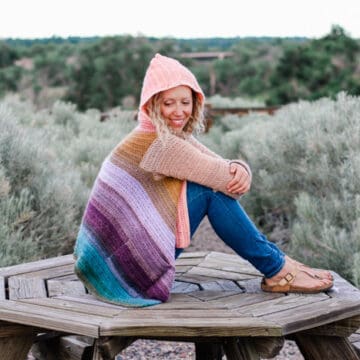
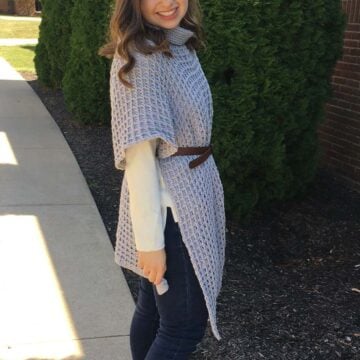
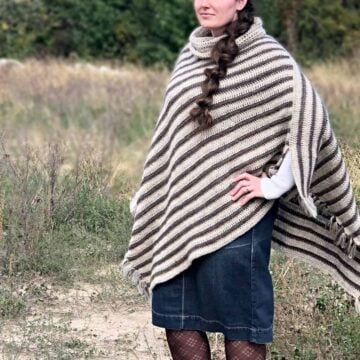
Related: 30+ Free Poncho Patterns - for Winter and beyond
Machine Washable Yarn FTW!
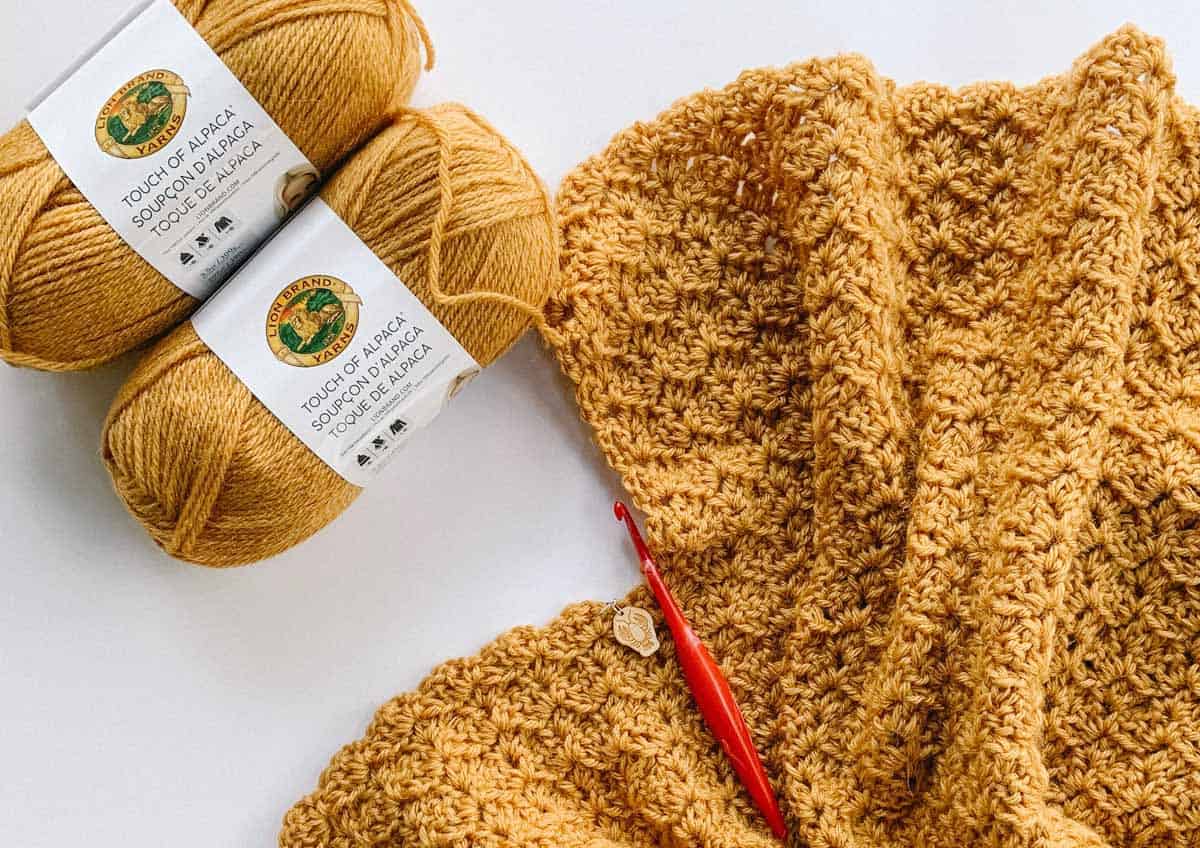
I used Lion Brand Touch of Alpaca for this design. I chose this yarn because it's cozy and warm without being heavy. Plush - the squish factor is unreal. The natural fibers in this yarn lend a wonderful lightness and drape to your finished garment.
Suggested Yarn
Also - it's machine washable! That's a BIG plus in my book. It's available in the prettiest neutrals and jewel tones - I chose Goldenrod for the Maple Woods Cardi.
If you'd like to substitute a different yarn, I recommend choosing a worsted-weight yarn that is breathable and not too heavy.
Easy One Piece Cardigan
This free crochet pattern is suitable for an advanced beginner. Simple stitches are used throughout, with post stitches used for the ribbing.
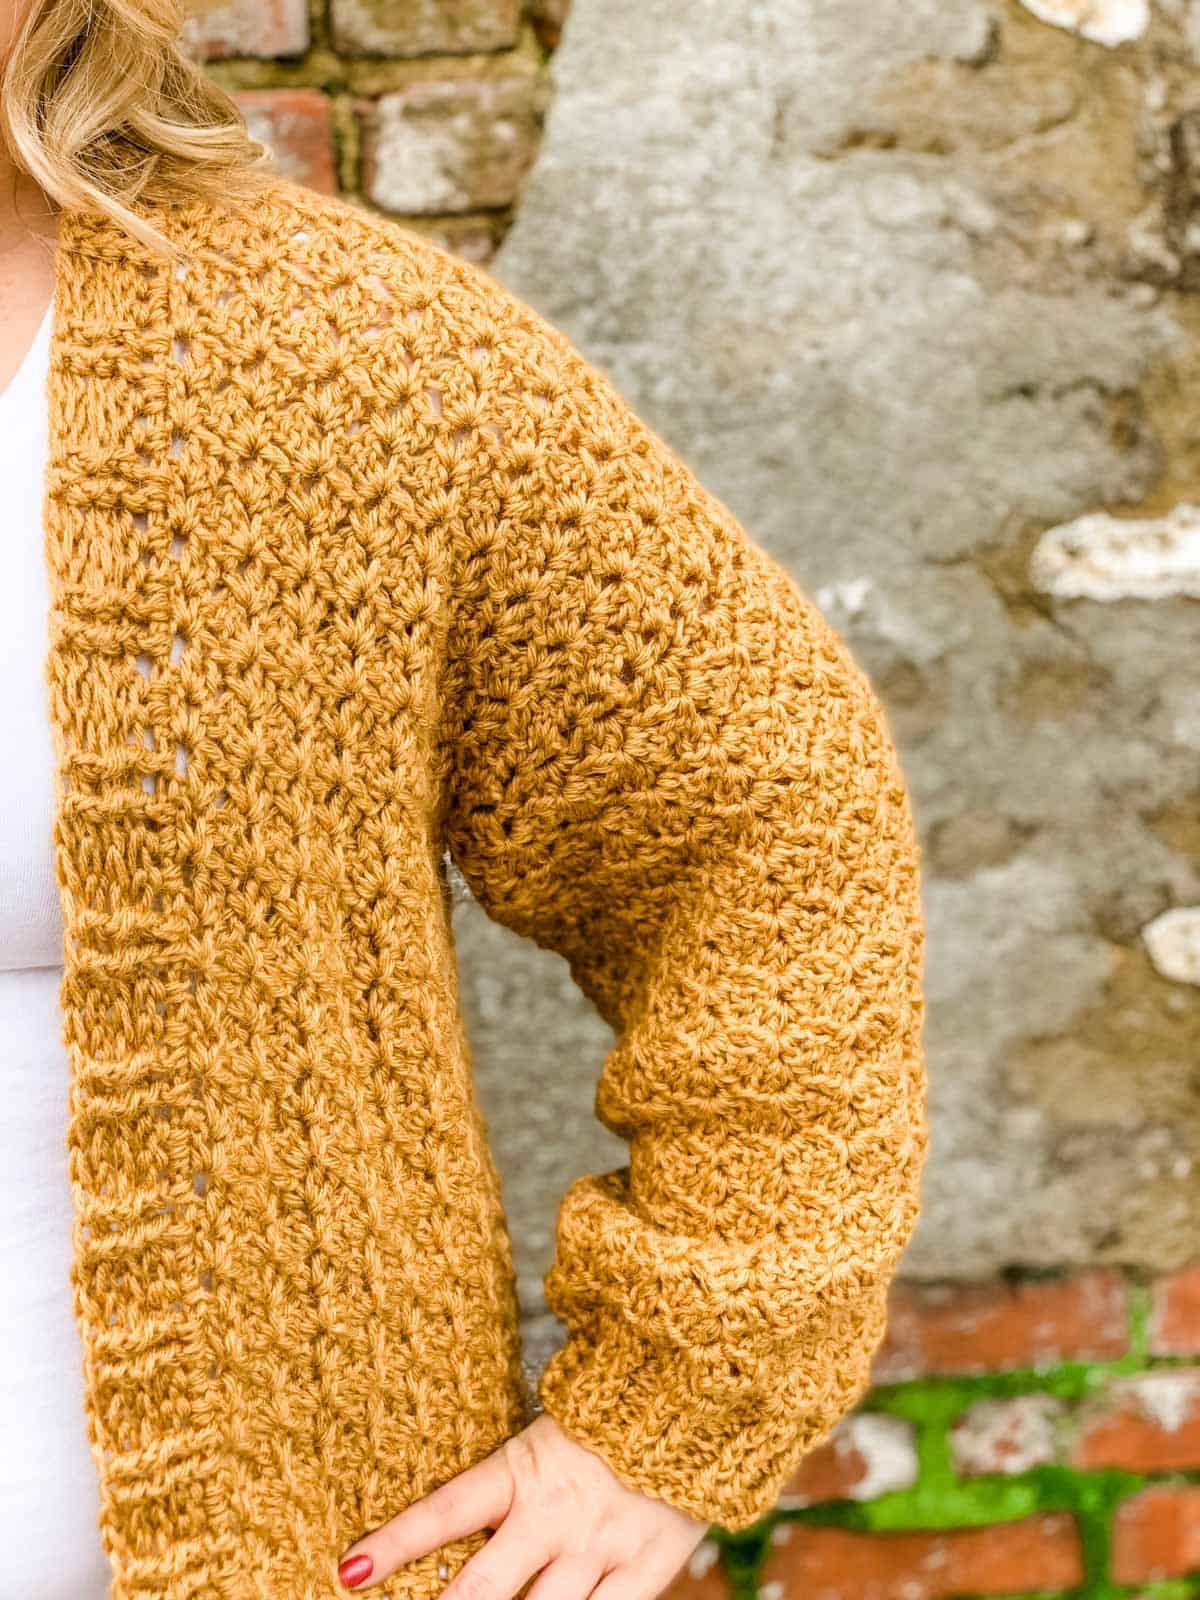
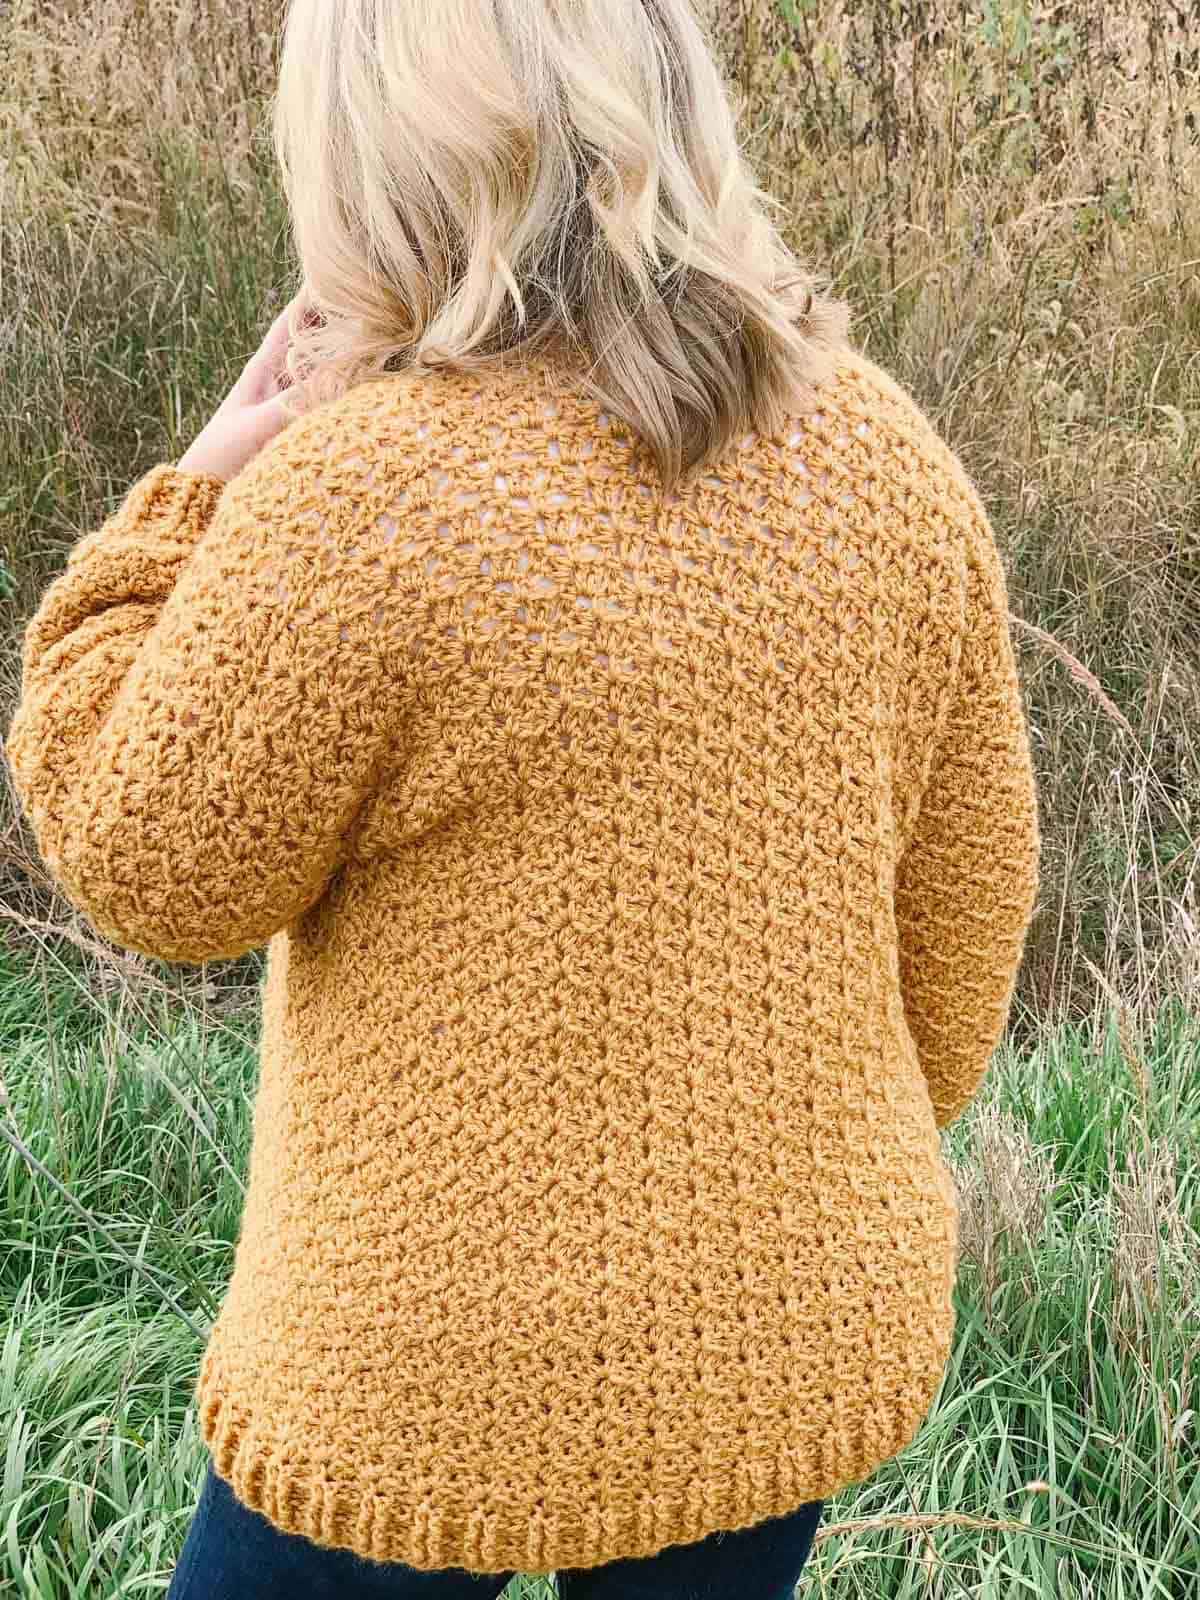
The entire cardigan is worked in one piece with minimal seaming needed (shoulders only). Sleeves are made attached to the body and are worked in the round.
New to making cardigans? Learn how to crochet a sweater and get our best beginner tips in our detailed sweater-making guide.
click to pin this pattern for later ⇨

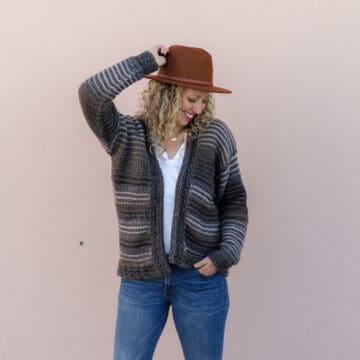
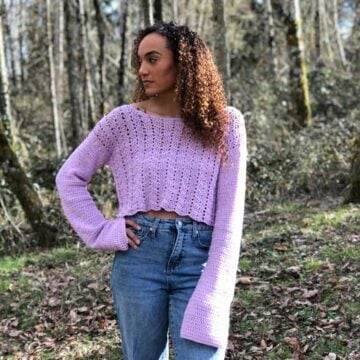
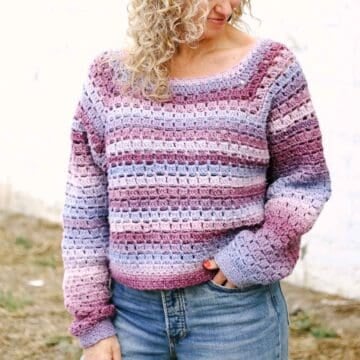
More Free Crochet Sweater Patterns
Crochet sweater patterns don't need to be difficult. In fact, most of ours are made with very simple shapes. Dive into the wonderful world of crochet garments with cardigans, pullovers, ponchos, shrugs and more!


See more free crochet sweater patterns →
Maple Woods Cardigan Free Pattern
Add this pattern to your Ravelry here.
Pin this pattern for later here.
Explanation: Get sweater weather ready in this cozy and textured cardigan made without seaming! Featuring a relaxed fit and classic design elements that are worked from the bottom up, this piece is one you'll be reaching for again and again.

Don't spend hours for a "meh" result!
Tired of crocheting garments that don't fit? Learn our C.R.A.F.T. Framework to make sweaters that fit and feel amazing!
Skills required include single and double crochet, post stitches, and seaming (minimal).
Supplies:
• Lion Brand Touch of Alpaca (or comparable worsted weight yarn) (Weight: 4/medium - 207 yds, 3.5 oz)
- Goldenrod (#674-158) - 6 (6, 7, 8) 9 (9, 10, 11, 12) balls
• 5.5 mm (I), 6.0 mm (J), 6.5 mm (K) hooks (or sizes needed to meet gauge)
• Yarn needle
• Stitch markers
Sizes/Measurements:
• Bust: This pattern is written for sizes XS (S, M, L) XL (2XL, 3XL, 4XL, 5XL). This is equivalent to bust sizes 30 (34, 38, 42) 46 (48, 54, 58, 62). This pattern is meant to be relaxed with +2 – 3 positive ease.
• Length: Length as written for each size is approximately 24 (24, 25, 25) 26 (26, 27, 27, 27) inches from shoulder to hem. For a longer sweater, you may add rows to the bottom section. Gravity will also affect this pattern and the cardigan may stretch some with wear.
Gauge:
• 4” x 4” 7 rows and 14 dc with J hook
Abbreviations and Glossary (US Terms):
st - stitch
ch - chain
slst - slip stitch
sc - single crochet
dc - double crochet
bpdc - back post double crochet
fpdc - front post double crochet
yo - yarn over
sk - skip
rs - right side
ws - wrong side
sm - stitch marker
[ ] - instructions in brackets are all worked into one stitch
Special Stitches:
Tulip Stitch: [2 dc, ch 2, sc] in same st. These instructions are written out in the pattern, however st counts will be given as tulip sts.
Overall Pattern Notes:
• Ch 3 at the beginning of a row counts as a stitch.
• This sweater is worked from the bottom up in one piece. The only seams are at the shoulders.
• The ribbing on the front and bottom of this cardigan are made with a larger hook, rather than a smaller. This prevents the ribbing from pulling the piece in or cinching it.
Bottom Ribbing
With K hook, foundation dc 106 (122, 138, 154) 170 (186, 202, 218, 234)
Row 1: Ch 3, fpdc in next, *bpdc 2, fpdc 2*, repeat from * to * across until 4 sts remain, bpdc 2, fpdc 1, dc in last st. Turn. 106 (122, 138, 154) 170 (186, 202, 218, 234) dc
Row 2: Ch 3, bpdc in next, *fpdc 2, bpdc 2*, repeat from * to * across until 4 sts remain, fpdc 2, bpdc 1, dc in last st. Turn. 106 (122, 138, 154) 170 (186, 202, 218, 234) dc
Row 3 - 4: Repeat rows 1 – 2. 106 (122, 138, 154) 170 (186, 202, 218, 234) dc

Bottom Section (one seamless piece)
Switch to J crochet hook.
✨Unlock this free subscriber-exclusive pattern ✨
Follow these steps to view the full free pattern below
Fasten off.
Back Panel
Attach yarn in first marked st to the left of the right front panel.
Row 1: Ch 3, [dc, ch 2, sc] in ch sp, *sk 3, [2dc, ch 2, sc] in ch sp* repeat from * to * across, stopping in the next ch sp with a sm. Turn. 15 (17, 19, 21) 23 (25, 27, 29, 31) tulip st
Row 2: Ch 3, [dc, ch 2, sc] in ch sp, *sk 3, [2dc, ch 2, sc] in ch sp* repeat from * to * across, placing final sc in the top of the ch 3 from previous row. Turn. 15 (17, 19, 21) 23 (25, 27, 29, 31) tulip st
Row 3 – 16 (16, 18, 18) 20 (20, 22, 22, 22): Repeat row 2.
Fasten off.

Left Front Panel
Attach yarn in first ch sp to the left of the back panel.
Row 1: Ch 3, [dc, ch 2, sc] in ch sp, *sk 3, [2dc, ch 2, sc] in ch sp* repeat from * to * across. Turn. 6 (7, 8, 9) 10 (11, 12, 13, 14) tulip st
Row 2: Ch 3, [dc, ch 2, sc] in ch sp, *sk 3, [2dc, ch 2, sc] in ch sp* repeat from * to * across, placing final sc in the top of the ch 3 from previous row. Turn. 6 (7, 8, 9) 10 (11, 12, 13, 14) tulip st
Row 3 – 16 (16, 18, 18) 20 (20, 22, 22, 22): Repeat row 2.
Fasten off.
Wanna save this pattern?
Right Front Ribbing
You will now make ribbing along both outside edges, working into the ends of the previous rows.
With your K hook, connect yarn at the bottom of the right panel.
With your K hook, connect yarn at the bottom of the right panel.
Note that you will be working 2 dc into the end of each row that ended with a dc, 1 dc into the rows that ended with a sc.
Row 1: Ch 3, dc in same st, 2dc in each of the next 3 row edges, *2dc in next row edge, dc in next*, repeat from * to * across. Turn. 84 (84, 86, 86) 90 (90, 92, 92, 92) dc
Row 2: Ch 3, bpdc in next, *fpdc 2, bpdc 2*, repeat from * to * across until 4 sts remain, fpdc 2, bpdc 1, dc in last st. Turn. 84 (84, 86, 86) 90 (90, 92, 92, 92) dc
Row 3: Ch 3, fpdc in next, *bpdc 2, fpdc 2*, repeat from * to * across until 4 sts remain, bpdc 2, fpdc 1, dc in last st. Turn. 84 (84, 86, 86) 90 (90, 92, 92, 92) dc
Row 4 - 5: Repeat rows 1 – 2. 84 (84, 86, 86) 90 (90, 92, 92, 92) dc
Fasten off.
Left Front Ribbing
With your K hook, connect yarn at the bottom of the left panel.
Row 1: Ch 3, dc in same st, 2dc in each of the next 3 row edges, *2dc in next row edge, dc in next*, repeat from * to * across. Turn. 84 (84, 86, 86) 90 (90, 92, 92, 92) dc
Row 2: Ch 3, fpdc in next, *bpdc 2, fpdc 2*, repeat from * to * across until 4 sts remain, bpdc 2, fpdc 1, dc in last st. Turn. 84 (84, 86, 86) 90 (90, 92, 92, 92) dc
Row 3: Ch 3, bpdc in next, *fpdc 2, bpdc 2*, repeat from * to * across until 4 sts remain, fpdc 2, bpdc 1, dc in last st. Turn. 84 (84, 86, 86) 90 (90, 92, 92, 92) dc
Row 4 - 5: Repeat rows 1 – 2. 84 (84, 86, 86) 90 (90, 92, 92, 92) dc
Fasten off.


Join Shoulders
Fold the front panels over the back panel, so that the ribbing lines up in the middle of the piece. Seam along each shoulder, matching up your tulip sts as you go.
Adding Sleeves Seamlessly
With J hook, attach yarn in underarm in one of the dc edges. You will now work in the round.
Round 1: Ch 3, [dc, ch 2, sc] in dc edge, *[2dc, ch 2, sc] in next dc edge* repeat from * to * around, join with slst to first st. Turn. 16 (16, 18, 18) 20 (20, 22, 22, 22) tulip st
Round 2: Slst in first st, slst in ch sp, ch 3, [dc, ch 2, sc] in ch sp, *sk 3, [2dc, ch 2, sc] in ch sp* repeat from * to * around, join with slst to first st. Turn. 16 (16, 18, 18) 20 (20, 22, 22, 22) tulip st
Round 3 - 6: Repeat round 2. 16 (16, 18, 18) 20 (20, 22, 22, 22) tulip st
Switch to I hook.
Round 7 - 33: Repeat round 2 16 (16, 18, 18) 20 (20, 22, 22, 22) tulip st
Sleeve Decrease and Ribbing
Round 1: Ch 2 (does not count as a st), slst in first st, slst in ch sp, [2dc, sc] in each ch sp around, join with slst to first st. Turn. 48 (48, 54, 54) 60 (60, 66, 66, 66) sts
Round 2: Ch 2 (does not count as a st), *dc 1, dc2tog*, repeat from * to * around, join with slst to first st. Turn. 32 (32, 36, 36) 40 (40, 44, 44, 44) dc
Round 3: Ch 2 (does not count as a st), *fpdc 2, bpdc 2*, repeat from * to * around, join with slst to first st. Turn. 32 (32, 36, 36) 40 (40, 44, 44, 44) dc
Round 4 - 6: Repeat row 3. 32 (32, 36, 36) 40 (40, 44, 44, 44) dc
Break yarn and fasten off. Repeat on other side.

Finishing
Weave in all ends. I highly recommend lightly steam blocking your piece to relax your stitches.
Final Thoughts
Wow, you crocheted your own bottom-up, seamless cardigan. Give your hook a high five and start planning your next project.
Thanks again to Emily of Hooked Hazel for sharing this free seamless crochet cardigan pattern! Be sure to check out Emily's blog for lots more free modern crochet patterns!
That was so fun! Now what?
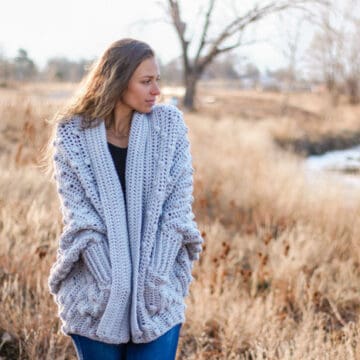
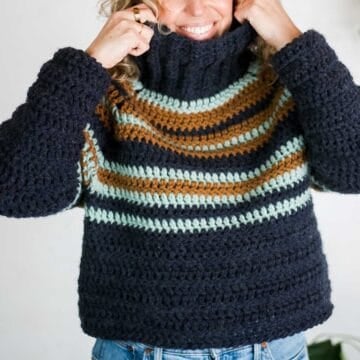
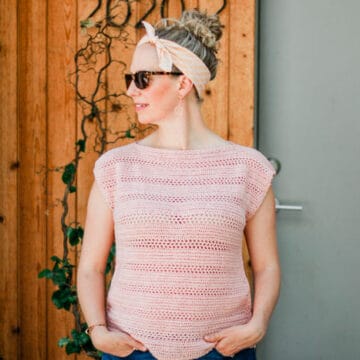
Find Your Next Sweater Project
Easy crochet sweaters are our absolute fave. Level up your handmade wardrobe with some of our most loved cardigan, pullover, and hoodie patterns.
You must use the category name, not a URL, in the category field.Learn a New Skill
When you're ready to master a new skill, check out our detailed guides that include everything you need to know to level up your crochet game.
- How to Corner to Corner (C2C) Crochet for Beginners - with video tutorials to get you started
- How to Crochet a Beginner Hat - make an entire beanie in 1.5 hours!
- How to Crochet Amigurumi for Beginners - the ultimate guide to making your own toys and plushies
- How to Tunisian Crochet - learn with this video and a standard hook
Invitation to our Facebook group
Come discuss seamless crochet cardigan patterns and lots of other projects and techniques in our Make & Do Crew Facebook group. Here thousands of helpful crocheters answer each others questions and share their stitches. Come join us.


Leave a Reply