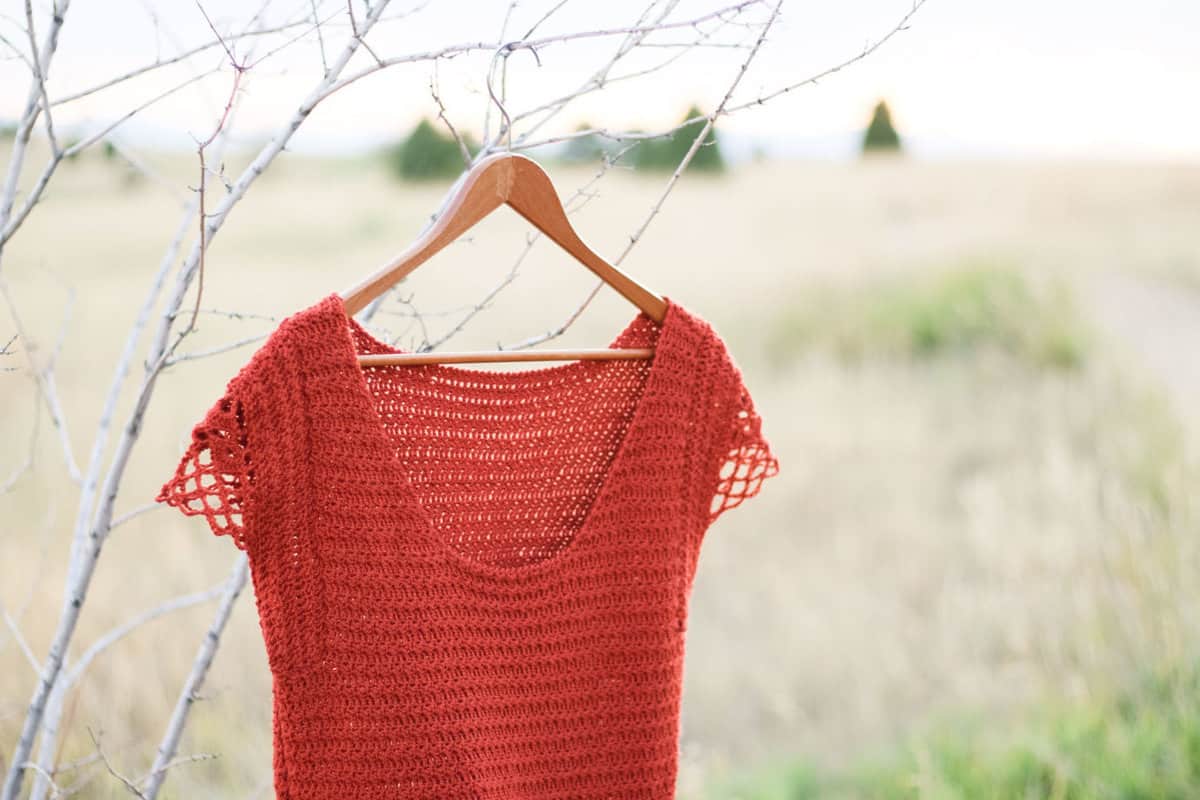
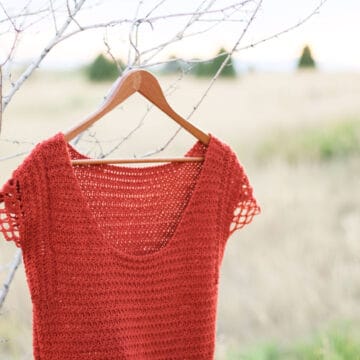
In Part 4 of the Idlewild Dress Crochet Along, we'll choose from a variety of sleeve options, add a simple neck edging and do a final blocking. Scroll down for the free women's pattern + video tutorial.
Remember you can find all the Idlewild Crochet Along resources, links to pattern stages and more photos here. That's where you'll find each of the previous sections of the free pattern!
Woohoo! We've Come So Far!
You are so close to finishing the Idlewild pattern. I hope you've had fun and maybe picked up a few new skills along the way.
If have any feedback on the video tutorials (or anything else), I'd love to hear it in the comments below. I'm always trying to learn how to make my tutorials the most useful for you. I'd appreciate knowing what works for you and what doesn't so I can continue improving.
Share Your Finished Dress Photos
Whether you modified the pattern or made it exactly as written, I'd really love to see a photo of what you made! Share it on Instagram with #IdlewildDress and tag me (@MakeAndDoCrew) so I can admire your hard work.
Idlewild Dress Video Tutorial
Part 4
Because of file size limitations, I had to divide this video tutorial into two sections. Please watch the video below (A) and then go here to watch the second half (B). The pattern details for both videos can be found by scrolling down.
Links mentioned in the video:
• Click here to watch the second half of the above video (Part 4).
• Find all relevant Idlewild Dress resources on the main page
• View Part 1 of the women's pattern + video tutorial
• View Part 2 of the women's pattern + video tutorial
• View Part 3 of the women's pattern + video tutorial
• Purchase the ad-free, printable PDF with stitch charts
• Join the Make & Do Crew Facebook group
• Purchase a kit with all the Lion Brand Beautiful You yarn + printed copy of pattern
[convertkit form=4852525]
Idlewild Dress: Part 4
Women's Sizes - Free Pattern
Supplies:
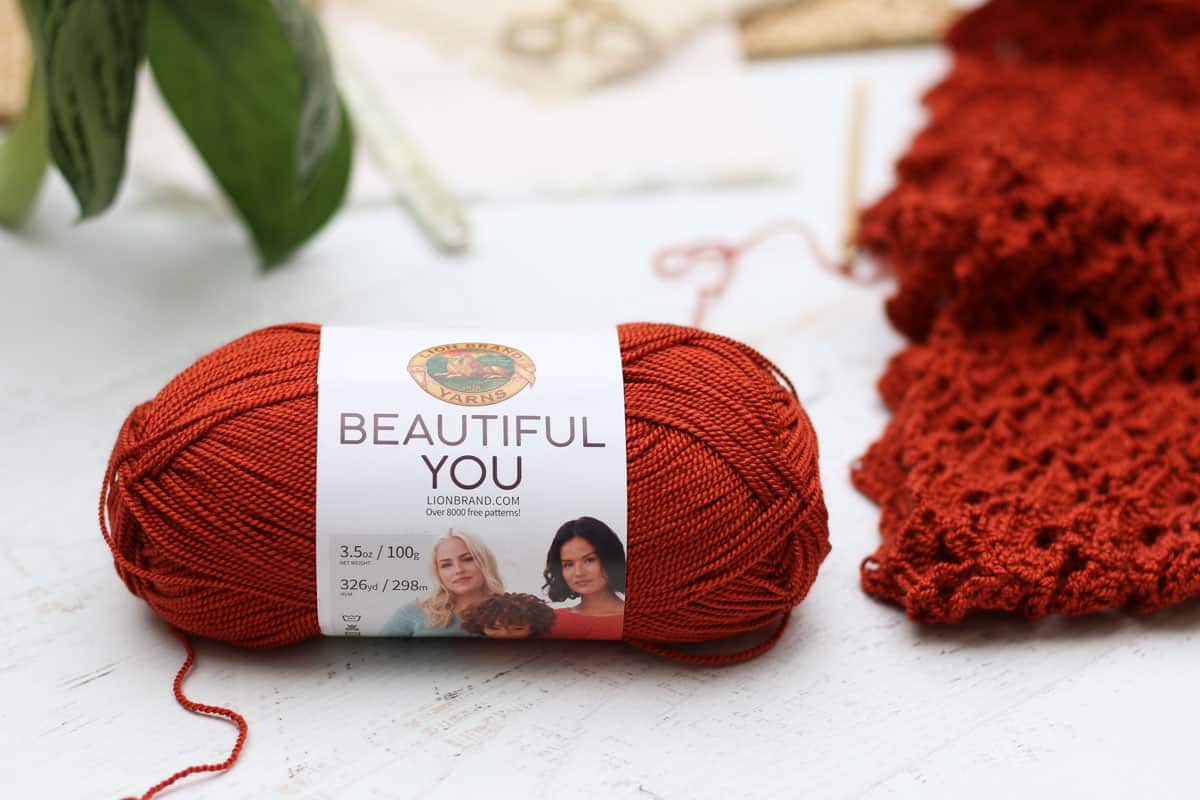
• Lion Brand Beautiful You (Weight: 2/fine - 326 yds, 3.5 oz)
Rooibos Tea (#165-138) – 5 (6, 6, 7, 8, 8, 9, 10)* skeins [(approx. 454 (512, 584, 657, 728, 793, 874, 951) g]
*If you prefer a longer dress, purchase an extra skein.
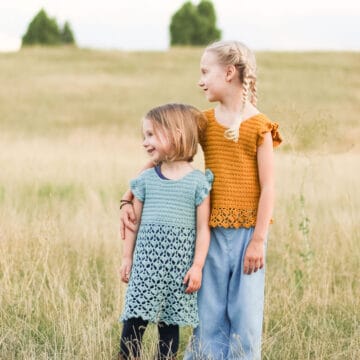
Colors also pictured in child size:
Aquatic (#165-105)
Arrowood (#165-194)
• Tapestry needle
• Size G (4.25mm) crochet hook
• Stitch markers or safety pins
• An iron with steam setting or handheld steamer for blocking
• T-pins or rustproof straight sewing pins for blocking
Sizes + Measurements:
Sizes: S (M, L, 1X, 2X, 3X, 4X, 5X)
Fits: 33.5 (36.5, 41, 45, 49.5, 52.5, 57, 61)" bust
*Additional measurements included in printable PDF if desired.
Overall Pattern Notes:
• Ch 3 at beginning of row or round counts as a dc throughout.
• Pattern is written in smallest sizes with larger sizes following in parenthesis.
• Watch video tutorial above this pattern for extra instruction.
• If you have a pattern question or just need some extra encouragement, please join the Make & Do Crew Facebook group where there are several thousand other kind crocheters supporting each other.
SLEEVES
Choose one of the two sleeve options below or for sleeveless style, move on to Finishing. See more photos on main Idlewild pattern page of each sleeve option.
For extra help, reference the stitch chart in the ad-free, printable PDF.
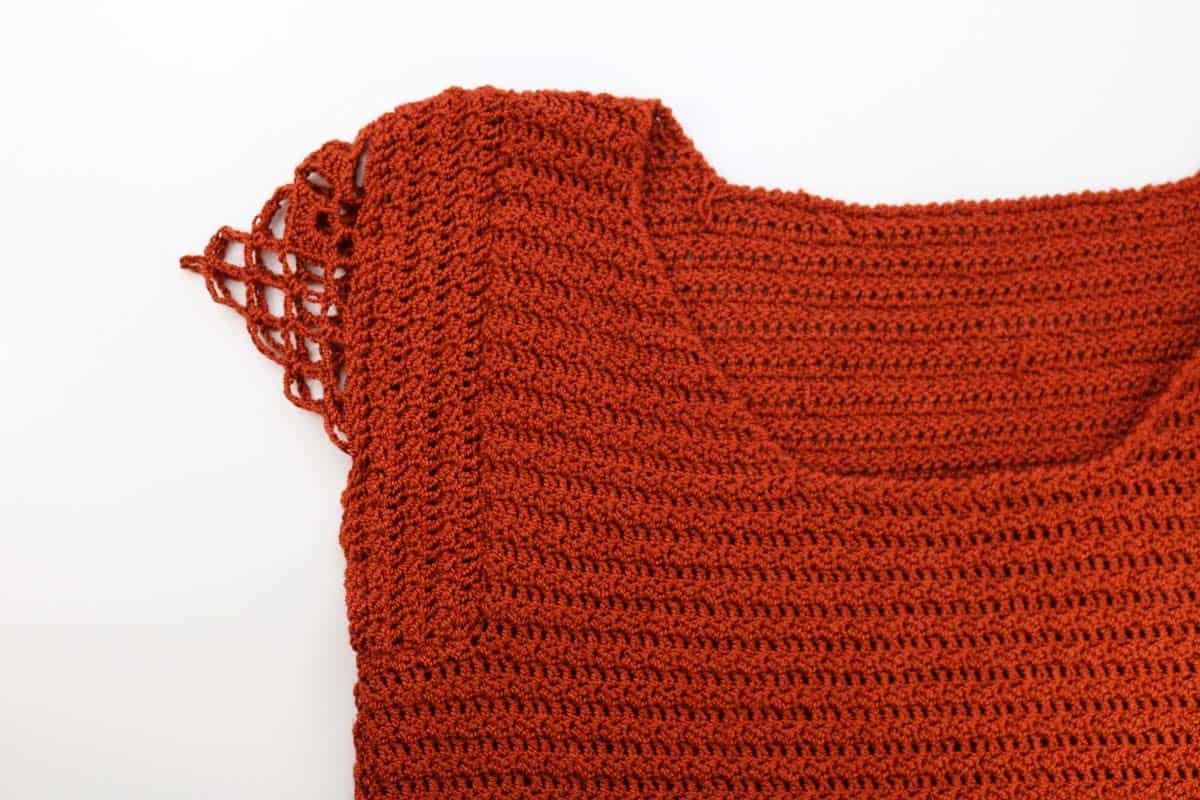
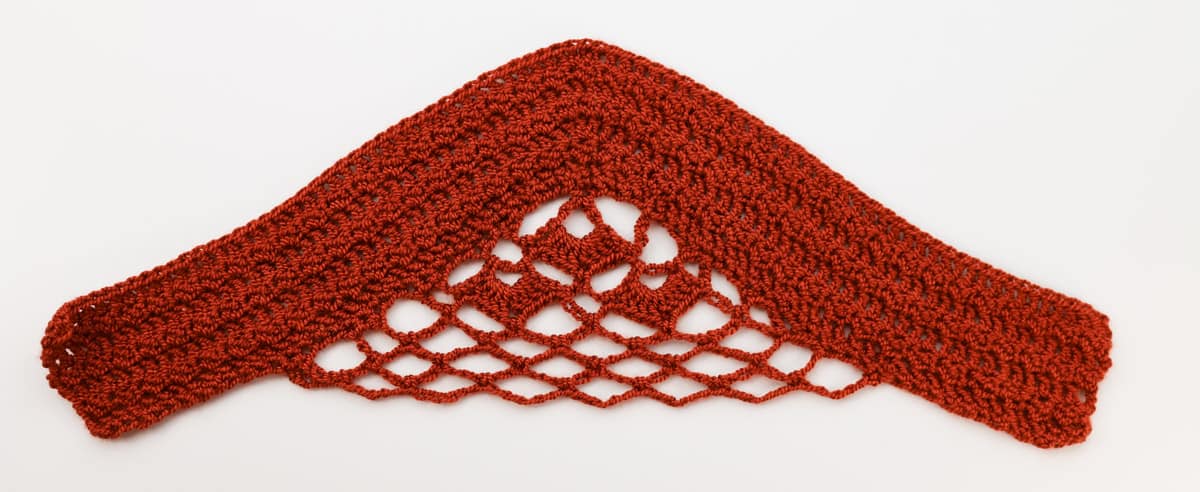
Option 1: Cap Sleeves
Notes:
• Sleeves are worked separately and seamed to dress.
Sleeve:
Make 2.
Preferred Foundation Row 1 (RS): Fdc 71 (75, 81, 85, 87, 93, 99, 105). [71 (75, 81, 85, 87, 93, 99, 105) fdc]
Alternative Foundation Row: Ch 73 (77, 83, 87, 89, 95, 101, 107).
Alternative Foundation Row 1 (RS): Dc in 4th ch from hook, dc in each ch to end of row; turn. [71 (75, 81, 85, 87, 93, 99, 105) dc]
Row 2 (WS): Ch 1, (sc, dc) in first dc, sk next dc, *(sc, dc) in next dc, sk next dc; rep from * across to last st, sc in tch; turn. [71 (75, 81, 85, 87, 93, 99, 105) sts]
PM in 37th (39th, 41st, 43rd, 45th, 47th, 51st, 53rd) st. (Marked st should be a sc.)
Row 3 (RS-inc row): Ch 3, sk first st, dc in each st to marker, 3 dc in marked st, move marker to center dc of group, dc in each st across; turn. [73 (77, 83, 87, 89, 95, 101, 107) sts]
Row 4 (WS-inc row): Ch 1, (sc, dc) in first dc, sk next dc, *(sc, dc) in next dc, sk next dc; rep from * to marked st, (sc, dc) in marked dc, move marker to sc just made, (sc, dc) in next dc; rep from * across to last st, sc in tch; turn. [75 (79, 85, 89, 91, 97, 103, 109) sts]
(Middle of Row 4 will have 3 sets of (sc, dc) together with no skipped stitches between.)
Cont. in pattern without increasing for 2 more rows.
Rep Row 3 one more time. [77 (81, 87, 91, 93, 99, 105, 111) sts]
Wanna save this pattern?
Cap sleeve should now have 7 total rows. Fasten off for sizes S, M, L, and 1X.
Sizes 2X (3X, 4X, 5X) only:
Rep Row 4, then cont in pattern for one more row without increasing. [95 (101, 107, 113) sts]
Cap sleeve should now have 9 total rows. Fasten off.
Edging:
• Cap sleeve edging is worked into Foundation Row of sleeve.
PM in underside of 37th (39th, 41st, 43rd, 45th, 47th, 51st, 53rd) st of Foundation Row. With WS facing you, attach yarn in 6th st before marked st. (Right-handed: Count toward the right. Left-handed: Count toward the left.)
Row 1 (WS): Ch 7 (counts as 1 dc and ch 4), (dc, ch 4, dc) in marked st, ch 4, sk 5 sts, dc in next st, sk 1 st, sl st in next 2 sts; turn.
Row 2 (RS): Ch 4, sc in first chLoop, (4 dc, ch 2, 4 dc) in next chLoop, sc in last chLoop, ch 4, sk 2 sts on Foundation Row past where Row 1 was attached, sl st in next 2 sts; turn.
Row 3 (WS): Ch 4, [sc, ch 4, sc] in first chLoop, ch 4, sc in ch-2 sp, ch 4, (sc, ch 4, sc) in next chLoop, ch 4, sk 2 sts along Foundation Row, sl st in next 2 sts; turn.
Row 4 (RS): Ch 4, sc in first chLoop, (4 dc, ch 2, 4 dc) in next V-Loop, sc in next chLoop, ch 4, sc in next chLoop, (4 dc, ch 2, 4 dc) in next V-Loop, sc in next chLoop, ch 4, sk 2 sts along Foundation Row, sl st in next 2 sts; turn.
Row 5 (WS): Ch 4, sc in first chLoop, [ch 4, sc in next ch-2 sp, ch 4, sc in next chLoop] twice, ch 4, sk 2 sts along Foundation Row, sl st in next 2 sts; turn.
Row 6 (RS): [Ch 4, sc in next chLoop] 6 times, ch 4, sk 2 sts along Foundation Row, sl st in next 2 sts; turn.
Row 7 (WS): [Ch 4, sc in next chLoop] 7 times, ch 4, sk 2 sts along Foundation Row, sl st in next 2 sts; turn.
Row 8 (RS): [Ch 4, sc in next chLoop] 8 times, ch 4, sk 2 sts along Foundation Row, sl st in next 2 sts.
Fasten off here for sizes S, M, L, & 1X.
Sizes 2X (3X, 4X, 5X) only:
Row 9 (WS): [Ch 4, sc in next chLoop] to end, ch 4, sk 2 sts along Foundation Row, sl st in next 2 sts.
Rep Row 9 one (one, three, three) more times.
Fasten off.
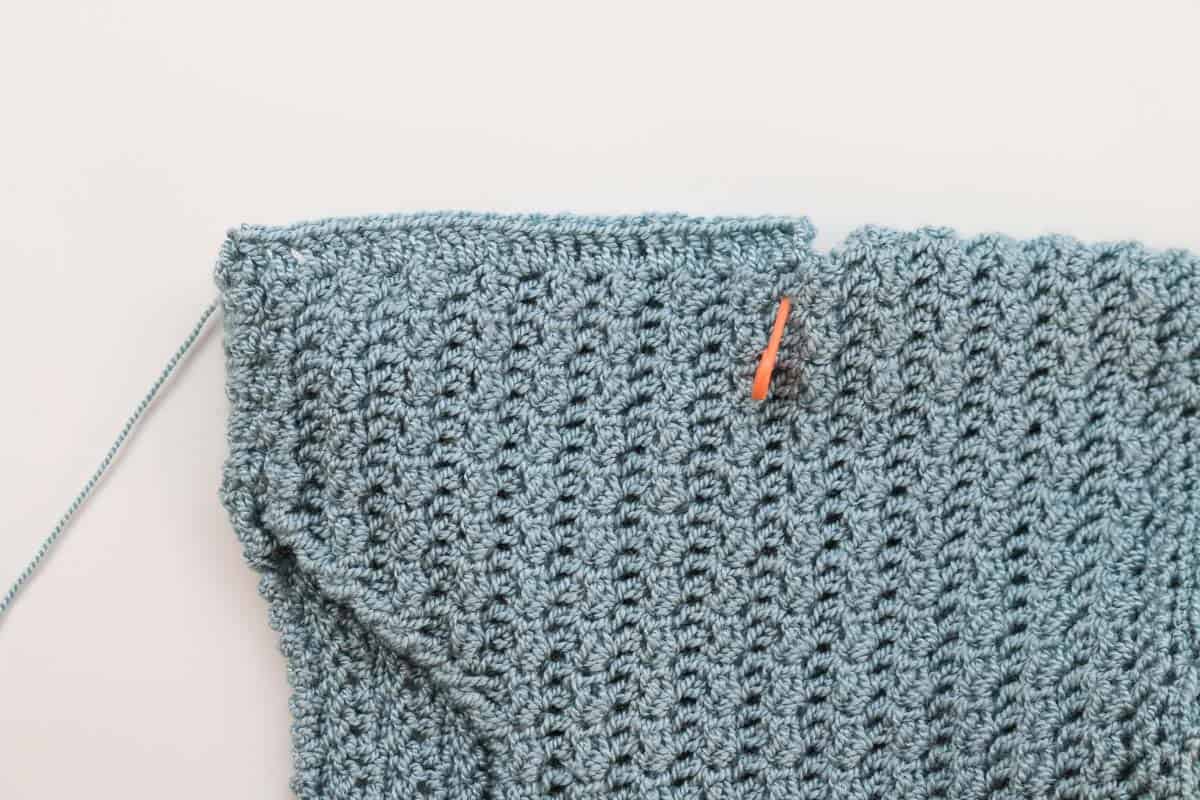
Seaming Sleeve:
With RS facing each other, use stitch markers to pin sleeve to armhole. Take care to line up middle of sleeve with shoulder seam. With a tapestry needle, seam sleeve to dress using the mattress stitch.
Option 2: Flutter Sleeves
• Flutter sleeve is worked directly around armhole in rows into raw edges of Bodice rows.
• Pattern refers to raw edges as “bumpy” (sc/dc bodice rows) and “smooth” (dc bodice rows).
PM in 7th row above arm inset on both Front and Back of bodice. (This is a “smooth” dc row on both sides.)
With RS of bodice facing, attach yarn in st with first marker to begin working toward shoulder seam.
Row 1 (RS): Ch 3, dc in same smooth row edge, work 1 dc in each bumpy row edge and 2 dc in each smooth row edge ending in second marked st, sl st into next bumpy row edge past marker; turn.
Row 2 (WS - inc row): Do not ch 1, (sc, dc) in each st until tch remains, sc in tch, sl st to next bumpy row edge past marker, sl st into next smooth row edge; turn.
Row 3 (RS): Do not ch 1, dc in each st, 2 sl st into next smooth row edge; turn.
Row 4 (WS): Do not ch 3, (sc, dc) in first dc, sk next dc, *(sc, dc) in next dc, sk next dc; rep from * across to last st, sc in tch; 1 sl st in next bumpy row edge.
Rep Rows 3 and 4 once more. (For more pronounced sleeves, rep Round 3 and 4 an additional time.)
Fasten off. Rep on second armhole.
FINISHING
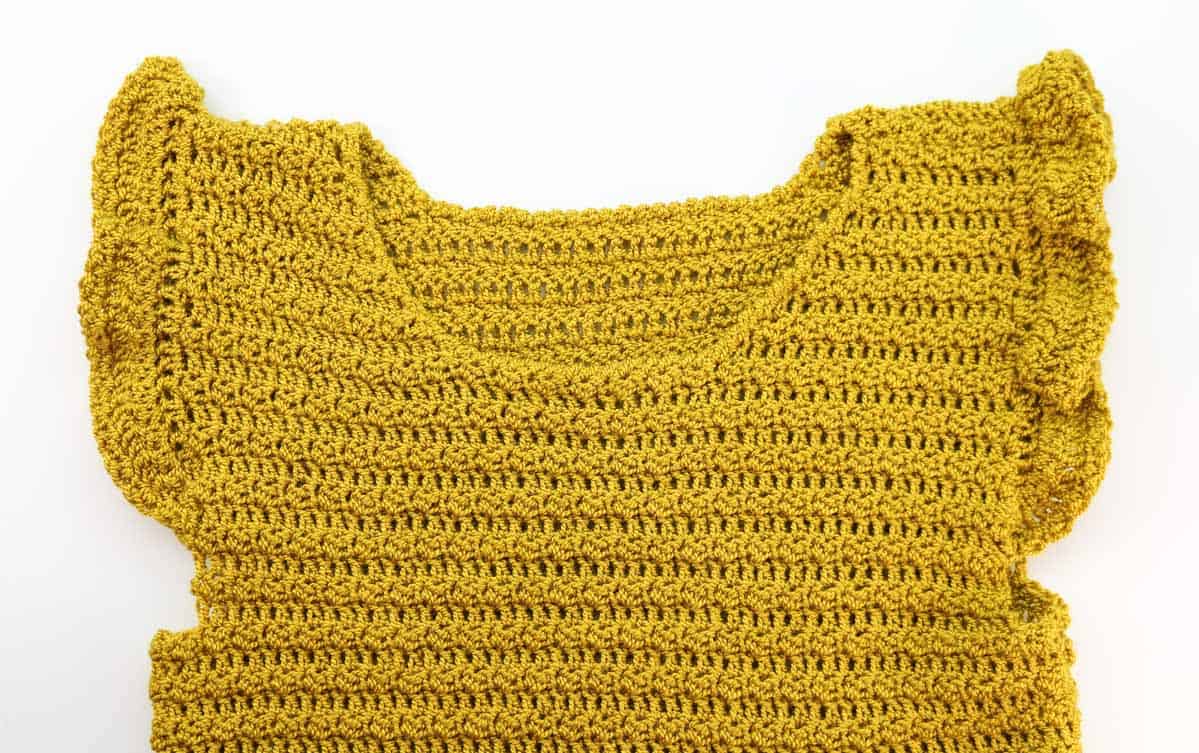
Neckline Finishing:
See photo of mustard yellow top above to see neckline edging.
Attach yarn anywhere at back of neck.
Ch 1, rsc evenly around neck, sl st to first sc from beginning to join. Fasten off.
Armhole Finishing (optional and unnecessary if adding sleeves):
Attach yarn at bottom of armhole.
Ch 1, rsc evenly around armhole, sl st to first sc from beginning to join. Fasten off. Repeat on second armhole.
Blocking:
Blocking is critical to open up lace in skirt. Use T-pins (or rustproof sewing straight pins can work) to pin dress down, focusing on pinning each ch-2sp in the middle of each shell so as to accentuate it.
Lightly steam block your dress using an iron or steamer taking care not to touch iron to yarn. When blocking acrylic yarn, it’s best to understeam the piece and then repeat the process again rather than oversteam it and end up with a limp, stretched out item.
Turn dress over and repeat on back side. Once both sides are complete, lightly steam the sides of the skirt that were creased when blocking.
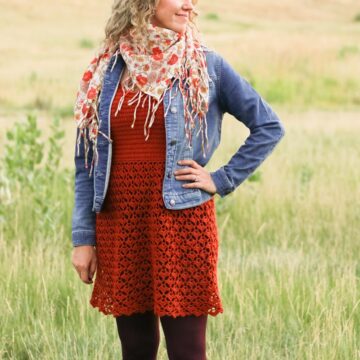
Take yourself out on the town because you just made your very own dress!
I love to see your finished projects! Use #MakeAndDoCrew, #IdlewildDress and tag me Instagram (@MakeAndDoCrew) to show off your stitches and have a chance to be featured.
[convertkit form=4852525]
Leave a Reply