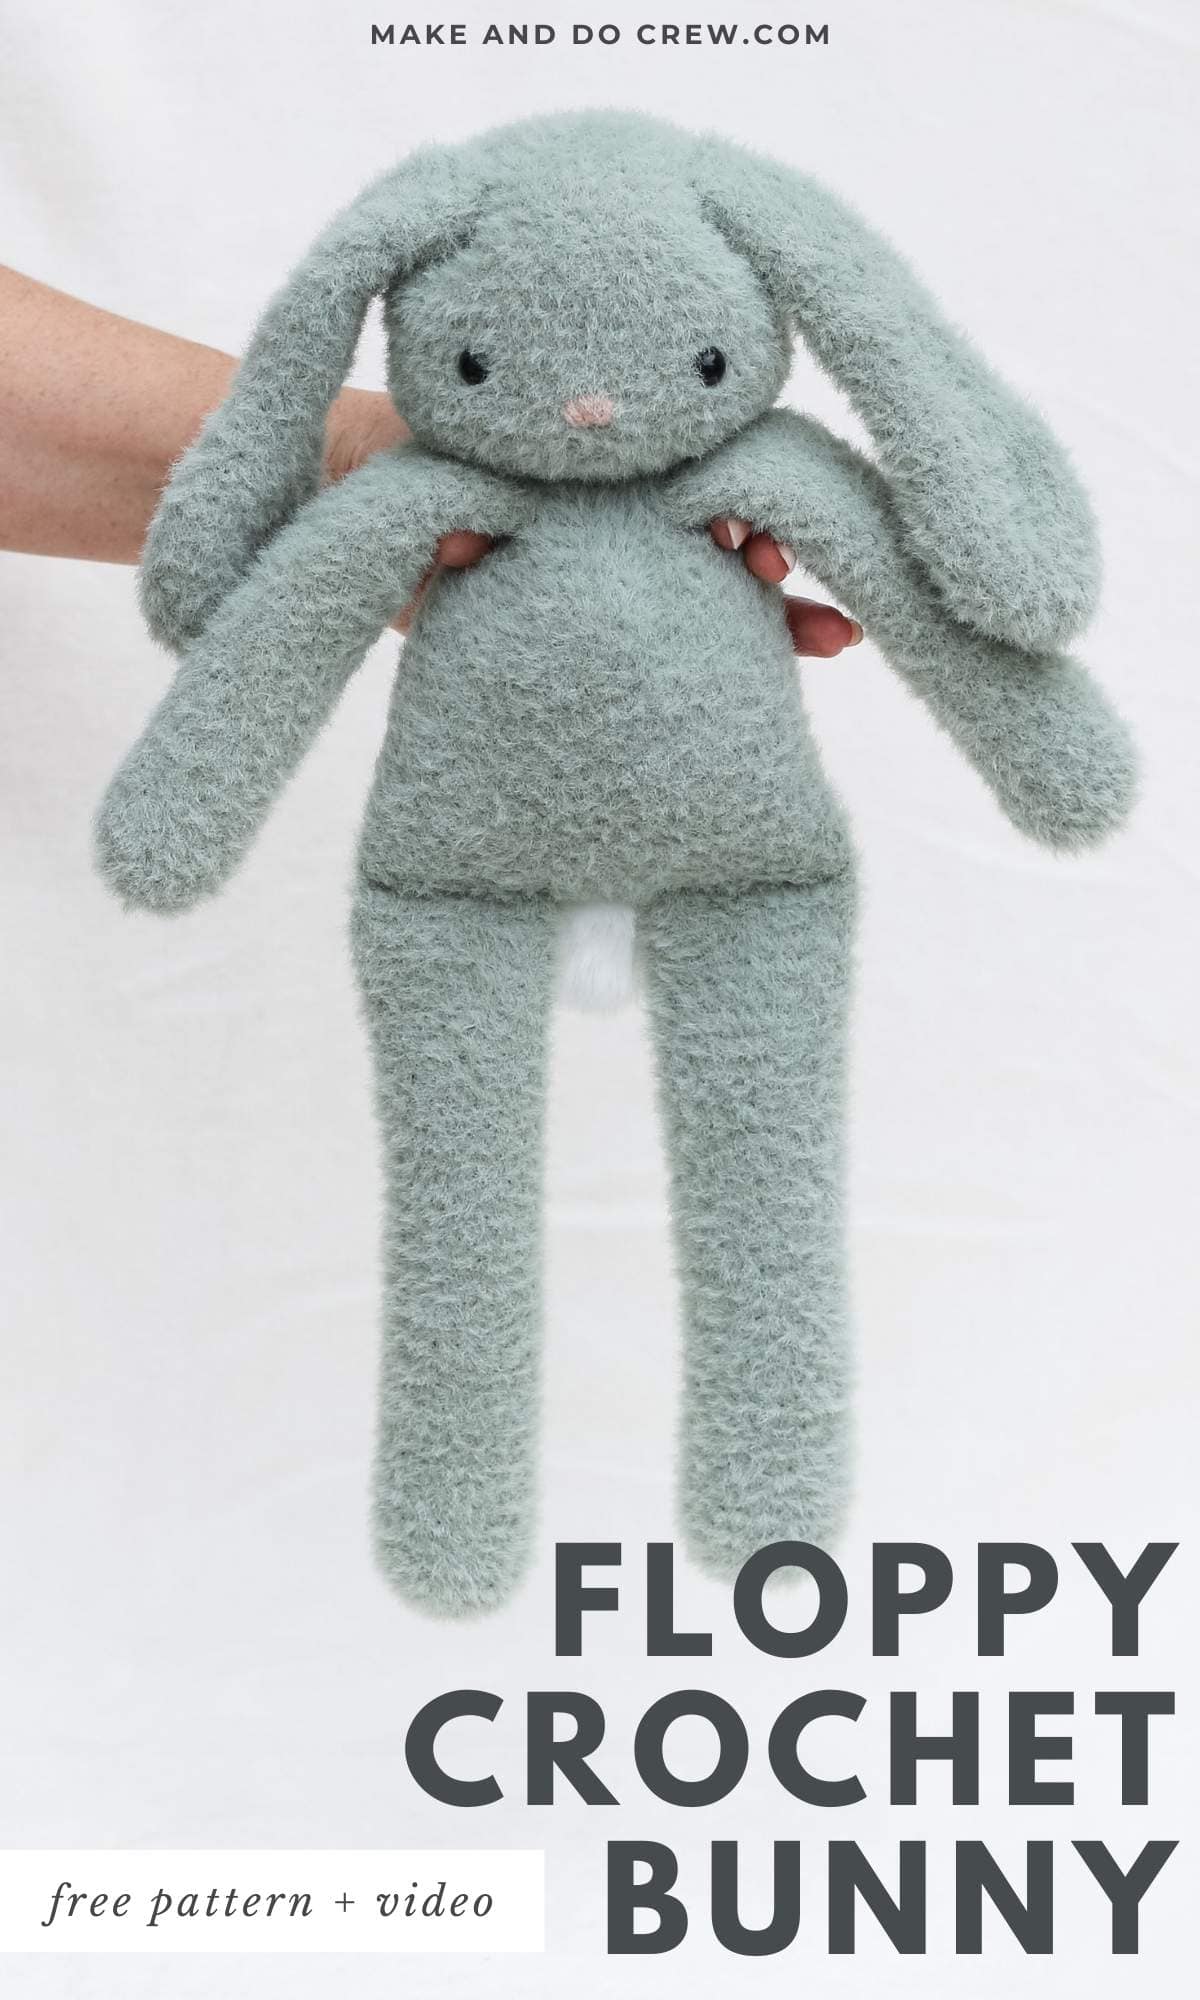
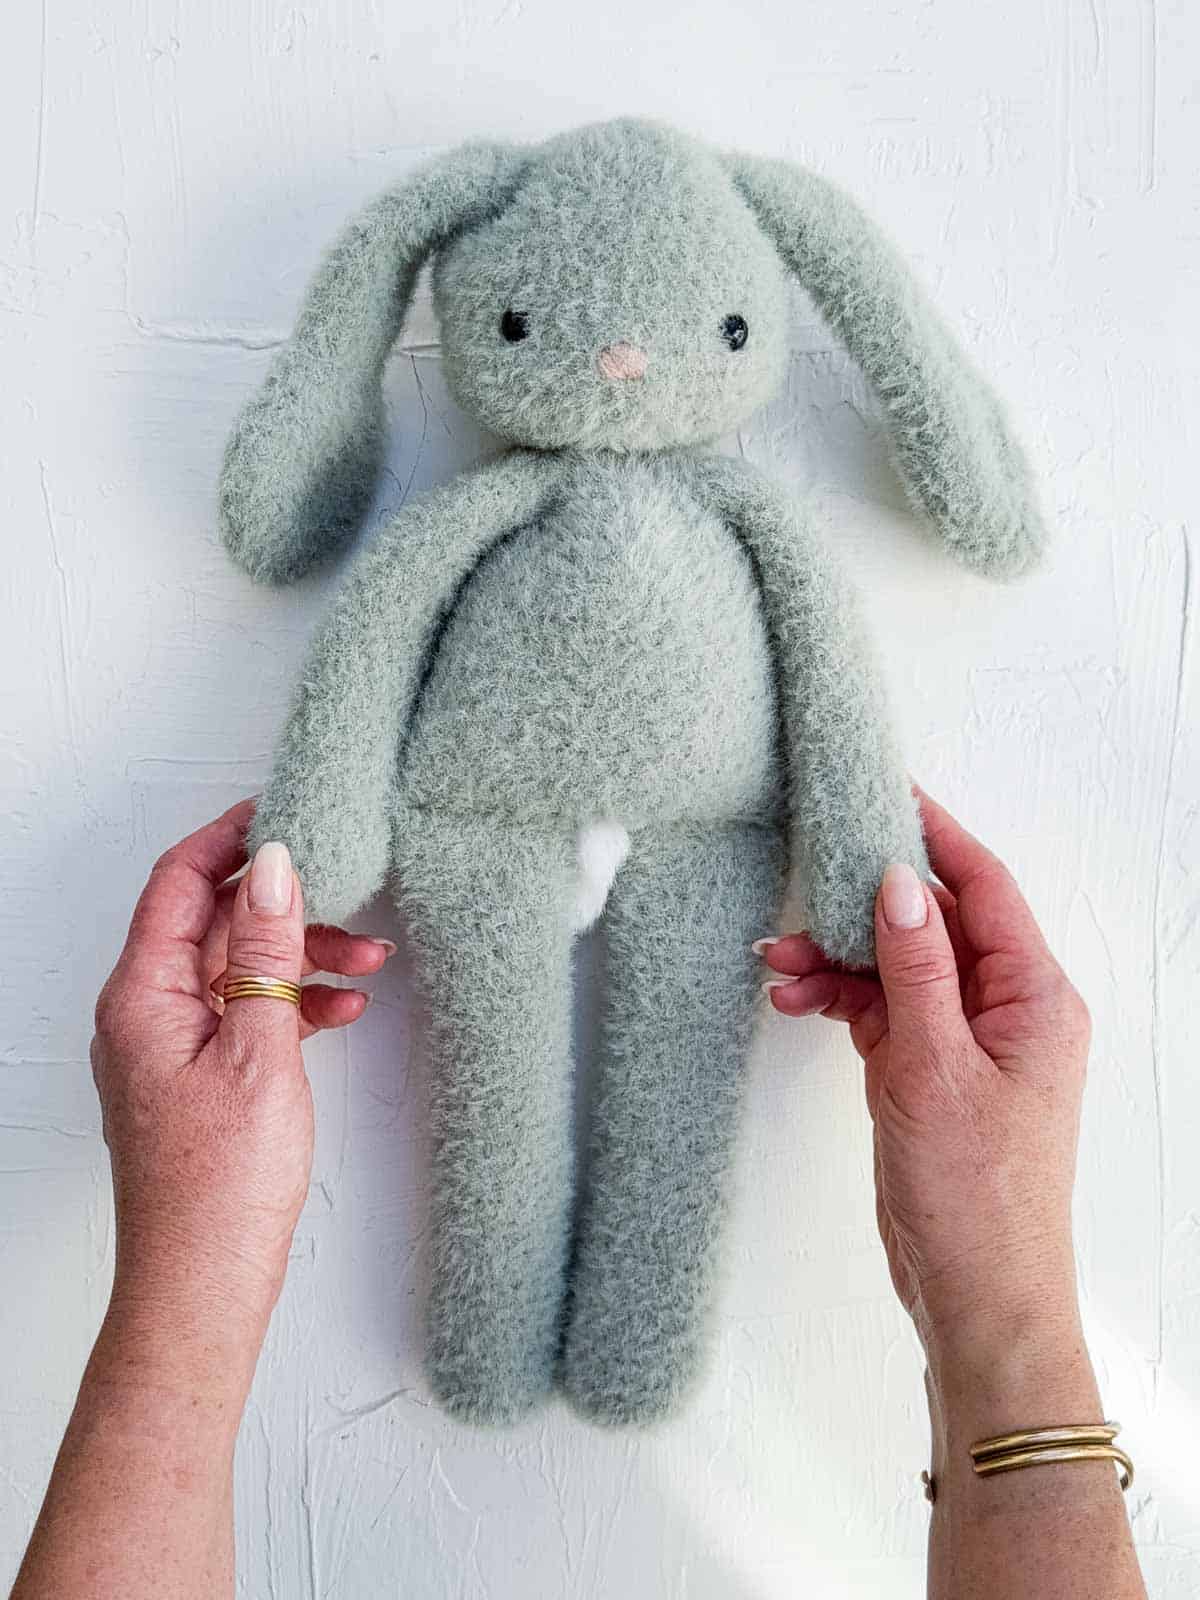
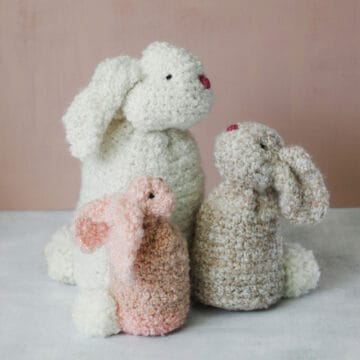
Meet the Storybook Bunny, a long-leg crochet bunny amigurumi with the look of a boutique stuffed animal.
The free pattern and detailed video tutorial is below or purchase the ad-free, printable PDF.
This classic crochet bunny pattern is part of a collaboration with Lion Brand Yarns. This post contains affiliate links.
Jump to:
Storybook Bunny - Free Pattern
The secret to this bunny's charm is the fuzzy yarn, which disguises the stitches and gives your stuffie a soft, velvety texture that doesn't look crocheted.
Don’t let the fuzzy yarn deter you, though. The step-by-step video tutorial below includes lots of tricks for navigating harder-to-see stitches.
Skill Level
The stitches and skills used to crochet your long-legged bunny are basic, but the textured yarn makes this an intermediate level project. If you're newer to crochet, consider making a bunny using non-fuzzy yarn to learn the skills first.
In this pattern, you'll practice:
- basic stitches
- increasing
- decreasing
- working in the round
- joining amigurumi body parts
- stitch recognition and counting in fuzzy yarn
- pattern reading
All-in-One Crochet Kit
The Storybook Bunny kit is a perfect way to make your long-legged friend. This bundle from Lion Brand includes all the Feels Like Bliss yarn you'll need, plus a bonus printable PDF of the pattern (delivered digitally).
Print this Pattern
If you prefer an analog crochet experience, You'll love the premium PDF! The instantly downloadable, ad-free file is formatted for easy printing and includes the complete pattern, additional photo tutorials and a link to the video tutorial.
Premium PDF
easier and faster with fewer mistakes.
- Complete pattern + photo tutorials
- Instant download
- Formatted for easy printing
Video Tutorial
In this step-by-step video tutorial, I walk you through crocheting your own long-legged bunny. I share a lot of tips for counting rows and stitches in fuzzy yarn, including what to do if you lose track.
Supplies + Materials
Order an all-in-one crochet bunny kit from Lion Brand.
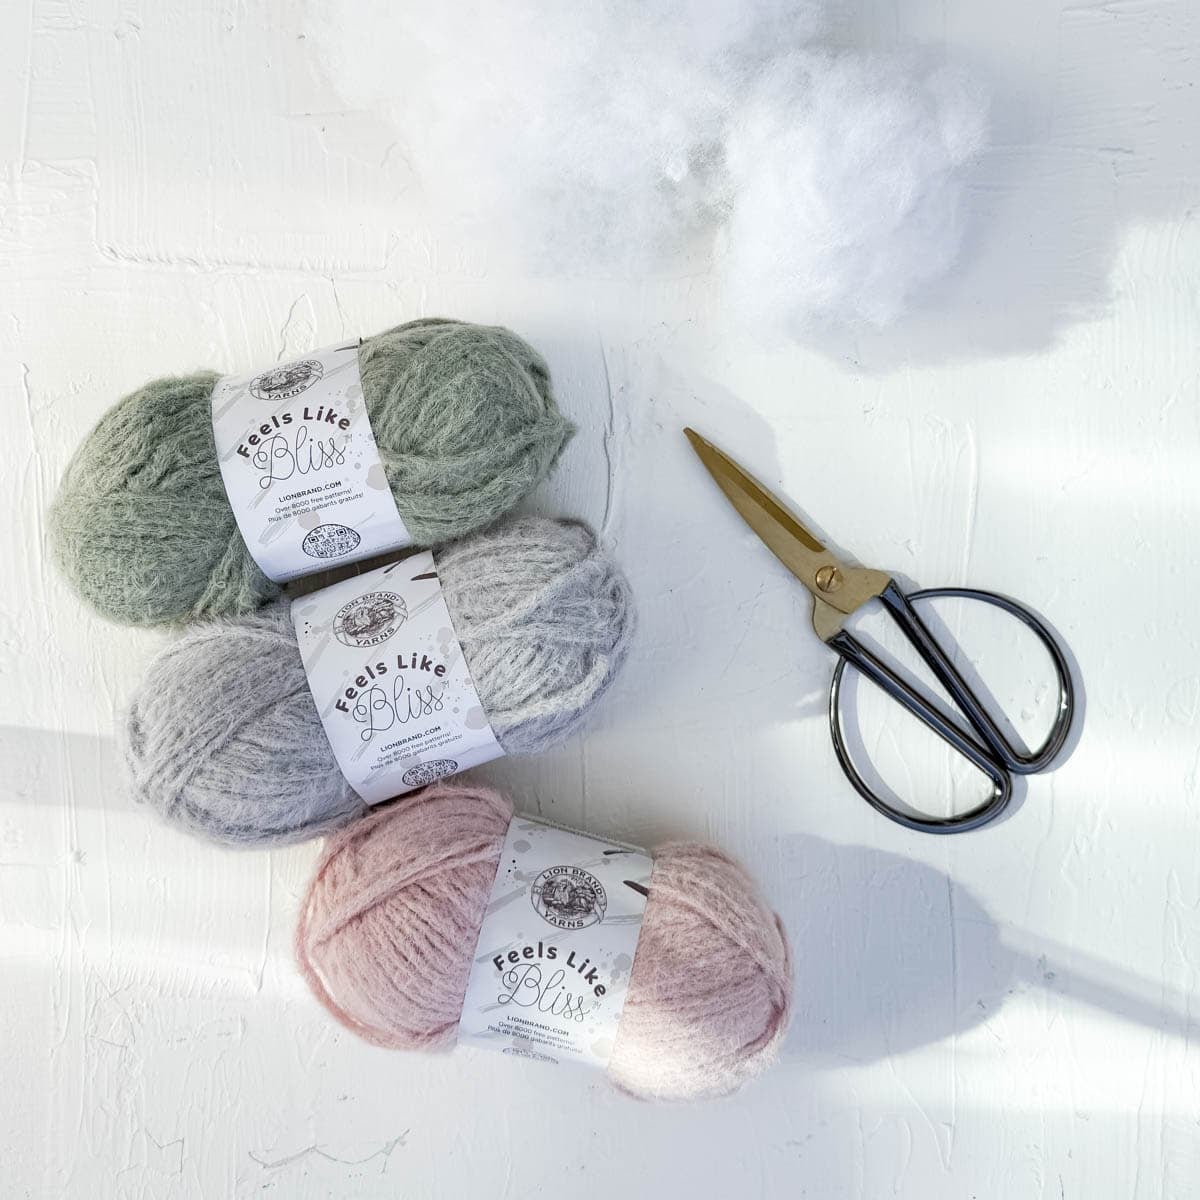
• Lion Brand Feels Like Bliss (Weight 5 / Chunky - 109 yds, 3.5 oz, 100 g)
- 3 skeins (approximately 230g)
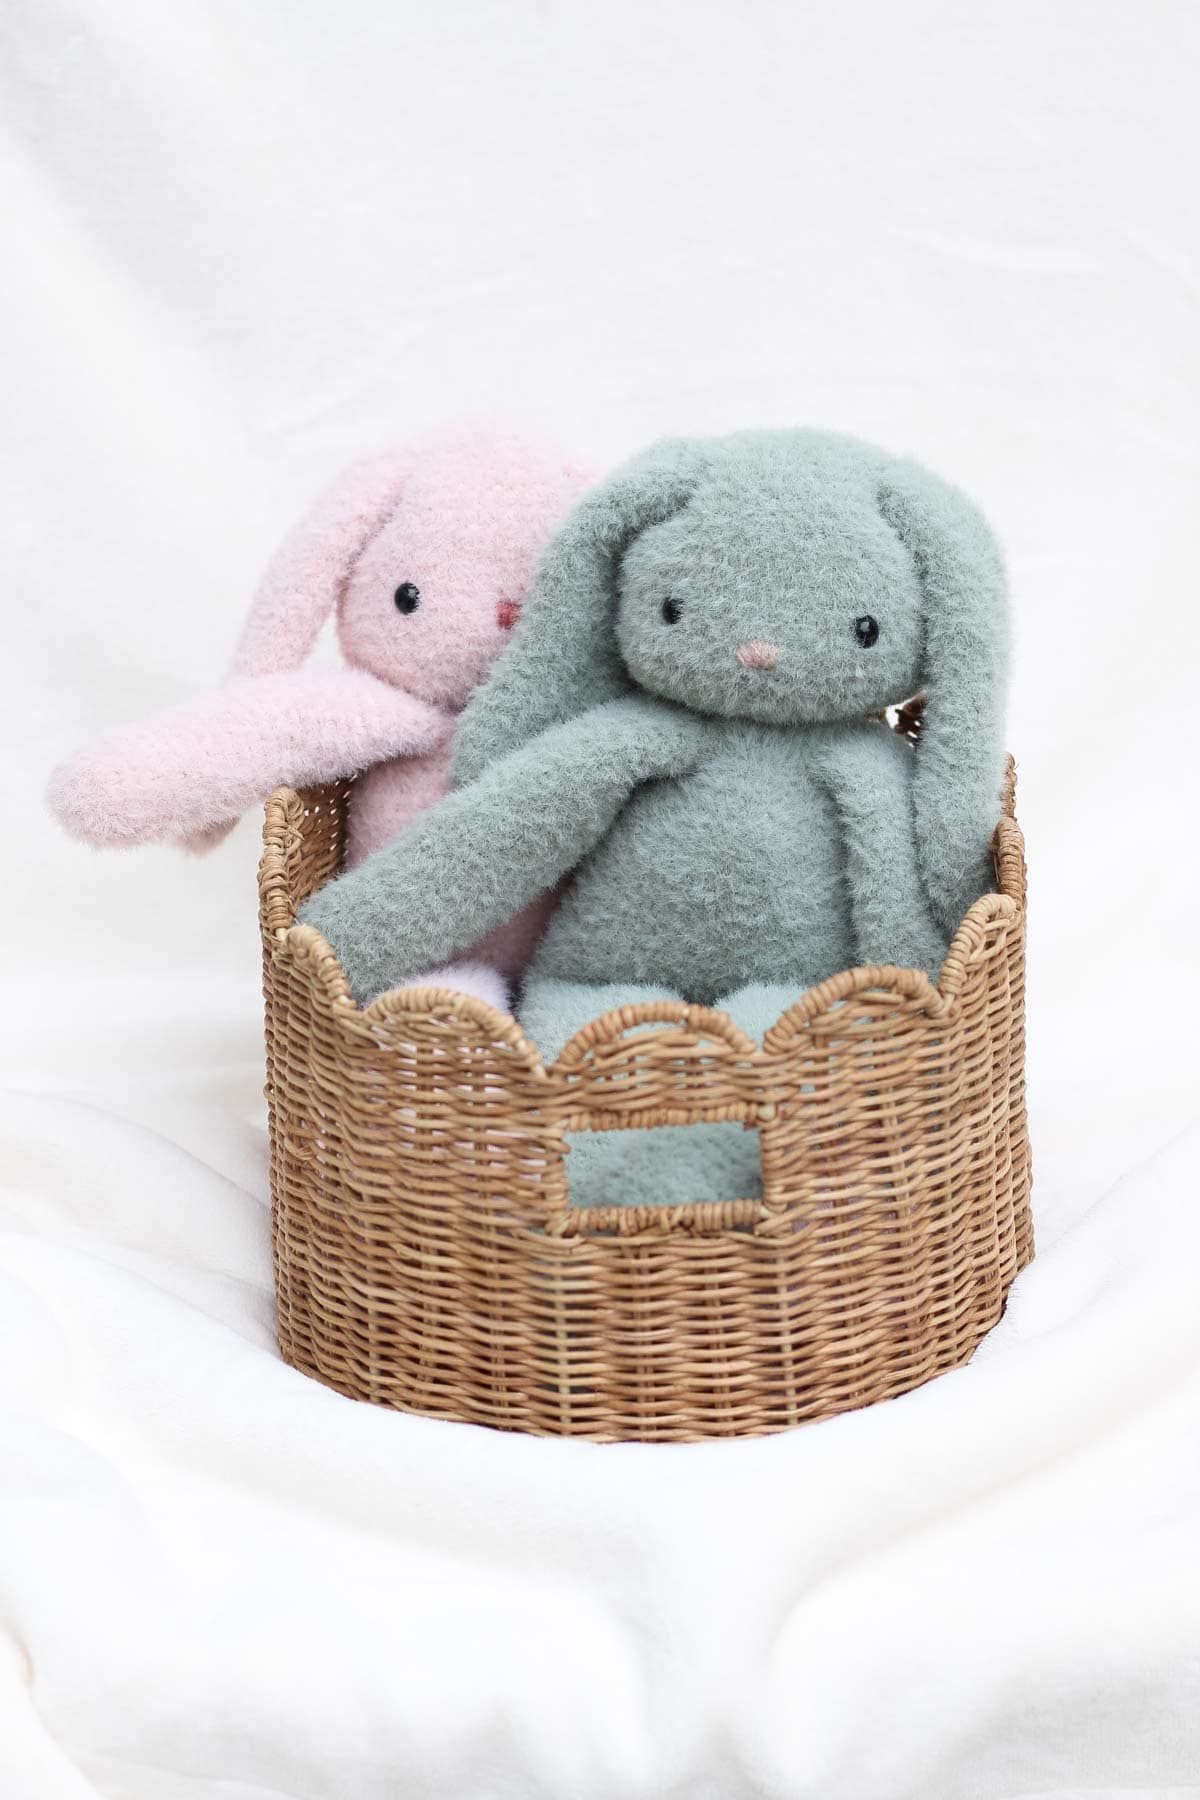
Colors pictured:
- Blush [153-102E]
- Sage [153-173A]
• Size I (5.5 mm) crochet hook or size needed to create tight stitches
• Tapestry needle
• Stitch markers
• Fiber fill
• 10mm safety eyes
• 25” of pink yarn or embroidery floss for nose
• Small fur pom pom for tail (optional)
• Plastic poly pellets for adding weight (optional)
Measurements
Height: 16”
Wingspan: 15”
Gauge
Gauge can be difficult to measure when working with fuzzy yarn, so finished measurements are provided throughout the pattern instead. Most importantly, use a hook size that creates tight stitches so the stuffing doesn’t show through.
Abbreviations + Glossary (US Terms)
ch – chain
dec – invisible decrease
inc – increase
rep – repeat
sc – single crochet
st(s) – stitch(es)
Special Stitches
How increase (inc):
Place two single crochets in the same stitch
How to invisible decrease (dec):
Insert hook in front loop of first stitch
Insert hook in front loop of second stitch
Yarn over and pull through both front loops
Yarn over and complete single crochet
Overall Pattern Notes
- If you’re new to reading crochet patterns, check out more info here.
- All pattern pieces are worked in continuous spiral rounds. Do not slip stitch at the end of the round to join.
- Place a stitch marker in the first stitch of each round and move it up as you begin each round.
Permissions + Copyright:
Please do not publish or share this pattern as your own. You may make items to sell with this pattern. In exchange, please link back this post. Do NOT use our photos as your own sales photos.
Bunny Head
Round 1: 6 sc in magic ring. (6)
Round 2: Inc in each sc. (12)
Round 3: (Inc, sc) x 6. (18)
Round 4: (Sc, sc, inc) x 6. (24)
Round 5: (Inc, sc in next 3 sts) x 6. (30)
Round 6: (Sc in next 4 sts, inc) x 6. (36)
Round 7: (Inc, sc in next 5 sts) x 6. (42)
Place a different colored stitch marker in Round 7. This will make the following rounds easier to count later.
Rounds 8-18: Sc in each st. (42)
Insert safety eyes between Rounds 13 and 14. (There are 10 visible stitches between the safety eyes in the sample bunnies pictured.)
Round 19: (Dec, sc in next 5 sts) x 6. (36)
Round 20: (Sc in next 4 sts, dec) x 6. (30)
Round 21: (Dec, sc in next 3 sts) x 6. (24)
Round 22: (Sc in next 2 sts, dec) x 6. (18)
Embroider triangle nose using tapestry needle and pink shade of yarn or embroidery thread. (The nose is embroidered on Round 15 in the sample bunnies pictured.)
Stuff the head.
Round 23: (Dec, sc) x 6. (12)
Round 24: (Dec) x 6. (6)
Fasten off, leaving a 20” tail for sewing. Do not remove marker in Round 7.
Want some company while you crochet?
Get support (and camaraderie!) in the Make & Do Crew community. Join for free here.
Premium PDF
easier and faster with fewer mistakes.
- Complete pattern + photo tutorials
- Instant download
- Formatted for easy printing
Shaping Head
Using existing marker to identify Round 7, we’re now going to indent the head slightly.
Place two stitch markers in Round 7, just below where you plan to attach the ears.
(In the sample bunnies shown, the markers were placed slightly forward on the head — just outside the outer edge of each eye. Once ears are attached, there are approximately 11 visible stitches between the inner edges of the ears in the bunnies pictured.)
Note: If using non-fuzzy yarn, do this step exactly where ears will be sewn so as to disguise the indentation stitches. I suggest placing ears in Round 6.
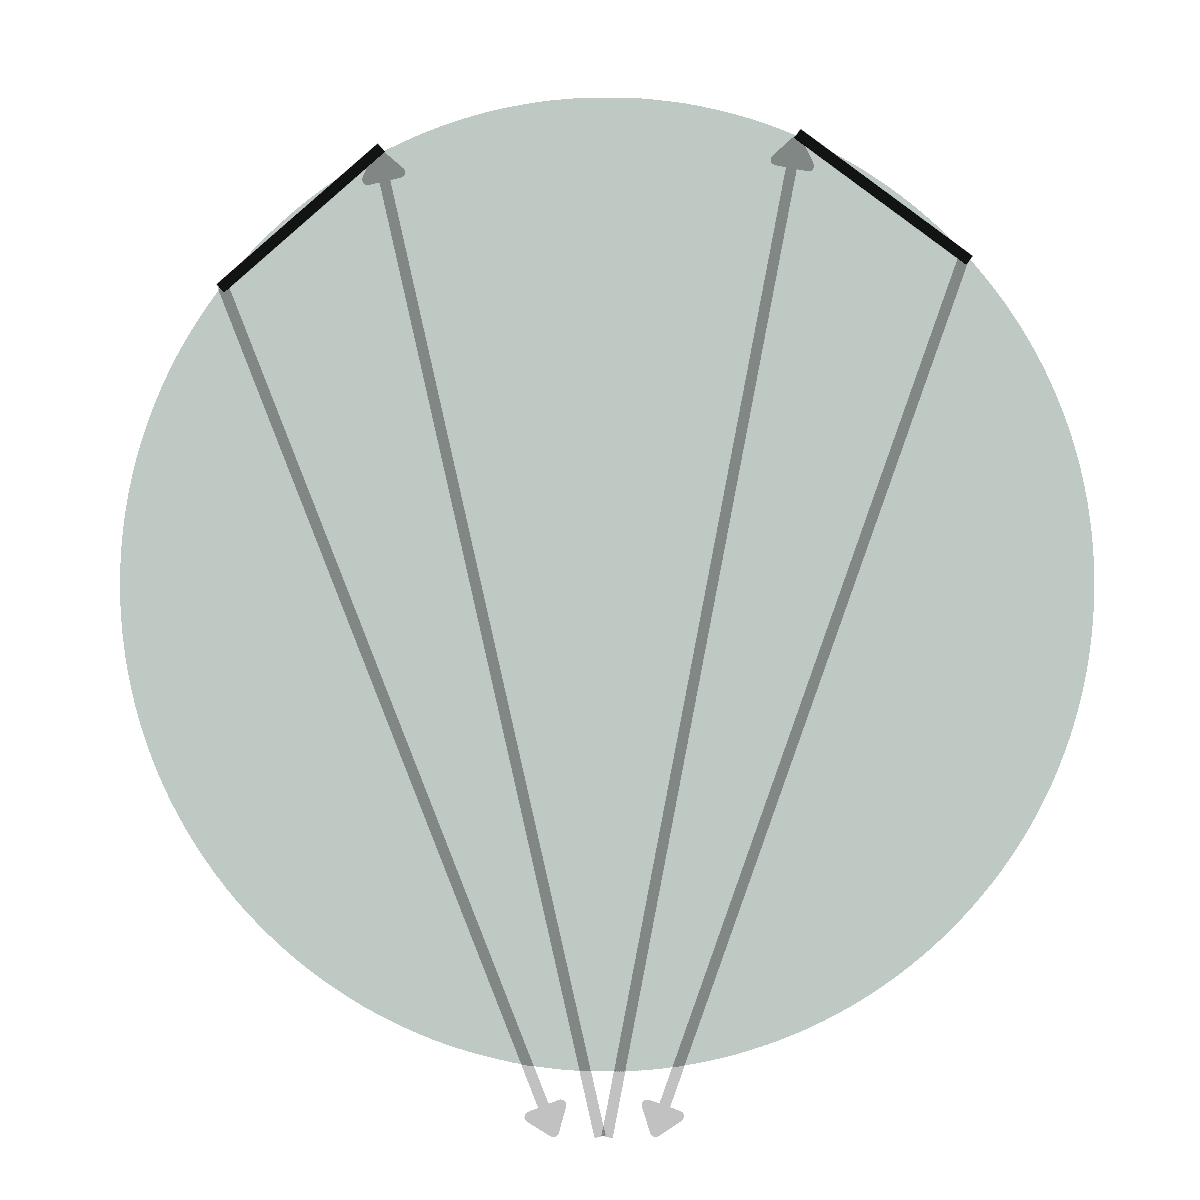
Using a tapestry needle and 20” strand of yarn:
- Insert tapestry needle through bottom opening of head and out where the ear stitch marker is.
- Skip about five stitches.
- Insert needle back into head and out the bottom, near the bottom opening of head, but not through the hole exactly.
- Remove needle from strand of yarn. Don’t tie yarn yet.
- Repeat steps 1-3 on the opposite side of head. At this point, you should have four yarn tails at the bottom of the head.
- Pull on the tails evenly until you’re happy with the indentation on each side of the head.
- Tie the tails into knots to secure the indentations.
- You may either weave these tails in now or simply hide them in the top of the body later on.
Ears
Make 2.
Leave a 15” tail on the magic ring to use later.
Round 1: 6 sc in magic ring. (6)
Round 2: Inc in each sc. (12)
Round 3: (Inc, sc in next 5 sts) x 2. (14)
Round 4: (Sc in next 6 sts, inc) x 2. (16)
Round 5: (Inc, sc in next 7 sts) x 2. (18)
Place a different colored stitch marker in Round 5. This will make the following rounds easier to count.
Rounds 6-9: Sc in each st. (18)
Round 10: (Dec, sc in next 7 sts) x 2. (16)
Round 11: (Sc in next 6 sts, dec) x 2. (14)
Rounds 12: Sc in each st. (14)
Insert your crochet hook in the center of the ear (around Round 5) to pull the magic ring tail to the outside of the ear. We will use this tail later to flatten the ear.
Round 13: (Dec, sc in next 5 sts) x 2. (12)
Move the stitch marker from Round 5 to Round 13 to make the following rounds easier to count.
Rounds 14-19: Sc in each st. (12)
Round 20: (Dec, sc in next 4 sts) x 2. (10)
Move the stitch marker from Round 13 to Round 20 to make the following rounds easier to count.
Rounds 21-26: Sc in each st. (10)
Fasten off, leaving a 20” tail for sewing. Remove markers.
Flattening Ear: Press ear flat. Using yarn tail from the magic ring and a tapestry needle, sew a couple stitches to tack ear into a flatter shape. Avoid pulling too tightly and causing the fabric to pucker. These stitches should be invisible. Weave in this yarn tail, but keep the 20” tail from fastening off available for later.
Arms
Make 2.
Round 1: 6 sc in magic ring. (6)
Round 2: Inc in each sc. (12)
Round 3: (Inc, sc in next 5 sts) x 2. (14)
Rounds 4-24: Sc in each st. (14)
If the rounds are difficult to count because you’re using Feels Like Bliss yarn, you can measure the arm instead. It should measure approximately 6.25”. (If you’re using a different weight yarn, the length will be different.)
Fasten off, leaving a 20” tail for sewing.
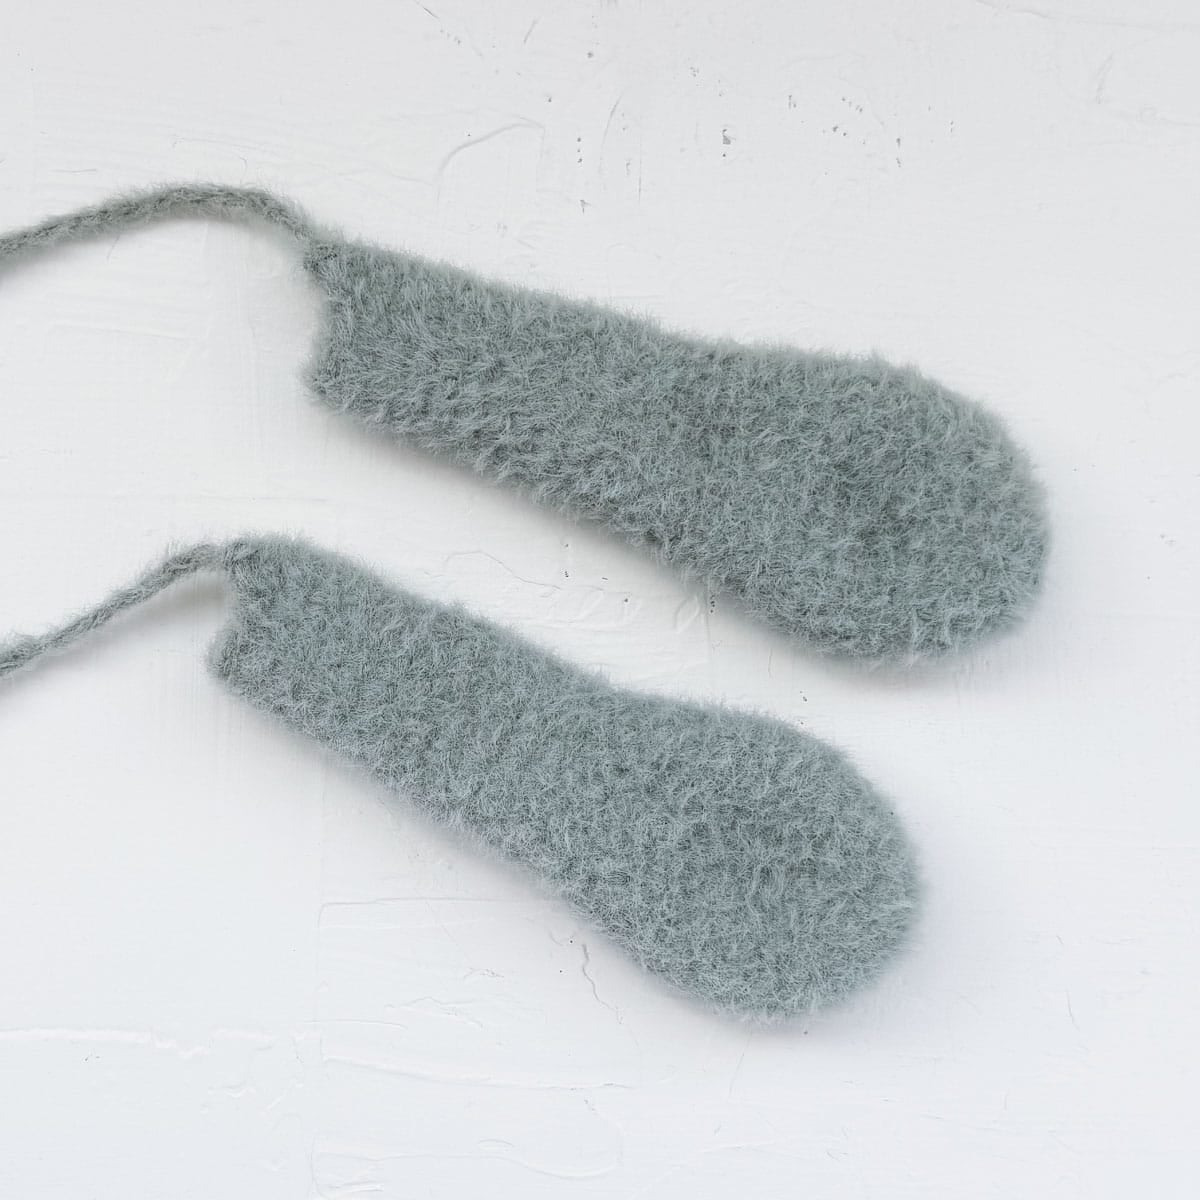
Legs
Make 2.
Round 1: 6 sc in magic ring. (6)
Round 2: Inc in each sc. (12)
Round 3: (Inc, sc in next 2 sts) x 4. (16)
Rounds 4-35: Sc in each st. (16)
If the rounds are difficult to count because you’re using Feels Like Bliss yarn, you can measure the leg instead. It should measure approximately 8”.
First Leg: Fasten off, leaving a 20” tail for sewing.
Second Leg: Keep yarn attached to use for body.
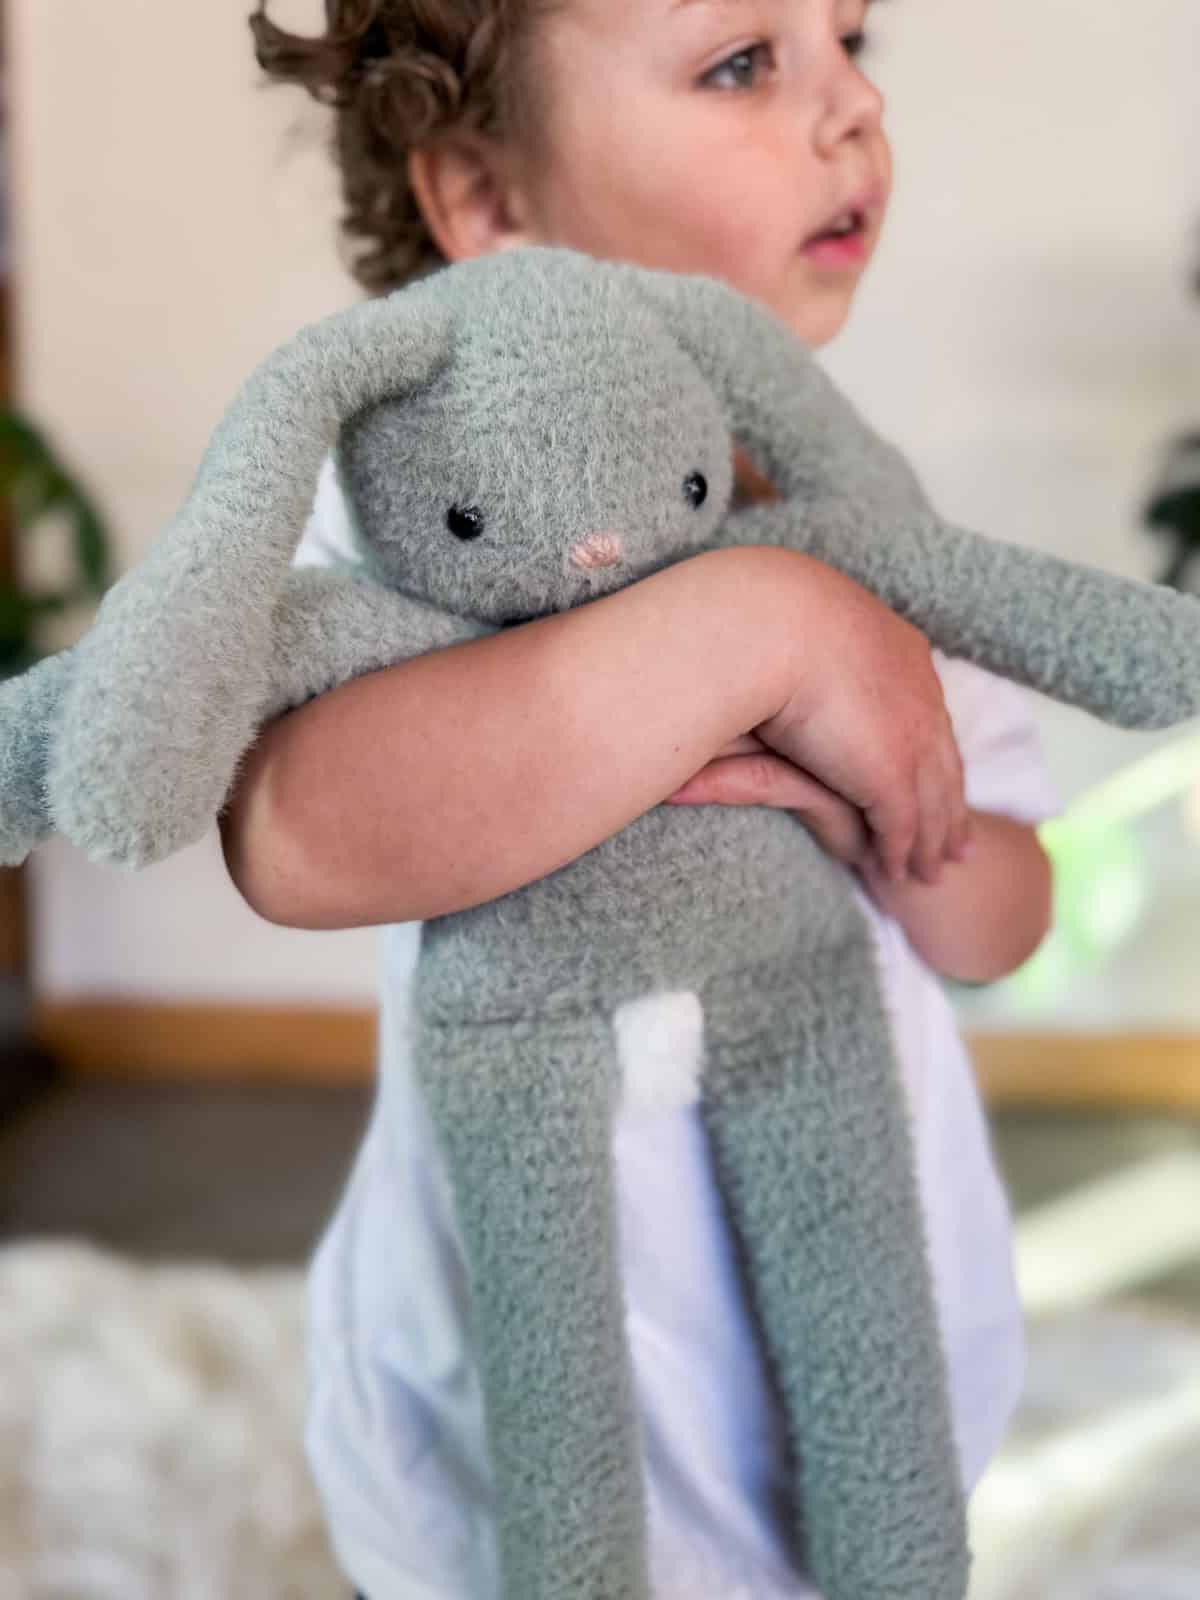
Stuff each leg and add poly pellets for weight if desired. If you prefer a floppy bunny, only stuff legs three-quarters of the way full.
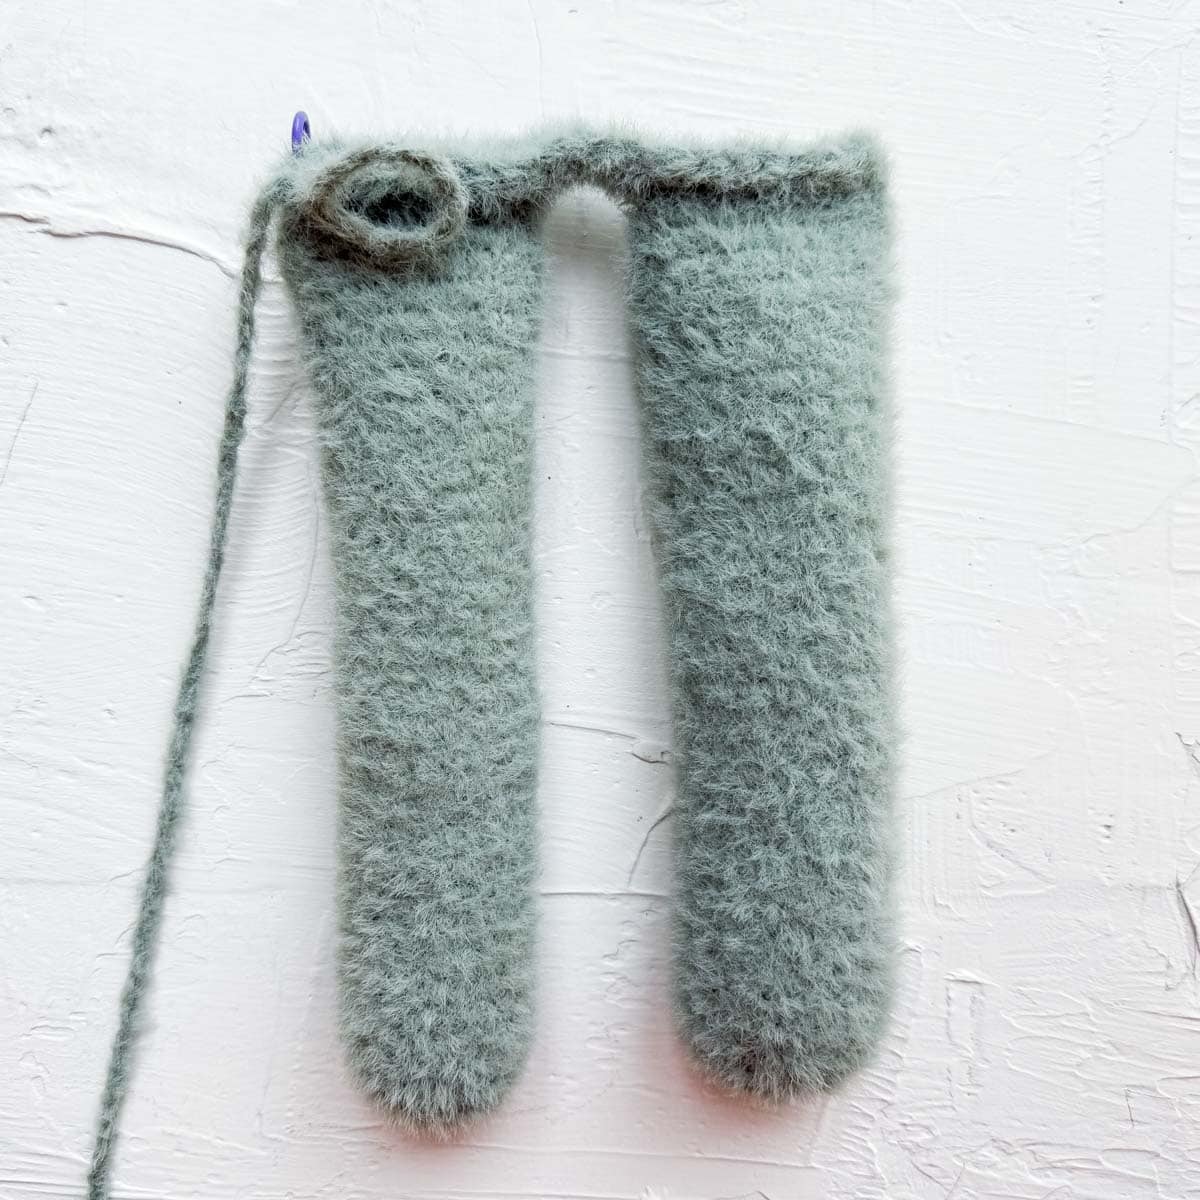
Body
Row 1 - To Join Legs: Press second leg flat. Sc 8 across to close second leg. Ch 4. Press first leg flat. Sc 8 across to close first leg. (20)
Place marker in first stitch of Round 2 and move it up as you work.
Round 2: Working under the front loop only, sc in each of the 20 sts across the body. Flip bunny over and continue working into the front loop only of the 20 sts across the body. At this point, you should have crocheted around the entire body and have a total of 40 sts. Continue working in a spiral for the rest of the body.
Rounds 3-15: Sc in each st. (40)
Round 16: (Dec, sc in next 8 sts) x 4. (36)
Round 17: (Dec, sc in next 7 sts) x 4. (32)
Round 18: (Dec, sc in next 6 sts) x 4. (28)
Round 19: (Dec, sc in next 5 sts) x 4. (24)
Round 20: (Dec, sc in next 4 sts) x 4. (20)
Stuff body and add poly pellets for weight if desired.
Round 21: (Dec, sc in next 3 sts) x 4. (16)
Round 22: (Dec, sc in next 2 sts) x 4. (12)Fasten off leaving a 20” tail for sewing.
Tail
If you prefer, consider adding a fur pom pom tail.
Round 1: 6 sc in magic ring. (6)
Round 2: Inc in each sc. (12)
Round 3: (Inc, sc) x 6. (18)
Rounds 4-5: Sc in each st.
Round 6: (Dec, sc) x 6. (12)
Put a small amount of stuffing in the tail.
Round 7: (Dec) x 6. (6)
Fasten off leaving a 12” tail for sewing.
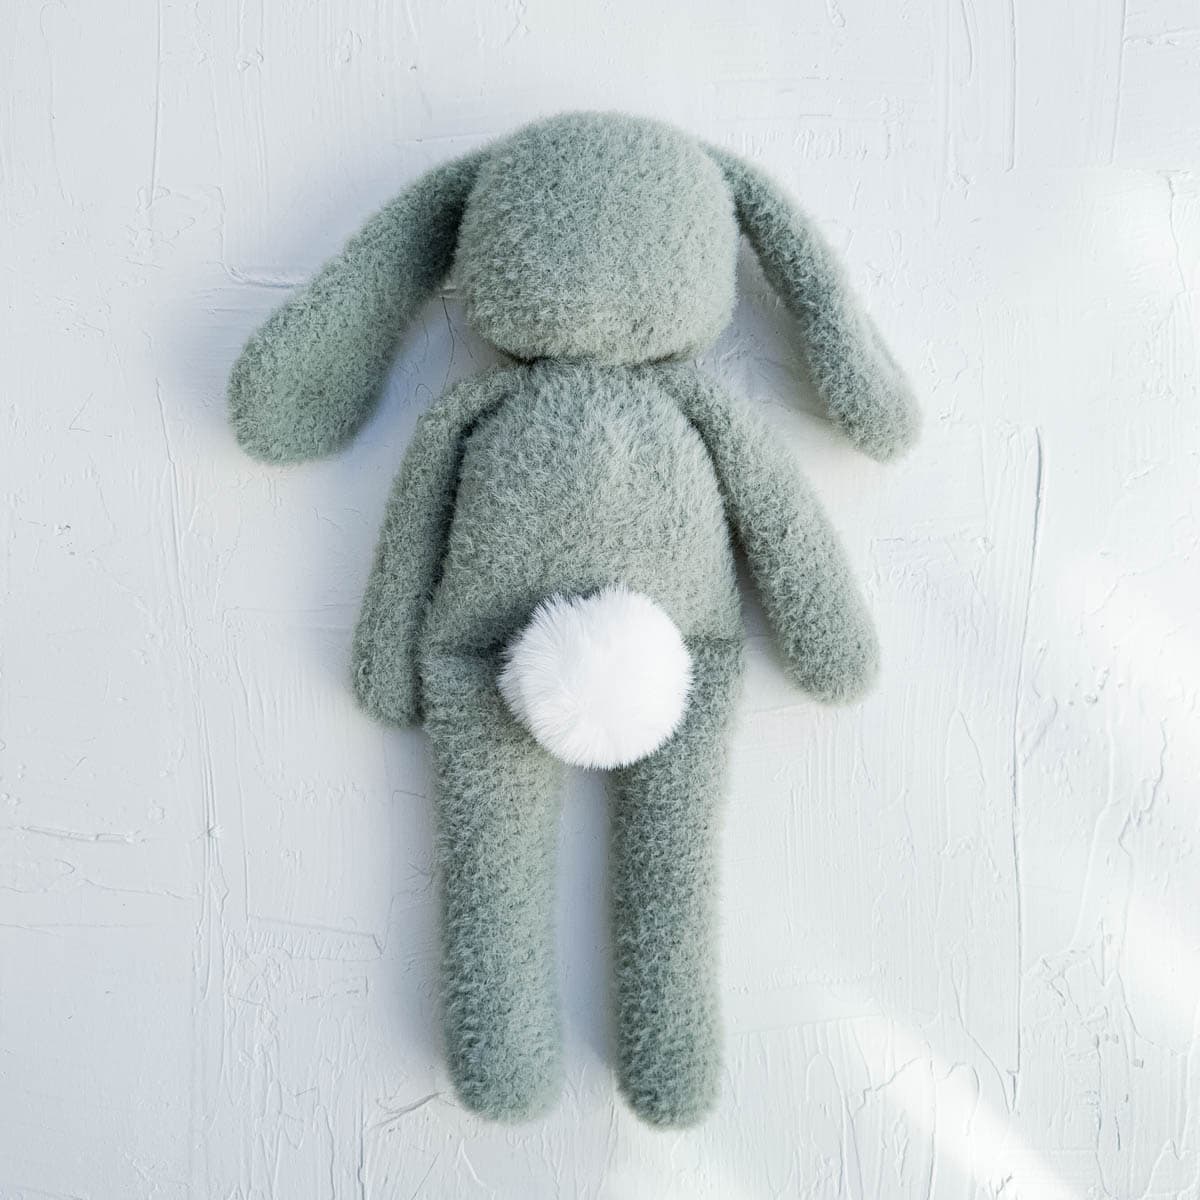
fur pom pom tail
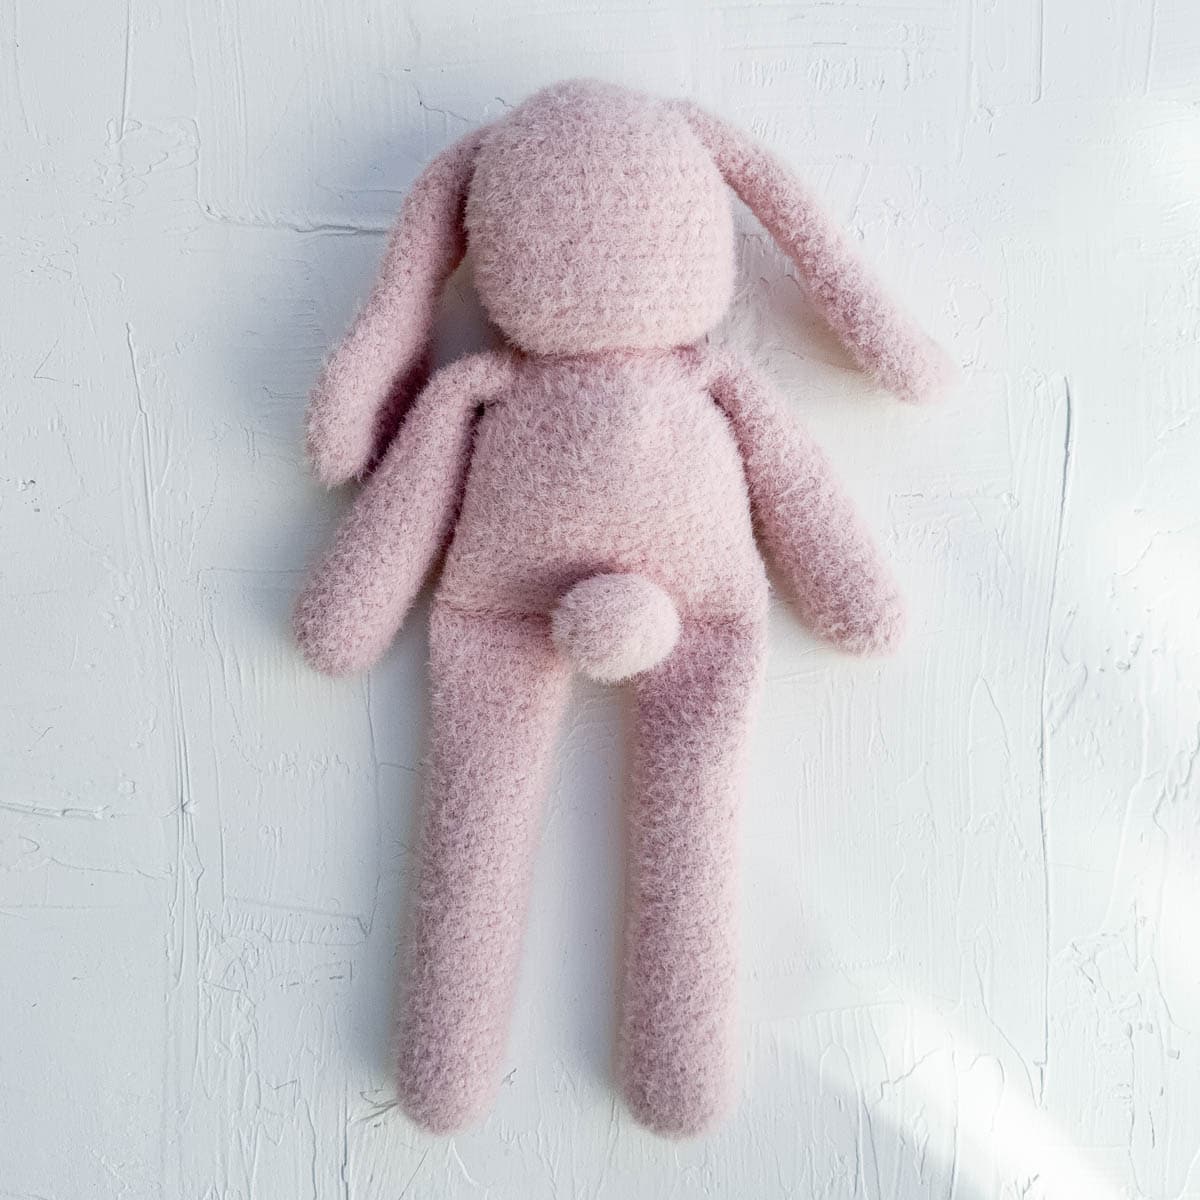
crocheted tail
Wanna save this pattern?
Assembling Your Bunny
All joining is done using a tapestry needle and existing yarn tails you preserved when fastening off. When you’re done using a yarn tail for seaming, weave it in and fasten it off inside the bunny.
1. Ears To Head
Ears are reversible, so choose which side you’d like facing out.
Position the ear just above the head indent stitch in approximately Round 6.
Whip stitch in place, stitching around the ear to work through the top and bottom layers of the ear separately rather than catching both layers at once. This helps the ear join look more seamless.
Repeat to join second ear. (In sample bunnies pictured, there are approximately 11 visible stitches between the inner edges of the ears.)
2. Head to Body
If you haven’t woven them in, tuck the head indentation yarn tails into the opening at the top of the body.
Align the head and body. Whip stitch them together, inserting your needle approximately 1-2 visible rounds down from the top of the body and 1-2 visible rounds up from the bottom of the head.
3. Arms to Body
1. Place a marker in desired position for each arm. Arms should be attached in the first or second visible round of body, slightly forward, essentially below each eye.
2. Stuff arms and add poly pellets for weight if desired. If you prefer a floppy bunny, only stuff arms three-quarters of the way full.
3. Press arm flat and whip stitch across upper edge to close.
4. Whip stitch arm in marked position. Stitch around entire arm to ensure it’s securely attached.
5. Repeat steps 3-4 on second arm.
4. Tail to Body
Position tail on backside of bunny, a few rounds above the bottom of the body. Whip stitch tail to body.
Feel so hop-py about the adorable little bunny you just made with your own two hands!
That was so fun! Now what?
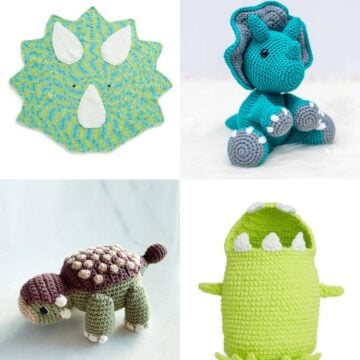
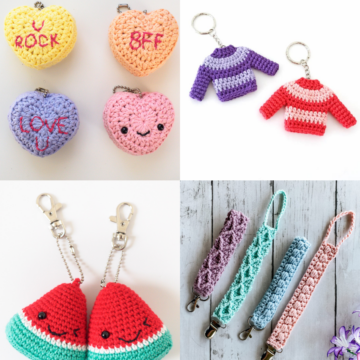
More Amigurumi Free Patterns
If you love crocheting stuffed animals, we've got lots more free patterns for you.

Leave a Reply