Free Easter Crochet Patterns
If you're looking for Easter crochet ideas, you might enjoy our c2c crochet crochet bunny blanket or floppy bunny hats.
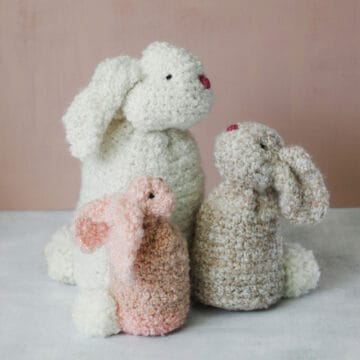
Crochet stuffed animals make thoughtful Easter basket gifts. Try our crochet bunny made from a rectangle.