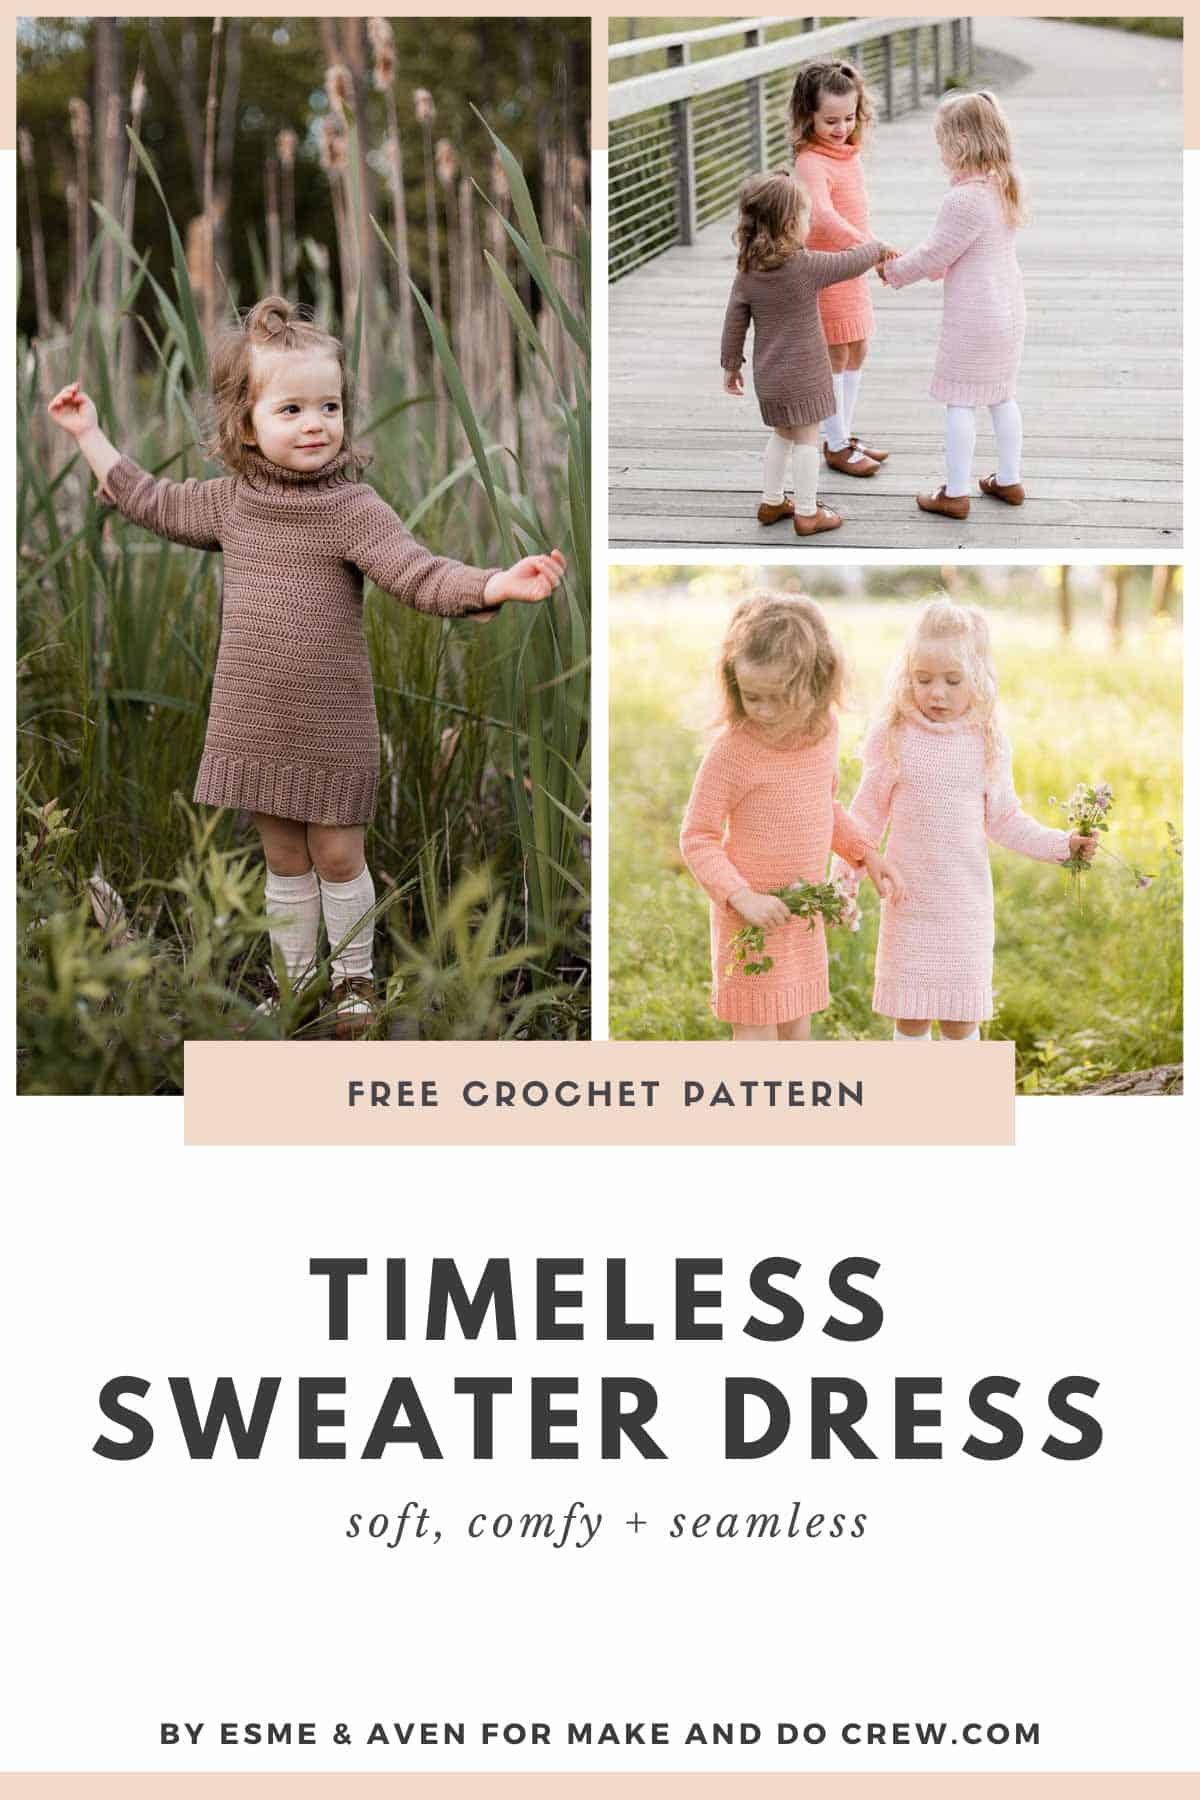
This adorable children's crochet sweater dress pattern is thoughtfully designed for easy crocheting and comfortable wearing. Get the free children's crochet dress pattern below or purchase the ad-free, printable PDF here.
Thanks to Lion Brand Yarns for supplying the yarn for this kid's crochet dress pattern. This post contains affiliate links.
Welcome back to the Make & Do Crew guest designer series where talented designers from across the internet share their free patterns with you, right here on Make & Do Crew.
Today Brynnan from Esme & Aven is here with her free crochet dress pattern for girls! You can see lots of of Brynnan's crochet patterns her blog, Esme & Aven. And be sure to check her out on social media too: Instagram and Pinterest. Brynnan, take it away!
Why I chose to create a crochet sweater dress for kids
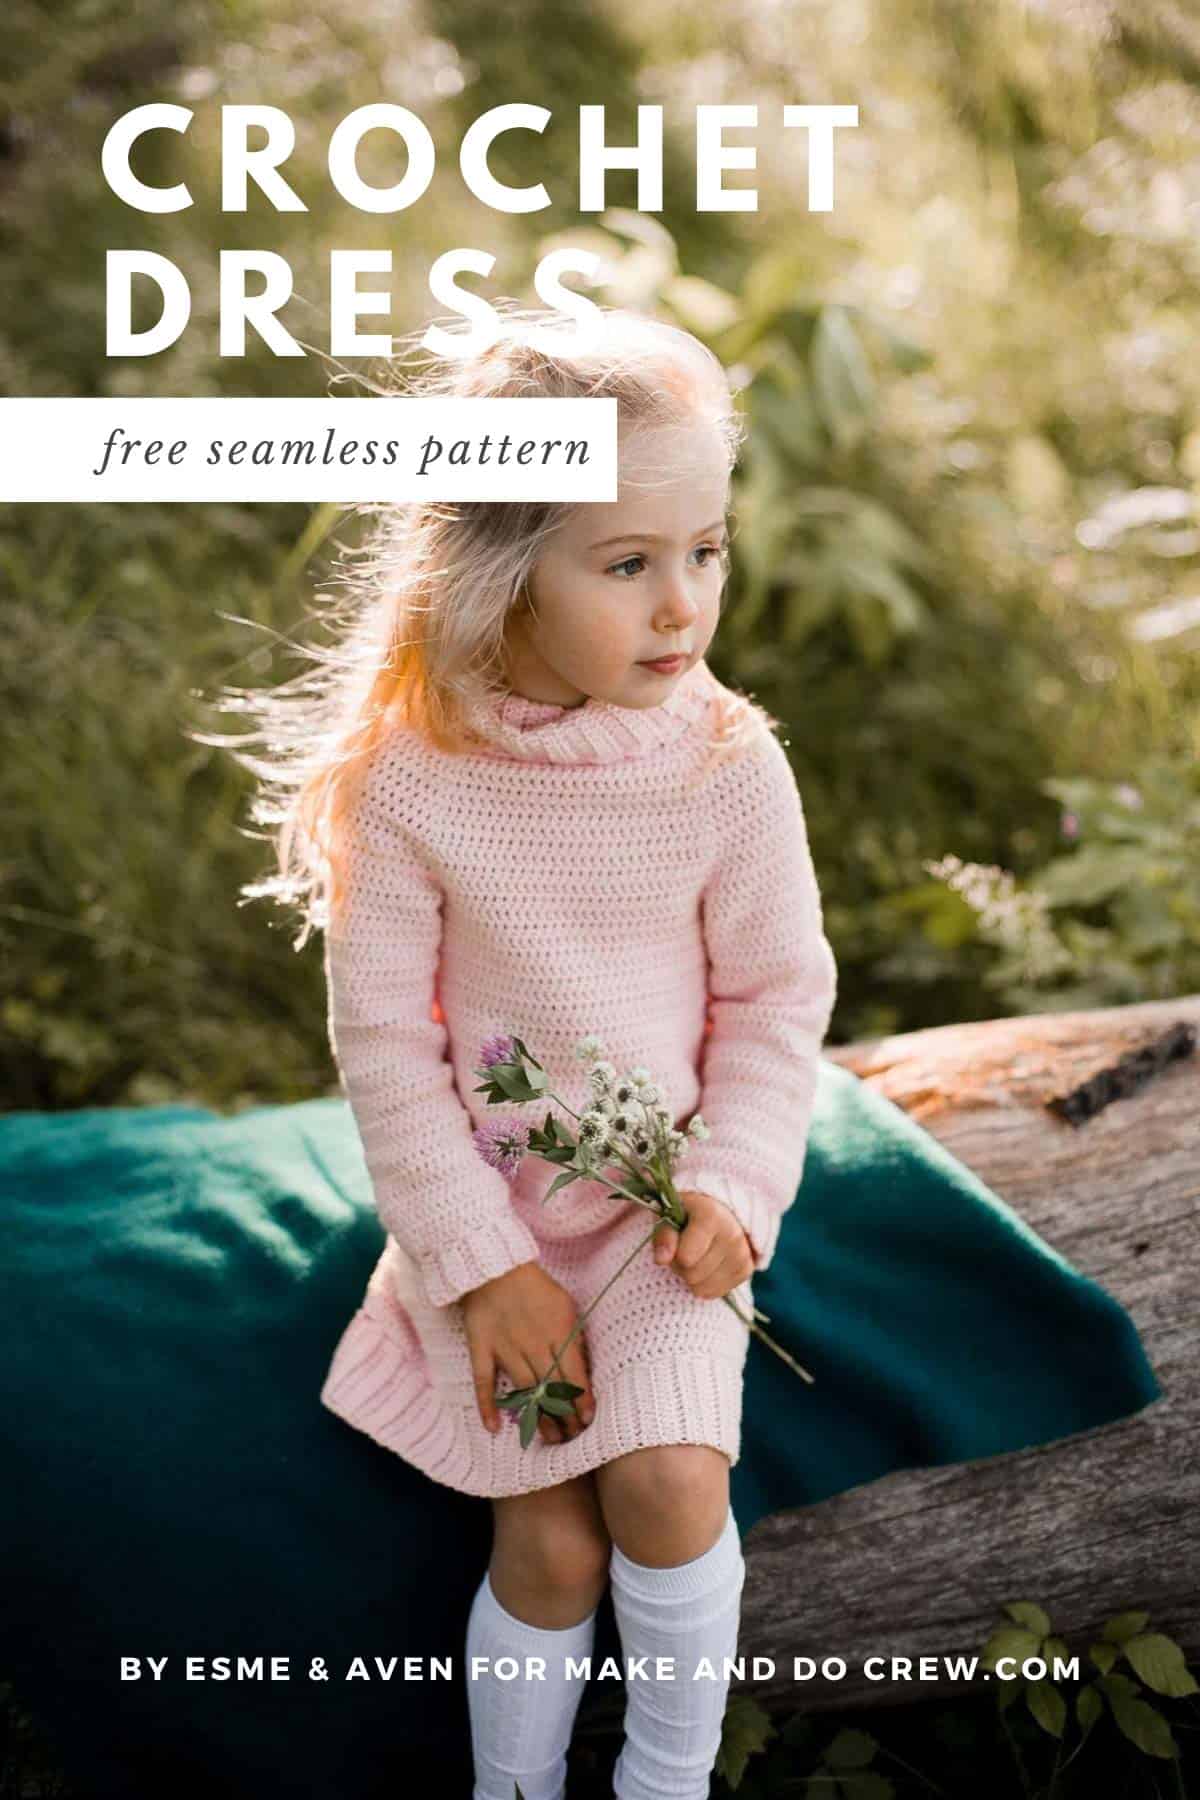
We all know that versatile fall staple – that beautiful, comfortable, and flattering piece we have in our closets. We wear it for every occasion, year after year. It’s the ubiquitous sweater dress. We wear it with boots, heels, flats…leggings, tights, bare legged. We love it. I wanted to create this same lovable piece for my daughters’ comfort as well so I designed the Cecilia Sweater Dress!
What I love most about this dress is how comfortable it is for my daughters to wear. Starting from the top, the collar is easily pulled over the head and lies beautifully when worn, without distracting or irritating them.

Next, the ease: while the dress is designed to have little to no ease at the bust for a fitted look, the armhole depth is generous to allow easy dressing. It also features subtle increases at the waist and hips for a comfortable fit while maintaining a sleek, classic silhouette.
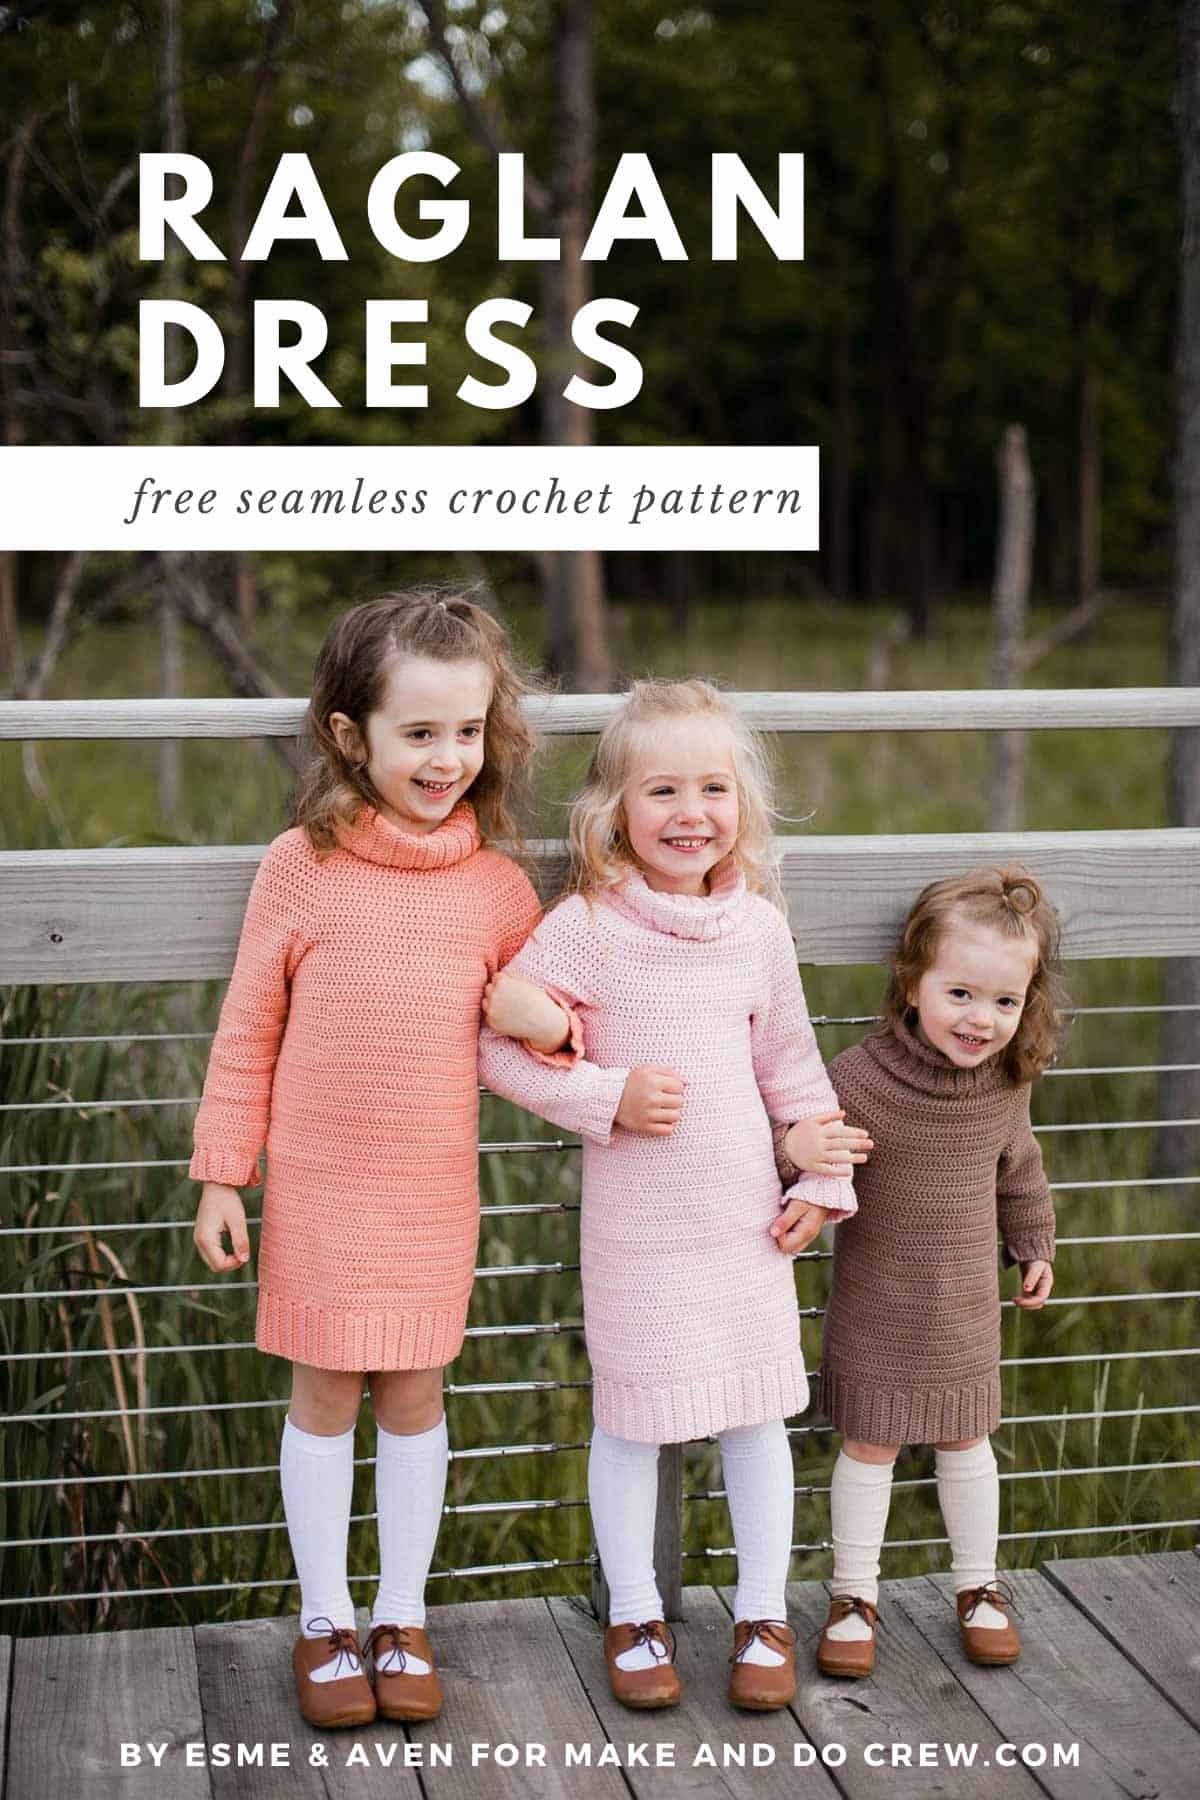
Because of its forgiving fit, three ranged sizes are included in the pattern instructions, Small (2T 3T), Medium (4T-5), and Large (6-7). The sleeves and length are easily modified, allowing you to shorten or lengthen the dress as you desire. And always a plus, wear is extended by pairing with leggings or jeans once she grows out of the length.
Finally, what I love most about this pattern is that works up quickly and no stitching/sewing is required—it is all worked in the round, turning after each round to create a beautiful, clean, straight back seam. You will love making this dress and your little ones will love to wear it!
Related: The Idlewild Mommy + Me Dress Pattern ⇨
What yarn should I use for a crochet sweater dress?
I chose to use Lion Brand’s Coboo Yarn for this dress because I wanted to use a natural fiber to emphasize its silhouette. Natural fibers create a warm, sumptuous, and beautiful drape, so with Coboo’s 50% cotton, 50% bamboo content, it was the perfect choice.
Furthermore, when wearing a crocheted garment close to the skin, you want a non-irritating and comfortable fiber–especially when it’s being worn by a child. Coboo yarn is so soft and comfortable that you will have no complaints.
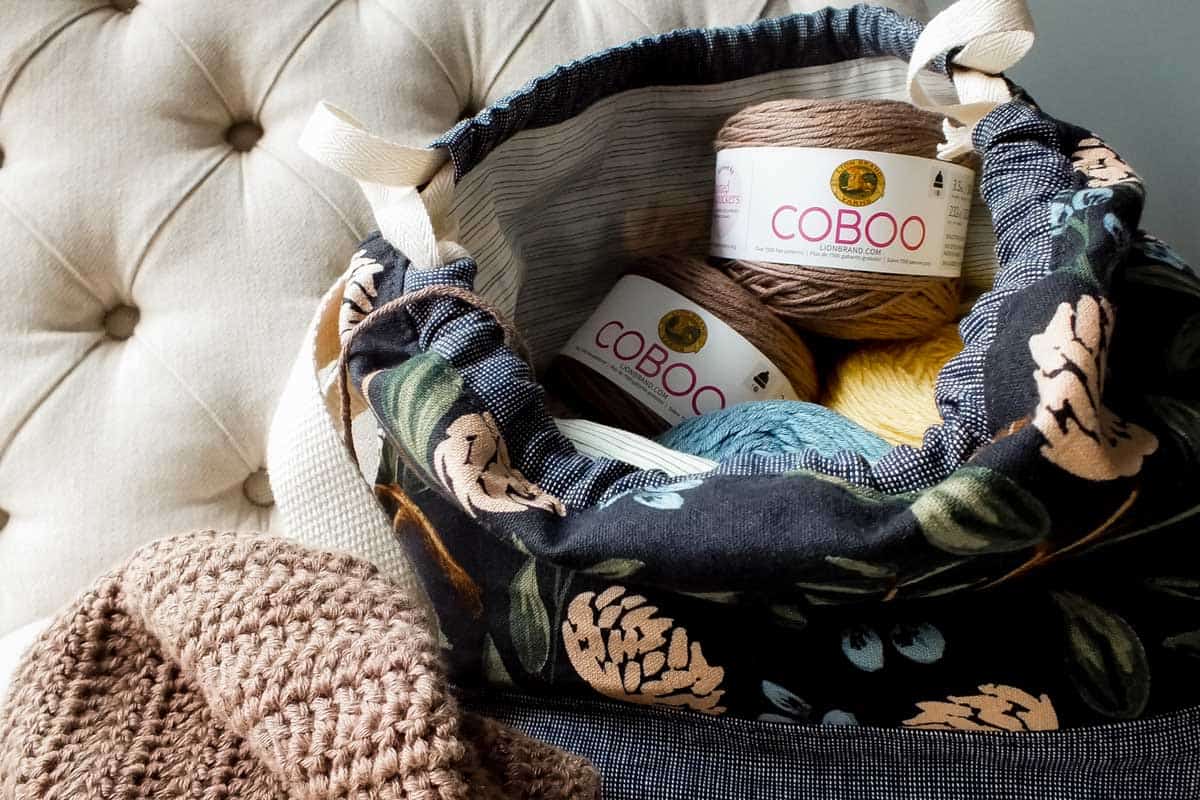
It also wears and washes well. Lastly, I love the wide range of colors Coboo has to offer; it includes pretty neutrals as well as bright, fun colors that our little ones love so much. (See all the colors here!)
Related: more modern free crochet patterns for kiddos ⇨
A beginner-friendly crochet pattern
This pattern is suitable for any beginner to moderate level crocheter who is able to double crochet, double crochet two stitches together, double crochet in between posts, work in the back loops only, slip stitch, and work in the round.
RELATED for your furry friends - easy crochet dog sweater pattern for small and large dogs

The collar, hem, and sleeve cuffs are worked perpendicular to the respective edge. This is one of my favorite ways to add ribbing to a crocheted garment. Instructions are included in the pattern and a video link to help you visualize the technique is also included. Countless instructional videos are available online as well. If you are not familiar with this technique, this could be a great opportunity to add another wonderful tool to your crochet tool box!
A very special thank you to Katherine Radwanski and David Ling Photography for the beautiful photographs featured in this post.
Pin it! click to pin this pattern for later ⇨
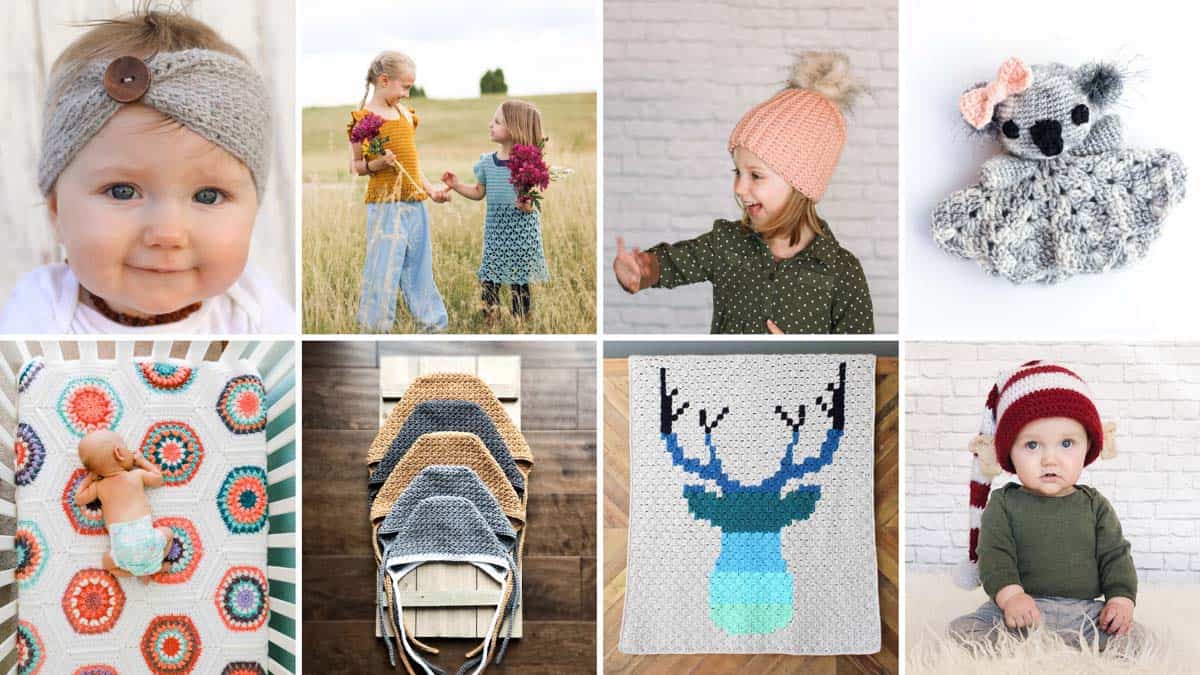
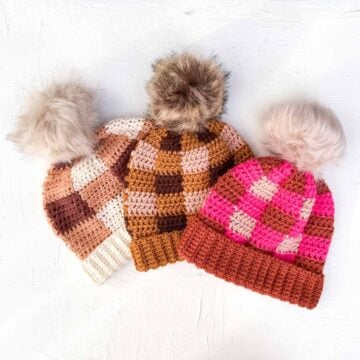
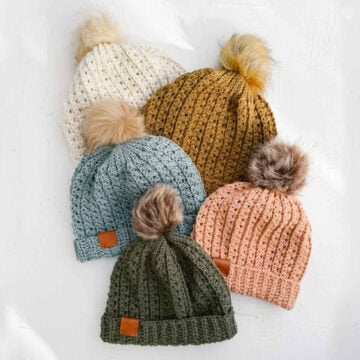
More Free Crochet Patterns for Kids
Now that she's got a sweater dress, is your little one craving some more crochet coziness? Don't miss these free M&DC patterns! Find all our crochet patterns for babies and kids here.
Cecilia Crochet Sweater Dress for Kids Free Pattern
Purchase the ad-free, printable PDF here.
Pin this pattern for later here.
Explanation: The Cecilia Sweater Dress is a beautiful and comfortable sweater dress designed for children. It is a versatile, fall staple that can be worn for every occasion. Skills required include double crochet, double crocheting two stitches together, slip stitch; understanding how to double crochet between posts, working in the back loops only, and working in the round.
The best part about crocheting this dress is that it is worked as one piece: no stitching/sewing is required!
Supplies:
• Lion Brand Coboo (Weight: 3/lightweight - 232 Yds, 3.5 oz)
- Small (2T-3T): 3 skeins [approx. 660 yds]
- Medium (4T-5): 4 skeins [approx. 910 yds]
- Large (6-7): 5 skeins [approx. 970 yds]
• Colorways pictured:
- Taupe (#835-125)
- Peach (#835-184)
- Pale Pink (#835-102)
• U.S G6 (4.00 mm) crochet hook
• Yarn needle
• Scissors
Sizes/Measurements:
• Measurements in inches:
- The Cecilia Sweater Dress pattern includes three sizes: Small (2T-3T), Medium (4T-5), and
Large (6-7).
- Finished Dress Measurements:
Size [Bust, Waist, Hips, Length*]
Small [19”, 20”, 21”, 19.5”]
Medium [21”, 22”, 23”, 23.5”]
Large [23”, 24”, 25”, 26”]
*Measurements taken from shoulder to hem
- The dress is designed with little to no ease at the bust for a close fit. To determine which size to make, measure the child around the bust and choose the size closest to the Finished Dress Measurements listed above.
- If the child is in between sizes, or you would like a roomier fit, you may wish to size up.
- The dress features bracelet-length sleeves with split cuffs, hitting a couple inches above the wrist. Depending on the size of the child, the sleeve cuffs may hit slightly higher or lower. The length of the sleeves can easily be shortened or lengthened by omitting or adding desired number or rounds when creating the sleeves, as described in these instructions.
- The hem of the dress is designed to hit right at, or just above/below, the knees; the length can also easily be shortened or lengthened by omitting or adding desired number of rounds, as described in these instructions.
- Pictured in Taupe (#835-125): Size Small on a child aged 2 years and 2 months.
- Pictured in Peach (#835-184): Size Medium on a child aged 4 years and 11 months.
- Pictured in Pale Pink (#835-102): Size Medium on a child aged 3 years and 9 months (example of sizing up).
Gauge:
• 19 dc x 12 rows = 4” x 4”
• Check your gauge. Use any size hook to obtain the gauge.
Abbreviations and Glossary (US Terms):
bet – between
BLO – back loops only
ch(s) – chain(s)
dc – double crochet
dc2tog – double crochet two stitches together
ea – each
sk st – skip stitch
sl st – slip stitch
st(s) – stitch(es)
Overall Pattern Notes:
• The dress is worked as one continuous piece, in the round, from the top down. The dress is
turned at the beginning of each round. No stitching is required.
• The main body is worked first, starting at the neckline and finished with the bottom hem. Next, the collar is added to the neckline; lastly, the sleeves are added onto the body and worked in the round, finishing with the sleeve cuffs.
• The starting chain of each round is counted as the first stitch and is included in the round’s
total stitch count noted at the end of the instructions.
• Do not work the first stitch of the round in the same stitch as the turning chain: work the first stitch of the round into the stitch directly to the left of the turning chain (next stitch).
VIDEO TUTORIAL: Working into the next stitch
• The Right Side of the dress is the pretty side that faces out. The Wrong Side is the inside of
the dress that faces the body.
• Size-specific instructions are noted as Small [Medium, Large] unless explicitly separated into different sections.
CREATING THE BODY
Small [Medium, Large]
Ch 80 [84, 88] to begin; sl st into the first ch to join, taking care not to twist the sts.
Round 1: Ch 3, dc in next ch and in ea ch around; sl st in top of beginning ch to join. (80, 84, 88)
Round 2: Ch 3, turn; dc in next 9 [10, 10] sts, 3dc in next st, (dc in next 19 [20, 21] sts, 3dc in
next st) 3 times, dc in next 9 [9, 10] sts; sl st in top of turning ch to join. (88, 92, 96)
Round 3: Ch 3, turn; dc in next 10 [10, 11] sts, 2dc in next st, (dc in next 21 [22, 23] sts, 2dc in
next st) 3 times, dc in next 10 [11, 11] sts; sl st in top of turning ch to join. (92, 96, 100)
✨Unlock this free subscriber-exclusive pattern ✨
Follow these steps to view the full free pattern below
CREATING THE SLEEVE SEPARATION
Small [Medium, Large]
Ch 3, turn; dc in next 16 [17, 18] sts, ch 12 [14, 14], sk 31 [34, 36] sts, dc in next 33 [34, 36] sts,
ch 12 [14, 14], sk 31 [34, 36] sts, dc in next 16 [16, 17] sts; sl st in top of turning ch to join.
(90, 96, 100 sts & chs)
CONTINUING THE BODY
All Sizes
Round 1: Ch 3, turn; dc in ea st and ch around; sl st in top of turning ch to join. (90, 96, 100)
Round 2: Ch 3, turn; dc in ea st around; sl st in top of turning ch to join. (90, 96, 100)
Size Small (Sizes Medium and Large cont’d below)
Rounds 3-6: Ch 3, turn; dc in ea st around; sl st in top of turning ch to join (90).
Round 7: Ch 3, turn; dc in next 9 sts, 3dc in next st, dc in next 24 sts, 3dc in next st, dc in next 19 sts, 3dc in next st, dc in next 24 sts, 3dc in next st, dc in next 9 sts; sl st in top of turning
ch to join. (98)
Round 8: Ch 3, turn; dc in next 10 sts, 2dc in next st, dc in next 26 sts, 2dc in next st, dc in next
21 sts, 2dc in next st, dc in next 26 sts, 2dc in next st, dc in next 10 sts; sl st in top of turning
ch to join. (102)
Rounds 9-11: Ch 3, turn; dc in ea st around; sl st in top of turning ch to join. (102)
Round 12: Ch 3, turn; dc in next 11 sts, 3dc in next st, dc in next 27 sts, 3dc in next st, dc in next
22 sts, 3dc in next st, dc in next 27 sts, 3dc in next st, dc in next 10 sts; sl st in top of turning
ch to join. (110)
Round 13: Ch 3, turn; dc in next 12 sts, 2dc in next st, dc in next 29 sts, 2dc in next st, dc in next
24 sts, 2dc in next st, dc in next 29 sts, 2dc in next st, dc in next 11 sts; sl st in top of turning
ch to join. (114)
Rounds 14-29: Ch 3, turn; dc in ea st around; sl st in top of turning ch to join. (114)
The dress can be shortened or lengthened by omitting or adding the desired number of Round
14 repeats. Keep in mind this will affect the amount of yarn required.
Do not fasten off. Continue to Creating the Bottom Hem.
Size Medium (Size Large cont’d below)
Rounds 3-7: Ch 3, turn; dc in ea st around; sl st in top of turning ch to join. (96)
Round 8: Ch 3, turn; dc in next 10 sts, 3dc in next st, dc in next 24 sts, 3dc in next st, dc in next
22 sts, 3dc in next st, dc in next 24 sts, 3dc in next st, dc in next 11 sts; sl st in top of turning
ch to join. (104)
Round 9: Ch 3, turn; dc in next 12 sts, 2dc in next st, dc in next 26 sts, 2dc in next st, dc in next
24 sts, 2dc in next st, dc in next 26 sts, 2dc in next st, dc in next 11 sts; sl st in top of turning
ch to join. (108)
Rounds 10 & 11: Ch 3, turn; dc in ea st around; sl st in top of turning ch to join. (108)
Round 12: Ch 3, turn; dc in next 11 sts, 3dc in next st, dc in next 27 sts, 3dc in next st, dc in next
27 sts, 3dc in next st, dc in next 27 sts, 3dc in next st, dc in next 11 sts; sl st in top of turning
ch to join. (116)
Round 13: Ch 3, turn; dc in next 12 sts, 2dc in next st, dc in next 29 sts, 2dc in next st, dc in next
29 sts, 2dc in next st, dc in next 29 sts, 2dc in next st, dc in next 12 sts; sl st in top of turning
ch to join. (120)
Rounds 14-43: Ch 3, turn; dc in ea st around; sl st in top of turning ch to join. (120)
The dress can be shortened or lengthened by omitting or adding the desired number of Round
14 repeats. Keep in mind this will affect the amount of yarn required.
Do not fasten off. Continue to Creating the Bottom Hem.
Size Large
Rounds 3-8: Ch 3, turn; dc in ea st around; sl st in top of turning ch to join. (100)
Round 9: Ch 3, turn; dc in next 10 sts, 3dc in next st, dc in next 27 sts, 3dc in next st, dc in next
21 sts, 3dc in next st, dc in next 27 sts, 3dc in next st, dc in next 10 sts; sl st in top of turning
ch to join. (108)
Round 10: Ch 3, turn; dc in next 11 sts, 2dc in next st, dc in next 29 sts, 2dc in next st, dc in next
23 sts, 2dc in next st, dc in next 29 sts, 2dc in next st, dc in next 11 sts; sl st in top of turning
ch to join. (112)
Rounds 11-13: Ch 3, turn; dc in next st and in ea st around; sl st in top of turning ch to join. (112)
Wanna save this pattern?
Round 14: Ch 3, turn; dc in next 11 sts, 3dc in next st, dc in next 31 sts, 3dc in next st, dc in next
23 sts, 3dc in next st, dc in next 31 sts, 3dc in next st, dc in next 11 sts; sl st in top of turning
ch to join. (120)
Round 15: Ch 3, turn; dc in next 12 sts, 2dc in next st, dc in next 33 sts, 2dc in next st, dc in next
25 sts, 2dc in next st, dc in next 33 sts, 2dc in next st, dc in next 12 sts; sl st in top of turning
ch to join. (124)
Rounds 16-47: Ch 3, turn; dc in next st and in ea st around; sl st in top of turning ch to join. (124)
The dress can be shortened or lengthened by omitting or adding the desired number of Round
16 repeats. Keep in mind this will affect the amount of yarn required.
Do not fasten off. Continue to Creating the Bottom Hem.
CREATING THE BOTTOM HEM
All Sizes
Ch 16 to begin.
Row 1: Turn; dc in the 4th ch from hook (counts as dc) and in each ch across; sk 2 sts on the
bottom of the dress, sl st into the next 2 sts on the bottom of the dress. (14 dc sts)
VIDEO TUTORIAL: Crocheting a border perpendicular to the edge
Row 2: Turn; working in BLO, dc in ea st across, ending last st in top of turning ch from previous
row. (14)
Note: there is no turning chain to begin Row 2; simply yarn over, insert hook into back
loop of first stitch and complete the first double crochet. This technique will also be used
when creating the collar and sleeve cuffs.
Row 3: Ch 3 (counts as first st), turn; sk first st, working in BLO, dc in ea st across; sk 2 sts on
the bottom of the dress, sl st into the next 2 sts on the bottom of the dress. (14 dc sts)
Repeat Rows 2-3 around the entire bottom of the dress, and:
- When working the last Row 3-repeat, your last slip stitch will be into the joining seam on
the back-center bottom of the dress. Do not fasten off.
- Next, close the skirt hem by matching up the stitches on both ends and slip stitch through
both layers until closed. The raised seam will be on the inside of the dress (aka the
wrong side) – this will be important to note when working the collar onto the dress.
Fasten off; weave in ends. Continue to Creating the Collar.
CREATING THE COLLAR
With the dress right side facing out (raised bottom hem seam on the inside/wrong side), slip
stitch into the joining seam on the back of the neckline to begin.
All Sizes
Ch 34.
Row 1: Turn; dc in the 4 th ch from hook (counts as dc) and in ea ch across; sk 2 sts on the
neckline, sl st into the next 2 sts on the neckline. (32)
Row 2: Turn; working in BLO, dc in ea st across, ending last st in top of turning ch from previous
row. (32)
Row 3: Ch 3 (counts as first st), turn; sk first st, working in BLO, dc in ea st across; sk 2 sts on
the neckline, sl st into the next 2 sts on the neckline. (32)
Repeat Rows 2-3 around the entire neckline, and:
- When working the last Row 3-repeat, your last slip stitch will be into the joining seam on
the back neckline. Do not fasten off.
- Next, repeat Row 2 one more time.
- Lastly, with wrong sides of the collar touching, close the collar by matching up the
stitches on both ends and slip stitch through both layers until closed. (The raised seam will be on the right side of the collar so that it is hidden once it is folded over when worn).
Fasten off. Weave in ends. Continue to Creating the Sleeves.
CREATING THE SLEEVES
Small [Medium, Large]
With the right side facing, find the center of the underarm: there are 12 [14, 14] chs under the
arm, starting from the right, count over to the left and sl st into the 7 th [8 th , 8 th ] ch under the arm to begin.
Round 1: Ch 3 (counts as st), dc in next 5 [6, 6] chs, dc in next 3 [3, 3] spaces, dc in next 31 [34,
36] sts, dc in next 3 [3, 3] spaces, dc in next 6 [7, 7] chs; sl st in top of starting ch to join. (49,
54, 56)
Round 2: Ch 3, turn; dc in next st, dc2tog, dc in ea remaining st around, stopping within 3 sts
from the end, dc2tog, dc in last st; sl st in top of turning ch to join. (47, 52, 54)
Round 3: Ch 3, turn; dc in next st and in ea st around; sl st in top of turning ch to join. (47, 52,
54)
Round 4: Ch 3, turn; dc in next st, dc2tog, dc in the remaining sts around, stopping withing the
last 3 sts, dc2tog, dc in last st; sl st in top of turning ch to join. (45, 50, 52)
Round 5: Ch 3, turn; dc in next st and in ea st around; sl st in top of turning ch to join. (45, 50,
52)
Round 6: Ch 3, turn; dc in next st, dc2tog, dc in ea remaining st around, stopping within 3 sts
from the end, dc2tog, dc in last st; sl st in top of turning ch to join. (43, 48, 50)
Round 7: Ch 3, turn; dc in next st and in ea st around; sl st in top of turning ch to join. (43, 48,
50)
Round 8: Ch 3, turn; dc in next st, dc2tog, dc in ea remaining st around, stopping within 3 sts
from the end, dc2tog, dc in last st; sl st in top of turning ch to join. (41, 46, 48)
Size Small (Sizes Medium and Large cont’d below)
Rounds 9-10: Ch 3, turn; dc in next st and in ea st around; sl st in top of turning ch to join. (41)
Round 11: Ch 3, turn; dc in next st, dc2tog, dc in ea remaining st around, stopping within the last
3 sts, dc2tog, dc in last st; sl st in top of turning ch to join. (39)
Round 12: Ch 3, turn; dc in next st and in ea st around; sl st in top of turning ch to join. (39)
Round 13: Ch 3, turn; dc in next st, dc2tog, dc in ea remaining st around, stopping within the last
3 sts, dc2tog, dc in last st; sl st in top of turning ch to join. (37)
Rounds 14 & 15: Ch 3, turn; dc in ea st around; sl st in top of turning ch to join. (37)
Round 16: Ch 3, turn; dc in next st, dc2tog, dc in remaining sts around, stopping within the last 3
sts, dc2tog, dc in last st; sl st in top of turning ch to join. (35)
Rounds 17-19: Ch 3, turn; dc in next st and in ea st around; sl st in top of turning ch to join. (35)
The sleeve can be shortened or lengthened by omitting or adding the desired number of
Round 17 repeats.
Round 20: Ch 3, turn; dc in next st, dc2tog, dc in ea remaining st around, stopping within the last
3 sts, dc2tog, dc in last st; sl st in top of turning ch to join. (33)
Do not fasten off, continue to Creating the Sleeve Cuff.
Size Medium (Size Large cont’d below)
Rounds 9-11: Ch 3, turn; dc in next st and in ea st around; sl st in top of turning ch to join. (46)
Round 12: Ch 3, turn; dc in next st, dc2tog, dc in ea remaining st around, stopping within the last
3 sts, dc2tog, dc in last st; sl st in top of turning ch to join. (44)
Rounds 13 & 14: Ch 3, turn; dc in next st and in ea st around; sl st in top of turning ch to join.
(44)
Round 15: Ch 3, turn; dc in next st, dc2tog, dc in ea remaining st around, stopping within the last
3 sts, dc2tog, dc in last st; sl st in top of turning ch to join. (42)
Rounds 16 & 17: Ch 3, turn; dc in ea st around; sl st in top of turning ch to join. (42)
Round 18: Ch 3, turn; dc in next st, dc2tog, dc in ea remaining st around, stopping within the last
3 sts, dc2tog, dc in last st; sl st in top of turning ch to join. (40)
Rounds 19-28: Ch 3, turn; dc in next st and in ea st around; sl st in top of turning ch to join. (40)
The sleeve can be shortened or lengthened by omitting or adding the desired number of Round 19 repeats.
Round 29: Ch 3, turn; dc in next st, dc2tog, dc in ea remaining st around, stopping within 3 sts
from the end, dc2tog, dc in last st; sl st in top of turning ch to join. (38)
Do no fasten off, continue to Creating the Sleeve Cuff.
Size Large
Rounds 9-12: Ch 3, turn; dc in next st and in ea st around; sl st in top of turning ch to join. (48)
Round 13: Ch 3, turn; dc in next st, dc2tog, dc in ea remaining st around, stopping within the last
3 sts, dc2tog, dc in last st; sl st in top of turning ch to join. (46)
Rounds 14-16: Ch 3, turn; dc in next st and in ea st around; sl st in top of turning ch to join. (46)
Round 17: Ch 3, turn; dc in next st, dc2tog, dc in ea remaining st around, stopping within the last
3 sts, dc2tog, dc in last st; sl st in top of turning ch to join. (44)
Rounds 18-19: Ch 3, turn; dc in ea st around; sl st in top of turning ch to join. (44)
Round 20: Ch 3, turn; dc in next st, dc2tog, dc in ea remaining st around, stopping within the last
3 sts, dc2tog, dc in last st; sl st in top of turning ch to join. (42)
Rounds 21-30: Ch 3, turn; dc in next st and in ea st around; sl st in top of turning ch to join. (42)
The sleeve can be shortened or lengthened by omitting or adding the desired number of
Round 21 repeats.
Round 31: Ch 3, turn; dc in next st, dc2tog, dc in ea remaining st around, stopping within the last
3 sts, dc2tog, dc in last st; sl st in top of turning ch to join. (40)
Do not fasten off, continue to Creating the Sleeve Cuff.
CREATING THE SLEEVE CUFF
All Sizes
Ch 9 to begin.
Row 1: Turn; dc in the 4 th ch from hook (counts as dc) and in ea ch across; sk 2 sts on the
bottom of the sleeve, sl st into the next 2 sts on the bottom of the sleeve. (7 dc sts)
Row 2: Turn; working in BLO, dc in ea st across, ending last st in top of turning ch from previous
row. (7)
Row 3: Ch 3 (counts as first st), turn; sk first st, working in BLO, dc in ea st across; sk 2 sts on
the bottom of the sleeve, sl st into the next 2 sts on the bottom of the sleeve. (7 dc sts)
Repeat Rows 2-3 around the entire bottom of the sleeve, and:
- When working the last Row 3-repeat, your last slip stitch will be into the joining seam on
the bottom of the sleeve.
Fasten off; weave in ends.
Repeat for the other sleeve and then continue to Finishing the Dress.
FINISHING THE DRESS
Blocking the Dress
- Fill a sink with tepid water; add a no-rinse wool wash (you can also use a few drops of
olive oil and/or essential oil instead)
- Gently submerge the dress in the water and press out any air bubbles.
- Drain the sink with the dress still in it; gently press it in sections to expel as much
water as possible.
- Lay the dress on a towel; fold the towel over the dress and carefully roll it up; step on
the towel to expel as much water as possible.
- Lay the dress out flat on a dry towel and allow to dry completely (you can also use
blocking mats, a bed, etc).
Congratulations, you have completed the Cecilia Sweater Dress!
Thanks again to Brynnan from Esme & Aven for sharing this free kid's crochet sweater dress pattern! Be sure to check out Brynnan's Etsy shop for lots more modern crochet patterns!
More Free Crochet Patterns for Children
Looking for more kid crochet patterns? Here are some M&DC fan favorites. Find all our crochet patterns for babies and kids here.
Tracy McDonald says
Although the dress looks alright, ok, it's a dress. It is BORING. There is Nothing Modern about it! It uses the one stitch that EVERYONE EVER learns. It is Basic not Modern! And the subtleties you speak of... pointless, especially for children. They are straight up-and-down. BORING Pattern.
By the way, you are not getting any comments as this is much too hard to find.
I persisted because I felt that this comment of mine really and truly needed to be stated.