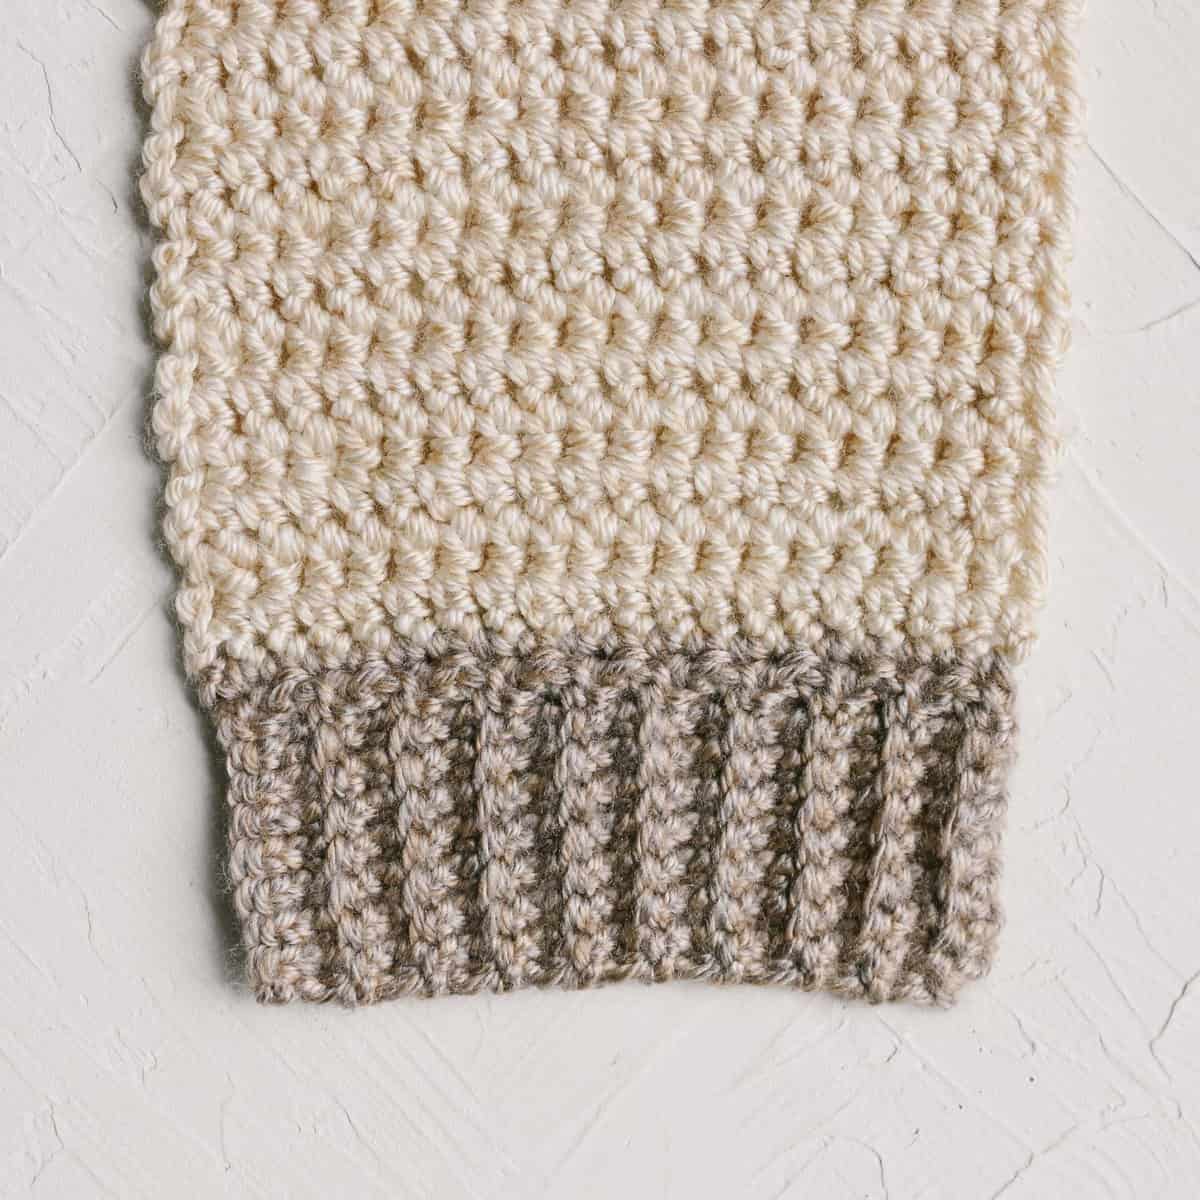
Learn how to add ribbing to crochet projects like sweaters, beanies, mittens, baby booties – and anything else you want to have a nice, tidy edge. Ribbed crochet stitches are one of my favorite techniques for creating polished-looking projects!
Jump to:
Ribbing Video Tutorial
Learn the concepts of how to add crochet ribbing to any project using stitches like single crochet (sc), yarn over slip stitch (yoslst), or half double crochet (hdc).
Note: You must disable ad-blockers to view video player below.
Timestamps:
0:00 When to use this
0:41 The set up row
1:40 Foundation chain
2:23 Row 1
4:10 Row 2
6:04 Row 3 and beyond
8:23 How to finish ribbing
Written Ribbing Instructions
Here's how to add ribbed stitches after the main portion of a crochet project is finished.
- Watch the ribbing video tutorial above to understand the concepts.
- With right side facing and ribbing colored yarn, single crochet along edge where you will be adding ribbing.
- Keep yarn attached and follow the written ribbing instructions below. You can use single crochet through the back loop as written, or substitute with another rib stitch.
Foundation: Ch 10. (Or any number you prefer.)
Row 1 (WS): Sc in second ch from hook, sc in each st, slst to second sc of Ribbing Set Up Row, slst to next sc; turn. (9 sc + 2 slsts on sweater)
Row 2 (RS): (Do not ch 1), skip slsts along sweater bottom, sc in the blo of each sc until 1 rem, sc through both loops of the last st; turn. (9 sc)
Row 3 (WS): Ch 1, sc though blo of each sc, slst to next unworked sweater sc, slst to next sweater sc; turn.
Row 4 (RS): Rep Row 2.
Rep Rows 3 and 4 to end of set up row.
Wanna save this pattern?
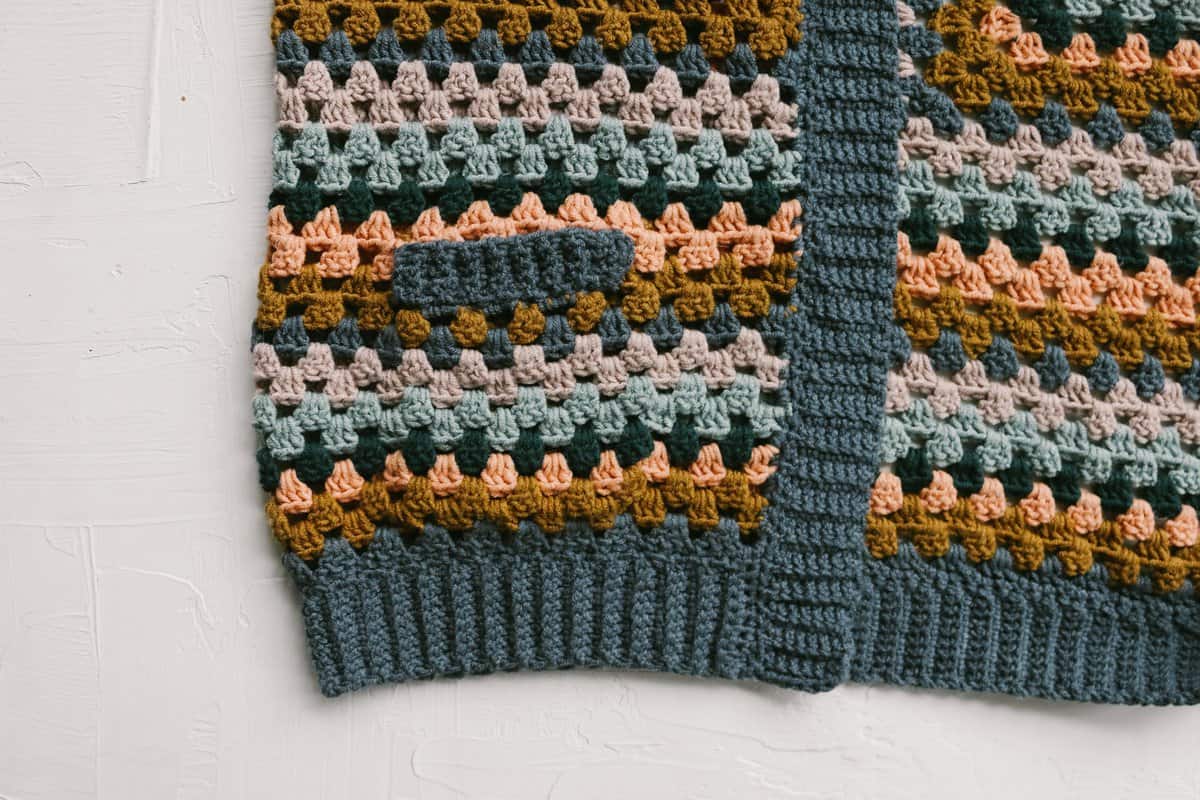
This is my favorite technique for adding crochet ribbing along the edge of sweaters, such as the Campfire Cardigan pictured above.
Crochet Ribbed Stitch Variations
There are lots of ways to adjust your ribbed stitches depending on the look you prefer. Here are some crochet ribbing stitches to try, in order from stretchiest and slowest to least elastic and fastest.
- Slip stitch through the back loop only (slstblo)
- Yarnover slip stitch through the back loop only (yoslstblo)
- Single crochet through the back loop only (scblo)
- Half double crochet through the back loop only (hdcblo)
To Create "Tighter" Ribbed Edging
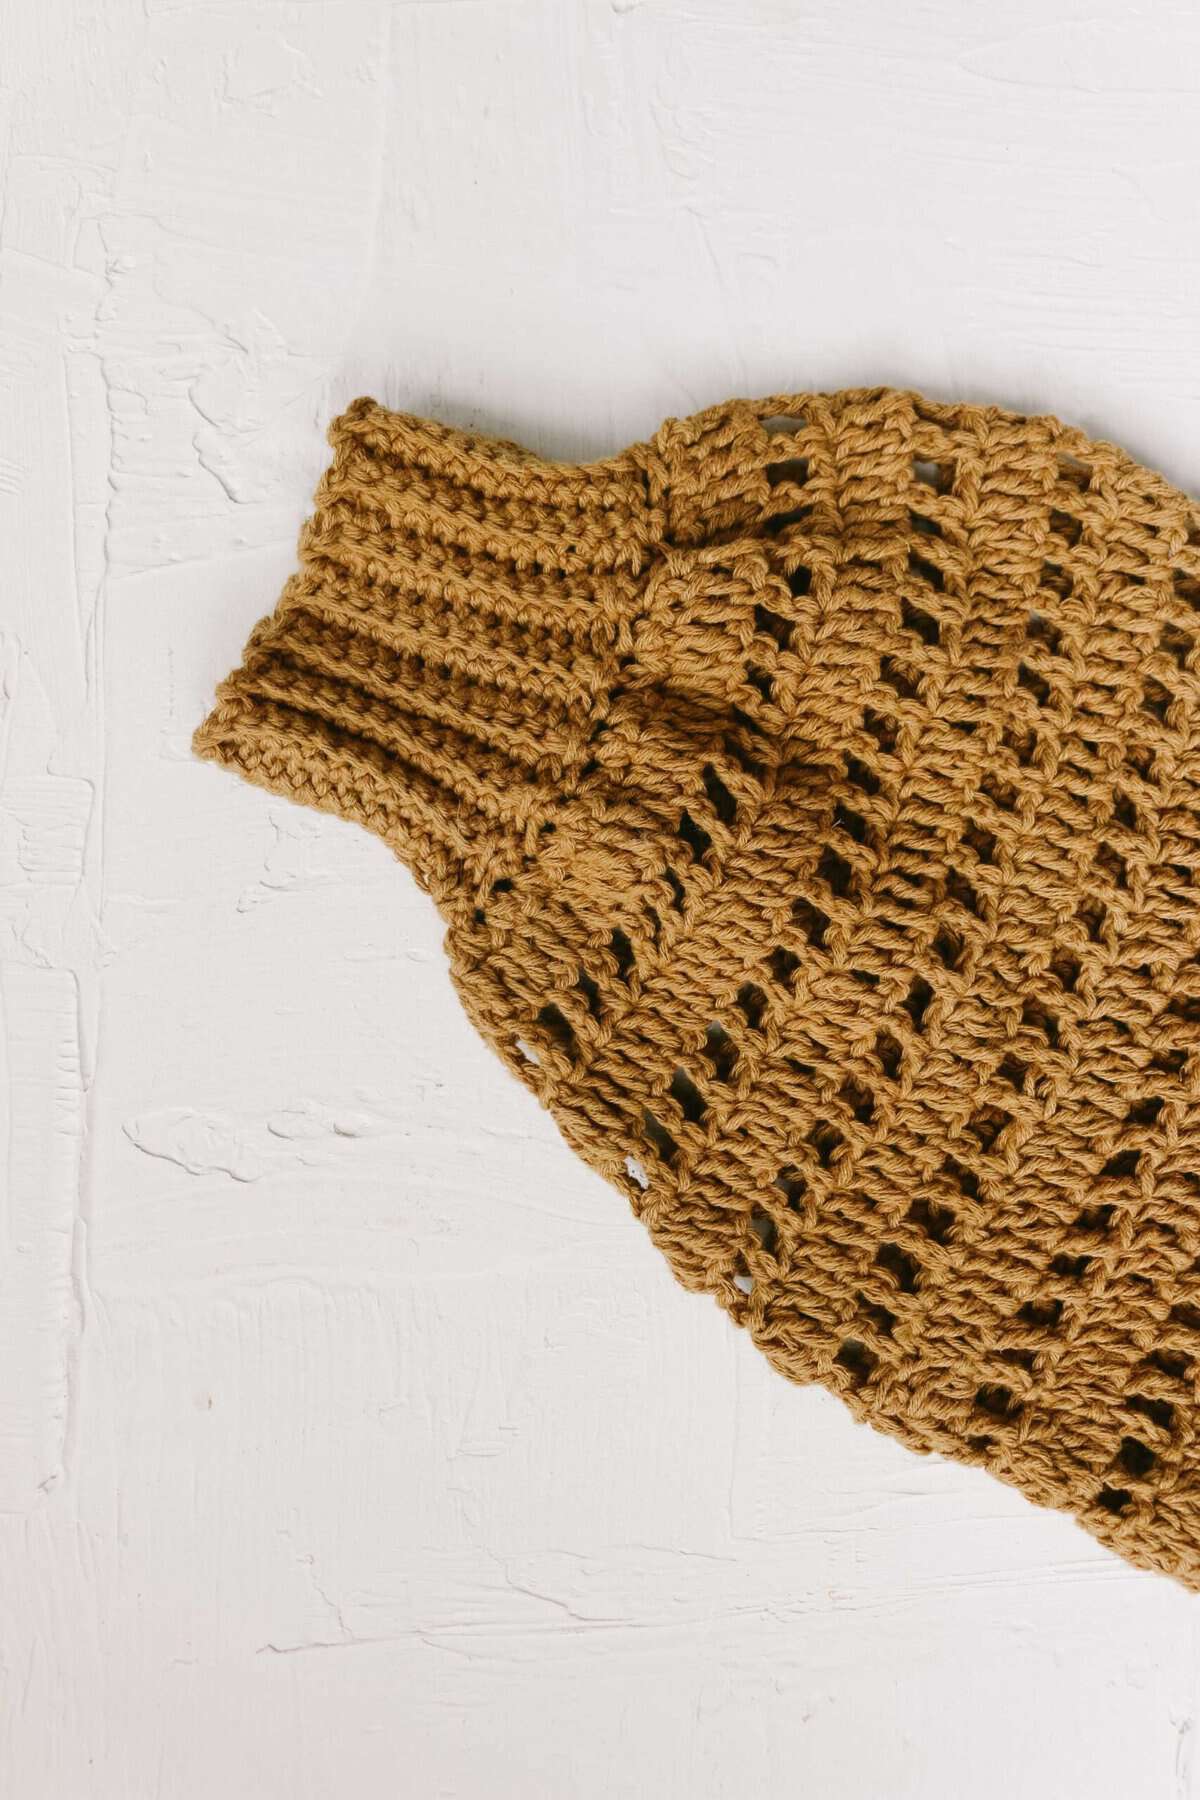
To make the ribbing narrower than the project it's attached to, such as in a sleeve or beanie brim:
Work additional slip stitches each time you're attaching ribbing along the set up row. This will create fewer ribbing rows overall, making the rib section narrower.
The Stretchiest Ribbing
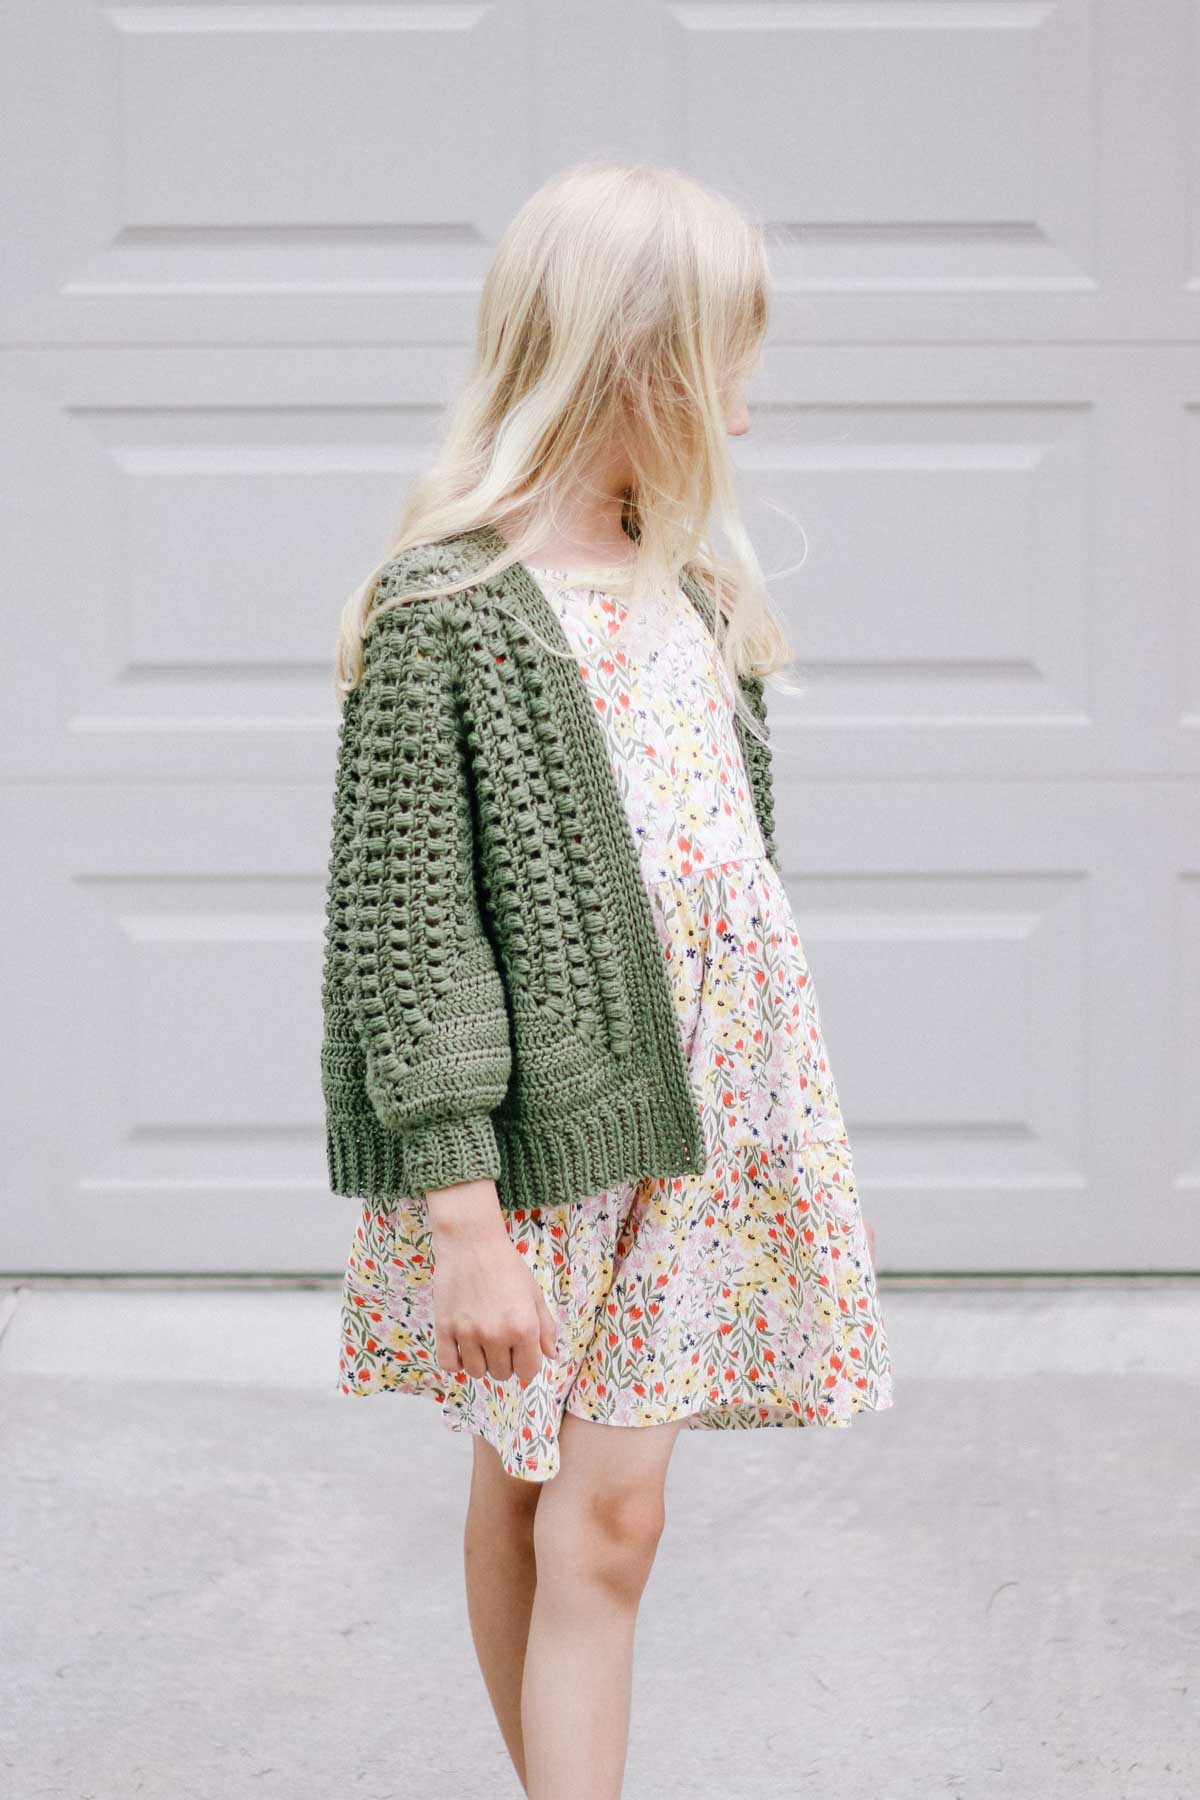
For stretchier ribbing, use yarn over slip stitches or typical slip stitches. While these can be slower to work, their delicate detail and elasticity is hard to beat. (Pictured above in the Mezzo Cardigan.)
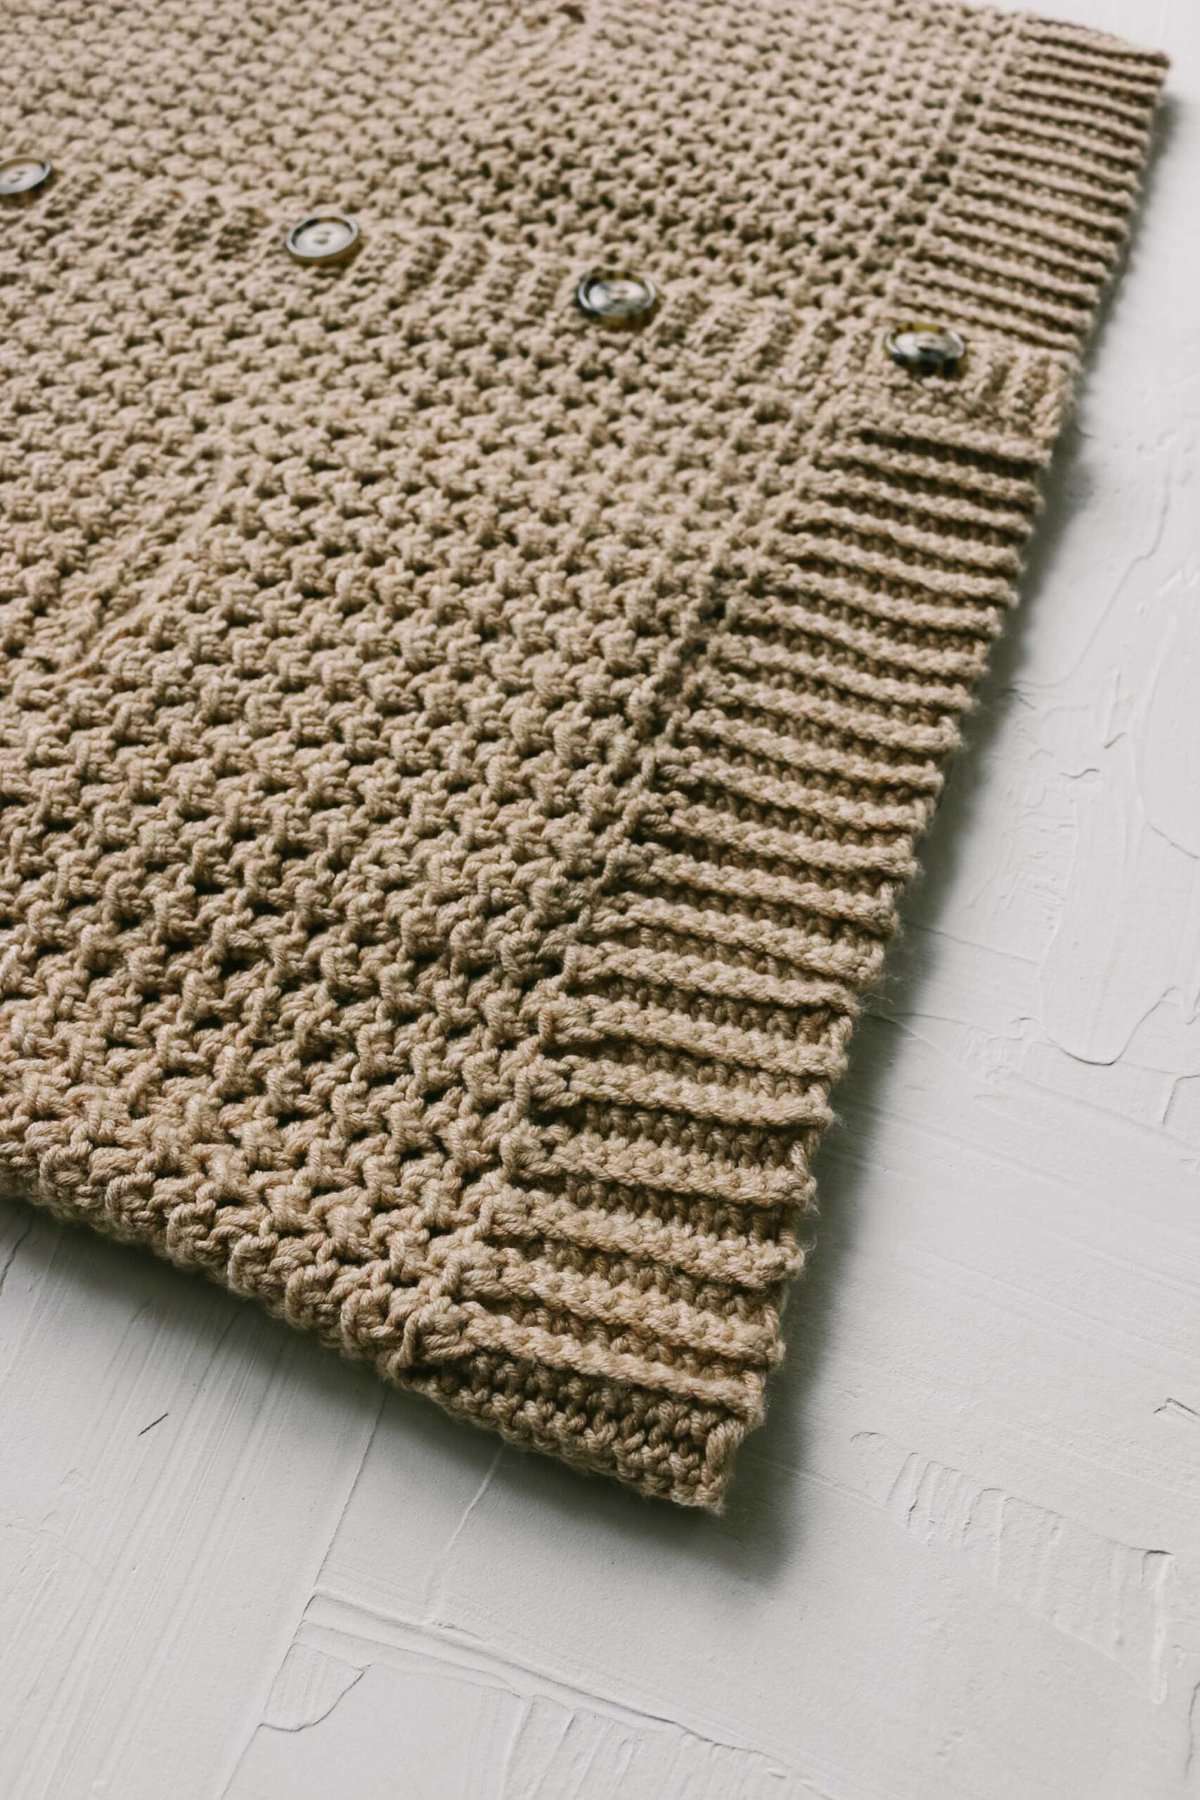
Adding Button Holes
To add button holes within your crochet ribbing, replace a rib stitch with a chain stitch or two. On the next row, work into the chain stitch(es) with ribbing stitches again.
Invitation to our Facebook group
Come discuss the best crochet ribbing stitches and lots of other projects and techniques in our Make & Do Crew Facebook group. Here thousands of helpful crocheters answer each other's questions and share their stitches. Come join us here.

Leave a Reply