In Part 1 (and 2) of The Mezzo Cardigan, we’re going to learn how to crochet the main hexagons that will eventually form the sleeves, back and fronts of our sweaters! Get Parts 1 & 2 of the free pattern + video tutorial below or purchase the complete pattern with tutorials and stitch charts in the printable PDF here.
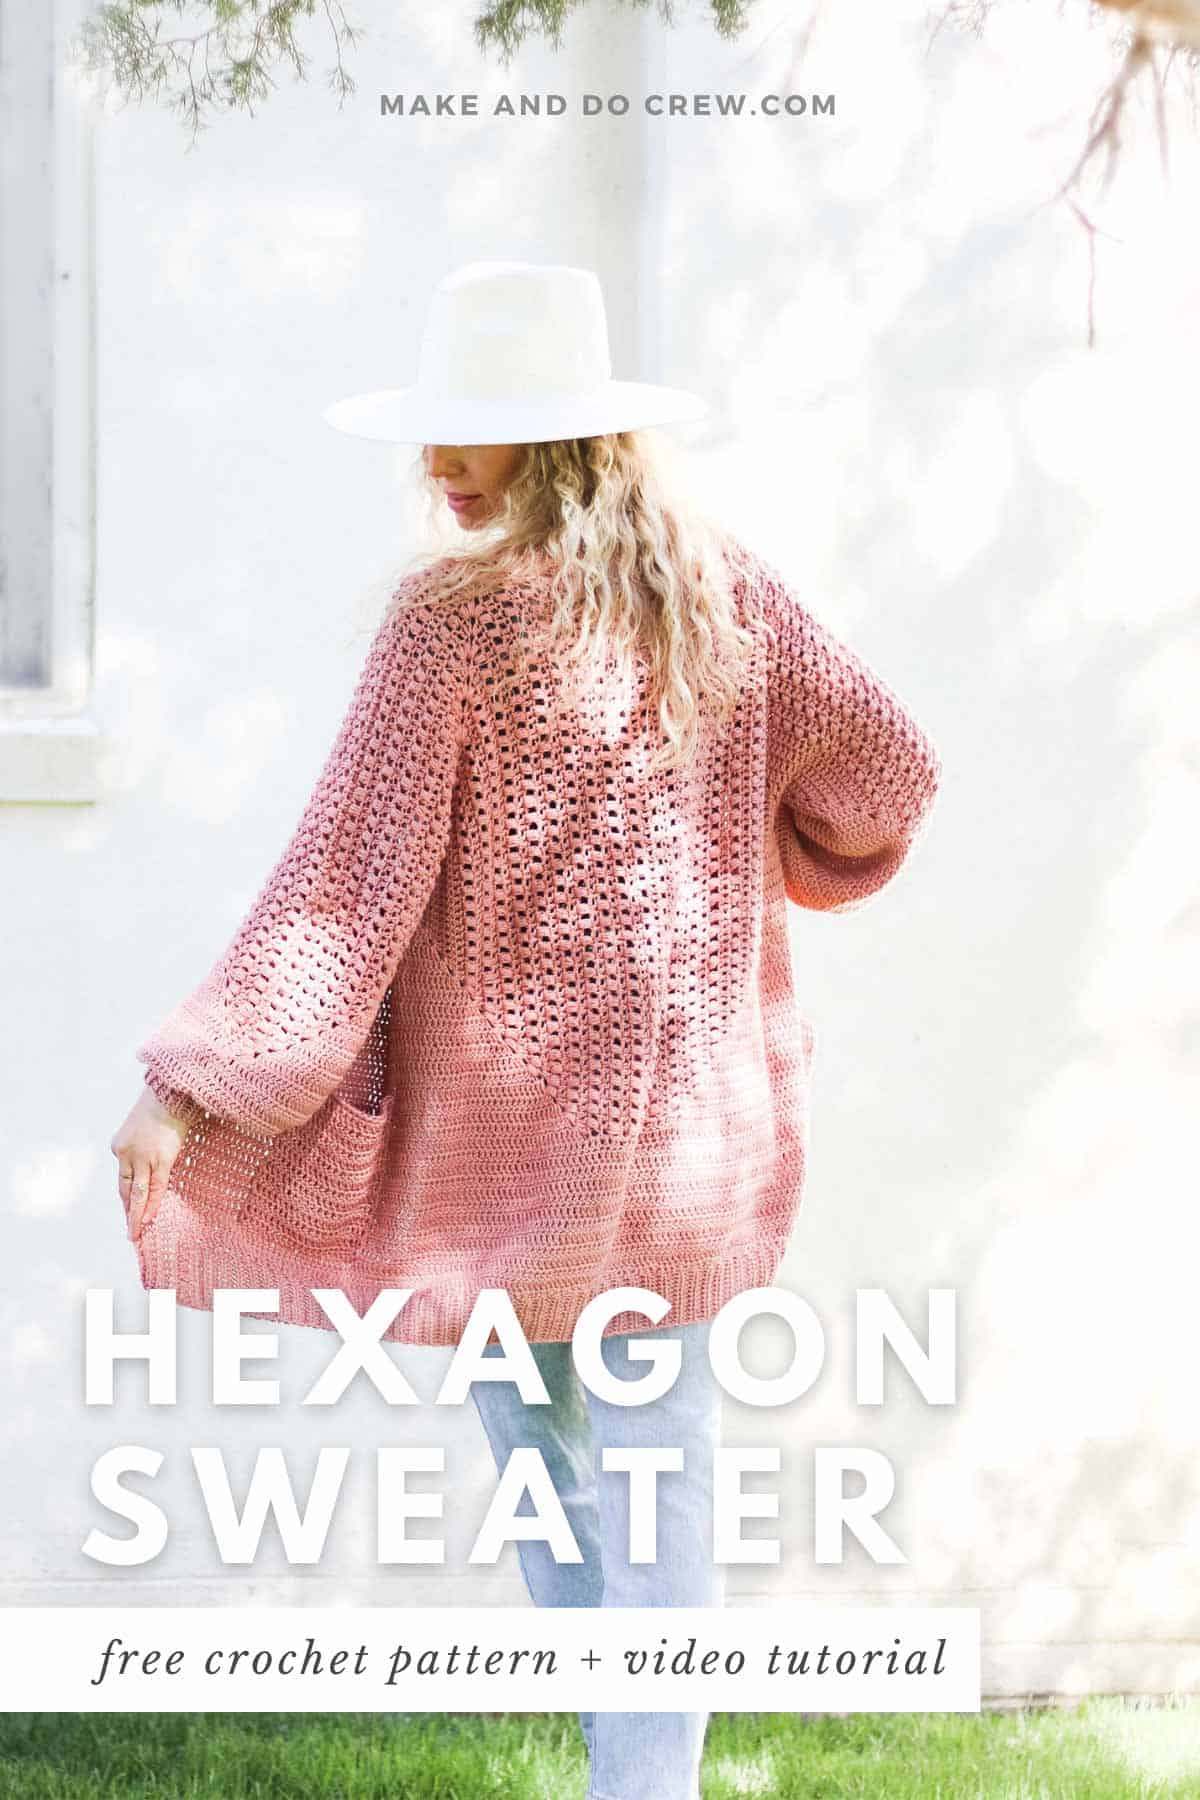
The Mezzo Cardigan Crochet Along is part of a collaboration with Lion Brand Yarns. This post contains affiliate links.
Woohoo! It’s time to get started the most critical element of our Mezzo hexagon cardigans–the hexagons!
If you’re new here be sure to read all about this crochet hexagon cardigan pattern, what to look for in a yarn and what skills you’ll need to make this sweater here.

Can I Print This Pattern?
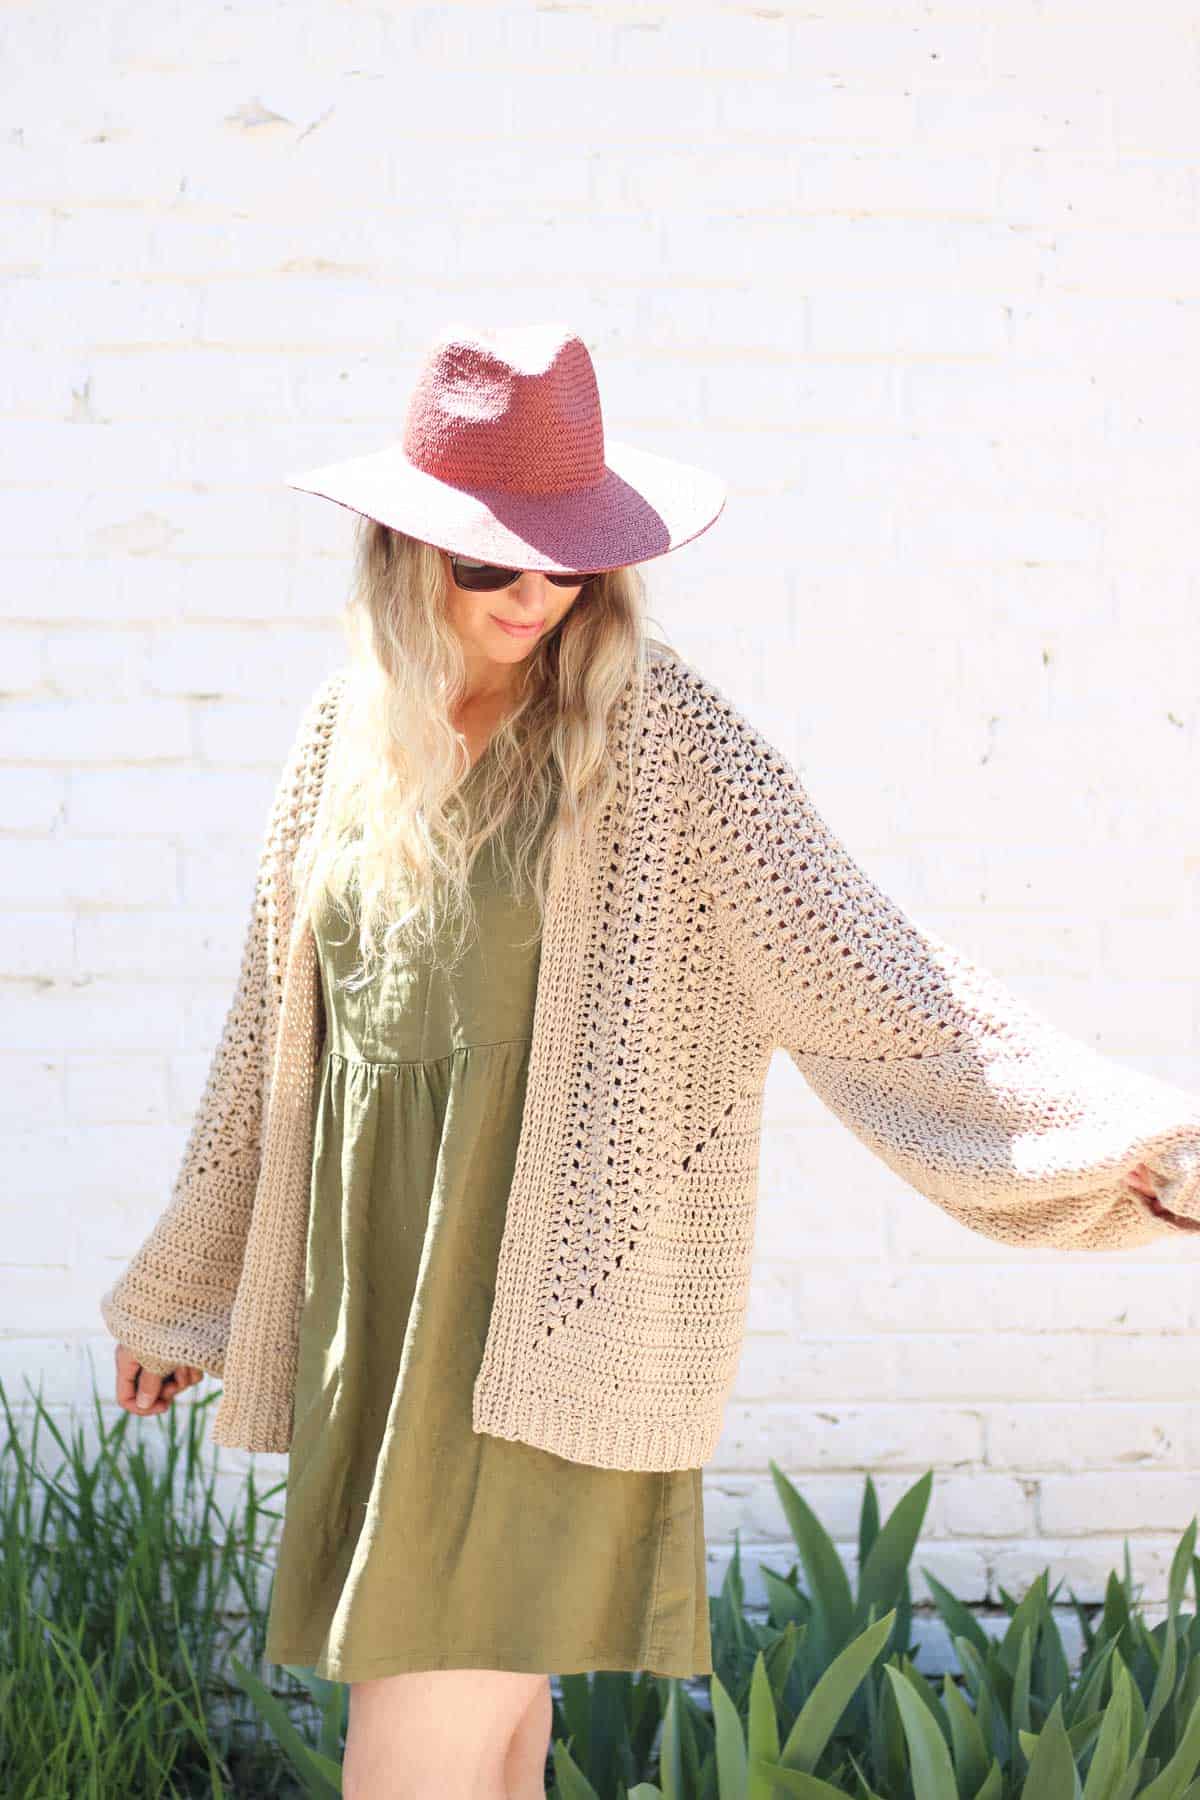
Yes! We know many people like to work from a paper copy of their crochet pattern. This is why we love offering our patterns in large-type, ad-free PDFs that are formatted for easy printing.
We are so grateful to those of you who support our small business by upgrading to the premium printable versions of our patterns, so we add extra bonuses to our PDFs whenever we have something helpful to share. In the case of the Mezzo Cardigan, we added so many charts, diagrams and photos that we created a 32 page PDF!
The printable PDF includes the complete pattern, all the photo tutorials and bonus stitch charts, diagrams and labels for your hexagon sides.
What If I Want to Work Ahead in the Crochet Along?
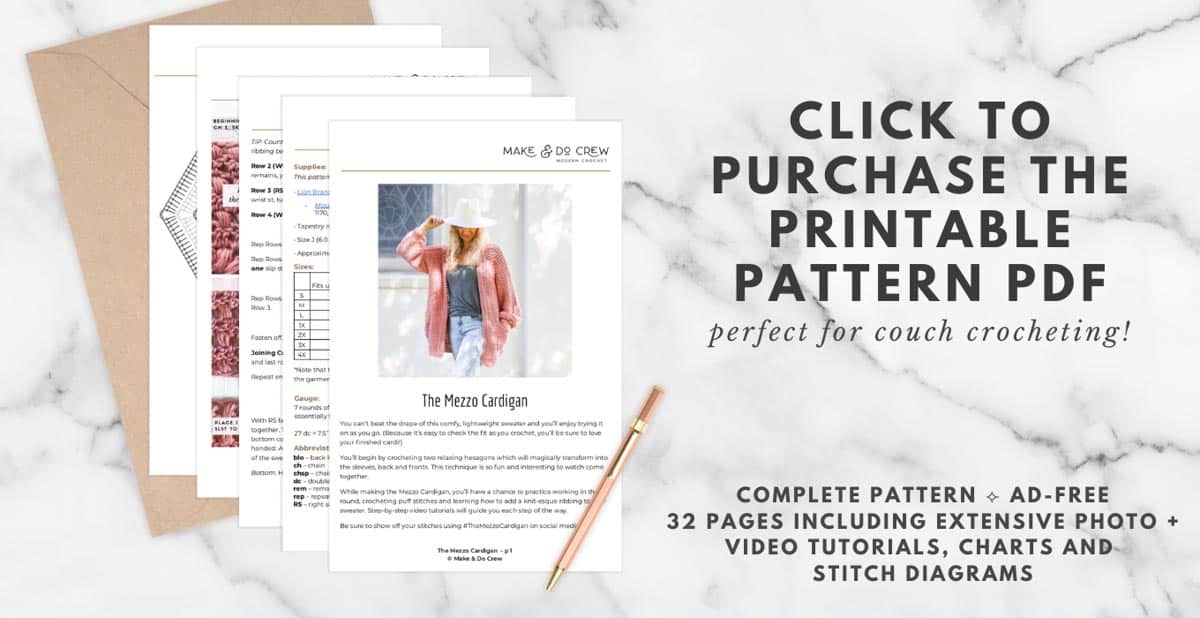
You’re in luck! If you get rolling on your hexagons and don’t want to wait for the next stage of the free pattern to be released, you can find the entire pattern in the printable PDF.
Print it! Click to purchase the printable PDF ⇨
More Free Crochet Sweater Patterns
Crochet sweater patterns don’t need to be difficult. In fact, most of ours are made with very simple shapes. Dive into the wonderful world of crochet garments with cardigans, pullovers, ponchos, shrugs and more!
See more free crochet sweater patterns →
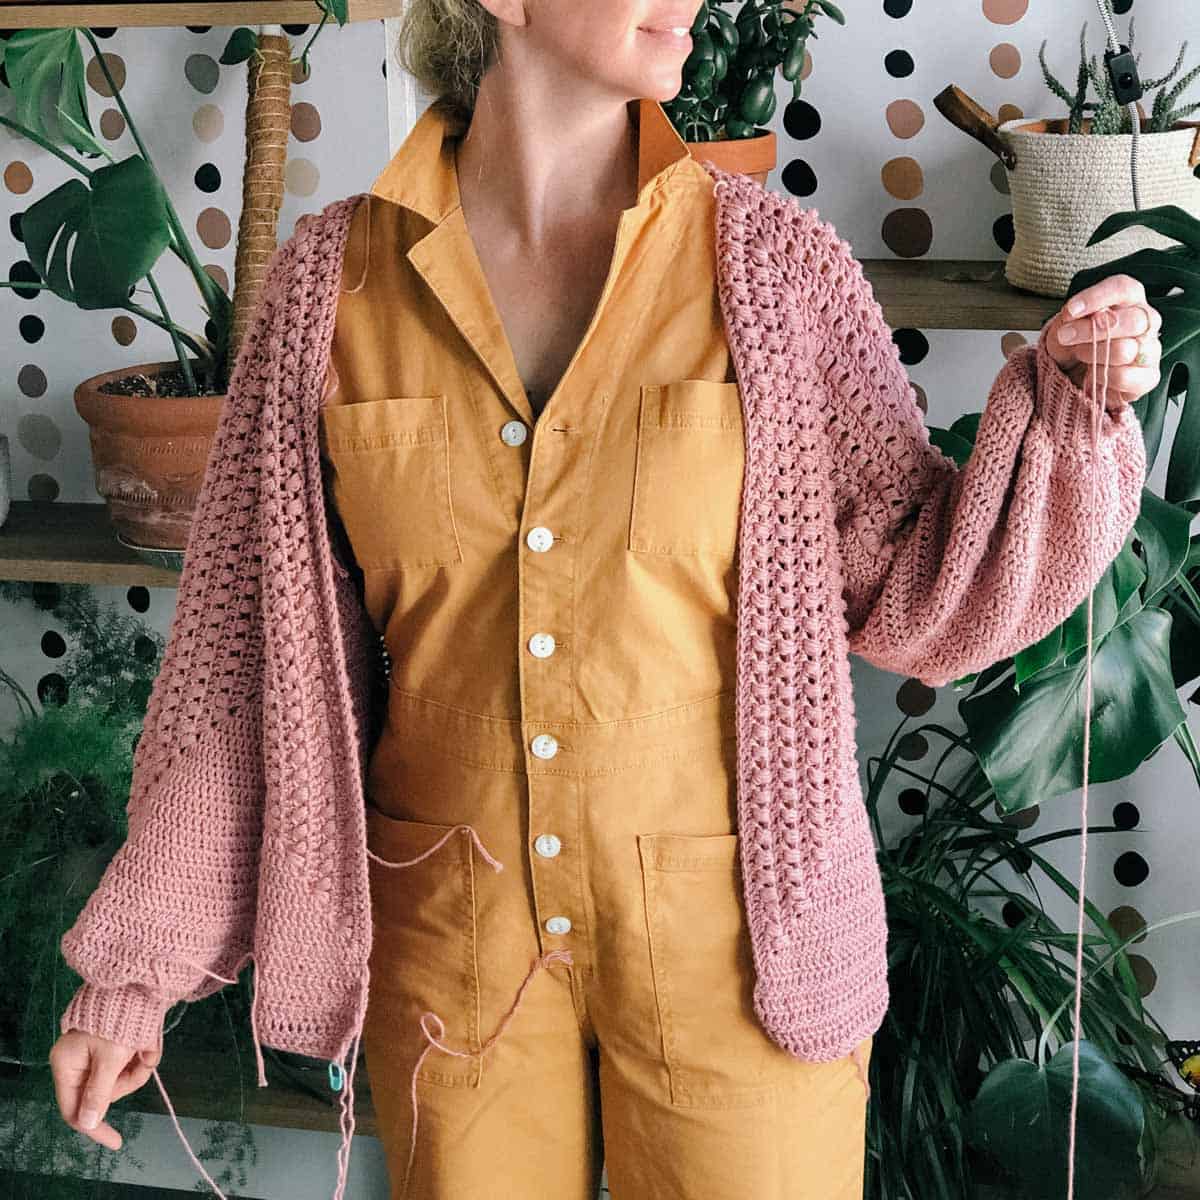
The Mezzo Cardigan Video Tutorial Parts 1 + 2
I’m so happy to be able to share this very detailed video tutorial on how to crochet your main hexagons. If you’re still building your pattern-reading skills, this video will be immensely helpful in showing you the main concepts of The Mezzo Cardigan.
Directly below the video player, you can find all the links I mention in the video.
NOTE: If you have an ad-blocker running, you’ll need to disable it to view the video tutorial below.
Links Mentioned In the Video:
• The Mezzo Cardigan Crochet Along main page
• The free pattern, Parts 1 + 2 (scroll down)
• The ad-free, printable PDF including the complete pattern, photo tutorials + stitch charts
• The Mezzo Cardigan all-in-one kit from LionBrand.com
• The Make & Do Crew Facebook group
New to making cardigans? Don’t miss How to Crochet a Sweater for our best beginner tips
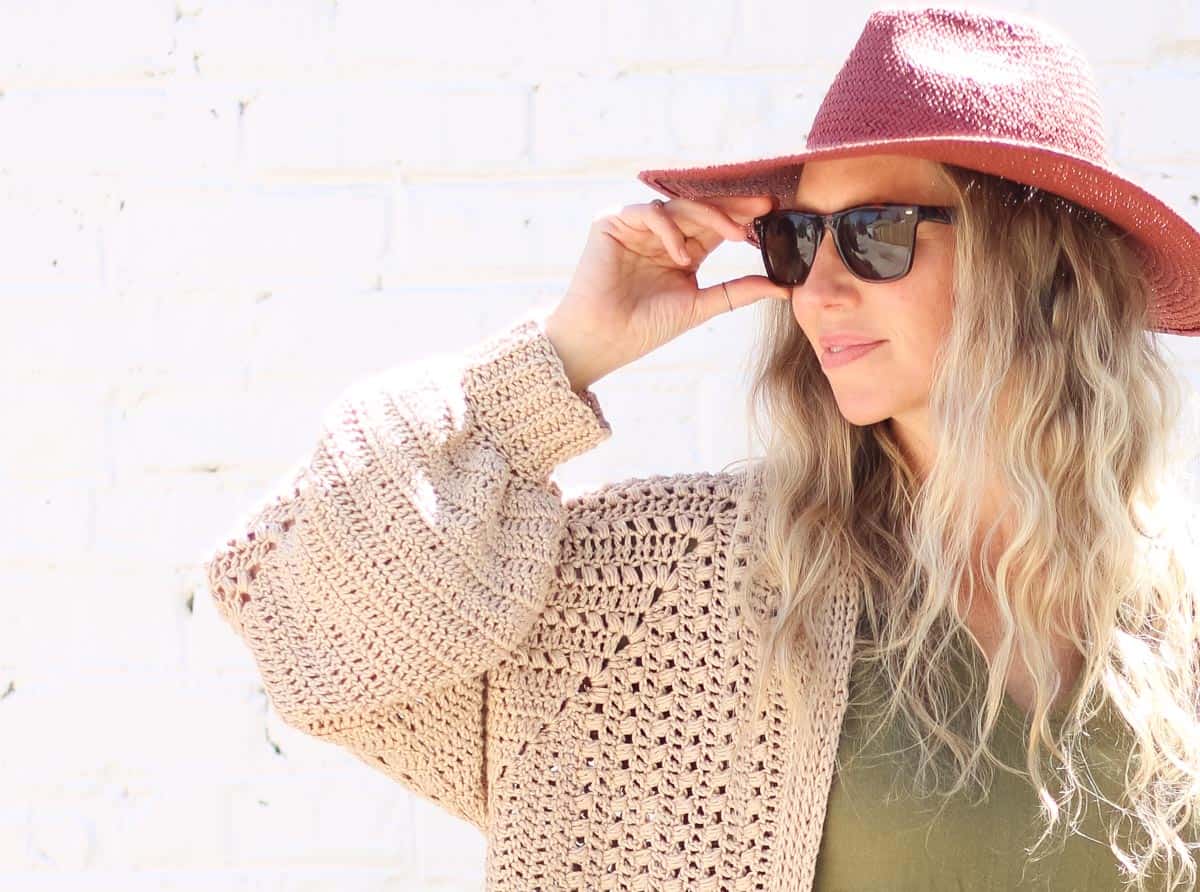
The Mezzo Cardigan
Parts 1-2
Purchase the ad-free, printable PDF on Etsy here or on LoveCrafts here.
Order the all-in-one kit here.
Save this pattern to Ravelry here.
Pin it for later here.
Introduction:
You can’t beat the drape of this comfy, lightweight sweater and you’ll enjoy trying it on as you go. (Because it’s easy to check the fit as you crochet, you’ll be sure to love your finished cardi!)
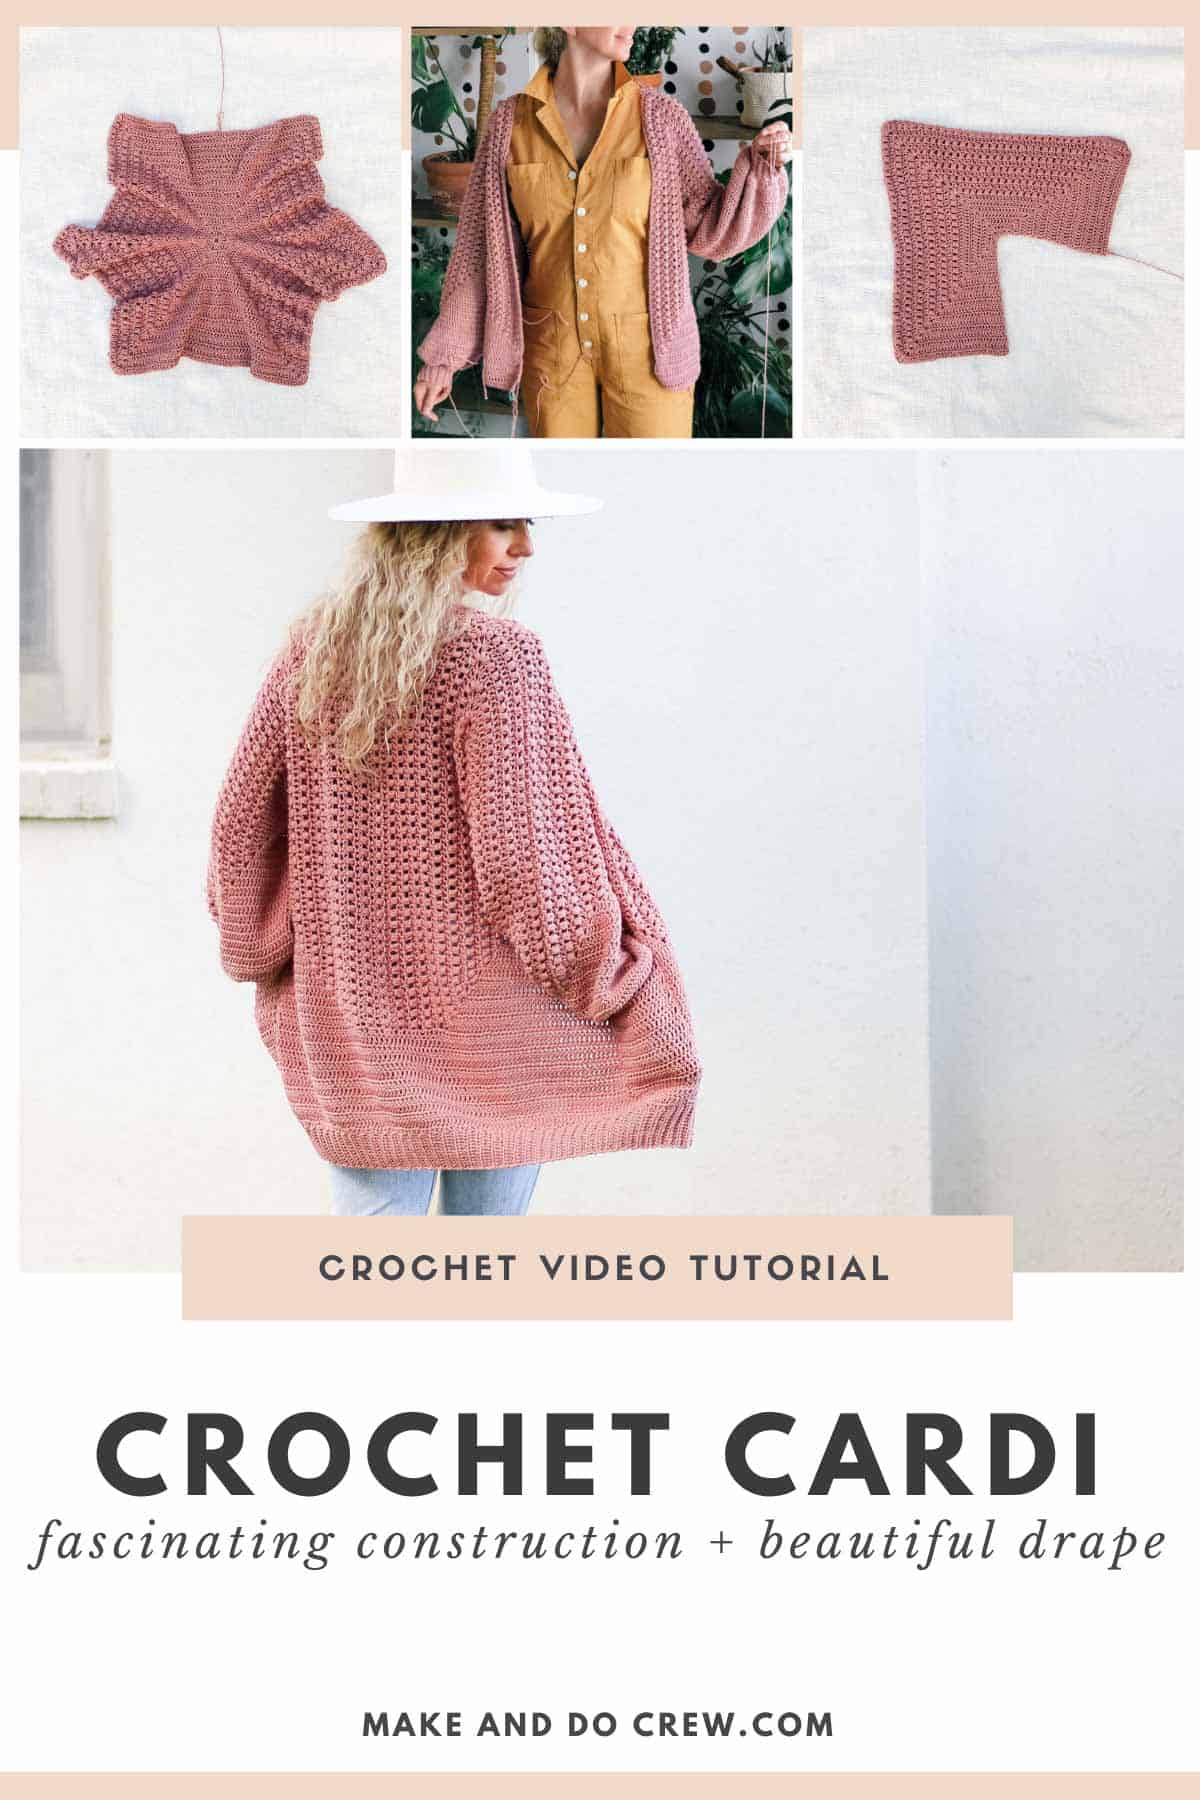
You’ll begin by crocheting two relaxing hexagons which will magically transform into the sleeves, back and fronts. This technique is so fun and interesting to watch come together.
While making the Mezzo Cardigan, you’ll have a chance to practice working in the round, crocheting puff stitches and learning how to add a knit-esque ribbing to your sweater. Step-by-step video tutorials will guide you each step of the way.
Be sure to show off your stitches using #TheMezzoCardigan on social media!
Supplies:
• Lion Brand Coboo (Weight: 3/light – 232 yds, 3.5 oz, 100 g)
– Mauve (835-145) – 8 (9, 9, 9, 12, 12, 14) skeins [(approx. 730 (850, 870, 900, 1140, 1170, 1320) g)]
• Tapestry needle
• Size J (6.0 mm) crochet hook or size needed to obtain gauge
• Approximately 20 stitch markers
• Steamer or iron with steam setting
Sizes:
| Size | Fits up to Actual Bust | Circumference of sweater, including collar | Length (adjustable)* | Yarn Needed (assuming Lion Brand Coboo is used) |
| S | 37″ | 44 | 25” | 8 skeins (730g) |
| M | 41” | 47.5” | 27” | 9 skeins (850g) |
| L | 45” | 50.5” | 27” | 9 skeins (870g) |
| 1X | 49” | 52.5” | 27” | 9 skeins (900g) |
| 2X | 53″ | 58.5” | 33” | 12 skeins (1140g) |
| 3X | 57″ | 60.5” | 33” | 12 skeins (1170g) |
| 4X | 61″ | 64.5” | 35” | 14 skeins (1320g) |
*Note that the length will extend 2-3” in addition to what’s listed due to the weight of the garment.
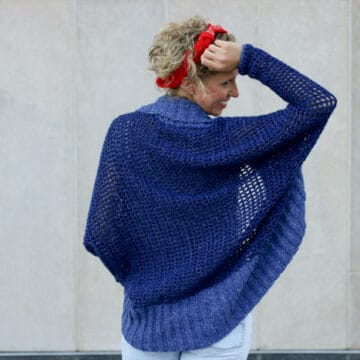
The sweater is designed to have an oversized look with a generous amount of ease. If you’re in doubt selecting a size, size down. (Mauve sample pictured is a size M. Beige sample is a size L. There are lots of opportunities to customize the sweater and sleeve length, so when choosing a size, think more about how loose you want the bust to fit.)
Gauge:
7 rounds of hexagon = 3.5” as measured from center of hexagon to one side, essentially the hexagon radius.
Wanna save this pattern?
27 dc = 7.5” as measured in Round 7 of hexagon.
Abbreviations and Glossary (US Terms):
blo – back loop only
ch – chain
chsp – chain space
dc – double crochet
rem – remaining
rep – repeat
RS – right side
sc – single crochet
sc2tog – single crochet two together (decrease)
sk – skip
slst(s) – slip stitch(es)
st(s) – stitch(es)
WS – wrong side
yo – yarn over
Yoslst2tog – yarn over slip stitch two together
tch – turning chain
Puff – [yo, insert hook in st and pull up a loop] 4 times in same st. Yo and pull through all nine loops on hook.
Yarn over slip stitch (yoslst): yo, insert hook into stitch, yo, draw hook through all 3 loops on hook. When inserting hook in a yoslst, you’re always working into the loop that’s farthest away from you.
Overall Pattern Notes:
• Ch 3 counts as 1 dc throughout.
Main Hexagons
Notes:
• Hexagon is worked in turned rounds.
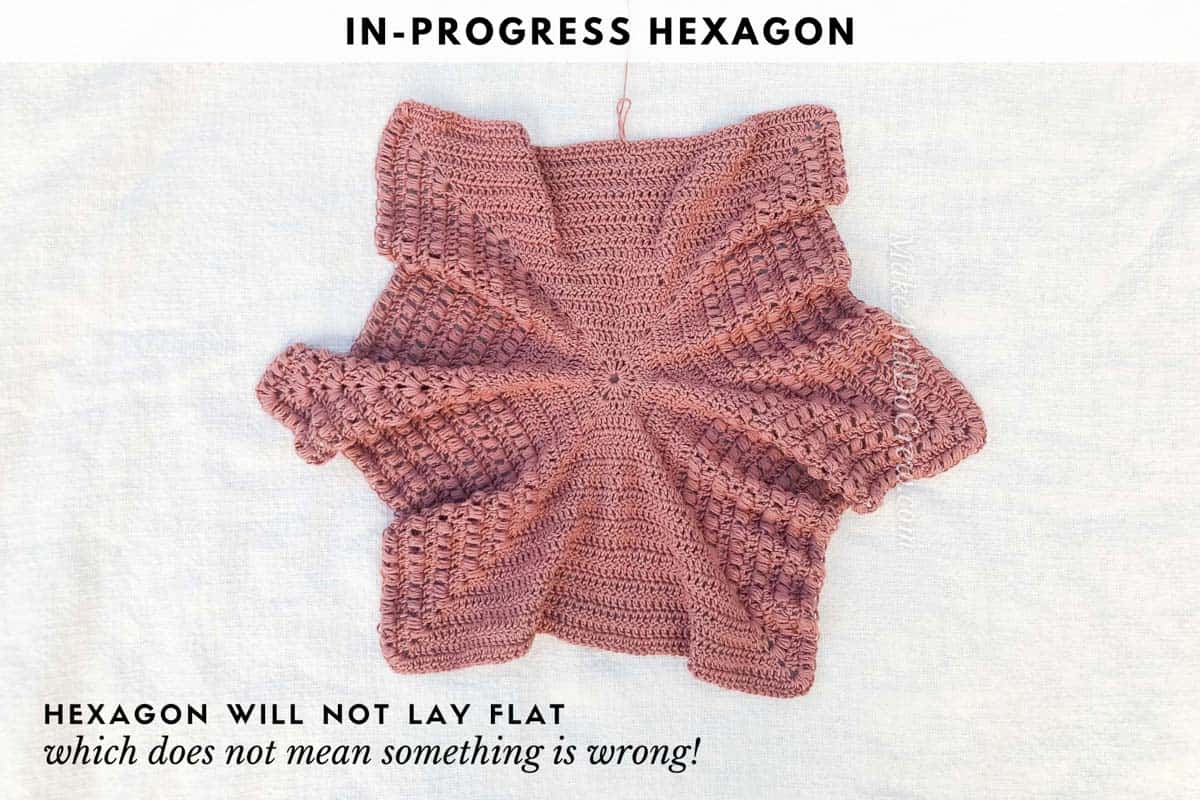
• After a few rounds, hexagon will look wavy and should not be able to lay flat. This is intentional to give enough fabric for the body and sleeves.
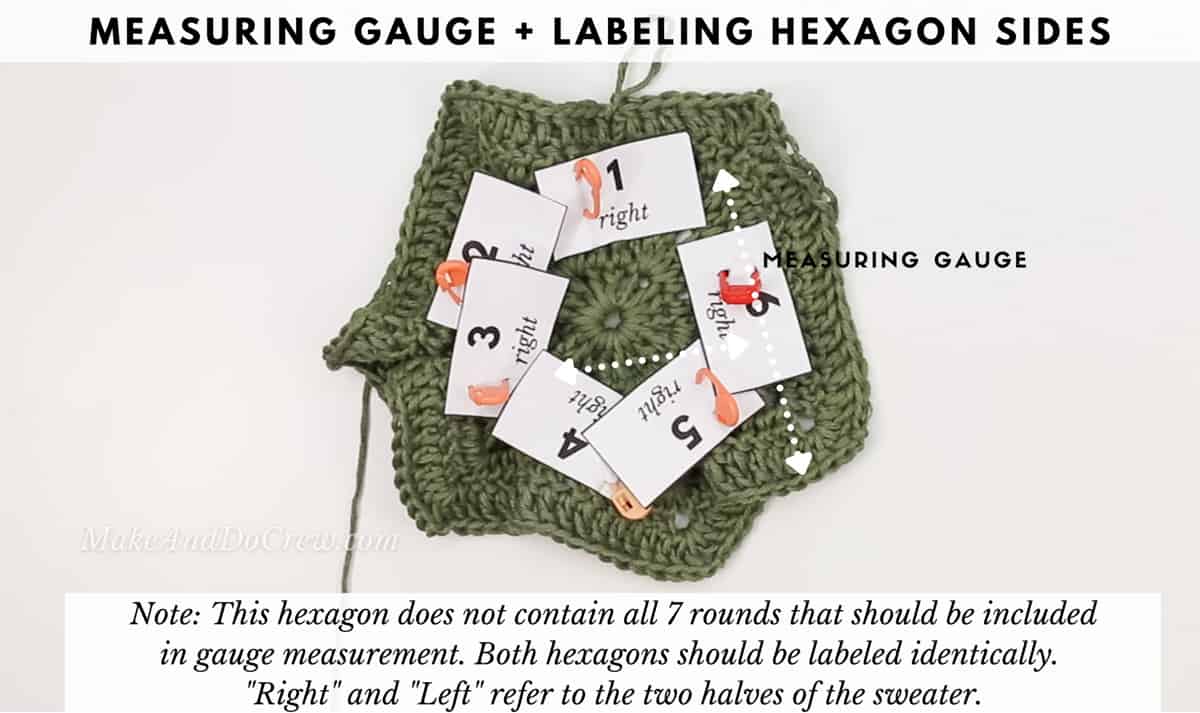
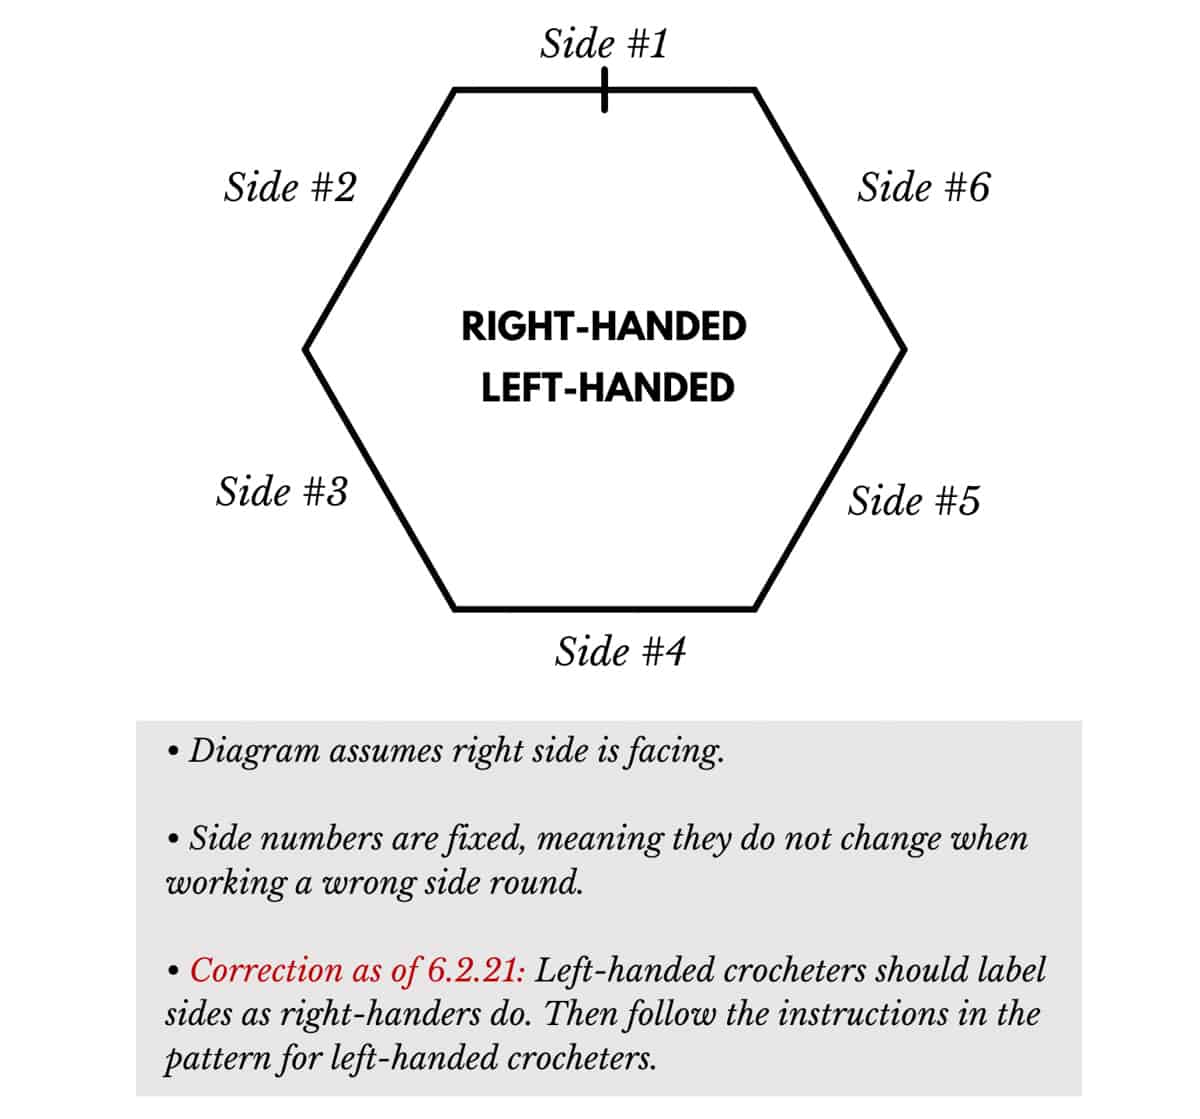
• Pattern refers to different sides of the hexagon by number, which is illustrated in the chart at end of pattern. Think of these side numbers as fixed to the orientation of looking at the right side of the hexagon.
For example, Side 3 is always Side 3, whether you flip the hexagon over or not. Side 3 does not become Side 5, just because the hexagon is flipped to the wrong side. When you measure gauge after Round 7, please pin name tags to each hexagon side. (Use the printable labels included in the PDF or make your own.) This will ensure you can easily identify hexagon locations as described in the pattern.
• Optional: Reference stitch charts at end of pattern PDF for extra visual clarification.
Make 2.
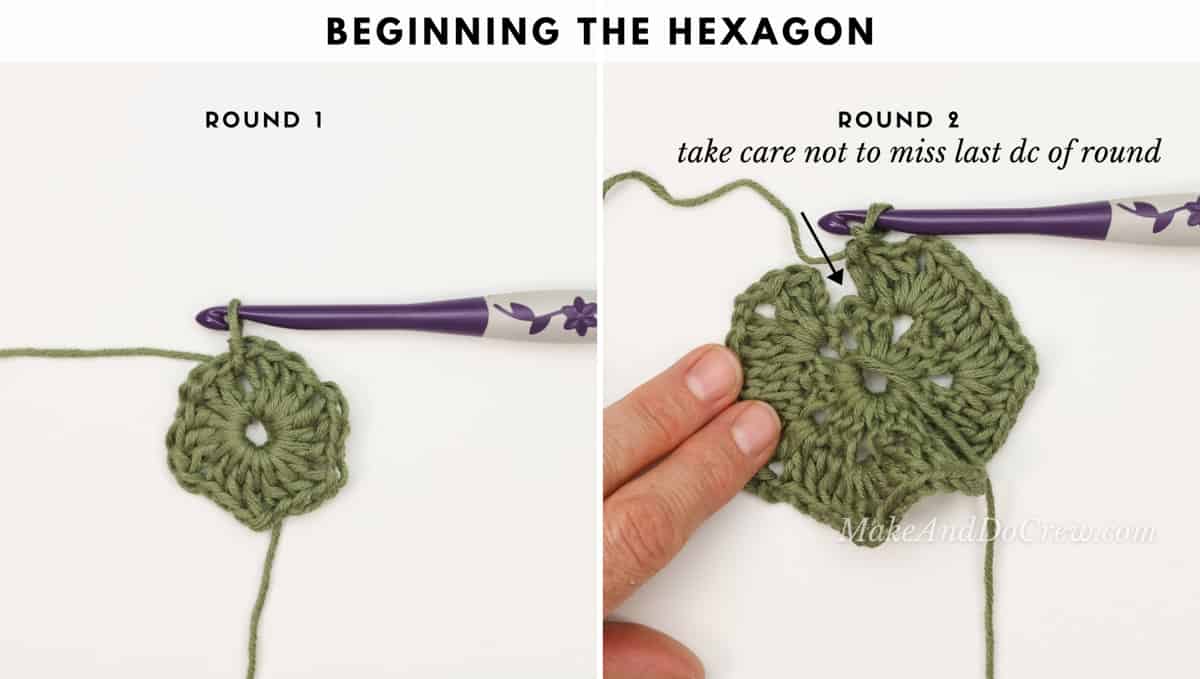
Foundation Round: Ch 4, slst to first ch to join, creating a ring.
Round 1 (RS): Ch 3 , 2 dc in ring, ch 1, [3 dc in ring, ch 1] 5 times, slst to 3rd ch from beginning of round to join; turn. (3 dc per side)
Round 2 (WS): Ch 3, [(2 dc, ch 2, 2 dc) in next ch1sp corner, dc in next 3 dc] 5 times, (2 dc, ch 2, 2 dc) in last ch1sp corner, dc in next 2 dc, slst to 3rd ch from beginning of round to join; turn. (7 dc per side)
Round 3 (RS): Ch 3, dc in next and each rem dc to ch2sp, [(2 dc, ch 2, 2 dc) in ch2sp corner, dc in each dc to next ch2sp corner] 5 times, (2 dc, ch 2, 2 dc) in last ch2sp corner, dc in rem dc, slst to 3rd ch from beginning of round to join; turn. (11 dc per side)
✨Unlock this free subscriber-exclusive pattern ✨
Follow these steps to view the full free pattern below
First half of Side #1: Ch 3, dc in next and each rem dc to end of side…
Corner #1: (2 dc, ch 2, puff, ch 1) in ch2sp corner…
Side #6: Puff in first dc of hex side, *ch 1, sk 1 dc, puff in next dc; rep from * to end of side…
Corner #6: (Ch 1, puff, ch 2, puff, ch 1) in ch2sp corner…
Side 5: Puff in first dc of hex side, *ch 1, sk 1 dc, puff in next dc; rep from * to end of side…
Corner #5: (Ch 1, puff, ch 2, 2 dc) in ch2sp corner…
Side #4: Dc in each dc to end of side…
Corner #4: (2 dc, ch 2, puff, ch 1) in ch2sp corner…
Side #3: Puff in first dc of hex side, *ch 1, sk 1 dc, puff in next dc; rep from * to end of side…
Corner #3: (Ch 1, puff, ch 2, puff, ch 1) in ch2sp corner…
Side #2: Puff in first dc of hex side, *ch 1, sk 1 dc, puff in next dc; rep from * to end of side…
Corner #2 : (Ch 1, puff, ch 2, 2 dc) in ch2sp corner…
Last Half of Side #1: Dc in each dc to beginning of round, slst to 3rd ch from beginning of round to join; turn. [16 (16, 16, 16, 20, 20, 20) puff sts or 31 (31, 31, 31, 39, 39, 39) dc per side]
Round 2 (RS – double crochet): Ch 3, *dc in next and each rem dc to ch2sp, [(2 dc, ch 2, 2 dc) in ch2sp corner, dc in each puff and ch1sp to next ch2sp corner] twice, (2 dc, ch 2, 2 dc) in next ch2sp corner; rep from * once more, dc in rem dc, slst to 3rd ch from beginning of round to join; turn. [35 (35, 35, 35, 43, 43, 43) dc per side]
[Rep Rounds 1 and 2] 3 (4, 4, 4, 5, 5, 6) more times.
Rep Round 1 once more. Hexagon should now contain 16 (18, 18, 18, 22, 22, 24) total rounds. The last round should contain 63 (71, 71, 71, 87, 87, 95) dc on each double crochet side and 32 (36, 36, 36, 44, 44, 48) puff stitches on each puff stitch side. Fasten off.
Can’t Wait To Keep Going?
Head to Part 3 of the free Mezzo Cardigan pattern here. In this section, we’ll extend the sides of our hexagons a bit, finish up the sleeves and join the hexagons into an actual garment. At that point, you’ll have a real cardigan to begin trying on!
If you’d like to move ahead at your own pace, purchase the PDF which will give you access to the complete pattern in one nicely formatted, printable document.
Keep crocheting! Click to purchase the printable PDF ⇨
That was so fun! Now what?
Invitation to our Facebook group
Come discuss making hexagon cardigan patterns and lots of other crochet projects and techniques in our Make & Do Crew Facebook group. Here thousands of helpful crocheters answer each others questions and share their stitches. Come join us here.
Find Your Next Sweater Project
- Lightweight Cropped Sweater – stylish 3 season top
- Easy Poncho With Sleeves – made entirely from rectangles
- Beginner Cardigan with Video – uses only half double crochet stitches
- Mandala Cardigan with Hood – crochet your own rainbow
- Poncho With Pockets – slim cut + kangaroo pocket
- The Dwell Sweater – with plus sizes + video tutorials
- Beginner Cardigan – made from rectangles
- Pullover Yoke Sweater – nearly seamless
More Free Patterns + Tutorials
Can’t get enough free crochet patterns!? Me either. You’ll definitely want to breeze through these collections to find your next project.
- 55+ Free Crochet Sweater and Cardigan Patterns – our most popular garments
- 40+ Free Crochet Blanket Patterns – baby blankets, throws + c2c graphgans
- 36+ Granny Square Patterns + tips for the perfect square
- 30+ Crochet Animal Patterns – adorable amigurumi stuffed animals
- Crochet Gift Ideas – easy patterns to make for others
- Fast Crochet Projects – start to finish in less than a day
Learn a New Skill
And when you’re ready to master a new skill, check out our detailed guides that include everything you need to know to level up your crochet game.
- How to Corner to Corner (C2C) Crochet for Beginners – with video tutorials to get you started
- How to Crochet a Beginner Hat – make an entire beanie in 1.5 hours!
- How to Crochet Amigurumi for Beginners – the ultimate guide to making your own toys and plushies
- How to Tunisian Crochet – learn with this video and a standard hook






Leave a Reply