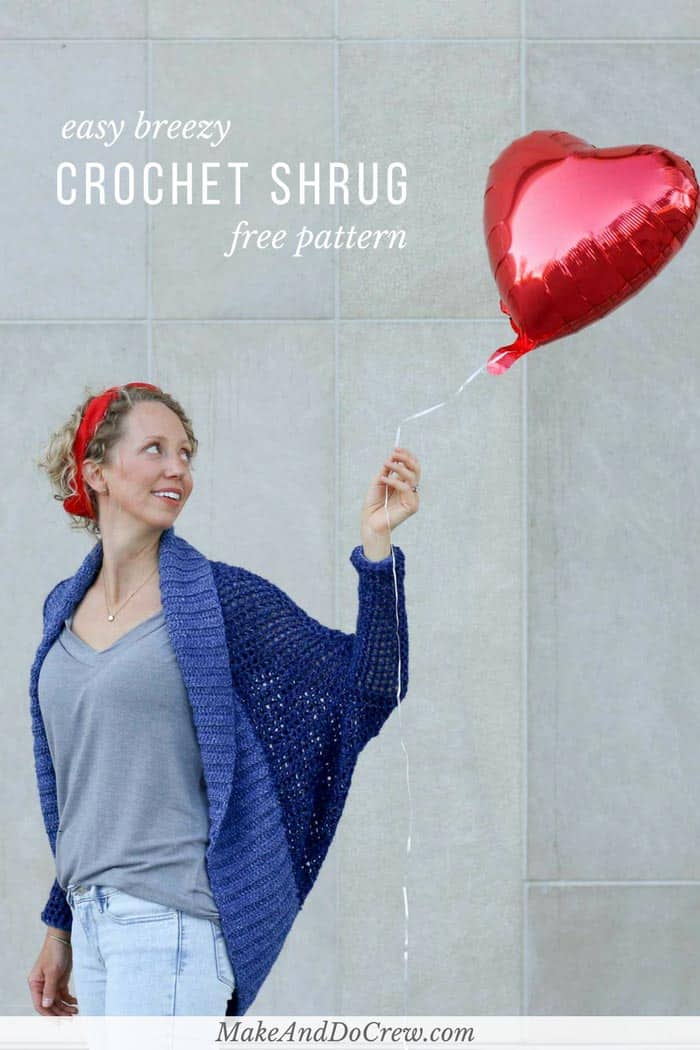
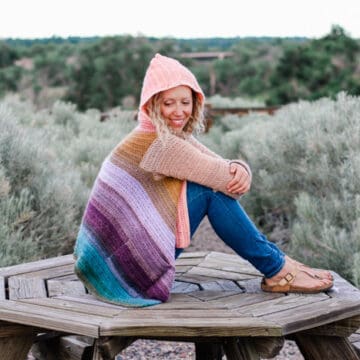
Don't let the dolman sleeves and modern silhouette fool you, this easy crochet shrug pattern is constructed with basic stitches and simple shapes. Great sweater for confident beginners! Find the entire free pattern below or purchase the ad-free, printable PDF here.
This free crochet shrug pattern is part of an ongoing collaboration with my friends at Lion Brand. This post contains affiliate links.
Oh boy am I excited to introduce you to a new friend. She's easy to work with, she won't have a lot of high maintenance requirements of you and she is just one of those classic beauties. I think you'll love her as much as I do.
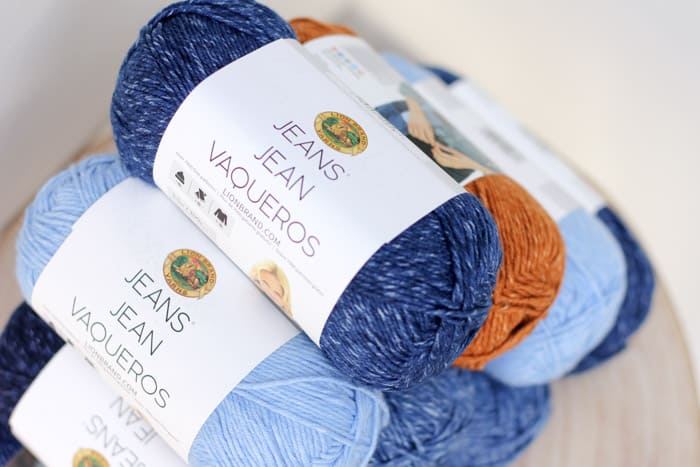
Her name is Jeans and she's a new worsted weight yarn from Lion Brand. 😉 Guys, this yarn became an instant favorite it of mine by about row 2 of this easy crochet shrug. Isn't it fun how it comes in all the colors of real jeans, complete with a rust accent color called "Topstitch?"
UPDATE: Lion Brand has created a kit that includes all the yarn you need to make this easy crochet shrug as well as a copy of the printable pattern. You can get the full kit here. (And their shipping is fast! 🙂 )
When this yarn arrived in the mail, I felt a little overwhelmed by all the possibilities. I asked on Instagram what you thought I should make and my favorite idea by far was the tongue-in-cheek suggestion of crocheted adult overalls.
Unfortunately, a full yarn pantsuit would have taken me until Christmas 2021 to make, so I'm offering this easy crochet shrug as an alternative. As it was, my mom still had to be my crochet wing-woman and help me finish the last part of this shrug collar so I could publish the pattern this week!
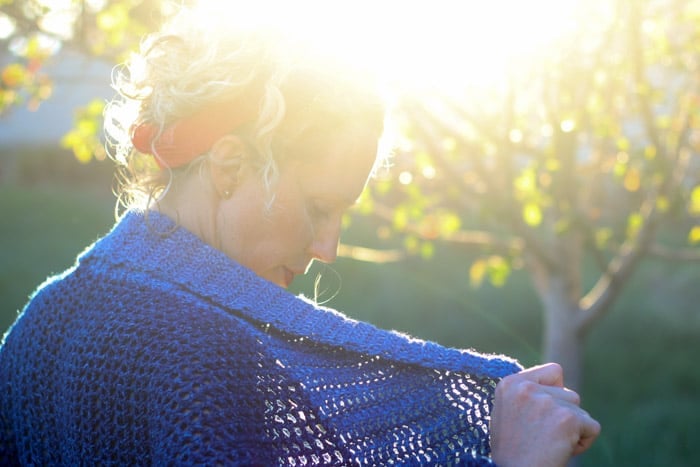
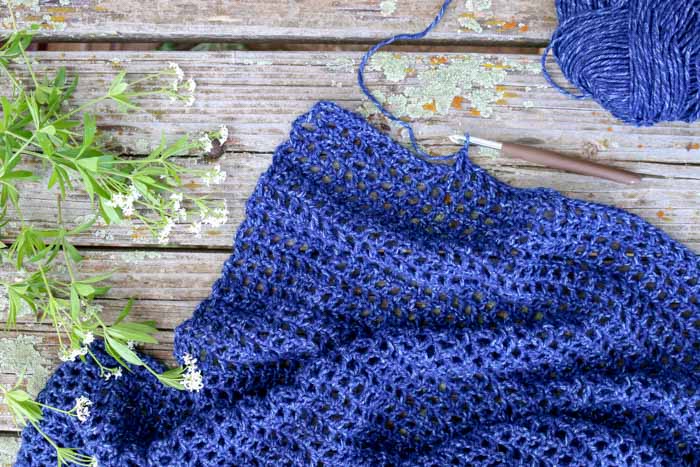
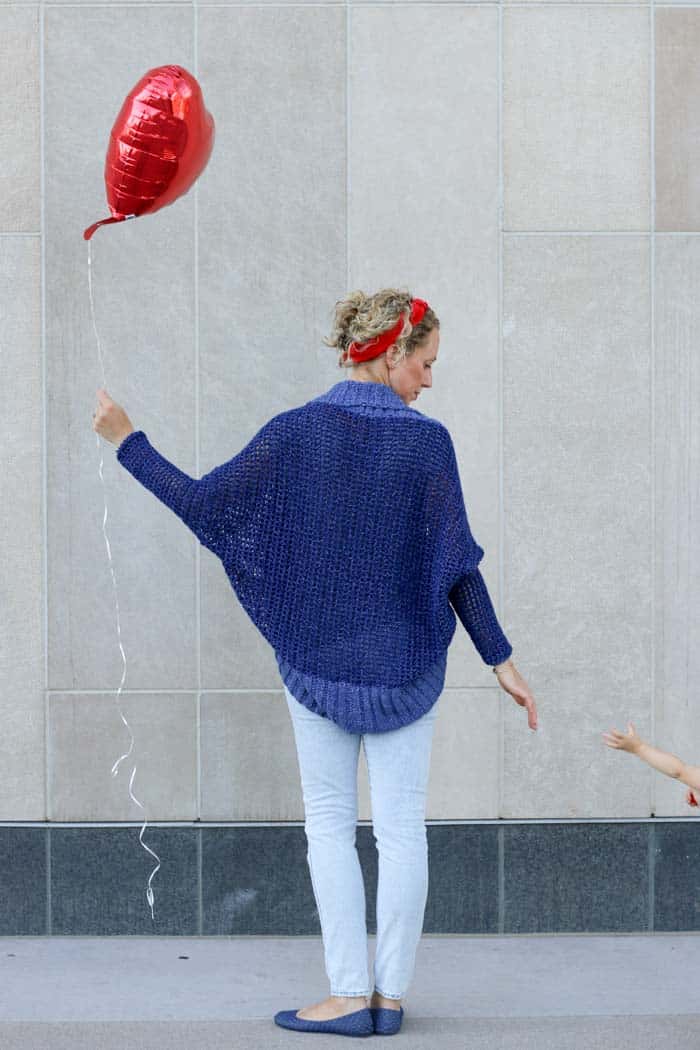
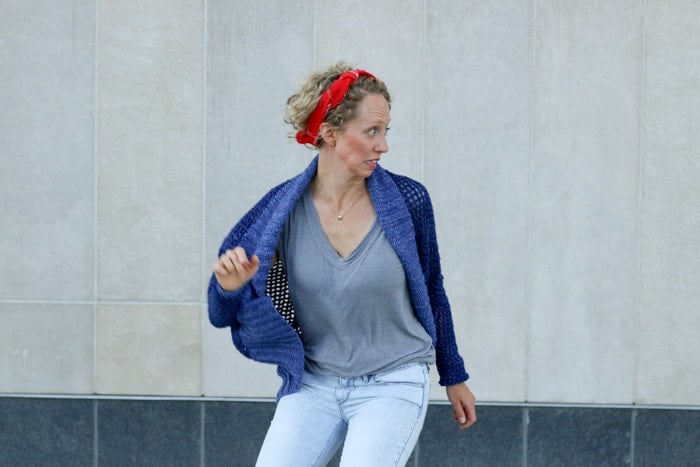
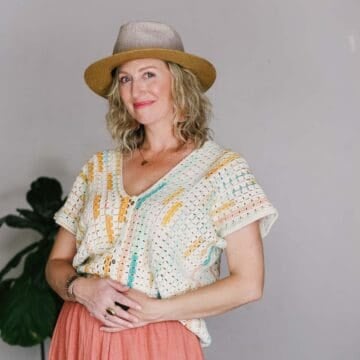
The open mesh combined with the super soft yarn makes this sweater really comfortable to throw on over a tank top when the sun sets. In the winter though, I think you could layer it over a long-sleeved shirt and feel cozy and snuggled up. In either case, the only stitches you'll need are single crochet, double crochet and chains to make this easy shrug pattern. (Did I mention it's made out of one big rectangle so it's super customizable too? Sneaky, huh?!)
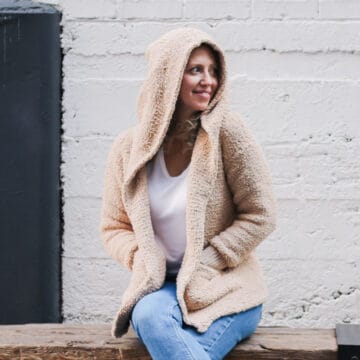
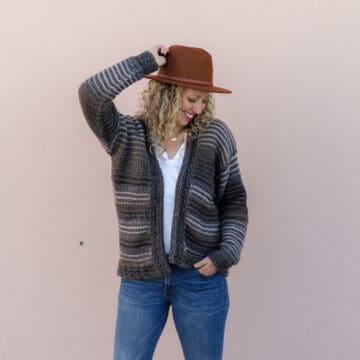
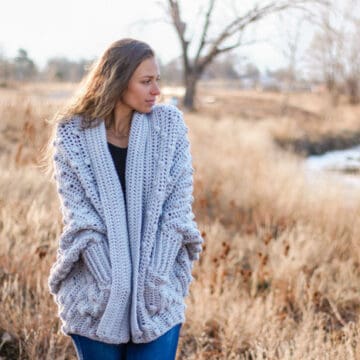
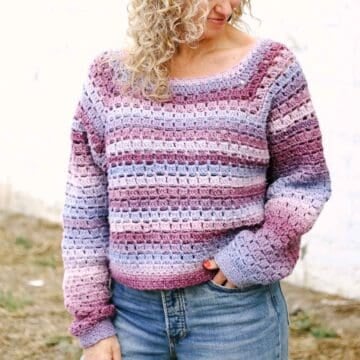
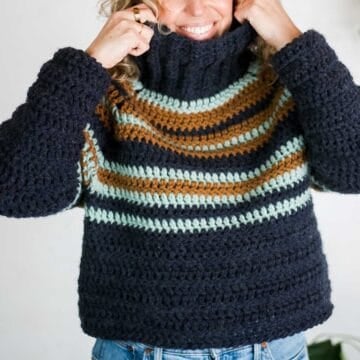
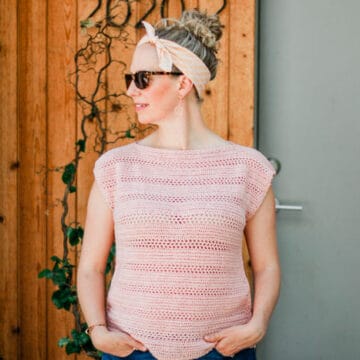
Then if you just fall in love with making trans-seasonal sweater-like objects, you might like these other free sweater patterns I've recently shared on the blog. 🙂
New to making cardigans? Don't miss How to Crochet a Sweater for our best beginner tips
More Free Crochet Sweater Patterns
Crochet sweater patterns don't need to be difficult. In fact, most of ours are made with very simple shapes. Dive into the wonderful world of crochet garments with cardigans, pullovers, ponchos, shrugs and more!


See more free crochet sweater patterns →
And if you've read this far, I'm going to reward you with a photo that basically summarizes the family terror and drama that accompanies any Make & Do Crew photo shoot with my husband and kids. A massive gust of wind caught us by surprise and my husband just happened to photograph the exact moment I saw all our balloons go sailing off into the sky. Ha! I just have to laugh at the chaos that is my family/work life.
Please do not publish or share this pattern as your own. You may make items to sell with this pattern. In exchange, please link back to this post. Do NOT use my photos as your own sales photos. You can read my policies here. Now let’s make something awesome!

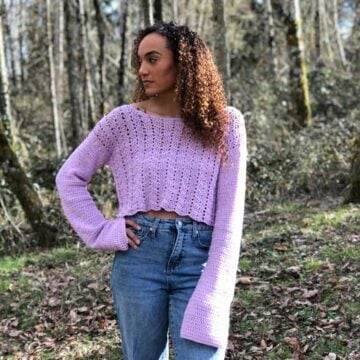
"The Stonewash Shrug"
Free Easy Crochet Shrug Pattern
Purchase the ad-free, printable PDF here.
Add this pattern to your Ravelry favorites here.
Pin this free pattern for later here.
Explanation:
Don’t let the dolman sleeves and modern silhouette fool you—the construction of this on-trend sweater is super simple! You’ll work one large rectangle in a mesh pattern using only double crochet and chains. After seaming the rectangle in half, you’ll add sleeves, again using only basic stitches. Lastly, a long rectangle made from the accent color will be added to form the wide collar and edging.

Don't spend hours for a "meh" result!
Tired of crocheting garments that don't fit? Learn our C.R.A.F.T. Framework to make sweaters that fit and feel amazing!
Sizes:
This pattern is easily customizable. Notes are included in each section on how to adjust sizing. Sample pictured is a size S/M.
S/M: Length from shoulder to bottom of sweater when worn: 35”
Total width from wrist to wrist: 54.5”
L/XL: Length from shoulder to bottom of sweater when worn: 40”
Total width from wrist to wrist: 60.5”
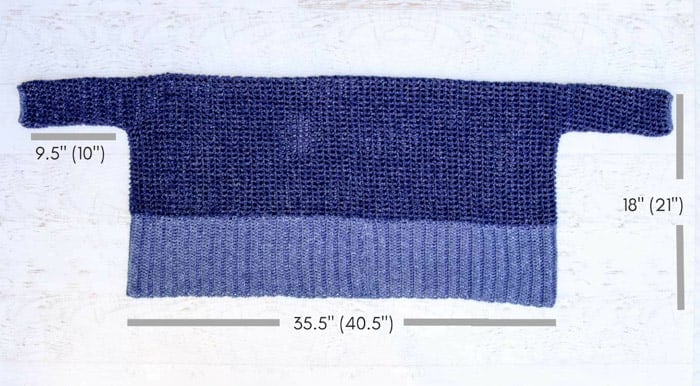
See photo below for additional measurements.
Supplies:
Purchase the full kit for this pattern from here!
• Lion Brand Jeans Yarn (Weight: 4/medium - 246 yds, 3.5 oz)
- MC: Classic – 3 (4) balls
- AC: Stonewash – 2 (3) balls
• Tapestry needle
• Size I (5.5 mm) crochet hook
• Stitch markers or safety pins
Gauge:
8 rows of dc = 4”, 8 sets of (1 dc and 1 ch) = 4”
Abbreviations and Glossary (US Terms):
ch – chain
sc – single crochet
dc – double crochet
sk – skip
dcblo – double crochet through the back loop only
sp – space
ch1sp – chain 1 space (the space created by chaining 1 in the previous row)
tch – turning chain
RS – right side
WS – wrong side
rep – repeat
MC – main color
AC – accent color
Overall Pattern Notes:
• Pattern includes sizes S/M and L/XL, but you can easily adjust the size of this sweater to suite your body. Notes are given throughout on how to customize. When stitch counts are mentioned, size S/M is given first with L/XL following in parenthesis.
• Please note that if customizations are made, the amount of yarn needed will differ from what is called for above.
• Ch 3 at beginning of row counts as 1 dc throughout pattern.
Body Rectangle
Notes:
• See comments at the end of this section on how to modify the rectangle measurements if desired.
Make 1.
Foundation Row: Using MC, Ch 112 (128).
Row 1: Sk first 5 ch (counts as 1 dc and 1 ch), dc in sixth ch from the hook, *sk 1 ch, ch 1, dc in next ch; rep from * to end of row; turn. 54 (62) ch1sp
Wanna save this pattern?
Row 2: Ch 4 (counts as 1 dc and 1 ch), sk first dc, sk first ch, *dc in next dc, sk next ch, ch 1; rep from * to last ch, dc in tch; turn.
Repeat Row 2 69 (79) times until there are a total of 71 (81) ch1sps vertically.
✨Unlock this free subscriber-exclusive pattern ✨
Follow these steps to view the full free pattern below
Fasten off.
To customize the length of the sweater: Measure from the top of your shoulders down your back to wherever you’d like the sweater to end. Subtract 7” (8”) for the border. The remaining length is how long you should make your chain for this rectangle. Begin with an even number of chains.
To customize the width of the sweater: When draped across your back horizontally, the rectangle should hit at or right past your elbows. Work Row 2 additional times if desired.
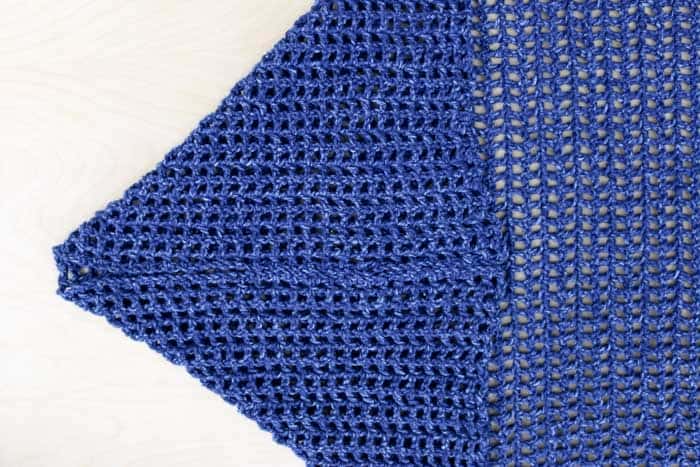
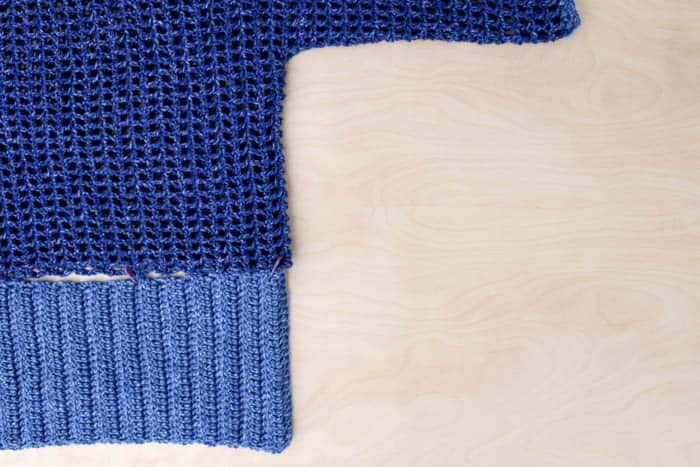
Seaming Rectangle
Fold rectangle length-wise so that the longest sides are touching. (See photo at top of pattern.)
With a tapestry needle and a doubled-over length of MC yarn, sew side seam using the mattress stitch until 20 (26) ch1sps remain in armhole. (Moogly has a great mattress stitch tutorial.)
To customize: Try on sweater to see if this armhole sizing suits you. Increase or decrease number of ch1sps included in arm hole if desired.
Repeat for second armhole.
Sleeves
Notes:
• Sleeve length can be easily customized by working more or fewer rounds of the same mesh stitch.
• The sleeves are worked in the round. Do not turn at the end of each round.
With RS of sweater facing, attach MC in newly created seam at underarm.
Round 1: Ch 4 (counts as 1 dc and 1 ch), sk first ch, *dc in next dc, sk next ch, ch 1; rep from * to end of round, sl st to third ch from beginning of round to join. 20 (26) ch1sps
Rep Round 1 17, (18) more times until there are a total of 18, (19) ch1sps in the length of the sleeve. Fasten off.
Attach AC in any ch1sc around sleeve.
Round 1: Ch 1, sc in same sp, sc in each ch1sp around sleeve, sl st to first sc to join.
Round 2: Ch 1, sc in each sc to end of round, sl to to first sc to join. Fasten off.
To customize: If cuff (Rounds 2-3) feels too restrictive to you, do not sk dcs and instead sc in both the ch1sps and the dcs around sleeve.
Repeat for second sleeve.

Collar
Notes:
• The collar is worked in double crochet through the back loop only (dcblo), which is exactly like double crochet, but you’ll work the stitches through only the back loop of the dc from the previous row.
• To check gauge of collar, measure rows against the edge of sweater. Each collar row should be approximately the height of one ch1sp in the sweater.
To customize: The number of rows worked for the collar should be exactly double the number of rows worked for the body rectangle. If you made any adjustments to number of rows in your rectangle, take those into account with your collar. (So if you worked five extra rows in the rectangle, you collar will need 10 extra rows.)
Foundation Row: Using AC, Ch 30 (35).
Row 1: Sk first 3 ch (counts as 1 dc), dc in each ch to end of row; turn. 27 (32)
Row 2: Ch 3 (counts as 1 dc), sk first dc, dcblo in each dc, dc in tch; turn. 27 (32)
Repeat Row 2 140 (160) times for a total of 142 (162) rows.
Fasten off.

Final Seaming
To Seam Collar: With a doubled strand of AC and a tapestry needle, seam the foundation row and the last row of the collar together using the mattress stitch. Take care not to twist the collar.
To Seam Collar onto Shrug: With RS of shrug facing you, position collar seam at back of neck. (There isn’t really a top or bottom of the shrug, so whichever side gets the collar seam will become the neck.) Use stitch markers or safety pins to pin collar to shrug, aligning one ch1sp in the shrug with one row of the collar.
You may find that you don’t care to pin the collar all the way around, but rather just align each row and ch1sp as you seam.
With a doubled strand of MC and a tapestry needle, seam the shrug and collar together using the mattress stitch. Avoid joining extremely tightly so that seam is able to accommodate a small amount of stretch when the sweater is worn.
Weave in any remaining ends.
Pop on your new completely handmade sweater and head out to find James Dean, you all-American DIY-er, you!
That was so fun! Now what?
Invitation to our Facebook group
Come discuss crocheting shrug patterns and lots of other crochet projects and techniques in our Make & Do Crew Facebook group. Here thousands of helpful crocheters answer each others questions and share their stitches. Come join us here.
Find Your Next Sweater Project
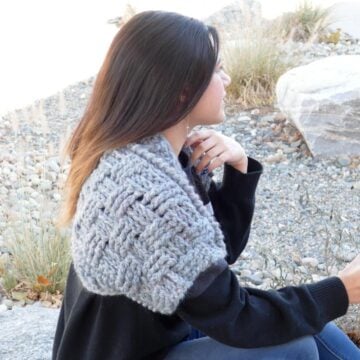
- Lightweight Mesh Top - doubles as a beach coverup
- Hexagon Layering Cardigan - with bishop sleeves
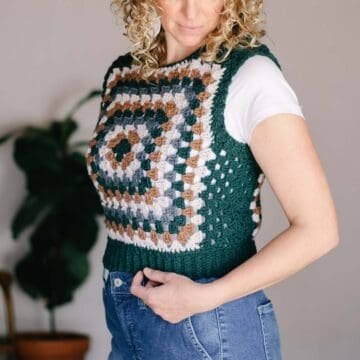
- Granny Square Cardigan - modern take on a classic motif
- Seamless Crochet Poncho - a great first garment for beginners
- Basic V-Neck Pattern - classic styling
- High Low Jumper Pattern - finish in one weekend
- Rectangle Crochet Poncho - made from two simple pieces
- Oversized Cardi - with fur collar
More Free Patterns + Tutorials
Can't get enough free crochet patterns!? Me either. You'll definitely want to breeze through these collections to find your next project.
- 55+ Free Crochet Sweater and Cardigan Patterns - our most popular garments
- 40+ Free Crochet Blanket Patterns - baby blankets, throws + c2c graphgans
- 36+ Granny Square Patterns + tips for the perfect square
- 30+ Crochet Animal Patterns - adorable amigurumi stuffed animals
- Crochet Gift Ideas - easy patterns to make for others
- Fast Crochet Projects - start to finish in less than a day
Learn a New Skill
And when you're ready to master a new skill, check out our detailed guides that include everything you need to know to level up your crochet game.
- How to Corner to Corner (C2C) Crochet for Beginners - with video tutorials to get you started
- How to Crochet a Beginner Hat - make an entire beanie in 1.5 hours!
- How to Crochet Amigurumi for Beginners - the ultimate guide to making your own toys and plushies
- How to Tunisian Crochet - learn with this video and a standard hook
You may also enjoy these free modern crochet patterns from Make & Do Crew:

2. Coachella Boots with Flip Flop Soles free crochet pattern
Tammie leach says
Please add some additional pictures. I am a experiences crocheter and this is not clear from the sleeve to the end.
Kathy says
I've made several of your flip flop patterns. LOVE THEM!
I'm making the stonewash Shrug, but I'm going to call this one a Hug. Because my adult daughter is going through a rough time right now, and I want her to feel a Hug when she wears it.
Jess @ Make and Do Crew says
Aw, I LOVE that idea! What a sweet momma you are.
I'm so happy that you've enjoyed the flip flop patterns! 🙂
Jess
Judy says
Haven't crochet in many many years and when I saw this shrug pattern and how easy it sounded I wanted to try it. I am having a problem with the sleeve instructions ,however. I have it folded according to the picture and this is where I'm confused, it says sew side seam using the mattress stitch until 20 (_26) ch1sps remain in armhole. Do I start to seam from the top edge or at the fold? If I leave 26 spaces for the armhole that leaves me with a big armhole, is this correct? Also, do I stay with the MC for the sleeves?
Jess @ Make and Do Crew says
Hey Judy,
You do use the main color for the sleeves. 🙂 You begin the seam from the open edge and work toward the folded side (although you'll stop before you reach it.) The armhole shouldn't be super big--you can sort of see in some of the photos, it's about big enough to fit around a forearm. Hope that's helpful!
Jess
Kristy Nichols says
On the sleeves your pattern says to "Attach AC in any ch1sc around sleeve." Then goes to round 2. Is there nothing else that needs to be done in round one?
Jess @ Make and Do Crew says
Thank you for pointing that out! The numbering was just off. It's been corrected now. 🙂
Angel says
Hello! This is such a cute pattern. I have started on one for myself and would like to make another for a friend before November 15. About how long did it take you/anyone else that sees this to make the shrug? I know I'm not nearly as quick but I'd like to have a rough estimate of how long it'll take. Thanks!
Jess @ Make and Do Crew says
Hey Angel,
The best I can remember is that I made this in about a week, crocheting probably 2-3ish hours a day. I hope that's helpful to you!
Jess
Megan ober says
Hello! Absolutely love this pattern! Thank you so much for it! I’m making it for my grandmother. I am confused while continuing round two. At the end of row two after you dc into the last dc you ask to dc into to turning chain before you dc into turning chain do you chain one? Please help!!!!
Jess @ Make and Do Crew says
What a lucky grandmother you have! Yes, you do indeed ch 1 before working into the tch. 🙂
Megan Ober says
I also have another question. When it come to seaming the rectangle; do I seam along the long horizontal side or do I seam along the shorter vertical seam? I’m sorry I just get confused so easily.
Megan Ober says
And if it is along the horizontal long sides. Where do you start? Please help
Cassidy says
I’m confused on this as well. Are the long sides touching or the short sides? And then what am I seaming together?
Jess @ Make and Do Crew says
Hey Cassidy and Megan,
Fold the rectangle length-wise so that the longest sides are touching. You are then seaming along the short sides starting at the two corners that are touching and working toward the folded edge, leaving a portion unworked near the fold for the armhole. You'll repeat this again on the second side. Taking a close look at the photo at the top of the pattern as well as the one near the seaming section might be helpful too.
Lmk if that doesn't make sense and I'll try to explain differently.
Jess
Jessica says
Okay. I lied. I'm still not sure of the process.
Once I have folded overy the long sides, do I do the "side seam" in the foundation and end rows or the long sides. And where do I start?
Erin Bassett says
I'm stuck here too.
Jessica says
Hi there! I'm just a little confused by the seaming rectangle. I've read through the patten and looked at the pictures, and I'm not sure what you mean by folding the long sides together. Do you have a step by step for this process? I know this totally sounds like a stupid question, but this is my first cardigan so it's a whole new world for me
Jess @ Make and Do Crew says
Hey Jessica! (Nice name 🙂 )
What that means is that if you held one of each of the two longer sides in each hand and brought them together to fold the rectangle in half, you'd be good. So the two side edges (instead of the chain row and the final row) should be touching. The best photo that depicts this is probable the one with the measurements on it.
Hope that helps!
Jess
Jessica says
Yes!! Thank you! I just needed a light bulb moment!!
David says
This a huge help. I was helping my wife with this (we both crochet) and we could figure which way to fold it lol. The pattern is great and have had a great time working it. Thank you so much 🙂
Jess @ Make and Do Crew says
I'm happy to hear that, David! How cool that you both crochet. My husband is hoping to learn too. 🙂
Kim says
Jess, thanks for the awesome pattern! I just finished the shrug and am enjoying wearing it while drinking some tea on this 65 degree morning. Your directions were very well written & easy to follow. I wanted a more neutral color so I used Big Twist yarn in Oatmeal. I think it's a bit less drapy than the Lion Brand you used but I still love it! Thanks again.
Jess @ Make and Do Crew says
Yay! I love hearing this, Kim! Sounds like a perfect morning! 🙂