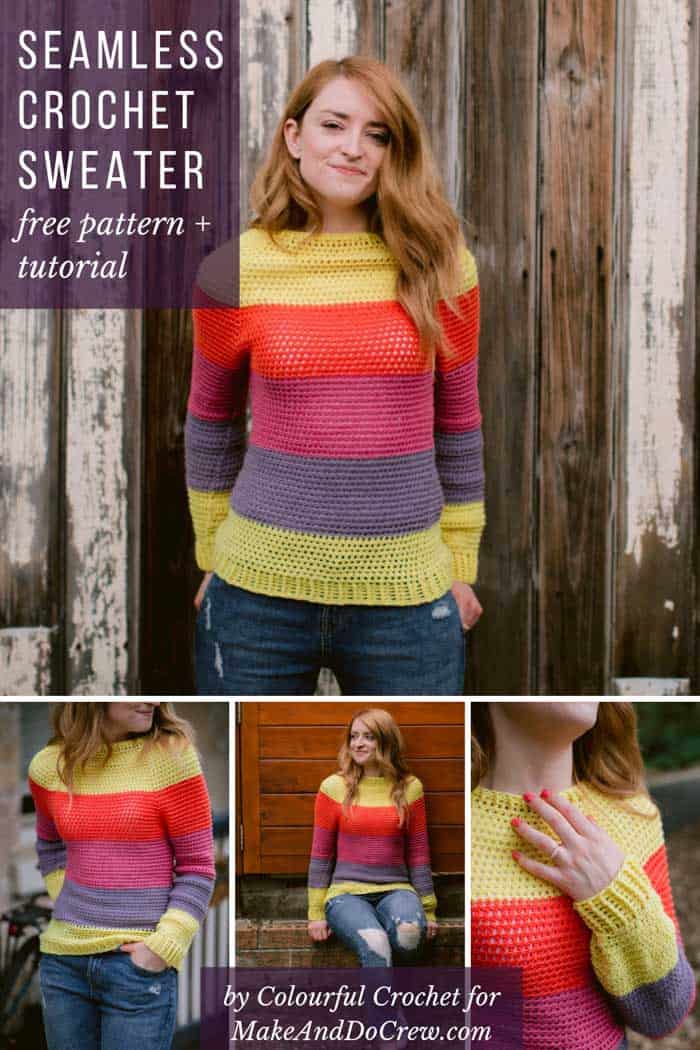
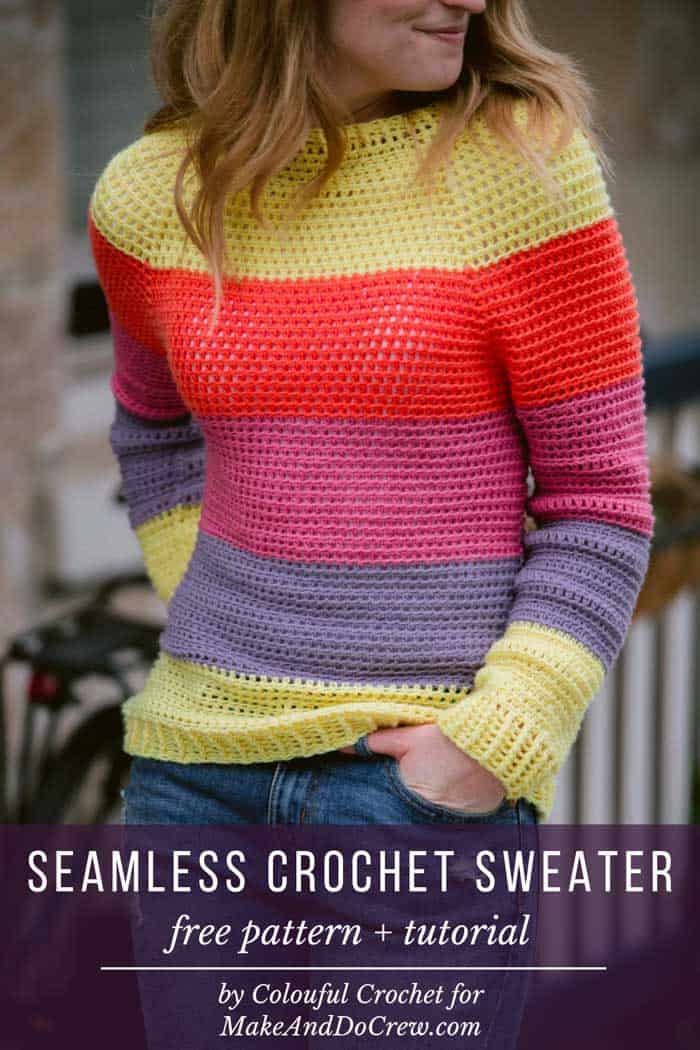
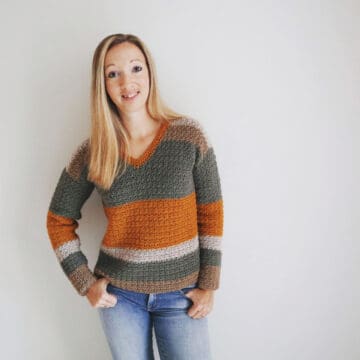
With a seamless construction and lightweight stitch pattern, this colorful top down crochet sweater is the perfect springtime layering piece to add to your handmade wardrobe. Find the full free pattern below or purchase the ad-free, printable PDF here!
Thanks to Lion Brand Yarns for providing the yarn for this free top down crochet sweater pattern. This post contains affiliate links.
Welcome back to the Make & Do Crew guest designer series. While I’m getting to know the newest baby in our family, Ashlee from Colourful Crochet is sharing her free top down crochet sweater pattern with us today! You can see lots of of Ashlee’s crochet patterns on her blog, Colourful Crochet, or on Ravelry. And be sure to check her out on social media too: Instagram and Pinterest. Ashlee, take it away!
The Inspiration for My Top Down Crochet Sweater
Hi everyone! I’m Ash from Colourful Crochet and I’m so incredibly excited to share with you the Slice of Nice Sweater pattern. In case you didn’t guess from my name, I love working with bright colors! I can’t help myself, I’m just naturally attracted to bold color combos.
The inspiration for this sweater came to me one day, on my way home from my daily commute. I spotted a girl in the train station and did a double take because she was wearing the most beautiful, bright rainbow sweater! Just catching a glimpse of that sweater made my mood 100% better.
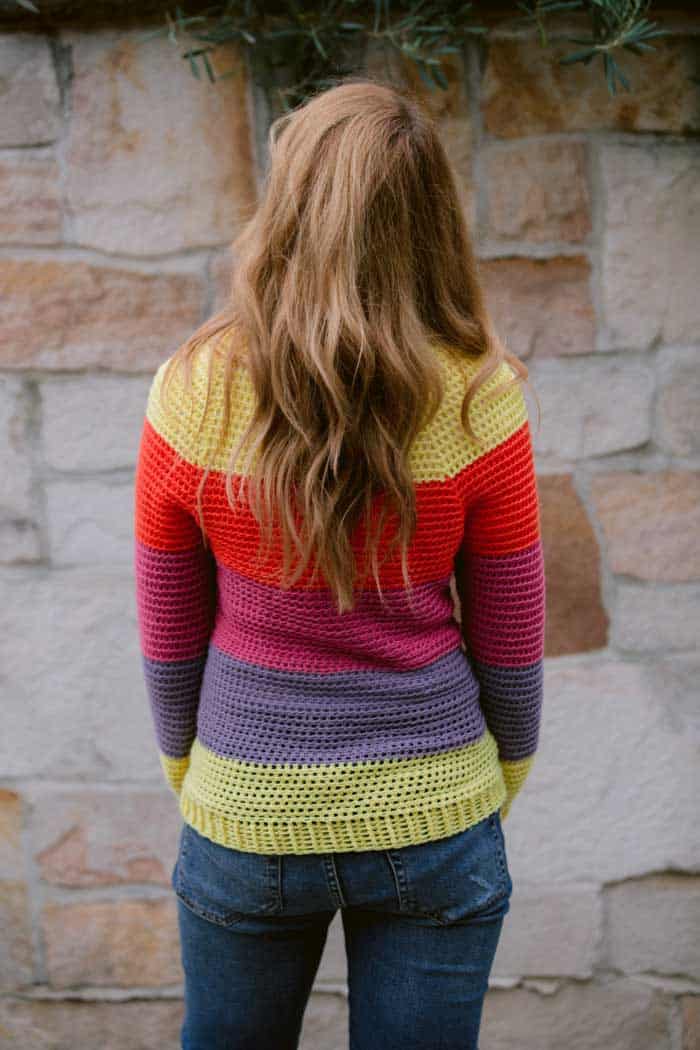
I wanted to make a simple, textured sweater that reminds you of when you were younger and you had a favorite sweater that cheered you up. It made you carefree, fearless and in the mood for fun. I don’t know about you, but I wouldn’t mind being more like that, more often.
For me, this sweater is reminiscent of being a teen, eating ice-cream or popcorn, going to the movies with your friends & throwing on a sweater to stop that theater chill. As an adult, running out for a coffee first thing in the morning, feeling comfortable and practical, too lazy to coordinate an outfit but knowing you look darn good.
A Simple Crochet Sweater Worked in the Round
I designed this sweater for the patient beginner. Don’t let the stitch breakdown overwhelm you; you are going to use one main stitch for the entire piece (Extended Half Double Crochet) and then slight variations of this stitch throughout.
This sweater is going to teach you how to work a top down crochet sweater in the round. There is no seaming or tricky assembly, so it’s a perfect repetitive pattern for when you want to do some simple textured crochet. Once you get the hang of the first couple of rows, you will be all set!
RELATED: We love making garments so much, we even designed a crochet dog sweater for large, medium and small dogs!
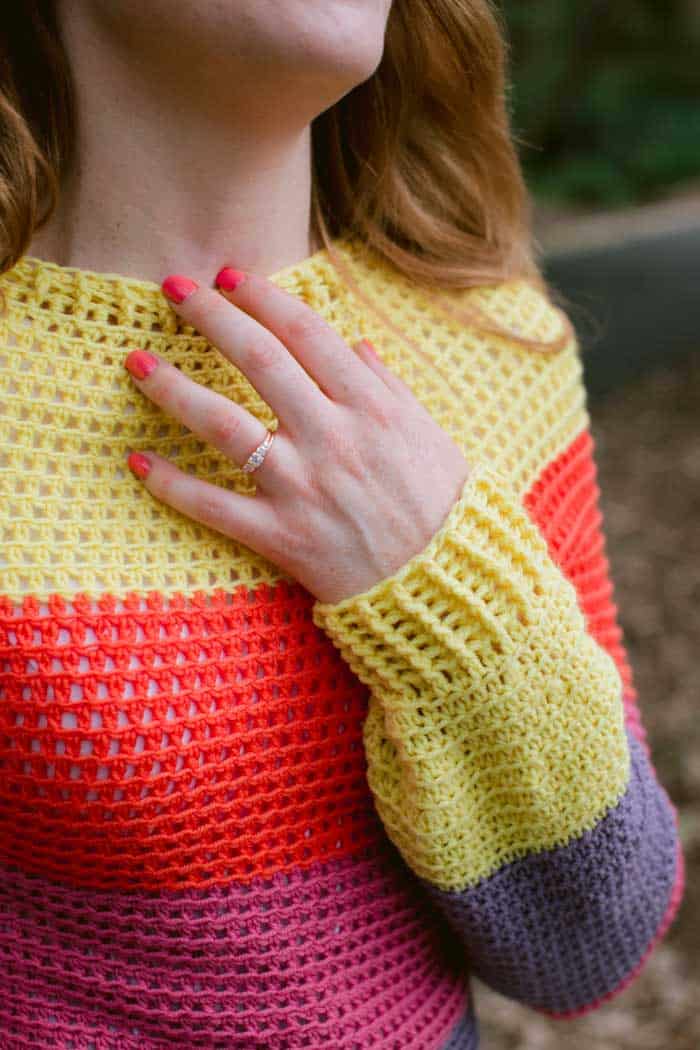
Anyone above beginner should breeze through this pattern without much trouble. You may not need them, but I also have a great video to help you with the trickiest part of the pattern – Row 27: creating the sleeves.
For any visual learners out there, you can access a video tutorial on my blog that will help you with the pattern. In this video, I’ll show you step-by-step how to create the armholes for the Slice of Nice Sweater:
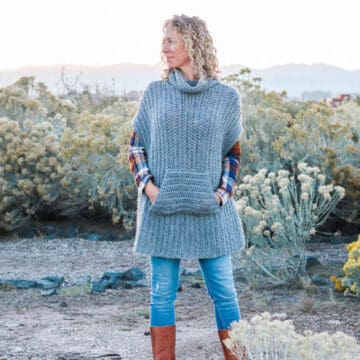
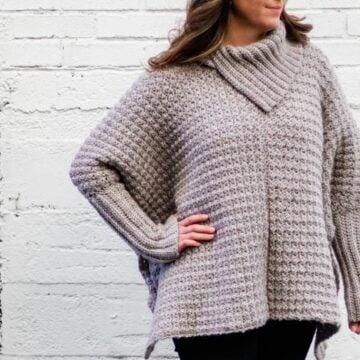
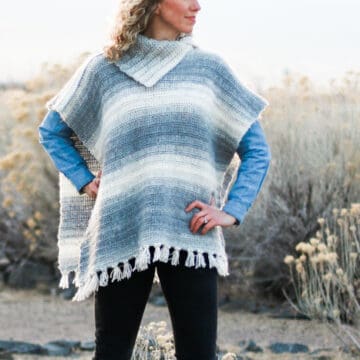
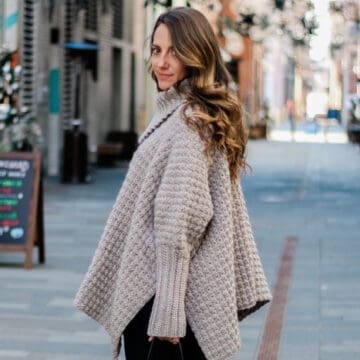
Related: 30+ Free Crochet Poncho Patterns – for all seasons
A Soft, Lightweight Yarn for Spring Crochet Projects
For this project, I chose Lion Brand’s Superwash Merino because it comes in 26 vibrant colors! (See them all here.) Be still my color loving heart! Whether you love brights (like me) or neutrals, you’ll have endless color combos to choose from. Check out the #sliceofnicesweater tag on Instagram if you need inspiration.
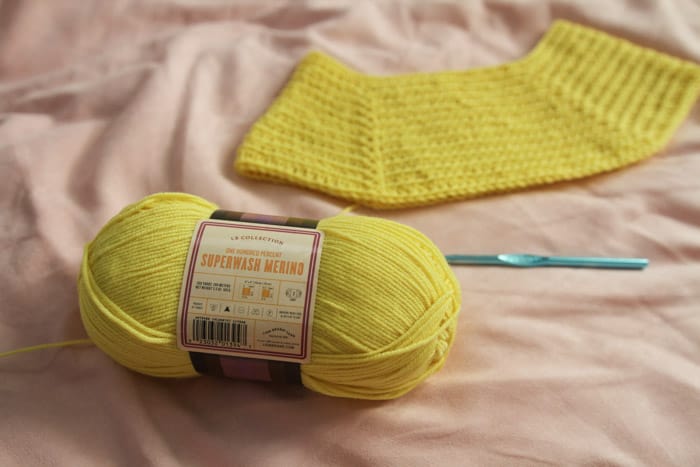
Another great feature of this Lion Brand Superwash Merino is that it has amazing yardage! One skein equals 306 yards, which is really good value in my humble opinion. But what I love most about this yarn it that it’s beautiful and so, so soft!
It has a squishy, stretchy texture, which makes it perfect for a lightweight spring sweater that you can just throw on over a t-shirt or a tank top. Pair it with a skirt or ripped cutoffs and you’ve got yourself an instantly cute outfit. This yarn also has quite a lot of stretch, so if you must substitute choose a stretcher yarn in the same weight otherwise your sweater might come out quite stiff.
New to making garments? Don’t miss our beginner’s guide to crocheting your first sweater.
More Free Crochet Sweater Patterns
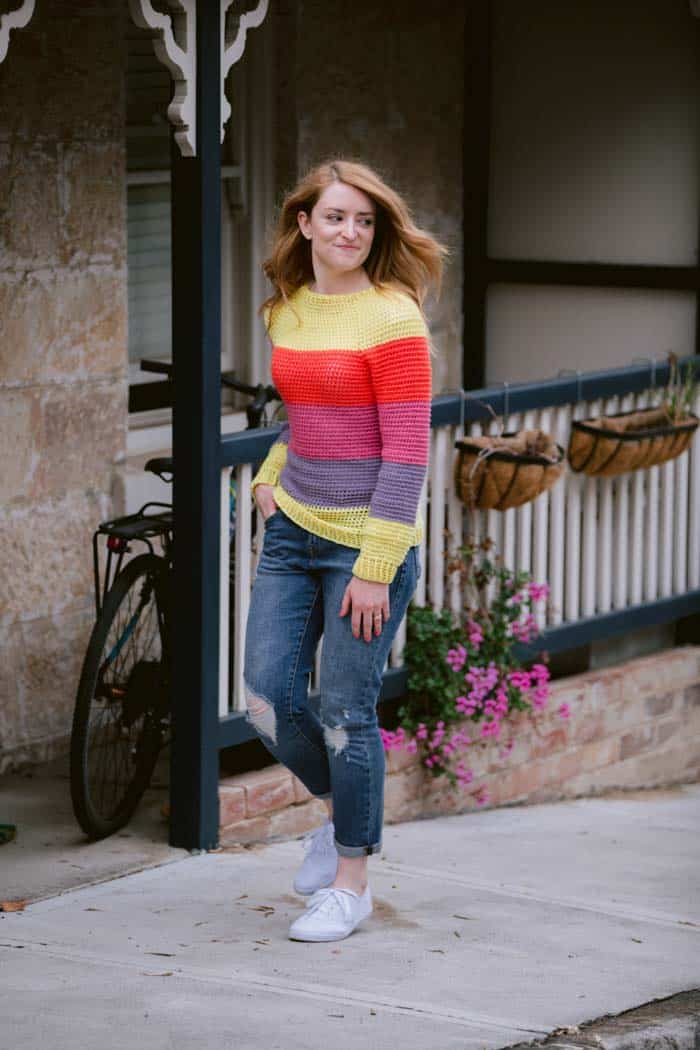
Crochet sweater patterns don’t need to be difficult. In fact, most of ours are made with very simple shapes. Dive into the wonderful world of crochet garments with cardigans, pullovers, ponchos, shrugs and more!
See more free crochet sweater patterns →
Slice of Nice Free
Top Down Crochet Sweater Pattern
Purchase the ad-free, printable PDF here.
Save this pattern to your Ravelry queue here.
Pin this pattern for later here.
Watch the free video tutorial here.
Explanation:
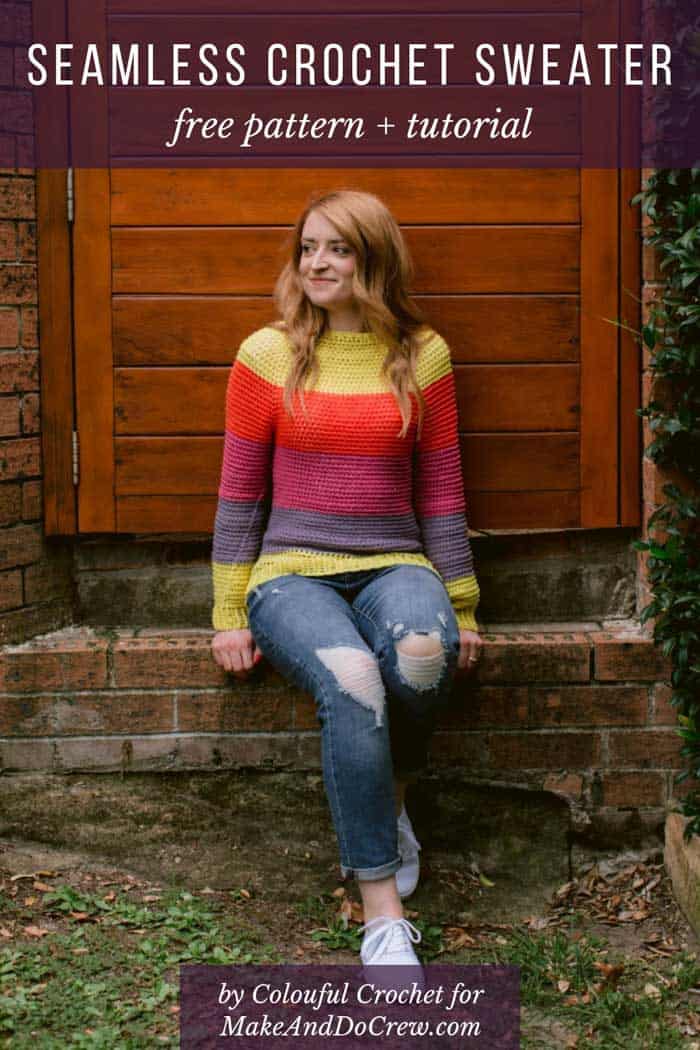
The Slice of Nice Sweater is designed to be a fitted, lightweight sweater. It is perfect to throw on when you need a light layer of warmth. Super comfy and soft, this bright and colorful sweater will put a smile on your face, whether you’re out and about or just lounging at home.
Supplies:
• Lion Brand Superwash Merino (weight: 3/light – 306 yds, 3.5 oz)
– Color A: Citron (#486-157) 2 balls (424 – 506 yrds)
– Color B: Coral (#486-103) 1 ball (217 – 246 yrds)
– Color C: Peony (#486-139) 1 ball (266 – 305 yrds)
– Color D: Wisteria (#486-146) 1 ball (266 – 305 yrds)
• Size J (6.00mm) crochet hook
• Tapestry needle
• 4 x Stitch markers (optional)
• Scissors
If you need to substitute with another yarn make sure it is a yarn with good stretch! If your yarn is stiff, I recommend sizing up so you have more positive ease.
Sizes/Measurements:
Size: S M L XL 2XL 3XL
Bust 33-34 35-36 37-38 39-40 41-42 43-44
Waist 28-30 31-33 34-36 37-39 40-42 43-45
Hips 35-36 37-38 39-40 41-42 43-44 45-46
Gauge:
13 EHDC sts x 9 rows = 4 x 4 inches
Abbreviations and Glossary (US Terms):
ch: chain
st: stitch
sl st: slip stitch
yo: yarn over
EHDC: Extended Half Double Crochet – Yarn over, insert hook into stitch, yarn over and pull up a loop (3 loops on hook). Yarn over and pull through the first loop on hook (3 loops on hook). Yarn over and pull through all loops.
v stitch: EHDC, ch1, EHDC in same st- These will be our increase stitches. V stitches are worked in the chain space gap created by the V stitch of the previous row.
EHDC2TOG: Extended Half Double Crochet 2 Together – Yarn over, insert hook into stitch, yarn over and pull up a loop (3 loops on hook) Yarn over, pull through 1st loop on hook. Yarn over, insert hook into next stitch and pull up a loop (5 loops on hook) Yarn over, pull through 1st loop (4 loops on hook) Yarn over, pull through all loops.
SEHDC: Standing Extended Half Double Crochet – Slipknot on hook, yarn over, insert hook into stitch, pull up a loop (3 loops on hook), yarn over pull through first loop, yarn over pull through all three loops.
FPEHDC: Front Post Extended Half Double Crochet – EHDC around the post of the stitch from the row below.
BPEHDC: Back Post Extended Half Double Crochet EHDC behind the post of the stitch from the row below.
FPSC: Front Post Single Crochet – Single crochet around the post of the stitch below.
BPSC: Back Post Single Crochet – Single crochet behind the post of the stitch from the row below.
Overall Pattern Notes:
• This sweater is worked from the top down, starting with the neckline. It is worked in rounds down the body, like a square with equal sides. To make the sleeves, you will attach your yarn and work in the round from the shoulder down, and then finish with a ribbed cuff.
• To finish off the sweater, you will join at the neck to create a fitted neck ribbing.
• This pattern is written with equal blocks of color, but you can change colors to create smaller or larger color blocks by adjusting the row count.
• Ch 3 at the beginning of each row counts as a EHDC stitch.
• All EHDC are worked into the back loops of the stitch, the front loop creates the ridgeline.
• V stitch- Ch 1 in between EHDC counts as a stitch in row stitch count
• Pattern is written in smallest size with larger sizes following in parenthesis. S (M, L, XL, 2XL, 3XL)
• When changing colors- work first half of your EHDC stitch- YO, insert hook into stitch, YO and pull up a loop (3 loops on hook). YO and pull through the first loop on hook (3 loops on hook). YO with the new color and pull through all loops.
• As the pattern is worked in the round, you will have a slight seam line on the side running down the body and sleeves. Once worn the seam lines will straighten out.
• Do not be worried if your seam line looks a little wonky while working in the round!
• Neck Ribbing: The neckline of this sweater is designed to fit snuggly around your neck. It can be tight to get off, but if you use Lion Brand Superwash Merino, it has a lot of stretch. You want to be able to get it over your head but the yarn to bounce back into place so it will be flush with your neckline.
Body
Color A: Citron
Foundation Row: CH 74 (78, 82, 86, 90, 94)
Row 1: EHDC 4th from hook and all sts. (72, 76, 80, 84, 88, 92)
Join in the round by sl st in top of 1st st without twisting ch.
Row 2: Ch 3, EHDC in 16 (17,18,19,20,21) sts, *V stitch, EHDC in 17 (18,19,20,21,22) sts* repeat 3 times. V stitch in last st, sl st in top of ch- 3. (80, 84, 88, 92, 96, 100)
Row 3: Ch3, EHDC in 17 (18,19,20,21,22) sts *V stitch, EHDC in 18 (19,20,21,22,23) sts* repeat 3 times. V stitch in last st, sl st in top of ch-3. (84, 88, 92, 96, 100, 104)
✨Unlock this free subscriber-exclusive pattern ✨
Follow these steps to view the full free pattern below
Color B: Coral
Row 14: Ch 3, EHDC in 28 (29, 30, 31, 32, 33) sts *V stitch, EHDC in 29 (30, 31, 32, 33, 34) sts repeat 3 times. V stitch in last st, sl st in top of ch-3. (128, 132, 136, 140, 144, 148)
Row 15: Ch 3, EHDC in 29 (30, 31, 32, 33, 34) sts *V stitch, EHDC in 30 (31, 32, 33, 34, 35) sts repeat 3 times. V stitch in last st, sl st in top of ch-3. (132, 136, 140, 144, 148, 152)
Row 16: Ch 3, EHDC in 30 (31, 32, 33, 34, 35) sts *V stitch, EHDC in 31 (32, 33, 34, 35, 36) sts repeat 3 times. V stitch in last st, sl st in top of ch-3. (136, 140, 144, 148, 152, 156)
Row 17: Ch 3, EHDC in 31 (32, 33, 34, 35, 36) sts *V stitch, EHDC in 32 (33, 34, 35, 36, 37) sts repeat 3 times. V stitch in last st, sl st in top of ch-3. (140, 144, 148, 152, 156, 160)
Row 18: Ch 3, EHDC in 32 (33, 34, 35, 36, 37) sts *V stitch, EHDC in 33 (34, 35, 36, 37, 38) sts repeat 3 times. V stitch in last st, sl st in top of ch-3. (144, 148, 152, 156, 160, 164)
Row 19: Ch 3, EHDC in 33 (34, 35, 36, 37, 38) sts *V stitch, EHDC in 34 (35, 36, 37, 38, 39) sts repeat 3 times. V stitch in last st, sl st in top of ch-3. (148, 152, 156, 160, 164, 168)
Wanna save this pattern?
Row 20: Ch 3, EHDC in 34 (35, 36, 37, 38, 39) sts *V stitch, EHDC in 35 (36, 37, 38, 39, 40) sts repeat 3 times. V stitch in last st, sl st in top of ch-3. (152, 156, 160, 164, 168, 172)
Row 21: Ch 3, EHDC in 35 (36, 37, 38, 39, 40) sts *V stitch, EHDC in 36 (37, 38, 39, 40, 41) sts repeat 3 times. V stitch in last st, sl st in top of ch-3. (156, 160, 164, 168, 172, 176)
Row 22: Ch 3, EHDC in 36 (37, 38, 39, 40, 41) sts *V stitch, EHDC in 37 (38, 39, 40, 41, 42) sts repeat 3 times. V stitch in last st, sl st in top of ch-3. (160, 164, 168, 172, 176, 180)
Row 23: Ch 3, EHDC in 37 (38, 39, 40, 41, 42) sts *V stitch, EHDC in 38 (39, 40, 41, 42, 43) sts repeat 3 times. V stitch in last st, sl st in top of ch-3. (164, 168, 172, 176, 180, 184)
Row 24: Ch 3, EHDC in 38 (39, 40, 41, 42, 43) sts *V stitch, EHDC in 39 (40, 41, 42, 43, 44) sts repeat 3 times. V stitch in last st, sl st in top of ch-3. (168, 172, 176, 180, 184, 188)
Row 25: Ch 3, EHDC in 39 (40, 41, 42, 43, 44) sts *V stitch, EHDC in 40 (41, 42, 43, 44, 45) sts repeat 3 times. V stitch in last st, sl st in top of ch-3. (172, 176, 180, 184, 188, 192)
Row 26: Ch 3, EHDC in 40 (41, 42, 43, 44, 45) sts *V stitch, EHDC in 41 (42, 43, 44, 45, 46) sts repeat 3 times. V stitch in last st, sl st in top of ch-3. (176, 180, 184, 188, 192, 196)
Change colors.
Color C: Peony
This row joins V stitches together to create armholes.
I have a video tutorial of joining the armholes available on my website here.
Row 27: Ch3, EHDC in 41 (42, 43, 44, 45, 46) sts, 2 EHDC in V stitch space
• YO, insert your hook into the V stitch and the next V stitch (front to back- skipping all sts in between) YO, pull through both sts (3 loops on hook) complete your EHDC st.
EHDC in next 42 (43, 44, 45, 46, 47) sts, 2 EHDC in V st space
• YO, insert your hook into the V stitch and the next V stitch (front to back- skipping all sts in between) YO, pull through both sts (3 loops on hook) complete your EHDC st.
Sl st in top of ch-3. (94, 96, 98, 100, 102, 104)
You will now work in the round to create the body of the sweater- skipping the armholes you’ve just created.
Row 28: Ch 3, EHDC in 43 (44, 45, 46, 47, 48) sts, 2 EHDC in next st, EHDC in 46 (47, 48, 49, 50, 51) sts, 2 EHDC in next st, EHDC in the last 2 sts. Sl st in top of ch-3. (96, 98, 100, 102, 104, 106)
Row 29: Ch 3, EHDC in all sts. Sl st in top of ch-3 (96, 98, 100, 102, 104, 106)
Row 30-39: Repeat row 29. (96, 98, 100, 102, 104, 106)
Change colors.
Color D: Wisteria
Row 40-52: Repeat row 29 (96, 98, 100, 102, 104, 106)
Change colors.
Color A: Citron
Row 53- 61: Ch 3, EHDC in all sts. Sl st in top of ch-3. (96, 98, 100, 102, 104, 106)
Row 62: Ch 3, *FPEHDC in next st, BPEHDC in next* repeat until the end of the row. Sl st in top of ch-3. (96, 98, 100, 102, 104, 106)
Row 63-65: Repeat row 62 (96, 98, 100, 102, 104, 106)
Bind off
Sew in ends from color changes.
Sleeves
Color C: Peony
Row 1: SEHDC (counts as 1st st) in the EHDC that joined your two increases together. Continue to EHDC in all sts around the armhole- back loops only, same as the whole piece. Sl st in top of the SEHDC. (45, 46, 47, 48, 49, 50)
Row 2-13: Ch 3, EHDC in all sts around. Sl st in top of ch-3. (45, 46, 47, 48, 49, 50)
Change colors
Color D: Wisteria
Row 14-26: Ch 3, EHDC in all sts around. Sl st in top of ch-3. (45, 46, 47, 48, 49, 50)
Change colors.
Color A: Citron
Row 27-30: Ch 3, EHDC in all sts around. Sl st in top of ch-3. (45, 46, 47, 48, 49, 50)
Row 31: Ch 3, *EHDC in next 7 (7, 7, 8, 8, 8) sts, EHDC2TOG* repeat another 3 times. EHDC in 6 (7, 8, 5, 6, 7) sts, EHDC2TOG. Sl st in ch-3. (40, 41, 42, 43, 44, 45)
Row 32: Ch 3, EHDC in all sts around. Sl st in top of ch-3. (40, 41, 42, 43, 44, 45)
Row 33: Ch 3, *EHDC2TOG, EHDC in 6 (6, 6, 6, 7, 7) sts* repeat another 3 times. EHDC2TOG, EHDC in 5 (6, 7, 8, 5, 6) sts. Sl st in top of ch-3. (35, 36, 37, 38, 39, 40)
Row 34: Ch 3, EHDC in all sts around. Sl st in top of ch-3. (35, 36, 37, 38, 39, 40)
Row 35: Ch 3, *EHDC in 4 (4, 5, 5, 5, 5) sts, EHDC2TOG* repeat another 4 times. EHDC in 4 (5, 1, 2, 3, 4) sts. Sl st in top of ch-3. (30, 31, 32, 33, 34, 35)
Row 36: Ch 3, EHDC in all sts. Sl st in top of ch-3. (30, 31, 32, 33, 34, 35)
Row 37: Ch 3, alternate *FPEHDC, BPEHDC* around the armhole. Sl st in top of ch-3. (30, 31, 32, 33, 34, 35)
Row 38-40: Repeat row 37. (30, 31, 32, 33, 34, 35)
Bind Off.
Repeat Sleeve Rows 1-40 for second sleeve.
Neckline
Color A: Citron
Row 1: SEHDC (counts as first st) alternate *FPEHDC, BPEHDC* around the neckline. Sl st in top of SEHDC. (72, 76, 80, 84, 86, 88)
Row 2: Ch 3, alternate *FPEHDC, BPEHDC* around the neckline. Sl st in top of ch-3. (72, 76, 80, 84, 86, 88)
Row 3: Ch 1, alternate *FPSC, BPSC* around the neckline. Sl st in top of ch -1. (72, 76, 80, 84, 86, 88)
Bind off.
Sew in ends and you’re finished!
Don’t forget to share your Slice of Nice sweater online!
Use hashtag #sliceofnicesweater and tag me @colourful.crochet on Instagram to be featured!
Thanks again to Ashlee of ColourfulCrochet.com for sharing this free seamless crochet sweater pattern! Be sure to check out Ashlee’s blog for lots more free modern crochet patterns!
That was so fun! Now what?
Invitation to our Facebook group
Come discuss crocheting top down sweater patterns and lots of other crochet projects and techniques in our Make & Do Crew Facebook group. Here thousands of helpful crocheters answer each others questions and share their stitches. Come join us here.
Find Your Next Sweater Project
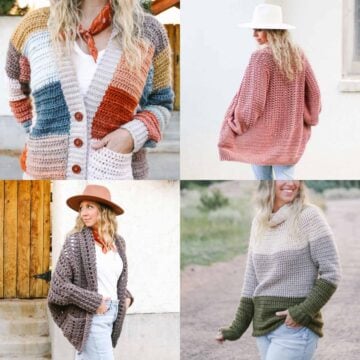
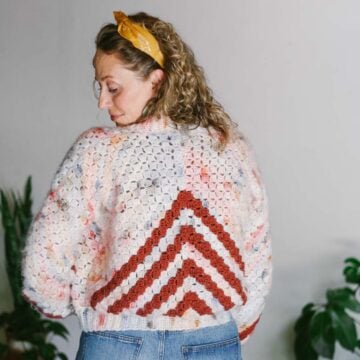
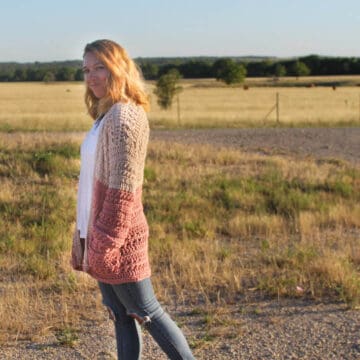
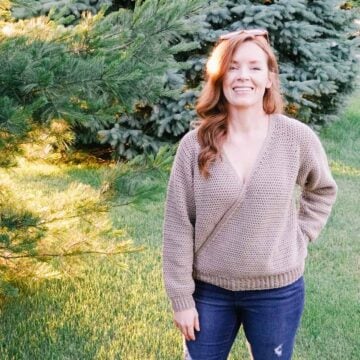
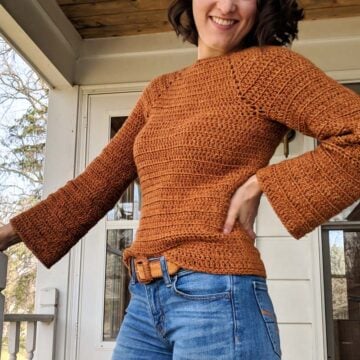
- V-Neck Sweater -simple, easy striped design
- Crochet Wrap Sweater Pattern – unique take on a raglan
- Beginner Raglan Sweater Pattern – ideal first top down pattern
- Lightweight Mesh Top – doubles as a beach coverup
- Hexagon Layering Cardigan – with bishop sleeves
- Granny Square Cardigan – modern take on a classic motif
- Seamless Crochet Poncho – a great first garment for beginners
- Basic V-Neck Pattern – classic styling
More Free Patterns + Tutorials
Can’t get enough free crochet patterns!? Me either. You’ll definitely want to breeze through these collections to find your next project.
- 55+ Free Crochet Sweater and Cardigan Patterns – our most popular garments
- 40+ Free Crochet Blanket Patterns – baby blankets, throws + c2c graphgans
- 36+ Granny Square Patterns + tips for the perfect square
- 30+ Crochet Animal Patterns – adorable amigurumi stuffed animals
- Crochet Gift Ideas – easy patterns to make for others
- Fast Crochet Projects – start to finish in less than a day
Learn a New Skill
And when you’re ready to master a new skill, check out our detailed guides that include everything you need to know to level up your crochet game.
- How to Corner to Corner (C2C) Crochet for Beginners – with video tutorials to get you started
- How to Crochet a Beginner Hat – make an entire beanie in 1.5 hours!
- How to Crochet Amigurumi for Beginners – the ultimate guide to making your own toys and plushies
- How to Tunisian Crochet – learn with this video and a standard hook
More Free Crochet Patterns for Spring
If you love this top down crochet sweater, you might also like to check out these free crochet garment patterns that are perfect for warm weather. You can always find all our free patterns for spring here.
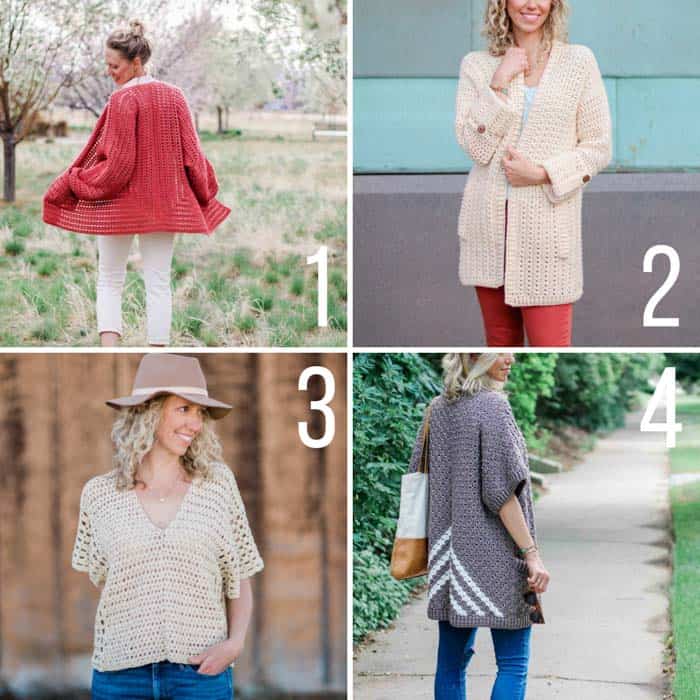
1. Day Date Cardigan + video tutorial – This modern, easy crochet cardigan pattern is made from two simple hexagons, making this lightweight sweater perfect for beginners. Hexagons become a sweater almost like a magic trick.
2. Alchemy Cardigan + video tutorial – Last year’s popular crochet along is still inspiring makers to whip up this lightweight, four-season cardigan. The very detailed video tutorial will guide you every step of the way.
3. Saratoga Poncho Top – Made from two simple rectangles, this stylish top will take you effortlessly from music festival to BBQ to beach vacay this summer. Featuring flowing lace and very simple construction.
4. Free Range Kimono – Basic crochet rectangles come together to form a gorgeously drapy, short-sleeved sweater in this simple free C2C pattern and tutorial.






Leave a Reply