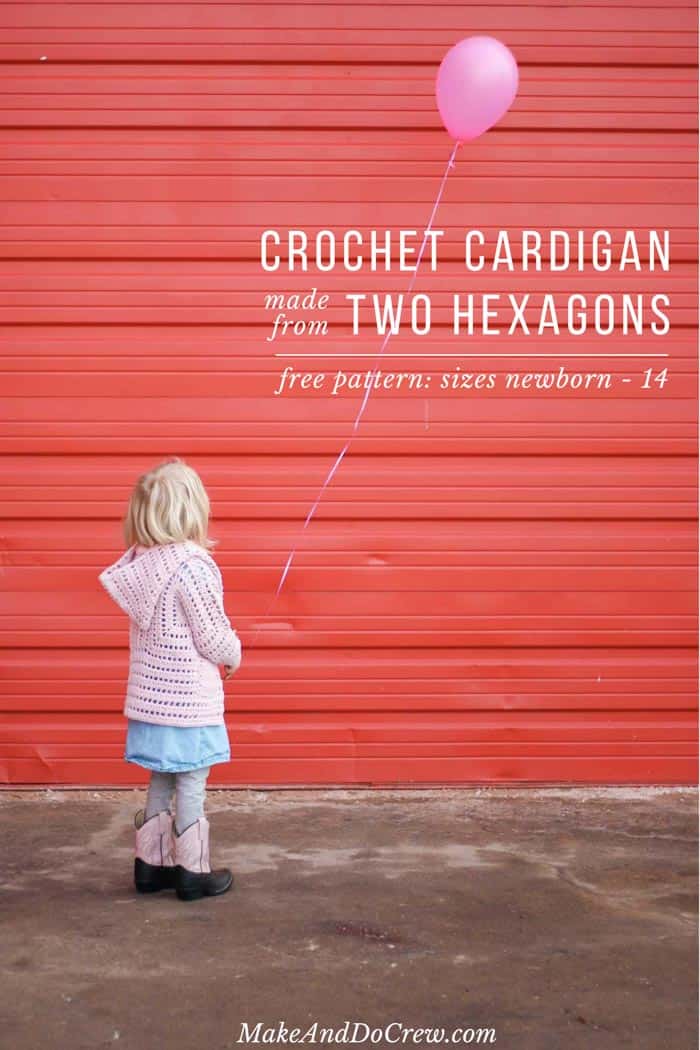
In Part 2 of this free girls crochet cardigan pattern, we'll add length to the sweater, and crochet a hood and pockets to finish off this adorable four-season sweater. Get the free pattern below or purchase the complete ad-free, printable PDF here. Find Part 1 of the free XO Cardigan pattern here.
 This free girls crochet cardigan pattern is part of a collaboration with Lion Brand Yarn. This post contains affiliate links.
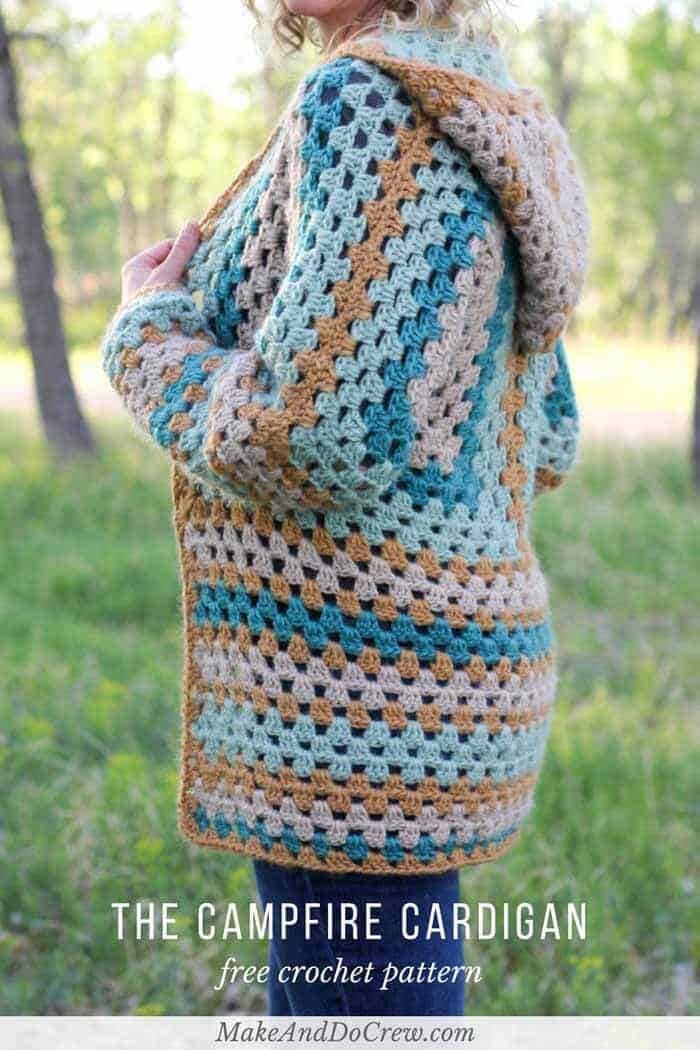
As I mentioned in Part 1 of this free little girls crochet cardigan pattern, the design is a close cousin to my Campfire Cardigan pattern which I also made with two simple hexagons. My favorite part about the hexagons is that they fold up into sleeves and a bodice with ZERO shaping! It's like a crochet magic trick!
The Final Sweater Stretch
So since we've already created the hexagons, seamed them together and added sleeves in Part 1, today we're ready to finish this simple sweater off. You may have noticed that the cardigan you've created at this point makes for a very cute little cropped shrug.
If you prefer this look, feel free to just skip the section on adding length and a hood and instead create a simple collar (described in the hood portion of the pattern) and add the final border. The result will be a cropped cardigan that's perfect for pairing with an Easter outfit or sundress.
If you're all in on the longer, hooded version though, let's move ahead with Part 2 of this free girls crochet cardigan pattern!
The Yarn
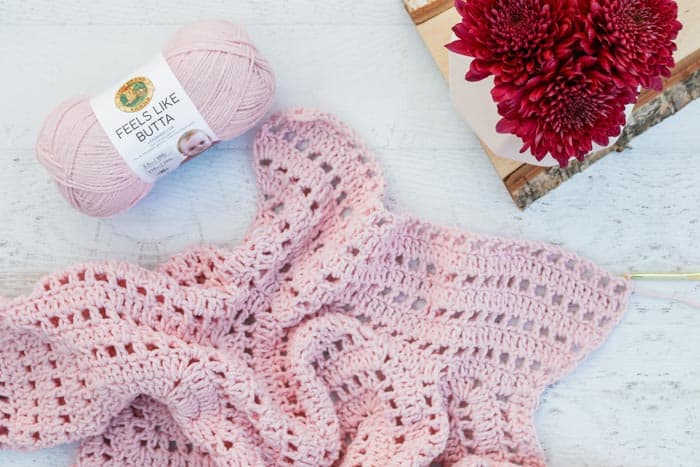
The yarn I used for the sample is a new absolute must-try yarn from Lion Brand. It's called Feels Like Butta and it is indeed just as soft and creamy as the name implies. The texture is a little bit like micro-chenille, which is hard to see in my photos, but clearer in the photos on LionBrand.com. I can't wait to try a cardigan for myself in this same line of yarn--there are some really sophisticated "adult" colors that I just love! (The color I used for this sweater is actually also on sale this month on LionBrand.com in celebration of their color of the month! Check it out here.)
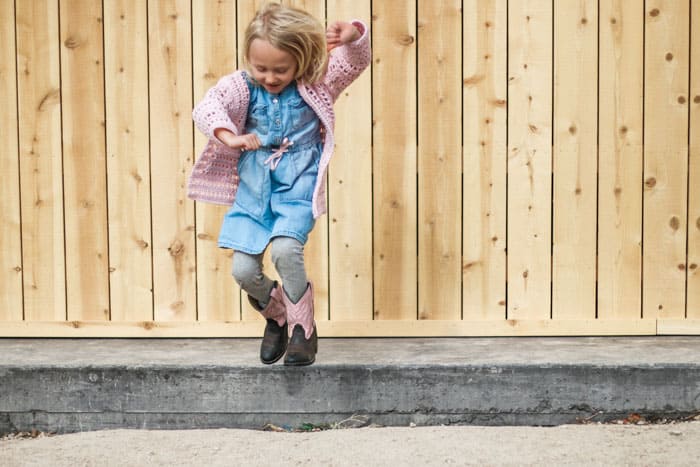
Oh and did I mention? This sweater gives you jumping super powers!
Please do not publish or share this pattern as your own. You may make items to sell with this pattern. In exchange, please link back to this pattern. Do NOT use my photos as your own sales photos. Now go make something awesome!
The XO Girls Crochet Cardigan
Free Child's Crochet Pattern - Part 2
Purchase the ad-free, printable PDF with stitch charts and schematic here.
Pin it for later here.
Get Part 1 of the free pattern here.
Supplies:
This pattern contains affiliate links at no extra cost to you.
• Lion Brand Feels Like Butta (Weight: 4/medium - 218 yds, 3.5 oz)
- Pink (215-101) – 2 (3, 4, 5, 6) skeins [(approx. 171 (247, 323, 415, 518) g)]
• Tapestry needle
• Size H (5.0 mm) crochet hook
• Stitch markers or safety pins
Child’s Sizes*:
newborn-6 months (1-4, 4-6, 8-10, 12-14)
Chest Circumference: 18 (22.5, 27, 31.75, 36.25)”
*See ad-free, printable PDF for schematic with measurements, if desired.
If in between sizes, choose larger size. You then may want to work fewer sleeve rounds and body “length” rows to accommodate smaller limbs and torso. When your little one grows, just add an extra couple of rounds to grow with her!
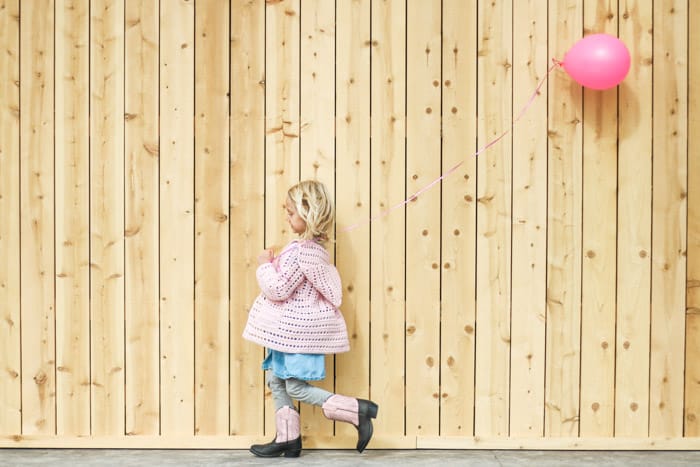
Sample pictured is a size 4-6 on a 5-year-old girl.
Gauge:
14 sts x 6.3 rows = 4”
Abbreviations and Glossary (US Terms):
ch – chain
sl st – slip stitch
dc – double crochet
dc2tog – double crochet two together (see photo in sleeve section)
sp – space
tch – turning chain
st(s) – stitch(es)
rep – repeat
PM – place marker
RS – right side
WS – wrong side
Overall Pattern + Sizing Notes:
• Pattern is written in smallest size with larger sizes following in parenthesis. newborn-6 months (1-4, 4-6, 8-10, 12-14)
• Ch 3 at the beginning of a row/round always counts as a dc.
• Ch 4 at the beginning of a row/round always counts as a dc and a ch-1 sp.
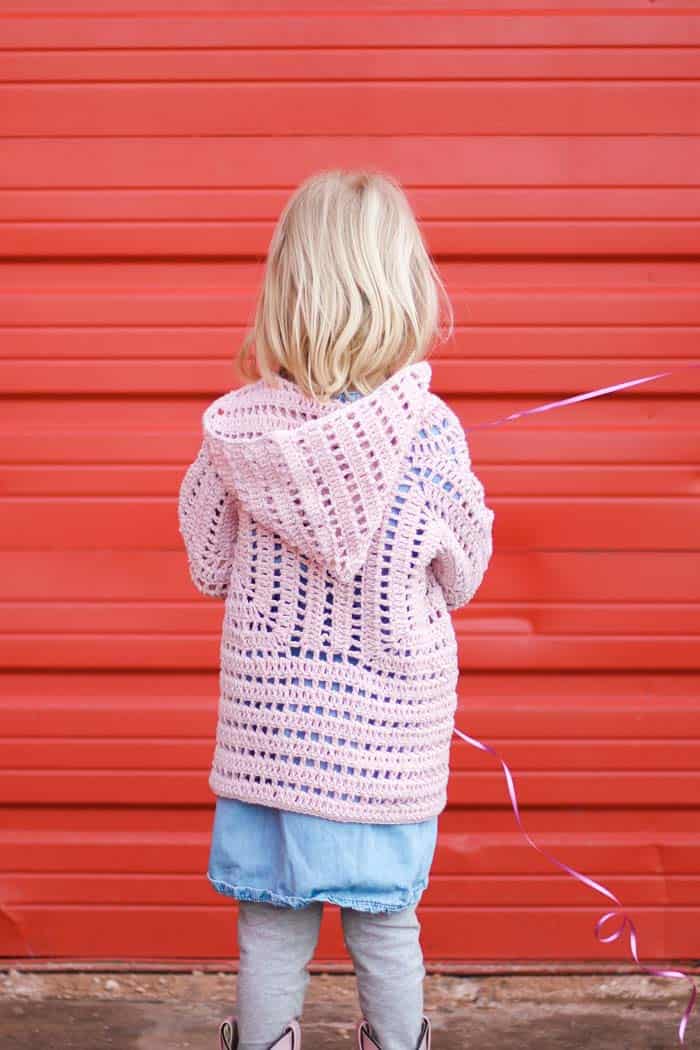
ADDING LENGTH
Notes:
• This section makes sweater longer. For a shorter, cropped cardigan, you may skip this section. Alternatively, to make an even longer sweater, add extra repeats of Rows 2 and 3.
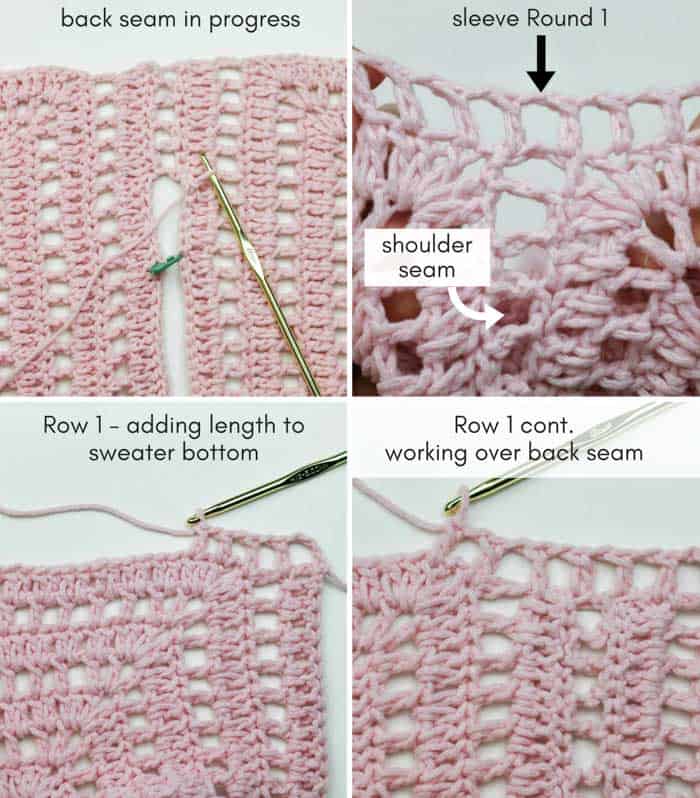
• As with sleeves, in order to evenly place ch-1 sps in Row 1 treat ch-2 sp at each hexagon corner as a dc to skip. Similarly, horizontal dc of back seam and front and back extensions counts as 1 dc to skip. See photo below.
When looking at sweater laid out in front of you, front side up, attach yarn at bottom right corner/right front of sweater (left corner for lefties). (When working Row 1, RS of sweater should be facing you.)
Row 1: Ch 4, dc in Row 1 of hex extension, [ch 1, sk 1 dc, dc in next dc] to end of row; turn. [31 (39, 47, 55, 63) ch-1 sps, 32 (40, 48, 56, 64 dc]
Row 2: Ch 3, dc in each dc and ch-1 sp to end of row, turn. [63 (79, 95, 111, 127) dc]
Row 3: Ch 4, sk 1 dc, dc in next dc, [ch 1, sk 1 dc, dc in next dc] to end of row; turn.
Rep Rows 2 and 3 for 10 (12, 12, 12, 12) total rows, ending with a Row 2.
Wanna save this pattern?
Fasten off.
HOOD
Notes:
• Follow Rows 1-5 below to create a simple collar instead of a hood.
• In order to evenly spread dcs across Row 1, place 2 dcs in each sp created by a horizontal dc. Place 3 dcs in space created by back seam.
• In order to increase, Row 2 places first dc in first dc. This is the st right next to your ch 3.
When looking at sweater laid out in front of you, front side up, attach yarn at upper left corner of sweater front (upper right corner for lefties). (When working Row 1, RS of sweater should be facing you.)
Row 1 (RS): Ch 3, work 36 (42, 48, 52, 56) dc evenly around row to opposite front corner of sweater, turn. [37 (43, 49, 53, 57) dc]
Row 2 (WS inc): Ch 5 (counts as 1 dc and 1 ch-2 sp here and throughout), dc in first dc, [ch 1, sk 1 dc, dc in next dc] to end of row, ch 2, dc again in last dc; turn. [20 (23, 26, 28, 30) ch sps, 21 (24, 27, 29, 31) dc]
Row 3 (RS inc): Ch 3, dc 3 in ch-2 sp, dc 1 in each dc and ch-1 sp until ch-2 sp at end of row remains, dc 3 in ch-2 sp, dc in 3rd ch from beginning of previous row; turn. [45 (51, 57, 61, 65) dc]
Row 4 (WS inc): Rep Row 2. [22 (24, 28, 30, 32) ch sps, 23 (26, 29, 31, 33) dc]
Stop here to create collar. Proceed with below for hood.
Row 5 (RS inc): Rep Row 3. [49 (55, 61, 65, 69) dc]
Row 6 (WS): Ch 4, [ch 1, sk 1 dc, dc in next dc] to end of row; turn. [24 (27, 30, 32, 34) ch-1 sps, 25 (28, 31, 33, 35) dc]
Row 7 (RS): Ch 3, dc in each dc and ch-1 sp to end of row; turn. [49 (55, 61, 65, 69) dc]
Rep rows 6 and 7 until there are 17 (17, 19, 19, 23) total hood rows. End with a Row 7.
SEAMING HOOD
Notes:
• Hood is seamed with same technique as sleeves and back.
With RS facing in, fold Row 17 (17, 19, 19, 23) of hood in half.
Attach yarn in one corner at front of hood. Ch 2, sl st to join in corner on opposite side of hood, sl st 2 into first dc on same side; * ch 2, sl st to join on opposite side, sl st 2 on same side; ch 2, sk 2 dc on opposite side; rep from * to center fold of hood. Fasten off.
BORDER
Notes:
• Try a contrasting color for the border or your favorite “fancy” border stitch if desired.
• Border is worked along sweater bottom, up front side, around front of hood and down other front side.
When looking at sweater laid out in front of you, front side up, attach yarn at bottom right corner (left corner for lefties). (When working Round 1, RS of sweater should be facing you.)
Round 1: Ch 1, work around entire edge of sweater placing 1 sc in each sc and 2 sc in the space created by each horizontal dc, sl to to first sc of round to join.
Fasten off. Weave in ends.
POCKETS
Notes:
• Ch 2 at beginning of each row always counts as a stitch.
Foundation Row: Ch 14 (16, 16, 18, 20).
Row 1: Dc into 3rd ch from hook and each ch to end of row; turn. [13 (15, 15, 17, 19) dc]
Row 2: Ch 2, dc in 2nd dc and each dc to end of row; turn.
Rows 3-4 (6, 6, 7, 7): Rep Row 2.
Row 5 (7, 7, 9, 9): Ch 4, Ch 4, [ch 1, sk 1 dc, dc in next dc] to end of row; turn. [6 (7, 7, 8, 9) ch-1 sps, 7 (8, 8, 9, 10) dc]
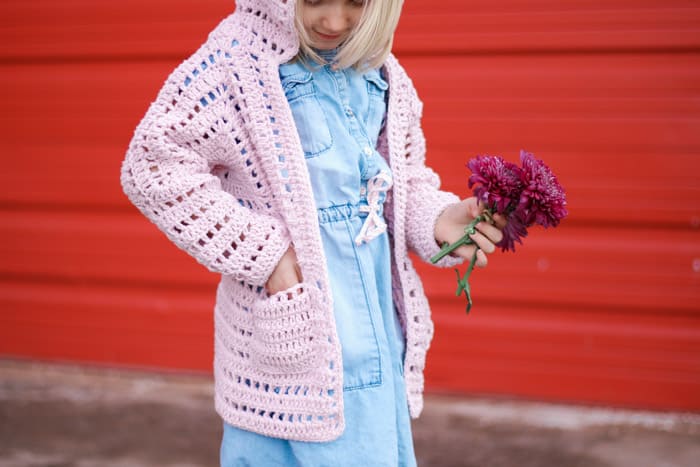
Sew pockets to sweater as pictured using a whip stitch.
Fill your new handmade hexi cardi with hugs and kisses and give to your favorite little kiddo!
I love to see your finished projects! Use #MakeAndDoCrew and tag me Instagram (@MakeAndDoCrew) to show off your stitches and have a chance to be featured.
Now that you're on a crochet roll, you may like these other free crochet patterns for children from Make & Do Crew. You can always find all my children's patterns here too!
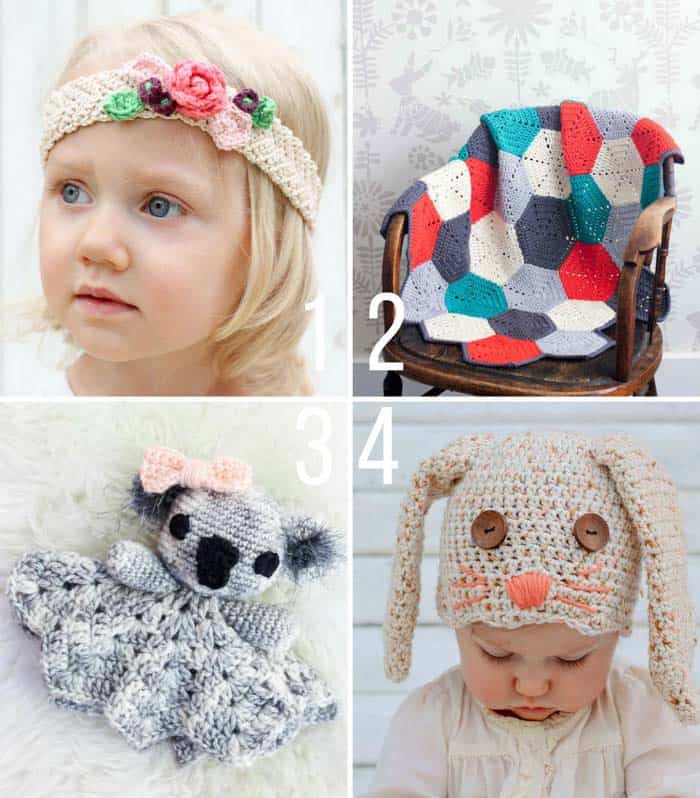
1. Flower Headband - free crochet pattern and tutorial for babies, toddlers and little girls and adults
2. Happy Hexagons Crochet Afghan - free crochet baby blanket pattern + tutorial
3. Koala Lovey - free crochet pattern for babies
4. Bunny Hat - free crochet pattern for Easter (sizes newborn-toddler)

Leave a Reply