Would you believe this free crochet bun beanie pattern (AKA ponytail hat) uses only single crochet and chain stitches? Despite it’s simple construction, the “cabled” look of this beanie is sure to dress up even the messiest of messy buns. As always, the free pattern is below or you can purchase the ad-free, printable PDF here.
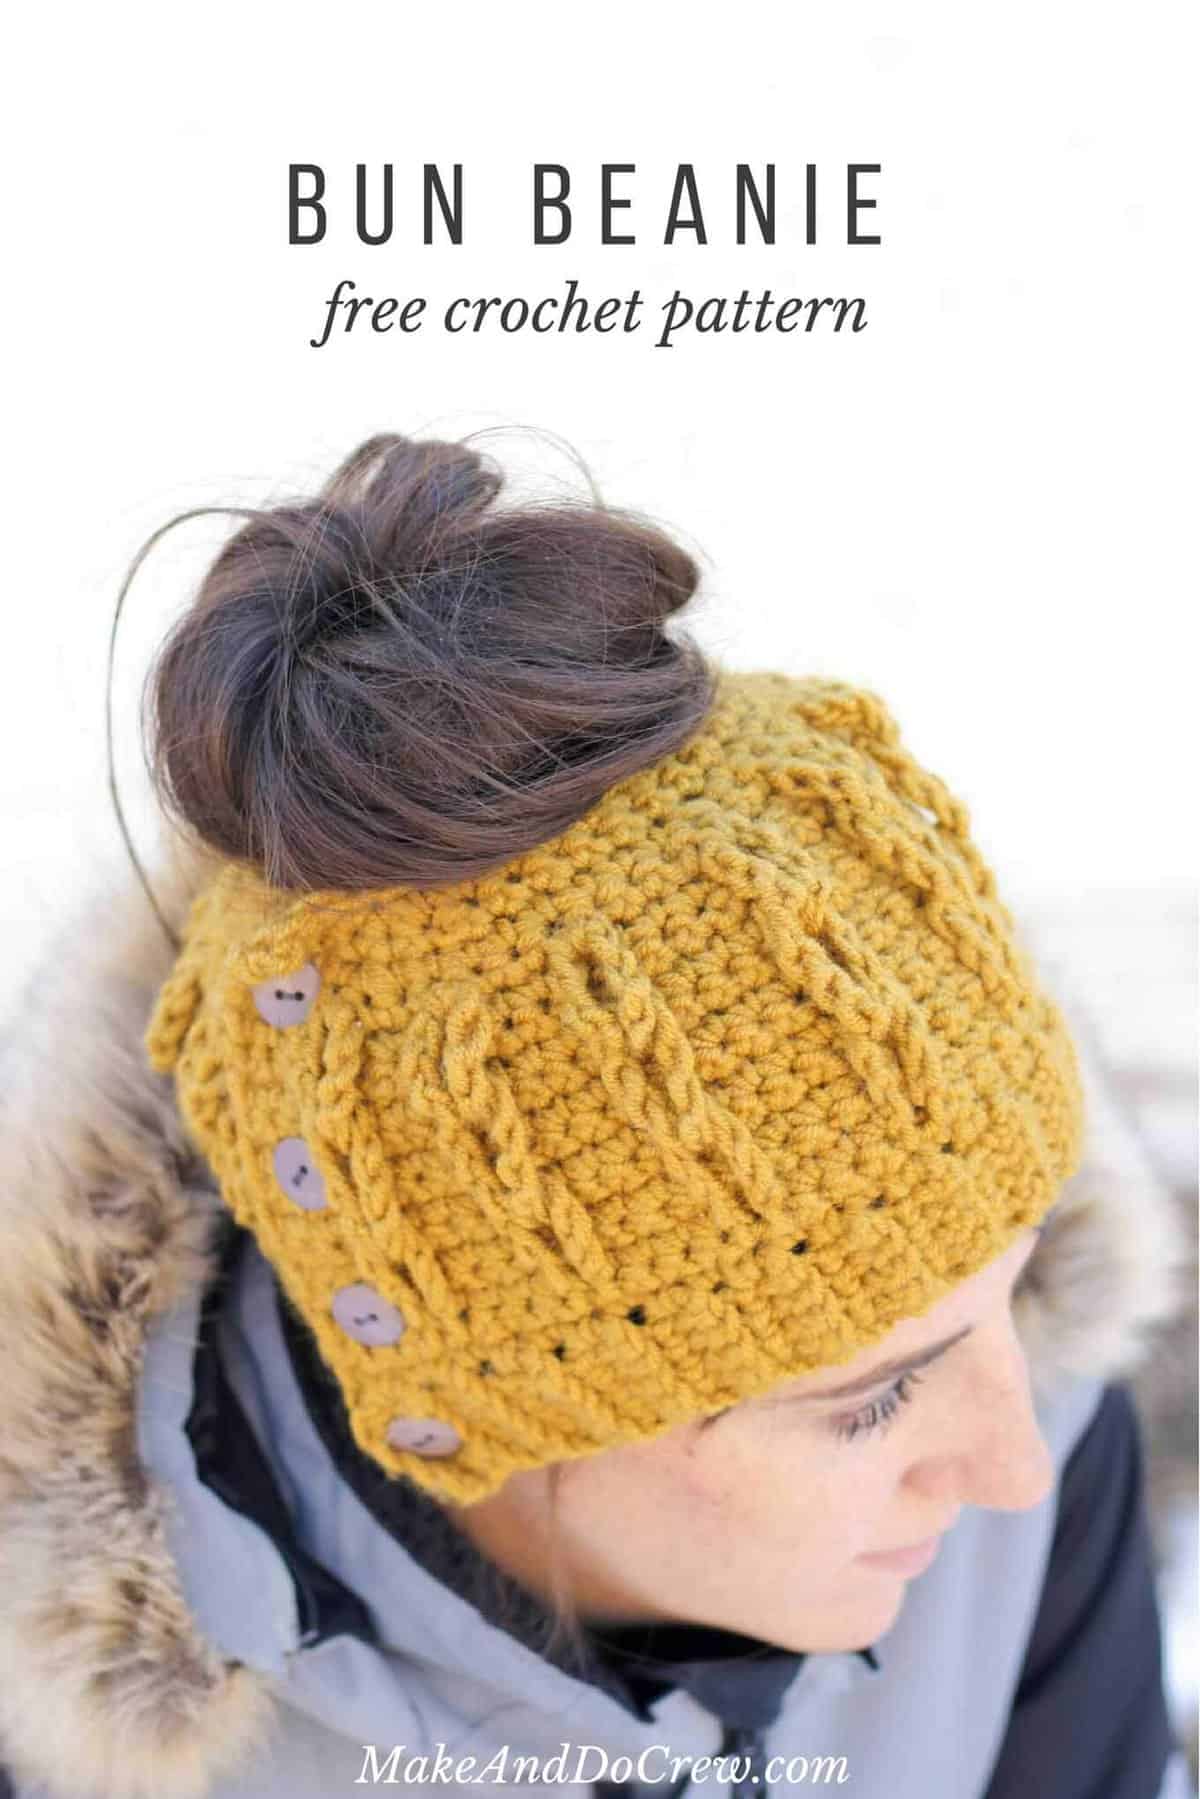
 Oh the crochet bun beanie. Outside of our little pocket of the internet, I’m sure no one has any idea what I’m talking about. But inside this warm, wooly corner of craft blogs and internet crocheters, bun beanies are hot. Hot. Hot.
 I can see why too. They say, “Hey look, I’m a woman. Yup, see? I have a lot of hair pretty back there. But I don’t care to wash it or style it, so I put this cute hat on and called it a day.” This is my kind of trend.
I wanted to design a free crochet bun beanie pattern that didn’t necessarily have to be pulled over your bun to be put on. Let’s face it, the perfectly imperfect messy bun is sometimes hard to achieve and yanking a hat over it has the potential to create a little too much mess in your messy bun. (Unless you’re my sister, pictured in this post, who has the hair of an equestrian mermaid. So thick. So soft. So shiny.)

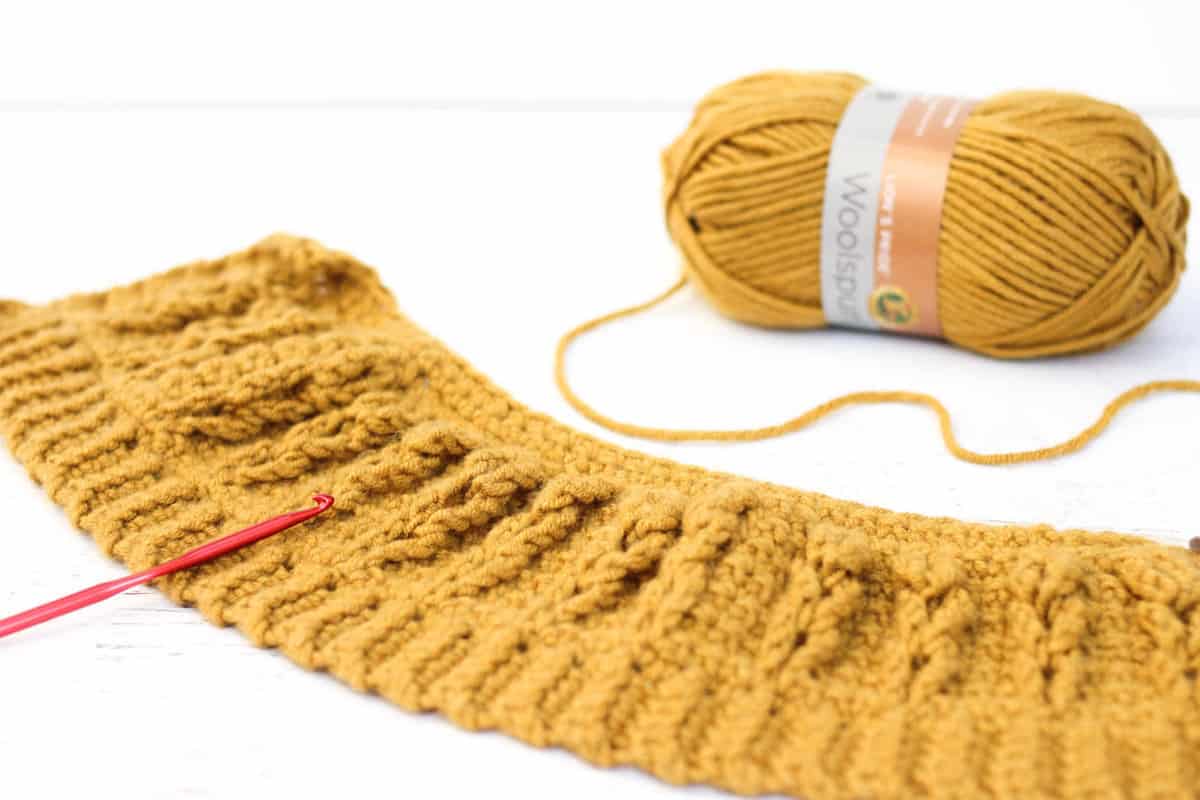
 A while back, I came across this pillow and I became really intrigued by how single crochet plus a bunch of chain loops could create such an elegant, cabled texture. I pinned the technique and knew I’d use it one of these days. Today is the day! (PS. Are we Pinterest buddies yet? Let’s be!)
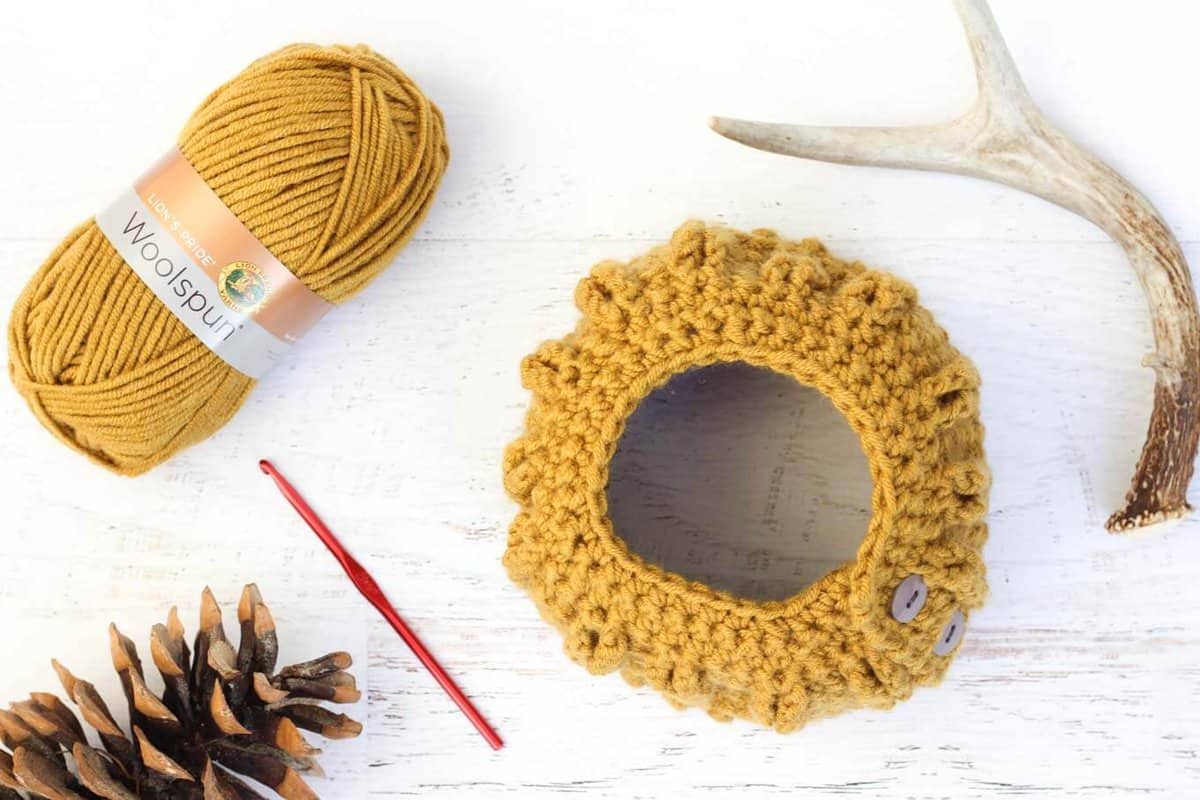
This crochet bun beanie pattern literally requires one skein of Lion Brand Lion’s Pride Woolspun yarn, single crochet, periodic sets of 10 chains to create the loops and some decreases thrown in for good measure.
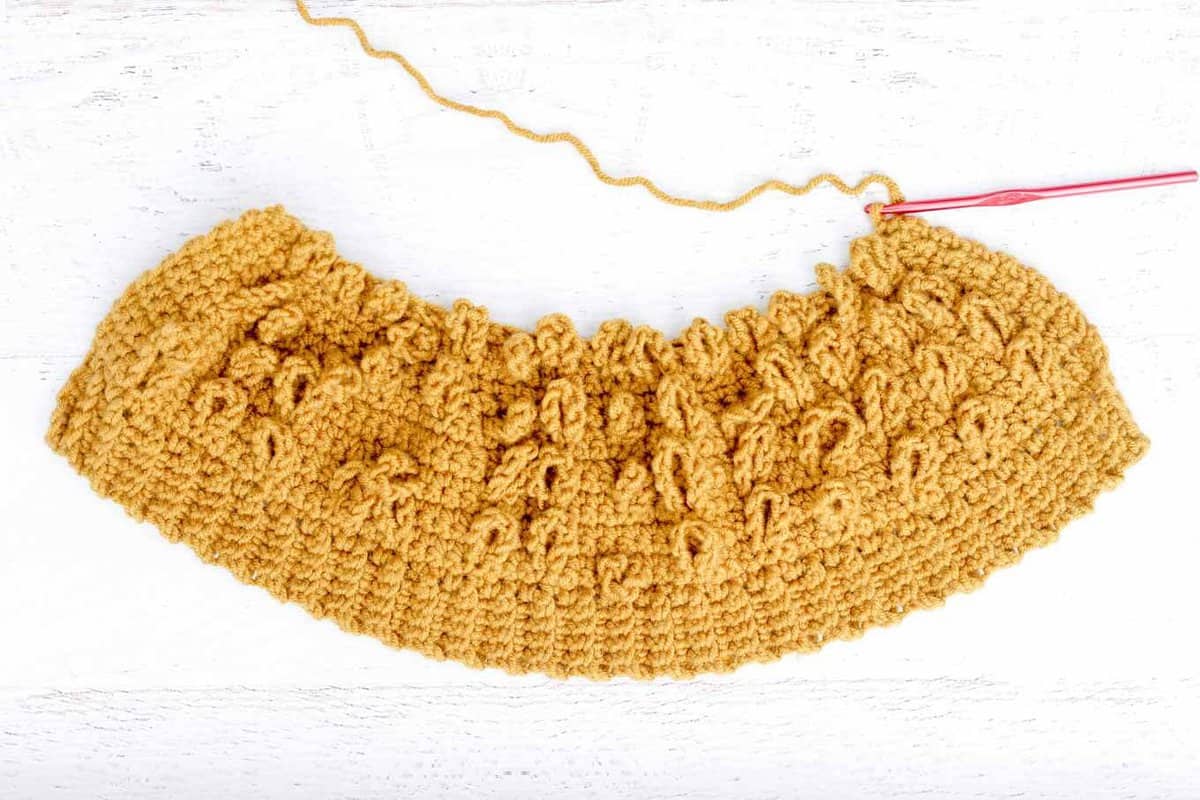
I put together this brief video tutorial so you could see how easy it is to turn your swatch of squiggly chain loops into a stylish “cabled” hat. Check it out below to see the entire bun beanie come together in less than two minutes. (Unfortunately, I’m not this fast in real life!)
Note: The video shows four rows of chain loops because I shot it all at my house before Christmas, only to decide after the hat was finished that I wanted to adjust it a bit. So I tore it all out and recreated it when I was at my parents’ (away from my video recording set up.) #bloggerproblems Anyhow, don’t be concerned when you end up with only three rows of loops or when your row of tacking the loops down (row 14) happens on the back side of the hat instead of the front like in the video. 🙂
Feel free to share and pin this blog post! Please do not publish this pattern as your own. You may make items to sell with this pattern. In exchange, please link back to this post. Do NOT use my photos as your own sales photos. You can read my policies here. Now let’s make something awesome!
Related: 35+ Easy Chunky Beanies to Crochet
Faux Cabled Bun Beanie – Free Crochet Pattern
Purchase the ad-free, printable PDF here.
Add this pattern to your Ravelry favorites here.
Pin it for later here.
Sizes:
One size fits most teen and adult women’s heads
Supplies:
• (1) Lion Brand Lion’s Pride Woolspun in “Honey” approx. 127 yards (100 g) (Note that the any variegated version of this yarn contains slightly less yardage, so you will likely have to eliminate the last row or two of the pattern if you use multicolored Woolspun. The pattern will work, the hat will just be slightly shorter.)
• Tapestry needle
• Size J [6.0 mm] crochet hook (I really like this affordable set!)
• (4) ¾” buttons
• Sewing needle and thread to match buttons
• Scissors
Gauge:
• 5.5 sc stitches = 2”
• 8 sc rows = 2”
Abbreviations (US Terms):
sc – single crochet
approx. – approximately
ch – chain
sk – skip
scblo – single crochet back loop only (Insert hook in back loop of the crochet stitch you’re working, then complete a normal single crochet.)
sc2tog – decrease one stitch by single crocheting two stitches together (Insert hook in first stitch, yarn over and draw up a loop (2 loops are now on hook). Insert hook in next single crochet, yarn over, draw up a loop (3 loops are now on hook). Yarn over, draw a yarn through all three loops on hook.)
Notes:
• The ribbing of this beanie is worked first and the hat is built on top.
• The entire hat is worked in a rows back and forth and becomes round when buttoned at the end.
Ribbing Band
Wanna save this pattern?
To begin ribbing, ch 6.
Row 1: In the second ch from hook, sc, sc in each of next 4 ch; turn. (5 sc)
Row 2: Ch 1, scblo in each of next 5 sc; turn.
Repeat Row 2 until piece measures 23”.
Row 3: Ch 1, scblo in next 2 sc, sk next sc, ch 1, scblo in next 2 sc; turn. (Buttonhole created.)
Row 4-5: Repeat row 2.
Do not fasten off. Turn ribbing and continue with the beanie section working along the long edge of ribbing that is closest to your hook. (See photo A.)
Related: 27+ Free Crochet Hats and Beanies for Adults
Beanie
Notes:
• This pattern is intended to use one entire skein of Lion Brand Woolspun. Since yarn is measured by weight, yardage can vary slightly. If you come up short, simply do not work row 17.
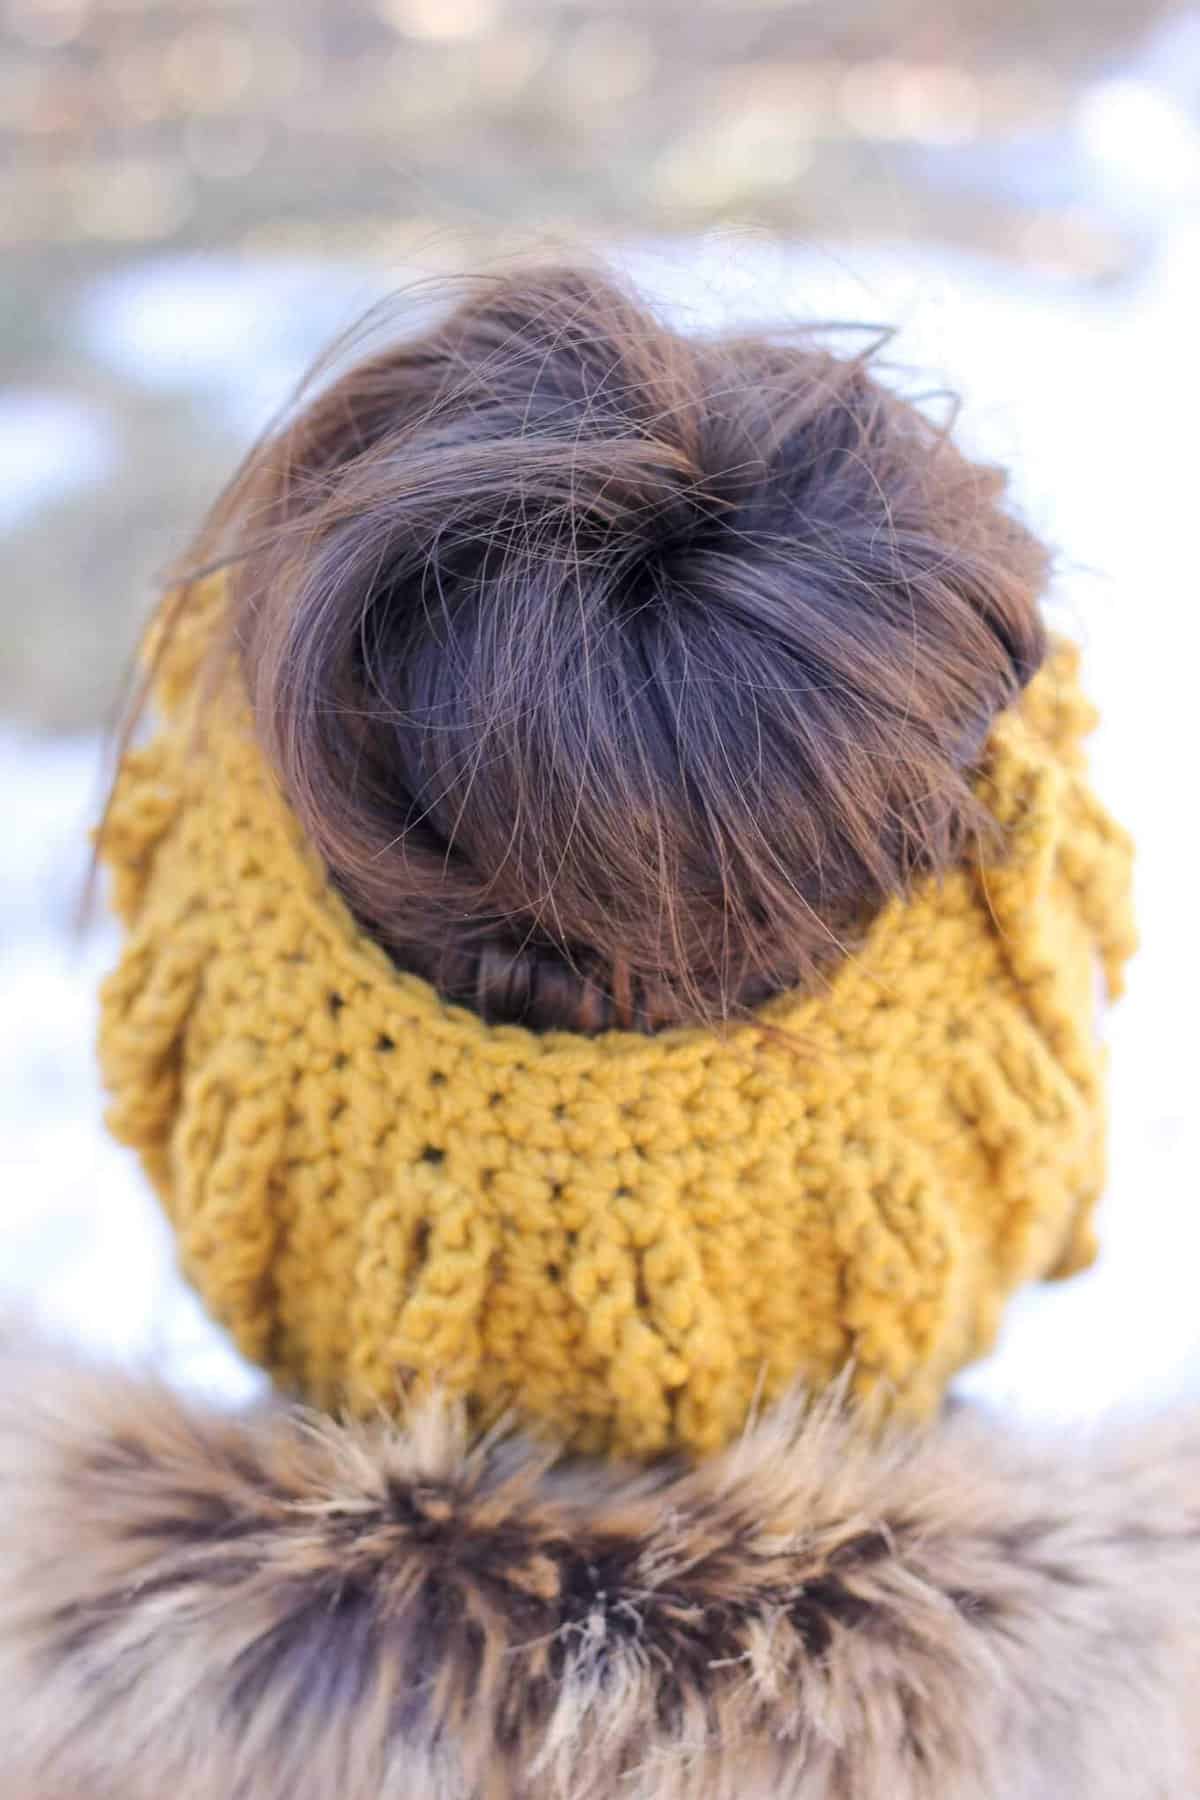
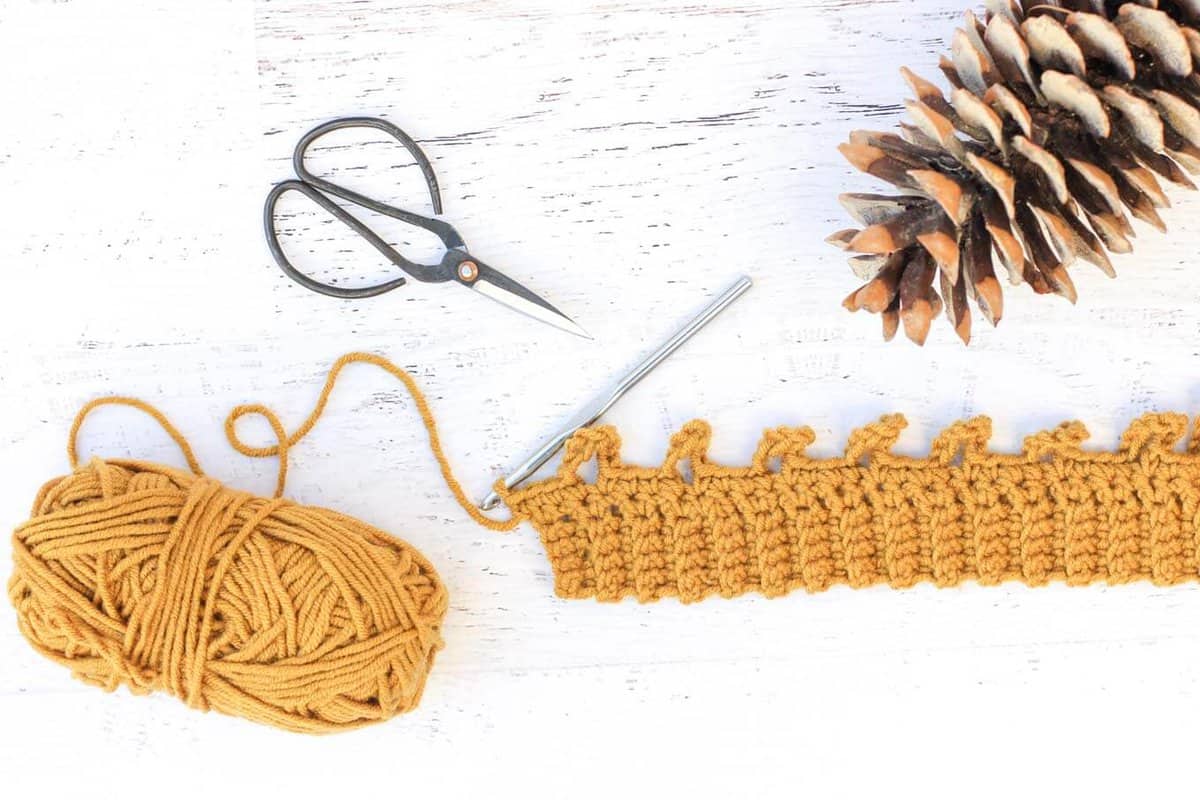
• When each chain loop is created in row 1, work the next single crochet in the very next stitch of the previous row. (Therefore you will have single crocheted in each single crochet from the previous round and you’ll have 14 chain loops popping up from the row of single crochet. See photo above for reference.)
Foundation Row: Ch 1, sc 60 along long edge of ribbing; turn. (60)
Row 1: Ch 1, sc 4, ch 10, sc 4, [ch 10, sc 4] 14 times; turn. (14 ch loops created)
Row 2: Ch 1, sc 2, sk 1 sc, ch 1, sc 2, sc in each sc; turn. (Buttonhole created.) (60)
✨Unlock this free subscriber-exclusive pattern ✨
Follow these steps to view the full free pattern below
Row 16: Ch 1, sc 5, [sc2tog, sc 9] 3 times, sc2tog, sc 4; turn. (40)
Row 17: Ch 1, sc 4, [sc2tog, sc 8] 3 times, sc2tog, sc 4; turn. (36)
Fasten off.
Finishing
Sew buttons onto hat to coordinate with buttonhole placement. Weave in any remaining yarn ends.
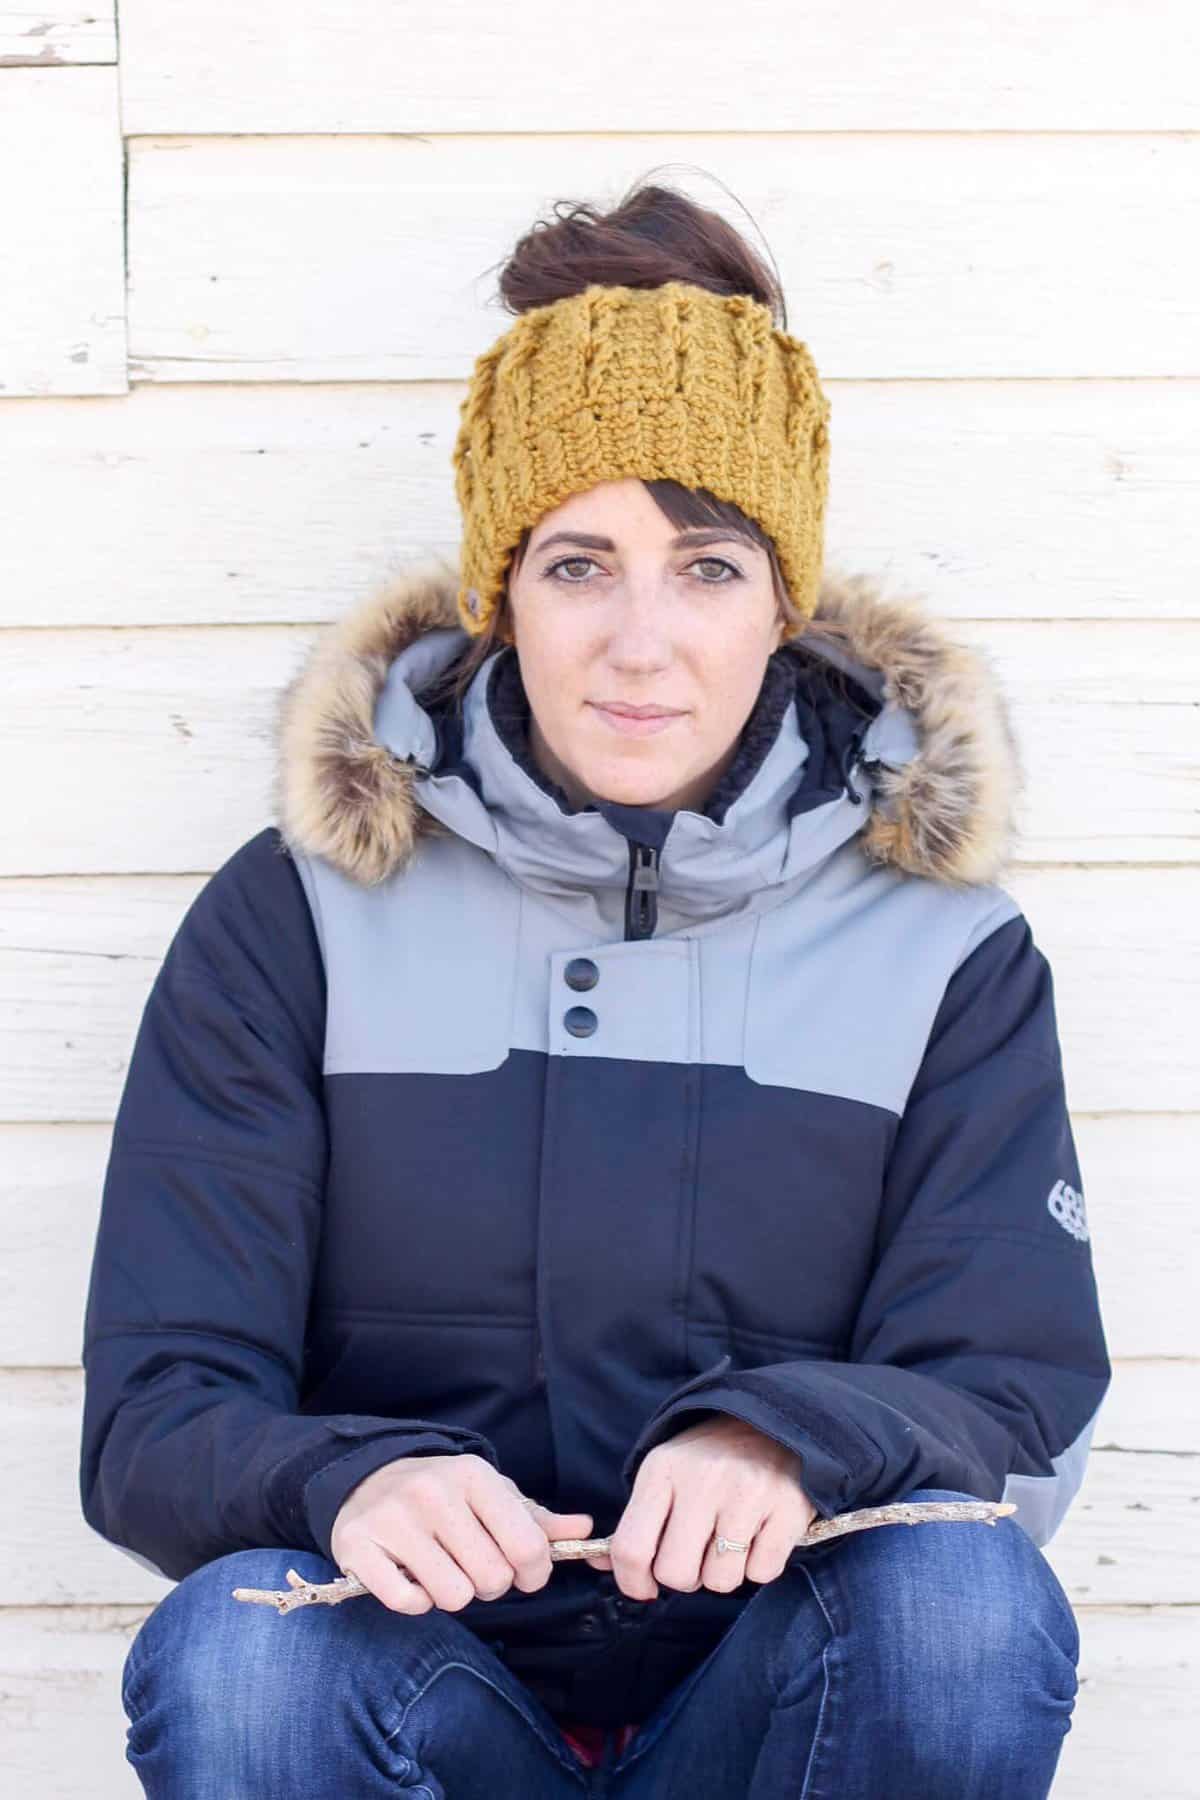
Throw your hair in a bun, pop on your crochet bun beanie and walk out the door—messy hair, don’t care!
I love to see your finished projects! Use #MakeAndDoCrew and tag me Instagram (@MakeAndDoCrew) to show off your stitches and have a chance to be featured.

Are you one of those rad chics who makes your own accessories? Good for you! You might like these free patterns too:
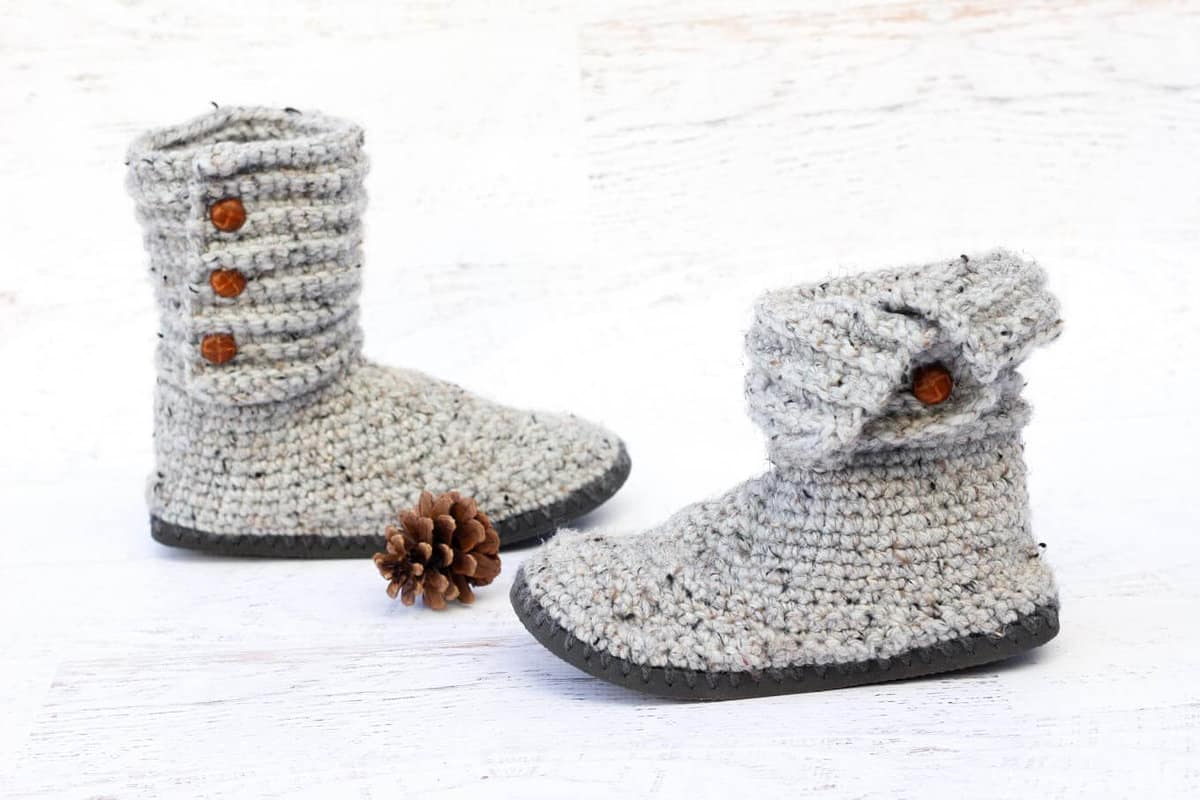
“Cabin Boots” with Flip Flop Soles
 “Desert Winds” Free Crochet Triangle Scarf
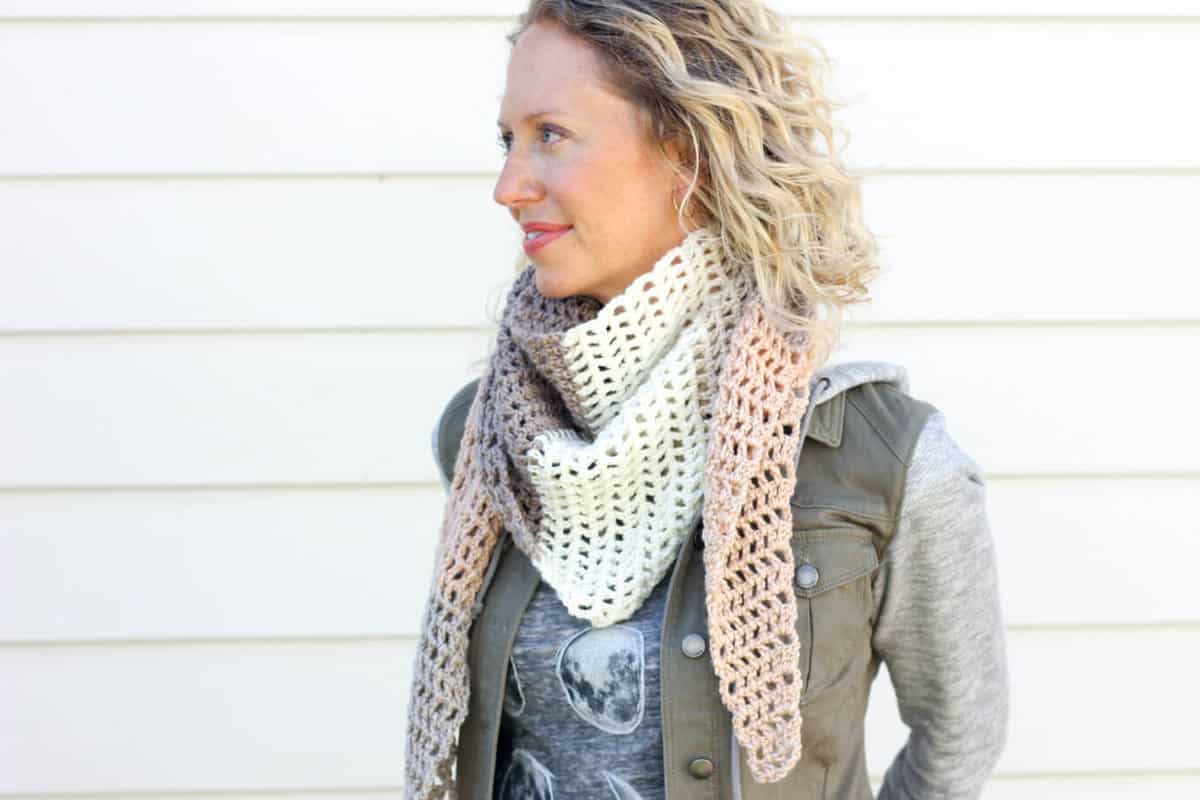
Amy says
I’m working on the band. Is the band really supposed to be 24 inches? Does it shrink up as it goes along? 24 inches seems very big.
Jess @ Make and Do Crew says
Great question. It should say 23″ there, which makes the band about 24″ total. An inch or so is lost on either side when it’s buttoned, which makes it about normal head circumference. Thanks for asking. I’ve updated the pattern accordingly. 🙂
Gina says
Hi! I’m trying to make this for someone with a 20.5 inch circumference head. Can you help with amendments to the pattern both ribbing and main body? Thank you! Super excited!
Jess @ Make and Do Crew says
Hey Gina,
I just responded to another comment on how to make it bigger, so reading that might be helpful to you. Essentially the pattern repeats in multiples of 4, so I’d make a 21.5″ ribbing (to accommodate for the button overlap) and then work a multiple of 4 stitches into the ribbing for the first row of the hat. Right now it calls for 60 sc, so you might do something like 56 or 52. Hope that’s helpful!
Gina says
Thank you so much! Your attention/replies to the comments is amazing and so appreciated.
Mickey E says
Love love love this messy bun! So fun to do too. Thank you for a great tutorial and all around awesome blog.
Jess @ Make and Do Crew says
Thank YOU for being here, Mickey. Happy to have you. 🙂
Miracle says
Hey!
Do you sell these? I don’t knit, but I would love to buy one!
Jess @ Make and Do Crew says
I’m sorry, I don’t sell finished products at this time. 🙂
Gina says
I would be happy to make you one! I have a small stay at home mommy crochet business. http://Www.facebook.com/simplystitchedbygina.
Brenda says
I have not been impressed with the messy bun beanie’s, UNTIL NOW! I love the buttons and not having to pull it over the bun on or off. Thank you for the pattern.
Jess @ Make and Do Crew says
Thanks, Brenda! I know, the pulling it on and off felt like the opposite of hiding a bad hair day to me as it would def increase the bad hair day in my case. 🙂
Connie says
Hello, VERY excited about starting this!!! Quick question , am I to assume that you start this project with the chainless foundation row?
Jess @ Make and Do Crew says
Hey Connie!
Which part are you referring to, the ribbing or the hat section? Either way, you start the ribbing with a regular old chain 6 and then work the hat on the long edge of the ribbing by making 60 single crochet into the ribbing. Does that make sense?
Jess
Connie says
Not sure how I missed the ch 6!!! Thank you!
judy says
i paid for a pdf pattern for this and my pdf wasn’t corrected for row 2 and i thought i
would get more than the brief tutorial when i purchased it please contact me Thank you
Jess @ Make and Do Crew says
Hey Judy,
The intention of the printed pattern is that it’s the same content as the free version, just in an easily printable format. I did realize an error and I have corrected the free and paid versions. I’ve emailed you the new version as well.
Thanks.
Jess
Alyssa says
The video shows four chain loops made and the pattern makes three in rows 1, 5, and 9 and I end up attaching the chain loops from the back side instead of the front.
Jess @ Make and Do Crew says
Hey Alyssa,
You win the award for fastest beanie maker! Wow! And for great eagle eyes. The video DOES show four loops. That’s because I shot it all at my house before Christmas, only to decide after the hat was finished that I wanted to adjust it a bit. So I tore it all out and recreated it when I was at my parents’ (away from my video recording set up.) 🙂 The concept it completely the same, there’s just one fewer rows of chain loops in the final pattern. I will put a note about this in the blog post in case anyone else is curious!
Jess
Amanda says
Hi. I love the hat! I’m on row two of the beanie and if I complete it my button hole won’t match up on the same side as my first button hole. What did I do wrong! Ack! Thank you so much for the pattern.
Jess @ Make and Do Crew says
You’re totally right! Great catch! Here’s what row 2 should say:
Row 2: Ch 1, sc 2, sk 1 sc, ch 1, sc 2, sc in each sc; turn. (Buttonhole created.) (60)
I’ve updated it in the pattern. Thanks for being such a go getter and starting this pattern right away so that others can benefit from your proofreading!
Jess
Amanda says
Thanks for updating the pattern. I’m so excited to see the finished beanie.
Carol Kundo says
on row 2 where it says ch1 sc2,sk1sc, ch1, 2sc… Does s2 mean 2 sc in one stitch?? I am making this now,
Jess @ Make and Do Crew says
Hey Carol,
It means to sc two individual stitches, one per single crochet (so 1 sc in each sc, two times). Does that make sense?
Amanda says
Hi. I love the hat! I’m on row two of the beanie and if I complete it my button hole won’t match up on the same side as my first button hole. What did I do wrong! Acknowledge! Thank you so much for the pattern.
Jess @ Make and Do Crew says
Hey Amanda,
Yes–you’re totally right. There was an error in the pattern, which I’ve corrected now. Are you using the free pattern in this blog post? It should be all correct now. If you purchased a PDF of the pattern before I caught this error, please email me and I’ll send you the updated version right away. jess (at) makeanddocrew (dot) com.
Thanks for your support and asking a great clarifying question! 🙂
Jess
Christina Haney says
I love this!! Started on one as soon as I got home from work today! Thank you for sharing this fun pattern. ❤
Jess @ Make and Do Crew says
Yay! I love that feeling of finding an new pattern and just feeling like I need to start it right away! I just found out there was an error in row 2 (the button hole was ending up on the wrong side from the one in the ribbing.) It’s been corrected in the pattern above, but I don’t want that to throw you if you refresh the page and that row of the pattern looks different. 🙂
Jess
Julie says
Is this regular yarn or a chunky yarn
Elizabeth Daley says
Hi there,
Do you think this pattern would work with a worsted weight yarn? I have a 4 medium on hand. Thank you for sharing your pattern!
Jess @ Make and Do Crew says
Hey Elizabeth,
I haven’t tried it with that, but I do think you could make some adjustments to the pattern and it would work fine. If you scroll through the comments, you’ll see my advice for adjusting the pattern sizing. You might also try holding two pieces of worsted weight together to see if that is a similar gauge to the pattern.
Happy experimenting!
Jess
Chrisandra says
Jess – you have become one of my favourite (if not favourite) crochet blogger and pattern maker in 2016! And this pattern is no exception. Your patterns are so cool and fashionable. Plus you’re super interactive with your readers!
I LOVE this hat. I love the colour you chose and the cables and the fact that it buttons so you don’t have to mess up your perfect messy bun!
Ok – this is a lot of affirmation and you deserve it! Great work! (I’m going to make one of these for myself this weekend!)
Jess @ Make and Do Crew says
Gosh, Chrisandra, thank you for such gracious feedback. Really. Sometimes I’m just trudging along and hearing from people like you is really a bright spot in my day. I appreciate you being here.
xo
Jess