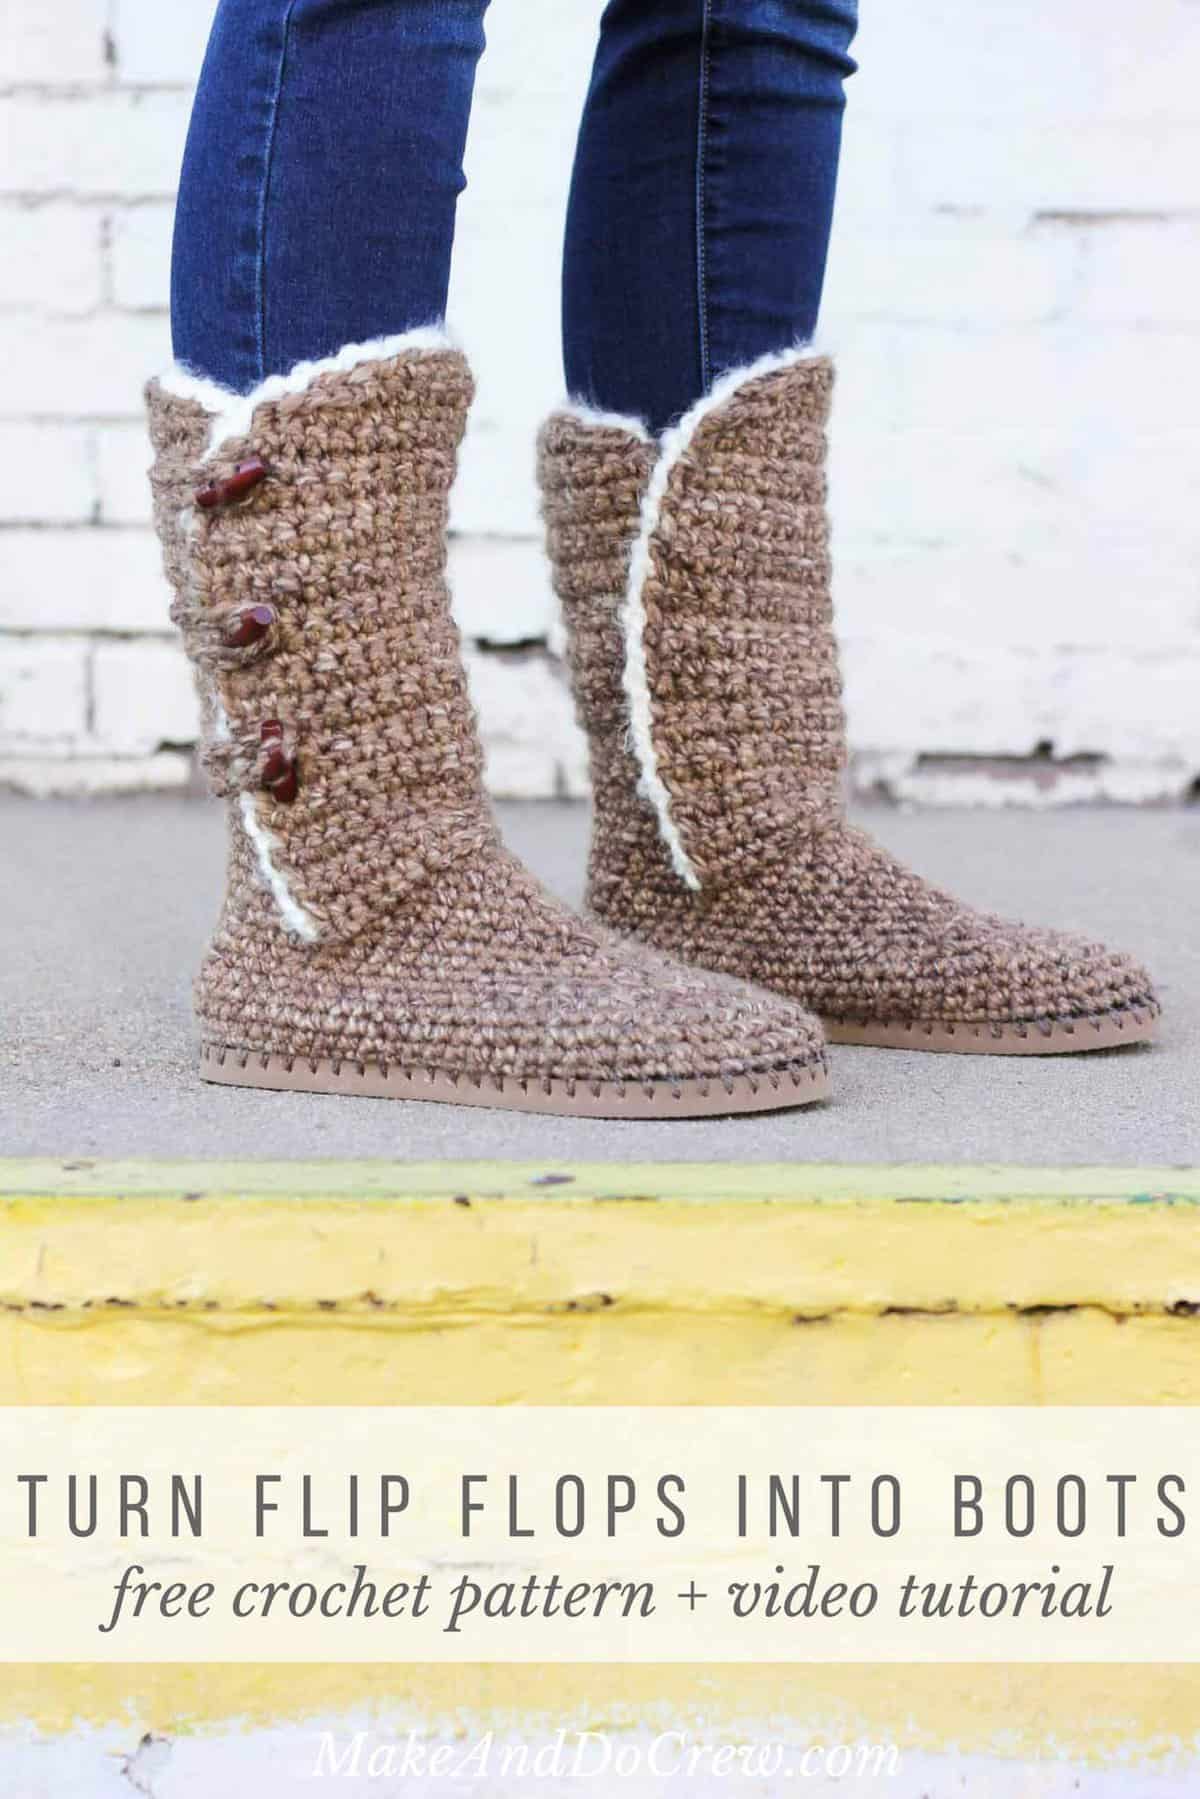
In the second section of the free "Breckenridge" crochet boots pattern and video tutorial, we're crocheting the front and back of the ankle shaft. Part 2 of the free pattern is below or you can purchase the printable pattern PDF in its entirety here.
 This crochet boots with flip flop soles pattern is a collaboration with my friends at Lion Brand Yarn. This post contains affiliate links.
Yesterday in Part 1 of the Breckenridge Crochet Boots pattern, we learned how to prep our flip flops for crocheting and how to make the base of the boot.
Today in Part 2, it's time to cozy-up our ankles with the front and back of the boot shaft. This section, particularly the front of the boot shaft, is where the video tutorial is extra helpful. While 95% of the ankle is worked in plain old single crochet, getting it started is so much more easily communicated in a video than by written words.
(Thank goodness we live in 2017 where a mom in Colorado with a camera, a MacBook and a lot of super late nights can put together an entire crochet video tutorial, right?!)
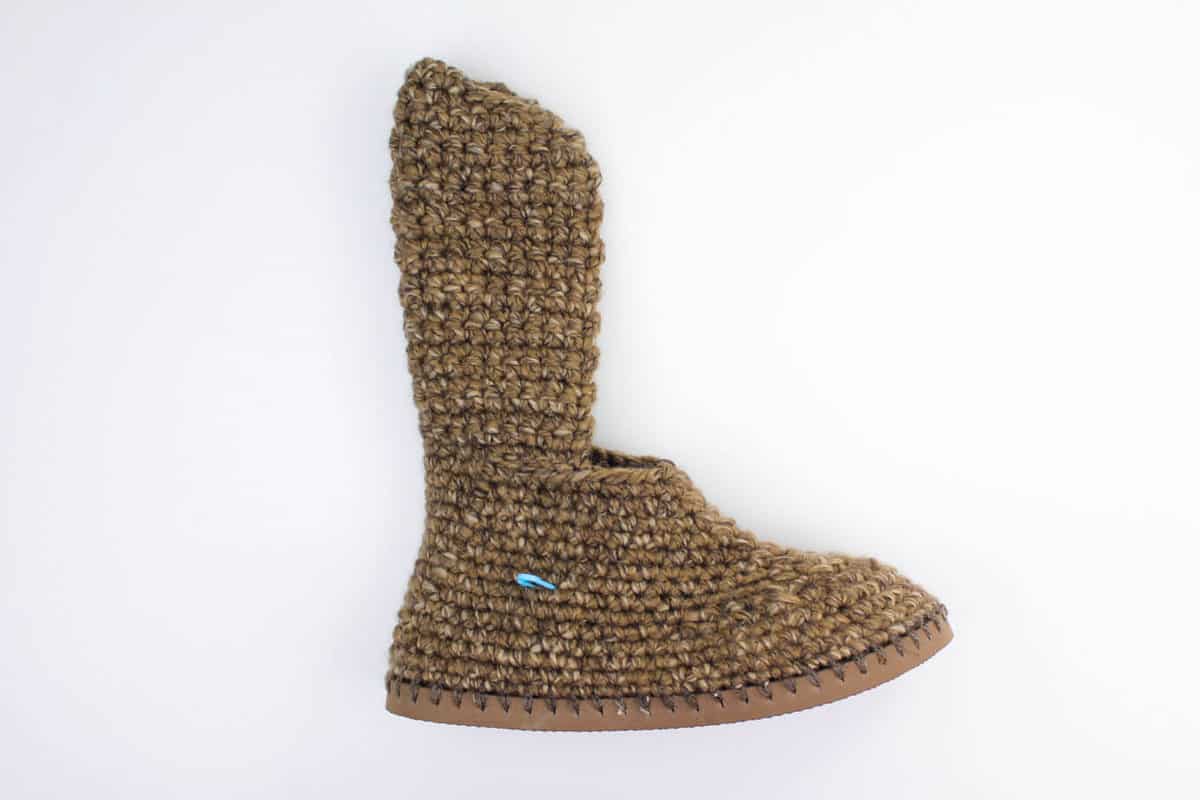
 Once you work the ankle shaft portion of this crochet boots pattern, your boots will really be looking like boots! And while this part of the pattern does have a couple of nuanced steps, like Row 1 of the front ankle section, it works up really quickly because you're mostly just cruising along in single crochet.
PART 1: Supplies, poking the holes, crocheting the boot base
PART 2: Crocheting the back and front of the ankle shaft (below!)
PART 3: Adding the “sheepskin” trim and buttons
As I mentioned in Part 1, I've divided the pattern and video tutorial into three posts in hopes the videos will play more smoothly for everyone. If at any point, you'd like to print out the full (part 1, 2 and 3) ad-free pattern to reference while you work, you can purchase the printable PDF here on LoveCrafts or here on Etsy. The 12 page PDF includes a super helpful printable "ruler" for poking your flip flop holes has all the instructional photos in a separate section toward the back of the pattern so that you choose to print them or conserve ink.
 Please do not publish or share this pattern as your own. You may make items to sell or donate in small batches with this pattern. In exchange, please link back to this post and credit me as the designer. You can view all my policies here. Do NOT use my photos as your own sales photos. Now go make something awesome!
Thanks to Lion Brand Yarn for sponsoring this post and enabling more free patterns on Make & Do Crew. All opinions and ideas are my own.
Breckenridge Crochet Boots Pattern - Part 2
Purchase the ad-free, printable pattern with the hole-poking guide here on LoveCrafts or here on Etsy.
Add this pattern to your Ravelry favorites here.
Pin this pattern for later here.
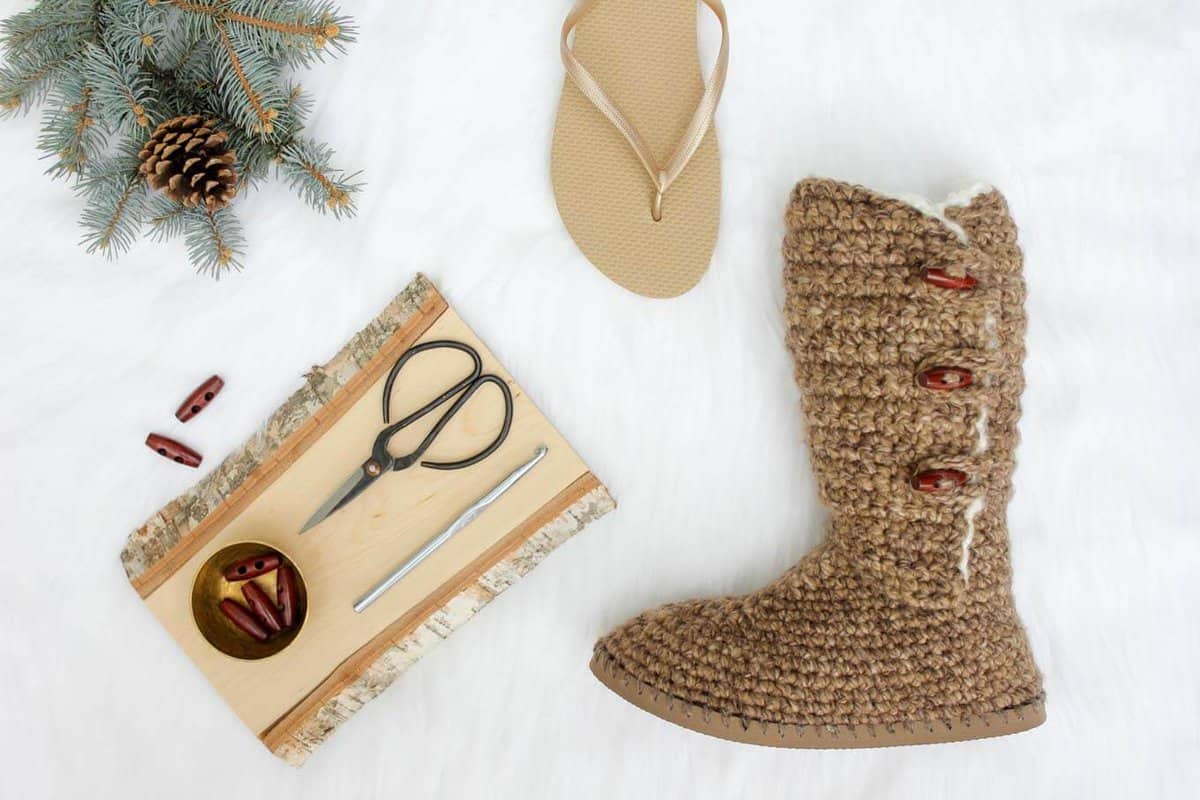
Supplies:
So you can spend more time making boots and less time shopping, this pattern contains affiliate links at no extra cost to you.
UPDATE: Lion Brand has created a kit that includes all the yarn you need to make these boots as well as a copy of the printable pattern with the hole guide. You can even order flip flops along with your yarn! Check out the Breckenridge Boots kit here.
• Lion Brand Wool Ease Thick and Quick Bonus Bundle – 2 skeins (300-350 yards total) – color: Toffee (MC)
• Small amount Lion Brand Vanna’s Choice worsted weight yarn in color to match flip flops (approx.15 yards) (SC) – color pictured: Barley
• Lion Brand Homespun Thick and Quick (approx. 40 yards) (CC) – color pictured: Dove (Pearl would look great too.)
• Tapestry needle
• Size B [2.25 mm] crochet hook or size needed to fit through flip flop holes
• Size H [5.0 mm] crochet hook
• Size K [6.5 mm] crochet hook
• 1-2 printed copies of the “ruler” on p. 12 of the printable pattern or a measuring tape
• 1 pair of flip flops (One size smaller than you wear normally. See pattern notes.)
• Sharp tool to poke holes (I use this clay tool. You can also try a skewer, thin drill bit or tapestry needle.)
• 1.25" (34 mm) wood toggle buttons
• Stitch markers
• Sharp scissors
• Strong glue such as E6000 (optional)
Gauge:
• Boot Base: 5.5 sc = 2”, 7 rows = 2”
• Boot Shaft: 4.5 sc = 2”, just under 7 rows = 2”
Abbreviations and Glossary:
sc – single crochet
sk – skip
sl st – slip stich
ch – chain
WS – wrong side
RS – right side
MC – main color
SC – sole color
CC - contrasting color
Sc2tog (single crochet 2 together)– [Insert hook into next st and pull up a loop] two times, yarn over and pull through all 3 loops on hook.
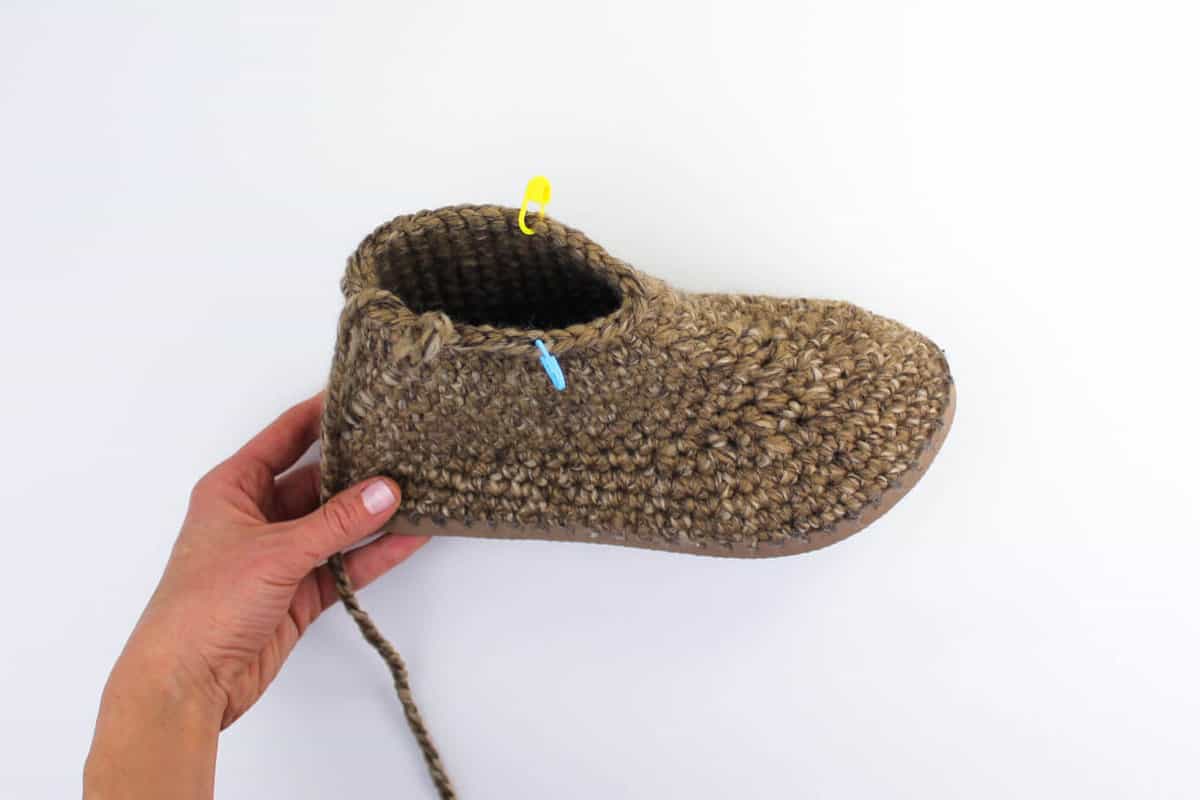
Back Boot Shaft
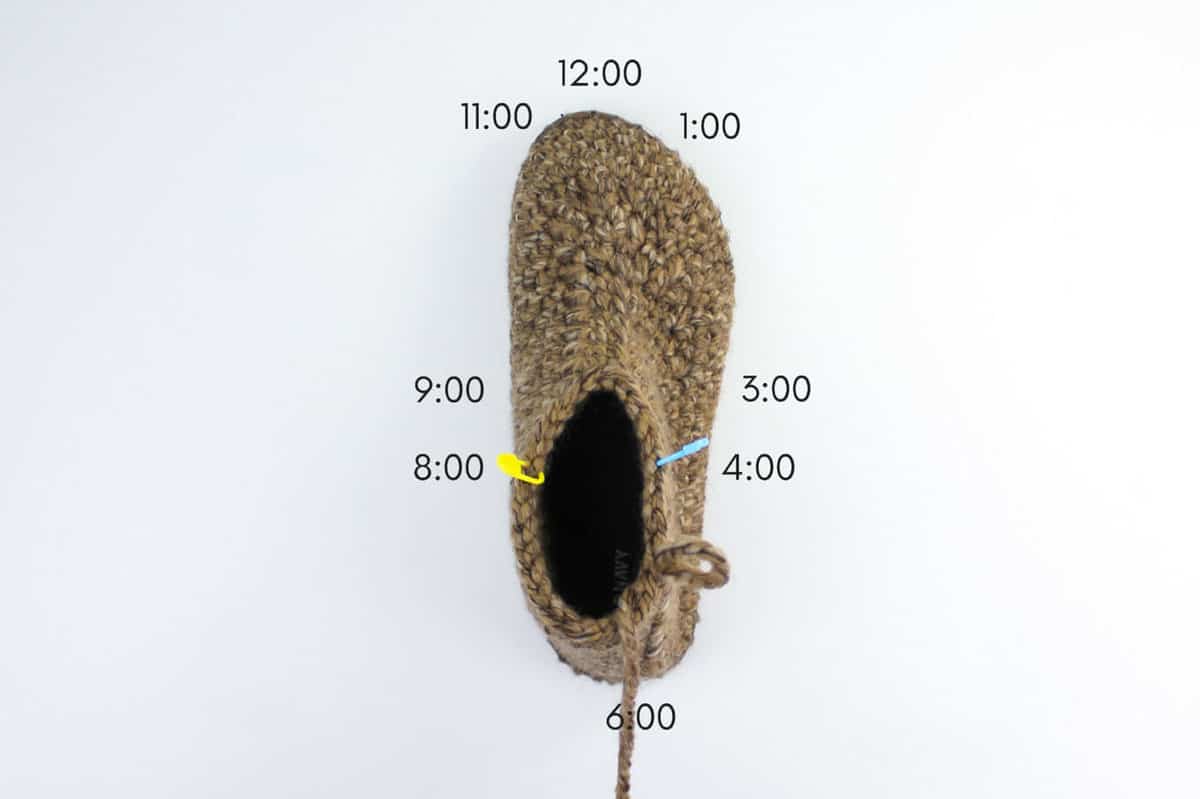
Remove markers and replace them at the 4:00 and 8:00 positions. (See photos above.) Turn work; WS is facing and hook is at center back heel. Begin working back and forth in rows.
Wanna save this pattern?
Row 1 (WS): Sl st in each st to 4:00 marker, sl st in marked st; turn, leaving remaining sts unworked.
Row 2 (RS): Ch 1, sc in each sc to next marker, sc in marked st; turn, leaving remaining sts unworked.
Remove markers.
Row 3 (WS): Ch 1, sc in each st across; turn.
Work even in sc until back shaft measures 10 (10.75, 10.75)" from top of flip flop sole, ending with either RS or WS row.
Taper Top of Shaft
Notes:
• Stitch counts in this section refer to how many st remain from the edge of the main fabric flap, not from the edge of the tapered row.
• You will intentionally be leaving stitched unworked at the end of the rows.
• Do not ch 1 at the beginning of the rows.
Row 1: Sl st in first 2 sts, sc in each st to last 2 sts, sl st in last 2 sts; turn.
Row 2: Sl st in first 4 sts, sc in each st to last 4 sts, sl st in next 2 sts; turn.
Row 3: Sl st in first 4 sts, sc in each st to last 6 sts, sl st in next 4 sts; turn.
Row 4: Sl st in first 4 sts, sc in each st to last 8 sts, sl st in next 4 sts. Fasten off.
Front Shaft
Notes:
• If you’re making the small size but have wider calves, work the M/L sizing for this section.
• For this section in particular, it can be very helpful to watch the video tutorial.
Place one marker at each (inner and outer) ankle, 5 (7, 7) rounds below the top of the foot edge and about 1" behind front edge of back shaft, as shown in the photo below.
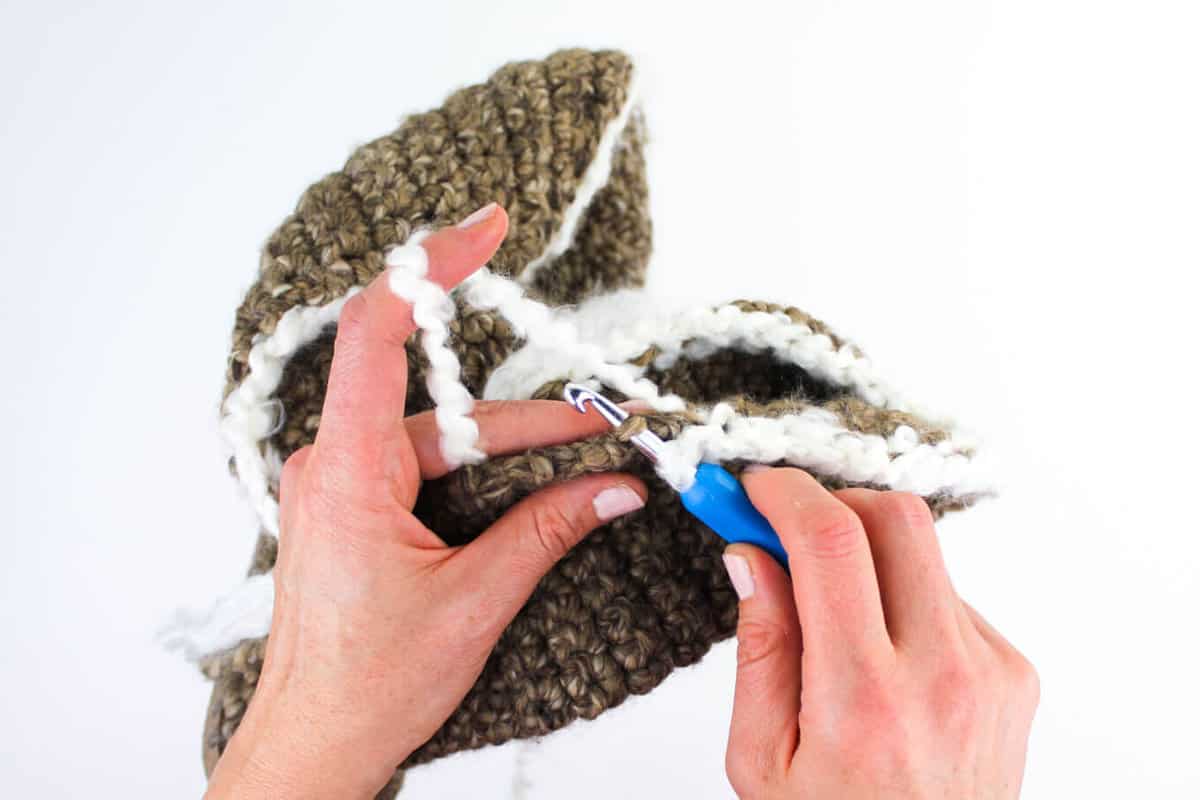
 Hold boot with toe facing to the left (to the right for left-handers). Beginning with slip knot on hook and keeping working yarn on exterior of boot, attach yarn with sl st to marked ankle st on this side.
Row 1 (RS): Keeping working yarn on exterior of boot throughout, surface sl st 6 (7, 7) sts at an angle toward top of front foot section; with H hook, loosely sl st 6 along top of foot front; with larger hook, sl st 6 (7, 7) at an angle toward marked st; turn. (18, 20, 20 sts)
Row 2 (WS): Ch 1, sc in next 6 (7, 7) sts; with H hook, loosely sl st in next 6 st; with larger hook, sc in next 6 (7, 7) st; turn.
Rows 3-6: Repeat row 2.
Row 7 (RS): Ch 1, sc in each st to end; turn.
Repeat row 7 until piece measures 7.5 (8.5, 8.5)" from marked sts, ending with either RS or WS row.
Taper top as for back shaft. Remove markers.
Please let me know if you have any questions about Part 2 in the comments below. Stay tuned tomorrow for the final portion the Breckenridge crochet boots pattern and video tutorial where we'll learn how to add the finishing touches to our boots!
 And don't forgot to check out my other free crochet patterns using flip flops!
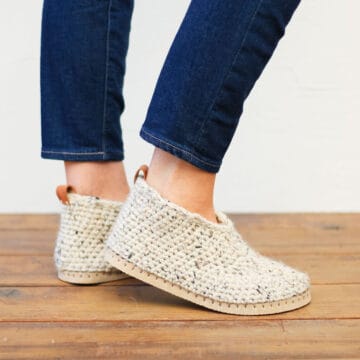
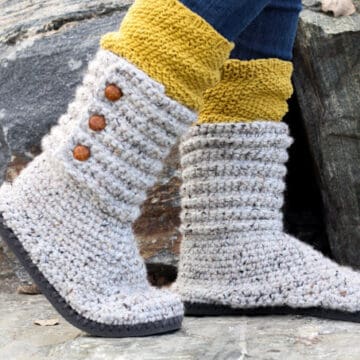
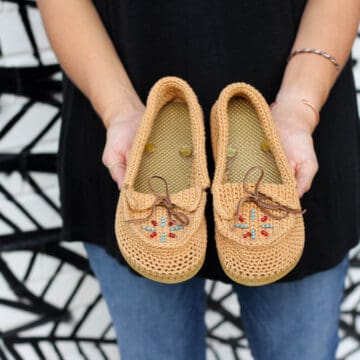
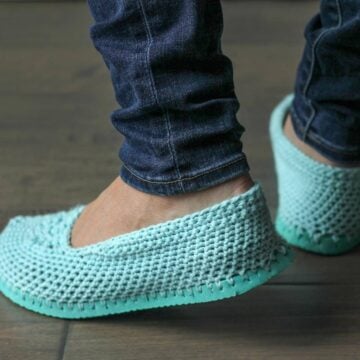
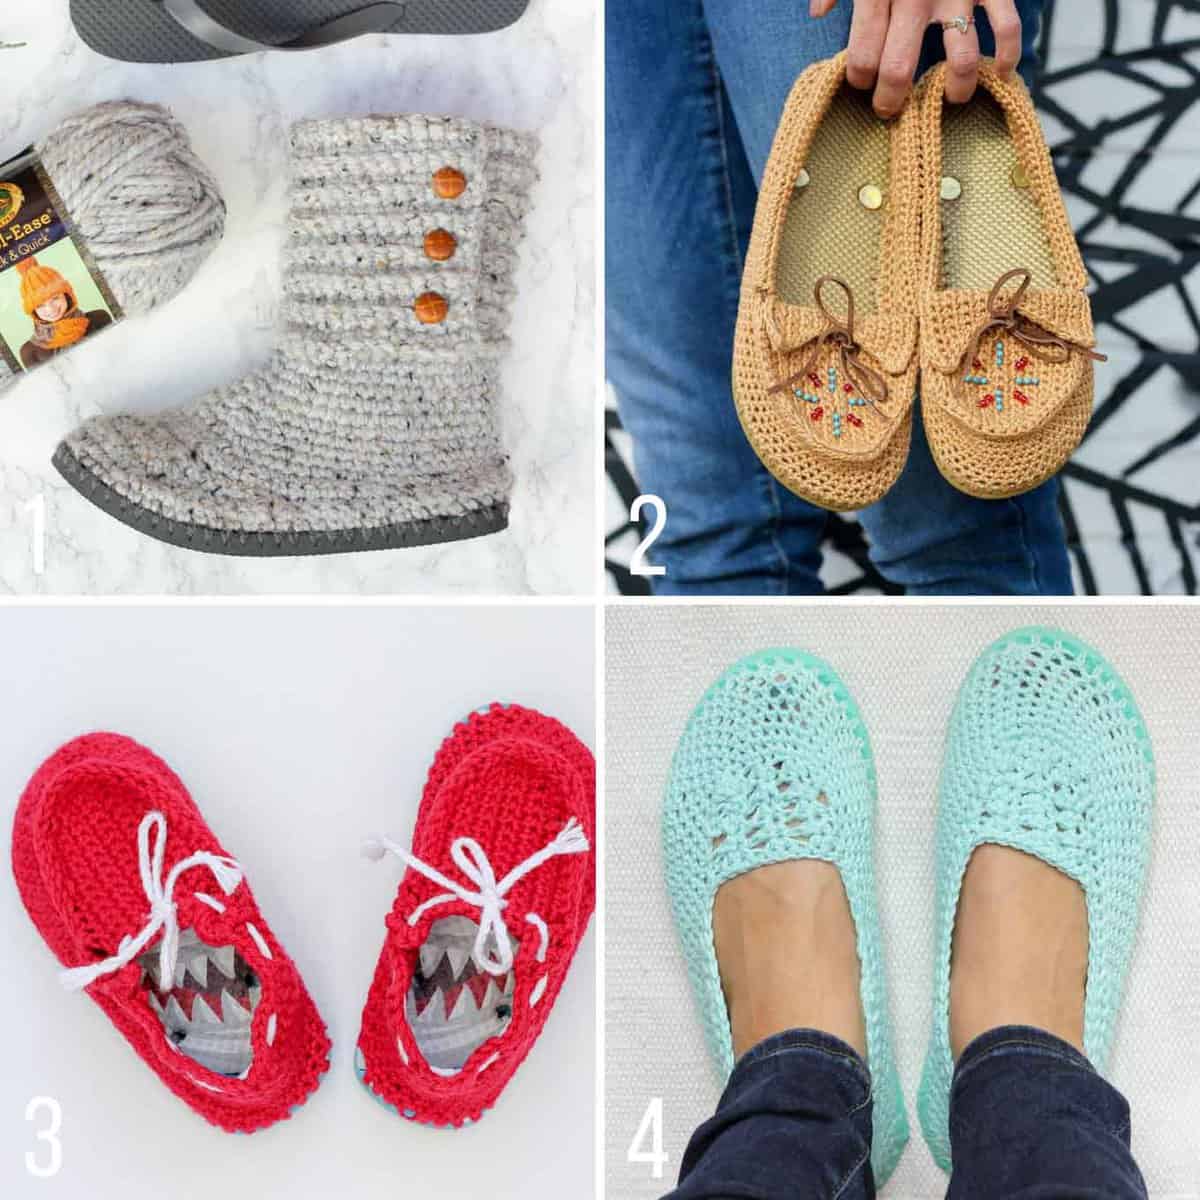 1. Cabin Boots free crochet pattern 2. Moccasins free crochet pattern 3. Toddler boat shoes free crochet pattern 4. Lightweight slippers free crochet pattern
Amanda says
Hi Jess,
I love these and your Cabin Boots. You have done a great job with the videos; so easy to follow and understand. I am wondering if the front and back ankle pieces could be worked as one piece instead of two and eliminate the inside seam? I guess it would be similar to the cabin boot then. I like the look of the single crochet and the angled attachment of the outside "flap" so I would like to try combining the two patterns.
Jess @ Make and Do Crew says
Hey Amanda,
I think it's a great idea. I'd love to hear how your experiment goes! 🙂
Jess
Kristy says
I feel like my stitches aren't tight enough, the toe is rounded instead of flat like your example, not sure how to fix, I've already used a smaller hook. Please help
Eva Ruter says
I am currently working on these boots. First off your videos and written directions are excellent! I did catch the discrepancy on round 10 in the video is the written instructions after an earlier comment about it. But, I'm wondering if I'm doing something wrong. I did my stitches tight on the base and just finished the back shaft. I do not have enough yarn left in the first skein to do the front. I went and bought a third skein. I am doing them on a size 8 Old Navy flip flop. I thought you were supposed to get the whole boot with one skein. I using the color Sienna for my boots.
Jess @ Make and Do Crew says
Hey Eva,
Thanks for your kind words. I'm curious if you purchased the "bonus bundle" size or the regular size? The bonus bundle exactly 2x the yarn of the regular skein, so it would make sense that if you have the regular size, you'd need two skeins per boot. Sounds like though, you might be able to make yours with only three skeins total. 🙂
Happy crocheting!
Jess
Mary says
I love these flip flop boots. Do you think it would work if I combined the two patterns using the tighter style around the foot of this pattern and the ankle style of your cabin boots?
Jess @ Make and Do Crew says
Yes! I do, Mary. That was one of my intentions with this pattern was to make an alternative foot "base" that could be combined with different ankle designs. You might have to just see how high you want to work the Breckenridge boots pattern before you switch to the Cabin boots pattern. I'd love to see how they turn out!
Jess
Eva Ruter says
That's a great idea! My daughter-in-law likes the cabin boot but likes the snug fit of the Breckenridge boot bade.
Jane says
Would it be OK if I copied and pasted to make my own copy? I can't purchase anything on Etsy. Thanks!
-J
Diane Langley says
on your videos I only get the sound am I not doing something correctly?
Jess @ Make and Do Crew says
Oh no. That doesn't sound very helpful. What internet browser are you using and on what kind of computer/tablet/phone? I might be able to trouble shoot for you. In the meantime, perhaps trying it in a different browser might help.