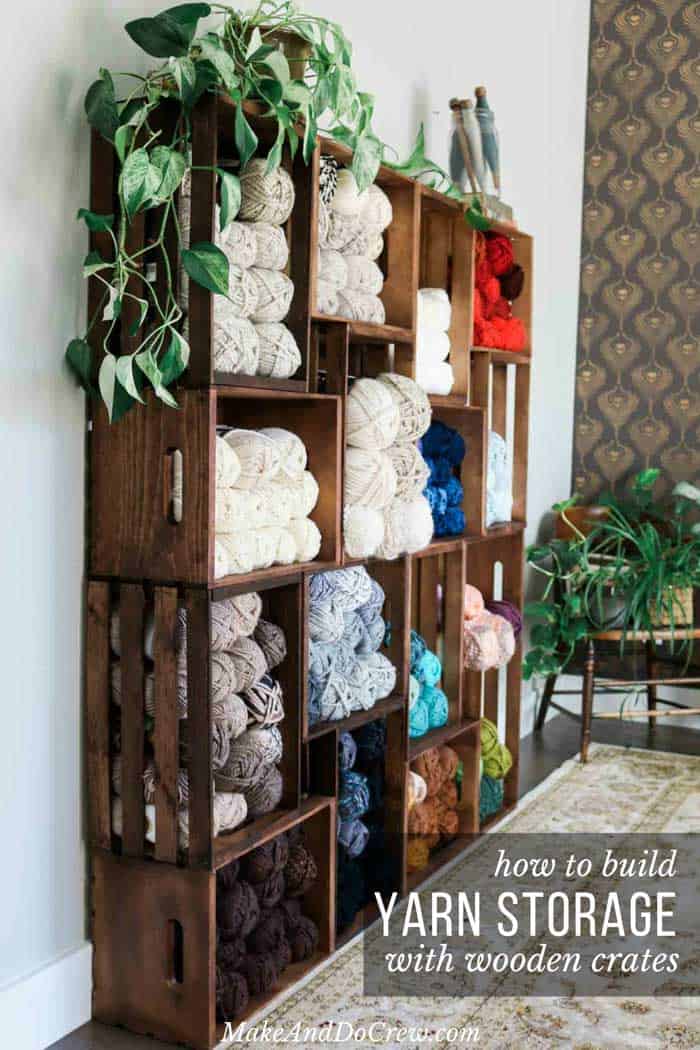
If you're looking for a beautiful way to organize your stash, these DIY yarn storage shelves offer an easy, modern solution. The wooden crates make them perfectly customizable to fit your closet, craft room, or heck--your bedroom!
Learn how to build shelves using wooden crates using our full step-by-step instructions and video tutorial below.
This DIY shelf tutorial contains affiliate links at no extra cost to you. Thanks for supporting free crochet patterns on M&DC!
I am not exaggerating when I say these DIY yarn storage shelves have changed my life. And while I'm usually in the business of sharing free crochet patterns with you, today I'm SO excited to share this tutorial with you because I think having some beautiful yarn storage might change your life too!
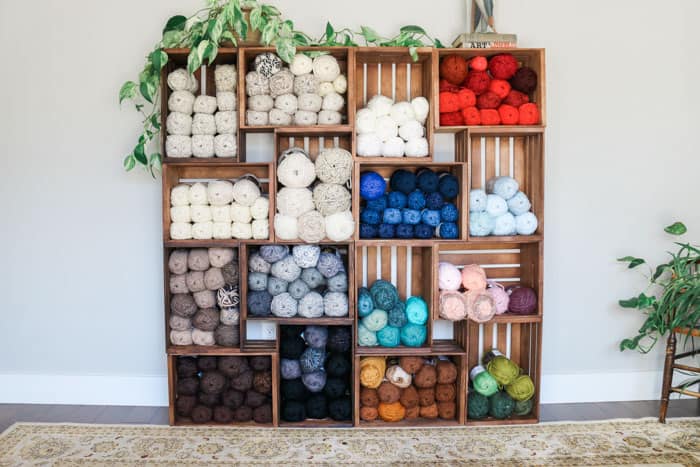
Yarn, yarn and more yarn! 'Tis the life of a crocheter or knitter, right? I've always thought I could never have too much yarn. That is, until about September of this year. It wasn't maybe that I had too much yarn, it was that I had too much yarn in all the wrong places--my craft room, the living room, the hallway, the windowsills. Seriously. It felt like an episode of "Hoarders," but instead of collecting newspapers or stuffed animals, I needed my skein cocaine.
Until now, I've never attempted to set up a complete yarn organization system because I had never come across a storage idea that I thought would really work well for me. (You can see how I keep my yarn under control with DIY yarn holders WHILE crocheting here though.) I considered Ikea shelves, rubber totes and closet systems. But all those yarn organization ideas and hacks felt either too expensive, too limiting or not "pretty" enough for me to get excited about. So for a long time I settled for a much prettier option--yarn in cardboard boxes scattered ALL over my house! (Isn't my husband a lucky man?)
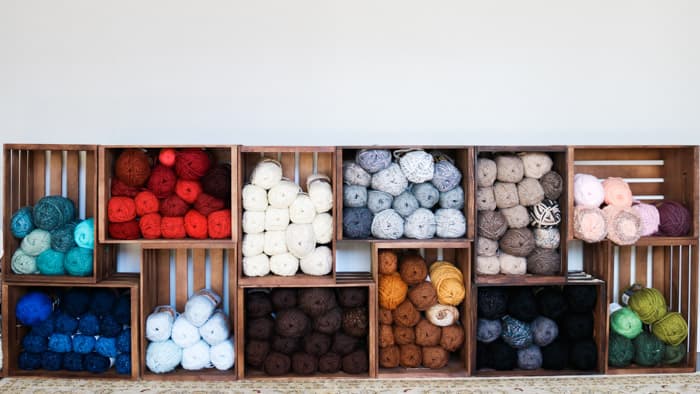
Everything changed when I came across some wooden crate book shelves one day on Pinterest. I knew immediately I could create my own version to solve every problem the other yarn storage systems didn't. And man, have these shelves delivered!
These DIY yarn storage shelves are:
• Easy to make with basic tools (hello zip ties!)
• Relatively cheap
• Completely adjustable to fit your space
• A beautiful way to enjoy your stash even when you're not knitting or crocheting
• Translate perfectly to a book shelf if you ever end your love affair with yarn (heaven forbid!)
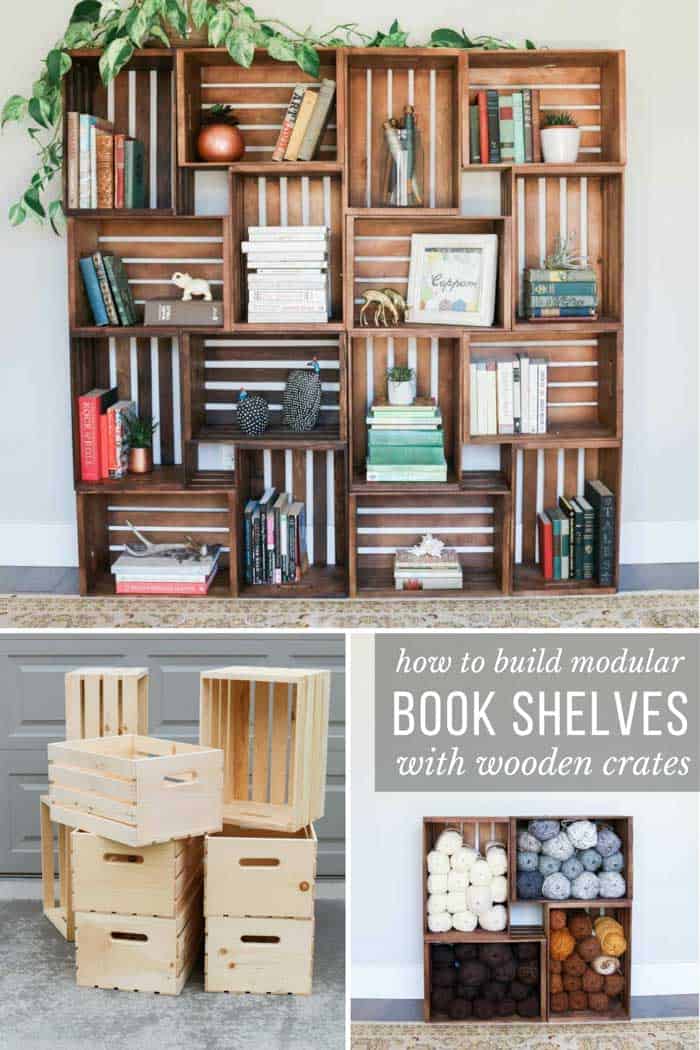
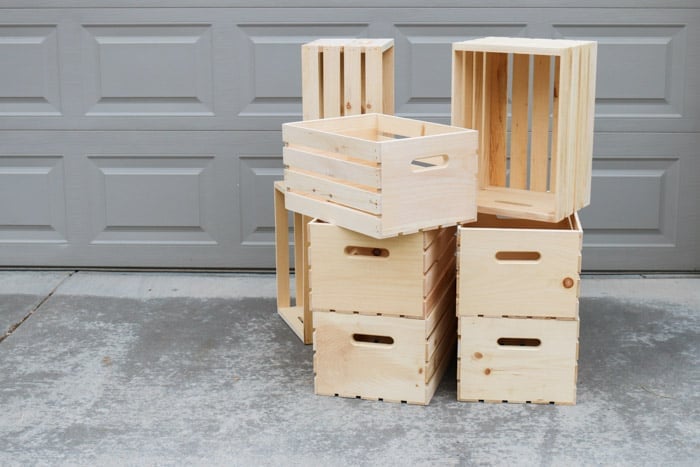
By using 4+ wooden crates that are available at Michael's, Joann's, Walmart or Amazon, you can build yourself a DIY yarn storage system in a weekend! Many of the supplies are optional depending on how elaborate you want to get.
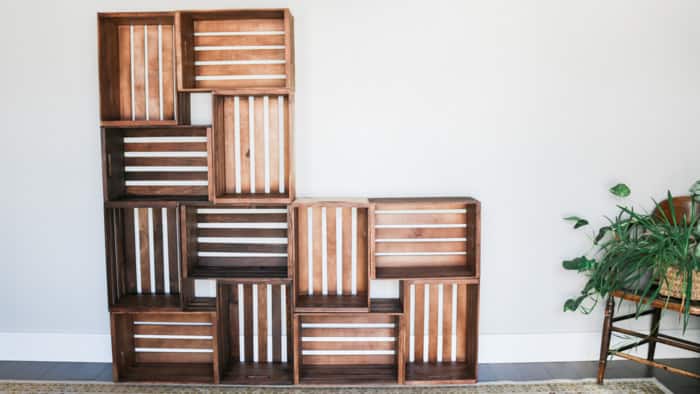
The simplest version uses zip ties to hold the crates together, which is totally adequate if you are going to stuff the crates with yarn and you don't have small kids who will be playing near the shelves. The alternative option is to secure the crates together using screws, which is also quite simple and results in a more stable shelf. This works well if you plan to fill your crates more minimally and don't want the zip ties to show. (Be sure to anchor the shelves to the wall to keep the kiddos safe too!)
And then organizing each skein in their new home, let me tell you, it's the most blissful, cathartic experience I've had in a long time!
Check out the video tutorial below for a one minute overview of this DIY yarn storage project and then scroll down for the full step-by-step details.
Wanna save this pattern?
DIY Yarn Storage Shelf Step-By-Step Tutorial
Pin this yarn organization idea for later here.
Supplies:
• 4-16 wooden crates (I used 16 total crates with these dimensions: 12 ½" x 9 ⅝" x 17 ⅞")
-Find crates at Michael's, Joann's, Amazon, ConsumerCrafts.com, Walmart or Home Depot
• electric sander + sandpaper or just sandpaper to use by hand
• wood stain (optional - I used Minwax "Dark Walnut")
• 3" paintbrush for stain (optional)
• rag to wipe off stain (optional)
• drill
• zip ties (brown if possible) or 1" wood screws
• scissors (if using zip ties)
• wall anchor (if kids will be near the shelves)
• LOTS of yarn or pretty books 😉
Instructions:
1. Sand each wooden crate using an electric sander (or by hand). This doesn't have to be perfect, just enough so the wood won't snag your yarn.
2. Stack wooden crates in the configuration you like.
If leaving crates unstained, move on to Step 6. Otherwise, proceed with Step 3.
3. To avoid needing to stain extra surfaces, mark the crate sides that will be touching each other. I recommend giving each touching side a corresponding number so that you can really easily re-build the shelve after staining. (And be mindful that a small amount of certain sides will need to be stained in the inside of the mini square in the middle of each set of 4 crates.)
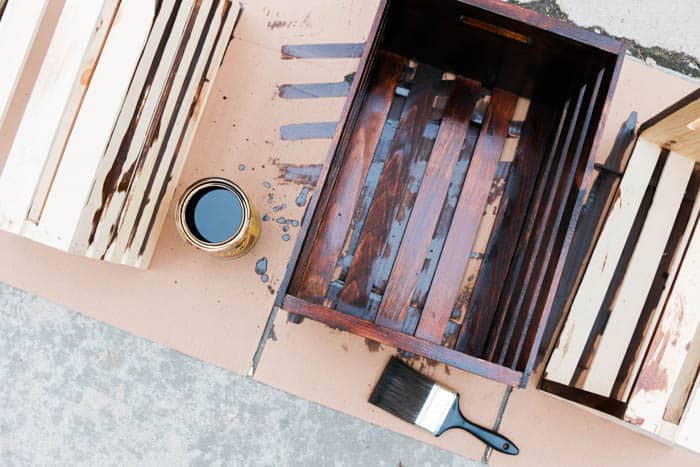
4. Paint a thin coat of stain on each surface that will be visible. The wooden crates absorb stain quite readily, so have a rag handy to wipe the stain off as soon as it's reached a color you like. Let the crates air out for a day or two. (Tip: Setting them in the sun really helps with the off-gassing of the stain smell!)
5. Set crates up again in desired configuration ideally in or near the space they'll be used in.
If using screws to secure, move on to Step 7. Otherwise, proceed with Step 6 to secure using zip ties.
6. If using zip ties to secure crates, drill a hole in the crates near the handle in order to enable threading a zip tie through the hole and the handle as well as the wood slats of the crate it's next to.
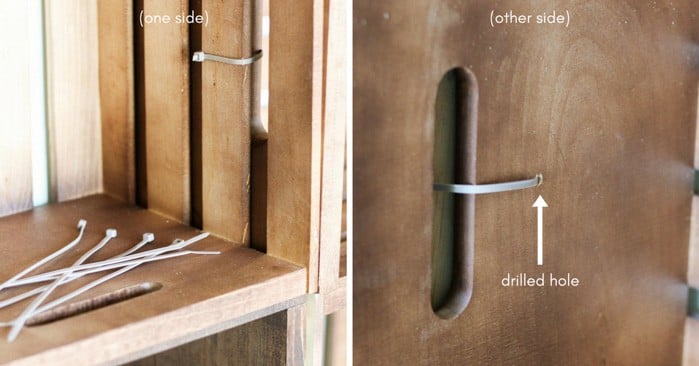
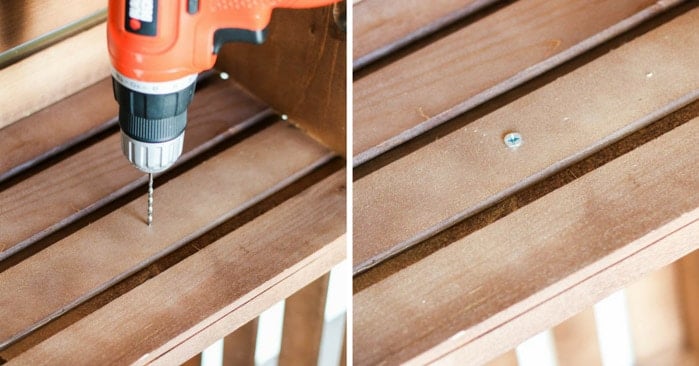
7. To use screws to hold shelves together, drill holes in the sides of the crates, always drilling first through the slat and then into the solid wood side it's touching. (Doing it the opposite way, first through the solid wood side, then into the slat, runs the risk of breaking a slat.) Drill a deep enough hole to accommodate the screw, but don't drill all the way through the both wood pieces.
If you're a renter or think you might want to move the shelves, you may choose to just secure four crates together at a time and stack them on top of each other to create yarn storage that is modular and easy to change the configuration of. They're actually quite stable without anything holding them together, but if you have any kids that will be going near the shelves, it's a good idea to secure all the crates together and anchor the finished shelves to the wall.
That's it! I'm telling you, this is the DIY yarn storage solution you will be so happy to look at day in and day out. Then on days when you don't get any stitches in, you can at least take solace in looking at your pretty yarn.
Speaking of which, I have a whole library of free crochet patterns to use your yarn on! Below are a few of my most popular free patterns and you can always find all of them here.
And once you've finished your wood crate shelves, try using an IKEA pegboard to organize your smaller craft supplies. I store all my buttons in mine!



Ellen says
These crate shelves for yarn are awesome!! I am going to make some. Thank you so much!
Jess @ Make and Do Crew says
Yay! I am truly loving mine. I hope you do too, Ellen!
Jess
Dorothy says
Love it..... This would make the perfect "entertainment center". Don't hide your yarn in baskets.
Jess @ Make and Do Crew says
Haha, yes! Especially if your "entertainment" is yarn! I love that idea. 🙂
Jess
Vanessa says
This is awesome! I will try these as a tv stand in my husbands office! Thanks for sharing idea!
Margaret Aamodt says
Wow! thanks for the idea. I've been racking my brain trying to think of a way to store yarn. I've decided that crocheting isn't my hobby, buying yarn is. Thanks again.
Jess @ Make and Do Crew says
Oh man, yes, I'm pretty good at that yarn buying hobby too, lol. I've searched for a long time for a storage solution and I'm so happy with this one. I hope you enjoy yours too!
Jess
Julie says
I do like the look of the boxes for yarn. But I live in a very small apartment. I have a storage shelf unit in my laundry room with totes for each of the 6 colors I use most and one for odds and ends. It keeps them dust free also. J
Jess @ Make and Do Crew says
That's a great point about the dust. I'll have to crochet really fast so the skeins can't collect too much. 😉
Jess
Maria Carolina Castello says
I love it. It look great! Only draw back in my house would be the dust and the pets hair. Yarn would be ruined in no time!!
Jess @ Make and Do Crew says
Yes! I don't have any pets right now, but I can totally see how that would be less than ideal. Maybe hang a shower curtain on the front of the shelves? 😉
Jess
Emma says
Oh Jess, these are amazing!! I want some in every room!! I'm not very creative so I would never think of doing this!! Thank you so much for sharing, love Emma in Ireland xxx
Jess @ Make and Do Crew says
Hello from the US, Emma! I totally agree! Now I just want to line my walls with these and stash my stuff in every box. 🙂
Happy making!
Jess