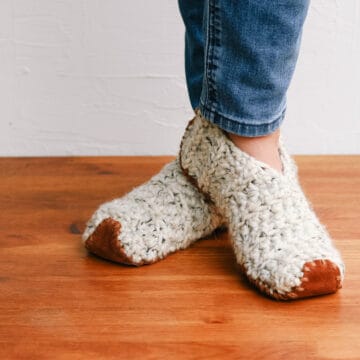
Yarn pom poms add a pop of color and texture to knit and crochet hats, blankets, and pillows.
Plus, they use up scrap yarn so you have an excuse to buy more!
Learn how to make a pom pom out of yarn in this quick tutorial. I'll show you how to use a cardboard template, a pom pom maker, or even a fork to get the perfect fluffy pom.
This post contains affiliate links.
How to Make a Pom Pom
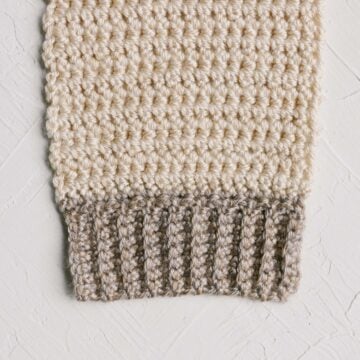
This guide will teach you how to make the perfect DIY pom pom for your craft, whether you add it to a ribbed crochet hat, a chunky knit beanie, or as the adorable tail of a stuffed bunny.
Here are the basic steps for making a yarn pom pom:
- Gather Materials: You'll need yarn, scissors, and a piece of cardboard or a pom-pom maker.
- Wrap Yarn: Wrap yarn around the pom pom maker until it's fully covered with a few layers of yarn.
- Cut the Yarn: Insert scissors under the wrapped yarn and cut all strands.
- Tie and Secure: Using an 8-10" piece of yarn, tie the cut yarn strands together tightly.
- Remove Cardboard: Carefully pull away the template or open the pom-pom maker.
- Fluff and Trim: Fluff up the yarn and trim any uneven strands to form a perfect sphere.
And there you have it, your own homemade pom pom! Check out the step-by-step pom pom tutorial below for more detailed instructions.
Supplies Needed
Making a pom pom only requires a few simple supplies. And they're likely already lying around your house!
- Yarn
- A piece of cardboard (toilet paper tubes work well too!)
- Pair of scissors
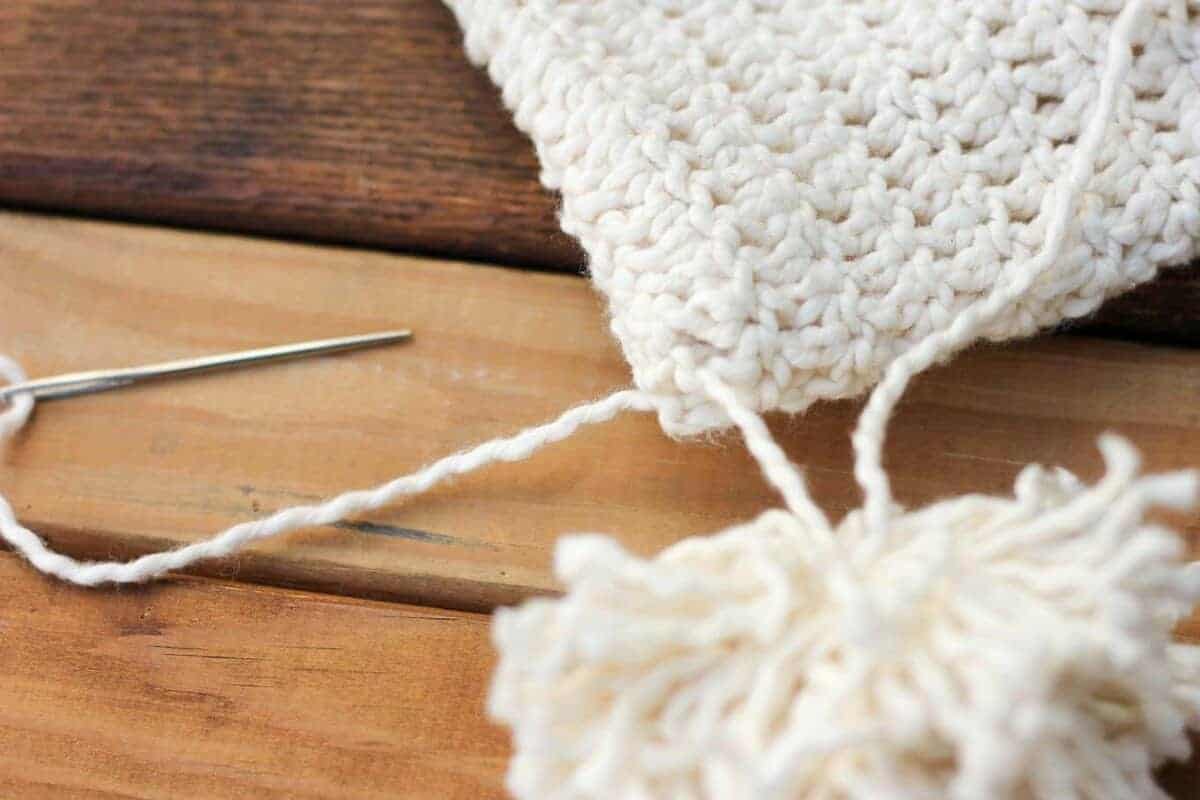
- Tapestry needle
Using Your Scrap Yarn
You can use almost any yarn to make a pom pom, or even combine multiple colors or weights into one pom.
The potential of pom poms is actually the reason that I won't get rid of any yarn in my stash. Not even the little straggly pieces that have really have no hope of ever being knit or crocheted into anything.
They could become fluffy little balls someday and thus, they remain safely strewn about tucked away in my craft room.
Step-by-Step Photo Tutorial
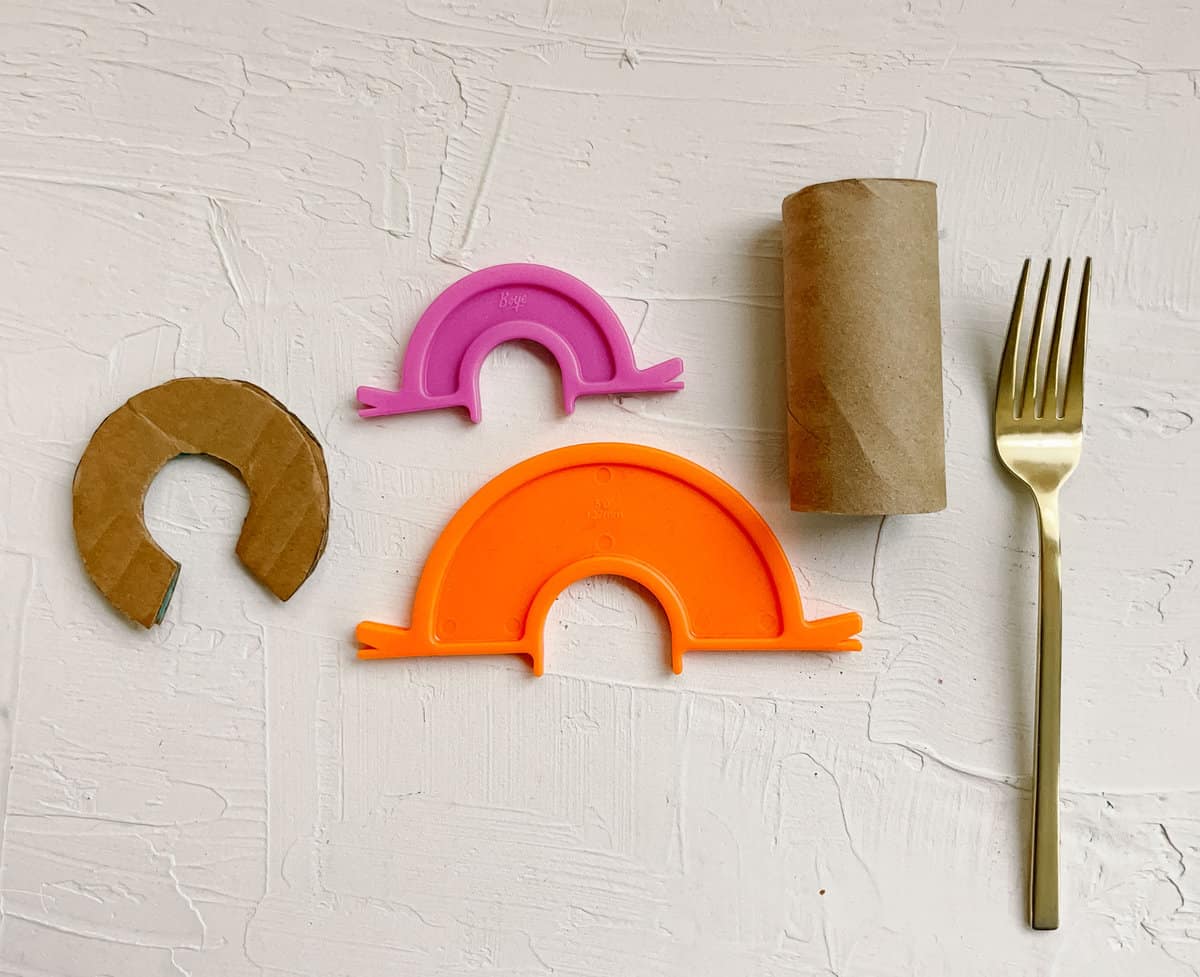
Follow the steps below to learn how to make pom poms for any DIY craft project. These instructions show how to make your own template out of cardboard, but you can also use a pom pom maker or even a toilet paper tube. The basic steps are still the same.
Important Tip: For the fluffiest, fullest pom poms, I always recommend sizing up. It's often surprising how small they look once you've trimmed them.
Whether you're making your own template or using a pom pom maker, go with a larger size than you think you need.
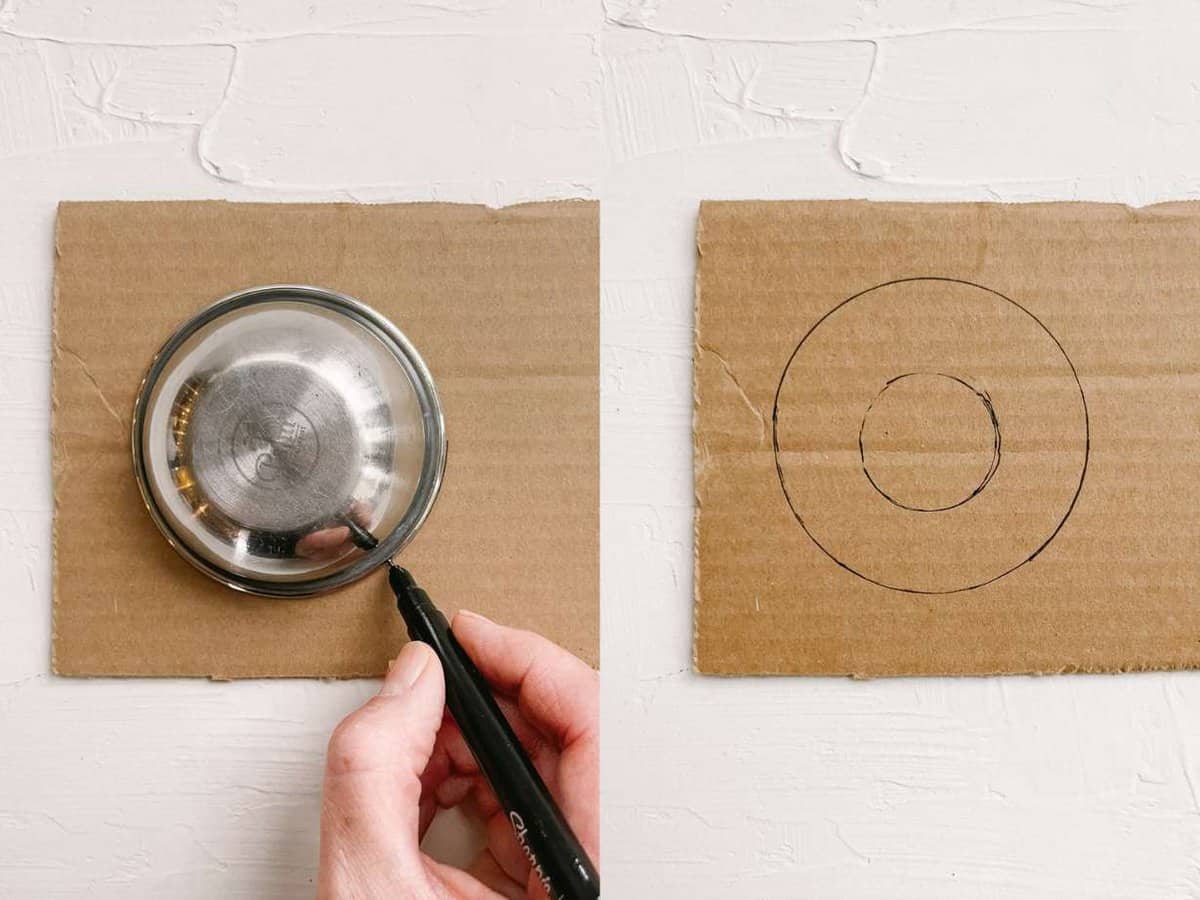
Step 1: Create a Cardboard Pom Pom Template
To make your own pom pom template, you'll need a larger and smaller circle to trace. Make two identical versions of a cardboard "donut" with a small section cut out of it. (See photo in step 2.)
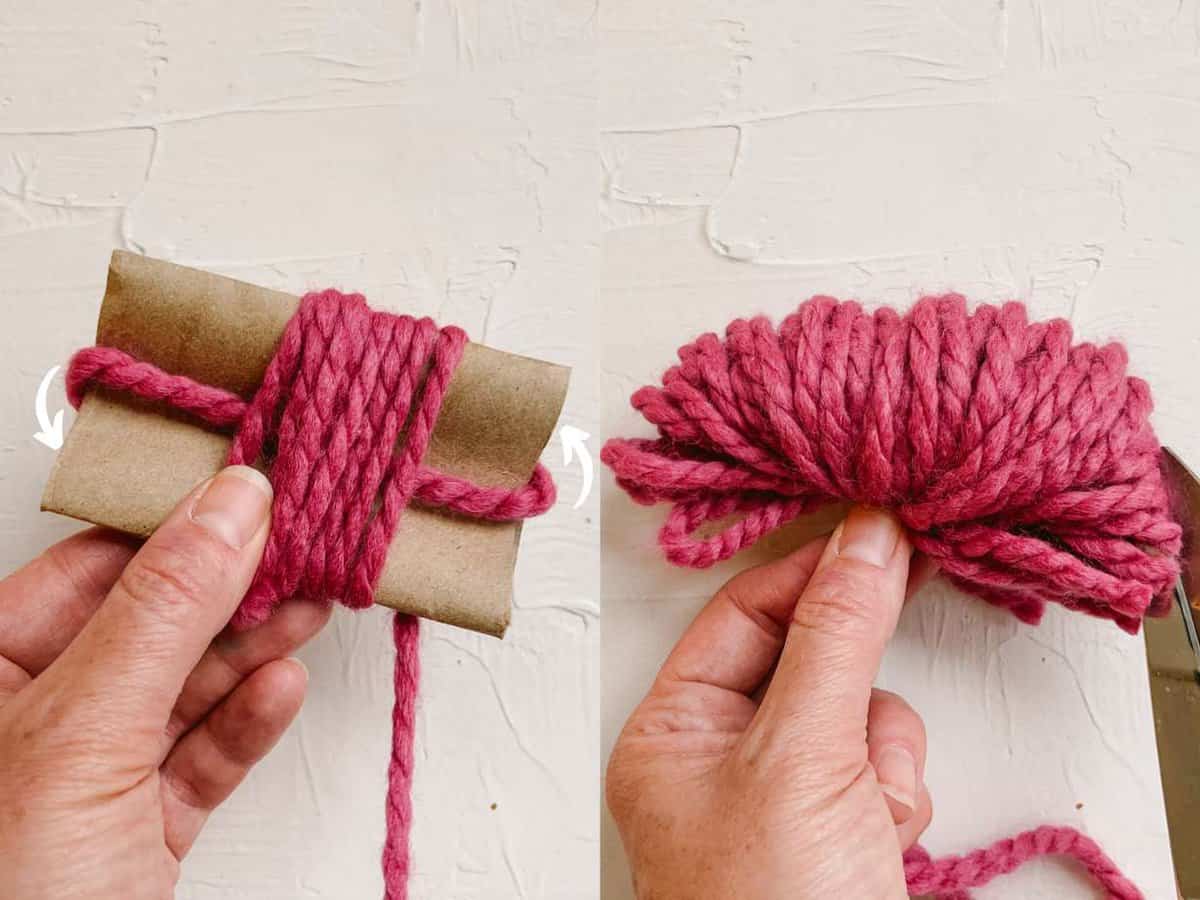
Short Cut: You can even just use a rectangular piece of cardboard, such as a toilet paper tube, as the pom pom maker. The taller the cardboard rectangle, the larger your pom pom will be.
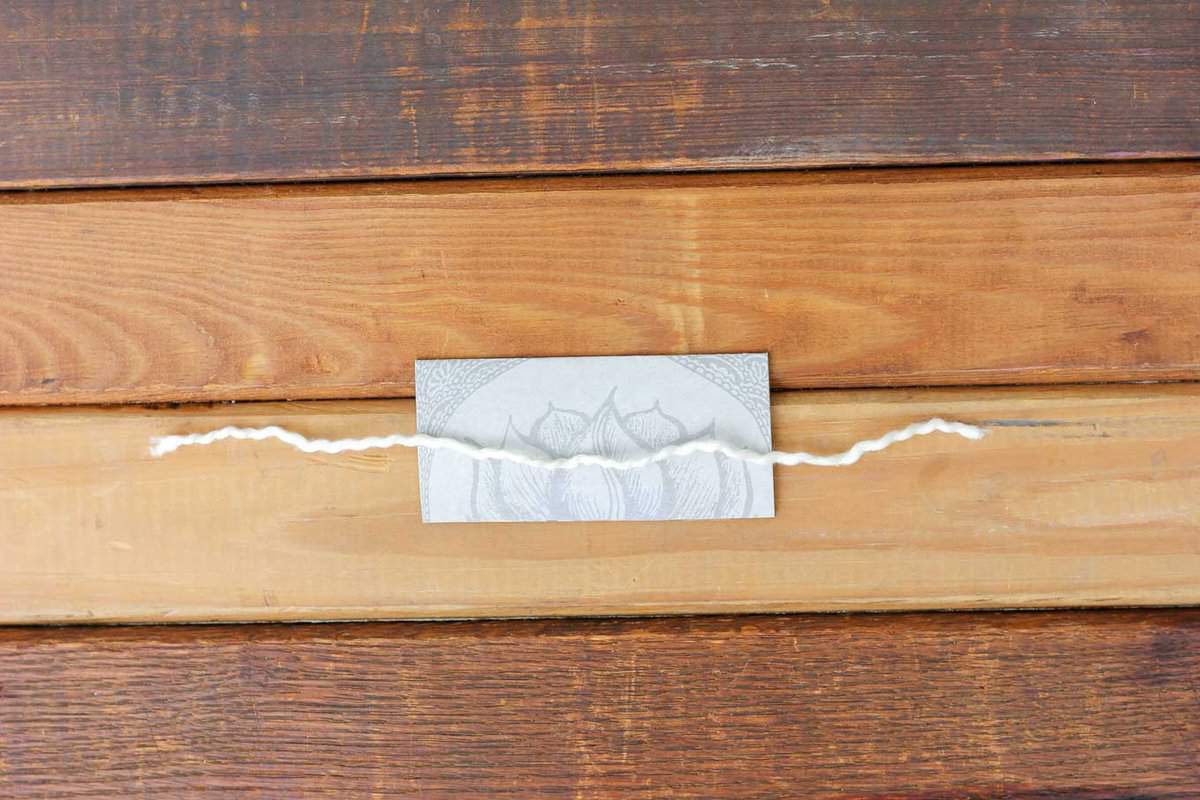
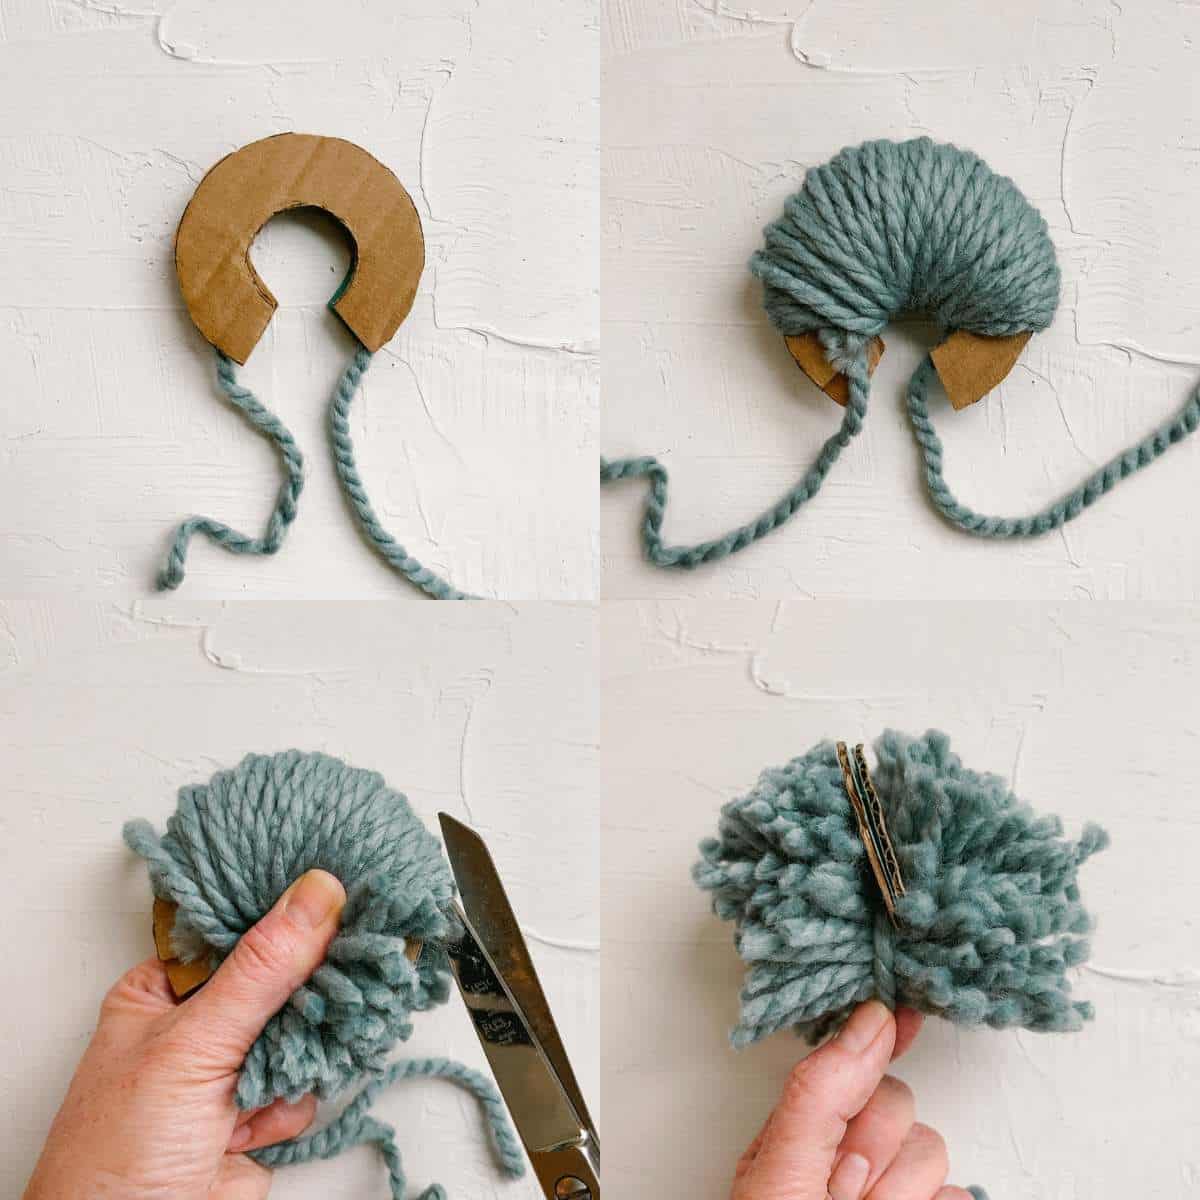
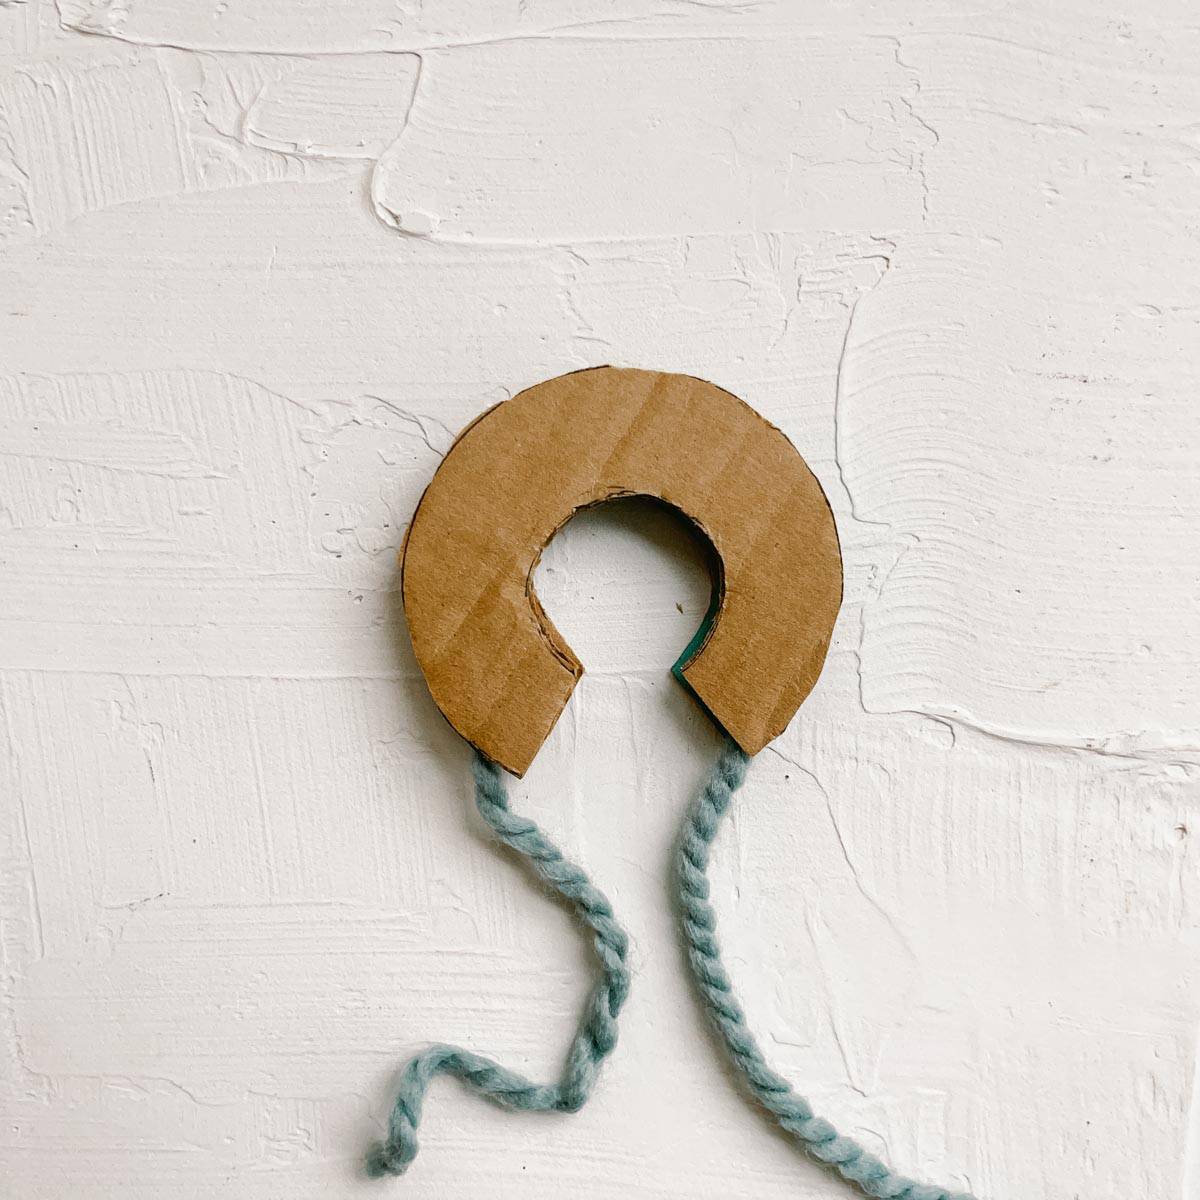
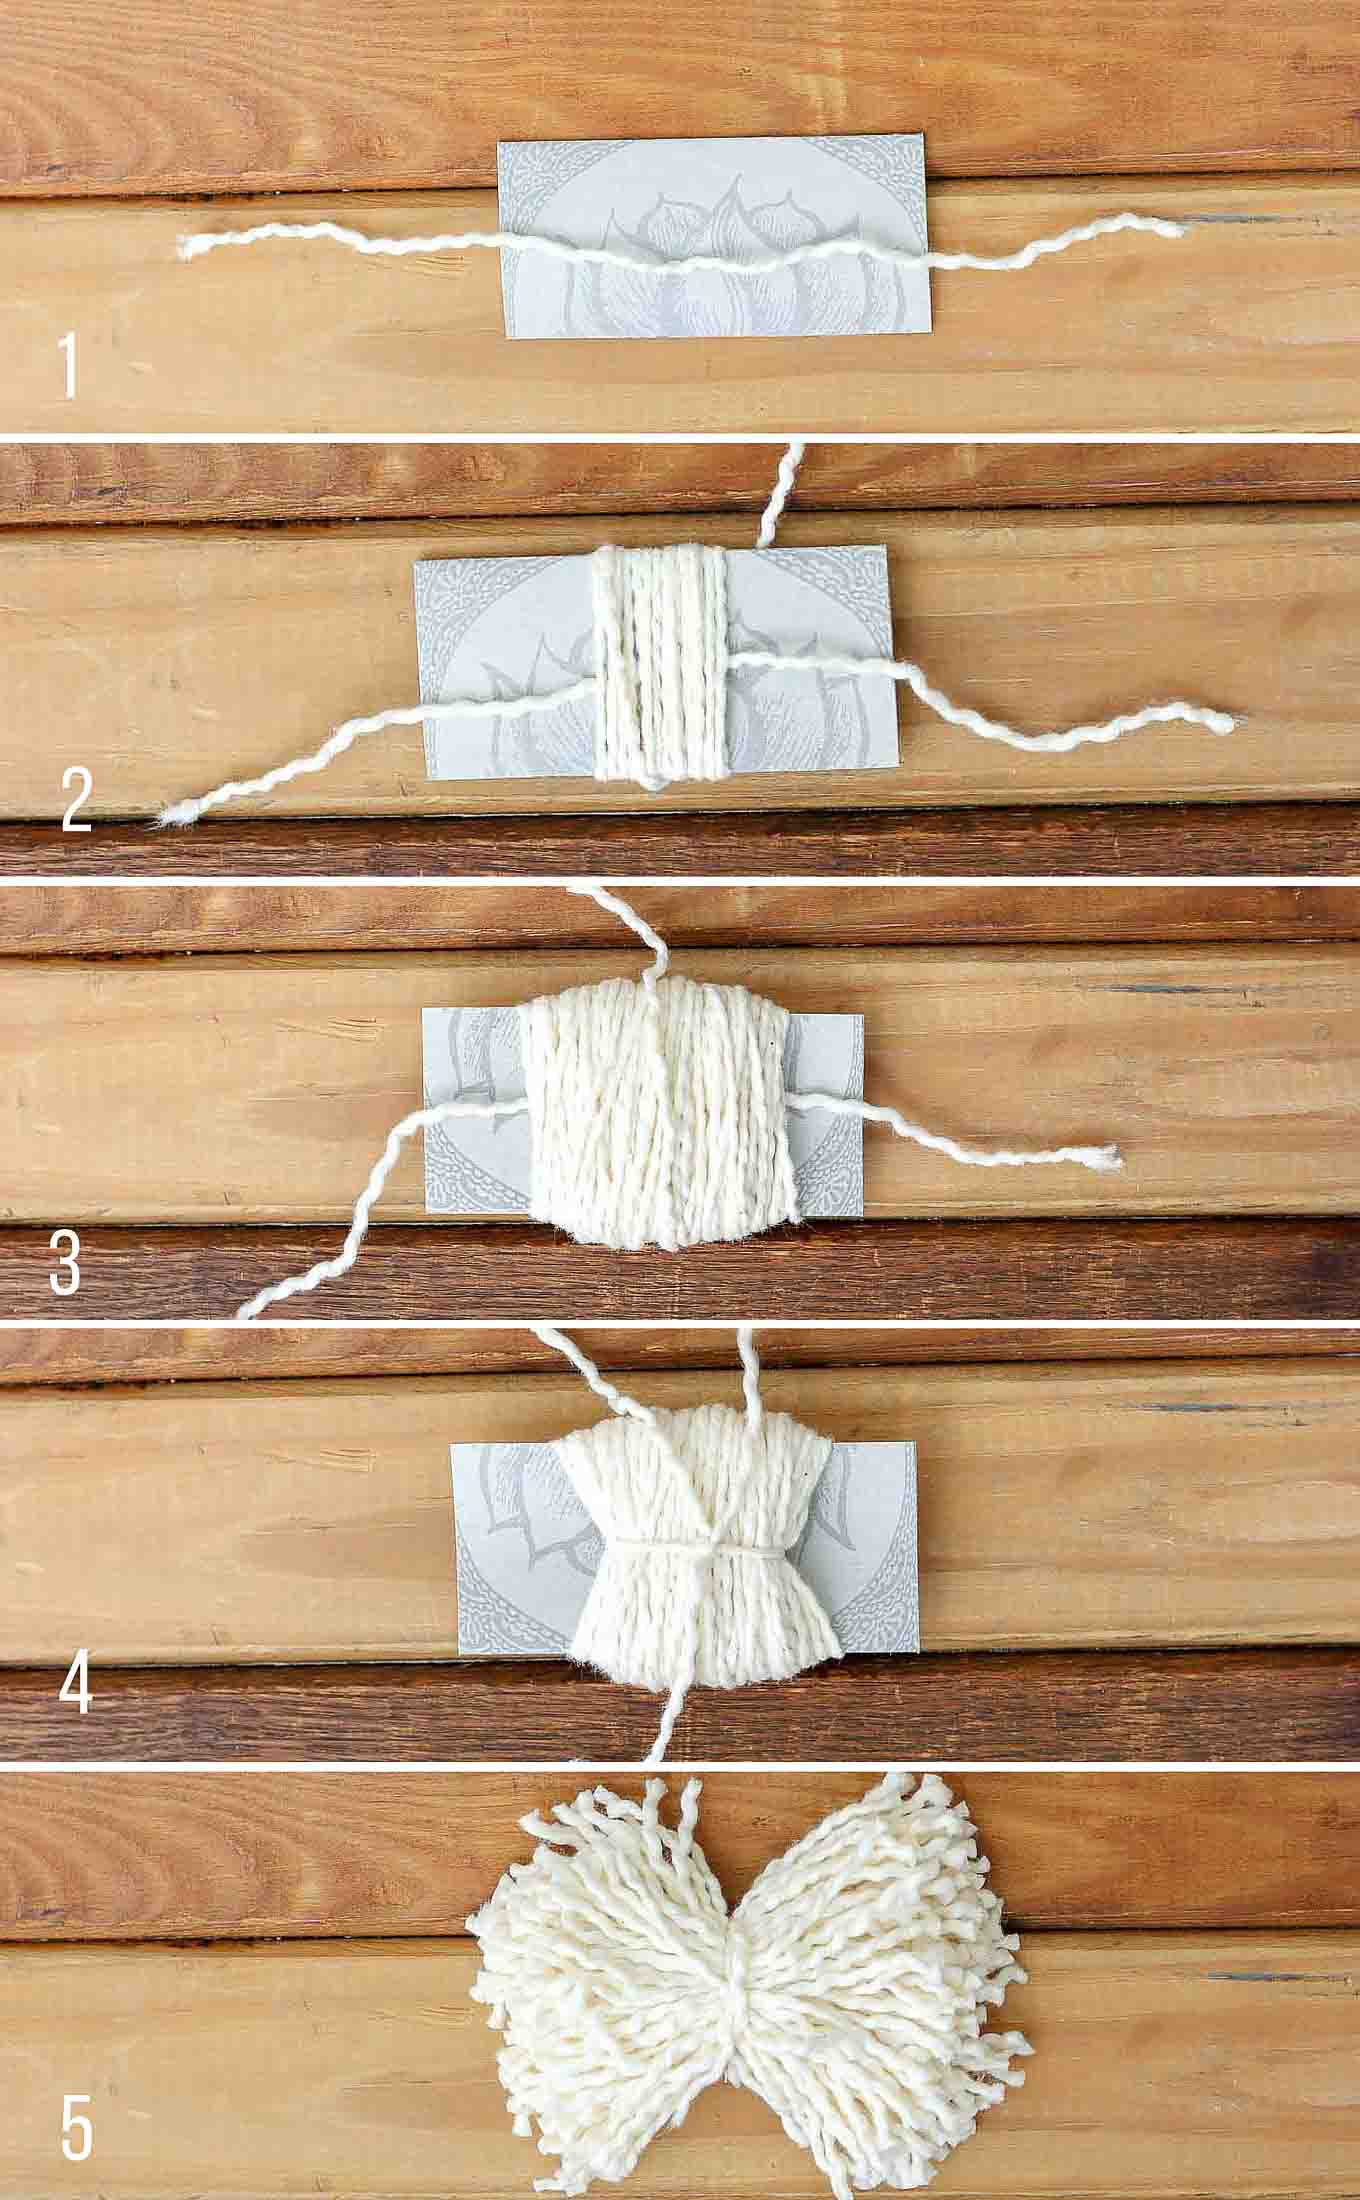
Step 2: Place the Foundational Strand
Lay a 10-ish" piece of yarn across your cardboard pom pom maker. This will become your pom pom's "belt." If you're using the circular cardboard method, place the second circle on top of the foundational strand.
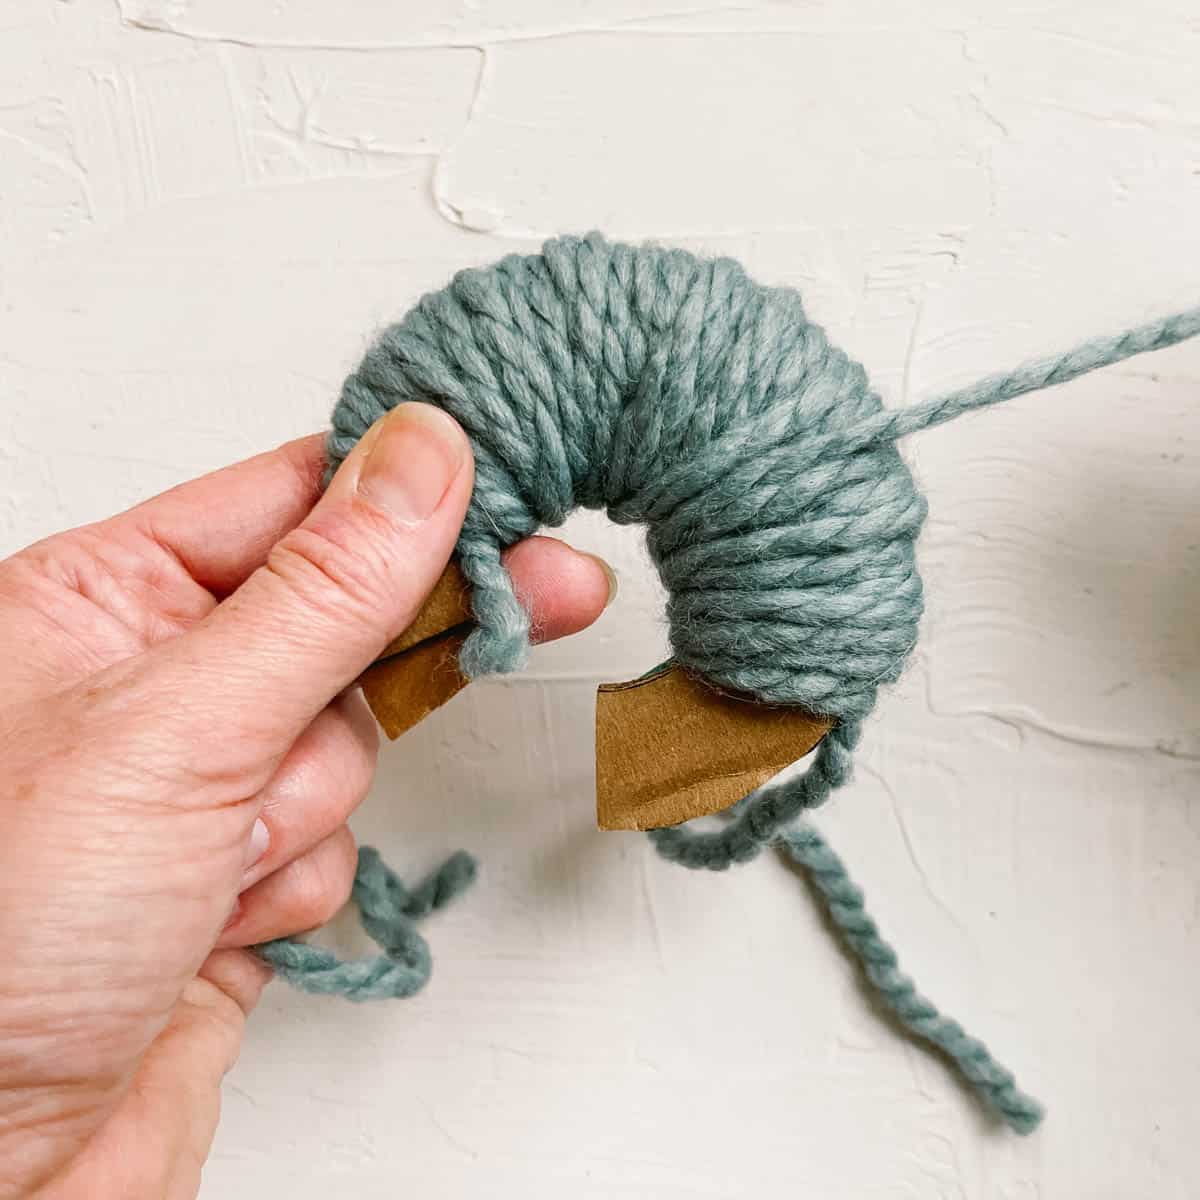
Step 3: Wrap Yarn Around
Wrap yarn around the pom pom maker until several layers of strands are spread out over the entire template.
Continue wrapping until you've snuggled your cardboard template with a good amount of yarn. I aim for 70-100 wraps around, depending on the yarn thickness and size of the pom pom.
Pro Tip: Don't hold back here! Wrapping too little will result in a wilted-looking pom pom. The bigger your pom pom maker is, the more times you need to wrap the yarn around. This will give your pom enough poofy-ness.
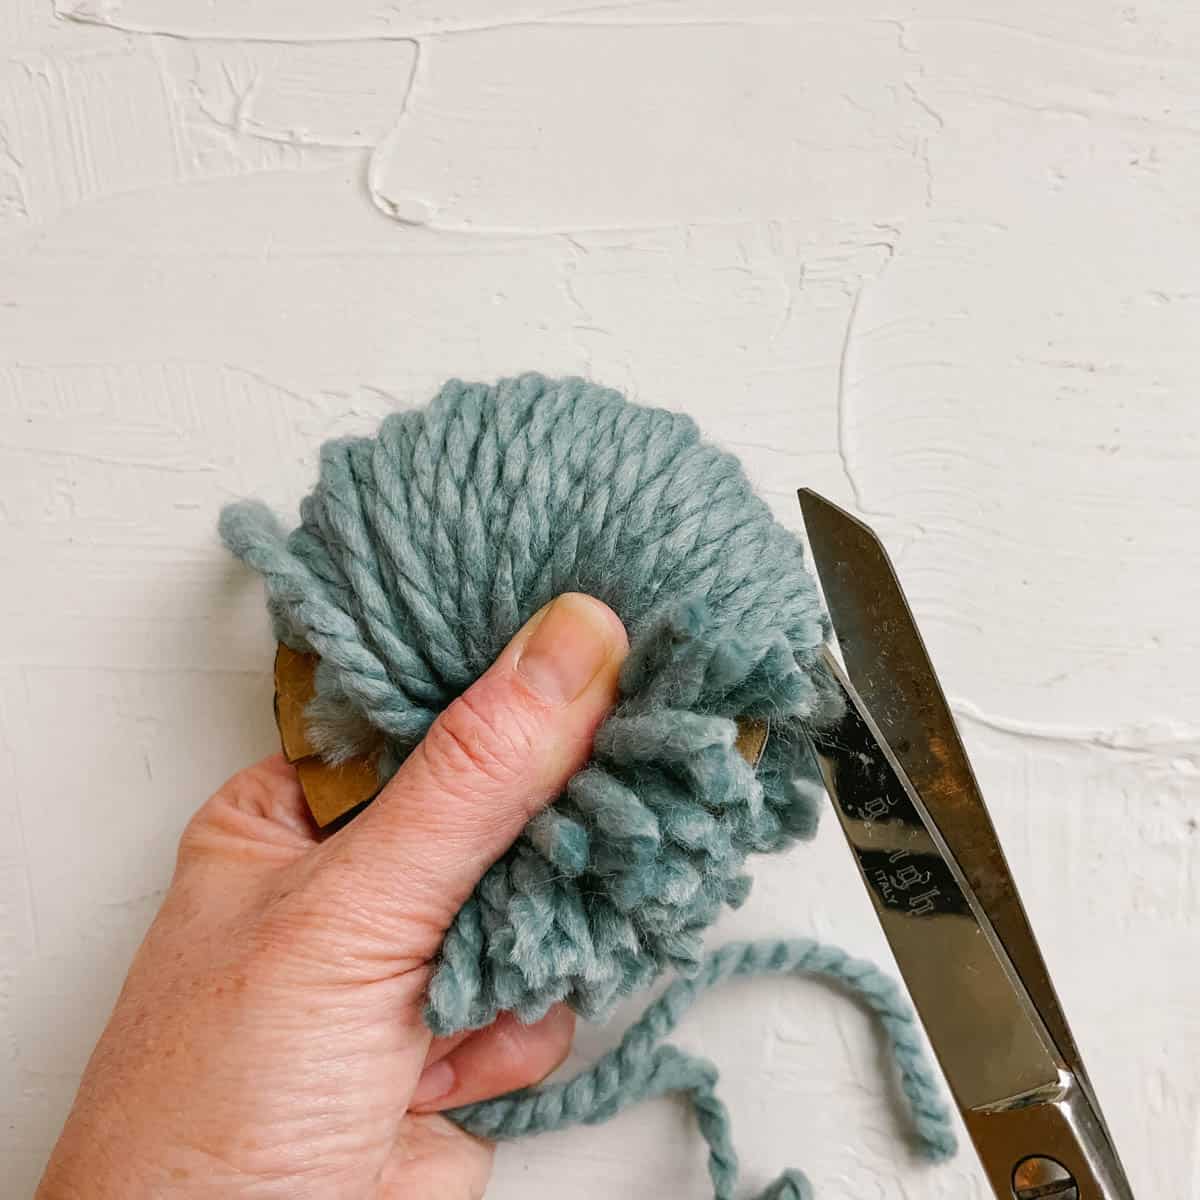
Step 4: Cut The Wrapped Yarn
If you're using a round pom pom maker, cut through the wrapped yarn along the outside edge of the circle.
If you're using a piece of cardboard or toilet paper tube, cut the wrap yarn across from the foundational strand.
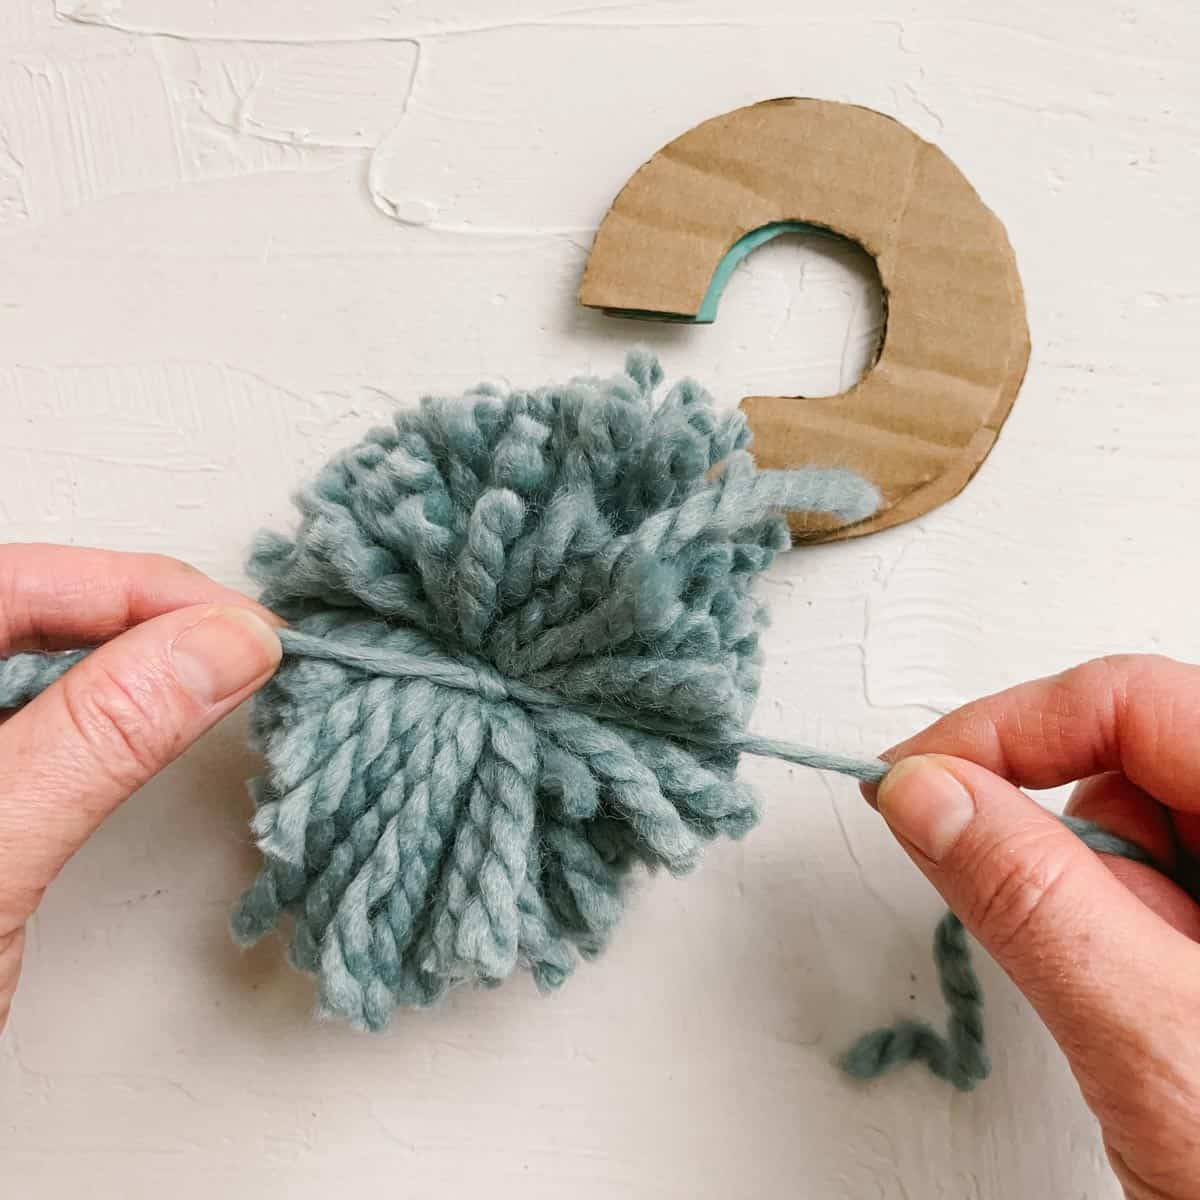
Step 5: Tie a Knot Around the Strands
Use the short "belt" piece of yarn you created in Step 1 to tie a tight knot around all the cut strands.
Really cinch it down as tightly as you can. It can be helpful to have someone place a finger over the first knot as you tie the second to get the tightest grip possible.

Pro Tip: If you plan to attach your pom pom to something like a knit or crochet beanie, blanket or Christmas stocking, don't trim these strands of "belt" yarn. They'll come in handy later when you're sewing your pom pom on.
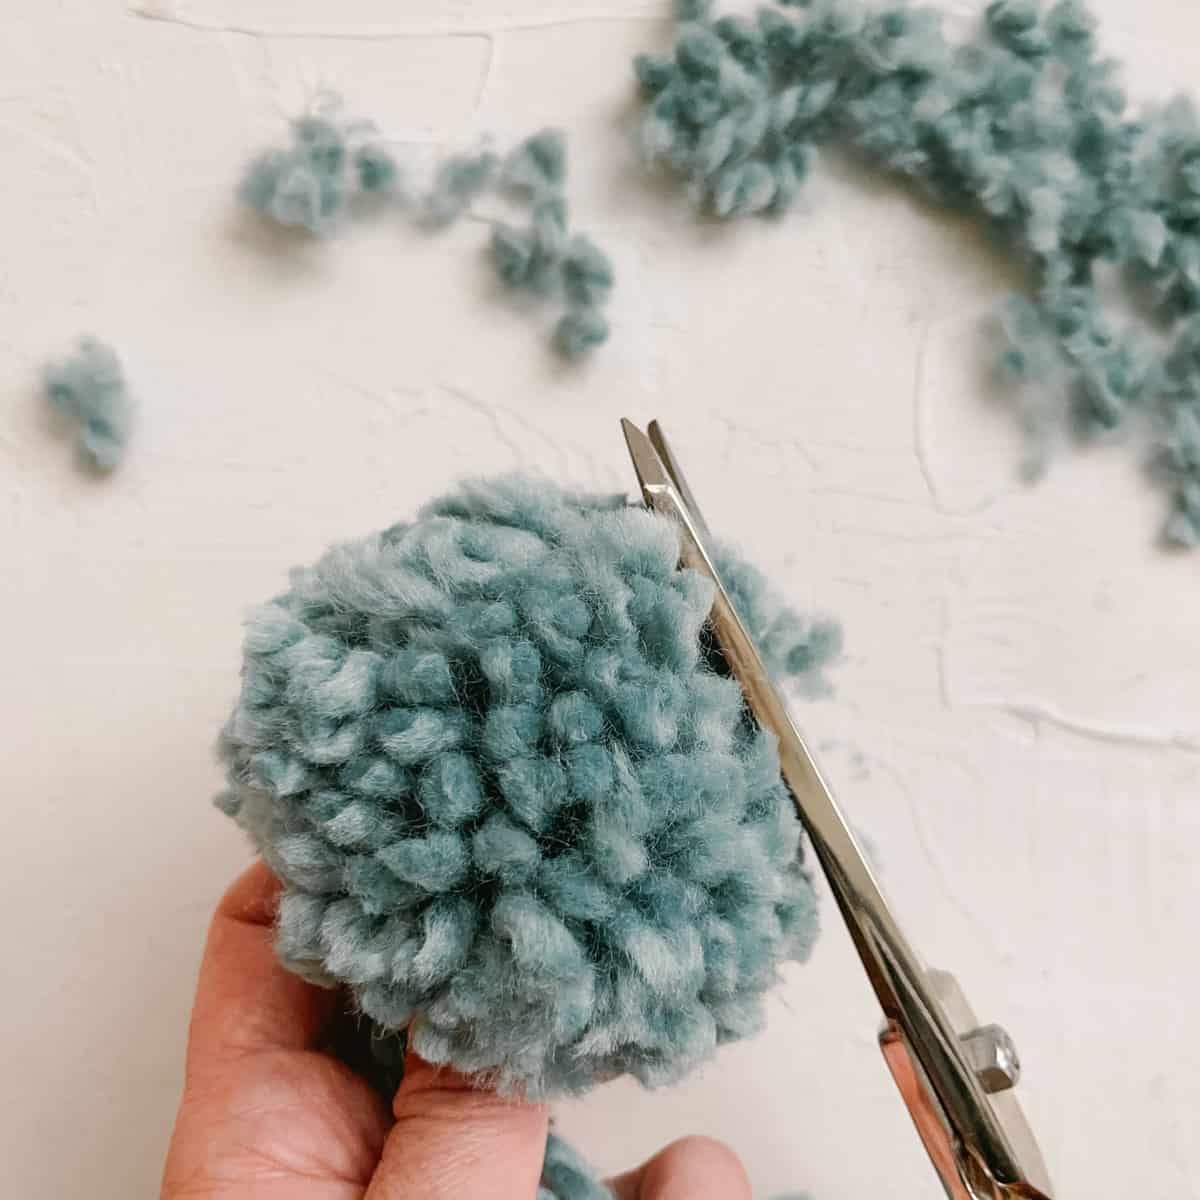
Step 6: Trim Your Yarn Pom Pom
Trim the strands of yarn to the same length. This can take a bit of time because, just like a bang trim, it's hard to make everything even on the first pass.
A common beginner mistake is not to cut off enough yarn during this step. Doing a good trim will lead to the densest, fluffiest pom pom. It's better to do a solid trimming than to leave your strands too long and have a wilted-looking pom pom.
Wanna save this pattern?
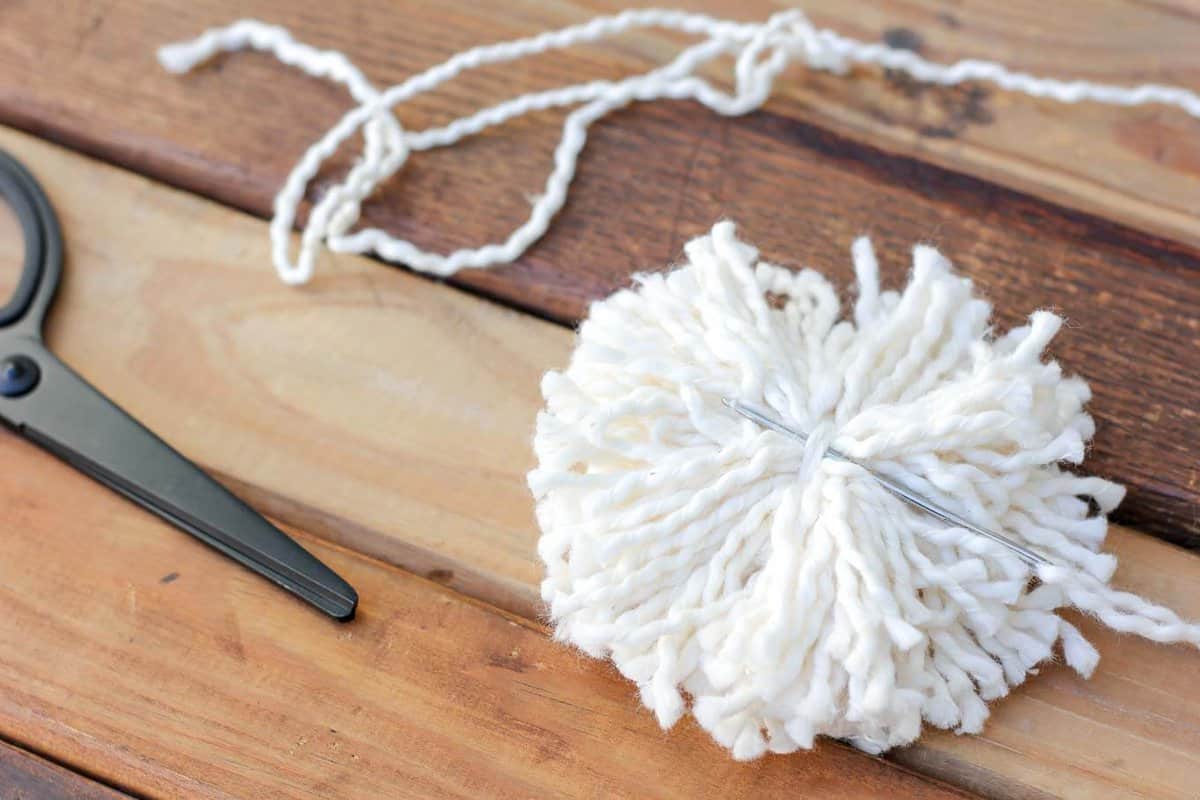
Step 7: Attaching Pom Pom To a Hat or Other Project
If you've kept your yarn "belt" strands attached, thread a tapestry needle with one of the pieces of yarn.
If not, use a piece of yarn that's the same color as your crochet or knit hat. Then insert your needle underneath the "belt" of the pom pom.
Pull the needle through one or two stitches of the fabric of your hat.
Repeat steps 1 and 2 so that your yarn is wrapped through your pom pom and your hat at least twice. Pull the yarn together and tie it in a few knots.
Fastening Off: While the needle is still attached, I like to insert it though the pom pom once more and then cut the yarn to be the same length as rest.
Tips for the Perfect Pom Pom
Follow these tips to ensure your yarn pom pom turns out top-notch.
Size Up: Overestimate the size pom pom maker or template you need. It's always easier to trim away yarn and this will lead to the fullest, fluffiest-looking pom pom.
Added Security: If your pom poms tend to fall apart, add a bit of hot glue to the inside of the pom pom to secure strands together. This is especially helpful for items like beanies and blankets that will get a lot of use.
Don't Skimp On Sharpness: Using sharp scissors makes trimming your pom pom much easier. Fighting with dull scissors to cut yarn will leave your pompom frayed and misshapen.
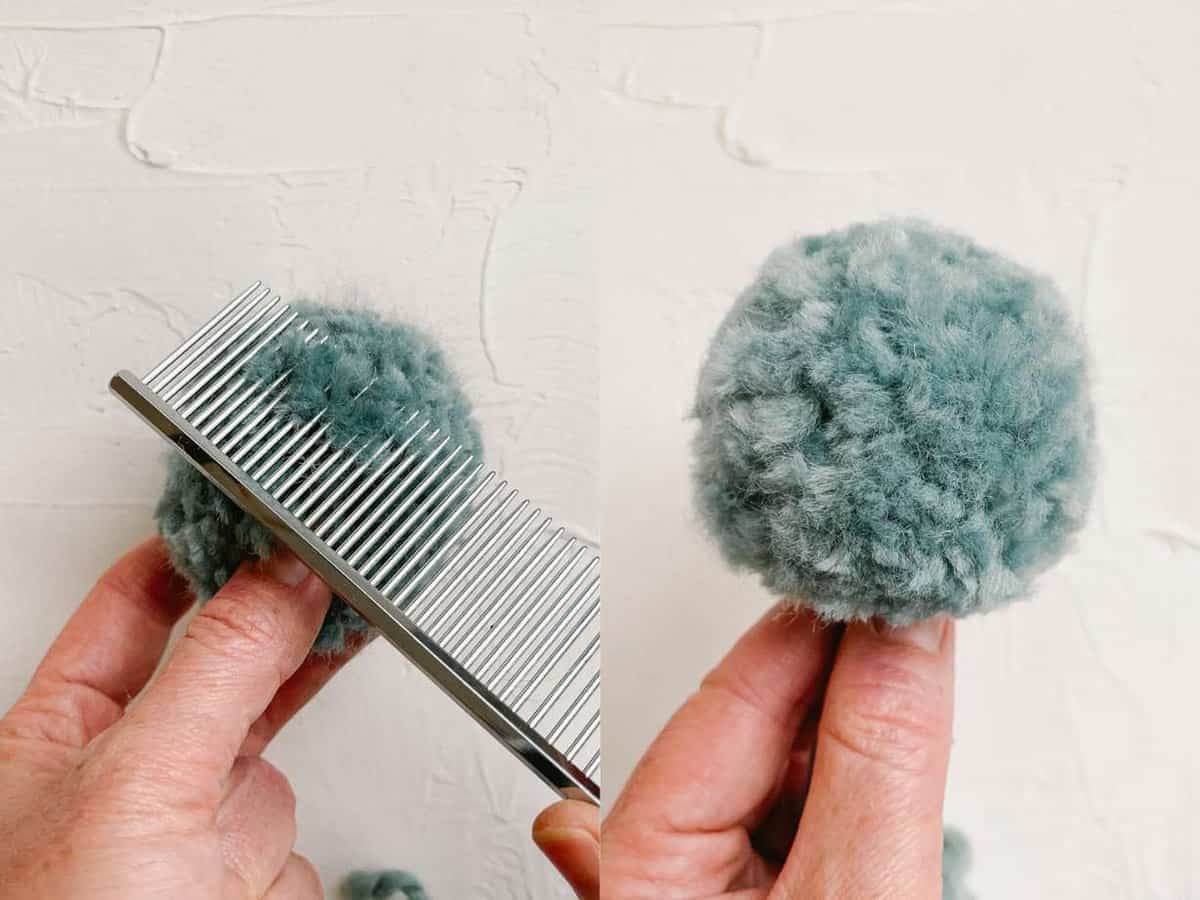
Comb To Fluff: One of my favorite pom pom tricks is to use brush out the yarn plies using a comb or small brush. This creates a fluffy pom pom, which can be perfect as a stuffed animal's puff ball tail or ears.
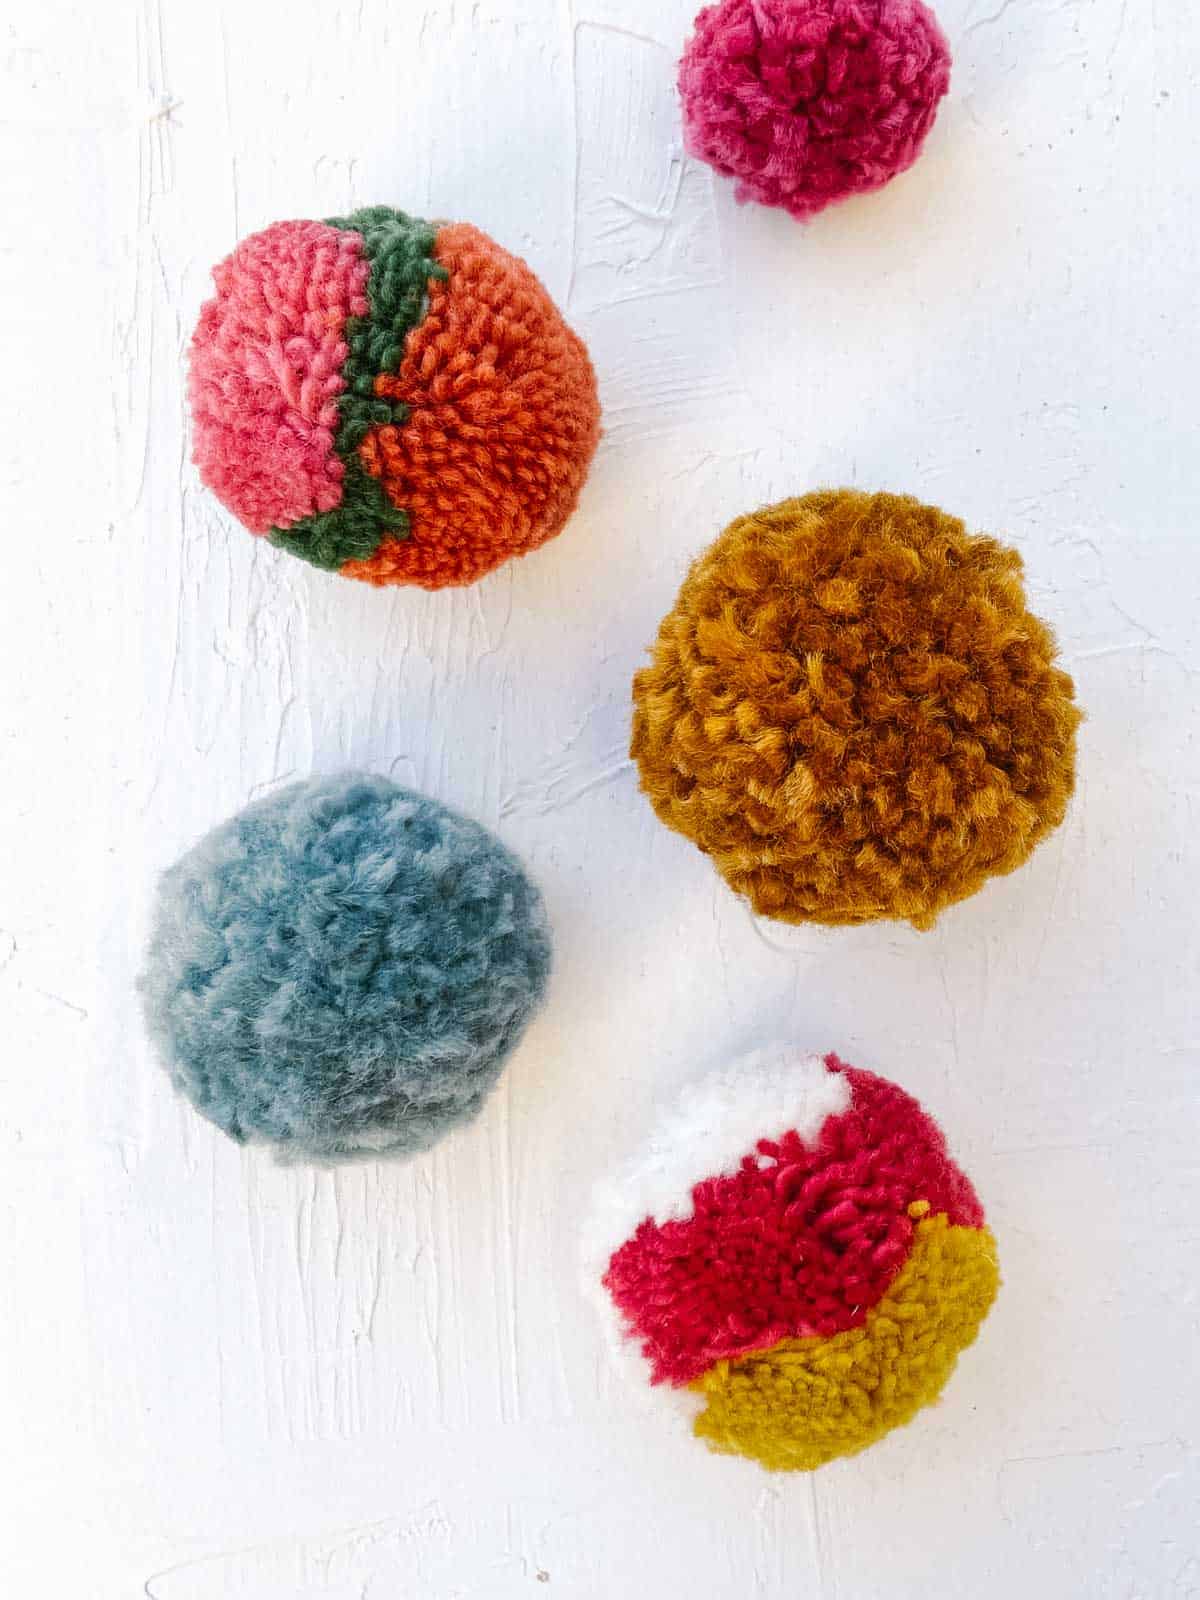
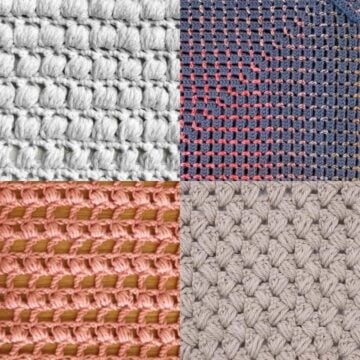
Experiment: Try different yarn weights, fibers, and colors. Each type will create a different-looking pom.
- A super bulky weight, like blanket yarn, will make a thicker, fluffier pom pom.
- For a tighter, denser pom pom, try a worsted-weight yarn.
- You could even go for a self-striping cake like Lion Brand Mandala for a brightly colored pom without the need for multiple yarns.
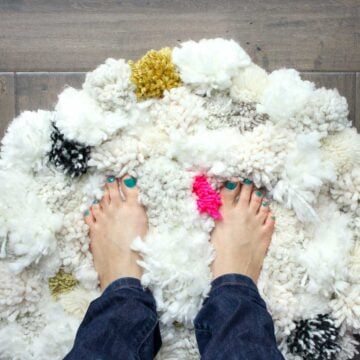
A DIY pom pom rug is the perfect project to use up all your experimental poms.
Other Ways to Make Pom Poms
Don't worry if you don't have a pom pom maker. There are plenty of fun ways to create pom poms without one.
Use a fork: To make a pom pom with a fork, you'll wrap the yarn around the tines as many times as you'd like. The downside of this method is that you can only make one pom pom size.
Use your hands: You can even use your hands to make a pom pom by wrapping the yarn around two to four of your fingers.
Use a book: To make a very large pom pom, try wrapping the yarn around a hard cover book. The increased size means that you're yarn pompom might look thin an wilted if you don't wrap the yarn around enough times.
To solve this, try making a few book pom poms and tying them together to form a fuller one.
Use a comb: Using a wide-tooth comb or a hair pick, wrap the yarn around the prongs to create small, tight pom-poms.
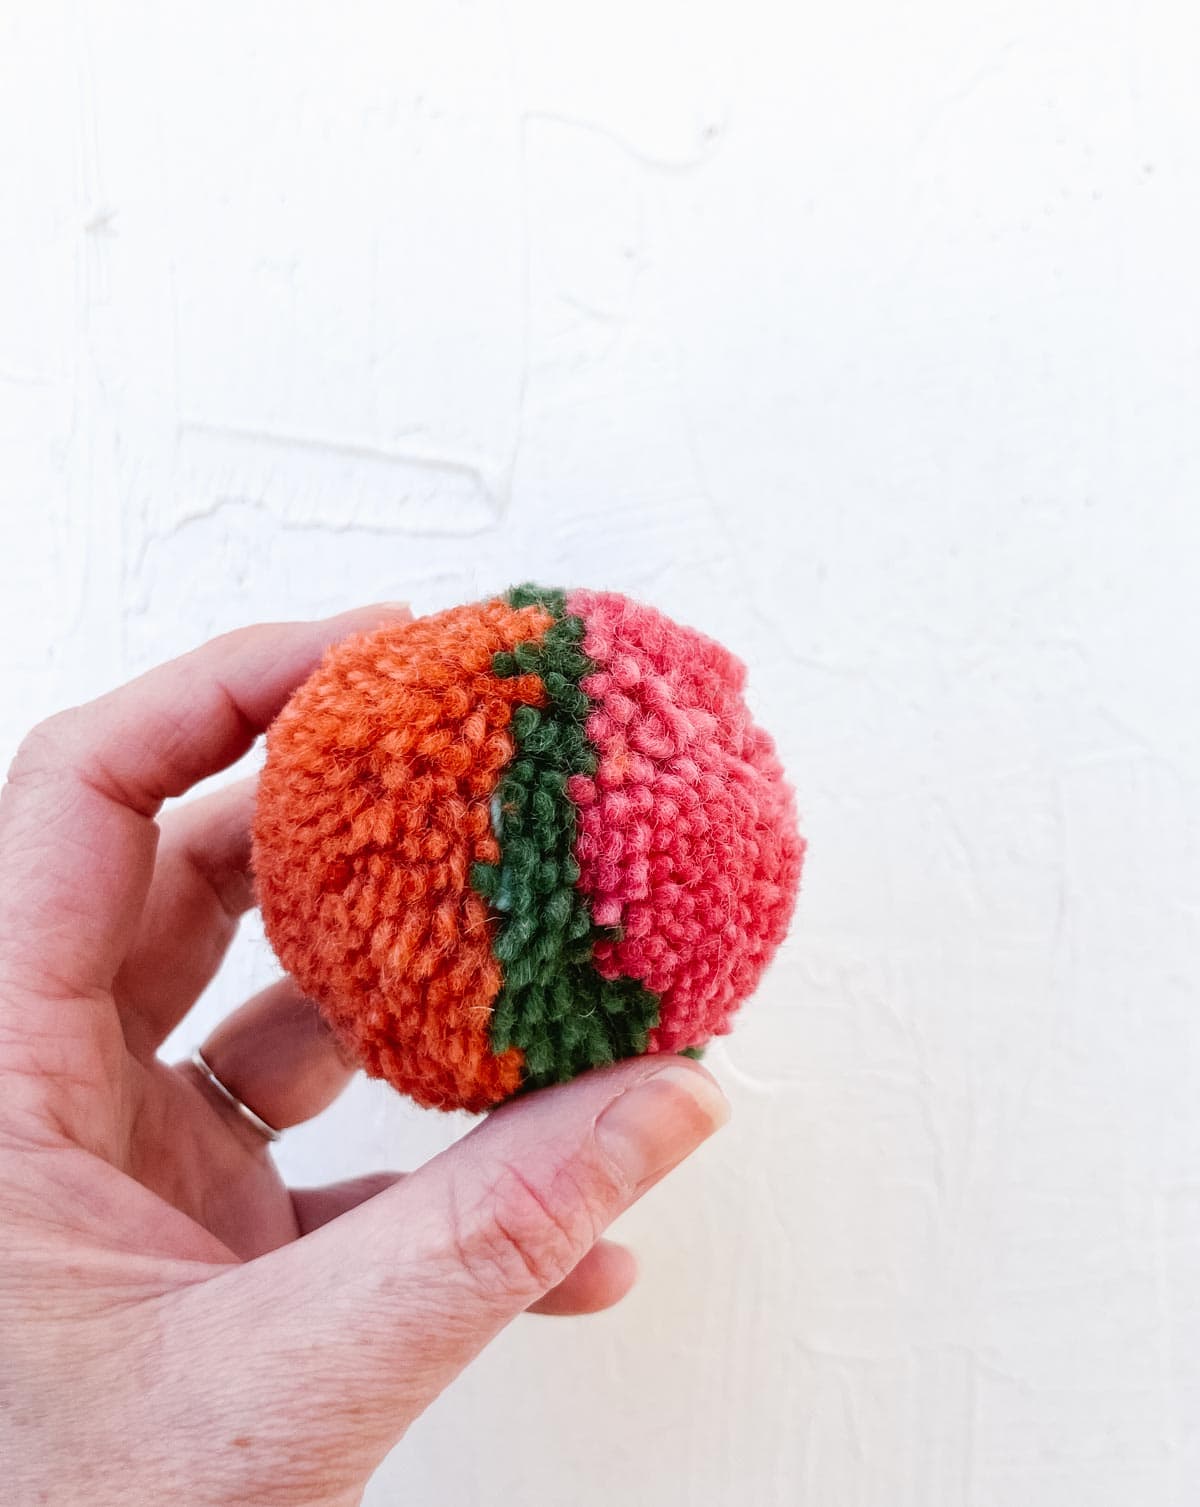
How to Make a Multi-Color Pom Pom
Making a pom pom out of two or more colors is an easy way to create a distinct-looking ball for the top of a hat or other project. Some people even make pom poms with designs in them!
To make a multi-color pom pom, use different colors when wrapping the yarn around the cardboard or pom pom maker.
Where to Use Your Handmade Pom Poms
Now that you've learned how to make a pom pom, you might be wondering what to do with all those fluffy little balls. Here are some ideas that'll put your pom poms to good use.
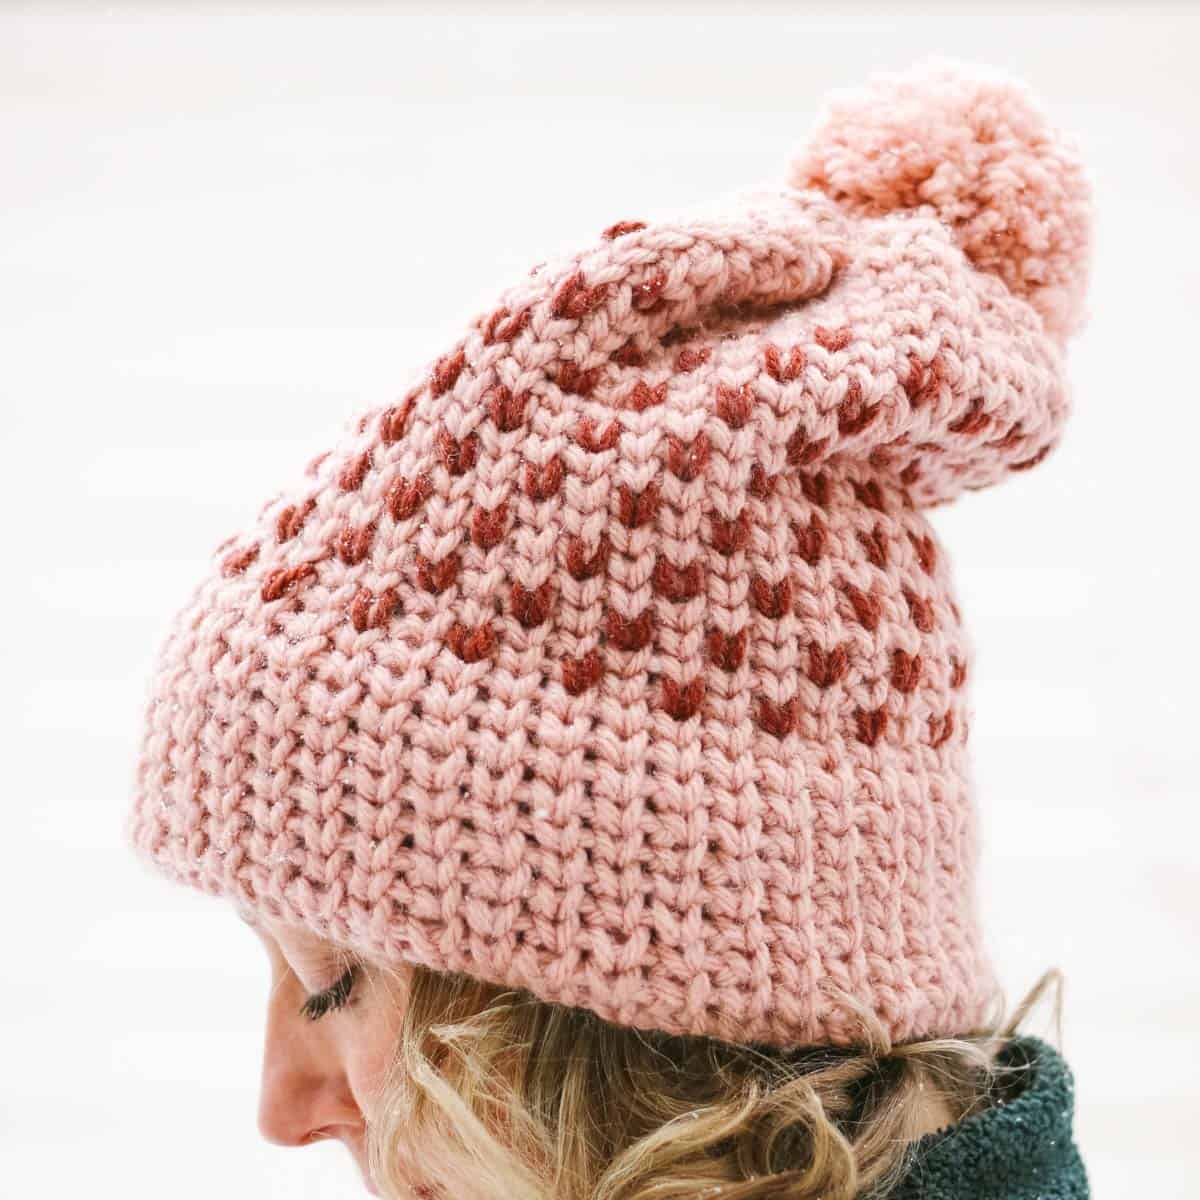
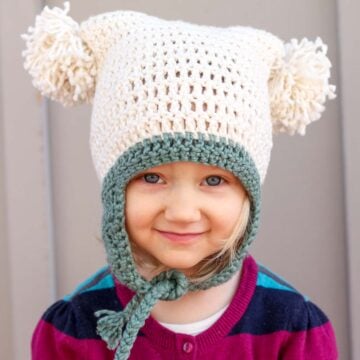
Knit and Crochet Hats
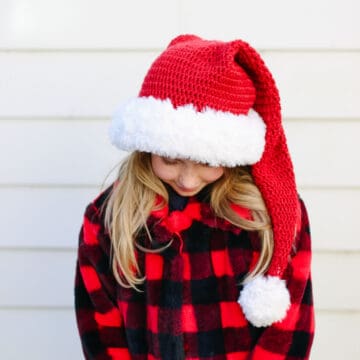
A yarn pom pom is a popular finishing touch for a knit or crochet winter hat. Not only does it provide a stylish flair, it also adds a slight weight to give your beanie more slouch.
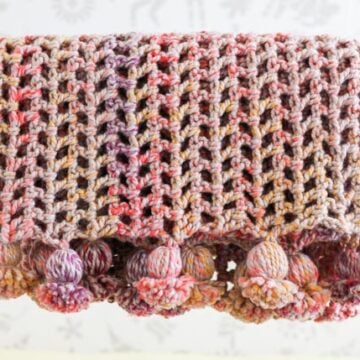
Trim for Blankets and Pillows
I love using pom poms to trim the edge of a blanket. If you don't know how to crochet or knit though, try adding yarn pom poms to the edge of a store-bought blanket for a fun, fast DIY project.
Amigurumi Projects
As if little amigurumi projects and crochet dolls weren't already cute enough, pom poms can make the perfect accent.
Whether they're used as a tufted tail, a decorative outfit element, or a set of adorable pigtails, you can customize your pom pom size to fit exactly what you need.
General Crafts
Yarn pom poms don't need to be limited to knitting and crochet patterns of course. You can glue or tie a pom pom to almost anything!
Here are some of my favorite ways to use pom poms in crafts:
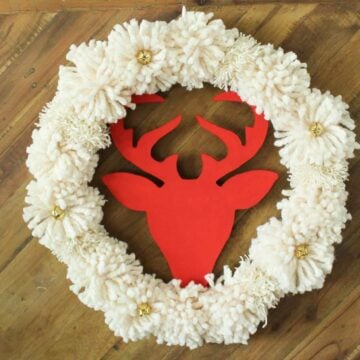
- Seasonal wreaths
- Pom pom rugs
- Kids crafts
- Garlands
- Christmas ornaments
More Pom Pom Projects
If you'd like to test out your pom pom making skills, check out these tutorials where you can put them to good use.
- 4.5 Hour Afghan - Fast Crochet Blanket Pattern
- "Pom Pom Party" Free Beginner Crochet Hat Pattern (Newborn - Adult)
- DIY Christmas Wreath Tutorial (with Pom Poms!)
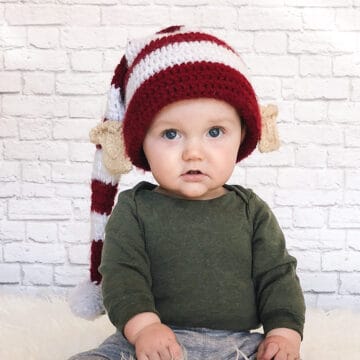
- Free Crochet Elf Hat Pattern (With Ears!) - Baby-Adult Sizes
- How To Make a DIY Pom Pom Rug
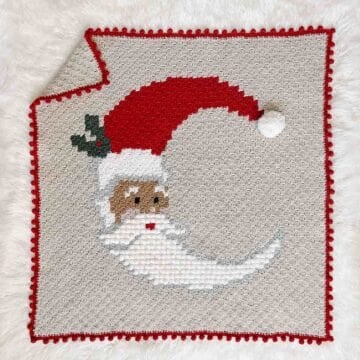
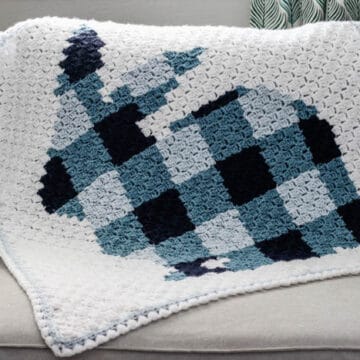
- C2C Crochet Santa Blanket - Free Pattern
- Corner to Corner Crochet Bunny Blanket - Free Pattern
- Easy Classic Santa Hat Crochet Pattern
That was so fun! Now what?
Invitation to our Facebook group
Come discuss making yarn pom poms and lots of other projects and techniques in our Make & Do Crew Facebook group. Here thousands of helpful crocheters and knitters answer each other's questions and share their stitches.
Kimberly says
How do you keep the short yarn pieces from pulling out of the "belt"? I cinched the belt as tight as I could and tied it, but the pom pieces still keep pulling out. If I can't get them to stay in, I just wasted my last little bit of the color I need for the decorative work. Project is for a toddler, so they really need to stay in.
Jess Coppom says
I know exactly what you mean. I've found that adding a little hot glue in the middle of the pom pom can really help secure all those little pieces -- especially for toddlers!
Jess
Angie reynolds says
Where can I buy the rug mat? I've got a boat load of yarn and that pin pin rug is just perfect.
Angie reynolds says
Oops I meant to say pom pom
michelle says
I need some help with attaching the pom poms to the matt, I apparently am not doing it right or have the wrong type matt.
Where can I get help from?
Jess @ Make and Do Crew says
I can try to help you! What seems to be going wrong? I just tied them into the mat grid with the longer piece of yarn that I used to tie around the pom pom when it was created. Then I tied several knots to secure it to the mat. Does that make sense?
Jess
jan says
i love love the rug. went straight out and bought pompom makers....easier for me.....and went to work. i am learning quickly which yarn NOT to use. i have more fuzzy bits all over the couch, chair, rug my blankets and my dog than i do in the pompom. i do have a question. does the 'lumpy' feel disappear when all is done? should i be making less dense poms?
Jess @ Make and Do Crew says
Ha--yes, the fuzz. That happened to me too a bit, but it generally stopped shedding by the time I finished the rug. I walked on my rug today to see if I could answer your question about the lumps. Mine def has lumps in it, but they're nothing I'd consider annoying. I find that they become far less noticeable once there are a lot of pom poms snuggled together on the rug.
Amy says
Thank you so much for sharing this pattern, someone recently asked me to make one and though I've been crocheting for almost 4 years..i think. I enjoy a good easy project and it was lots of fun, I made mine with stripes of mint, white and purple. BTW I really like those scissors in the picture, I'm shopping for some new scissors!
Jess @ Make and Do Crew says
Those colors sound lovely! Did you find any new scissors? They're one of my favorite things to shop for. (Besides yarn, of course. 😉
Amy says
Haven't found any yet, I plan on finding some this Friday though! Thank you for replying to my comment. 🙂 I love yarn shopping even if I can't buy any 🙁