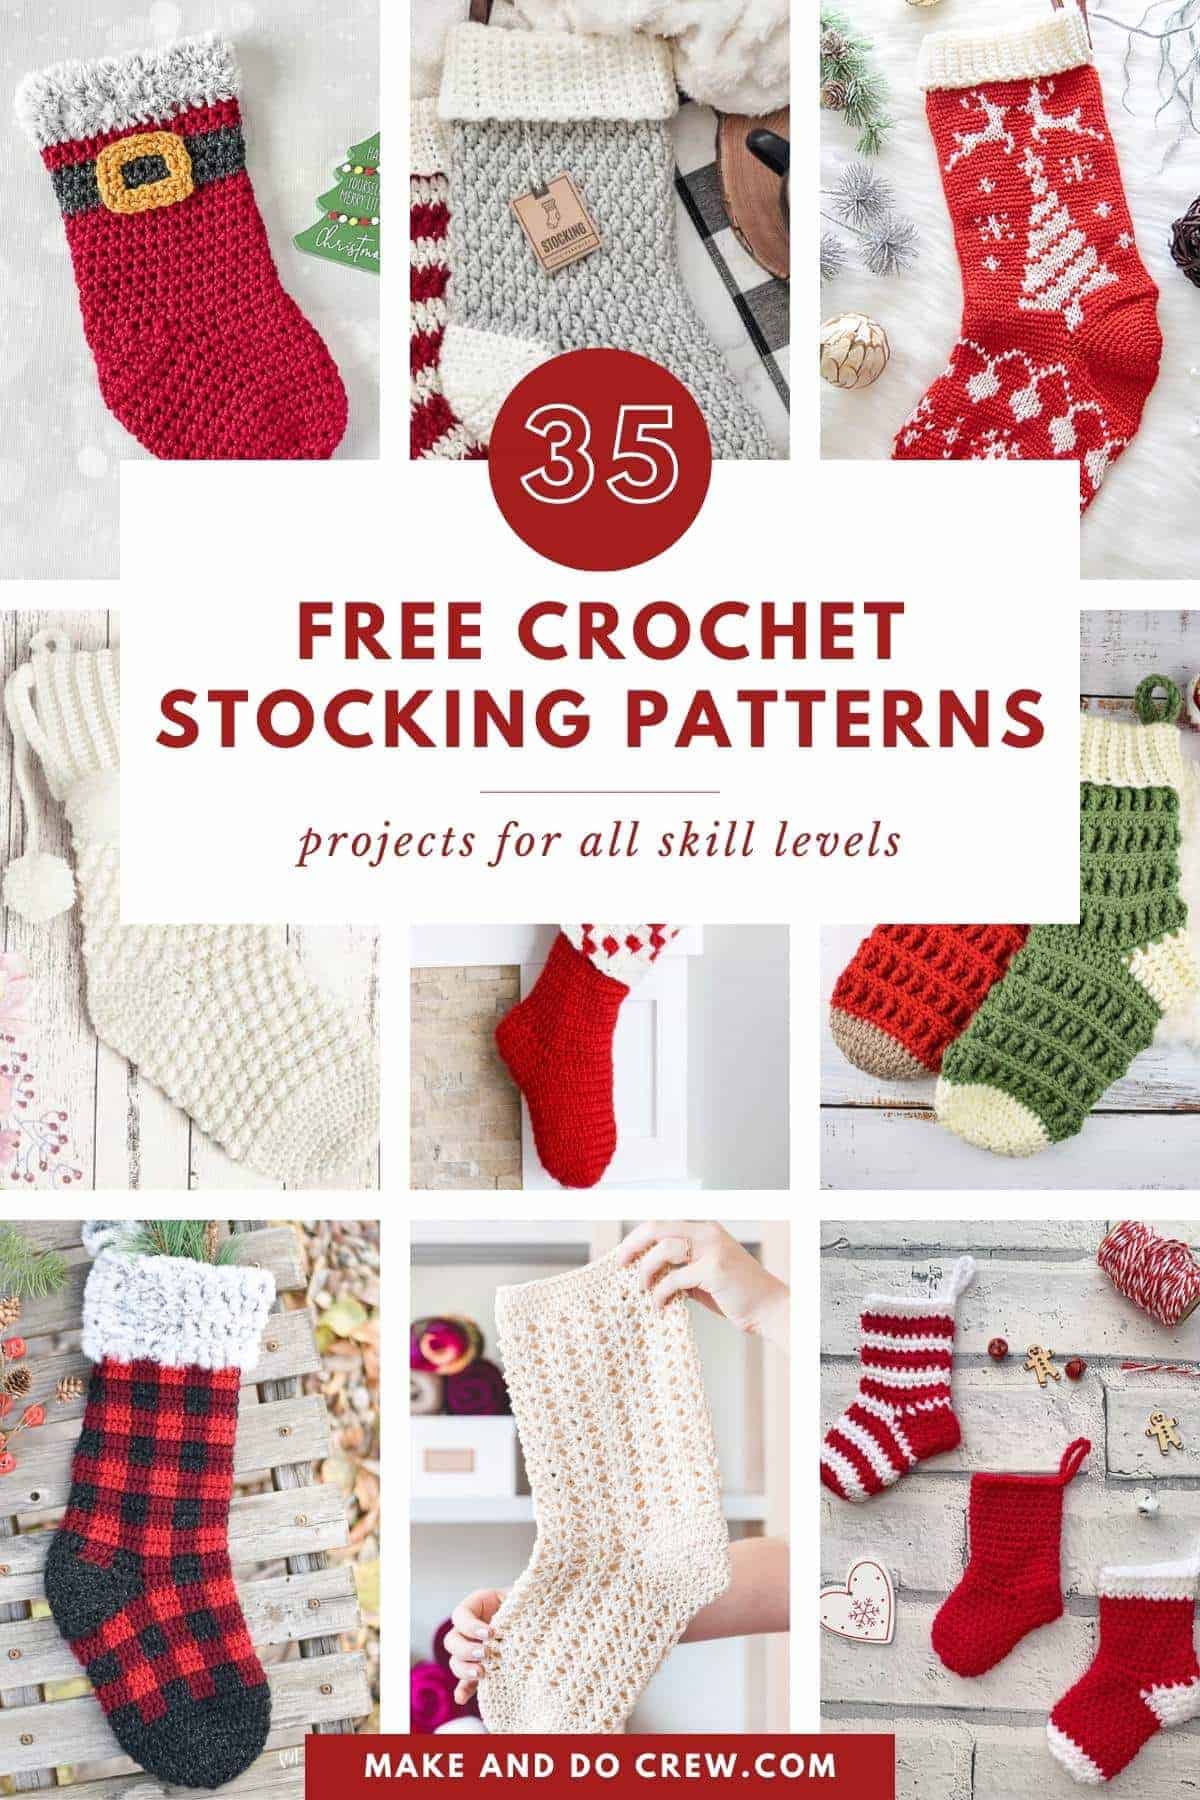
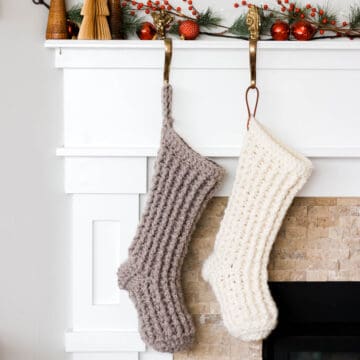
Crochet Christmas stocking patterns are your ticket to a cozy, handmade holiday season. From traditional to playful, these seasonal socks can be as enjoyable to make as they are to display.
These crochet stockings will be holiday keepsakes that your family will cherish for years. Find a stylish free pattern for your skill level below.
This collection of free patterns contains affiliate links.
Jump to:
- Quick and Easy Christmas Stocking Patterns
- More Christmas Crochet Patterns
- Free Crochet Christmas Stocking Patterns
- Customize Your Crochet Christmas Stocking
- The Best Crochet Stitches for a Santa Sock
- Supplies and Materials
- FAQs
- More Christmas Inspiration
- Invitation to our Facebook group
- How to Crochet a Christmas Stocking

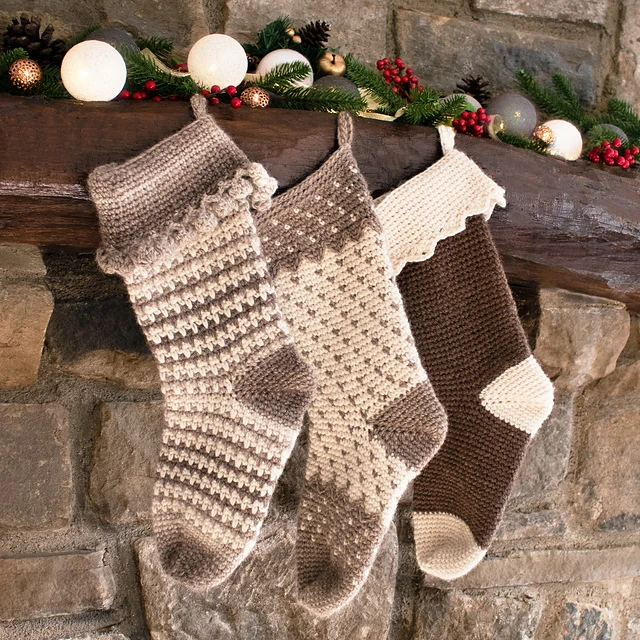
Corner-to-Corner Scandinavian Stocking

Country Cottage Stocking Video Tutorial
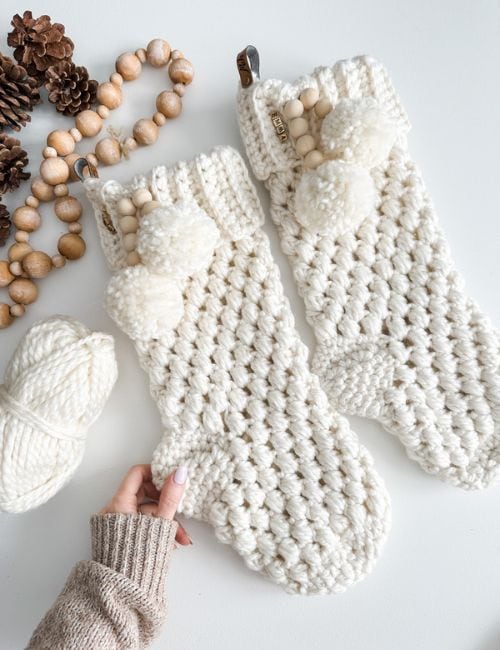
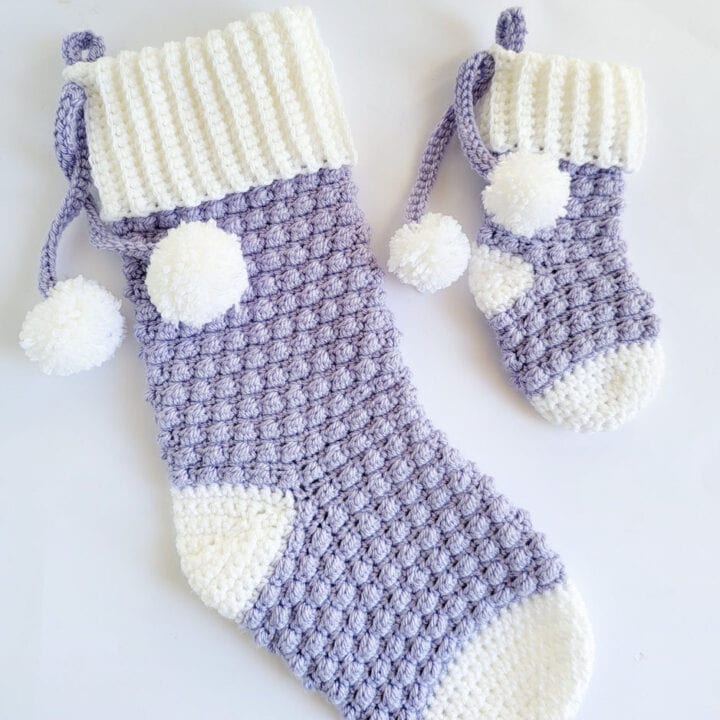
Bulky Puff Stitch Stockings
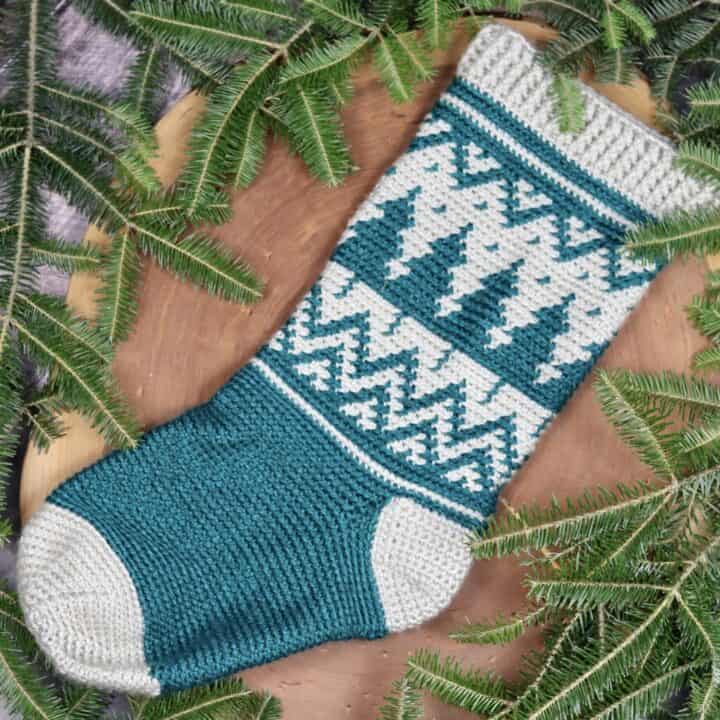
Modern Alpine Festive Stocking
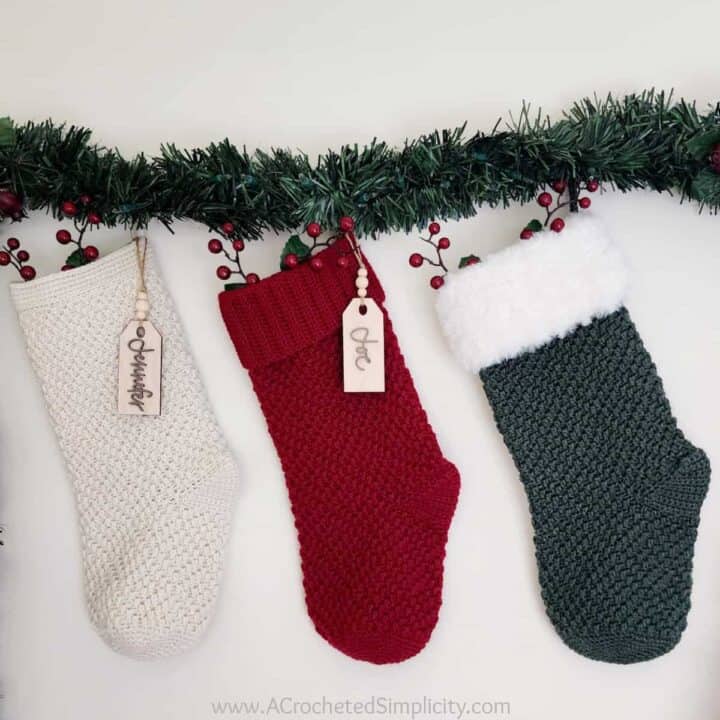
Easy Crochet Stocking Pattern using Single Crochet
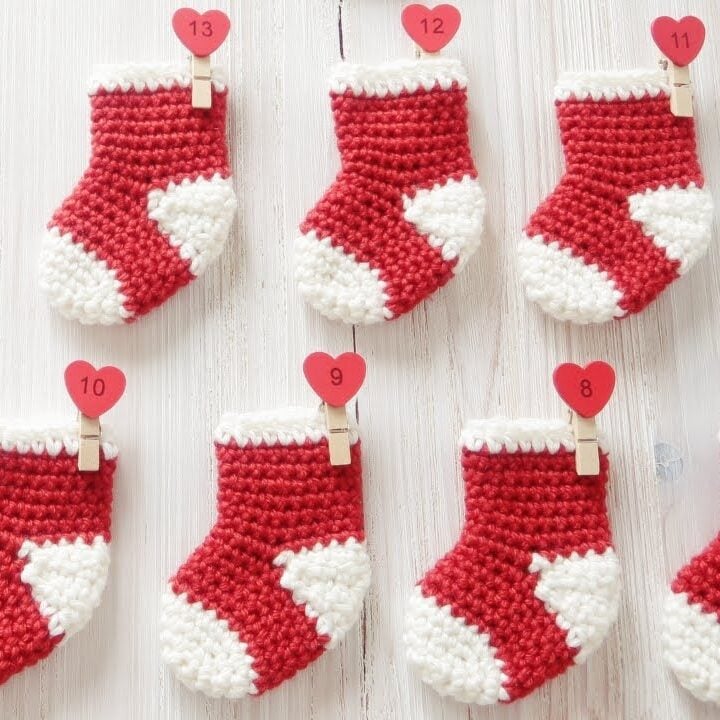
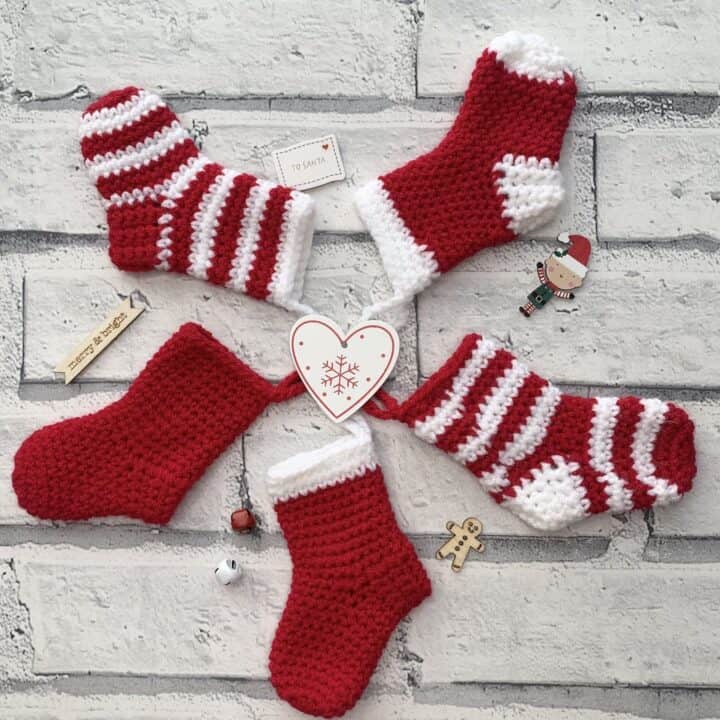
Mini Advent Calendar Stockings
Gingham Style Stocking
Shell Stitch Crochet Stocking

How to Crochet a Christmas Stocking for Beginners
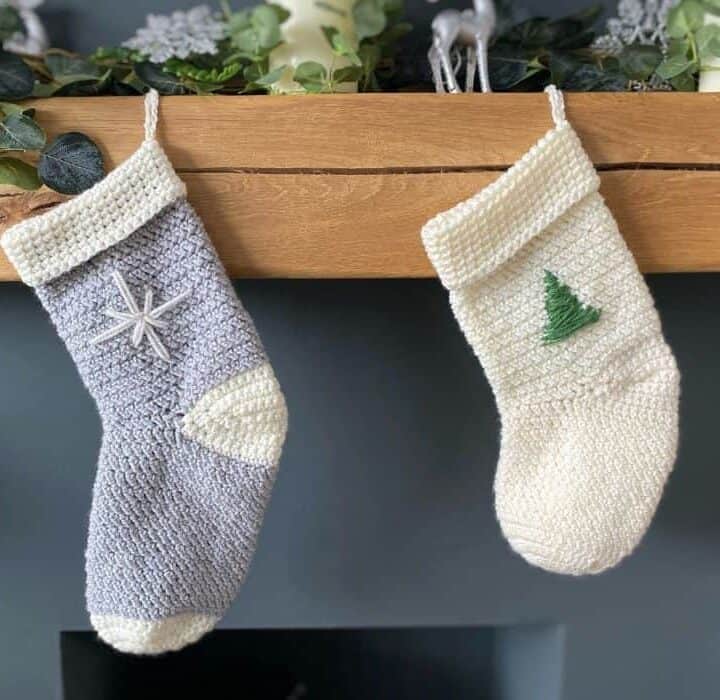
Crochet Snowfall Stocking
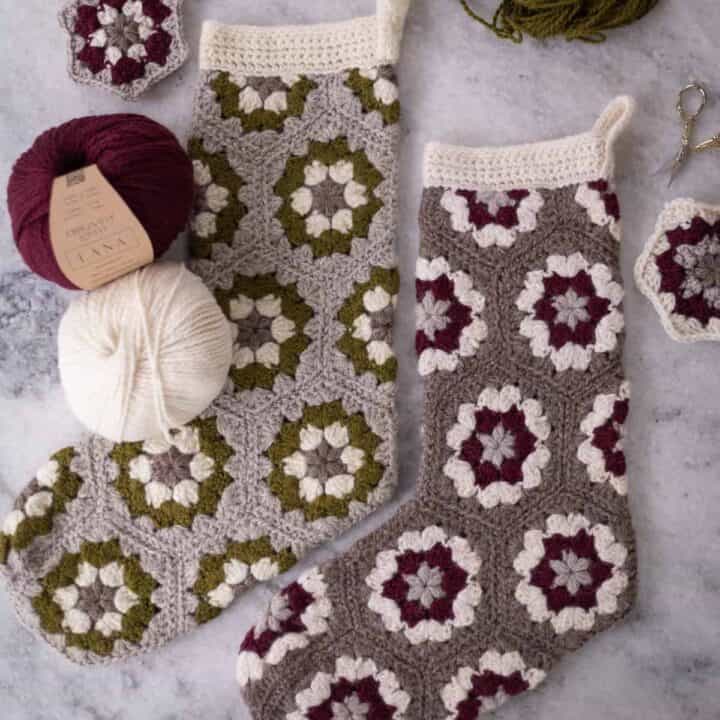
Felted Granny Hexagon Crochet Stocking
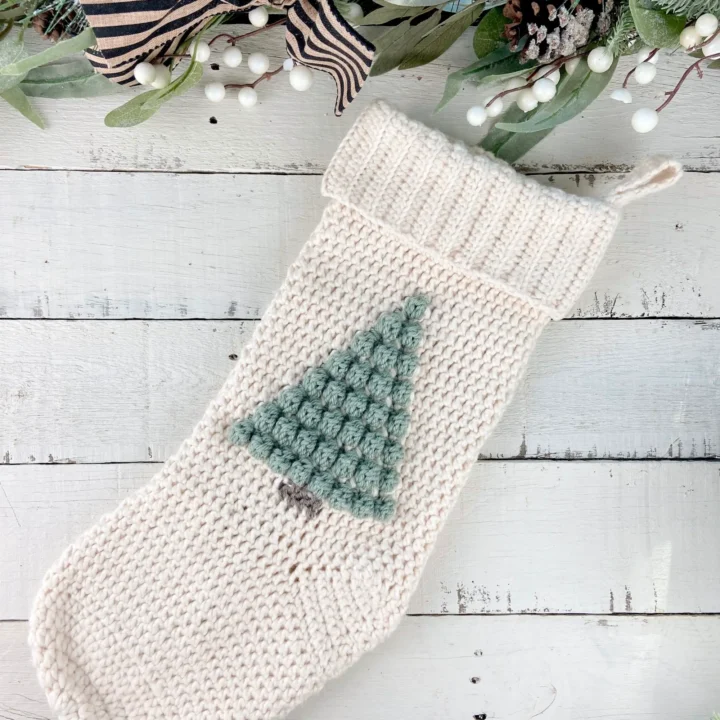
3D Bobble Stitch Christmas Tree Stocking
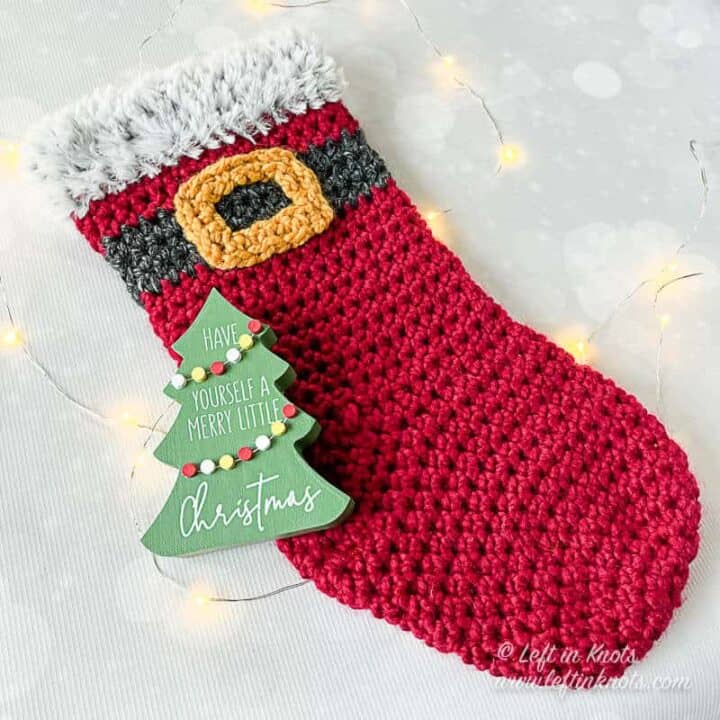
Santa Sock with Fur Border

Christmas Stocking with Surface Stitching
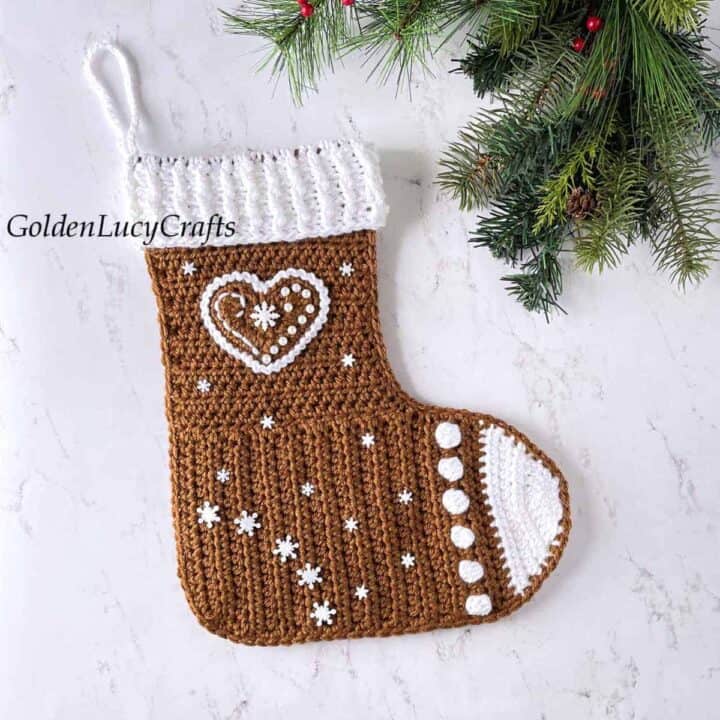
Traditional Gingerbread Stocking
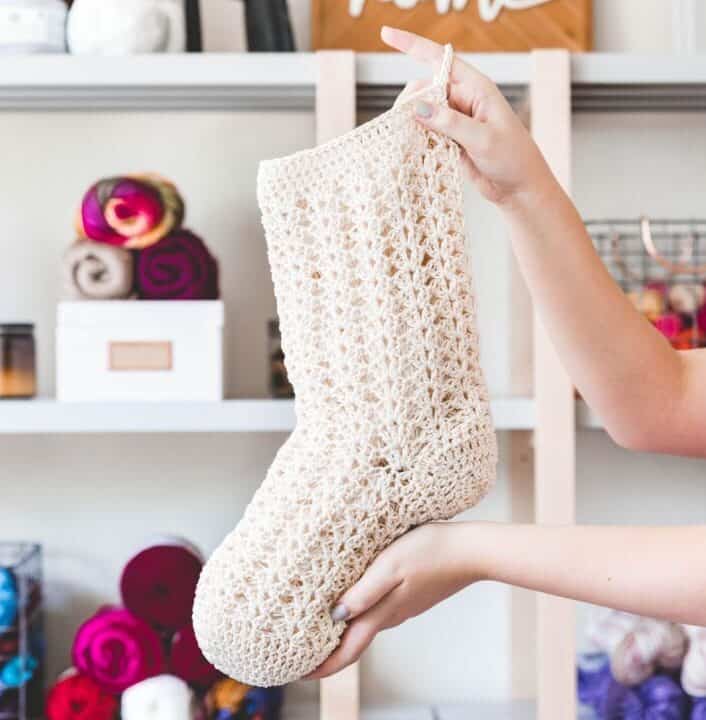
Lace Farmhouse Fireplace Stocking
Diamond Crochet Stocking Pattern
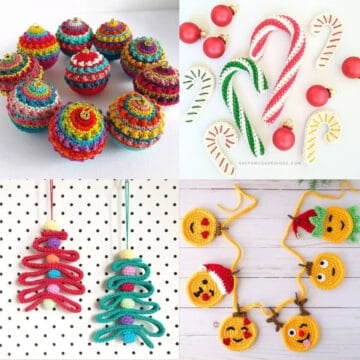
Our Latest Crochet Inspiration:
Here are a few more free crochet patterns and tutorials that are hot off the presses.


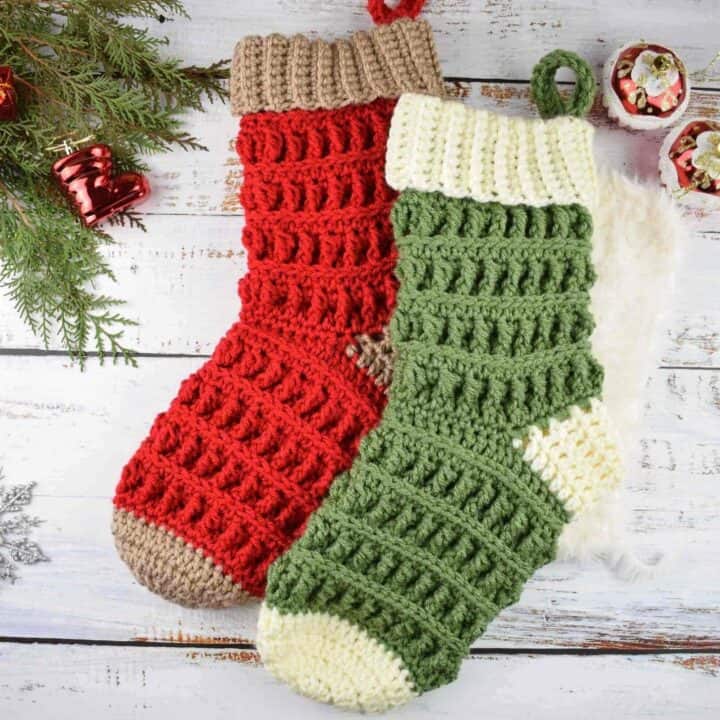
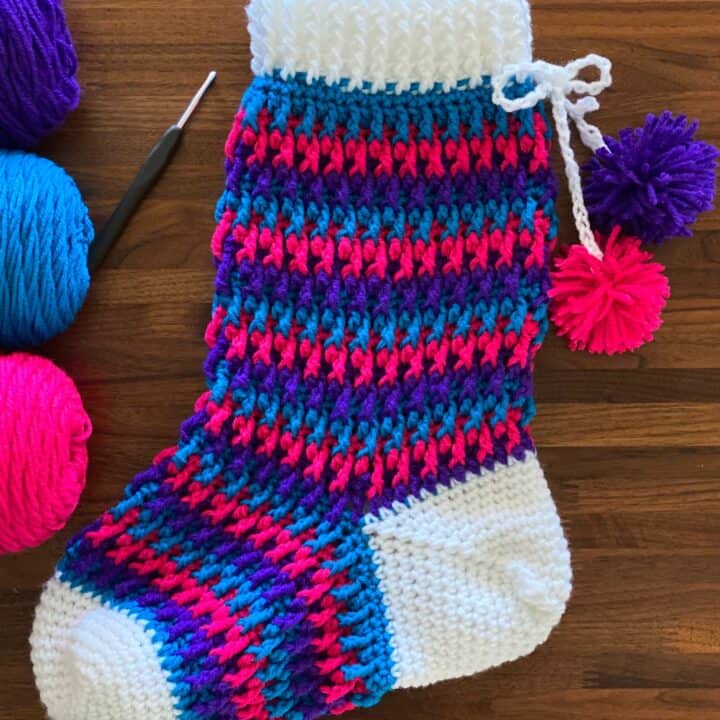
Waistcoat Stitch Tapestry Stocking

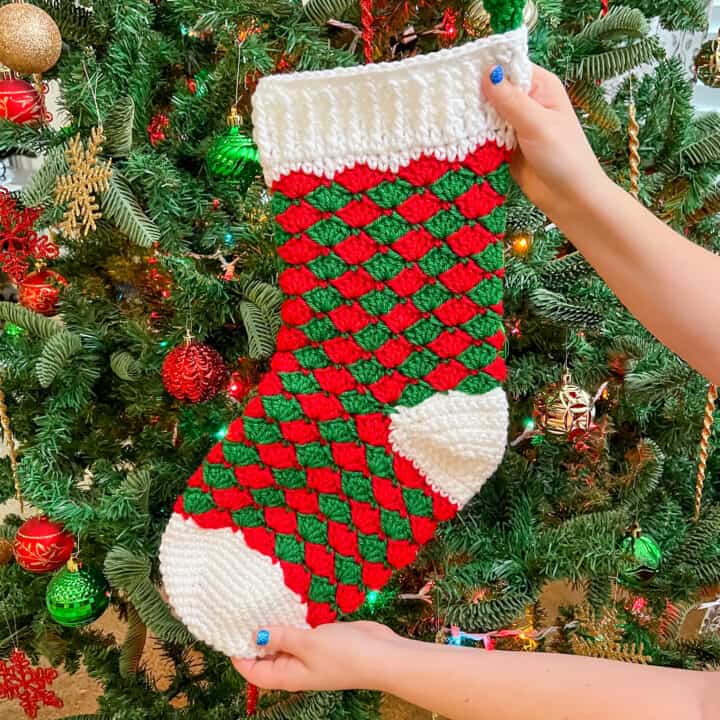
Buffalo Plaid Winter Stocking
Tapestry Wintertime Sock
Herringbone Stitch Stocking
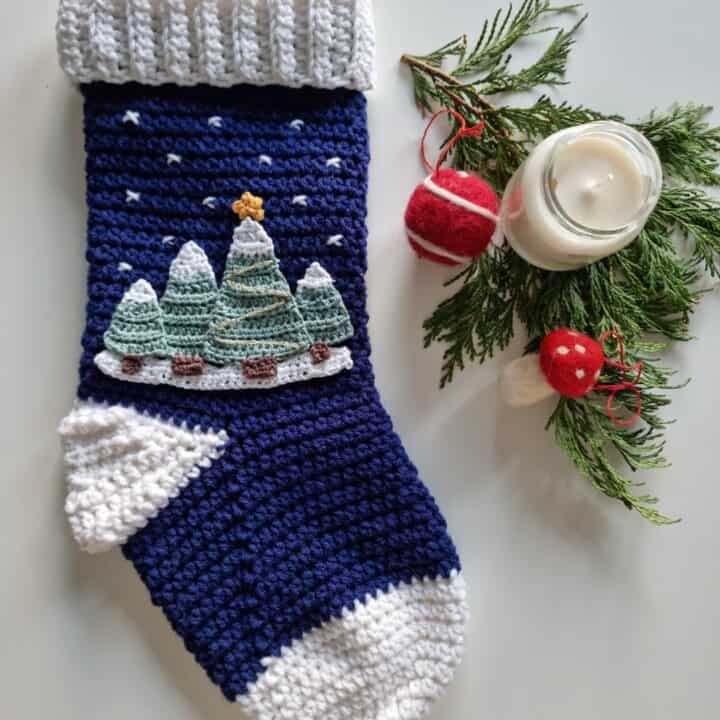
Snowy Landscape Stocking
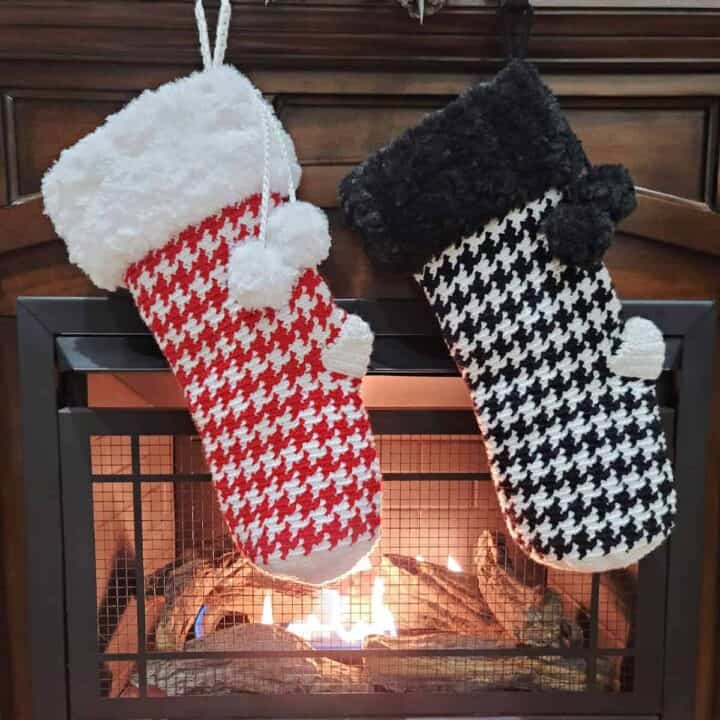
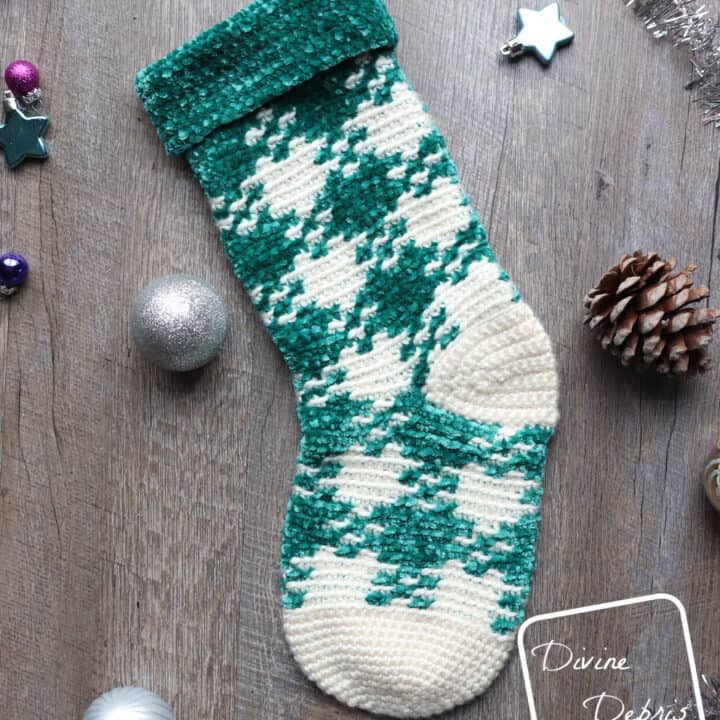
Houndstooth Stitch Stocking
Gift Stockings for Christmas Eve
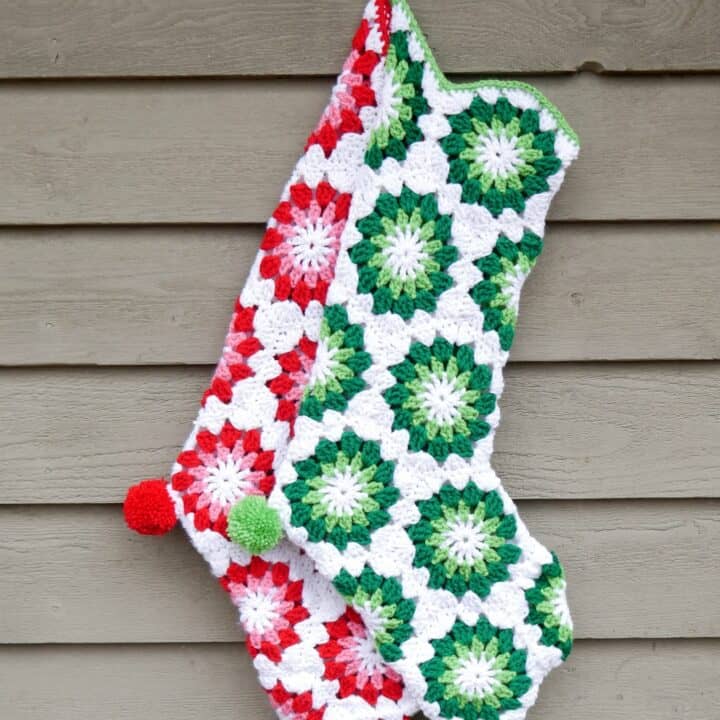
Retro Granny Hexagon Stocking
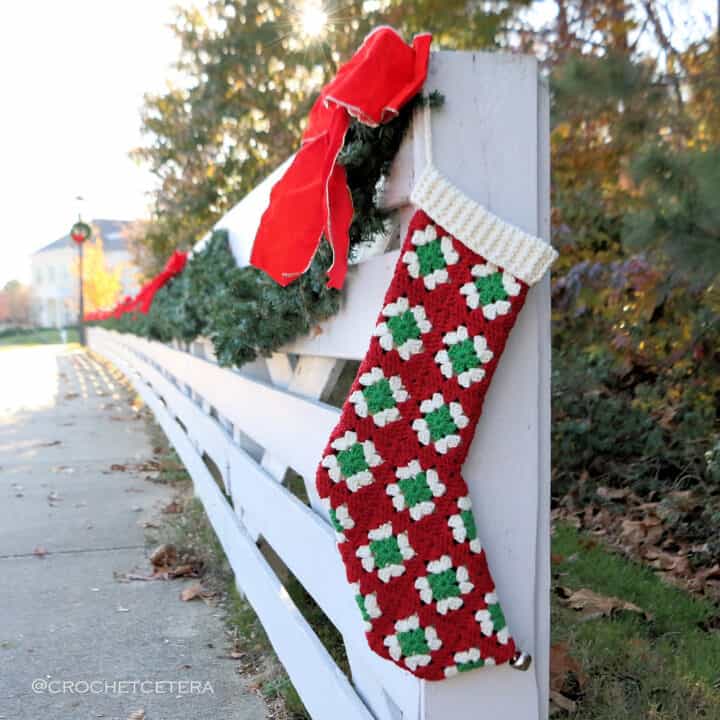
Granny Stitch Stocking Pattern

Vintage Granny Square Gift Stocking
Ye Olde Christmas Stocking
Wanna save this pattern?
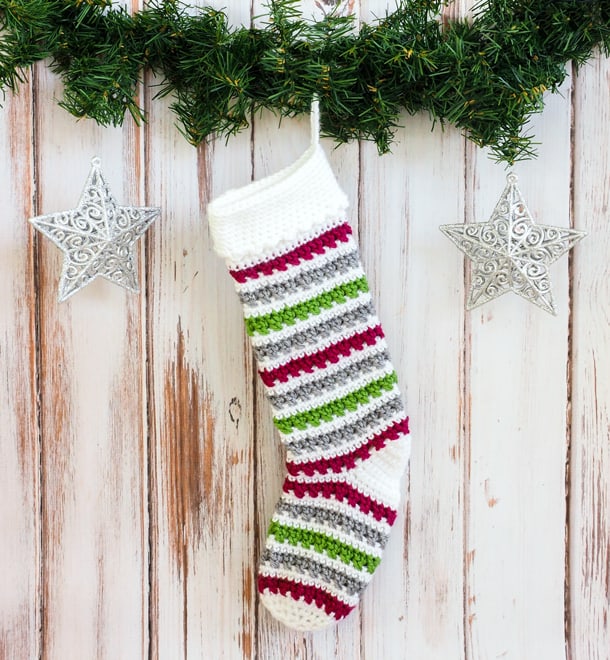
Striped Christmas Stocking
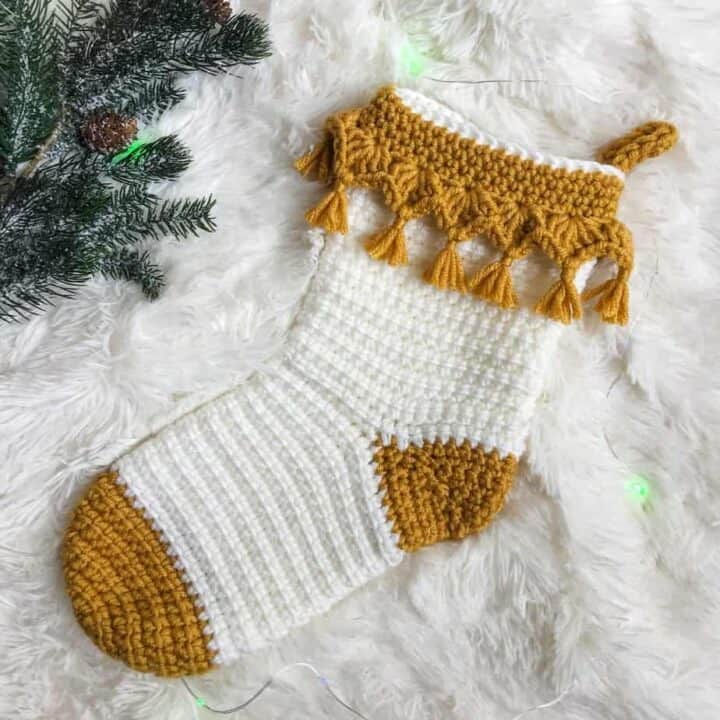
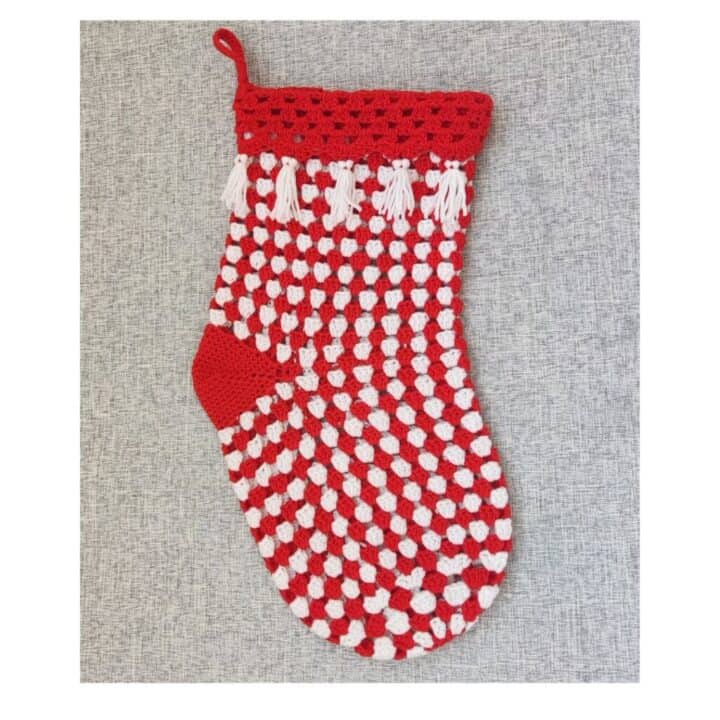
Boho Stocking with Tassels
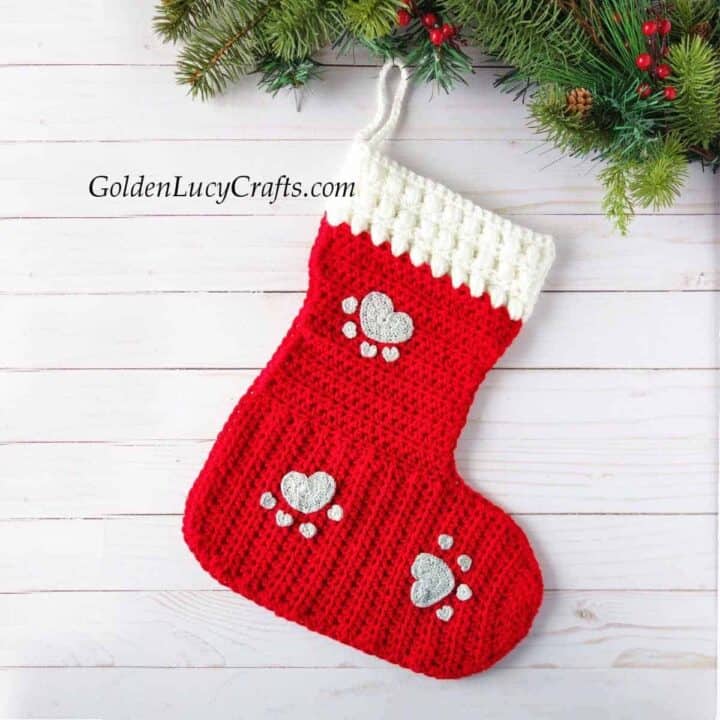
Christmas Stocking for Pets
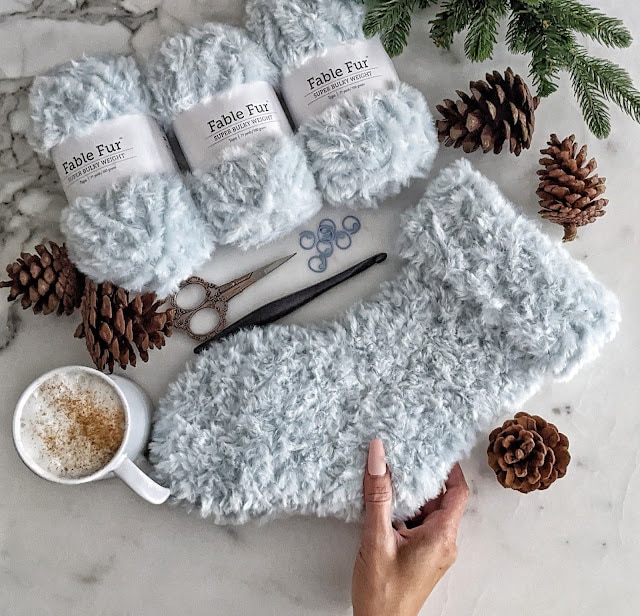
Faux Fur Christmas Stocking
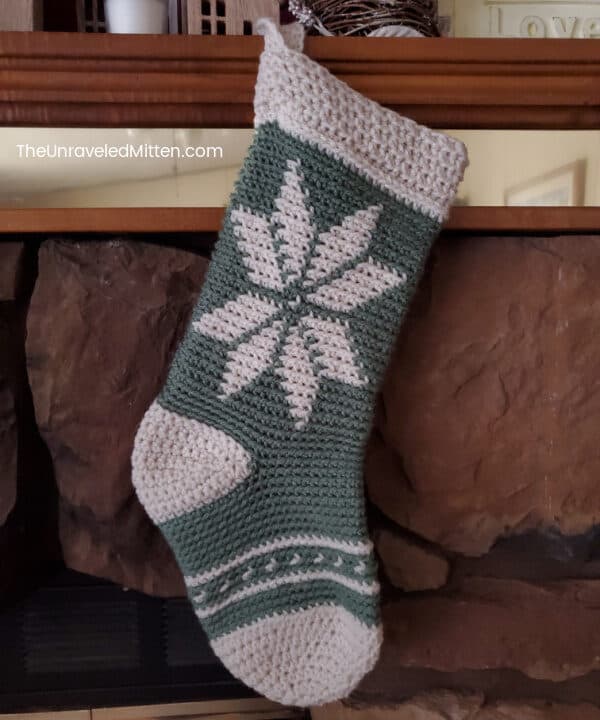
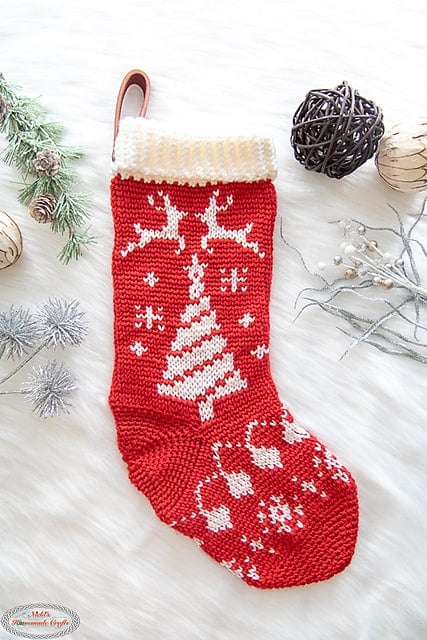
Nordic Snowflake Fair Isle Stocking
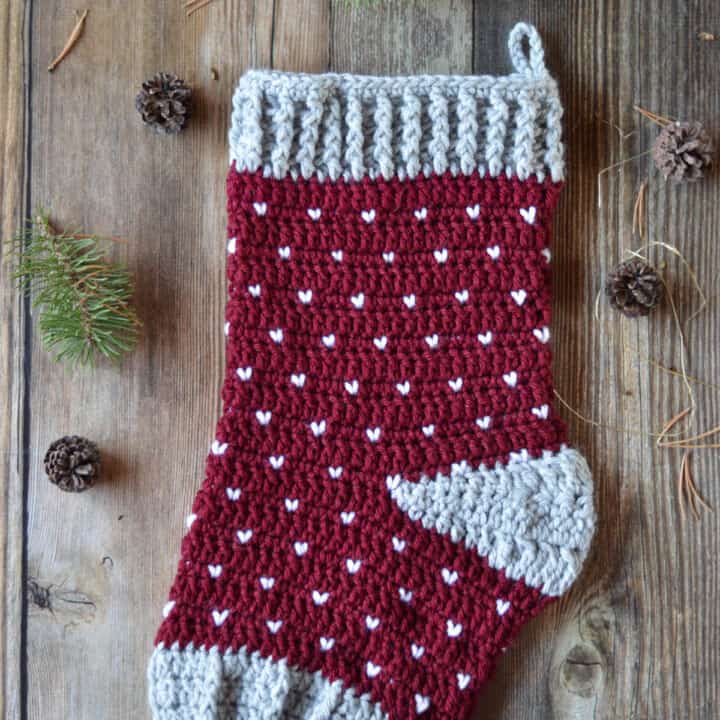
Berry Stitch Stocking
Alpine Stitch Xmas Stocking with Tie Closure
Customize Your Crochet Christmas Stocking
The Best Crochet Stitches for a Santa Sock
Supplies and Materials
The Best Yarn for Winter Stockings
FAQs
More Christmas Inspiration
Don't set down that hook! We've got plenty more Christmas crochet projects for you to browse.

See more Christmas crochet →

How to Crochet a Christmas Stocking
Materials
Yarn
Additional Supplies
- Tapestry needle
- Size J 6 mm crochet hook
- Size H 5 mm crochet hook
- Stitch markers or safety pins
- A printout of upper band c2c crochet graph download here
Abbreviations + Glossary (US Terms)
- ch – chain
- dc – double crochet
- tch – turning chain
- yo – yarn over
- RS – right side
- WS – wrong side
- tile – one square on the corner to corner graph: 3 ch (the tch) + 3 dc
- rep – repeat
- PM – place marker
Abbreviations and Glossary (US Terms):
Want some company while you crochet?
Get support (and camaraderie!) in the Make & Do Crochet Crew Facebook Group. Search “Make and Do Crochet Crew” on Facebook.com.
Permissions + Copyright
Please do not publish or share this pattern as your own. You may make items to sell with this pattern. In exchange, please link back to this page. Do NOT use my photos as your own sales photos.
Overall Pattern Notes
Instructions
Stockholm Crochet Christmas Stocking Free Pattern
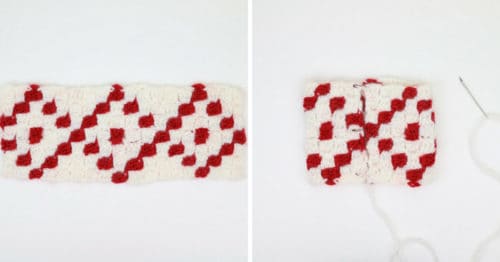
Upper Band
- • If you’re unfamiliar with the corner to corner technique, here are some resources to help you:- How to Corner-to-Corner Crochet (photo tutorial)- How to Work the Basic C2C Stitch (video tutorial)- How to Change Colors in C2C (photo tutorial)
- • To work this corner to corner graph, begin with the pixel (tile) in the lower right corner. This will correspond to Row 1 in the written pattern if you're working from the printable PDF.
- • Each pixel in the graph corresponds with one tile in the upper band. A tile = 3 ch (the tch) + 3 dc
- • Because the back of the c2c piece will be hidden inside the stocking, you may choose to take some liberties in how tidy you are with switching colors and weaving in ends.
- Using larger hook, complete upper band according to graph pattern.Fasten off last MC tile and last AC tile leaving a 20” tail on both. Weave in remaining ends.
Seaming Top
- With RS facing out, fold upper band in half so that the sides meet in the middle. Use a tapestry needle and the tail of AC yarn, seam the sides together with the mattress stitch.

Stocking
- • The stocking toe is worked in the round in a spiral, meaning that you won’t chain 1 at the beginning of each round. Place a stitch marker in the last stitch of the round to keep track of where a new round begins and move the stitch marker up as you work.
Toe
- Foundation: Using MC yarn and the smaller hook, make a magic circle.
- Round 1: Ch 3 (counts as 1 dc), 11 dc in circle, PM. (12)
- Round 2: [1 sc, 1 dc] in first dc, 2 dc in each of next 11 dc. (24)
- Round 3: [1 dc in next st, 2 dc in next dc] 6 times. (36)
- Round 4: [1 dc in each of next 5 dc, 2 dc in next dc] 6 times. (42)
- Round 5: 1 dc in each dc. (42)
- Measure toe section inside upper band as described in the overall pattern notes.
- Rounds 6-11: Rep Round 5.
- Do not fasten off. Remove stitch marker.
Heel
- • The heel is worked back and forth in rows, continuing from where the toe left off. After Row 1, the heel will be completed between the two stitch markers.

- • The ch 3 at the beginning of a row always counts as 1 dc.
- Row 1 (cont. in same direction as toe was worked—do not turn): 1 dc in each of next 11 dc, PM in 11th dc; 1 dc in each of next 20 dc, PM in 31st dc; turn. (20 dc between markers)
- Rows 2-4: Ch 3, sk first dc, 1 dc in each of next 19 dc; turn. (20 dc)
- Row 5: Ch 3, sk first dc, 1 dc in each of next 7 dc, dc2tog, dc2tog, 1 dc in each of next 8 dc; turn. (18 dc)
- Row 6: Ch 3, sk first dc, 1 dc in each of next 6 dc, dc2tog, dc2tog, 1 dc in each of next 7 dc; turn. (16 dc)
- Row 7: Ch 3, sk first dc, 1 dc in each of next 5 dc, dc2tog, dc2tog, 1 dc in each of next 6 dc. (14 dc)
- Fasten off, leaving a 15” tail.

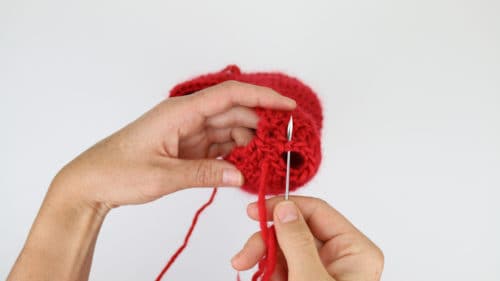
Seaming Tail
- Fold heel flap in half and use a tapestry needle and the tail from the heel section to seam the back of the heel with the mattress stitch.

Ankle
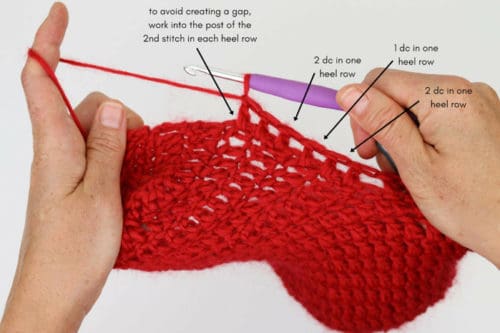
- • The ankle is worked in the round just as the toe section was. The first round will be worked along the top edge of the toe section and along the top of the heel section.
- • When working into the heel section, place stitches at a frequency of 2 dc in the first row of the heel section, 1 dc in the second row, 2 dc in the third row, and so on to create the necessary 42 dc by the end of the round. (See photo below.)
- • As you’re working into the heel rows, instead of working under the first st of each heel row, I find it useful to insert my hook into the middle post of the second dc in each heel row. This ensures that there are minimal gaps created by the intersection of the different rows and rounds. (See photo below.)

- Attach MC yarn at the intersection of the heel section and the toe section on the left side of the stocking (right side for left-handed crocheters).
- Round 1: Ch 3, 1 dc in first empty dc along top of toe section, 1 dc in each dc along top of toe section edge; dc along top edge of heel as described in the notes above in order to create 42 total dc when you arrive back where you originally attached the yarn. (42)
- Rounds 2-13: 1 dc in each dc. (42)
- Do not turn.
- Row 14: 1 sc in each of next 2 dc, 1 sl st in each of next 2 dc. (4)
- Fasten off, leaving a 24” tail.
Joining Upper Band & Stocking
- Place stocking inside top as pictured below. (Nine rows of the stocking ankle should be visible below the upper band.) Pin in place using safety pins or stitch markers.
- Using a tapestry needle and a strand of AC yarn, sew top to the stocking, taking care to work small, inconspicuous, stitches into only the AC tiles on the c2c band.
- Repeat this process using MC yarn (the tail from the stocking or upper band) and working only into MC tiles on the c2c upper band. I find it looks best to place all your seaming stitches around the top of the stocking edge, which ends up being about the middle of the c2c piece.


Hanging Loop
- You’ll want to create a hanging loop that will be long enough to be sewn to the interior edge of the stocking (not just the upper band) when folded in half. This will make the hanger sturdier and ensure the stocking doesn’t stretch out when hung. For the sample, 30 ch achieved this.
- Foundation: Using AC and smaller hook, ch 30 (or the number of chains necessary.)
- Row 1: Sk 1 ch, 1 sc each ch; turn. (29)
- Row 2: Ch 1, 1 sc in each sc. (29)
- Fasten off leaving a 20” tail. Fold hanger in half to form a loop. Place hanger in stocking so that the bottom of the hanger meets the top of the stocking edge. Using existing tail, sew into the stocking and c2c top.
- Hang your new handmade stocking by the chimney with care and wait for St. Nicolas soon to be there!


Annette says
That's a super cute stocking! I may have to bust out my hooks 🙂
Jess @ Make and Do Crew says
I hope you do, Annette! 🙂
Yolanda Newsome says
Thank you for all the beautiful free pattern you offer. th
Jess @ Make and Do Crew says
You're welcome Yolanda. It's my pleasure!