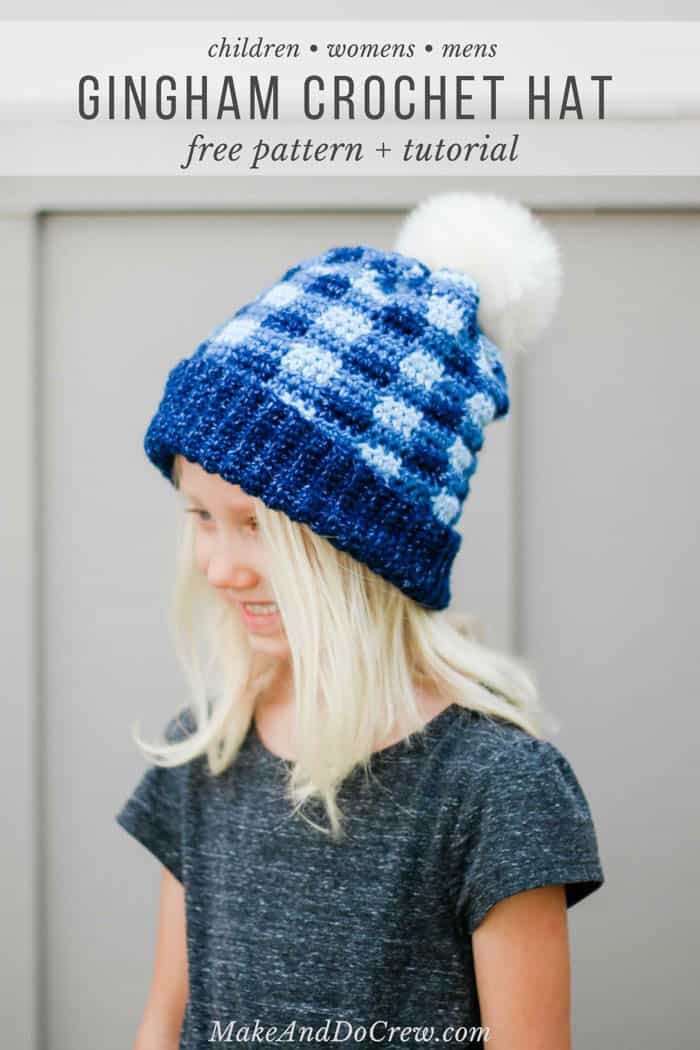
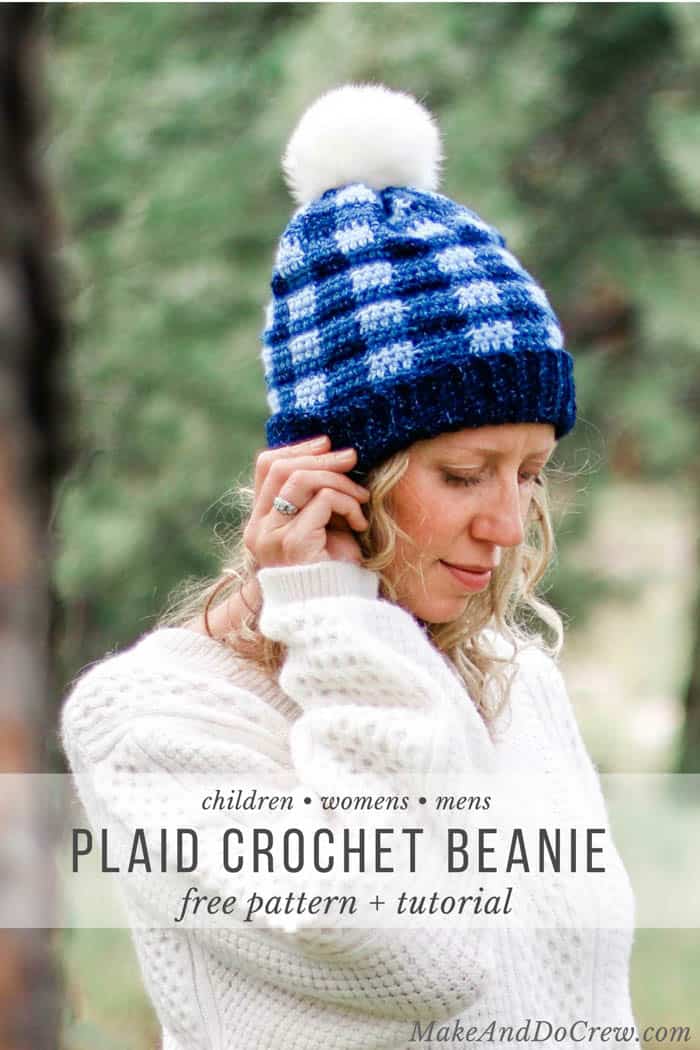
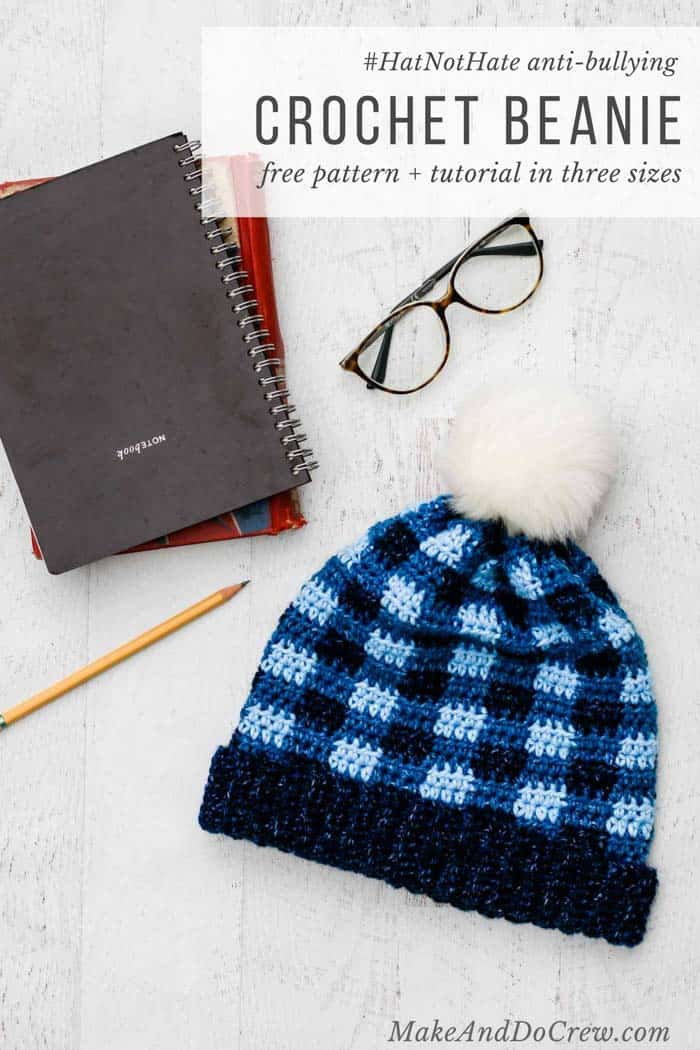
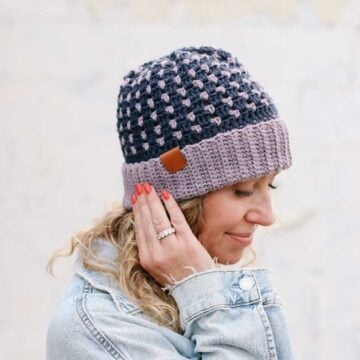
Support the #HatNotHat anti-bullying campaign with this free crochet plaid hat pattern in child, women and men's sizing. The color changes become rhythmic after after the first few rounds and you’ll be left with only a couple of ends to weave in. Get the free pattern below or purchase the ad-free printable PDF here.
This free crochet plaid hat pattern is part of a collaboration with my friends at Lion Brand yarn. This post contains affiliate links.
Why Support the Hat Not Hate Movement
Sometimes I can sit at home watching the news and feel a little helpless about the world I've brought my children into. All of us who have already traversed the rocky terrain of middle and high school know that it's not necessarily an easy road for anyone. 1 in 4 children is the target of bullying though, and for those kids, the struggle is even more isolating.
The #HatNotHate movement uses the official color of anti-bullying (blue!) to help bear witness to bullying and cyberbullying, show solidarity and promote inclusion. Read more about Hat Not Hat from on LionBrand.com here.
How You Can Help
You can do what we crocheters do best--craft! This "craftivism" movement requires only a little bit of your time, creativity and yarn. Make a blue hat for yourself, the kids in your life or to donate. Then share your hard work on social media with the hashtag #HatNotHate so we can all see what you've been up to!
What Hat Pattern Should I Use?
Feel free to make any hat you like for the Hat Not Hate campaign. To get you started, use the free crochet plaid hat pattern I'm sharing below, any of the many free crochet and knit hat patterns on LionBrand.com, or the free Make & Do Crew crochet beanie patterns below. (You can find 13 more free simple, chunky hat patterns here!)
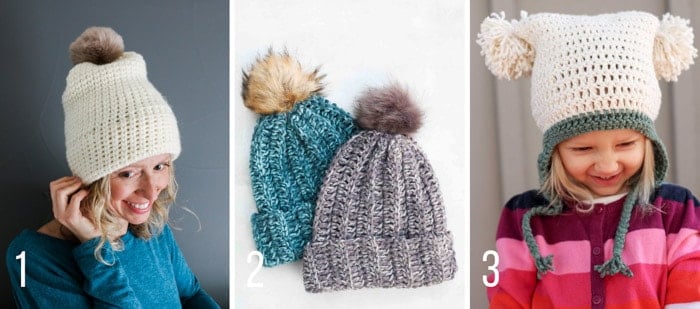
1) "Knit" Crochet Beanie (adults)
2) 1.5 Hour Crochet Beanie (adults)
3) Pom Pom Party Crochet Hat (newborn - adult)
Related: 35+ Free Chunky Crochet Beanie Patterns
Will a Crochet Plaid Hat Take Forever?
Haha, if you're anything like me, you look at these color changes and thing "Oh boy, that looks like a lot of work and ends to weave in."
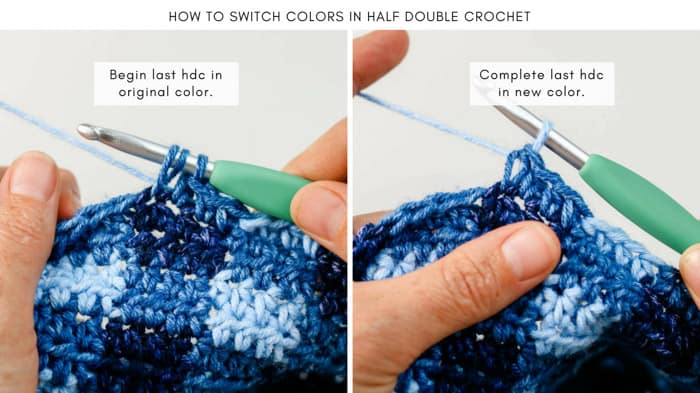
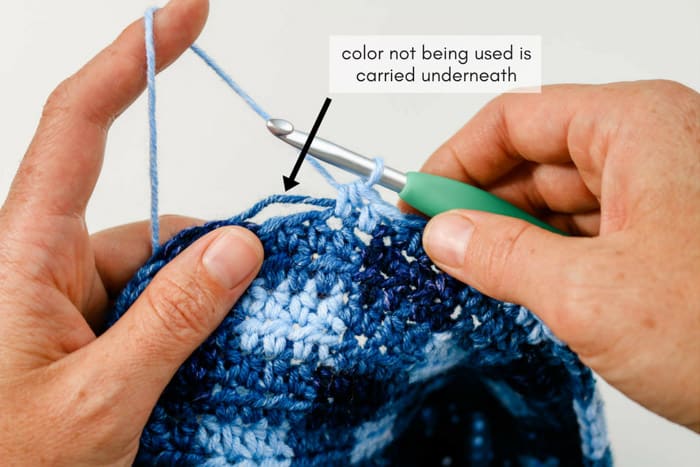
But really, this crochet plaid hat took me a two evenings watching Netflix and left me with only a few ends to weave in. The beauty of color changes like this is that they require basically no thought, so you get in a rhythm and cruise. If you're new to changing colors mid row/round, check out the photo tutorial below to learn the simple tricks. This video tutorial will also help.
Can I Change the Color Scheme?
If you're not hoping to make this pattern for the Hat Not Hate campaign, the color options are endless. To recreate this crochet plaid or gingham look in any color, simply use light, medium and dark yarn shade in the same color. For a crochet gingham look specifically, use a bright white for your light color.
Okay, let's crochet a plaid beanie! And don't forget to share your hats on social media using the hashtag #HatNotHate so we can see your stitches!
Unity Crochet Plaid Hat
Free #HatNotHate Pattern
Purchase the ad-free, printable PDF here.
Add this pattern to your Ravelry favorites or queue here.
Pin it for later here.
Explanation:
Sport a popular plaid look while also supporting the #HatNotHate anti-bullying campaign with this versatile crochet plaid beanie pattern written in three sizes. While the color changes might look intimidating, the technique becomes rhythmic after after the first few rounds and ensures you’ll be left with only a couple of ends to weave in. Follow the photo tutorials within the pattern and this video tutorial if you’re new to colorwork.
This basic crochet plaid stitch uses all half double crochet and can be easily modified to create a different plaid or gingham look by simply choosing a light (or white), medium and dark shade of the same color.
Supplies:
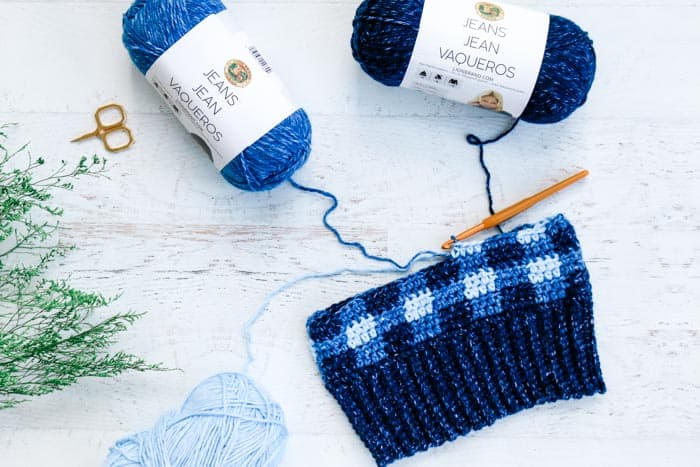
• Lion Brand Jeans (Weight: 4/medium - 246 yds, 3.5 oz)
- Stonewash (505-109) – 1 skein
- Faded (505-105) – 1 skein
- Brand New (505-108) – 1 skein
• Tapestry needle
• Size H (5.0 mm) crochet hook
• Size I (5.5 mm) crochet hook
• Fur pom pom or pom pom maker/piece of cardboard to make a yarn pom pom
Sizes:
Child (fits approx. 18-20” head circumference)
Teen/Women (fits 20-22” head circumference)
Men (fits 22-24” head circumference)
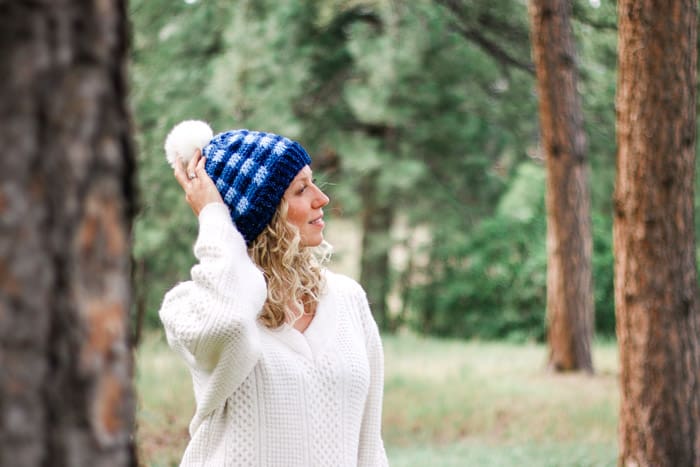
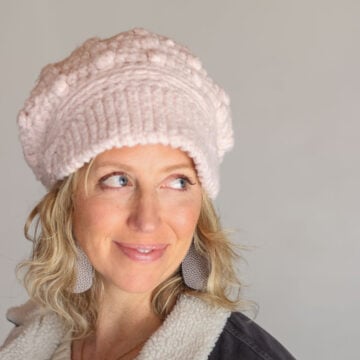
Notes on sizing: If a slouchier hat is desired, follow appropriate size for ribbing and main hat body, but then work one additional repeat of Rounds 1-4 to make hat taller before decreasing in the final color block. (See photo of little girl above for for example.)
Gauge:
Ribbing: 9 sc x 7 rows = 2”
Main Hat: 15 hdc x 11 rows = 4”
Abbreviations and Glossary (US Terms):
ch – chain
hdc – half double crochet
hdc2tog - half double crochet two together
rep – repeat
RS – right side
scblo - single crochet through the back loop only
sl st – slip stitch
st(s) – stitch(es)
tch – turning chain
WS – wrong side
yo - yarn over
Overall Notes:
• Instead of referencing each yarn color by its brand name, for simplicity, pattern refers to colors as follows:
- Light (Faded)
- Medium (Stonewash)
- Dark (Brand New)
• Pattern is written for smallest size, with larger sizes following in parenthesis. Child (Women, Men)
Tips on Keeping Yarn Organized:
• This pattern relies on keeping three colors of yarn attached at all times. To keep yarn from getting tangled, set two colors you’re working with in any given round off to one side of you and third color to the other side. At the end of the round, untwist the two colors if necessary before moving on to the next round. Whistle and Ivy shares a brief, very helpful video on keeping yarn organized while working here.
• Unless you run into massive tangle trouble, there should be no need to cut yarn at end of round.
RIBBING
Notes:
• Ribbing is worked in rows and seamed at end.
Using smaller hook and Dark yarn, ch 13 (15, 15).
Row 1: Sc in second ch from hook, sc in each ch to end of row. 12 (14, 14)
Row 2: Ch 1, scblo in each sc to end of row.
Rep Row 2 62 (70, 78) more times for a total of 64 (72, 80) total rows.
✨Unlock this free subscriber-exclusive pattern ✨
Follow these steps to view the full free pattern below
Using Medium, sl st to tch; turn.
Round 2 (WS): Continuing in opposite direction as Round 1:
Wanna save this pattern?
Using Medium, ch 2, hdc in in next 4 (Medium) hdc, finishing final yo of last hdc with Dark.
*Using Dark, hdc in next 4 (Dark) hdc, finishing final yo of last hdc with Medium.
Using Medium, hdc in next 4 (Medium) hdc, finishing final yo of last hdc with Dark.
Rep from * alternating 4 hdc of each Dark and Medium. End with 4 hdc in Dark.
Using Medium, sl st to tch; turn.
Round 3 (RS): Continuing in opposite direction as Round 2:
Using Medium, ch 2, hdc in in next 4 (Dark) hdc, finishing final yo of last hdc with Light.
*Using Light, hdc in next 4 (Medium) hdc, finishing final yo of last hdc with Medium.
Using Medium, hdc in next 4 (Dark) hdc, finishing final yo of last hdc with Light.
Rep from * alternating 4 hdc of each Medium and Light. End with 4 hdc in Light.
Using Light, sl st to tch; turn.
Round 4 (WS): Continuing in opposite direction as Round 3:
Using Light, ch 2, hdc in in next 4 (Light) hdc, finishing final yo of last hdc with Medium.
*Using Medium, hdc in next 4 (Medium) hdc, finishing final yo of last hdc with Light.
Using Light, hdc in next 4 (Light) hdc, finishing final yo of last hdc with Medium.
Rep from * alternating 4 hdc of each Medium and Light. End with 4 hdc in Medium.
Using Dark, sl st to tch; turn.
Rep Rounds 1-4 3 (4, 5) times. There should now be a total of 16 (20, 24) rounds.
TIP: If a slouchier hat is desired, work one additional repeat of Rounds 1-4 to make hat taller before moving on to decrease rounds.
Related: 27+ Easy Hats to Crochet for Winter
Decrease Rounds
TIP: If a slouchier hat is desired, work one additional repeat of Rounds 1-4 to make hat taller before moving on to decrease rounds.
Round 1 (RS - dec):
Using Dark, ch 2, hdc2tog, hdc in next 2 hdc, finishing final yo of last hdc with Medium.
*Using Medium, hdc2tog, hdc in next 2 hdc, finishing final yo of last hdc with Dark.
Using Dark, hdc2tog, hdc in next 2 hdc, finishing final yo of last hdc with Medium.
Rep from * alternating [hdc2tog, hdc in next 2 hdc] in Dark and Medium. End with [hdc2tog, hdc in next 2 hdc] in Medium.
Using Medium, sl st to tch; turn.
Round 2 (WS - dec):
Using Medium, ch 2, hdc2tog, hdc in next 2 hdc, finishing final yo of last hdc with Dark.
*Using Dark, hdc2tog, hdc in next 2 hdc, finishing final yo of last hdc with Medium.
Using Medium, hdc2tog, hdc in next 2 hdc, finishing final yo of last hdc with Dark.
Rep from * alternating [hdc2tog, hdc in next 2 hdc] in Dark and Medium. End with [hdc2tog, hdc in next 2 hdc] in Dark.
Using Dark, sl st to tch.
Fasten off leaving a 20” tail of Dark. Fasten off Light and Medium and weave in.
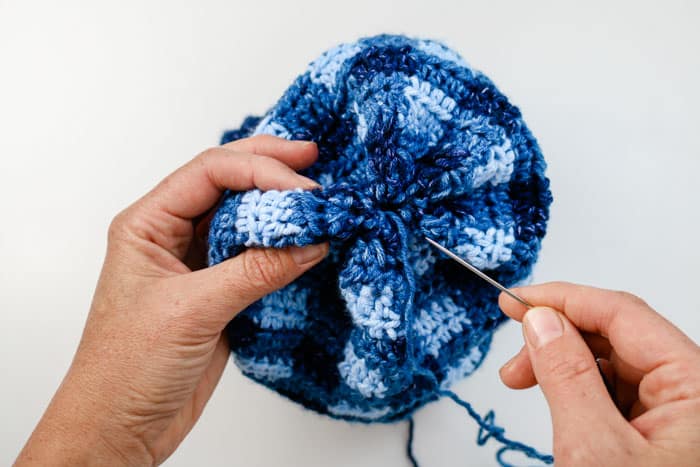
FINISHING
Thread tapestry needle with Dark tail at top of hat. Use basting sewing stitch to pick up each crochet stitch in final round. Pull hat top closed and tie several knots. Do not fasten off.
Use attached yarn and tapestry needle to attach fur or yarn pom pom. Find a tutorial on making a yarn pom pom here.
I love to see your finished projects! Use #MakeAndDoCrew and #HatNotHate and tag me Instagram (@MakeAndDoCrew) to show off your stitches and have a chance to be featured.
More Free Crochet Patterns You'll Love
Two crochet designers I really admire have vast collections of free crochet plaid and gingham patterns on their blogs. Check out Whistle and Ivy for all the crochet buffalo patterns you could ever want and Daisy Farm Crafts for charming crochet gingham afghans, baby blankets and more.
Here are a few more free crochet patterns from Make & Do Crew you might enjoy too:
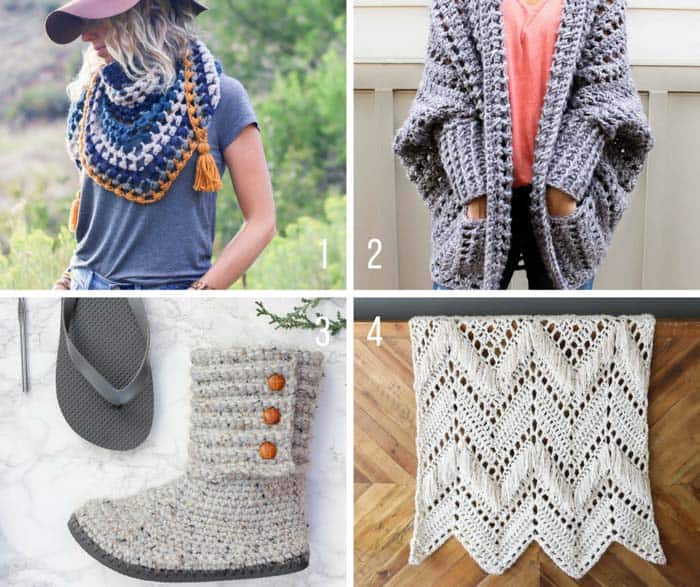
1. Revival Scarf - free crochet triangle scarf pattern + video tutorial
2. Dwell Sweater - free beginner crochet sweater pattern + video tutorial
3. Cabin Boots - free crochet boot pattern with flip flop soles + video tutorial
4. Sedona Throw - free Anthropologie-inspired crochet afghan pattern

Jessica says
I love this! However I'm confused about the last row (row 2 of decreasing) if you start with 4 stitches in each color sequence when you decrease on the next to last row (row 1 of decreasing) you'll have 3 stitches in each color of that row, why does it say in the 2nd row of decreasing: hdc2tog, hdc in next 2 before changing colors? If you hdc2tog there's only one stitch left of the color sequence ..?
Courtney says
I get tripped up on this from time to time and need some clarification. When you chain 2 which I know doesn't count as a stitch, do you do your first hdc into the same stitch as the chain 2 or start your round in the stitch beside it?
Jess @ Make and Do Crew says
I get tripped up on this too! Seriously, every time I do hdc. Ha.
So, in this case since you're turning your rounds each time, you'll never actually work into that ch2. (Since you'll turn your work, you'll be working into the last hdc of the previous round and then at the end of the round, you won't work into the ch because you only need 4 hdc in that color total.)
I hope that makes some sense. You're not alone in hdc confusion! 😉
Jess
Courtney says
That makes total sense! Thanks so much!!
Erin says
SO PRETTY! I can't wait to make this!