Get tips from a crochet insider on how to become a tester of crochet or knit patterns. Read on for the free guide!
This post contains affiliate links.
Welcome back to the Make & Do Crew guest designer series where talented designers from across the internet share their free patterns and crochet tips with you, right here on Make & Do Crew.
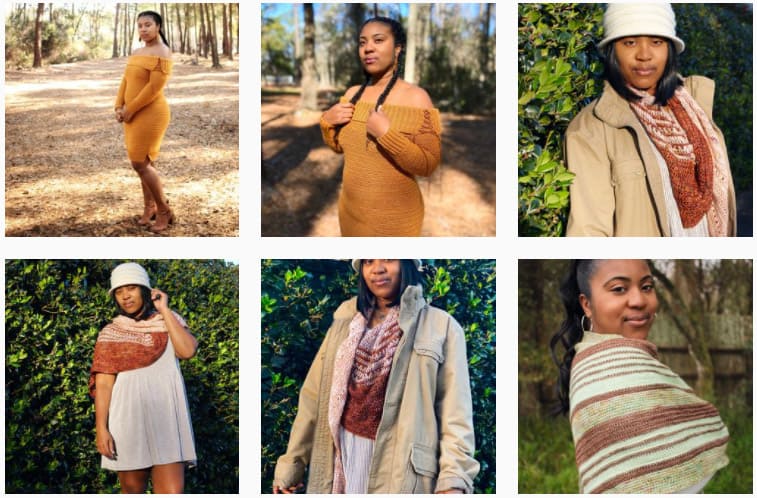
Today Nkese from Cosmic Crochet Creations is here with the inside scoop on how to become a crochet pattern tester! Nkese is an in-demand pattern tester who started the popular hashtag #afteryarnglow to celebrate the feeling of wearing your handmade items. You can see lots of Nkese's pattern testing photos on her Instagram. Nkese, take it away!
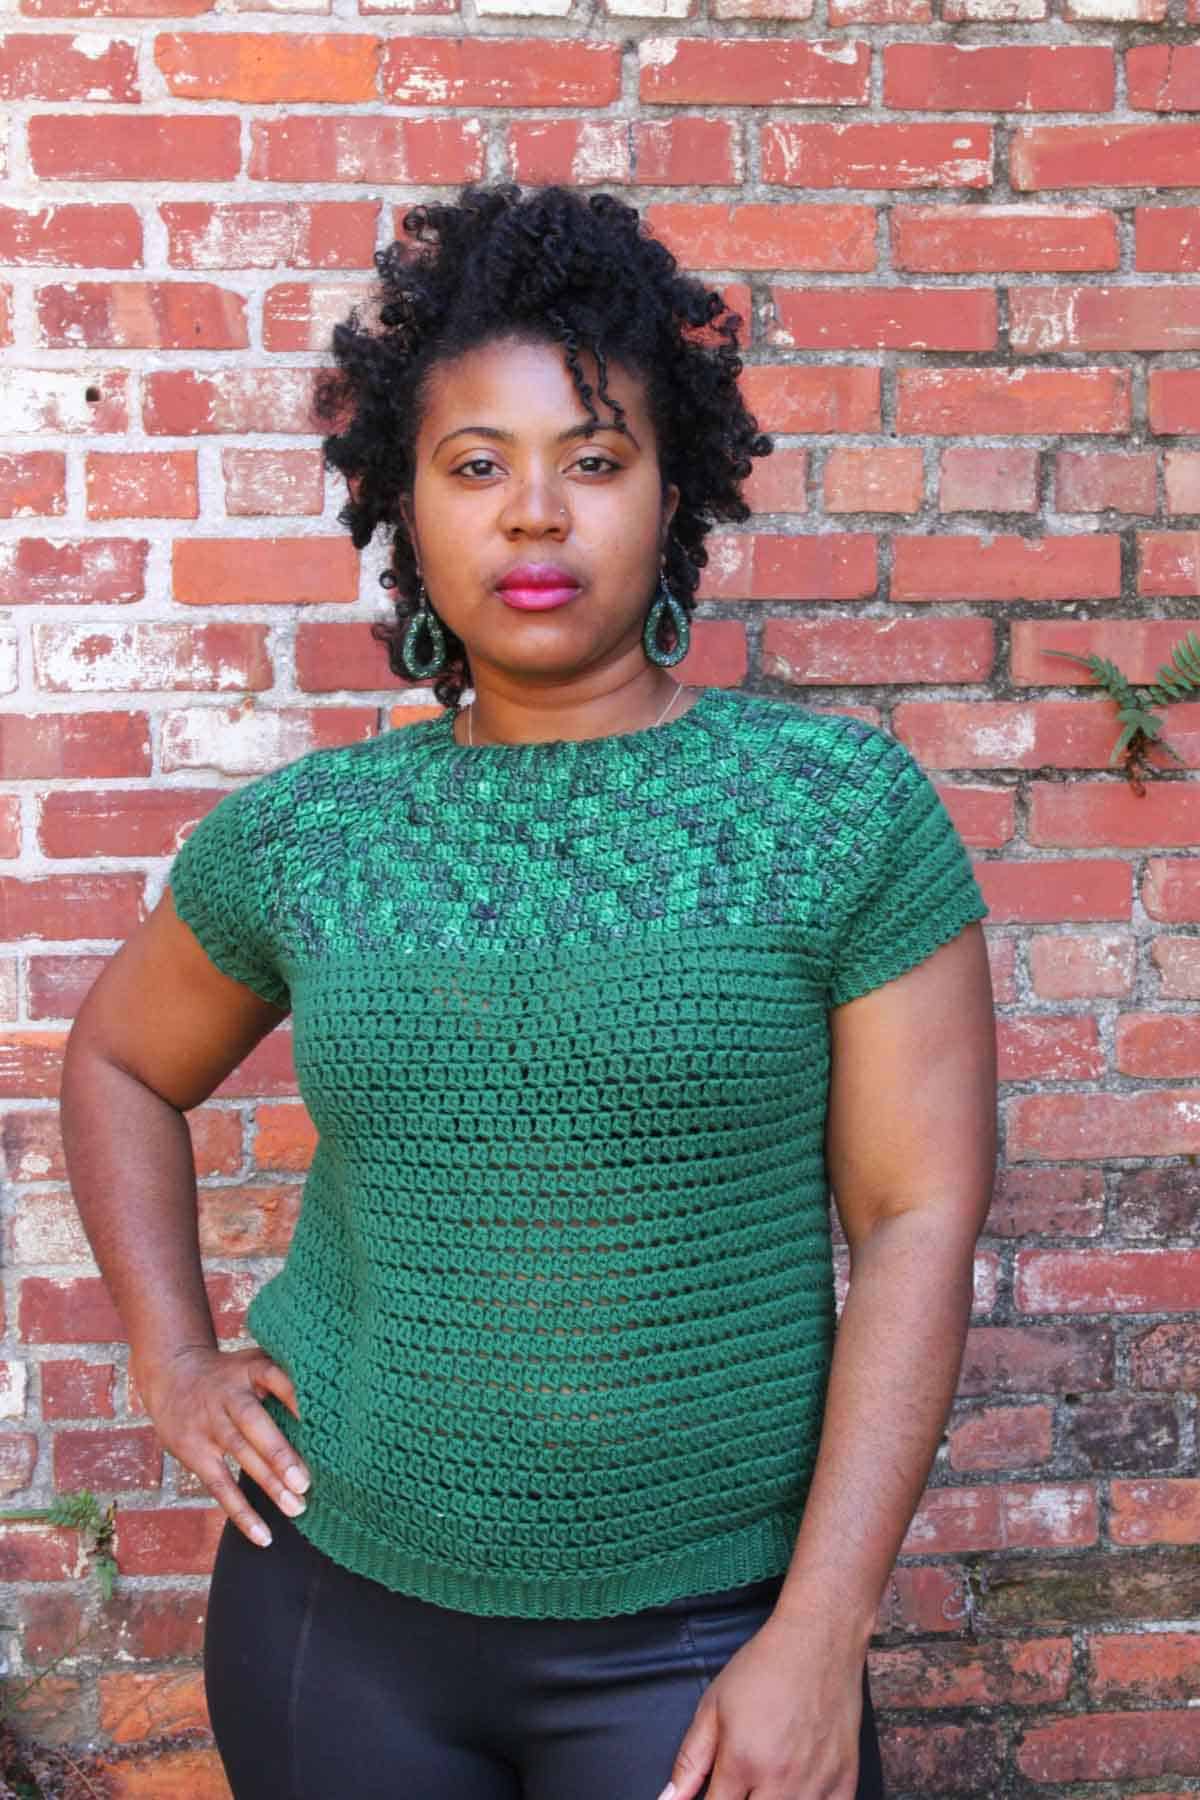
What Is a Crochet Pattern Tester?
Hello hello hello! Before I tell you how to be the BEST pattern tester, let me tell you a little bit about what pattern testing is. Most of the time you are VOLUNTEERING to look over the pattern. This is not a paid position. You will be picked from a pool of applicants to receive a draft of the pattern early.
Your job is to crochet or knit the pattern while checking for spelling, grammatical and mathematical errors. You are also making sure that any photo or video tutorials that are provided are helpful. If not, how can they be better? When you are done testing and have your finished item, then you submit feedback to the designer.
Related: step-by-step crochet tutorials ⇨
For example, what size hook or needles did you use? How much yarn did you use? What were your final dimensions? Usually you are also asked to submit photos that can be shared on social media platforms. I know it may sound like a lot, but it’s really not. You are just doing your best to make sure the designer’s pattern is a success.
Have you ever thought about being a tester but you weren’t sure how to get started? Or have you applied to test before and you keep getting turned down? If either of those things apply to you then you’re in the right place, because I’m about to give you a few tips on how to become a tester.
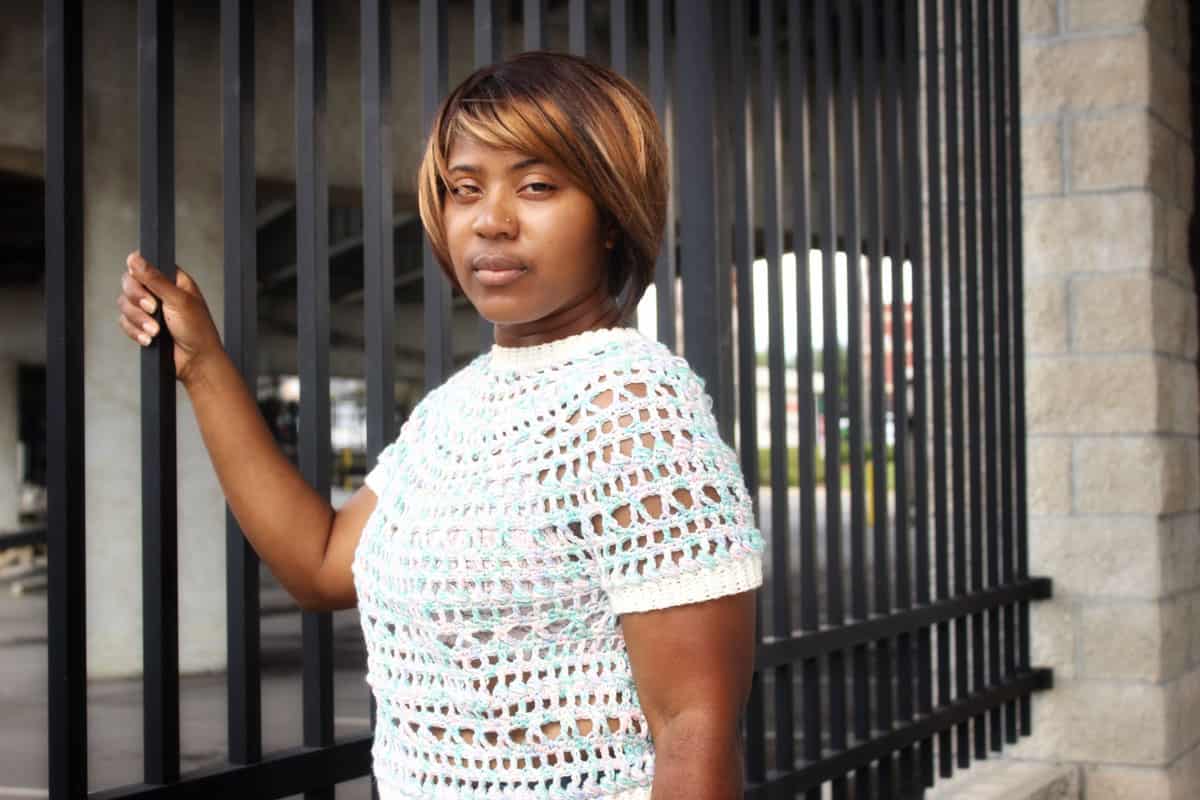
Why I Love Pattern Testing
I love testing because it gives me a chance to learn new skills that I probably wouldn’t have just gone out and learned on my own. Testing pushes me to try new things and teaches me how to fail, recover, and then keep going.
I also enjoy the testing group chats. You learn early on who’s been doing this for a while, and who’s just getting started, which is super helpful for when you get stuck and the designer may not be able to help you right away.
I think my absolute favorite thing about tester groups is they are like mini Knit or Crochet Alongs and you get a chance to see everyone’s finished products before anyone else. It also gives you a space to meet other people who love fiber arts as much as you do and more times than not that is not the only thing you have in common.
I have met some really cool people through pattern testing groups that have now become my really good friends even though we’ve never met. So I hope that after reading this I will have convinced you to at least try and become a pattern tester. I promise you will not regret it!
Pin It! Click to pin this guide for later ⇨

Where to Find Pattern Testing Opportunities
First things first--you have to APPLY! A lot of designers do open testing calls on both Instagram and Facebook. Usually there is a link in their bio where you can go apply to become one of their testers. When you get on their tester list you usually get an email to notify you that a new testing opportunity is coming.
Let me also be clear in saying that just because you apply doesn’t mean you will make the list. It is still up to the designer whether they pick you or not, which bring me to my next point, photos.
Good Photos Go a Long Way
PHOTOS ARE A BIG DEAL! Designers choose testers based on the quality of their photos. If your photos are dark or just okay, it is more likely that you will not get picked to be a tester. Do you want to know how you can fix this? Make sure your photos are taken in well light areas, preferably outside, unless you get good natural lighting coming into you house.
You don’t need to have an expensive camera to take good pictures, a lot of the newer phones have great picture quality. Also be mindful of the background in your photos. Try not to take photos in front or on top of a background that clashes with your piece. You want your piece to be the main focal point.
Wanna save this pattern?
Remember your pictures are your way of marketing yourself and your skills to designers. They are also a way for a designer to market their pattern to others. So if you know right now that you do not have good photos, then that is the first thing you need to work on before you apply to test. Which brings me to my third point.
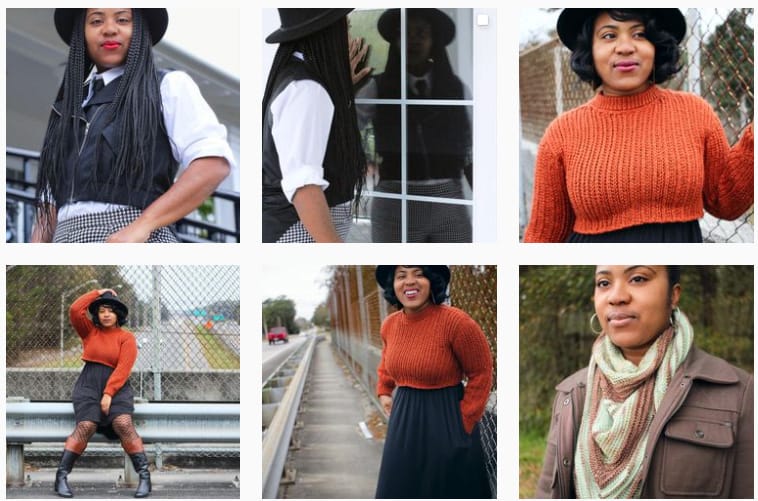
You'll Need a Public Instagram Profile
Most designers like for you to have a public Instagram account, that way they can take a look at your feed and see what kind of pictures you have on your page.
Is your feed filled with beautiful photos of things you’ve made? Do you have amazing flat lays? Or are your pictures dark and grainy and taken in front of a busy background? Do you tend to always cut off your head in pictures of you wearing garments? Designers are looking at all of these things.
They are also looking to see what else you post on your page and if that is something they want to align themselves with. Are you someone that will coincide with their brand? If you really want to be a tester and you have a private account, think about starting a public account even if it’s just for your fiber arts, that’s what I did.
Related: how to create a DIY photography background ⇨
How to Actually "Test" a Pattern
So when you do finally get picked to become a tester, what’s your next step? As soon as you get the pattern read through the entire thing so you know exactly what you need to get started. What size hook you need, how many yards will you need to complete the project and MOST importantly, what gauge needs to be met for the project to turn out right.
Gauge is CRITICAL especially when you are testing because it will determine whether or not your piece will come out to be the intended size. Gauge swatches can determine whether something is going to be too big, too small or just right.
Start with the recommend hook/needle size and then adjust according to how your swatch comes out. The gauge swatch is not fun, but it is necessary! Once you have completed your swatch and it matches the dimensions listed, go ahead and get started.
Life can get crazy sometimes and you might need to put that test down for a couple of days. If you’ve already started then you’ll be less stressed if you can’t get right back to it for some reason. Most designers give a big testing window for that exact reason. Don’t put unnecessary stress on yourself by waiting until the last minute to get started.
Keep Track of Yarn Amounts Used
Another thing you need to be mindful of while testing is the amount of yarn you are using. It helps to weigh the yarn before you start using it and again if you have leftovers when you are done. This way you will be able to keep track of you yardage more accurately, especially if you are using different types of yarn in the same test.
Designers normally just have a rough estimate of how much yardage is needed for each size and they rely on the testers to help determine the final yardage for the pattern. Knowing and keeping up with this information also helps when you are adding projects to your Ravelry page which is something designers might ask you to do. If you’ve never heard of Raverly, google it and then create your profile.
Take Notes and Be Honest
Lastly take good notes when you are testing. This is why I like to print the patterns out and write directly on them. If there are mistakes, circle them and make a note of it so that you can include it in your final notes, even if it’s something that was previously talked about in the group chat.
When you are giving your feedback to the designer, be thorough but also be kind. Remember that coming up with pattern designs is hard. A lot of hours go into making a pattern come to life, and it can be scary putting it out for the world to see, so the least you can do is to be kind.
If you have suggestions for ways they can make something better or less confusing than say that. For example, “Section three is kind of confusing I think you need to have more pictures in this area.” You could also say, “I had trouble getting started. Can you make a video showing me how to do the first couple of rows?”
The purpose of being a tester is so that you can work with the designer and help them make their pattern the best version possible. So it’s okay to be completely honest, just make sure you are doing it in a kind and constructive matter.
Now what are you waiting for? Go find a pattern that you really want to test and then apply to test it! Good luck friends!
Thanks again to Nkese from Cosmic Crochet Creations for sharing this free guide on how to become a pattern tester! Be sure to check out Nkese's Instagram for lots more pattern testing photos and crochet inspo. And use the hashtag #afteryarnglow to show off your finished makes!
Free Crochet Cardigan Patterns
If you don't have a crochet pattern testing gig lined up right now, we've got lots of tried and true patterns waiting for you! Here are a few Make & Do Crew favorites. Find all our free crochet sweater patterns here.

Leave a Reply