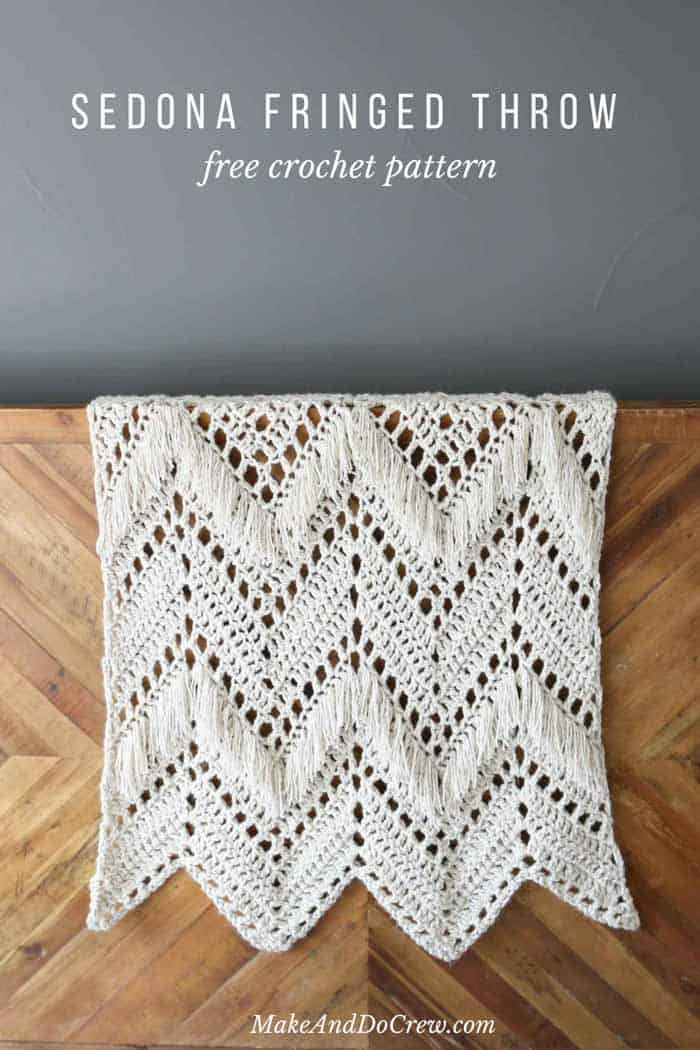
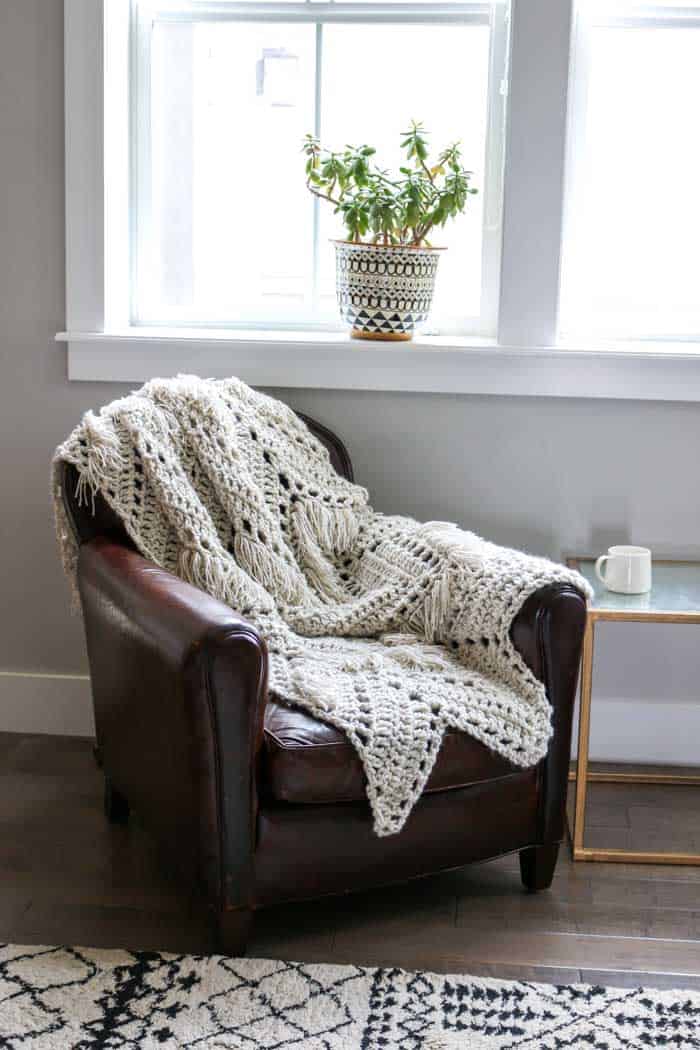
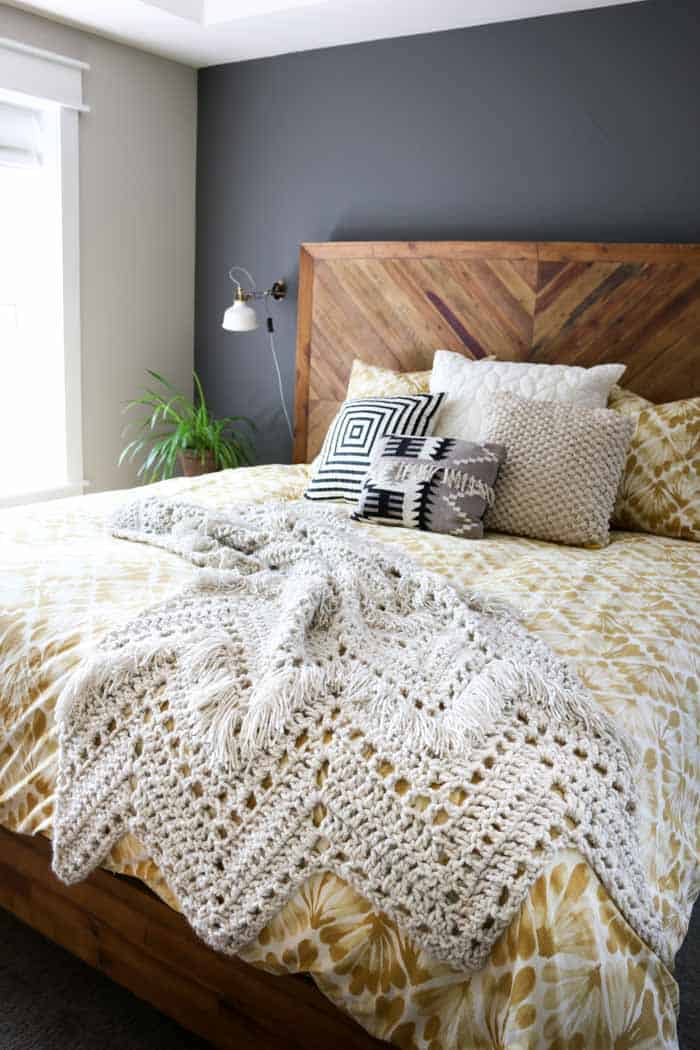
Monochromatic doesn't have to be boring! In this modern fringed crochet throw free pattern, two weights of yarn combine to add instant style and texture to any room of your house. The free pattern is below or you may purchase the ad-free, printable PDF with stitch chart here.
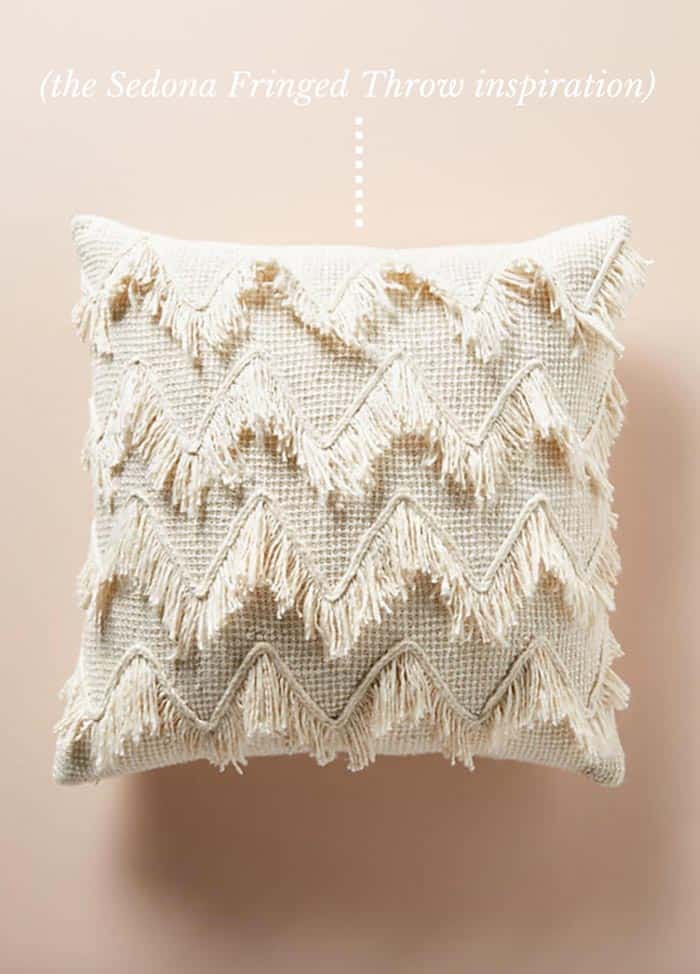
Anybody else have a little crush on the store Anthropologie? When I used to live in San Francisco, my walk home from work would take me past their downtown store and I would often treat myself to an inspiring lap around the store, filling my mind with decorating and DIY ideas before I headed home.
This crochet throw free pattern is part of a partnership with my friends at Lion Brand Yarn. This post contains affiliate links.
It's funny because stores like Anthropologie are so good at picking up on trends that are bubbling up in the maker community and co-oping them for their own purposes, that often I'd find things for sale there very similar to something I'd made in the past. I suppose the channel of inspiration goes both ways.
For this free crochet throw pattern though, I must give credit to Anthro for planting the idea in my head. I came across this fringed pillow and it struck me that the general concept of it could be translated beautifully into a crochet ripple pattern. (Here's another crochet ripple afghan I designed that you might like too!)
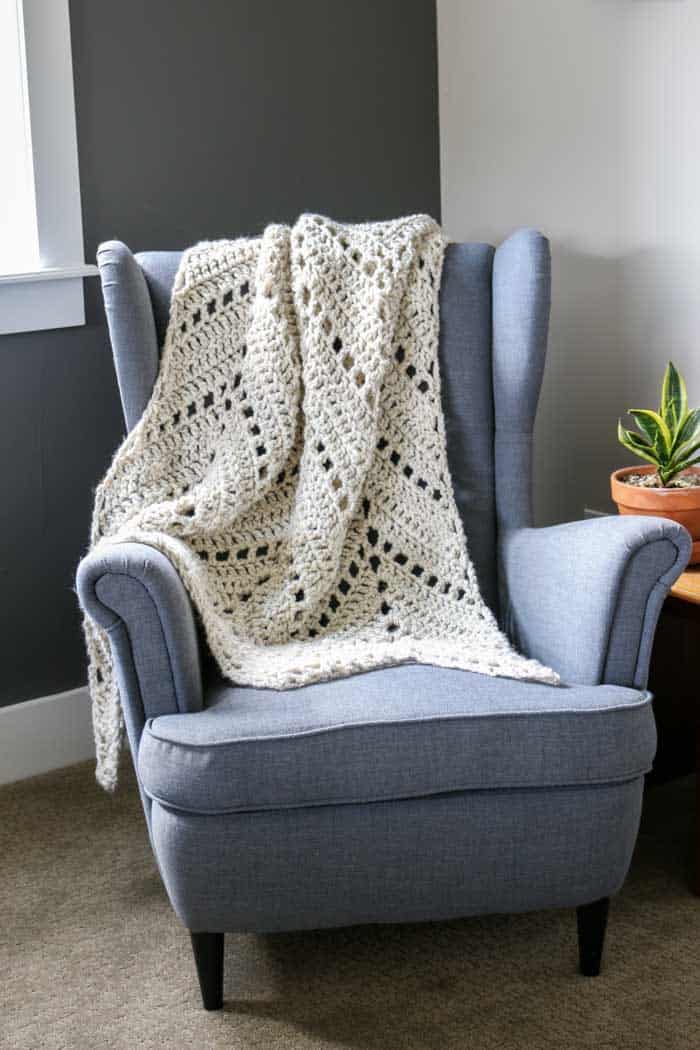
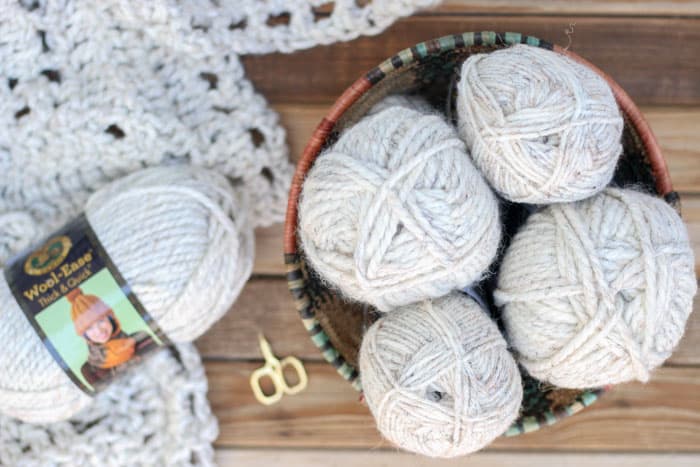
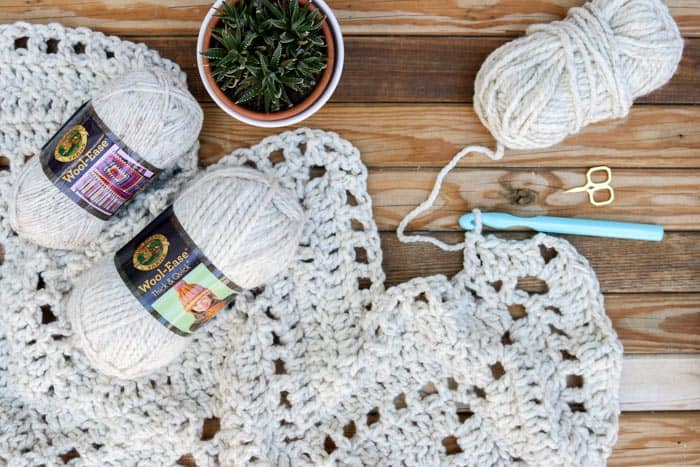
So when I set to work planning this crochet blanket free pattern, I knew immediately that I wanted to use Lion Brand Wool-Ease Thick & Quick for the main afghan. It's super chunky and squishy, making it work up quickly, and the wool content adds just the right amount of organic texture that I love in home decor projects.
What's so cool about Thick & Quick though is that it has a thinner, worsted weight little sister named named simply, Wool-Ease. Several colorways of Thick & Quick are also available in the worsted-weight version, making this the perfect yarn to combine into a fringetastic-chunky-throw-blanket party! (UPDATE: Lion Brand has turned this pattern into a kit that includes all the yarn you'll need plus a black and white copy of the pattern. Grab yours here!)
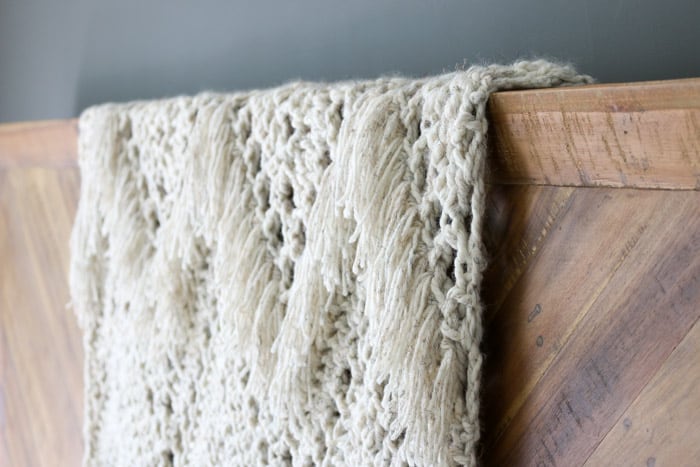
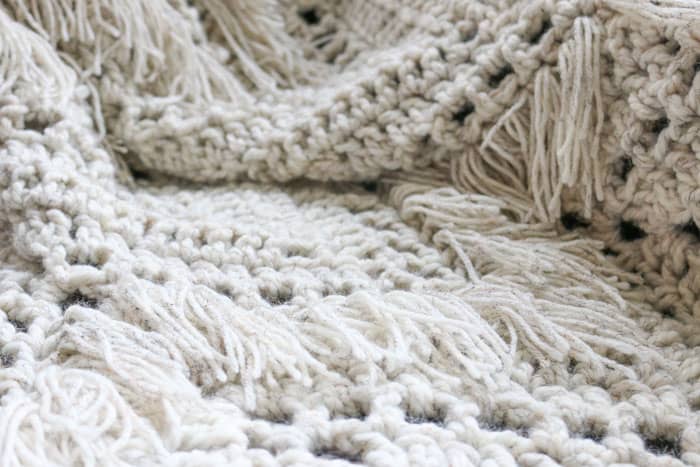
I just love the way the fringe adds so much texture and interest to this crochet throw, yet the overall effect still remains understated and timeless enough to be used for many years to come. Perhaps it's because my parents received their own ivory colored crochet ripple afghan for their wedding that I keep thinking this Sedona Throw would make a perfect wedding gift. I know I'd be pretty psyched to receive it! 🙂
If you're more of a visual learner, I've added a bonus stitch chart to the ad-free, printable PDF of this pattern that could be helpful as you learn the basic ripple repeat. Charts are pretty time consuming to make, but man, I find them sooooo helpful that I try to add them to patterns when possible in case you like them too. You can purchase the ad-free, printable PDF with the stitch chart here.
Related: 33+ Crochet Blanket Border Ideas
Sedona Fringed Throw
Free Crochet Blanket Pattern
Purchase the ad-free, printable PDF with stitch chart here.
Add this pattern to your Ravelry favorites here.
Pin it for later here.
Explanation:
Combine two different weights of the same color Wool-Ease yarn to create a statement throw that’s loaded with texture and style. The relatively simple ripple pattern is accented by layers of fringe, just begging to be snuggled with. Toss this monochromatic afghan on the back of a chair or over the foot of your bed to instant visual interest to any room. While the skills needed for this pattern are perfect for a confident beginner, there will be nothing elementary about the finished result!
Supplies:
So you can spend more time crocheting and less time shopping, this pattern contains affiliate links at no extra cost to you.
***Purchase a kit with all the yarn and a copy of the pattern here.***
• Lion Brand Wool-Ease Thick & Quick (Weight: 6/super bulky - 106 yds, 6 oz)
- Wheat (402) - 7 skeins
• Lion Brand Wool-Ease (Weight: 4/medium - 197 yds, 3 oz)
- Wheat (402) - 2 skeins
• Tapestry needle
• Size N (10 mm) crochet hook
• Size Q (15.75 mm) crochet hook
• 10” by about 7” piece of cardboard to make fringe
• Sharp scissors
Measurements:
40” wide
65” tall (when measured from the peak of the ripples on both sides)
Gauge:
5.5 dc = 4”
3 rows = 4”
Abbreviations and Glossary (US Terms):
ch – chain
tch – turning chain
st – stitch
sp – space
RS – right side
WS – wrong side
rep – repeat
ch1sp – the space created by one chain
ch3sp – the space created by three chains
2dc cluster – two double crochet cluster: [yo, insert hook in next st, yo, draw yarn through st, yo, draw yarn through 2 loops on hook] twice, yo, draw yarn through 3 loops on hook
Wanna save this pattern?
BLANKET
Notes:
• I find that it helps me stay on track if I periodically count the number of dc posts on each slant of the ripple pattern. Doing this can quickly identify if there has been an error increasing or decreasing. If you’d like to count, there should be 13 dc posts on each slant in rows 2, 3 and 4 and 7 dc posts on rows 1 and 5.
• To increase the width of the pattern, use a multiple of 27 + 5.
• If you prefer learning visually, you might benefit from purchasing the printable pattern, which includes a stitch chart for this section.
Foundation Round: Using larger hook and thicker yarn, ch 85.
Row 1: Dc in fifth ch from hook, *(ch 1, sk next ch, dc in next ch) 5 times, ch 1, sk next ch, (dc, ch 3, dc) in next ch, (ch 1, sk next ch, dc in next ch) 5 times, ch 1, sk next ch**, work 2dc cluster working first half-closed dc in next ch, sk next 2 ch, work second half-closed dc in next ch, yo, complete 2dc cluster; rep from * across, ending last repeat at **, work 2dc cluster working first half closed dc in next ch, sk next ch, work second half-closed dc in last ch, yo, complete cluster, turn. (81)
Row 2: Ch 3 (counts as dc) , sk next ch1sp, dc in next dc, *(dc in next ch1sp, dc in next dc) 5 times, (2 dc, ch 3, 2 dc) in next ch3sp, (dc in next dc, dc in next ch1sp) 5 times**, work 2dc cluster working first half-closed dc in next dc, sk next 3 sts, work second half-closed dc in next dc, yo, complete cluster; rep from * across, ending last rep at **, work 2dc cluster working half-closed dc in next dc, sk next 2 sts, work second half-closed dc in top of tch, yo, complete cluster; turn.
✨Unlock this free subscriber-exclusive pattern ✨
Follow these steps to view the full free pattern below
ADDING FRINGE
Notes:
• Reference the video tutorial for a quick visual overview of how to add fringe.
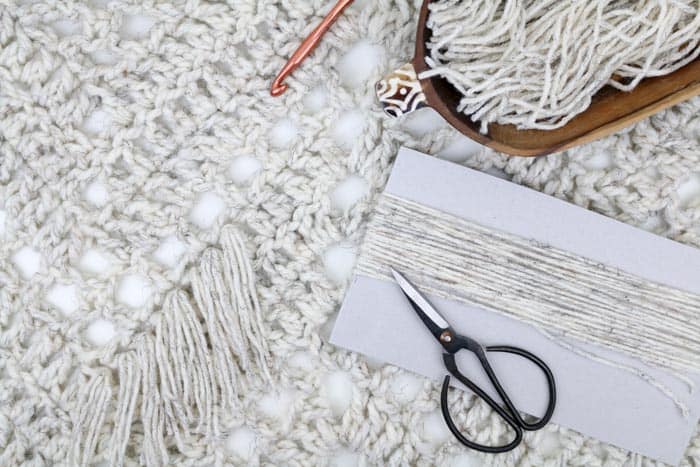
TO CREATE FRINGE: Holding a strand from both balls of worsted-weight yarn, wrap both strands around a 10” piece of cardboard dozens of times. (See photo below.) Insert scissors underneath strands on the upper edge of the cardboard and cut all the strands, being careful to keep them held together and organized. Fold the resulting section of strands in half and cut them again to create pieces of yarn that are approx. 10” each.
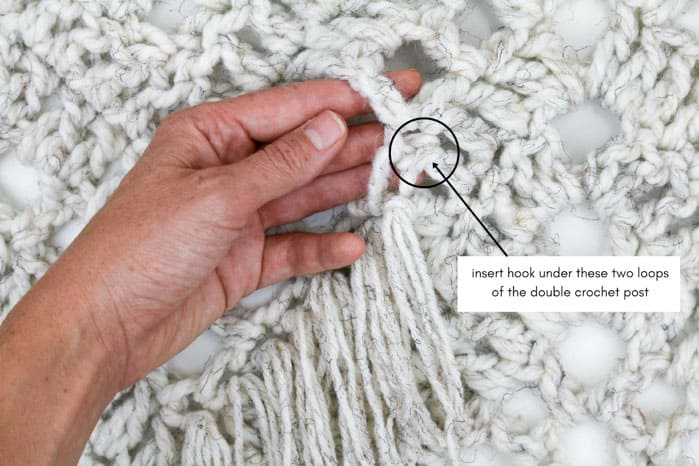
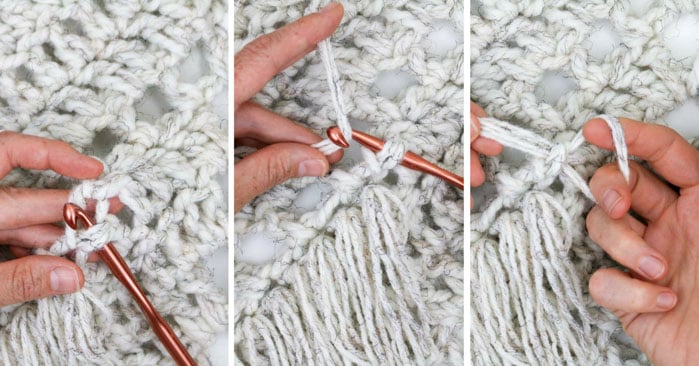
TO ADD FRINGE TO BLANKET: (See photos below for step by step visual tutorial.) Fringe will be added below alternating open “window”-looking rows (rows 5 in the pattern). Counting from the bottom of the blanket where you started crocheting, add fringe in the 2nd, 4th, 6th and 8th section of ripple. In each fringe row, begin adding fringe in the 3rd double crochet post of the row and end by leaving 2 double crochet posts empty at the end of the row.
In each ripple section where fringe is to be added:
- In the row 4 (below the window-looking row), insert smaller hook into top portion of double crochet post.
- Use hook to grab three strands of fringe.
- Pull fringe through double crochet post, creating a loop.
- Pull fringe tails through loop and tug gently to secure.
- Repeat in the upper post of each double crochet. In the decrease sections of each row (the bottom of the “V” in each ripple), work one total set of fringe into the post of the 2dc cluster.
Curl up under your new Sedona throw with a cup of spiced tea and start planning your next desert adventure!
If you love crochet throws, check out these free blanket patterns!
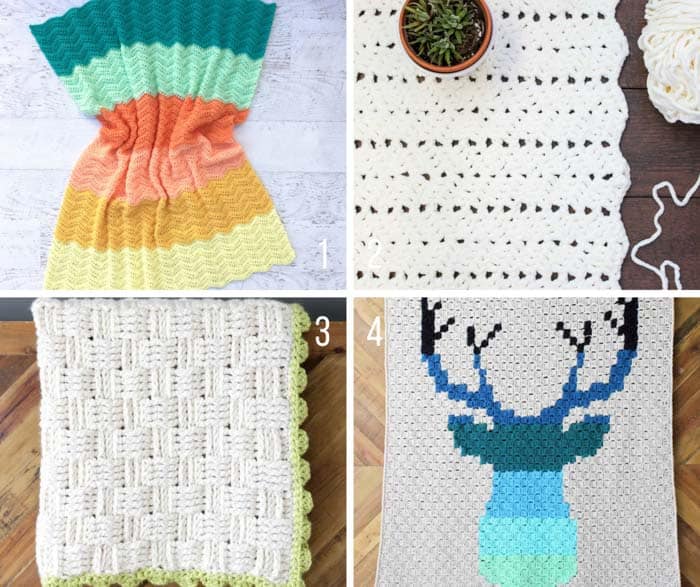
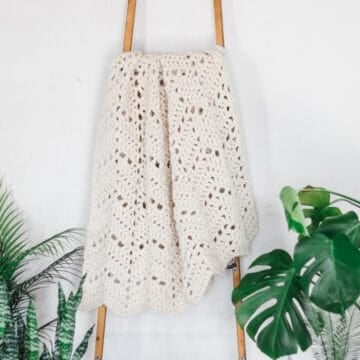
1. Warm Welcome Crochet Baby Blanket
2. Snowdrifter Chunky Crochet Afghan

Cathy Frye says
I've begun this and I've got about 8 sections complete. I've widened it to about double and it is looking so amazing! Thank you so much for sharing this pattern with us. I've got a feeling I'll be using it again and again!
Jess @ Make and Do Crew says
Oh that sounds awesome! I'm glad it's working so well for you. I do love snuggling under this afghan. 🙂
Shelley says
Hi, is there actually a video tutorial please? On the Lionbrand kit page is suggests there is? Thanks 🙂
Kathy Desjardins says
Can you indicate where I can find the video tutorial on adding the fringe?
I've completed the afghan, but would like to view the video. I can't seem to locate it anywhere. Help, anyone?
Laura says
I love this so much!! Just started it, and am super confused about the part that says "work 2dc cluster working first half closed school in the next ch, skip next 2 ch, work second half closed do in next ch"
Trying hard to get it sorted...please help 🙂
Jess @ Make and Do Crew says
Hey Laura,
To do this, you'll work one dc (but don't complete the final yo), then skip the next 2 ch, then work another partial dc, than yo and pull the yarn through all three loops on your hook. It's like a dc decrease that's just spread out over a few chains.
The PDF of the pattern has a stitch chart included, which might help you also if you're a visual learner. 🙂
Jess
Laura says
I got it!!! Thanks sooooo much!!! ?
Haidee says
Hi! I am struggling with the alignment of the 2dc clusters. What do you mean by working the first half-closed dc and the second half-closed dc? I'm guessing this will solve my problem. Thank you!
Jess @ Make and Do Crew says
Hey Haidee,
I just replied to another comment with an explanation that might be helpful. Check that out and lmk if it's still unclear. 🙂
Also, the ad-free PDF includes a stitch chart that might help with the alignment if you you find yourself still struggling once you understand how to do the dc cluster. 🙂
Jess
Haidee says
Hi! This blanket is absolutely beautiful but I'm struggling to align the 2dc clusters. I kept going in hopes of it eventually lining up but it's completely wonky. What am i doing wrong? Thank you!
Kathy Desjardins says
Hello - In row 1, and throughout your pattern, you mention a half-closed double crochet - I have never heard that term before. Can you explain what it is?
Row 1: Dc in fifth ch from hook, *(ch 1, sk next ch, dc in next ch) 5 times, ch 1, sk next ch, (dc, ch 3, dc) in next ch, (ch 1, sk next ch, dc in next ch) 5 times, ch 1, sk next ch**, work 2dc cluster working first half-closed dc in next ch
Jess @ Make and Do Crew says
Hey Kathy,
I just responded to another comment with an explanation that might help. Please lmk if that doesn't make sense once you read it. 🙂
dalila says
omg beautiful not to mention I just finished a fulll length dress with fringe. I love how we had the same thought process. I love the pattern thank you for alwats sharing Im still working on the denim blue shrug.
Jess @ Make and Do Crew says
Oh wow! A full length dress with fringe sounds stunning! What an accomplishment!
Nancy Peace says
Can't wait to crochet this. It's beautiful.
Amy Lougheed says
The afgan is gorgeous!
Nice hint of Boho takes me right back to the 70s when things were a lot simpler.
Great work!
Jess @ Make and Do Crew says
Thanks Amy! I too love everything boho. 🙂
Mary says
Is it just me? Or does this pattern also scream "SHAWL!"? I mean, think how beautiful a shawl would be with this fringed pattern!
Jess @ Make and Do Crew says
Yes! I hadn't thought of that, but I just love that idea as well. Maybe we'll need to make a new shawl version of this pattern... 🙂
Linda says
Thank you! Thank you! omg! I am in love with this afghan!
Jess @ Make and Do Crew says
I'm so happy to hear that, Linda. I love how it turned out as well. Each day it makes me smile to see it in my living room. 🙂