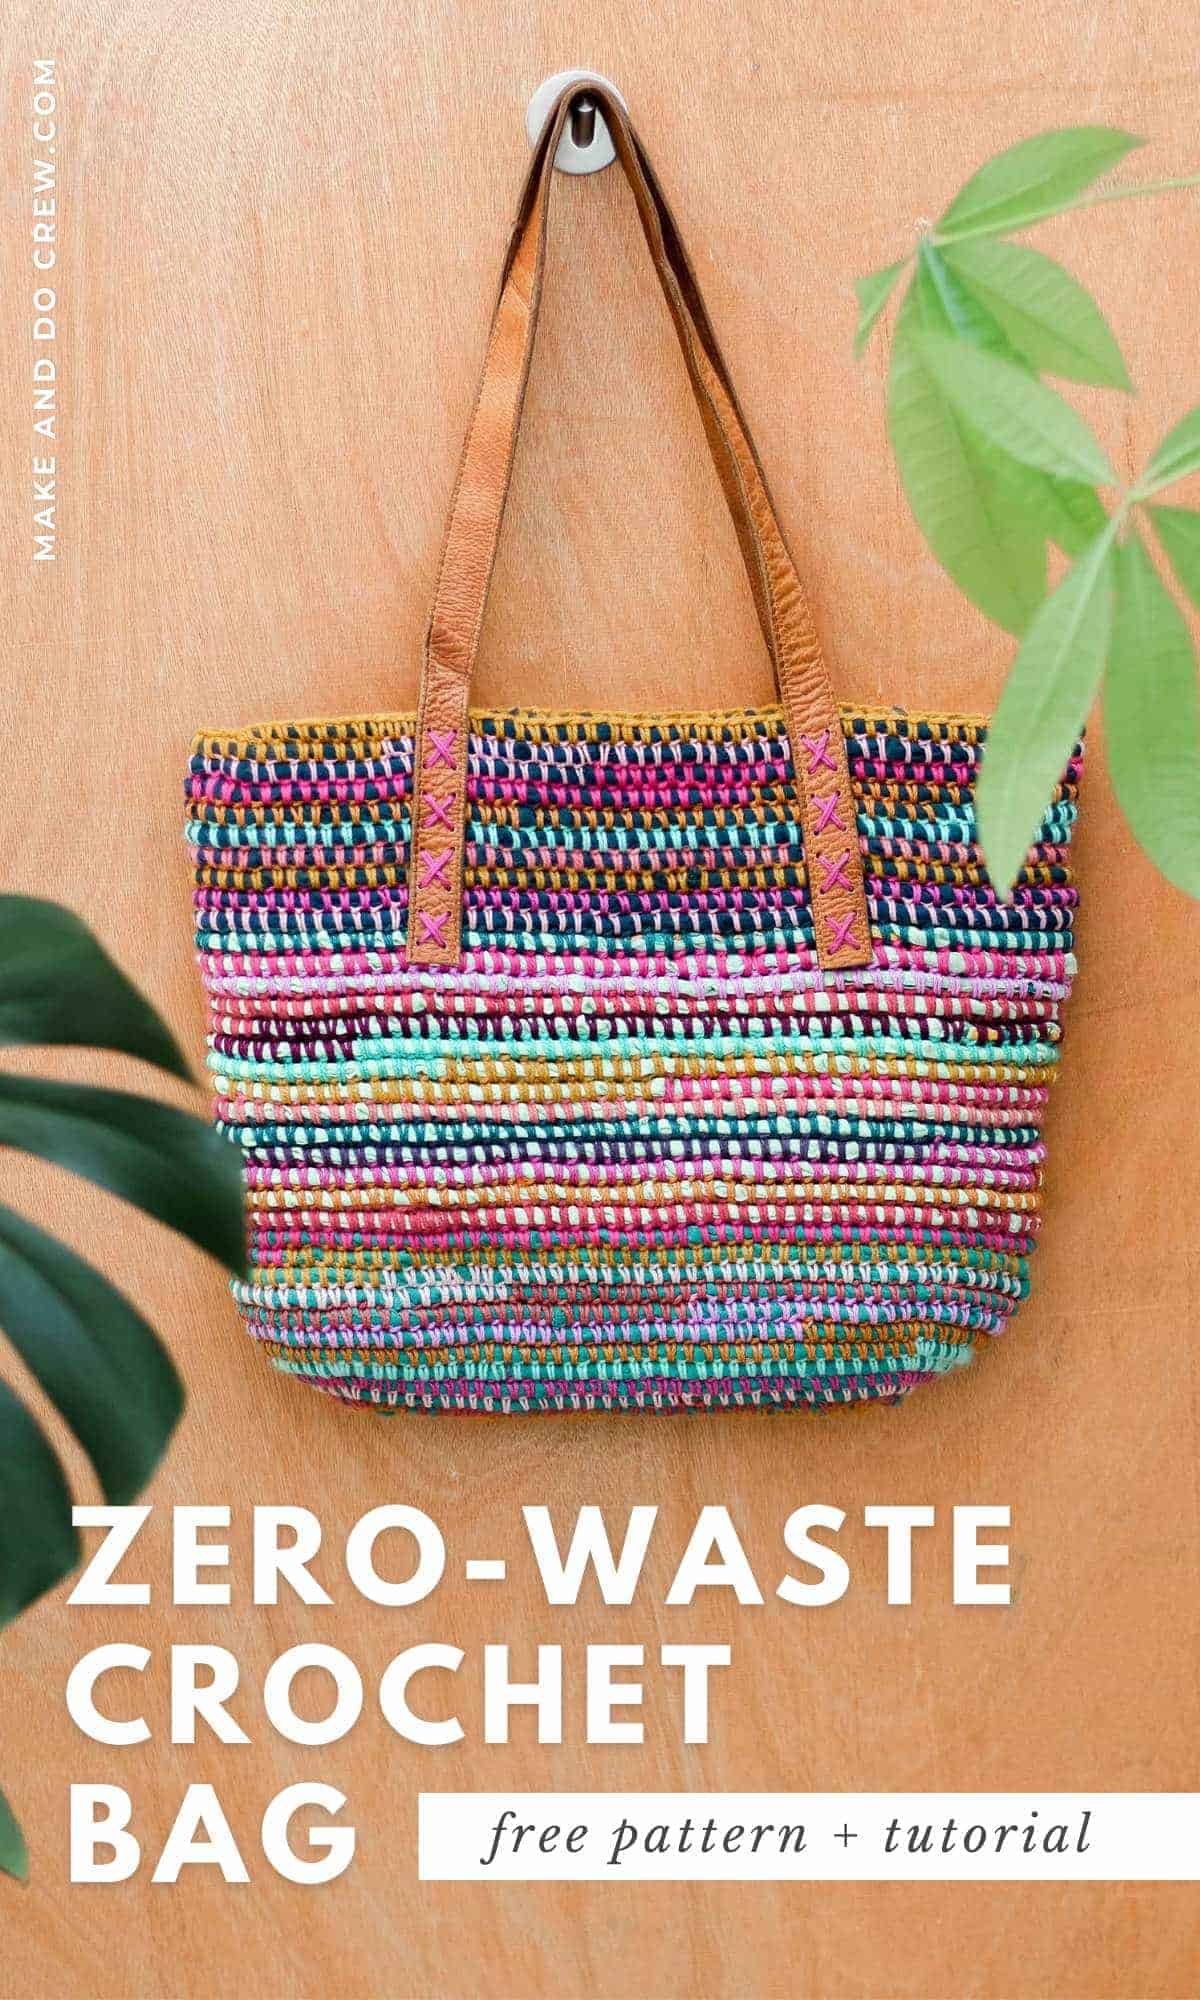
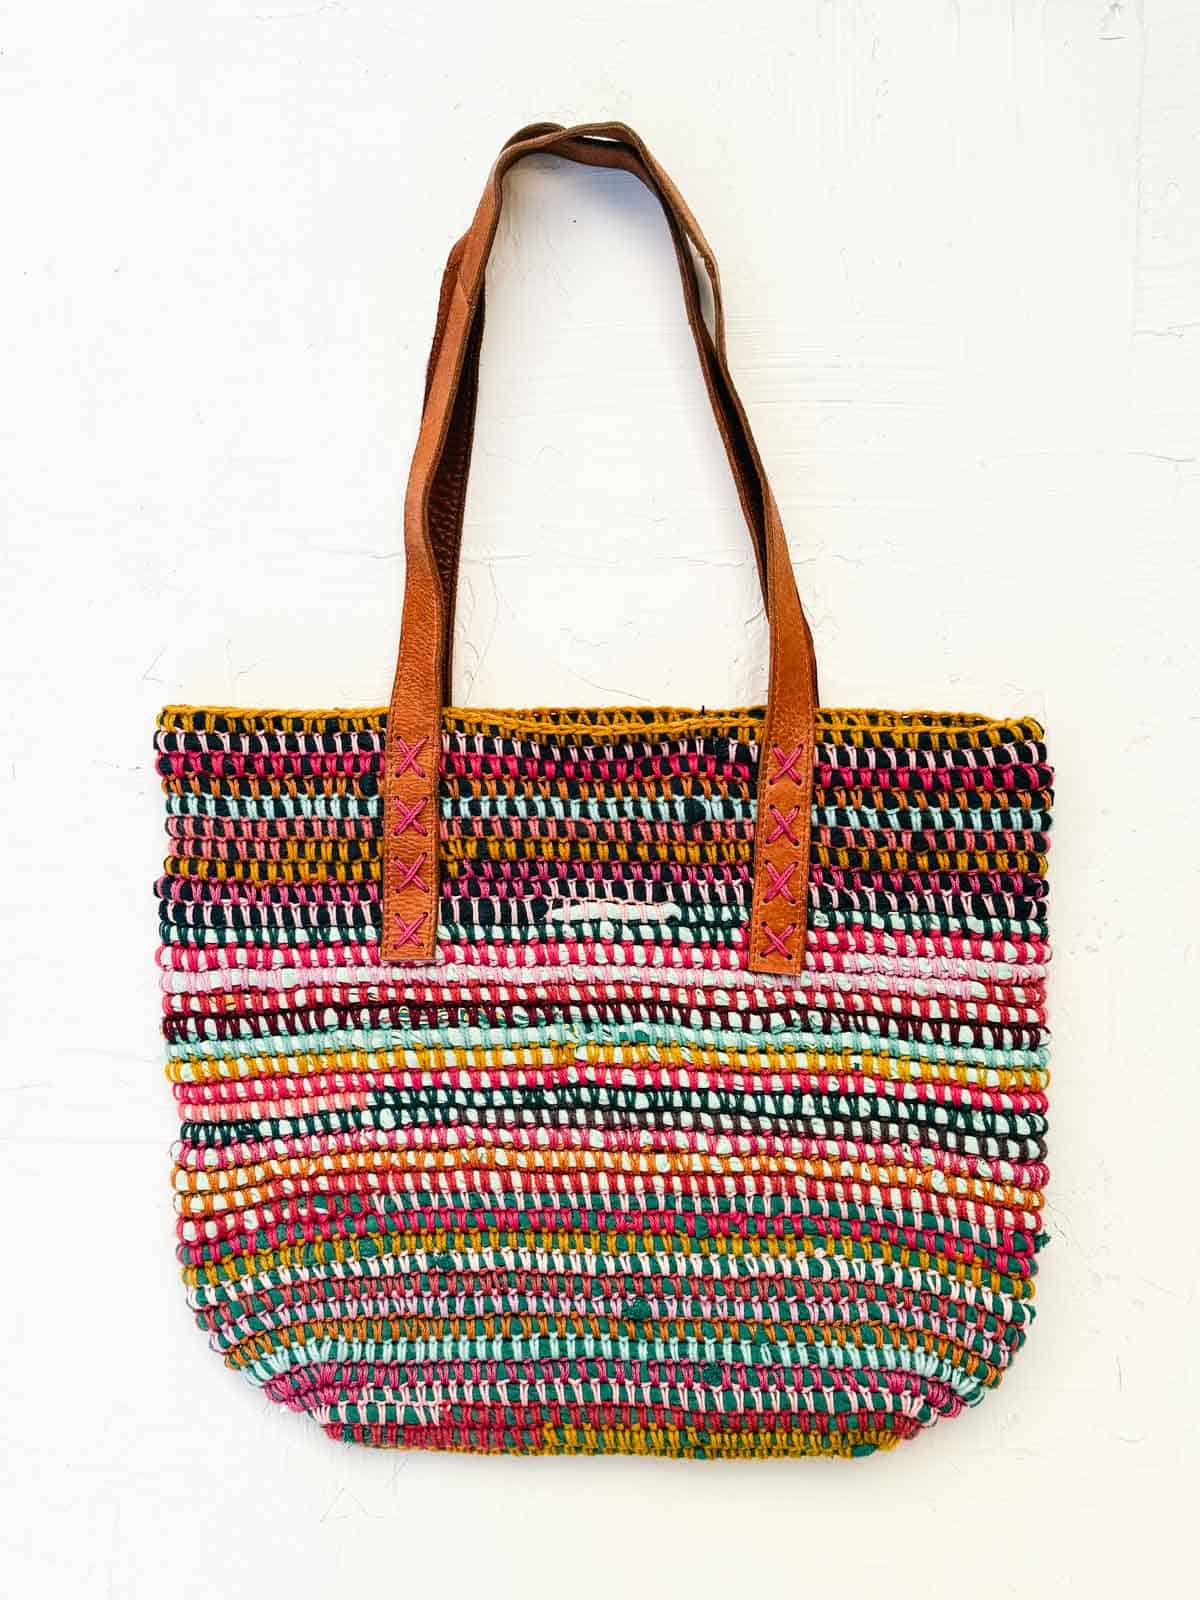
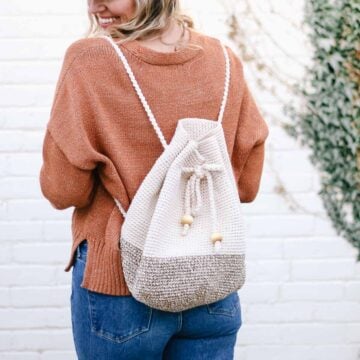
Learn how to crochet our viral Remnant Bag, a zero-waste pattern using scrap yarn and reclaimed fabric.
The basic free pattern is below or purchase the ad-free, printable PDF that includes a detailed 16 page photo tutorial covering each step.
This post contains affiliate links.
Jump to:
Remnant Bag - Free Crochet Pattern
This scrappy bag pattern does double duty: it teaches you a technique and gives you a finished zero-waste project to show for it. You'll learn how to cut up old clothing and use it as a core to crochet over, then follow step-by-step instructions to stitch it into a functional bag.
Scrap yarn works perfectly here, so it's a great way to raid your stash and clear out your closet at the same time.
Once you've got the technique of crocheting over clothing "yarn" down, the potential to riff on it is huge. Mix up your fabrics and yarns for a completely different bag every time.
Skill Level
This project is appropriate for an adventurous beginner, especially if you follow along with the detailed tutorial in the printable PDF.
- single crochet
- working in the round
- increasing
- pattern reading
Print this Pattern
Would you like a detailed photo tutorial on the entire process, from cutting up clothing to shaping a tapered bag? You'll love the premium PDF! The instantly downloadable, ad-free file is formatted for easy printing and includes the complete pattern and 16 pages of step-by-step tutorials.
Premium PDF
easier and faster with fewer mistakes.
- Complete pattern + photo tutorials
- Instructions for shaping a tapered bag
- Instant download
- Formatted for easy printing
Supplies + Materials
• Traditional Yarn: Any yarn scraps or leftover skeins in any weight or fiber.
• Clothing Yarn: Material created from upcycled t-shirts, jeans, or bed sheets.
- Note: For the bag pictured, you will likely need 3-5 adult t-shirts' worth of material.
• Crochet Hook: Choose a size that produces tight, structured single crochet stitches.
- Example: Use a 4.0mm hook if working with DK or worsted-weight yarn.
• Tapestry needle
• Stitch markers or safety pins
• Measuring Tape
• Magnetic clasps (optional)
• Leather belt, or repurposed straps from a discarded purse (optional)
Measurements
Bag with side panels (explained in pattern PDF): 18” wide x 17” tall, excluding handles
Bag with leather handles: 16” x 12.5”, excluding handles
Pattern notes are included to make any size bag you desire.
Gauge
Gauge varies based yarn weight and thickness of clothing yarn. The goal is fairly tight stitches that create structured fabric.
Abbreviations + Glossary (US Terms)
ch – chain
inc – increase
PM – place marker
rep – repeat
RS – right side
sc – single crochet
slst – slip stitch
st(s) – stitch(es)
WS – wrong side
Tips for Choosing Yarn + Planning Colors:
- Any yarn scraps can work for this bag (cotton, acrylic, wool, etc.). For the most consistent texture, combine yarns of similar weights. For an artful, varied texture, though, don’t be afraid to use yarns of different textures and weights.
- Your yarn colors will influence the overall look of your project more than the color of your clothing “yarn”. The clothing yarn only peeks out slightly between the stitches, but the traditional yarn is visible on the outside of each stitch.
- Look at photos, your favorite clothing, Pinterest, or nature for color palettes you enjoy and curate yarn colors based on inspiration you love.
- After the bottom of the bag is established, I like to switch colors appropriately each round. To do this, complete the final yarn over of the single crochet using the new color.
Cut the previous color, leaving a 5” tail. Then, as you crochet with the new color, stitch over the yarn tail from the old and new colors. This tucks them in securely and prevents needing to weave them in later.

Choosing a Hook Size:
- For the sturdiest bag, choose a hook size that allows you to make fairly tight single crochet stitches with whatever yarn weight you’re using. DK and worsted weight (categories #3 and #4) were used for the bags pictured, using a size 4.0mm hook.
Print This Pattern: purchase the ad-free, printable PDF
Planning Your Aesthetic
Because you are crocheting around a hidden core of clothing yarn, the look of your bag depends mostly on how you curate your yarn.
Option A: The "Scrappy" Look
This style leans into the zero-waste, "remnant" feel of the project.
How to do it: Combine yarns of different weights and textures for an artful, varied look.
The Technique: Switch yarn colors approximately every round or mid-round.
The Benefit: You can use small amounts of varied yarn. Since you crochet over the yarn tails for about 3", there is no need to weave in ends later, despite the scrappy look.
Option B: The "Curated" Look
This style is well-suited for a minimalist look.
How to do it: Choose a single color family (e.g., all neutrals or different shades of blue) to create a more intentional palette.
Consistency: For a smooth use scrap yarns of similar weights throughout the project.
Texture Tip: Your clothing yarn core will "peek out" slightly between your stitches. Using a high-contrast clothing yarn core (like dark denim under light cream yarn) can create a sophisticated, stippled texture.
Before You Begin
- See the detailed photo tutorial at the end of the pattern PDF for a visual explanation of each step. The tutorial includes two styles of bags — one with crocheted handles and one with repurposed or store-bought handles.
- Pattern refers to two strands of material:
Yarn = traditional yarn, used to create the crochet stitches.
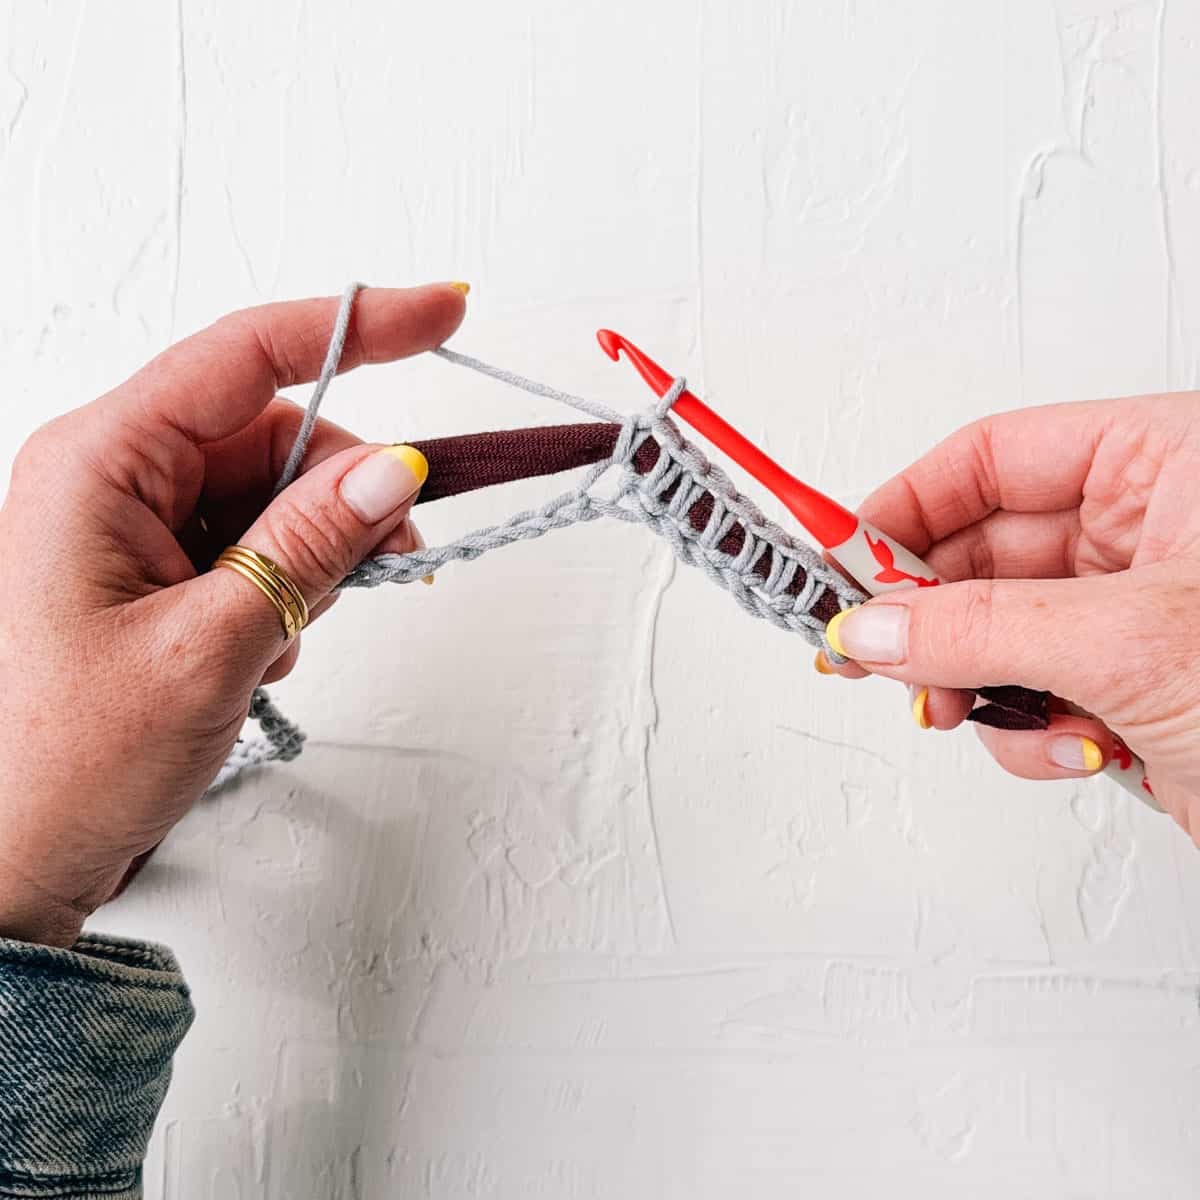
Clothing yarn = a strand made from cutting up a t-shirt, jeans, etc. This is crocheted over, so it ends up inside the stitches. - All crocheting is done by holding one strand of clothing yarn and crocheting around it with the traditional yarn of your choice.
Notes on Sizing & Technique
- Pattern includes exact stitch counts and measurements to create a bag similar in size to the sample. Notes are also provided throughout so you can easily scale this pattern to any size you'd like.
- Most of the bag is worked in a spiral. Usually, it's important to use a stitch marker to mark the beginning of each round, but I find that less necessary for this. Instead of thinking of this as a precise pattern, consider it a recipe you can enjoy, improv, and modify as you wish.
- To switch to a new ball of clothing yarn, cut both the existing and new strand into a taper. Overlap them by a few inches and continue crocheting over both until the existing strand is finished.
- It can feel tempting to pull on clothing yarn every few inches to create the smoothest possible round. I find that this can stretch out yarn made from t-shirts and other stretchy fabrics, making the clothing yarn quite thin.
Instead, I prefer the more organic look that comes from not tugging on the clothing yarn as I go. Experiment with what works best for you. Whatever you choose, continue with the same technique throughout your project.
Wanna save this pattern?
Want some company while you crochet?
Get support (and camaraderie!) in the Make & Do Crew community. Join for free here.
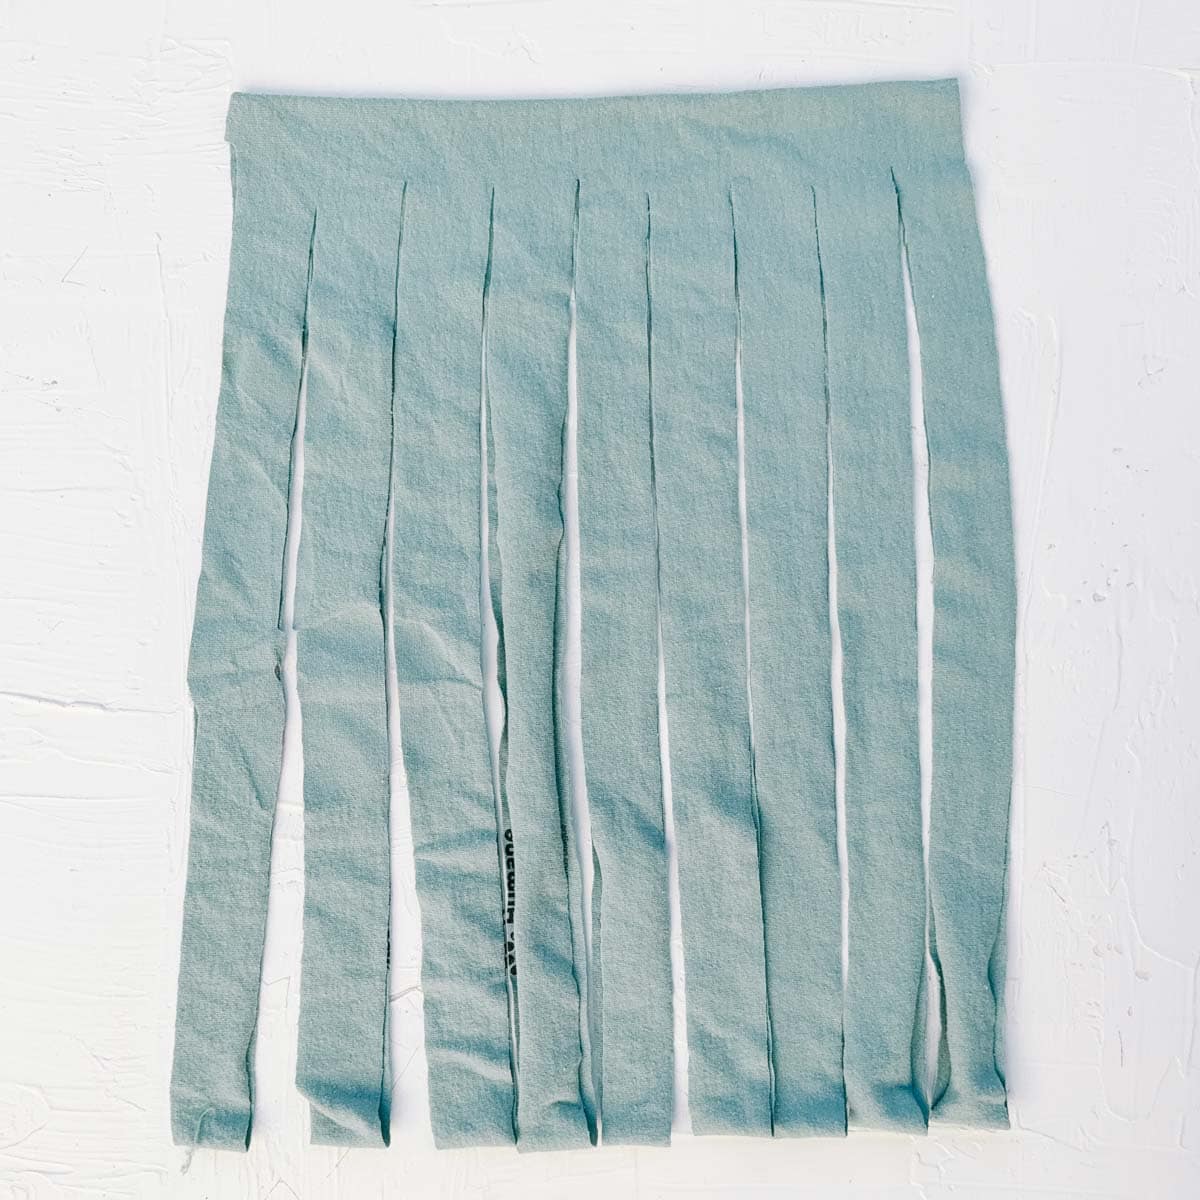
Creating clothing yarn: If cutting a shirt, stop cutting when you reach the sleeves. For pants, stop cutting at the top of one leg.
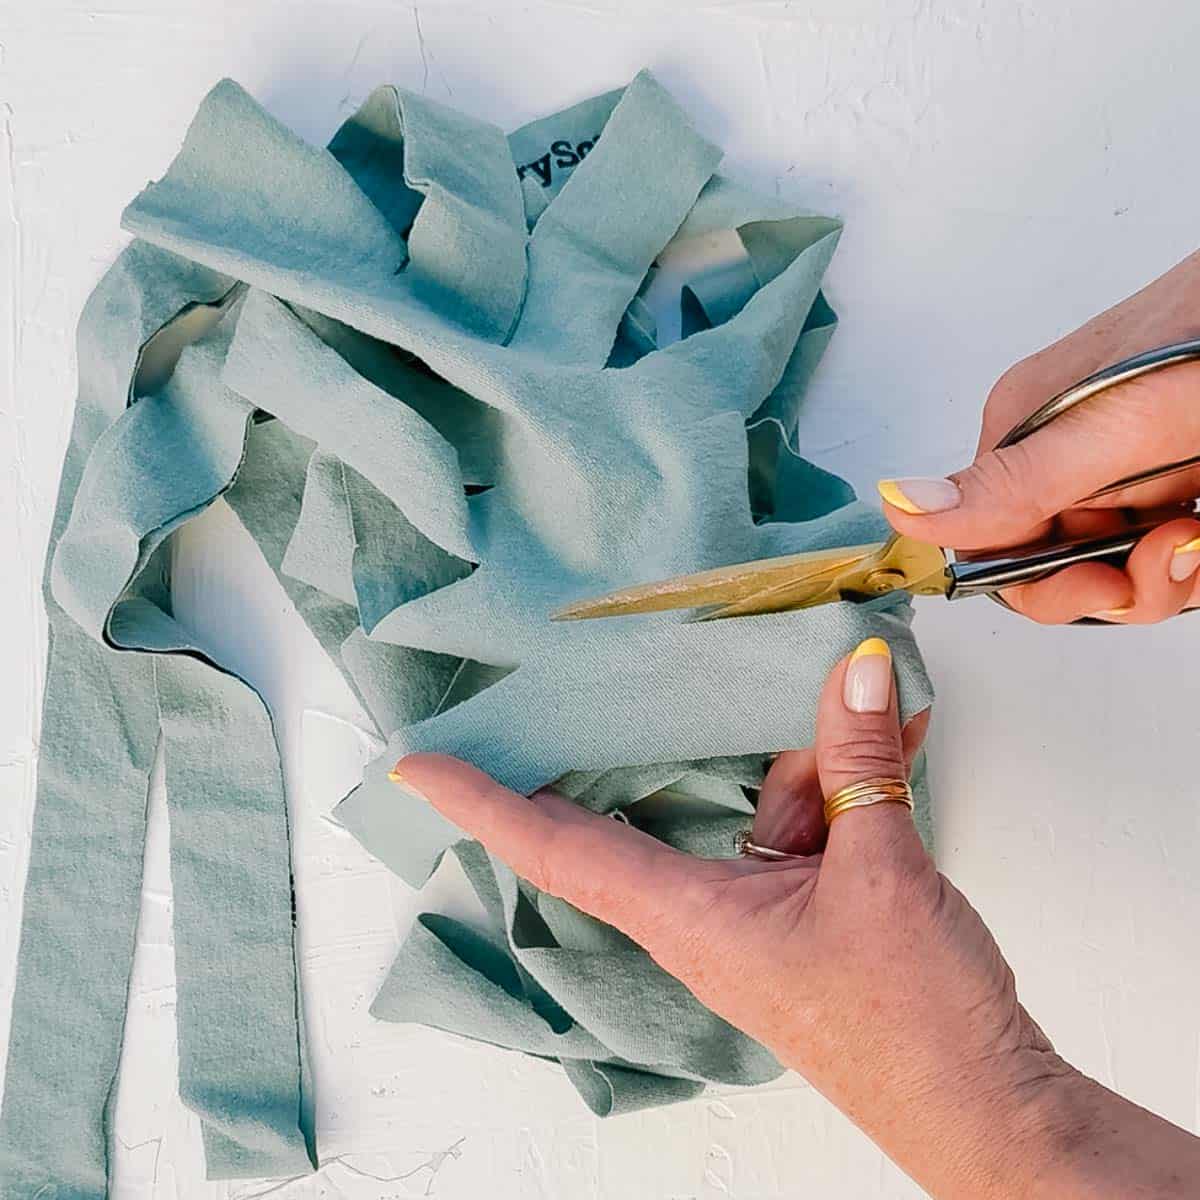
Creating clothing yarn: Cut across the uncut portion of the fabric at a diagonal.
Clothing Yarn Prep
Follow the tutorial at the end of the pattern PDF or watch the video below to create your clothing yarn. For best results in your bag, combine similar types of fabrics. (Avoid combining one very stretchy fabric with another very stiff fabric.)
One large crocheted bag requires 3-5 adult t-shirts' worth of clothing yarn.
Premium PDF
easier and faster with fewer mistakes.
- Complete pattern + photo tutorials
- Instructions for shaping a tapered bag
- Instant download
- Formatted for easy printing
Bag Bottom
- Bag bottom is worked in the round with the right side facing throughout.
- ▶️ Watch a quick video of this step.
With yarn:
Foundation Row: Chain 40.
| 🧶Adjusting bag width: For a smaller, narrower bag, chain fewer stitches. For a larger, wider bag, chain more stitches. |
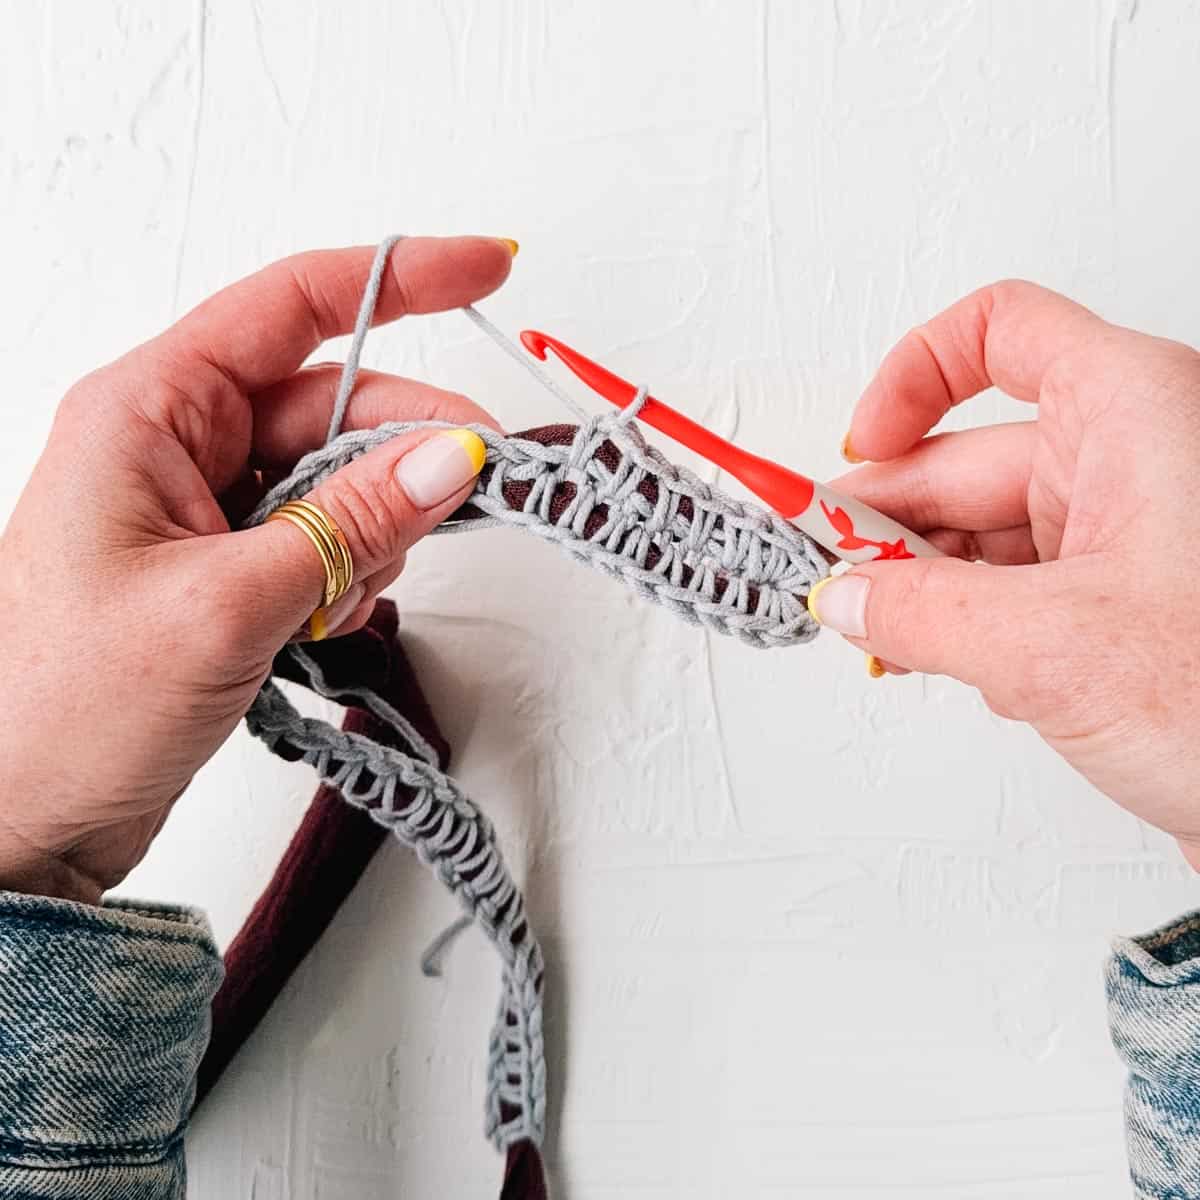
Round 1:
First Side of Chain: Place clothing yarn on top of crochet chain. Working around clothing yarn, insert hook in second chain from the hook to complete a single crochet. Continuing to crochet over clothing yarn, single crochet in each remaining chain.
Rounding the Chain (inc): Place a second sc in the last chain. Wrap clothing yarn around to the bottom edge of the chain.
Second Side of Chain (inc): Working into bottom edge of the chain, 2 sc in first chain, sc in each chain, 2 sc in last chain.
TIP: When working into the second side of the chain, I like to insert my hook between the single crochet from the first side of the chain rather than into a different loop of the chain. This creates fewer holes in the bottom of the bag.
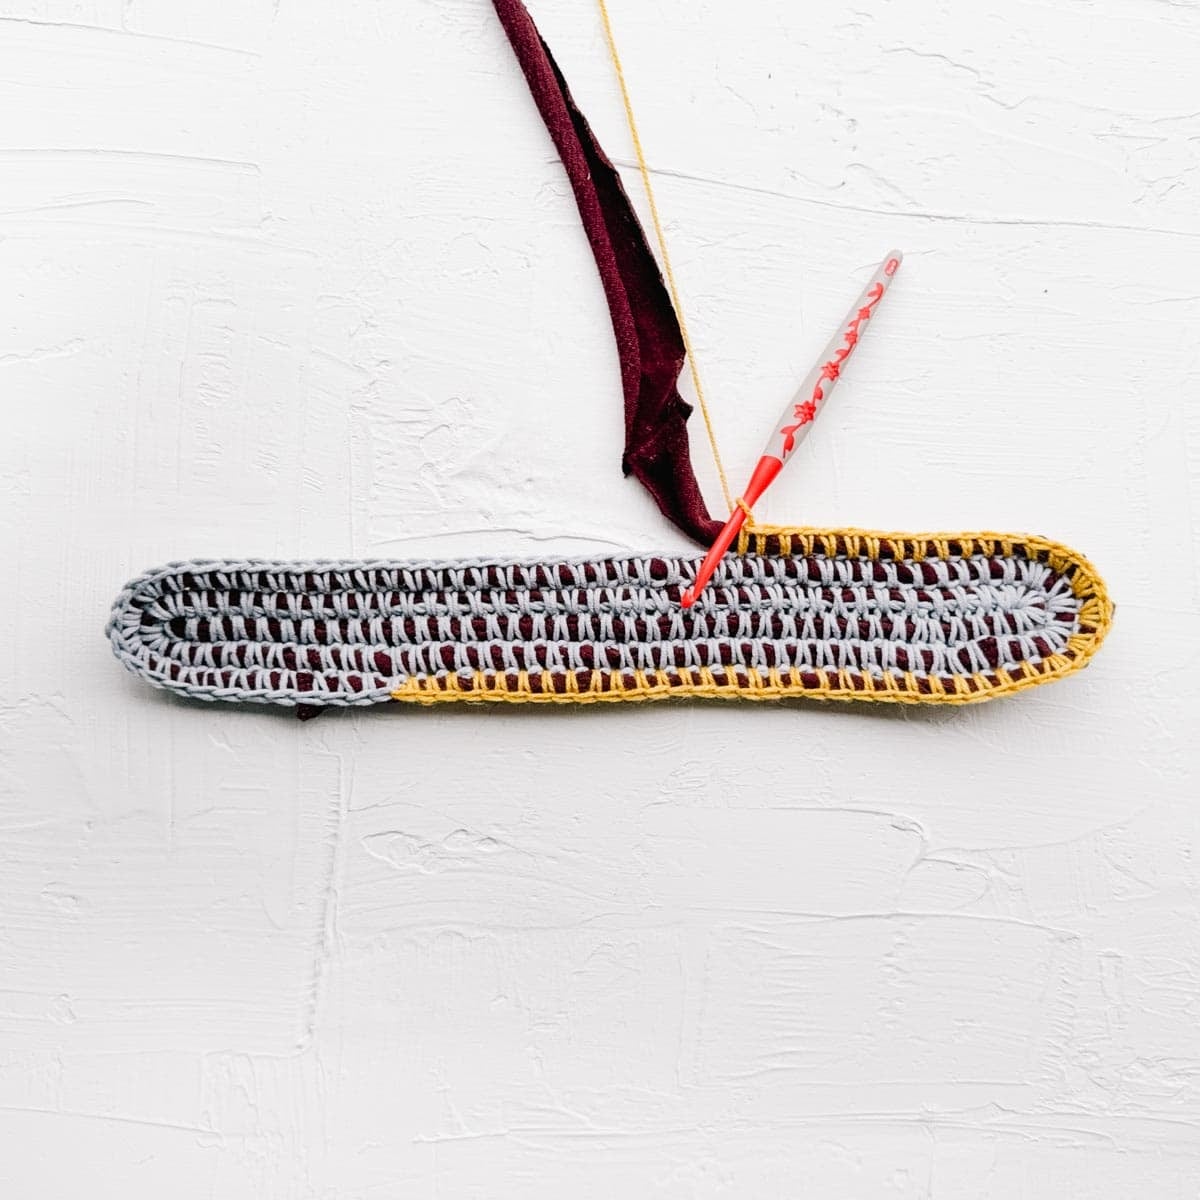
Round 1 first side: Crochet in each chain, working over clothing yarn as you go.
Rounding the chain: Increase two stitches as you wrap the clothing yarn around the foundation chain and begin working back along the bottom of the chain.
For a less holey bag bottom, work between the stitches on the first side instead of in each chain.
Round 2:
Rounding the Corner: Continuing around the established “oval”, place 2 sc in each of next 2 sc. (Between the end of Round 1 and beginning of Round 2, we’ve increased 3 sts at this corner.)
First Side of Oval: Sc in each st until opposite corner. Place 2 sc in each of the 3 sts at the corner. (Again, this results in an increase of 3 sts at this corner.)
Second Side of Oval: Sc in each st until opposite corner.
➤ Simple Summary: You’re crocheting around the oval, increasing by 3 sts at each corner.
Round 3:
Place 2 sc in each of the 4 sts at the corner. Sc in each st until opposite corner. Place 2 sc in each of the 4 sts at the corner.
➤ Simple Summary: You’re crocheting around the oval, increasing by 4 sts at each corner.
Each round should increase by 8 sts per round (4 per corner). The exact placement of the increases is not important. The oval in the sample bag pictured measured 14.5 x 4.5” before moving on to the next step.
| 🧶Adjusting Bag Size: For a smaller bag, work fewer rounds in the bag bottom. For a larger bag, work more rounds. |
How to Change Colors
I like to change colors approximately every round when I'm crocheting around t-shirt yarn. But don't worry! This doesn't create extra ends to weave in.
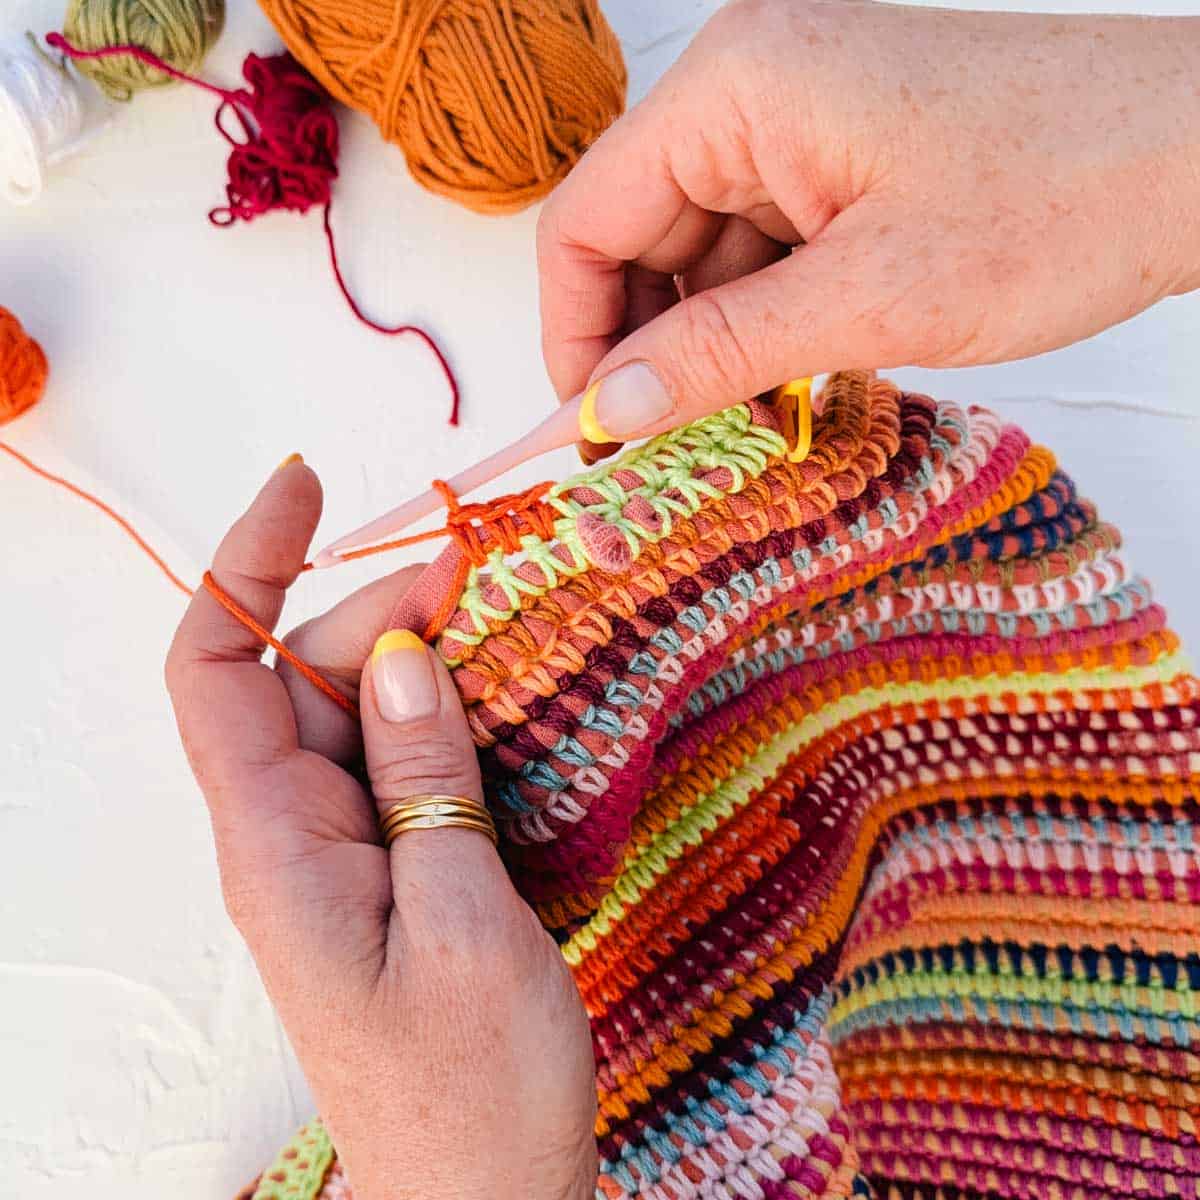
The ends will be securely tucked in, and you won’t need to weave them in later.
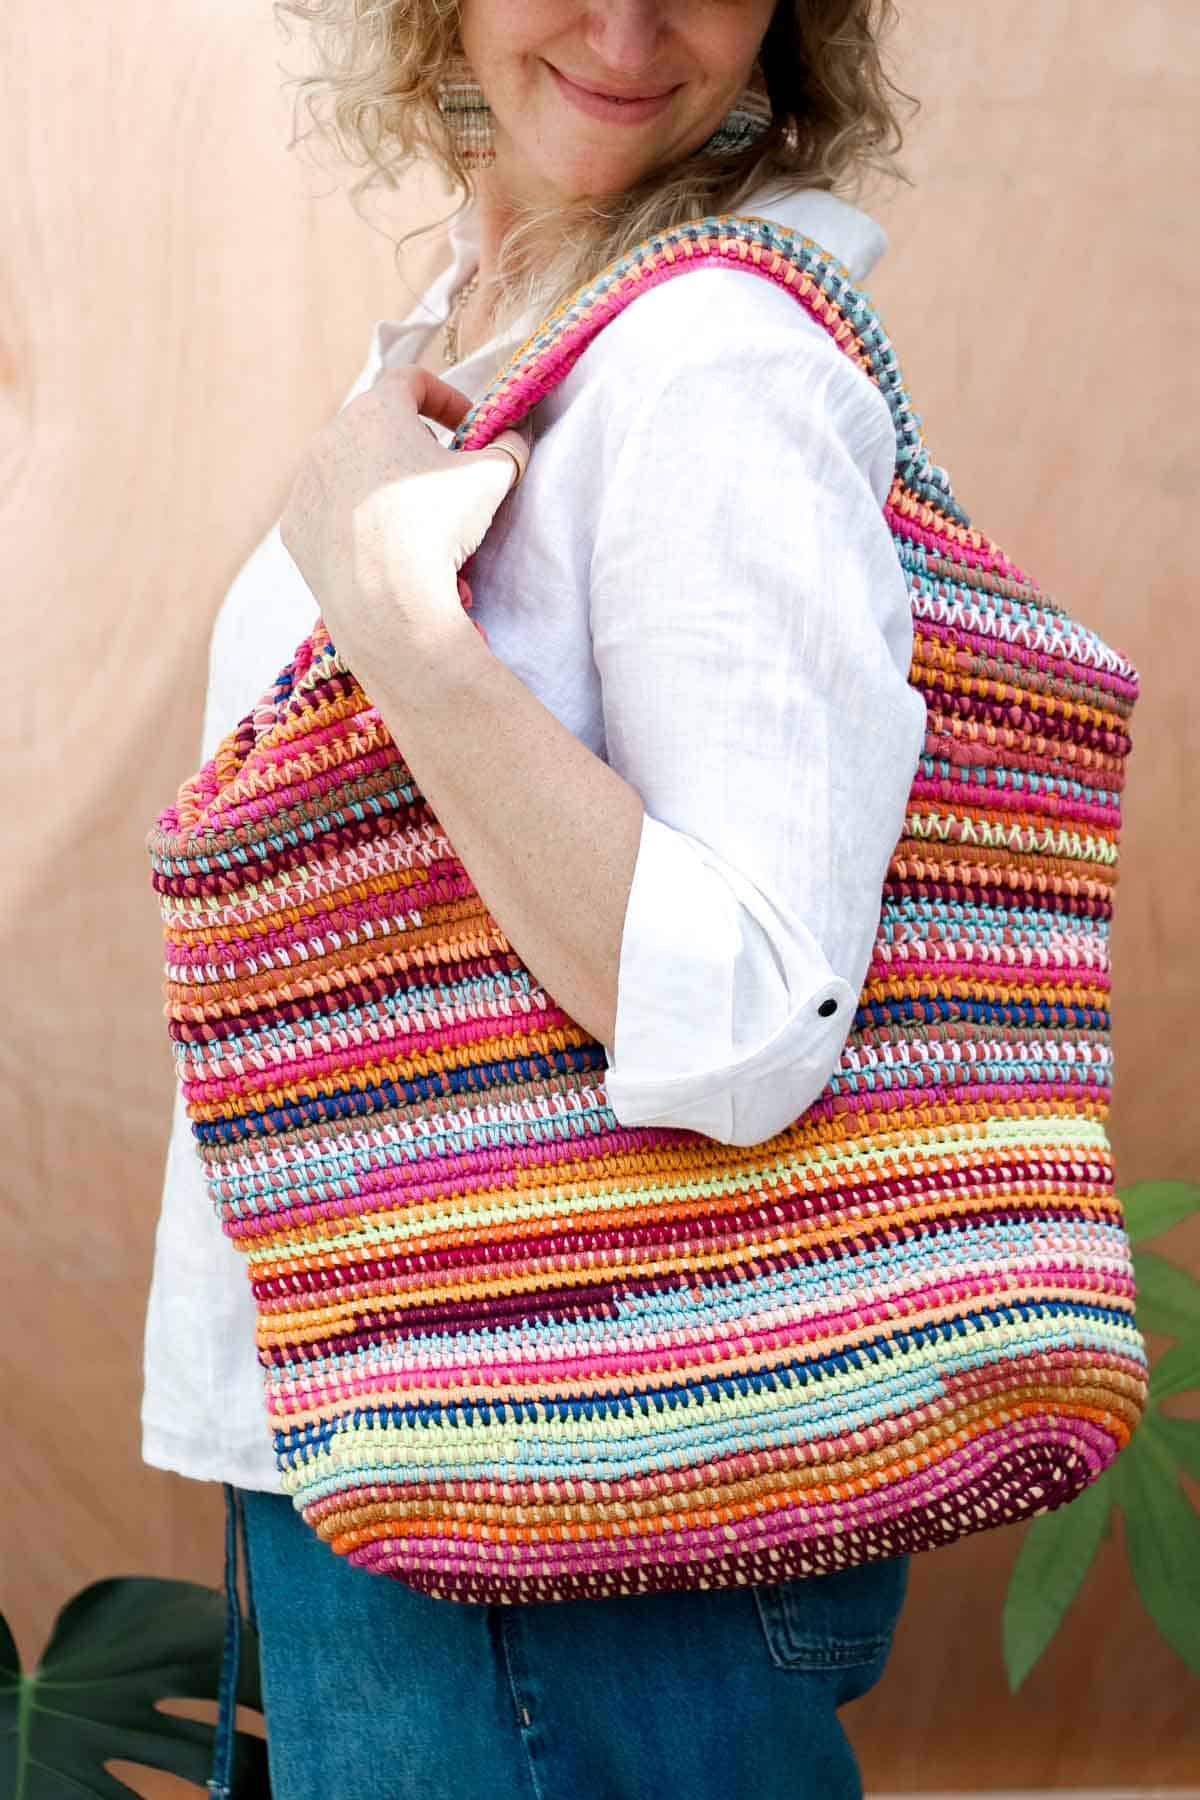
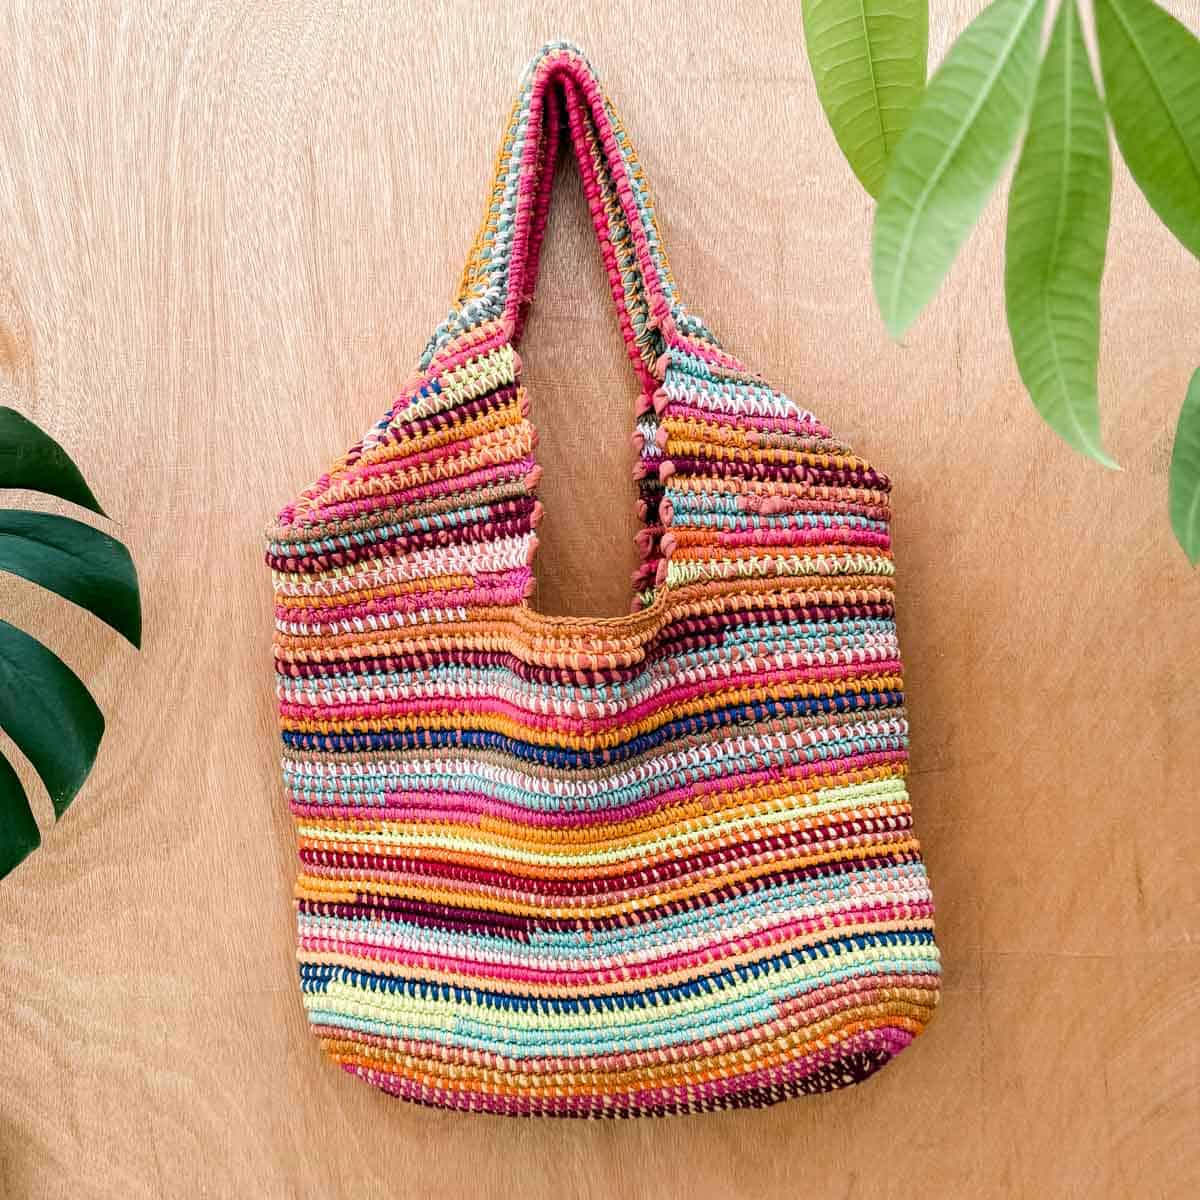
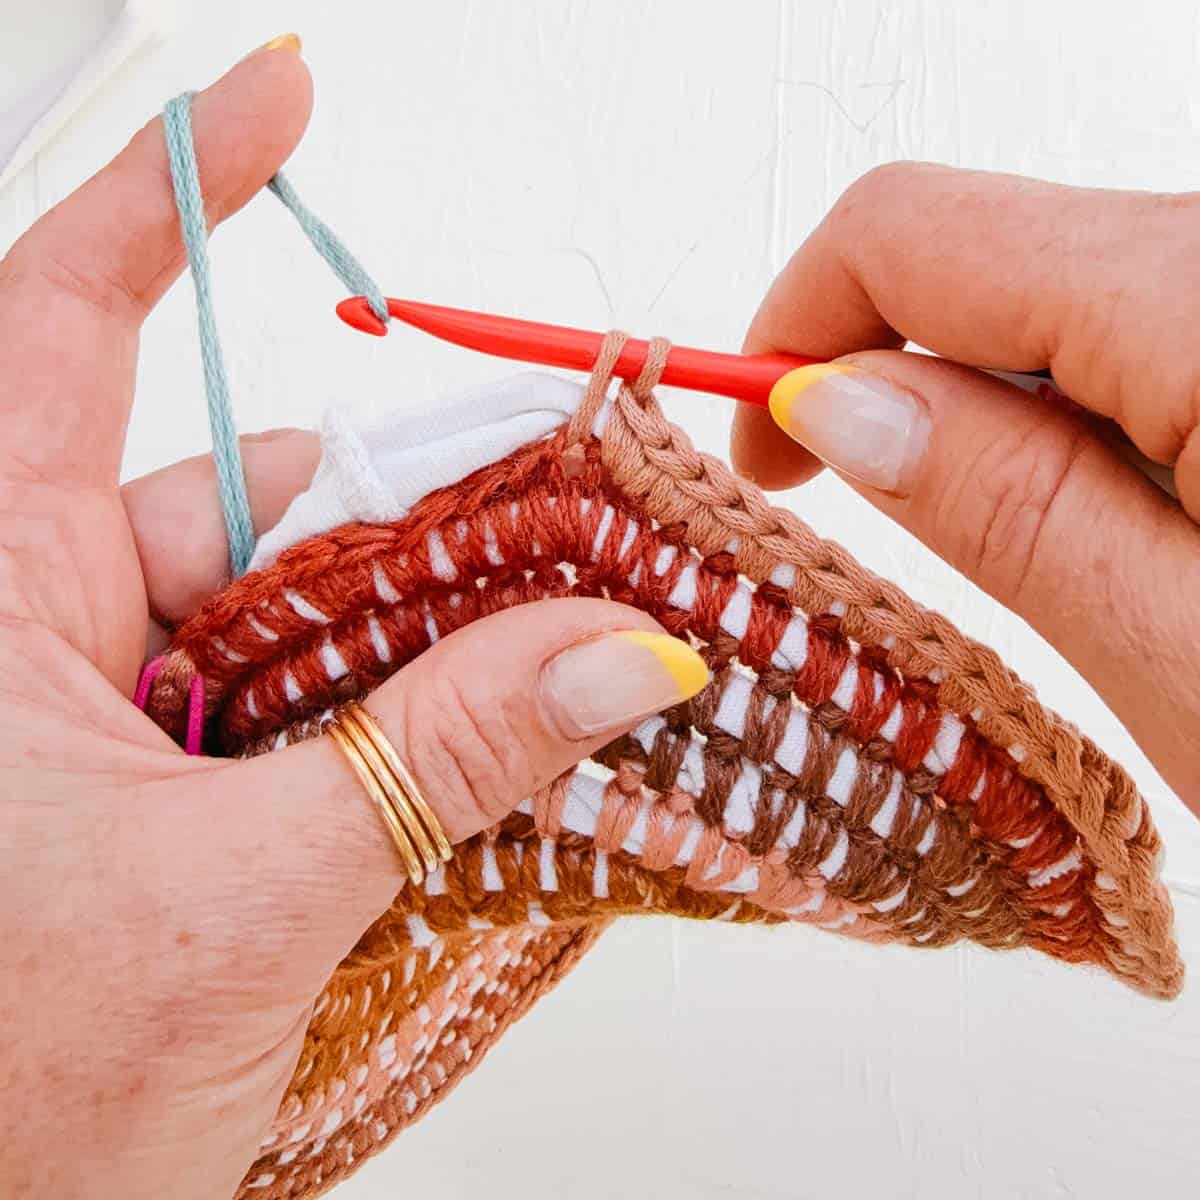
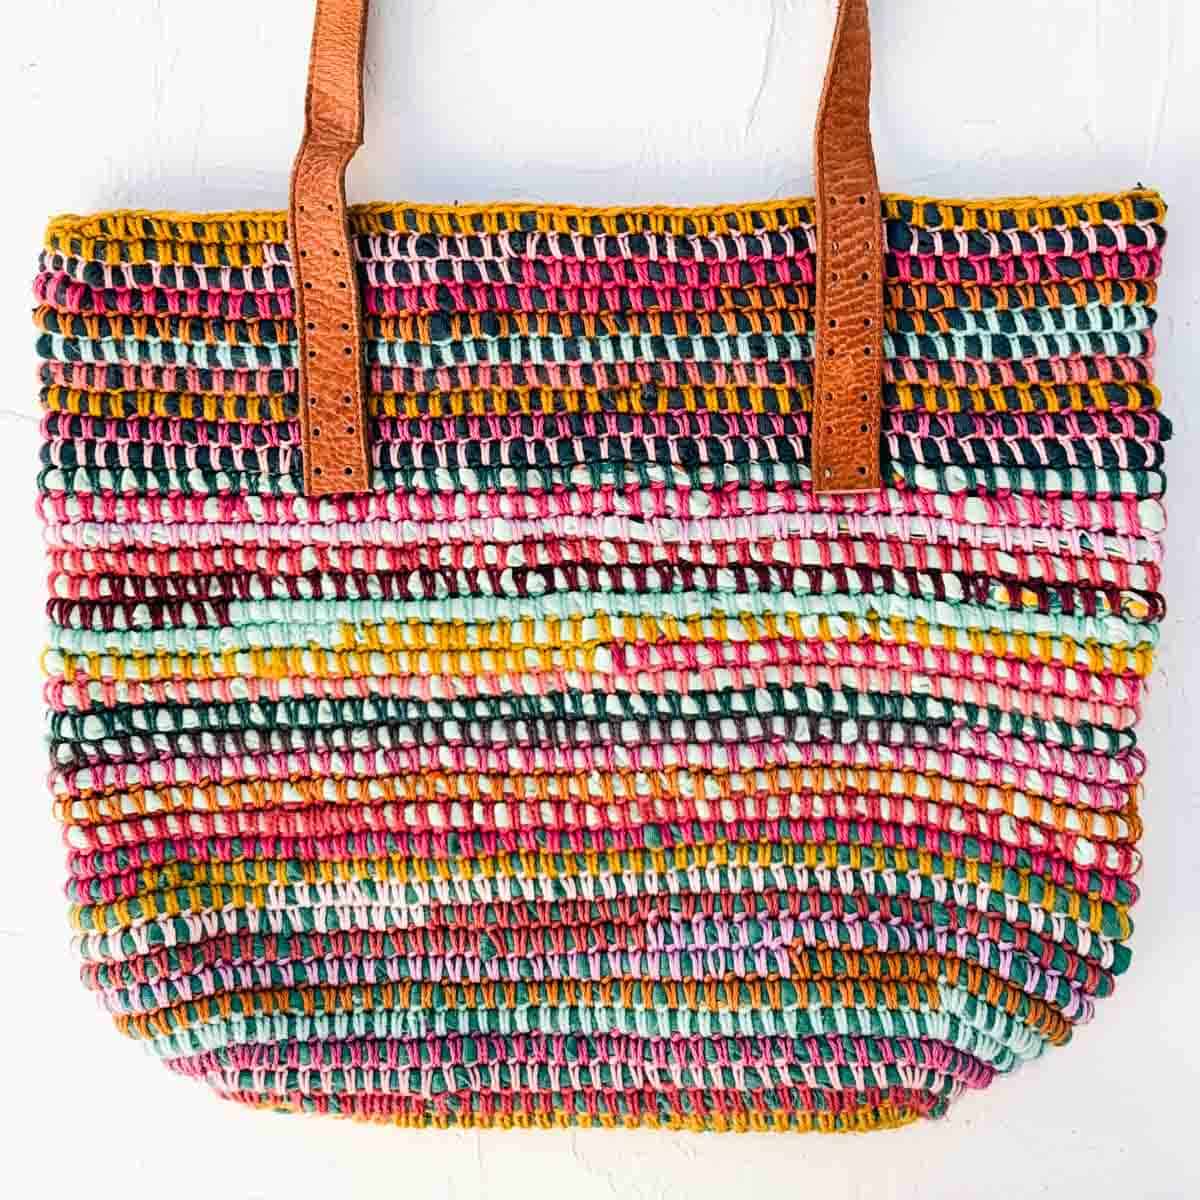
Main Body of Bag
Continuing in the established technique, place 1 sc in each sc. Work in the round until the main “bucket” of the bag measures to the desired length. The sample bag pictured measures 12.5” from the bottom (including oval) to the top of the main section of the body. Keep yarn and clothing yarn attached.
| 🧶Adding Side Panels: The premium PDF version of the pattern includes instructions for adding tapered side panels and crocheted handles. |
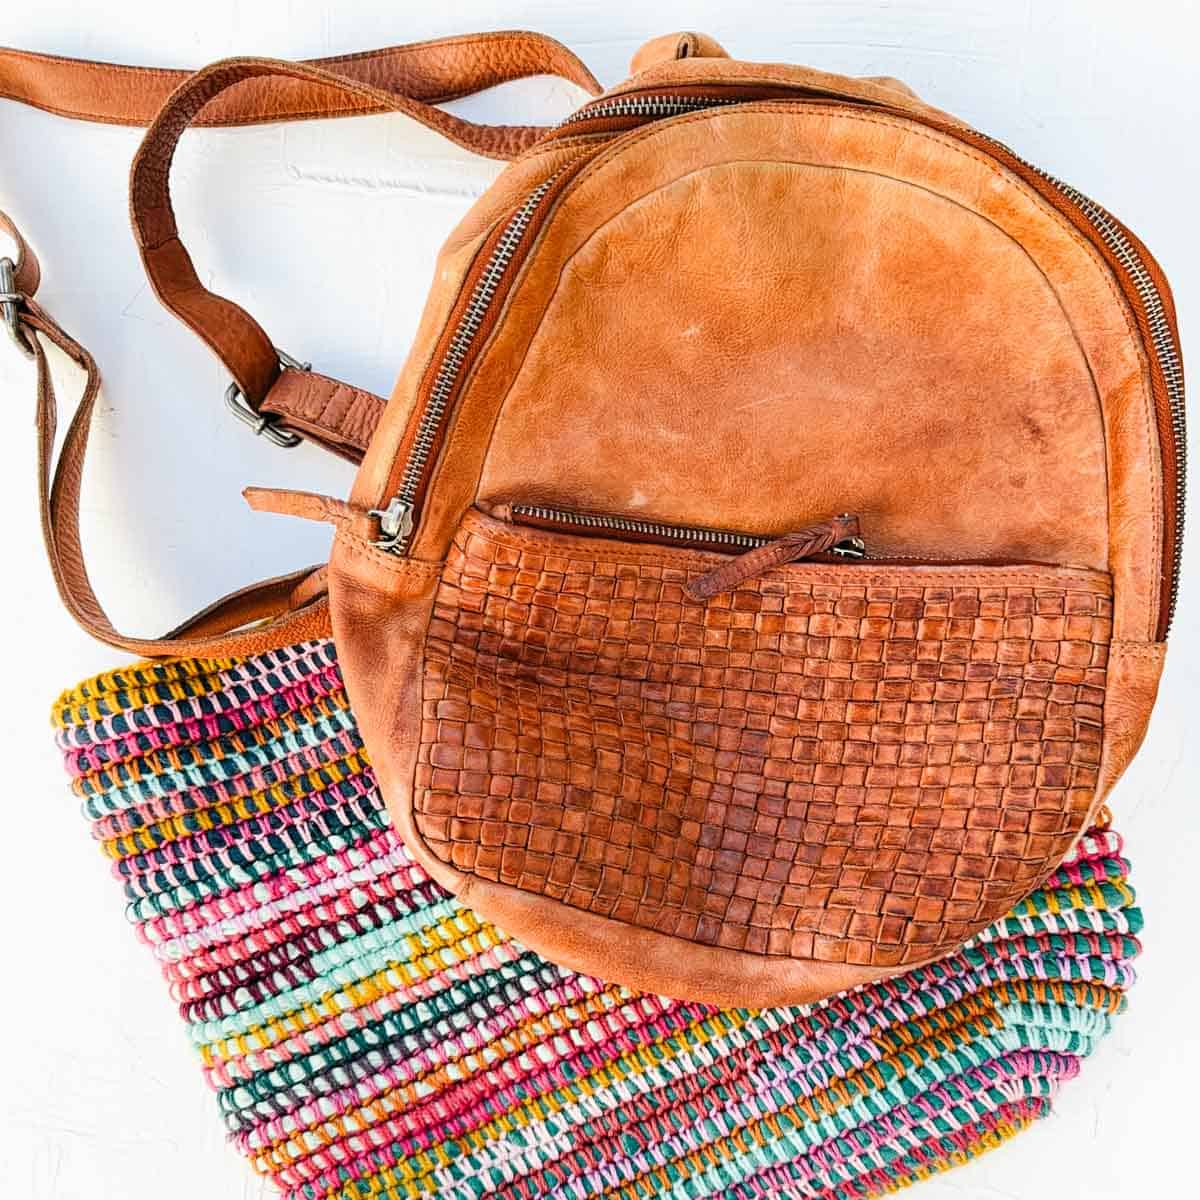
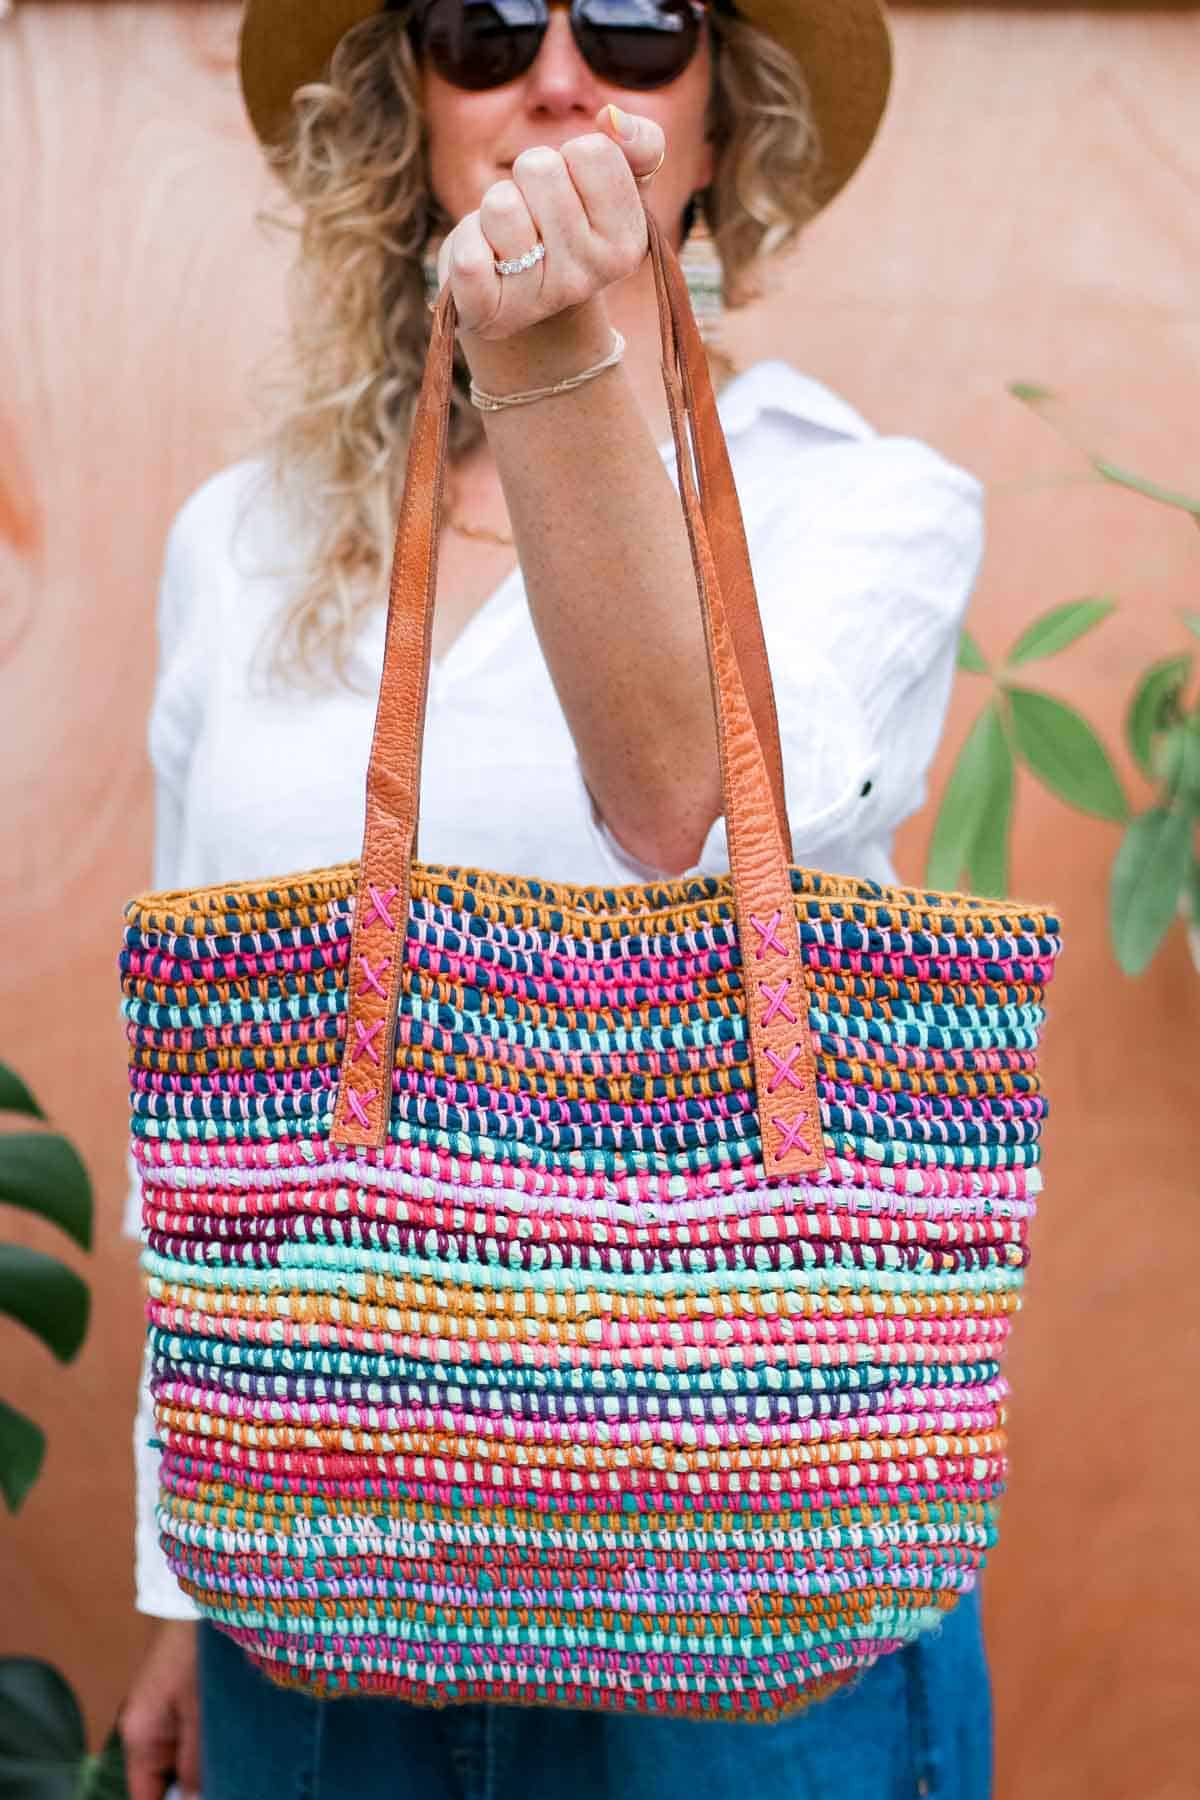
Attaching Repurposed Leather Handles
This step is only necessary if you haven’t added crochet handles.
- Cut the straps off a retired leather bag.
- Using a leather punch, create holes on both sides of each leather strap. (If you don’t have a leather punch, you can hammer an awl to create holes in the leather.)
- With a tapestry needle and doubled over strand of yarn, sew the handles to the bag. Measuring the distance from the handle to the side of the bag can help ensure consistent placement.
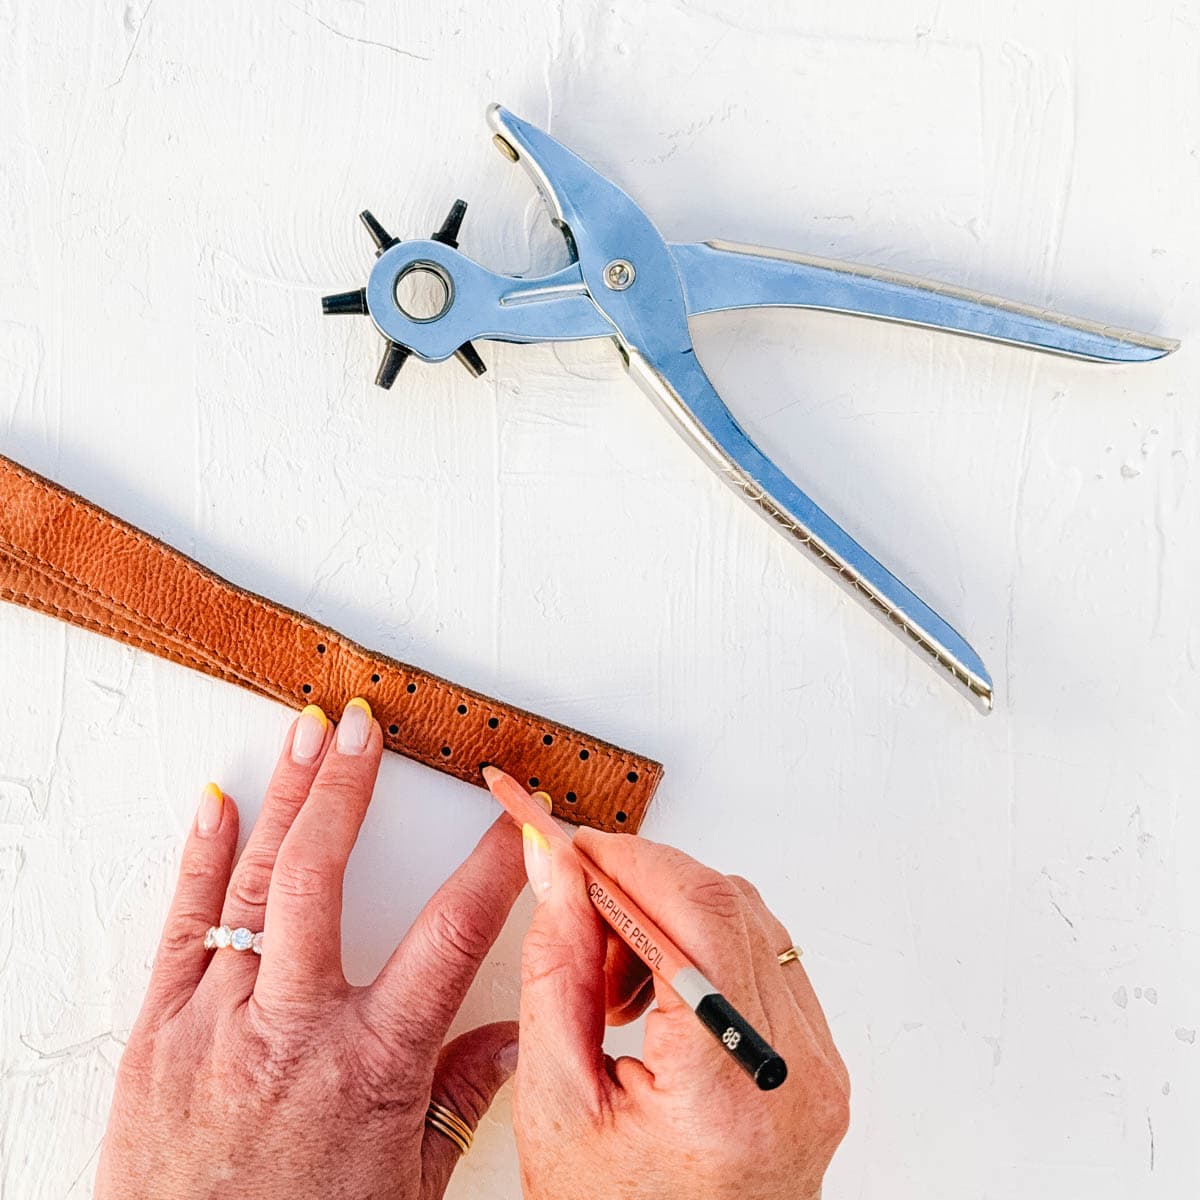
Ensuring consistent spacing:
Once one set of holes is complete, use a pencil to mark the placement on the opposite end of the strap as well as the second strap.
Handle placement:
Measuring the distance from the handle to the bag's side can help ensure consistent placement.
Finishing
Weave in any remaining ends: There shouldn’t be many yarn tails from switching colors. Use a crochet hook to secure any loose ends of the clothing yarn inside the bag.
Blocking: If your bag isn’t as smooth as you’d like, consider ironing or steam blocking it. Do not touch steamer or iron directly to yarn if acrylic yarn or polyester fabric is included in your project. If your project is all natural fibers, ironing it should be fine and will create the smoothest effect.
Sling your new Remnant Bag over your shoulder and wear your scraps with pride!
Permissions + Copyright:
Please do not publish or share this pattern as your own. You may make items to sell with this pattern. In exchange, please link back this post. Do NOT use our photos as your own sales photos.
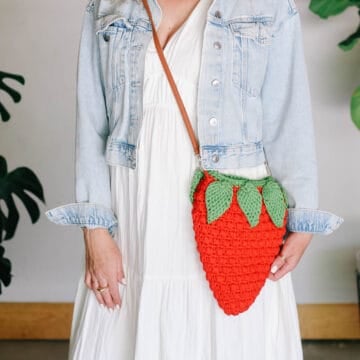
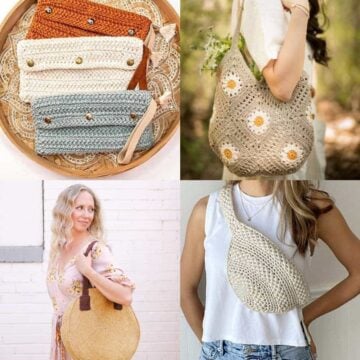
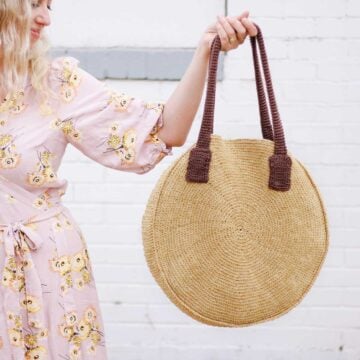
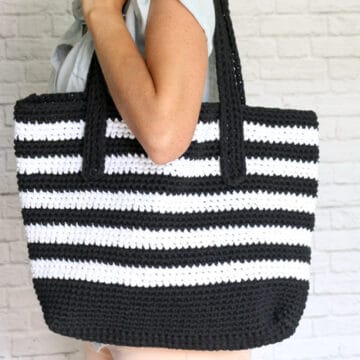
More Bag Free Patterns
We've got lots more crochet bag and purse patterns for you to make next.


That was so fun! Now what?
Invitation to our Private Community
Come discuss zero waste crochet patterns and lots of other projects and techniques in our Make & Do Crew community. Here thousands of helpful crocheters answer each other's questions and share their stitches.Join us!
Leave a Reply