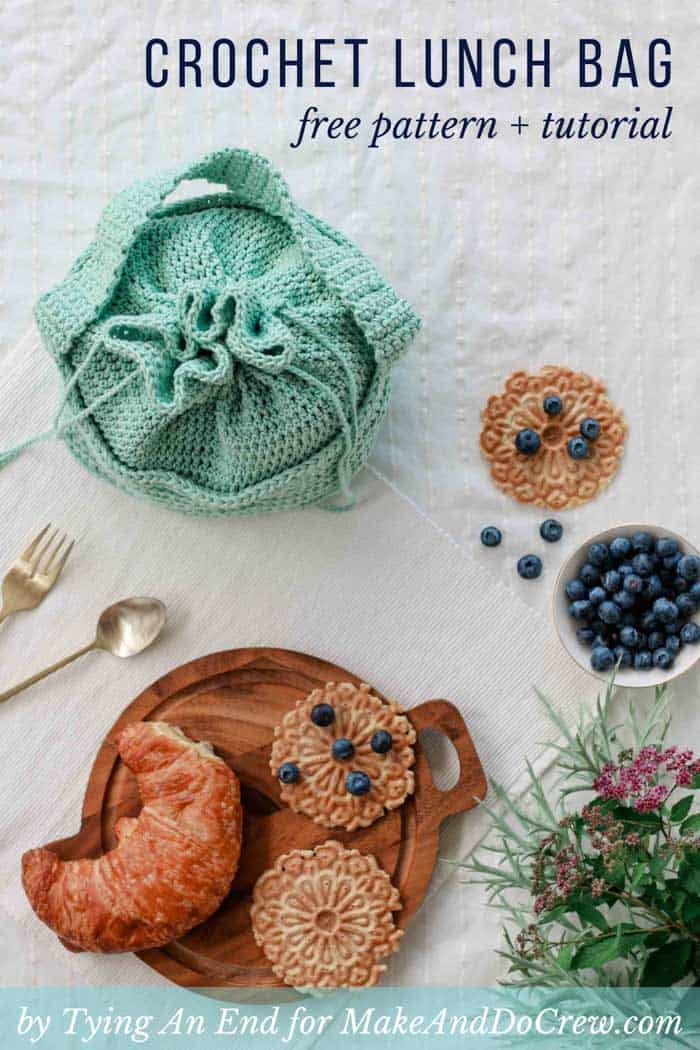
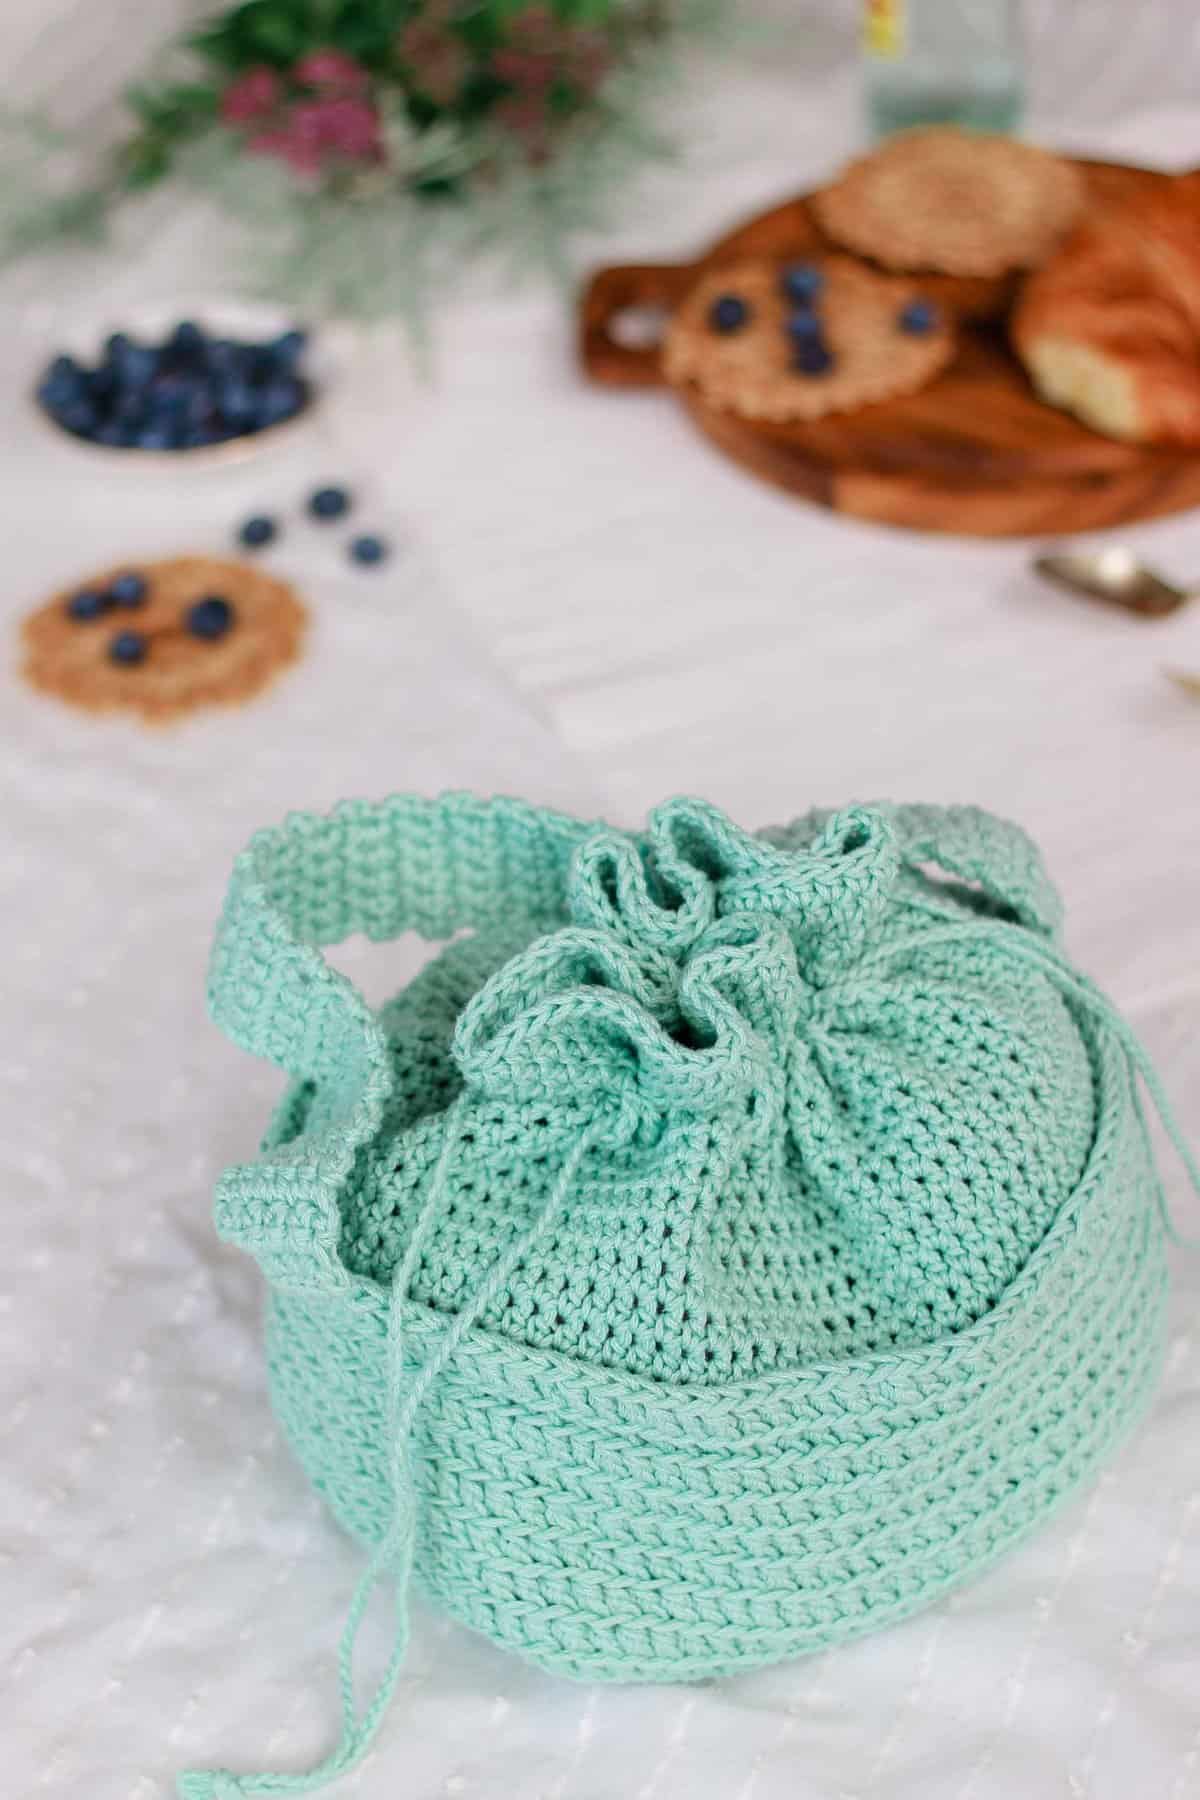
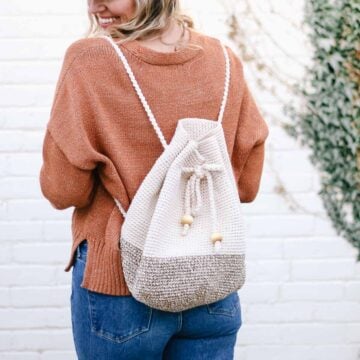
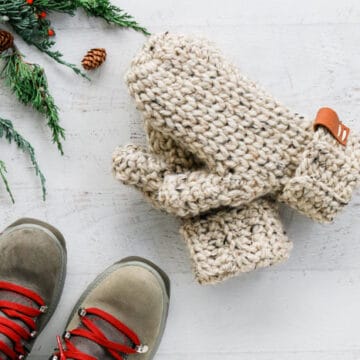
This quick, sturdy cotton bag makes a perfect crochet lunch bag or purse for a child. Get the free pattern below. Purchase the ad-free, printable PDF here.
Thanks to Lion Brand Yarns for providing the yarn for this free kid's crochet purse or lunchbox pattern. This post contains affiliate links.
Welcome back to the Make & Do Crew guest designer series. While I'm getting to know the newest baby in our family, Tae from Tying An End is sharing her free kid's crochet purse and lunchbox pattern with us today! You can see lots of of Tae's crochet patterns her blog, Tying An End and Etsy. And be sure to check her out on social media too: Instagram and Facebook. Tae, take it away!
 How to Use This Pattern
 How to Use This Pattern
This drawstring bag is perfect for kiddos to carry their treasures. I love the idea of making one for your child to pack their lunch in on the first day of school so they have some of your love to carry with them. My kids would also be thrilled to carry this to church, a wedding or just on a Target run!

A Crochet Lunch Bag Pattern That'll Expand Your Skills
This pattern requires basic skills of crochet and little bit more advanced knowledge. Since it’s a bag with a flat bottom, you also need to know how to crochet in round.
Typically when working in round, it calls out to work in both loops, but I find working in front loop only makes the finished piece look much cleaner. Also by trying out my pattern, you will learn how working in the front loops looks different than and back loops.
Machine Washable Yarn is a Must
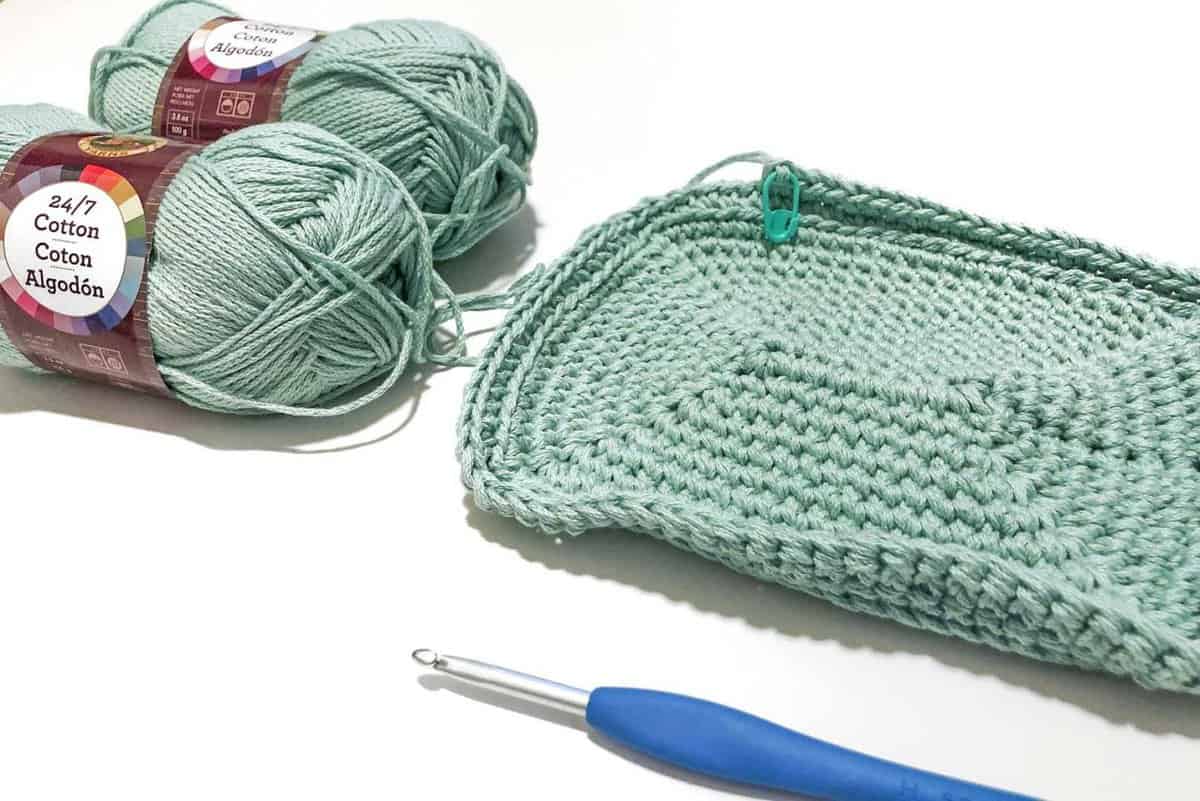
I used Lion Brand 24/7 Cotton yarn, and I love it! It is 100% mercerized cotton so it’s smooth, doesn't pill, and great colors even after multiple wash cycles. I wanted the yarn to be machine wash friendly as well as firm and sturdy in the finished piece, and this yarn is perfect for that. I know this bag will go through the wash multiple times so I wanted the bag to be easy to take care of.
What I also love about this yarn is the color options. There are 24 color options available and you would need to choose 2 colors for this pattern, so that means there are 300 color combinations to choose from! That’s a lot of options! I had hard time choosing the colors for myself because I wanted to try every other color. With this wide range of color options to choose from, I’m sure you can find the color combination you like.
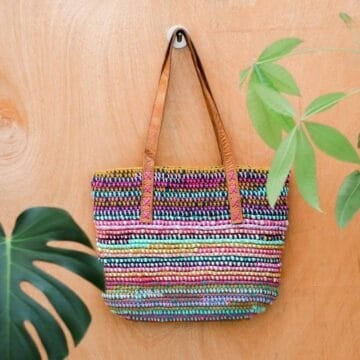
More Free Crochet Bag + Purse Patterns
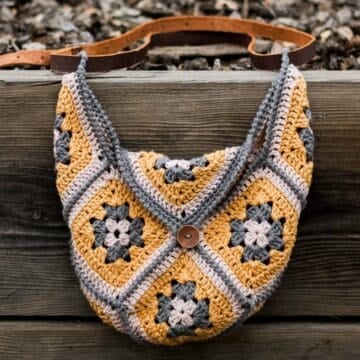
From modern granny square bags to mesh market totes to circle purses, we've got lots more free crochet bag patterns for you to enjoy. With sturdy straps and stylish details, you might just become a crochet bag-a-holic.
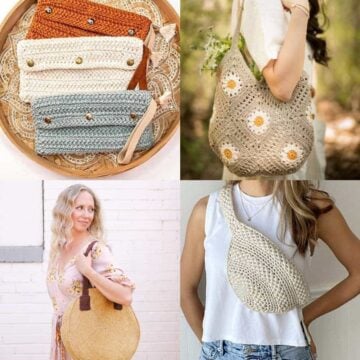
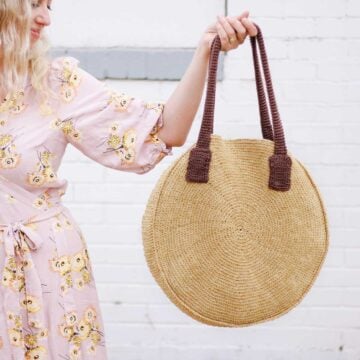
See more free crochet bags & purses patterns →
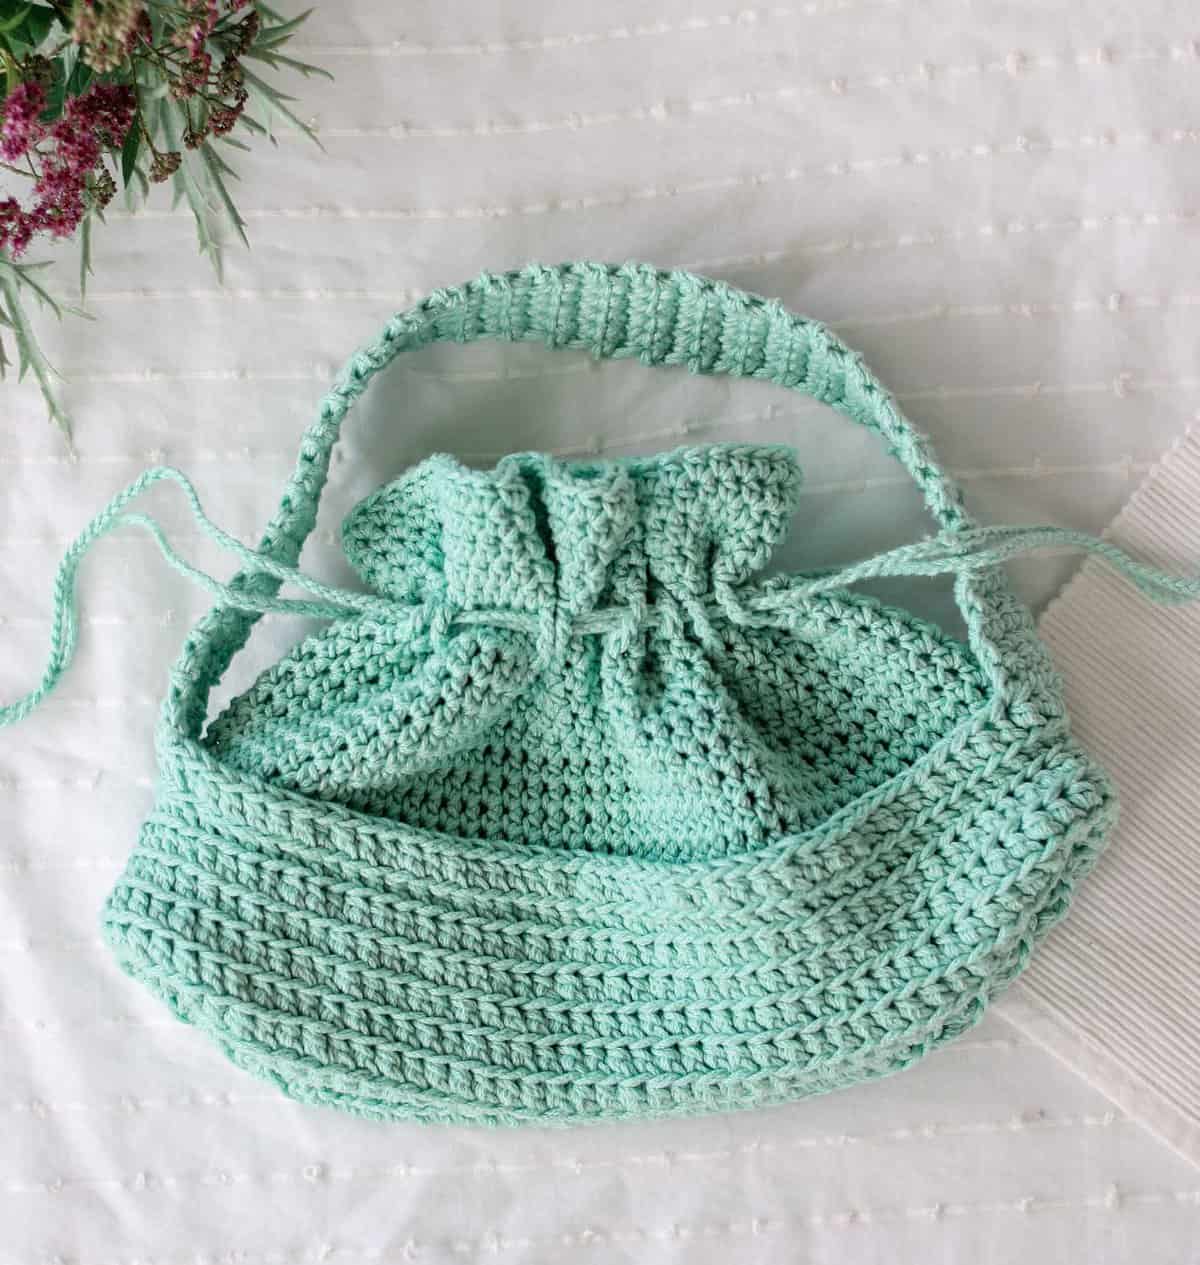
Everyday Lunch Bag Free Crochet Pattern
Save this for later on Pinterest here.
Save this on your Ravelry queue here.
Purchase the ad-free, printable PDF here.
Purchase this pattern on Etsy here.
Explanation:
I used to carry my lunch box in a plastic shopping bag. It only lasted for short period of time, so I needed a bag that would fit my lunch box as well as looking stylish. Also I wanted to help save our planet one step at a time by switching from plastic bag to more eco friendly bag. Now I introduce you Everyday Lunch Bag! It is made with 24/7 Cotton from Lion Brand, which is mercerized cotton with soft, smooth texture and great color options! This bag is made with 2 strands so you can mix 2 different colors or go simple solid color. If you know the basics of crochet, it should be fairly easy! Level: Advanced-Beginner ~ Intermediate
Supplies:
• Lion Brand 24/7 Cotton (weight: 4/medium - 186 yards, 3.5 oz)
Pictured below:
- Aqua (#761-102) - 2 balls
- White (#761-100) - 2 balls
• Size H (5.5 mm) crochet hook
• Tapestry needle
• Stitch markers
• Scissors
Sizes/Measurements:
• 6" by 4.5", 8.75" tall
Gauge:
• 16 SC x 15 Rows = 4" x 4"
Abbreviations and Glossary (US Terms):
CH - chain stitch
SC - single crochet
HDC - half double crochet
DC - double crochet
FPTC - front post treble crochet
FLO - front loop only
BLO - back loop only
SL ST - slip stitch
Overall Pattern Notes:
• You will be working with 2 strands together for the base and handle. Only 1 strand for the cover.
• You will be working with joined rounds.
• Number in [ ] indicates number of stitches in that round/row.
• CH 2 in beginning of each round (Round 9~18 of base and Round 1~16 of cover) DOES NOT count as HDC.
• I recommend leaving a stitch marker on each corner so that you can tell easily where the corner is.
• A bag will stretch out so if you use container little bigger than 6"x4.5", it shouldn't be much of a problem. --- I normally use 4 cup (6.25" diameter at top) Pyrex container and it fits comfortably.
• It will comfortably close with item(s) 5" tall.
• To make a bag bigger, make more rounds after Round 8 of base.
• To make a bag taller, make more rounds (even number of rounds) after Round 9 of cover.
Base
- Ch 9
Wanna save this pattern?
Round 1: 3 SC FLO in 2nd CH from hook (2nd SC makes the 1st corner). SC FLO 6. 5 SC in last CH (2nd SC makes the 2nd corner and 4th SC makes 3rd corner). SC BLO 6. 2 SC BLO in the same stitch you made 1st SC FLO of the round (2nd SC makes the 4th corner). SL ST FLO in 1st SC. [22]
Round 2: CH 1. SC FLO. (SC FLO, CH 1, SC FLO)* SC FLO 8. Repeat * 1 time. SC FLO 1. Repeat * 1 time. SC FLO 8. Repeat * 1 time. SL ST FLO in 1st SC. [30]
Round 3: CH 1. SC FLO 2. (SC FLO, CH 1, SC FLO) in CH 1 FLO* SC FLO 10. Repeat * 1 time. SC FLO 3. Repeat * 1 time. SC FLO 10. Repeat * 1 time. SC FLO. SL ST FLO in 1st SC. [38]
✨Unlock this free subscriber-exclusive pattern ✨
Follow these steps to view the full free pattern below
Round 4: CH 1. SC FLO 3. (SC FLO, CH 1, SC FLO) in CH 1 FLO* SC FLO 12. Repeat * 1 time. SC FLO 5. Repeat * 1 time. SC FLO 12. Repeat * 1 time. SC FLO 2. SL ST FLO in 1st SC. [46]
Round 5: CH 1. SC FLO 4. (SC FLO, CH 1, SC FLO) in CH 1 FLO* SC FLO 14. Repeat * 1 time. SC FLO 7. Repeat * 1 time. SC FLO 14. Repeat * 1 time. SC FLO 3. SL ST FLO in 1st SC. [54]
Round 6: CH 1. SC FLO 5. (SC FLO, CH 1, SC FLO) in CH 1 FLO* SC FLO 16. Repeat * 1 time. SC FLO 9. Repeat * 1 time. SC FLO 16. Repeat * 1 time. SC FLO 4. SL ST FLO in 1st SC. [62]
Round 7: CH 1. SC FLO 6. (SC FLO, CH 1, SC FLO) in CH 1 FLO* SC FLO 18. Repeat * 1 time. SC FLO 11. Repeat * 1 time. SC FLO 18. Repeat * 1 time. SC FLO 5. SL ST FLO in 1st SC. [70]
Round 8: CH 1. SC FLO 7. (SC FLO, CH 1, SC FLO) in CH 1 FLO* SC FLO 20. Repeat * 1 time. SC FLO 13. Repeat * 1 time. SC FLO 20. Repeat * 1 time. SC FLO 6. SL ST FLO in 1st SC. [78]
Round 9~18: CH 2. HDC BLO around. SL ST in 1st HDC. [78]
Fasten off and weave in ends.
Cover
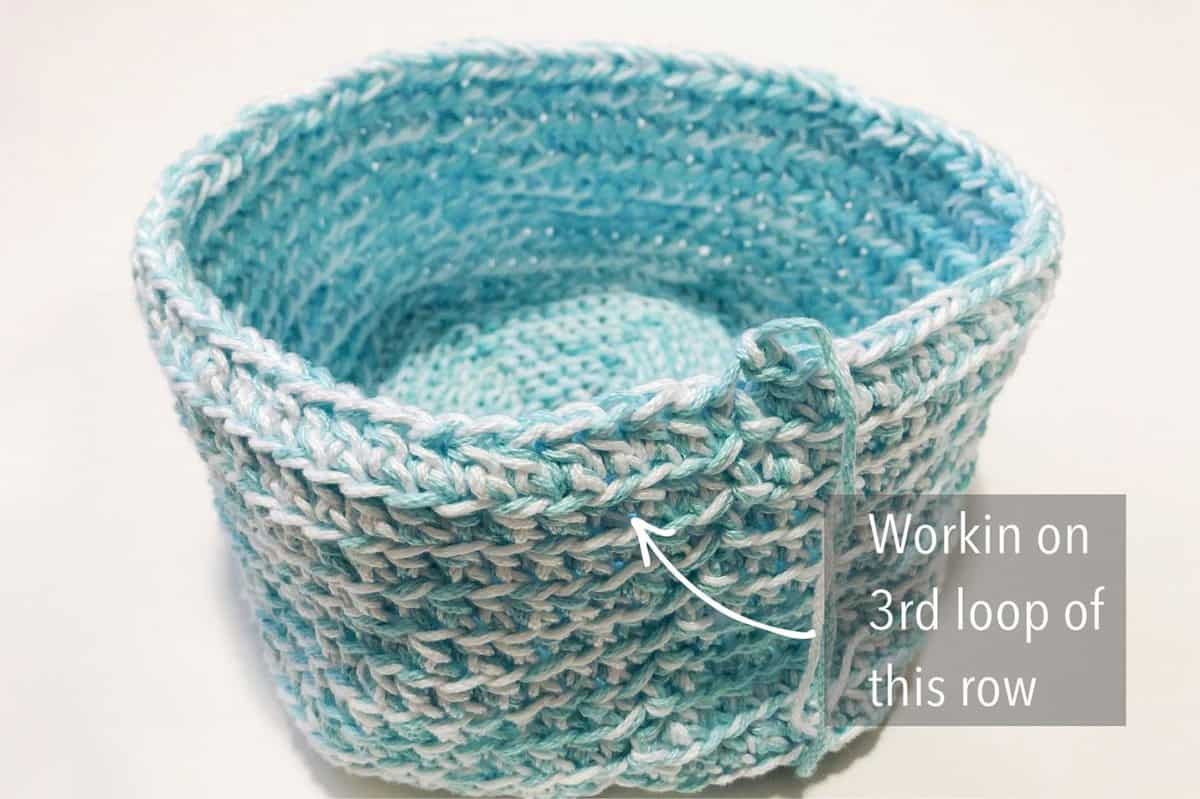
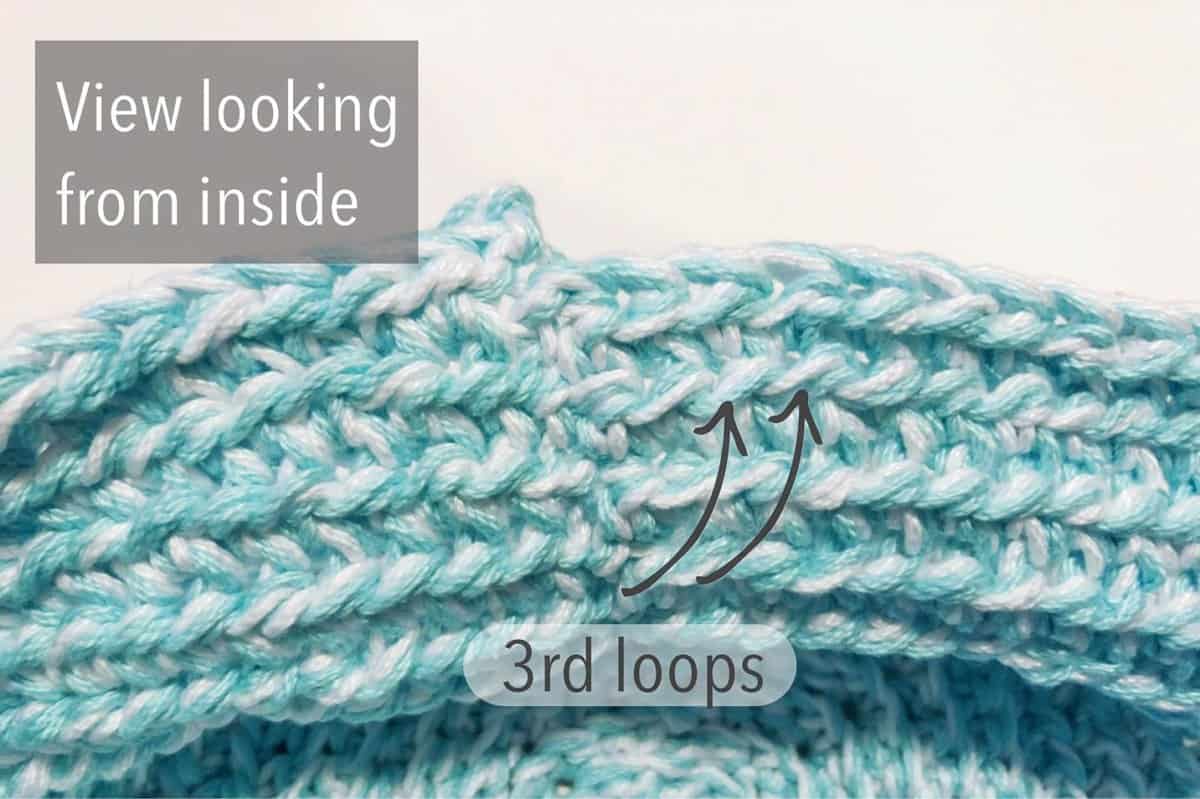
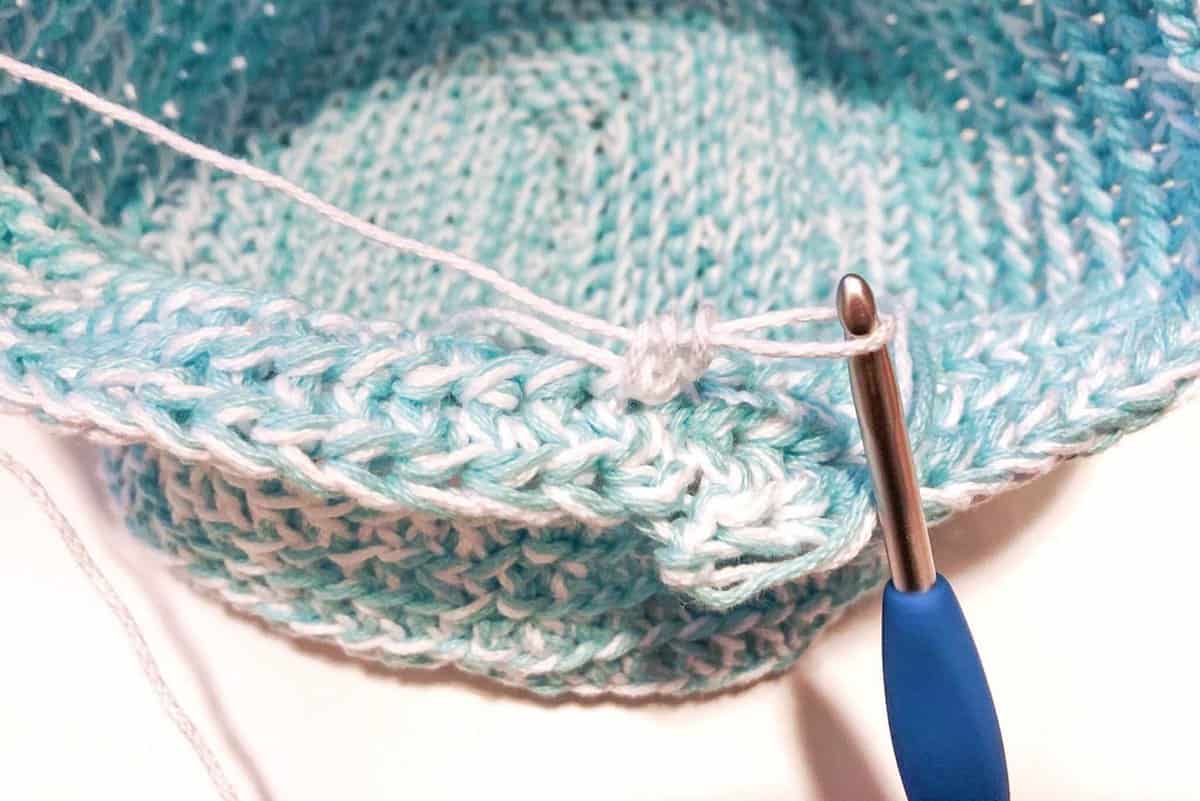
- Insert a hook in 3rd loop from Round 17 and pick up a loop with Color A (see photo above)
Round 1: CH 2. HDC around in 3rd loop. SL ST in 1st HDC. [78] (See first photo below.)
Round 2: With Color B, CH 2. HDC around. SL ST in 1st HDC. [78] *Do not cut Color A yarn
Round 3: With Color A, CH 2. HDC around. SL ST in 1st HDC. [78] *Do not cut Color B yarn
Round 4~9: Repeat Round 2 & 3. [78]
Round 10: Repeat Round 2. [78]
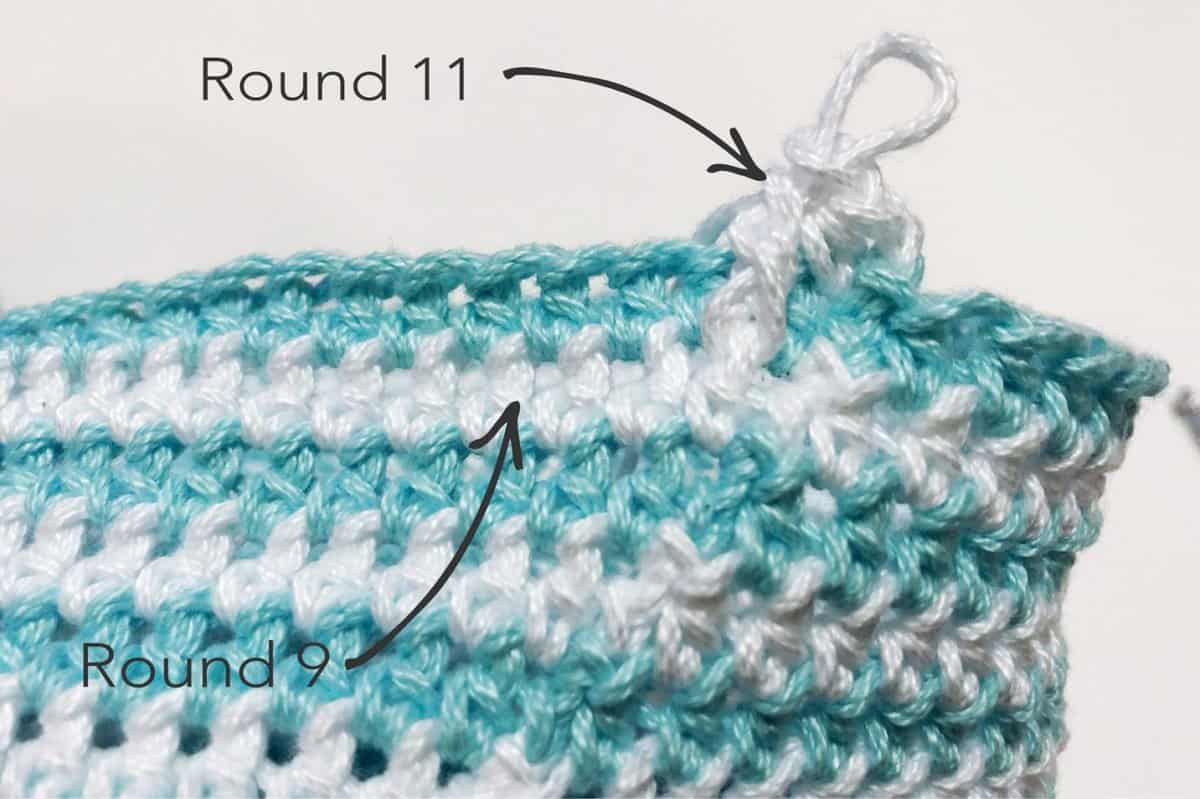
Round 11: With Color A, CH 2. HDC. (FPTC in Round 9. Skip next stitch. HDC 5)* Repeat * 12 times. HDC 4. SL ST in 1st HDC. [78] (See second photo below.)
Round 12~15: Repeat Round 2 & 3. [78]
Round 16: Repeat Round 2. [78]
Fasten off and weave in ends.
Handle
-CH 6
Row 1: SC in 2nd CH from hook. SC across. [5]
Row 2: Turn. CH 1. SC across. [5]
Row 3~50: Repeat Row 2. [5]
Fasten off and weave in ends.
Cord
- Measure and cut 32" long. 3 each for both colors. (total 6 strands)
- With 2 of Color A and 1 of Color B, make a braid. Make another braid with remaining strands.
More Free Crochet Scarves + Shawls Patterns
See more free crochet scarves + shawls patterns →
Assembly
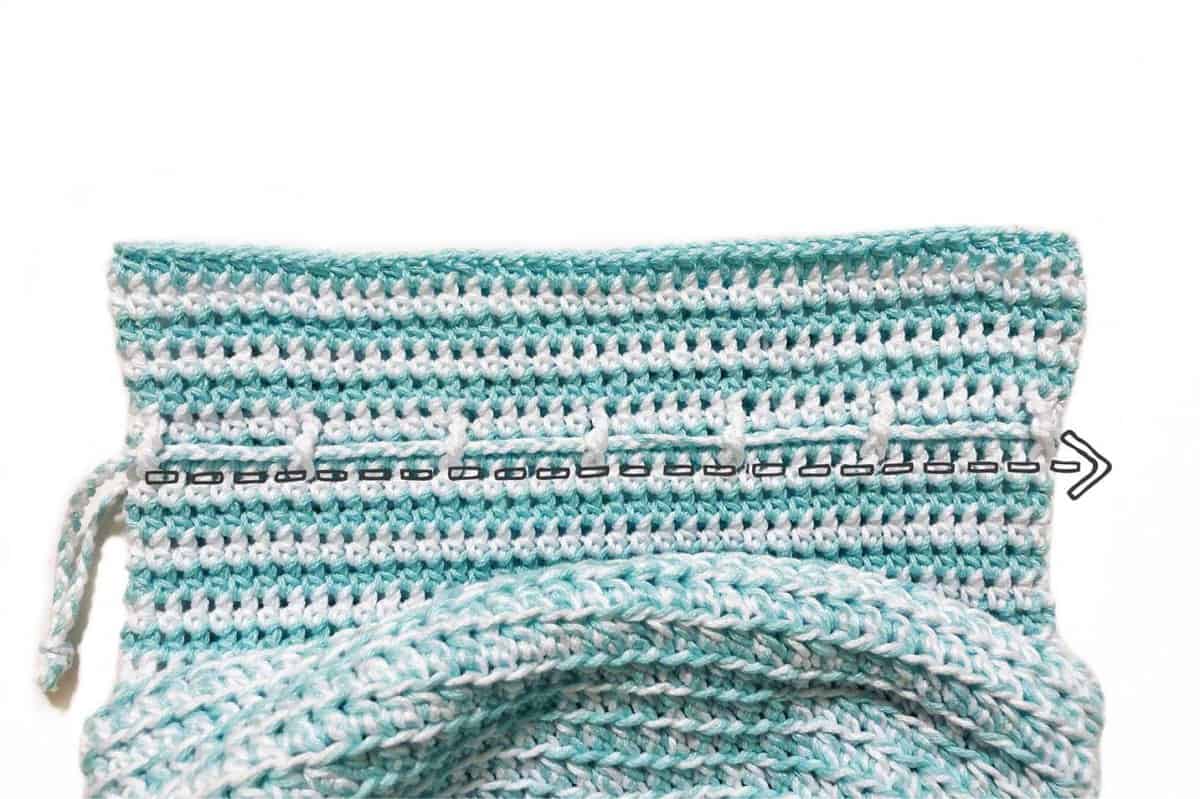
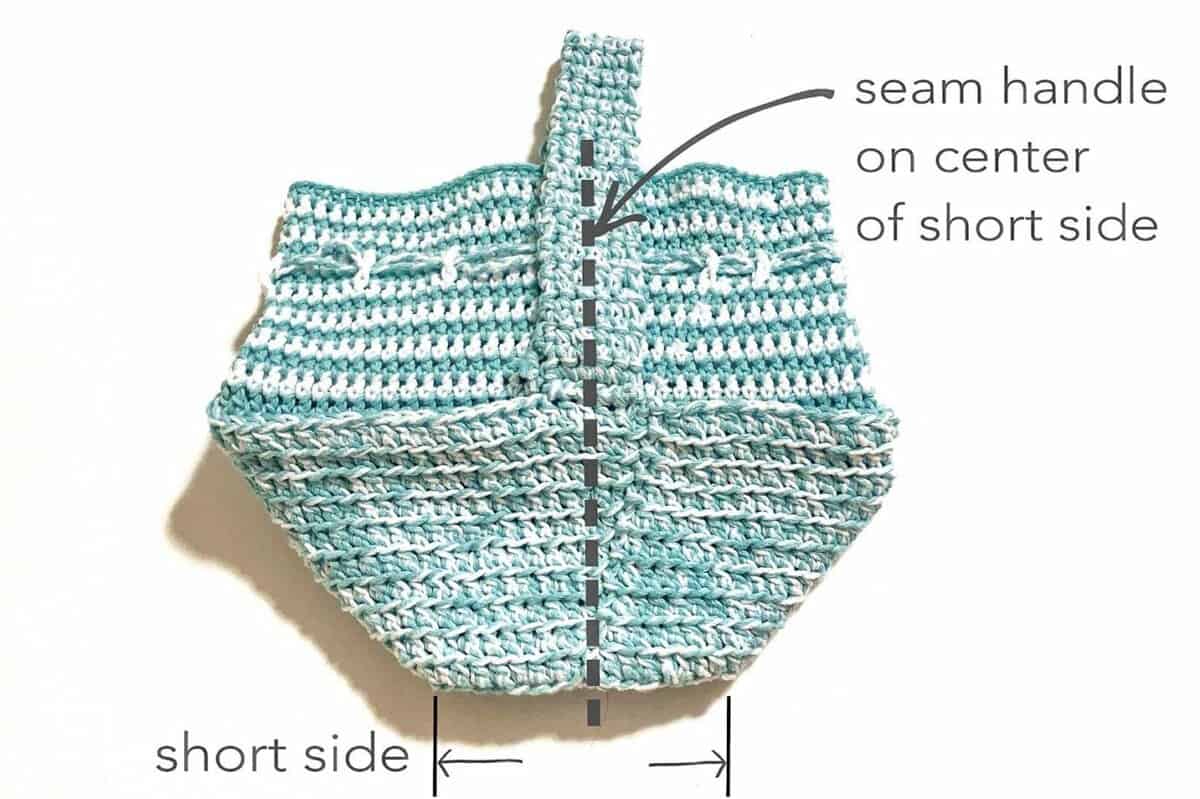
Cord: Insert 1 cord through FPTC. Tie a knot at center of short side of the base. Insert another one and tie a knot at the center of opposite side. (See photo above.)
Handle: Seam short edge of the handle to Round 16 of cover. Starting from 2nd HDC of Round 16 of cover, seam together 5 stitches. Skip next 34 stitches. Seam together next 5 stitches. Make sure to seam several times, especially the corners of handle, so it's nice and sturdy. Also, make sure that handle is aligned center of short side of the base. (See photo below.) If you made the base bigger, seam does start at 2nd HDC because joins gradually shift to right. (For example, if you added 2 more rounds for base, you seam at 92nd HDC of Round 16 of cover, which is 2 stitches to the right)
Thanks again to Tae of TyingAnEnd.com for sharing this free kid's crochet purse and lunchbox pattern! Be sure to check out Tae's blog for lots more free modern crochet patterns!
That was so fun! Now what?
Invitation to our Facebook group
Come discuss crocheting bags and lots of other crochet projects and techniques in our Make & Do Crew Facebook group. Here thousands of helpful crocheters answer each others questions and share their stitches. Come join us here.
More Free Crochet Patterns for Bags + Purses
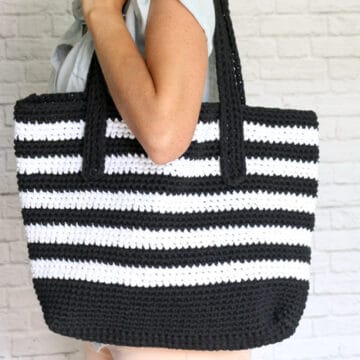
- Lacy Crochet Shoulder Bag Pattern - summery tote bag
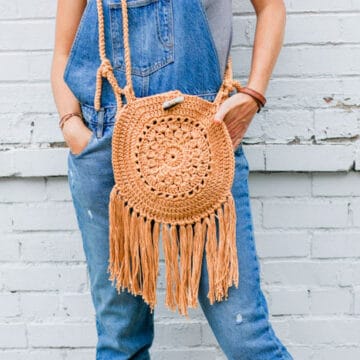
- Fringe Crochet Purse Pattern - bohemian flare!
- Beginner Crochet Tote Bag - fun crochet geometry
- How to Add Leather Handles to Any Crochet Bag - easy upgrade
- Crochet Tote Bag Free Pattern - with leather handles
- Finger Crochet Bag Pattern + Video - no hook, no problem!
- Free Crochet Bag Pattern For Beginners - very simple construction
- Crochet Festival Purse Pattern - circle purse with style galore
More Free Modern Crochet Patterns for Kids
If you’re interested in more free crochet patterns for babies and kids, here are a few of the most loved by M&DC crocheters.
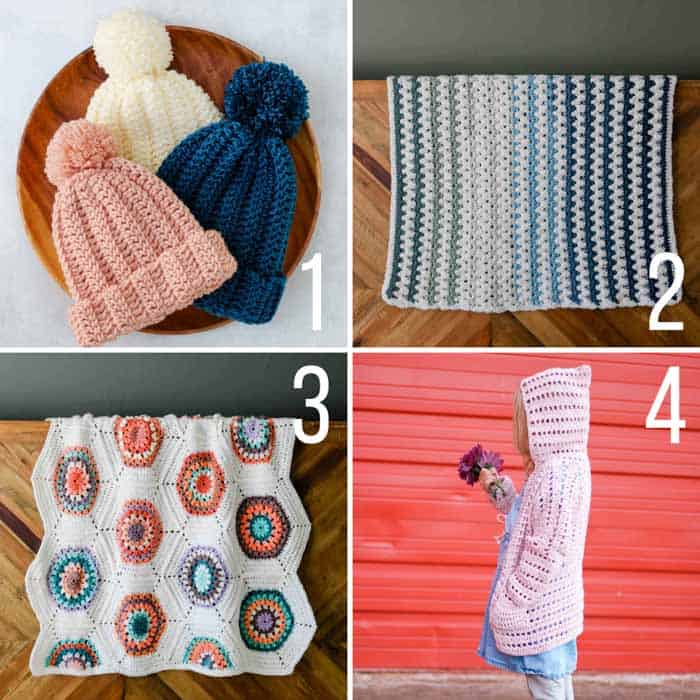
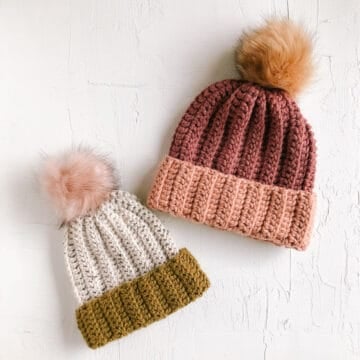
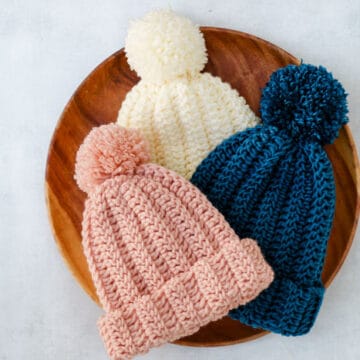
1. 1 Hour Beanie - This slightly slouchy easy child’s crochet hat pattern works up in about an hour and is perfect for beginners because it’s made from a simple rectangle.
2. Tributary Blanket -By combining luxuriously-textured Lion Brand Baby Soft Boucle yarn with your favorite shade of Mandala yarn, you’ll create an extremely soft, machine washable and visually-stunning baby blanket in no time.
3. Grandmother's Flower Garden Blanket - Inspired by vintage quilt patterns, this Grandmother’s Flower Garden crochet blanket pattern is perfect to make from deconstructed yarn cakes or your scrap stash.
4. XO Sweater - Believe it or not, this four-season child’s crochet cardigan pattern is made from two simple hexagons!