
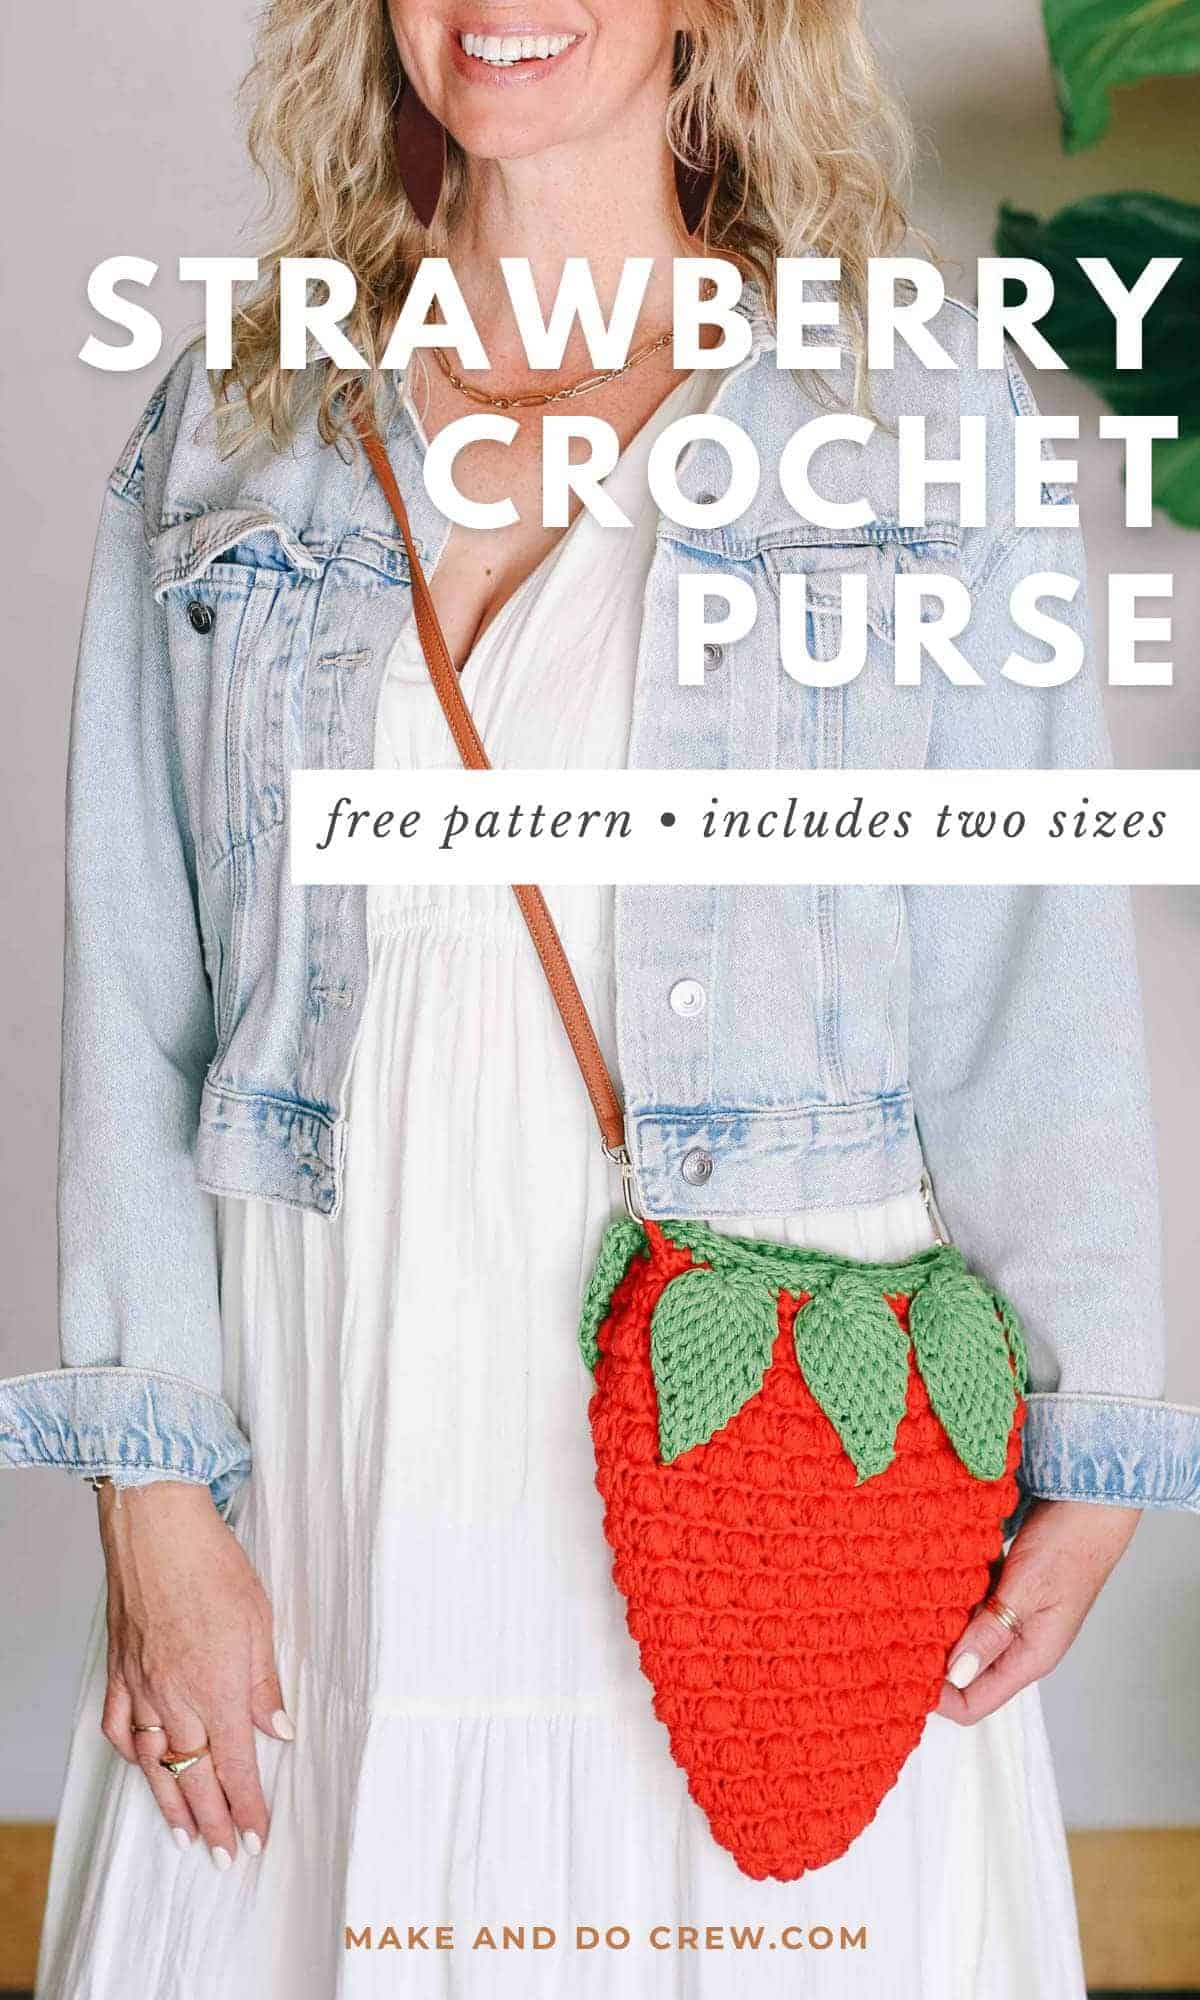
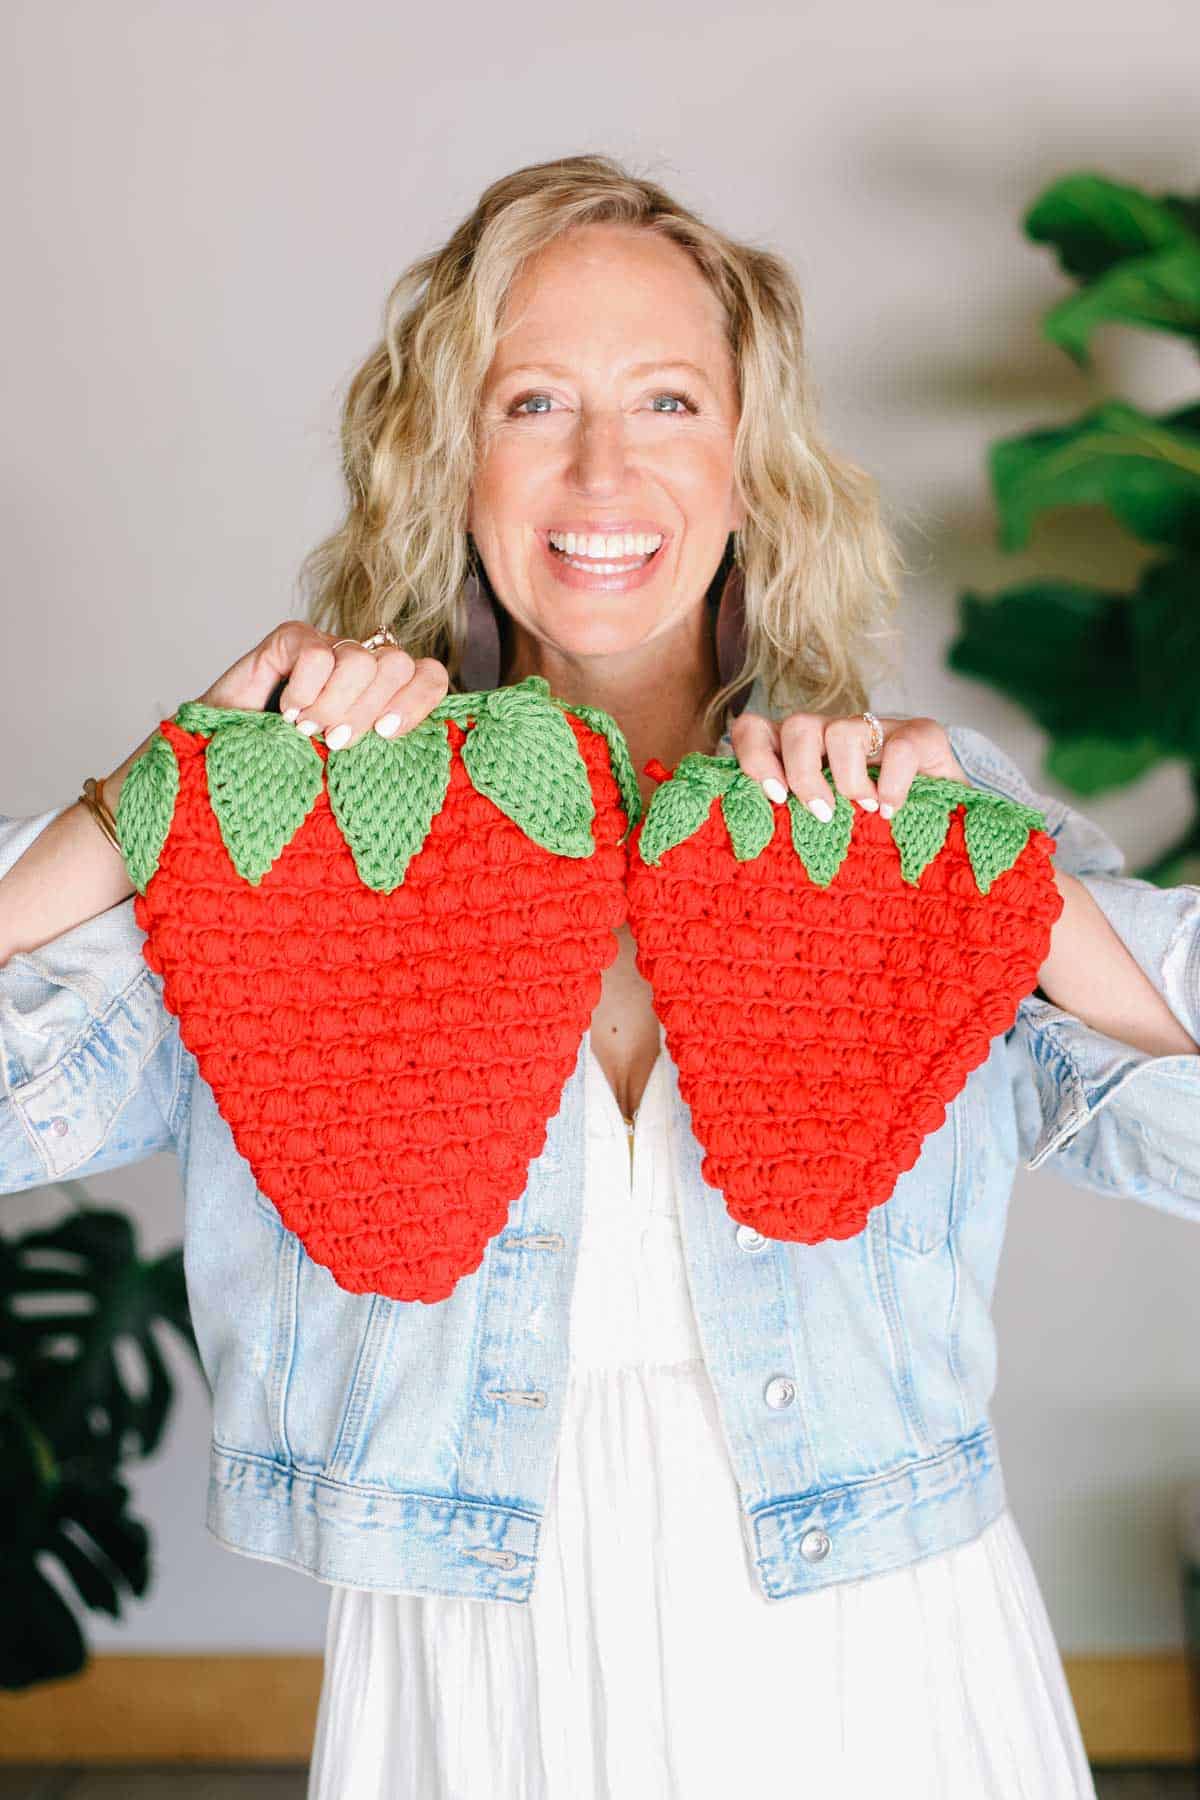
This crochet strawberry purse pattern uses puff stitches to mimic the texture of real fruit. The pattern includes two sizes, so you can make a compact mini berry or a larger version depending on how much gear you like to bring with you.
The free strawberry bag pattern is below or purchase the ad-free, printable PDF.
This strawberry purse is part of a collaboration with Lion Brand Yarns. This post contains affiliate links.
Jump to:
- Strawberry Season Purse - Free Pattern
- All-in-One Crochet Kit
- Print this Pattern
- Supplies + Materials
- Measurements
- Gauge
- Abbreviations + Glossary (US Terms)
- !! Gauge Check !!
- Strawberry Purse Body
- Joining Front and Back
- Leaves
- Top Border of Purse
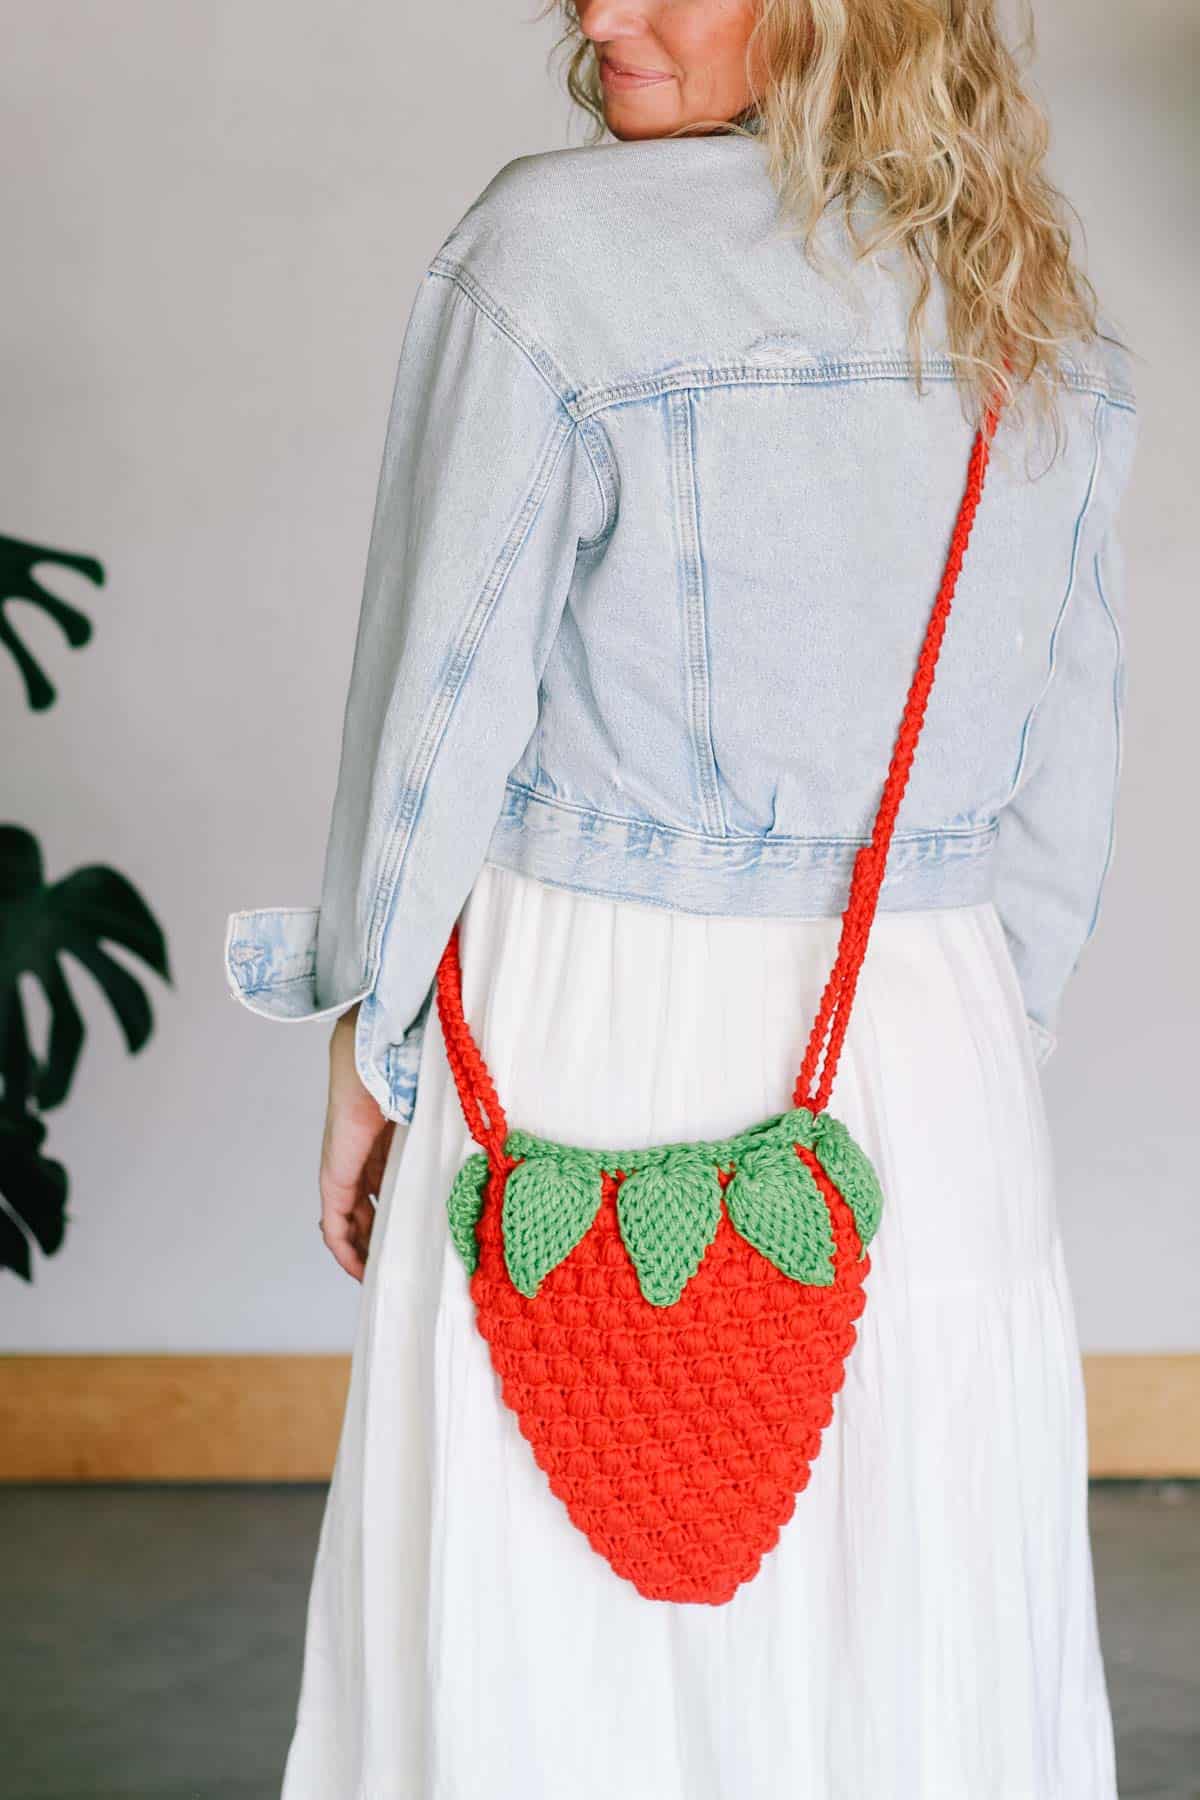
- Crocheted Strap (optional)
- Finishing
- Invitation to our Private Community
Strawberry Season Purse - Free Pattern
This crochet strawberry purse pattern is the sweetest way to carry your essentials through berry season. The design uses puff stitches to recreate the dimpled, seedy texture of a real strawberry, so the whole bag has that plump, just-picked look.
Choose to make a smaller purse or larger strawberry bag. Then choose your own strap: follow the included instructions to crochet one, or swap in a premade leather strap for a more polished look. This is a fun, fast project that strawberry lovers of any age will want to carry all summer long.
Skill Level
This is an intermediate-level crochet pattern. In this project, you'll practice:
- basic stitches and stitch combos
- working flat
- puff stitches
- increasing
- simple seaming with crochet stitches
- pattern reading
- Romanian cord (optional)
All-in-One Crochet Kit
If you don't live near amazing yarn stores or if you just like to get fun packages in the mail, the all-in-one kit is a perfect way to make your Strawberry Season Purse. This bundle from Lion Brand includes all the 24/7 Cotton you'll need, plus a bonus printable PDF of the pattern (delivered digitally).
Print this Pattern
If you prefer to crochet offline, you'll love the premium PDF! The instantly downloadable, ad-free file is formatted for easy printing and includes the complete pattern in two sizes lots of photos.
Premium PDF
easier and faster with fewer mistakes.
- Complete pattern + photo tutorials
- Instant download
- Formatted for easy printing
Supplies + Materials
Order an all-in-one kit from Lion Brand.
• Lion Brand 24/7 Cotton (Weight 4/Medium- 185 yds, 3.5 oz, 100 g)
- Color A – Red (761-113B) – 2 (3) skeins [(approx. 200 (350) g)]
- Color B – Grass (761-172H) 1 (1) skein [(approx. 20 (35) g)]
• Tapestry needle
• Size K (6.5 mm) crochet hook or size needed to obtain gauge
• Size G (4.0 mm) crochet hook or size needed to obtain gauge
• Stitch markers or safety pins
• Pre-made leather purse strap (optional)
• Magnetic closure (optional)
Measurements
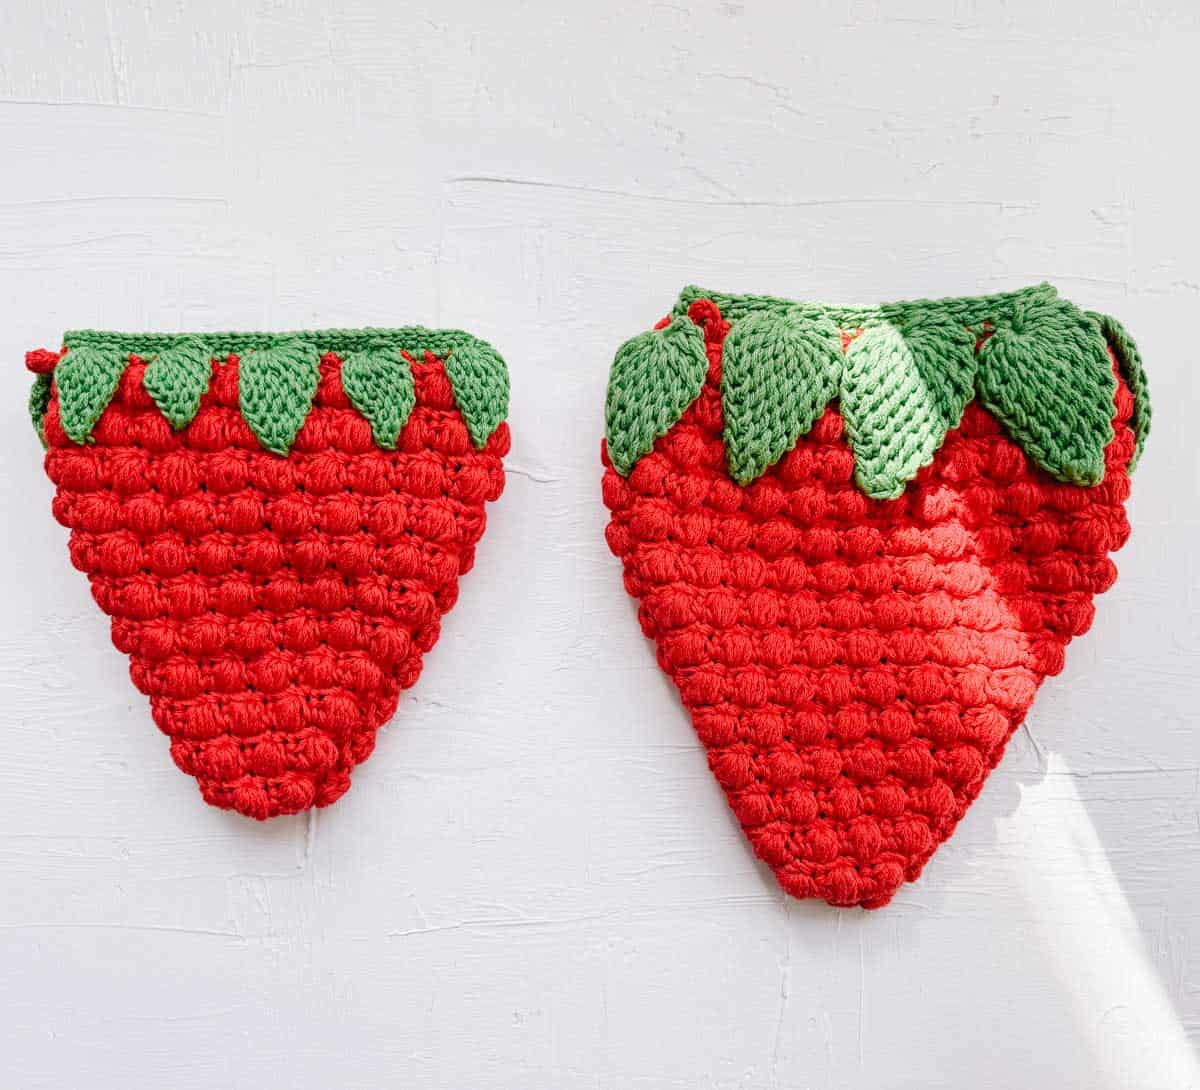
Larger Purse: 11.5” x 9.5”
Smaller Purse: 9” x 8.5”
Gauge
First ten rows of strawberry should measure 4” long and 6” wide
Abbreviations + Glossary (US Terms)
ch – chain
dec – decrease
inc – increase
rep – repeat
RS – right side
sc – single crochet
sc2tog – single crochet 2 sts together
sk – skip
slst – slip stitch
st(s) – stitch(es)
WS – wrong side
yo – yarn over
Special Stitches
Puff stitch – [yo, insert hook in the designated stitch, yo and pull up a loop] three more times in the same stitch, yo and pull through all 9 loops on hook, ch 1 to close puff.
Overall Pattern Notes
- If you’re new to reading crochet patterns, check out more info here.
- Pattern is written in two sizes. When only one set of instructions is given, they pertain to both sizes. When two sets of numbers are given, such as 4 (8), the first number relates to the smaller size purse, and the second number relates to the larger size.
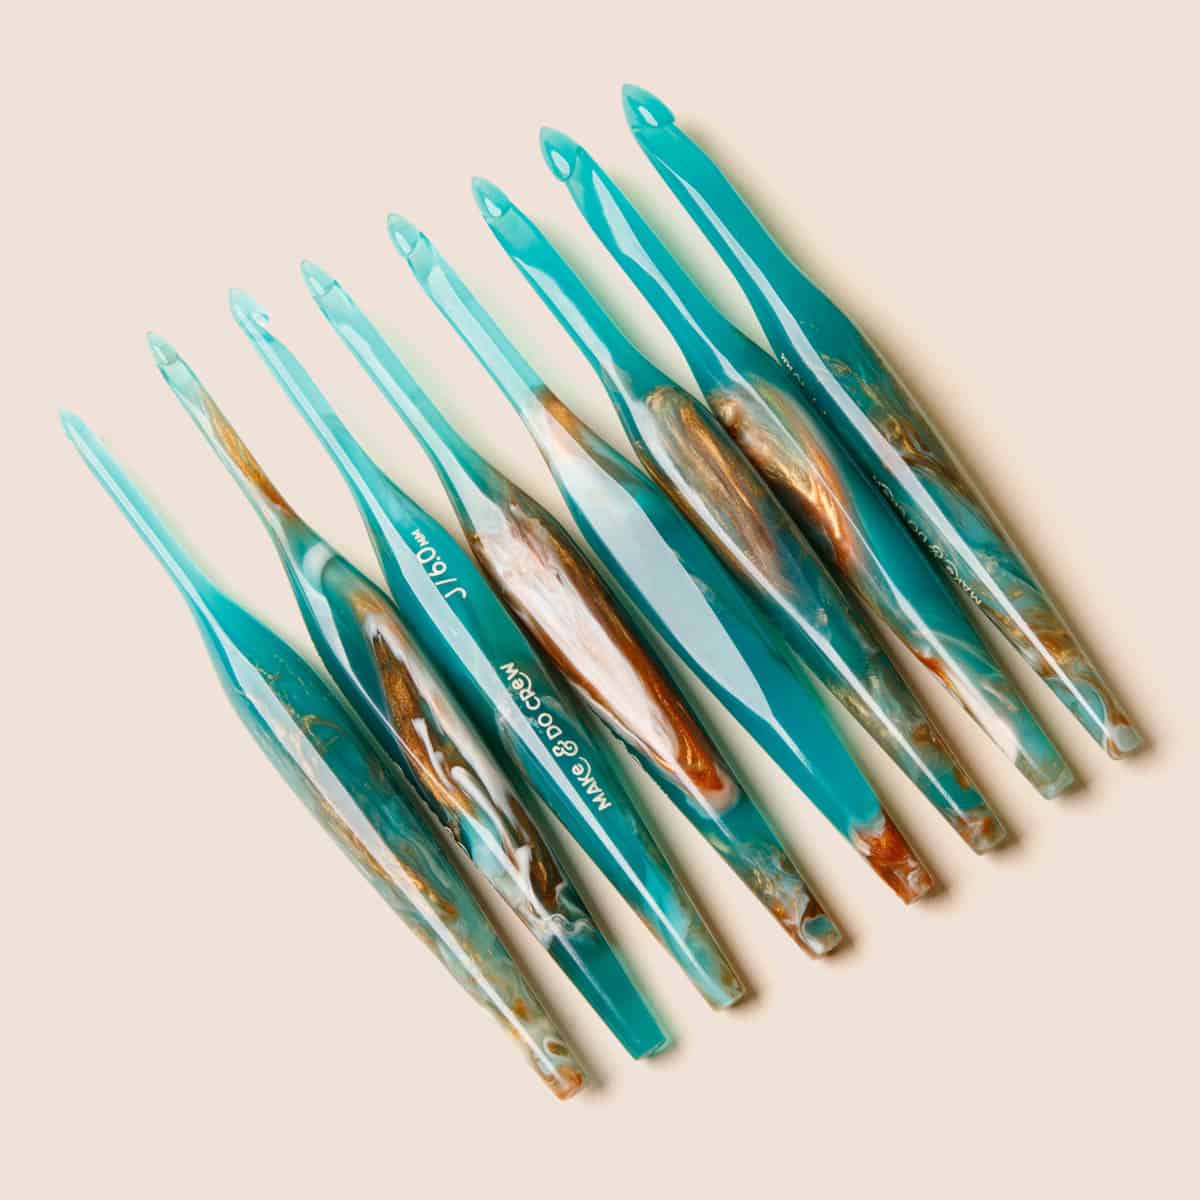
A Hook Designed By Crocheters, for Crocheters
Our first batches sold out in hours. Don't miss out on getting yours!
★★★★★
"This is the best designed crochet hook I have used in 55 years of crocheting." - Mary M.
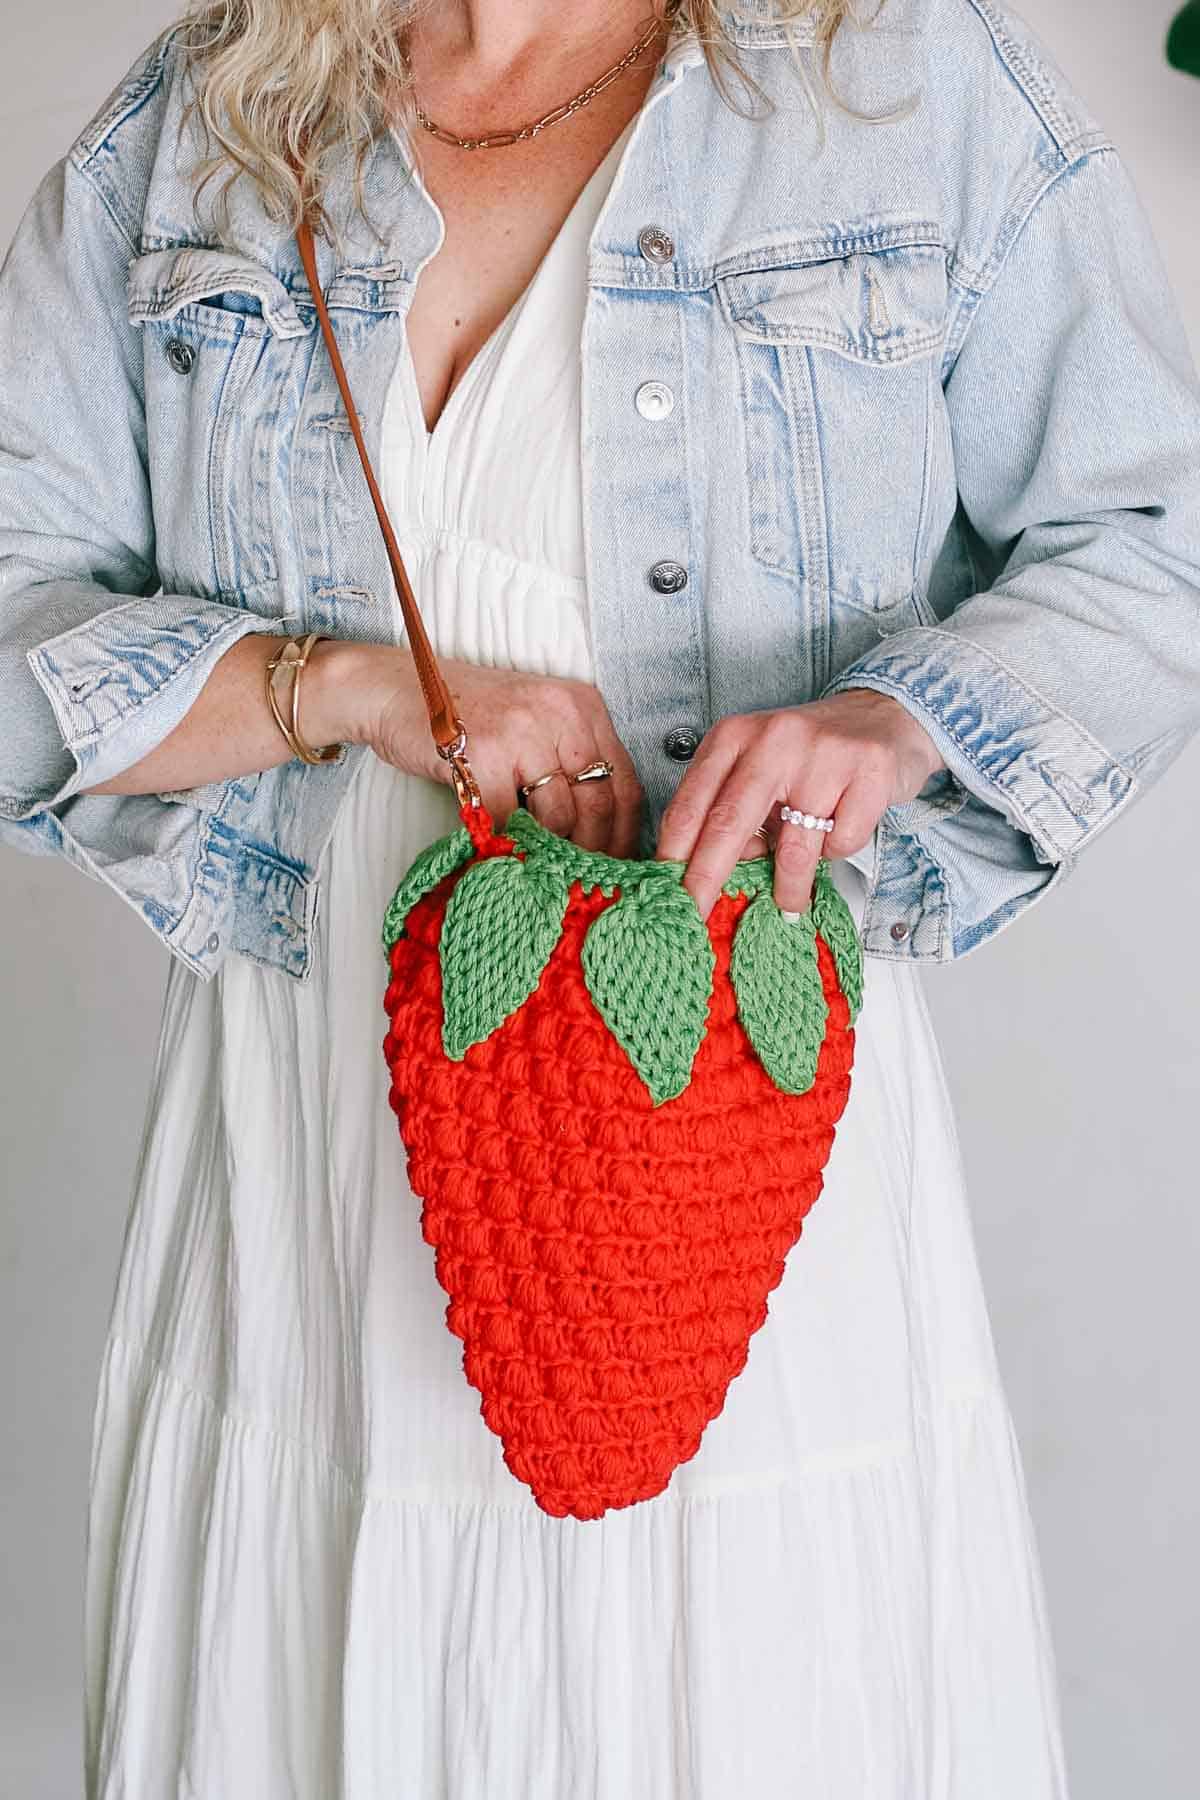
larger size
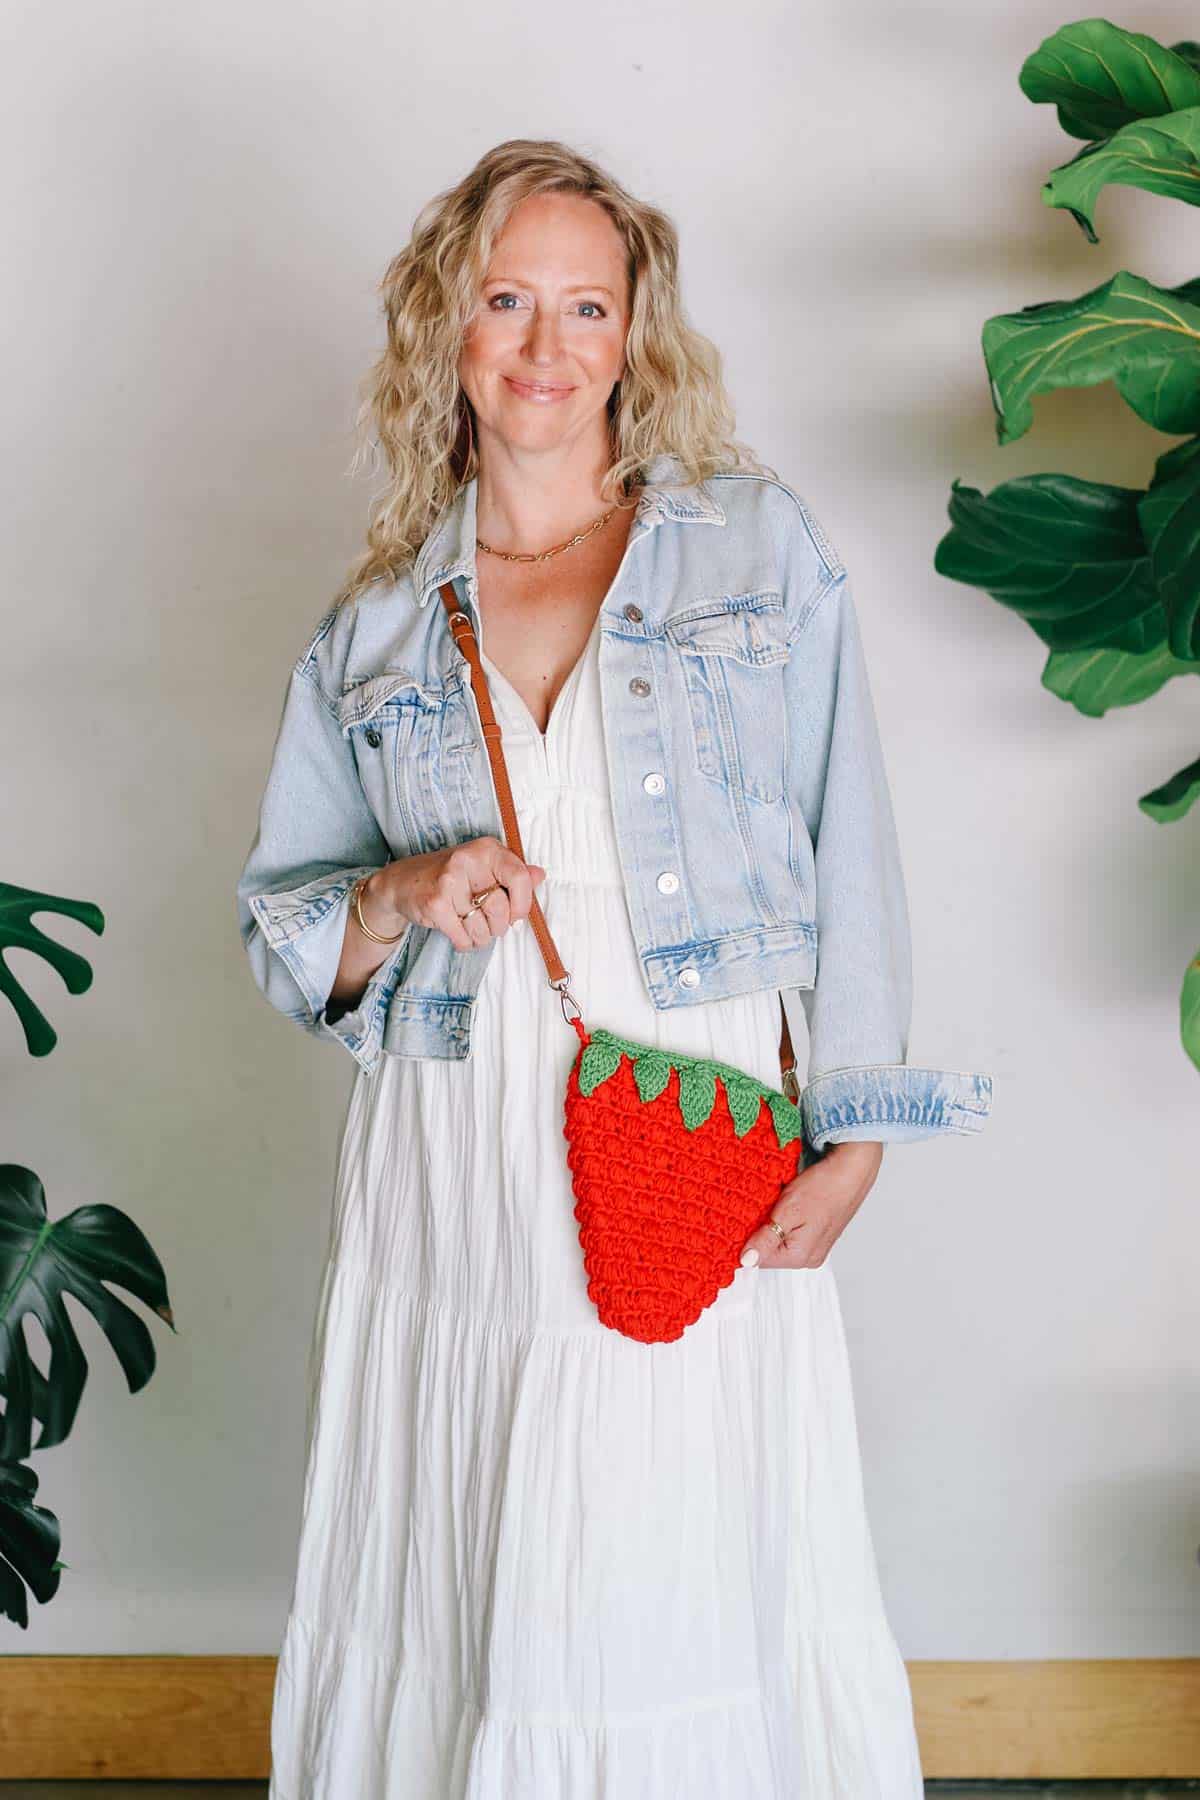
smaller size
!! Gauge Check !!
- No gauge swatch is necessary for this purse. Work 10 rows of the strawberry purse body as written and measure length and width. It should measure approximately 4” long and 6” wide.
- If you’re substituting yarn, make sure your hook size is small enough that your puff stitches are quite close together. This will ensure the sturdiest purse.
Want some company while you crochet?
Get support (and camaraderie!) in the Make & Do Crew community. Join for free here.
Premium PDF
easier and faster with fewer mistakes.
- Complete pattern + photo tutorials
- Instant download
- Formatted for easy printing
Strawberry Purse Body
- The strawberry portion of both purse sizes is worked with 2 strands of yarn held together.
With color A and larger hook:
Make 2.
Foundation Row: Ch 8.
Row 1 (RS): Sc in second ch from the hook and in each ch to end of row: turn. (7 sts)
Row 2 (WS): Ch 1, sc in first st, *puff st in next st, sc in next st, rep from *to end of row; turn. (4 sc, 3 puff sts)
Row 3 (RS inc): Ch 1, 2 sc in first st, sc in top of puff st, sk ch 1 (ch that closes puff st), *sc in next st, sc in top of puff st, sk ch 1, rep from * until 1 st remains, 2 sc in last st; turn. (9 sc)
Print This Pattern: purchase the ad-free, printable PDF
Smaller Purse: Rep Rows 2 and 3 seven more times. Every WS row should increase by one puff stitch. Rep Row 2 once more to create a total of 18 rows.
Row 18 should include 12 sc and 11 puff sts
Larger Purse: Rep Rows 2 and 3 nine more times. Every WS row should increase by one puff stitch. Rep Row 2 once more to create a total of 22 rows.
Row 22 should include 14 sc and 13 puff sts.
Decreasing for Top
Smaller Purse only:
Row 1 (RS): Ch 1, sc in first st, *sc in top of puff st, sk ch 1, sc in next st, rep from * to end of row, turn. (23 sc)
Row 2 (WS): Ch 1, sc in first 2 sts, * puff st in next st, sc in next st, rep from * until 1 st remains, sc in last st; turn. (13 sc, 10 puff sts)
Row 3 (RS dec): Ch 1, sc2tog, *sc in top of puff st, sk ch 1, sc in next st, rep from * until 3 sts remain, sc in puff st, sk ch 1, sc2tog; turn. (21 sts)
Row 4 (WS): Rep Row 2. (12 sc, 9 puff sts)
Row 5 (RS dec): Ch 1, sc2tog, sc in top of puff st, sk ch-a, sc in next st; rep from * until 1 st remains, sc in last st; turn. (20 sts)
Row 6 (WS): Ch 1, sc in each st to end of row.
Fasten off. (Do not fasten off second strawberry as you will use the yarn to join front and back.)
Larger Purse only:
Row 1 (RS): Ch 1, sc in first st, *sc in top of puff st, sk ch 1, sc in next st, rep from * to end of row, turn. (27 sc)
Row 2 (WS): Ch 1, sc in first 2 sts, * puff st in next st, sc in next st, rep from * until 1 st remains, sc in last st; turn. (15 sc, 12 puff sts)
Rows 3 (RS): Ch 1, sc in first 2 sts, *sc in top of puff st, sk ch 1, sc in next st, rep from * to end of row; turn. (27 sc)
Row 4 (WS): Rep Row 2.
Row 5 (RS dec): Ch 1, sc2tog, *sc in top of puff st, sk ch 1, sc in next st, rep from * until 3 sts remain, sc in top of puff st, sk ch 1, sc2tog; turn. (25 sc)
Row 6 (WS dec): Ch 1, *sc in next 2 sts, sc2tog, rep from * until 3 sts remain, sc in last 3 sts. (20 sc)
Fasten off. (Do not fasten off second strawberry as you will use the yarn to join front and back.)
Joining Front and Back
With RS facing each other, line up the puff stitch rows on the front and back of purse. Secure with stitch markers.
Go through both loops of each stitch on the front and back when seaming together.
With RS together, larger hook and using attached yarn:
Joining Row (WS):
First side: Ch 1, slst in each row end on side of purse (24 (28) slst)...
Bottom: Slst in each of the 7 Foundation Row sts…
Second side: Slst in each row end on second side of purse (24(28) slst)...
Fasten off and weave in ends.
Leaves
- This video tutorial from Knitting Life demonstrates this leaf technique:
Leaves are worked in Tunisian Full Stitch. Each row consists of two steps.
Step 1: Forward Pass in which you will pick up loops on your hook and leave them on the hook until the next step.
Step 2: Return Pass in which you will join the stitches together as you drop them off the hook.
All rows are worked with the RS facing step 2 is complete.
Smaller Purse
- Leaves on smaller purse are worked with 1 strand of yarn and smaller hook.
Wanna save this pattern?
Make 10 leaves.
With Color B and smaller hook:
Foundation Row: Make a Magic Ring.
Row 1:
Forward Pass (RS): Insert hook into magic ring and pull up a loop, ch 1, *insert hook into magic ring, yo and pull up a loop, yo, pull through one loop on hook, rep from * until there are a total of 8 loops on the hook.
Return Pass(RS): Yo, pull through first loop, *yo, pull through 2 loops, rep from * until there is only one loop on the hook.
Row 2:
Forward Pass: Insert hook in sp between second and third sts, pull up a loop, *insert hook in sp between next 2 sts, pull up a loop, rep from * to end of row. (7 loops on hook)
Return Pass: Yo, pull through first loop, *yo, pull through 2 loops, rep from * until there is only one loop on the hook.
Row 3:
Forward Pass: Insert hook in sp between second and third sts and pull up a loop, *insert hook in sp between next 2 sts and pull up a loop, rep from * to end of row. (6 loops on hook)
Return Pass: Yo, pull through first loop, *yo, pull through 2 loops, rep from * until there is only one loop on the hook.
Rep Row 3, decreasing one st every row until there is only one st remaining. (Row 4: 5 loops, Row 5: 4 loops, Row 6: 3 loops, Row 7: 2 loops, Row 8: 1 loop.)
Fasten off leaving a 12” tail for tacking leaf to purse.
Large Purse only:
- Leaves on larger purse are worked with 2 strands of yarn held together. It’s helpful to wind a single skein into 2 equal balls before getting started.
Make 8 leaves.
With Color B and larger hooK:
Foundation Row: Make a Magic Ring.
Row 1:
Forward Pass (RS): Insert hook into magic ring and pull up a loop, ch 1, *insert hook into magic ring, yo and pull up a loop, yo, pull through one loop on hook, rep from * until there are a total of 10 loops on the hook.
Return Pass (RS): Yo, pull through first loop, *yo, pull through 2 loops, rep from * until there is only one loop on the hook.
Row 2:
Forward Pass (RS): Insert hook in sp between second and third st, pull up a loop, *insert hook in sp between next 2 sts, pull up a loop, rep from * to end of row. (9 loops on hook)
Return Pass (RS): Yo, pull through first loop, *yo, pull through 2 loops, rep from * until there is only one loop on the hook.
Row 3:
Forward Pass (RS): Insert hook in sp between second and third sts and pull up a loop, *insert hook in sp between next 2 sts and pull up a loop, rep from * to end of row. (8 loops on hook)
Return Pass (RS): Yo, pull through first loop, *yo, pull through 2 loops, rep from * until there is only one loop on the hook.
Rep Row 3 decreasing one st every row until there is only one st left. Fasten off leaving a 12” tail for tacking leaf to purse.
Top Border of Purse
- Top is worked in unturned rounds with RS facing throughout.
- To attach leaves in Round 2: Insert hook in center of magic ring at top of leaf, and then insert hook in the designated stitch. Complete the single crochet through both pieces to secure leaf to bag.
Smaller Purse Only:
Attach Color B in first stitch of final strawberry round.
With smaller hook:
Round 1: Ch 1, 2 sc in each st around, slst to first sc to join. (80 sc)
Round 2: Ch 1, sc in first 3 sts, *attach leaf in next st, sc in next 7 sts, rep from * to last 5 sts, attach leaf in next st, sc in last 4 sts. (10 leaves attached)
Round 3: Ch 1, slst in each st around, slst to first slst to join. Fasten off and weave in ends.
Larger Purse Only:
Attach two strands of Color B in first stitch of final strawberry round.
With larger hook:
Round 1: Ch 1, sc in each st around, slst to first sc to join. (40 sts)
Round 2: Ch 1, sc in first 2 sts, *attach leaf in next st, sc in next 4 sts, rep from * to last 3 sts, attach leaf in next st, sc in last 2 sts. (8 leaves attached)
Round 3: Ch 1 slst in each st around slst to first slst to join. Fasten off and weave in ends.
Crocheted Strap (optional)
Skip this step if adding a store-bought strap.
This cord requires you to continually turn your crocheting clockwise (left-handed crocheters: counter-clockwise). It may feel awkward at first, but it becomes quite quick.
Watch a video tutorial on the Romanian cord:
Smaller and Larger Purse: Use two strands Color A or Color B and larger hook.
Foundation Row: Begin with a 12” tail on your slip stitch. Ch 2.
Row 1: Sc in second ch from hook; rotate stitch clockwise.
Row 2: Insert hook under loop at “back” of stitch where two “V”s point to. Work 1 sc under this loop; rotate stitch clockwise.
Row 3 and beyond: Insert hook under two loops at “back” of stitch where two “V”s point to. Work 1 sc under these loops; rotate stitch clockwise.
Rep Row 3 until cord measures 50” or desired length. Cord is quite sturdy, but will stretch a bit once worn.
Fasten off leaving a 12” tail on your cord. Do not weave in tails as they will be used for seaming the strap.
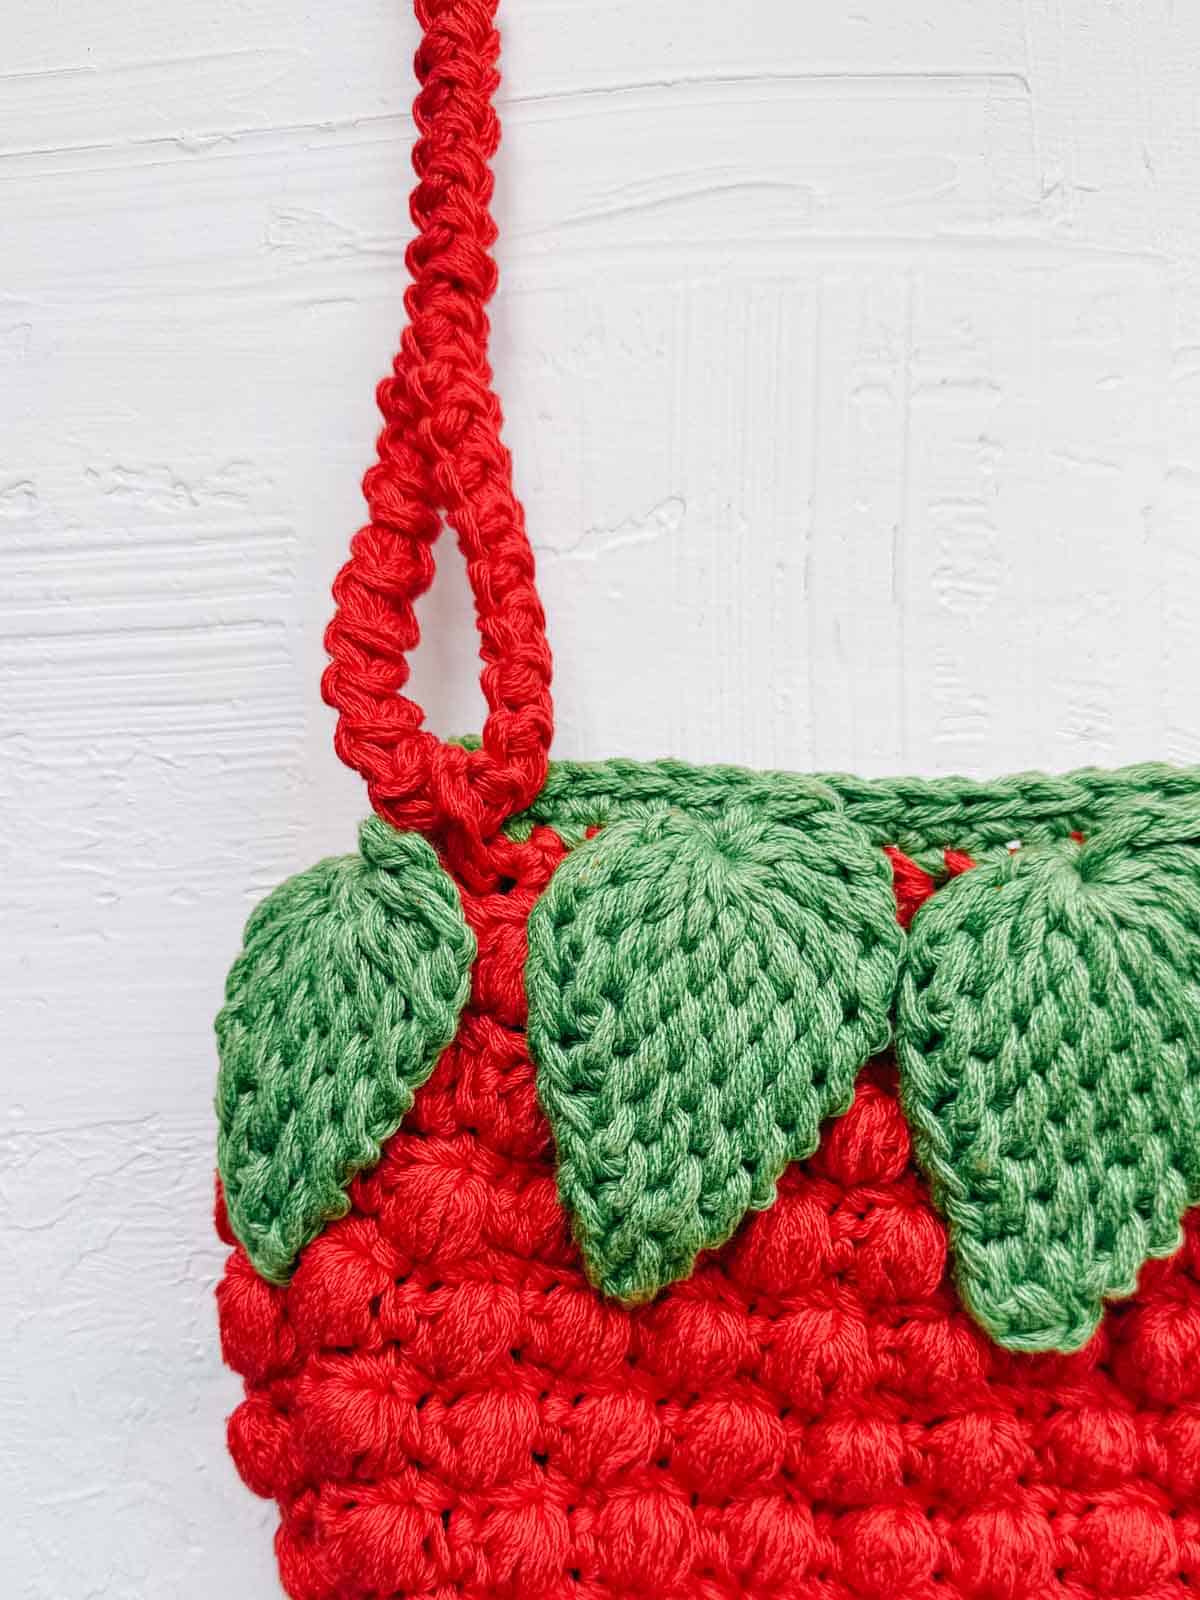
Loops for Handle
These loops are necessary whether you're using a Romanian cord or adding a pre-made strap.
Make 2.
Smaller and Larger Purse: With larger hook and two strands of Color B.
Attach Color B in Round 1 of top of purse border near seam, between leaves:
Step 1: Ch 7, slst next to where yarn was attached; turn…
Step 2: Sc in each ch, sk 2 sts, slst to purse to anchor loop. Fasten off. (6sts)
Repeat on opposite side of purse.
Attaching Strap
Thread strap through each loop and fold up approximately 6” of strap on each side. Using existing yarn tails and a tapestry needle, sew the strap to itself. (See photo above.)
Finishing
Weave in remaining ends: Learn more about weaving in yarn tails.
While weaving in leaf tails, consider using leftover tails to tack leaves to strawberry.
Blocking: Once all ends are woven in, you may do a light steam blocking using either a steamer or iron with steam setting. Focus on any areas that aren’t laying as flat as you’d like, such as the leaves. Do not touch steamer or iron directly to yarn.
Magnetic closure: Use a sewing needle and thread to add an optional magnetic closure to each side upper WS of strawberry.
Enjoy your delicious new purse!
Permissions + Copyright:
Please do not publish or share this pattern as your own. You may make items to sell with this pattern. In exchange, please link back this post. Do NOT use our photos as your own sales photos.
More Bag Free Patterns
If you're a bag lady like me, you'll love these purse, backpack and bag crochet patterns.
That was so fun! Now what?
Invitation to our Private Community
Come discuss crocheting your Strawberry Season Purse and lots of other projects and techniques in our Make & Do Crew community. Here thousands of helpful crocheters answer each other's questions and share their stitches. Join us!
Leave a Reply