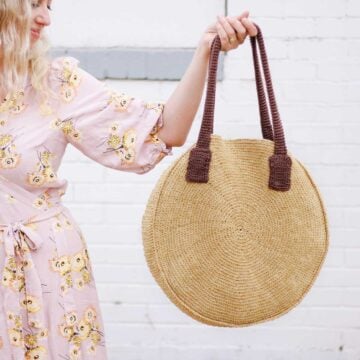
Channel your inner free spirit with this easy crochet circle purse made from two identical circles. Get the free pattern below or purchase the ad-free, printable PDF with stitch chart here.
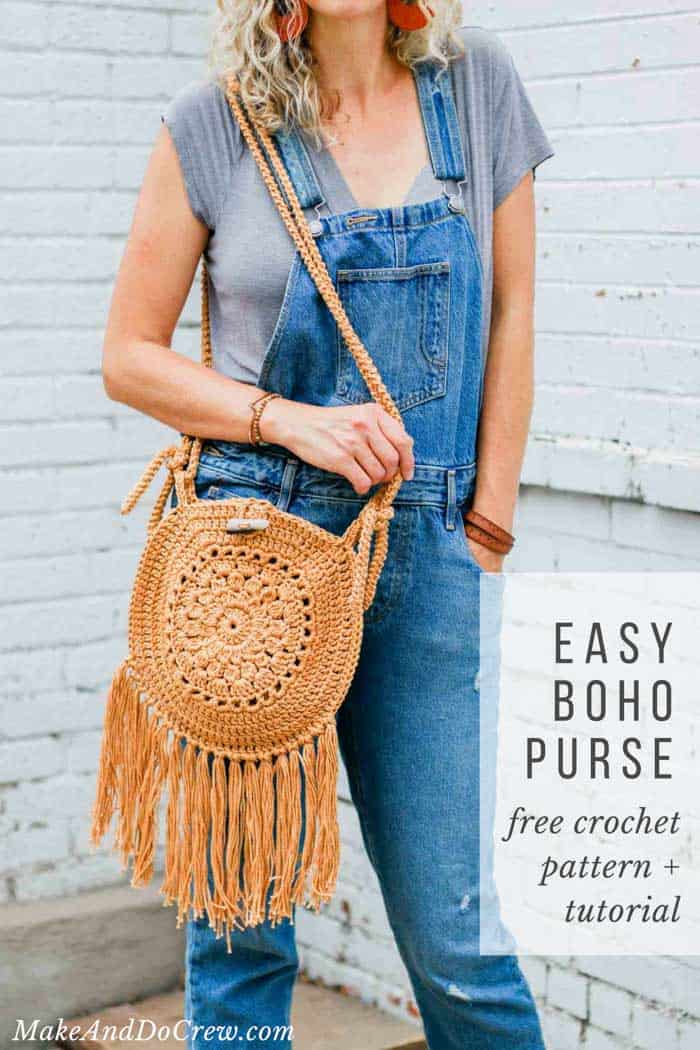
This crochet boho purse is part of a collaboration with my friends at Lion Brand yarn. This post contains affiliate links.
Crochet Round Boho Bag Pattern
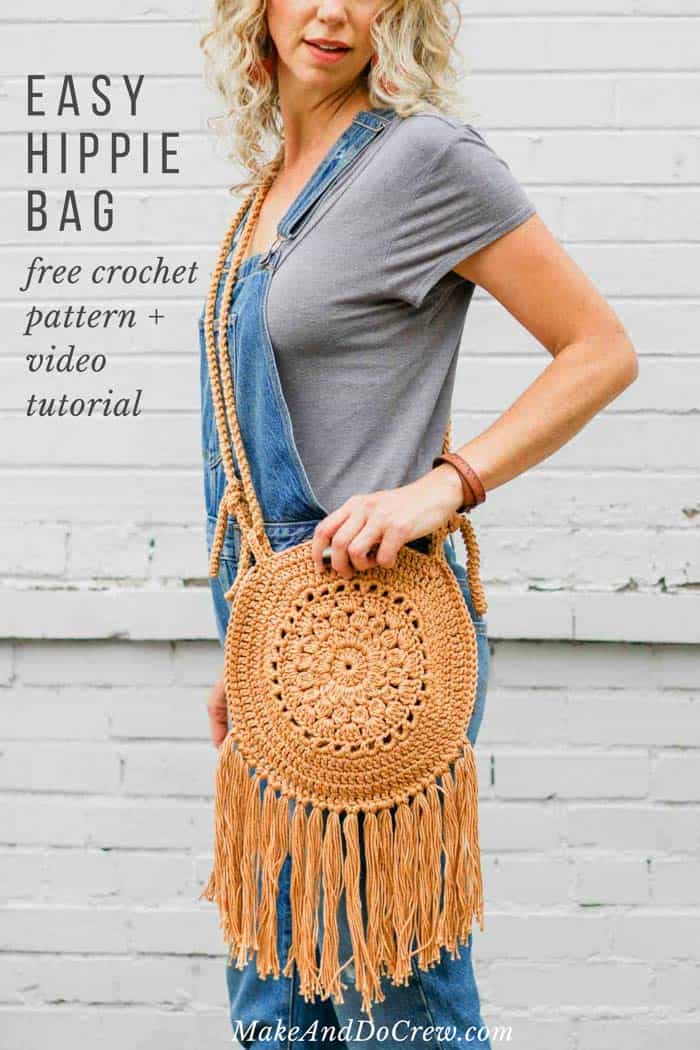
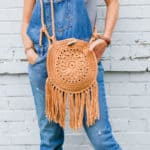
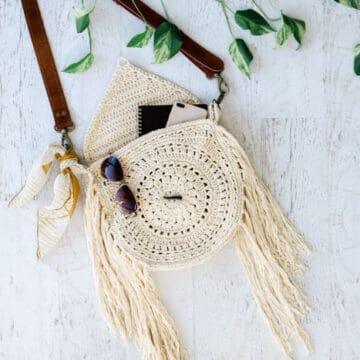
Meet the Street Fair Purse! This stylish, fringed crochet hippie purse is constructed from two simple circles. The size is just perfect for festivals, date nights or walking to dinner.
Why you’ll love this crochet hippie purse pattern!
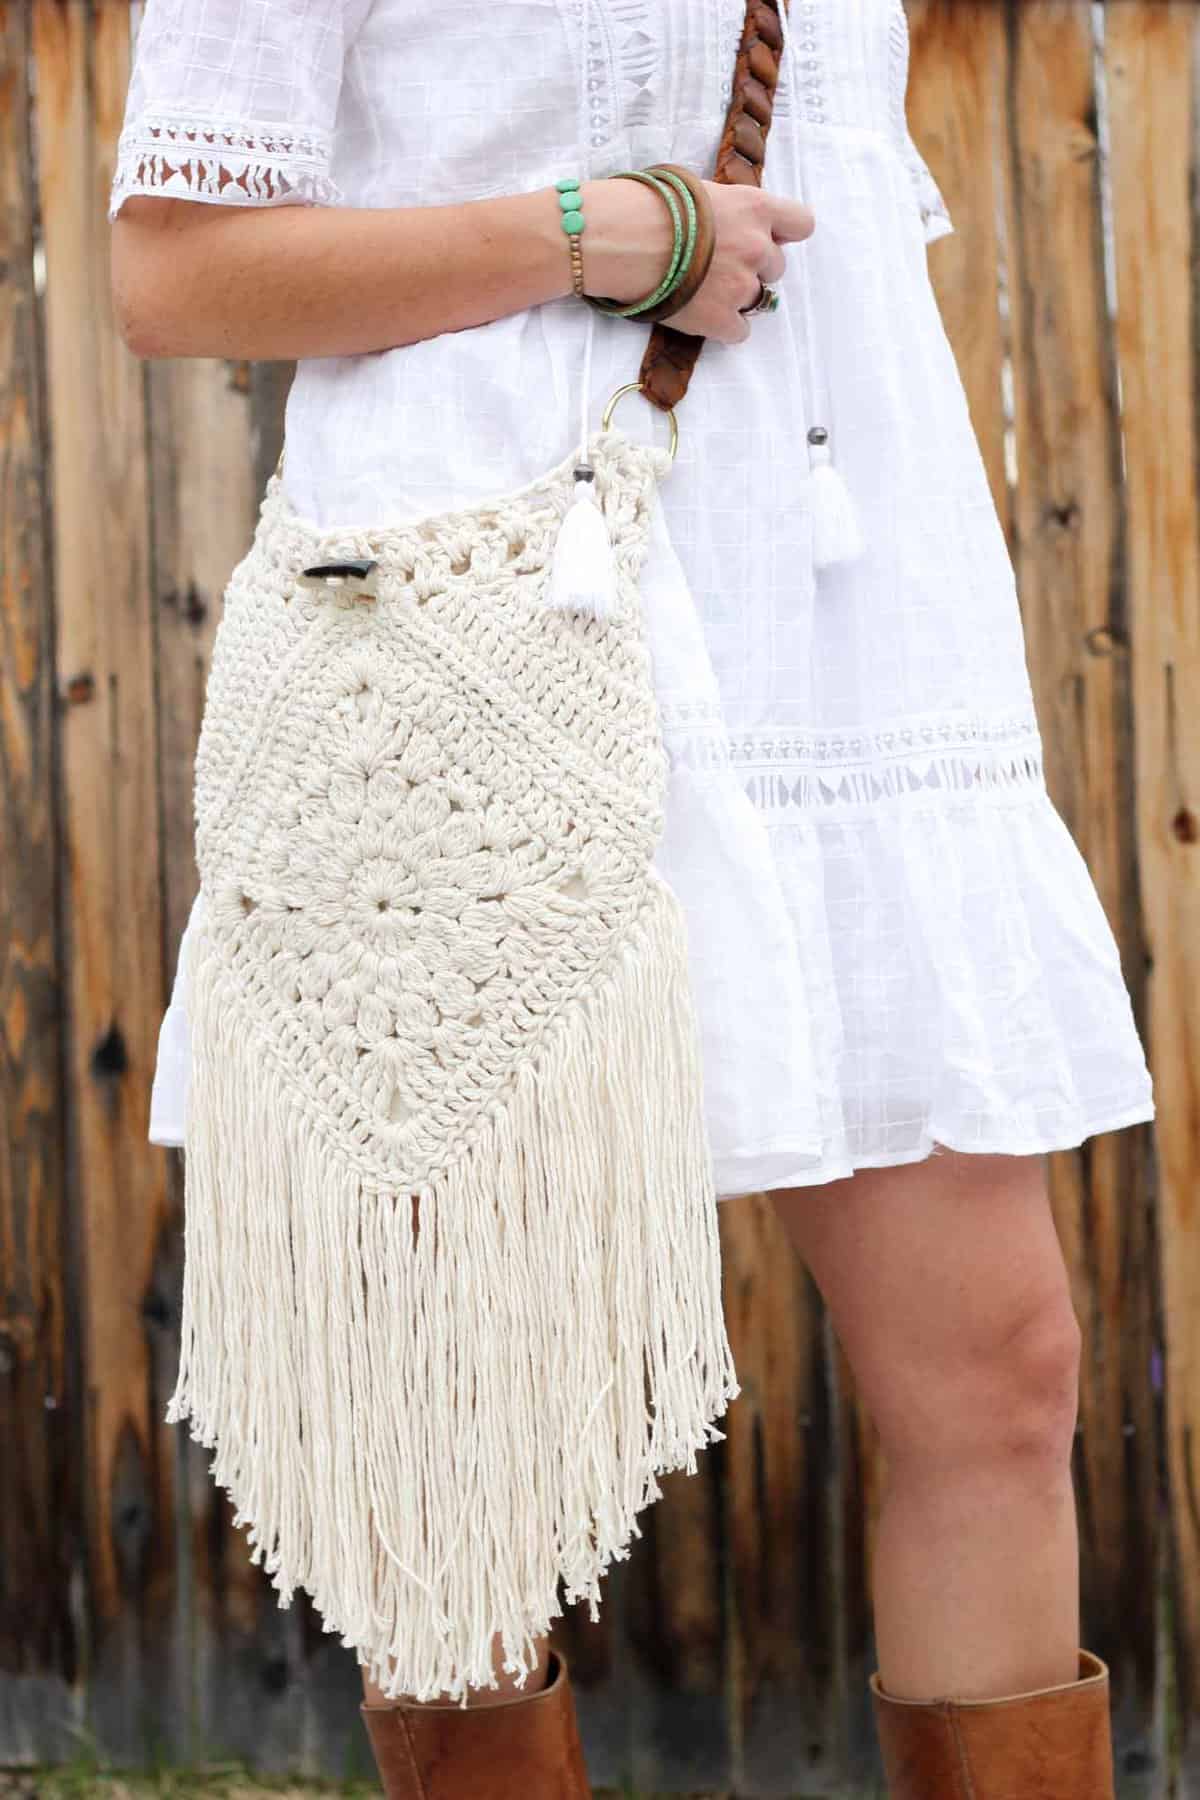
Love fringe? Check out the Urban Nomad Boho Bag.
Crochet Hippie Purse Inspiration
Last year, I shared the free Urban Nomad Boho Bag and I’ve been amazing at the hundreds of bags you’ve shared on Instagram! (See some of them here.)
While it wasn’t necessarily my intent when designing that pattern, you guys have realized what a great project it is to sell at craft fairs. I’ve been thrilled to have some small contribution to your own small businesses.
It occurred to me recently that the center of that boho bag pattern could be used to make a spin off pattern. Hence, I set to work on a circle crochet boho purse.
The resulting round Street Fair purse ended up being even simpler than the original!
Related: 30+ Free Crochet Dress Patterns: Beginner to Advanced
The Construction of a Round Boho Purse
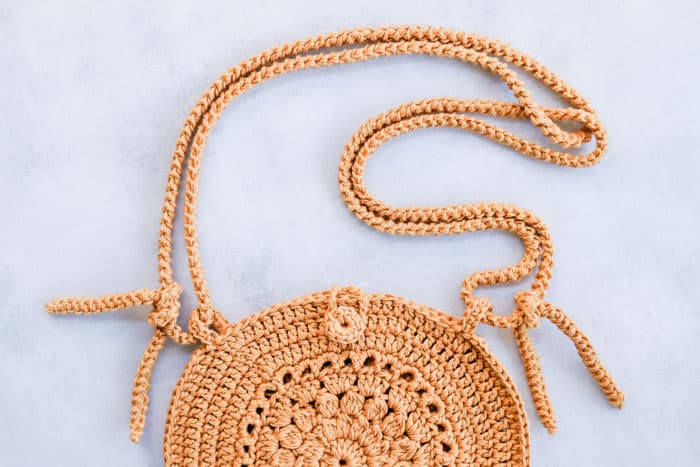
This round bag patterns comes together really easily because it’s made from two identical circles, which are crocheted together to form a little pouch.
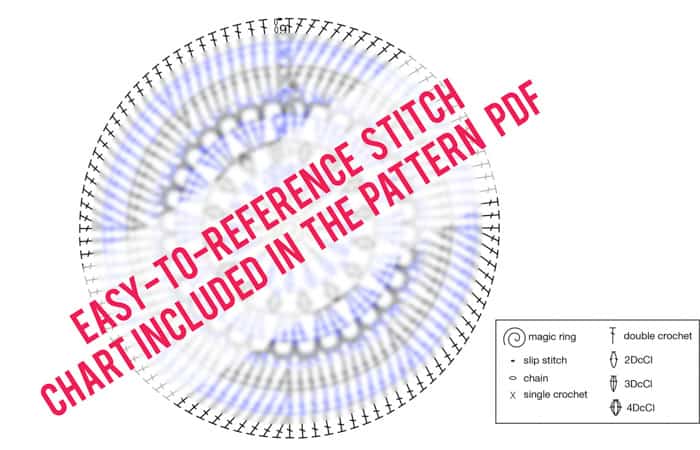
If you’re a visual learner, I highly suggest investing in the ad-free, printable PDF as it contains a stitch chart of the entire circle pattern.
Personally, I find charts like this so much easier to read than the written crochet pattern (which, of course, is also included in the PDF!) You can purchase the PDF here.
The Perfect Cotton Yarn for Round Purses
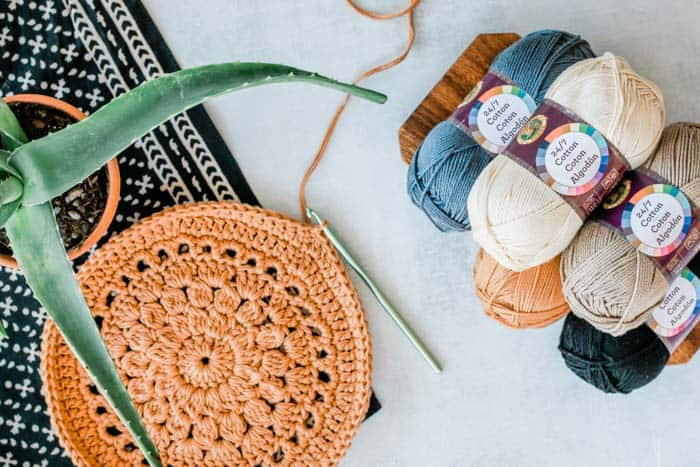
If you’ve been hanging around here any length of time, you know I’m a big fan of Lion Brand’s 24/7 Cotton.
I’ve used it on a ton of crochet shoe patterns and it proved to be the perfect yarn for this purse pattern as well. It’s durable and holds its shape while still maintaining a soft and delicate feel.
Two strands held together make this bag pattern speedy and surprisingly affordable!
UPDATE: Lion Brand has turned the Street Fair Purse into a crochet kit! You’ll receive all the yarn you need to make your own, plus a printed copy of the pattern. Grab your kit here!
Related: 30+ Free Crochet Top Patterns for Summer
What If I’m Not a Crochet “Hippie” Purse Kind of Person?
If you’d rather check peace, love and happiness at the door, this pattern can still make for an awesome cross-body bag. Simply use one of any of the several modern colors in 24/7 Cotton (see them all here!) and leave the fringe off.
You’ll be left with a purse that is the perfect size to stash your wallet, phone and a small water bottle–or your WIP crochet project!
(If you’re into the hippie style, add some crochet flowers to your purse for extra flair).
Sturdy Crochet Purse Straps
Okay, let’s get on with our boho purse making! Find the Romanian Cord video tutorial for making the sturdy straps below and the free pattern below that. Happy crocheting, friends!
More Free Crochet Bag + Purse Patterns
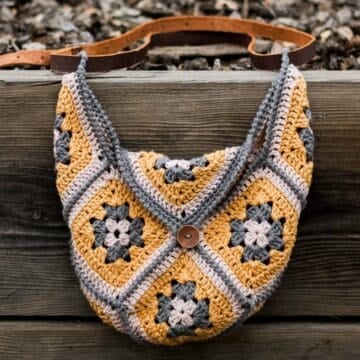
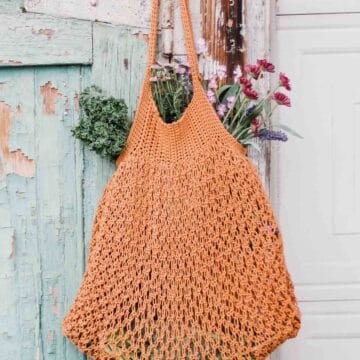
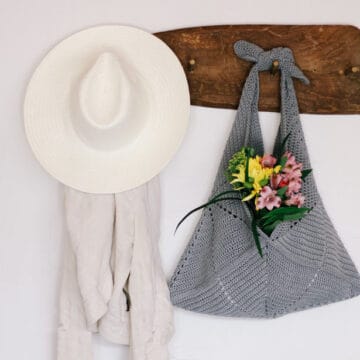
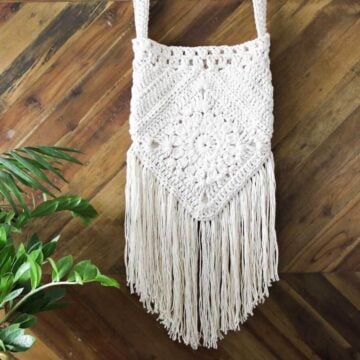
From modern granny square bags to mesh market totes to circle purses, we’ve got lots more free crochet bag patterns for you to enjoy. With sturdy straps and stylish details, you might just become a crochet bag-a-holic.
See more free crochet bags & purses patterns →
Street Fair Boho Purse Free Crochet Pattern
Whether you’re a hippie at heart or just want to add some boho charm to your wardrobe, this crochet bag makes for a satisfying, useful and stylish project.
This pattern is appropriate for a confident beginner looking to learn some new skills or an advanced crocheter looking for a project that can be finished by tomorrow.
See end of pattern for ideas on adding a leather strap or fabric lining.
Supplies:
Purchase a kit with all the yarn + a printed copy of the pattern here.
• Lion Brand 24/7 Cotton (Weight: 4/medium – 186 yds, 3.5 oz)
– Camel (#761-124) – 3 skeins* [(approx. 290 g)]
• Tapestry needle
• Size J (5.75 mm) crochet hook
• Button for fastening top (optional)
* Purse requires a full 2 skeins. Straps and fringe require a third skein, divided into two balls.
Measurements:
Main Purse (without fringe): 11.25 x 11.25”
Strap Height: Approx. 20”
Gauge:
6 dc x 3.5 rows = 2”
Abbreviations and Glossary (US Terms):
sc – single crochet
sk – skip
sl st – slip stitch
ch(s) – chain(s)
dc – double crochet
RS – right side
st – stitch
sp – space
yo – yarn over
2DcCl – 2 double crochet cluster – yo, insert hook in the designated stitch, yo and pull up a loop, yo and pull through 2 (2 loops on hook). Yo, insert hook same stitch, yo and pull up a loop, yo and pull through 2 loops (3 loops on hook). Yo and pull through all 3 loops.
3DcCl – 3 double crochet cluster – yo, insert hook in the designated stitch, yo and pull up a loop, yo and pull through 2 (2 loops on hook). Yo, insert hook same stitch, yo and pull up a loop, yo and pull through 2 loops (3 loops on hook). Yo, insert hook in same stitch, yo and pull up a loop, yo and pull through 2 (4 loops on hook). Yo and pull through all 4 loops.
4DcCl – 4 double crochet cluster – yo, insert hook in the designated stitch, yo and pull up a loop, yo and pull through 2 (2 loops on hook). Yo, insert hook same stitch, yo and pull up a loop, yo and pull through 2 loops (3 loops on hook). Yo, insert hook in same stitch, yo and pull up a loop, yo and pull through 2 (4 loops on hook). Yo, insert hook in same stitch, yo and pull up a loop, yo and pull through 2 (5 loops on hook). Yo and pull through all 5 loops.
Overall Pattern Notes:
• Pattern is worked with two strands of yarn held together throughout.
Main Circle
Notes:
• Main circles are worked in the round. Each round is finished with a sl st to the first st of the round.
• Ch 3 at beginning of round always counts as 1 dc. Work these chs quite tightly so as to minimize the potential gap they can create in a round.
• See stitch chart on p. 7 of pattern PDF for visual explanation of main circle pattern.
Make 2.
Foundation: Create a magic ring (or ch 5, sl st to join).
Round 1: Ch 3, 15 dc in ring, sl st to third ch from beginning of round to join. (16 sts)
Round 2: Ch 3, 2DcCl in first dc, ch 1, [3DcCl in next dc, ch 1] 15 times, sl st to top of first cluster to join. (32 sts)
Round 3: Ch 3, 3DcCl in first ch-1 sp, ch 2, [4DcCl in next ch-1 sp, ch 2] 15 times, sl st to top of first cluster to join. (48 sts)
Wanna save this pattern?
✨Unlock this free subscriber-exclusive pattern ✨
Follow these steps to view the full free pattern below
Ch 8, sl st to back circle (left-handed crocheters: front circle).
Sl st into next dc “down” side of circle; turn.
Sc in each of 8 chs, sl st to next dc below where yarn was attached. Loop made.
Do not fasten off.
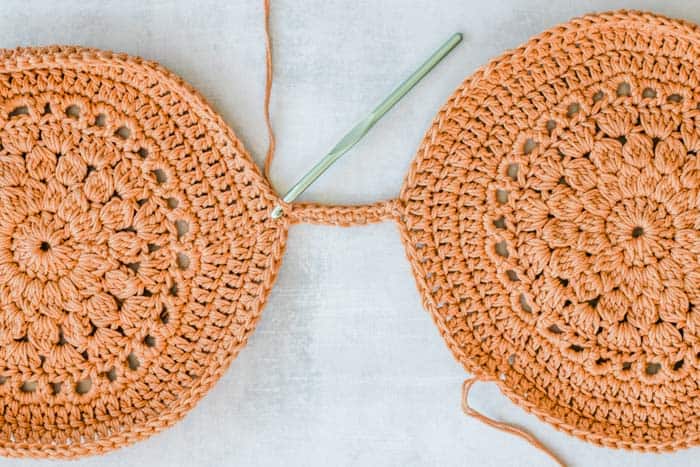
Sl st through next dc below strap loop in both circles. Circles now joined.
Working through both circles at the same time, ch 3, dc in next dc, dc in each of next 4 dc, 2 dc in next dc, [dc in each of next 6 dc, 2 dc in next dc] 10 times. (88 dc)
Do not fasten off.
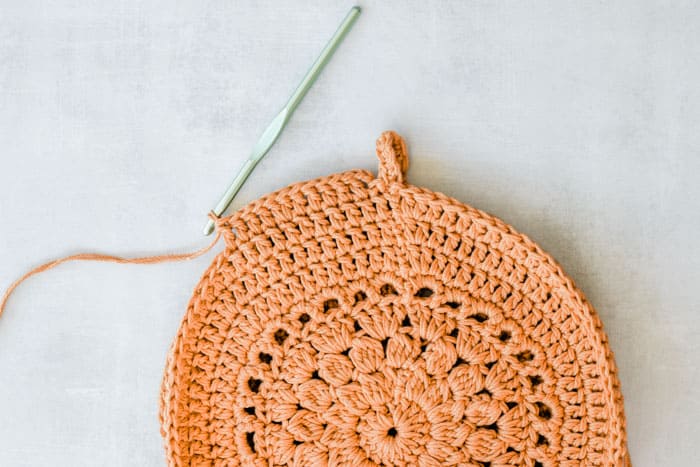
Second Loop For Strap:
Ch 3, sl st into next dc in front circle (left-handed crocheters: back circle).
Ch 8, sl st to back circle (left-handed crocheters: front circle).
Sl st into next dc “up” side of circle; turn.
Sc in each of 8 chs, sl st to next dc above where yarn ch began. Loop made.
Fasten off.
Straps
Notes:
• Two identical straps are made and knotted at the end.
• Alternatively, try using a long leather belt as a strap. Learn more about adding leather straps to crochet bags here:
• This cord requires you to continually turn your crocheting clockwise (left-handed crocheters: counter-clockwise). It may feel awkward at first, but it becomes quite quick.
See photo tutorial below or video tutorial at top of pattern for step-by-step instructions.
• Continue working with two strands of yarn held together.
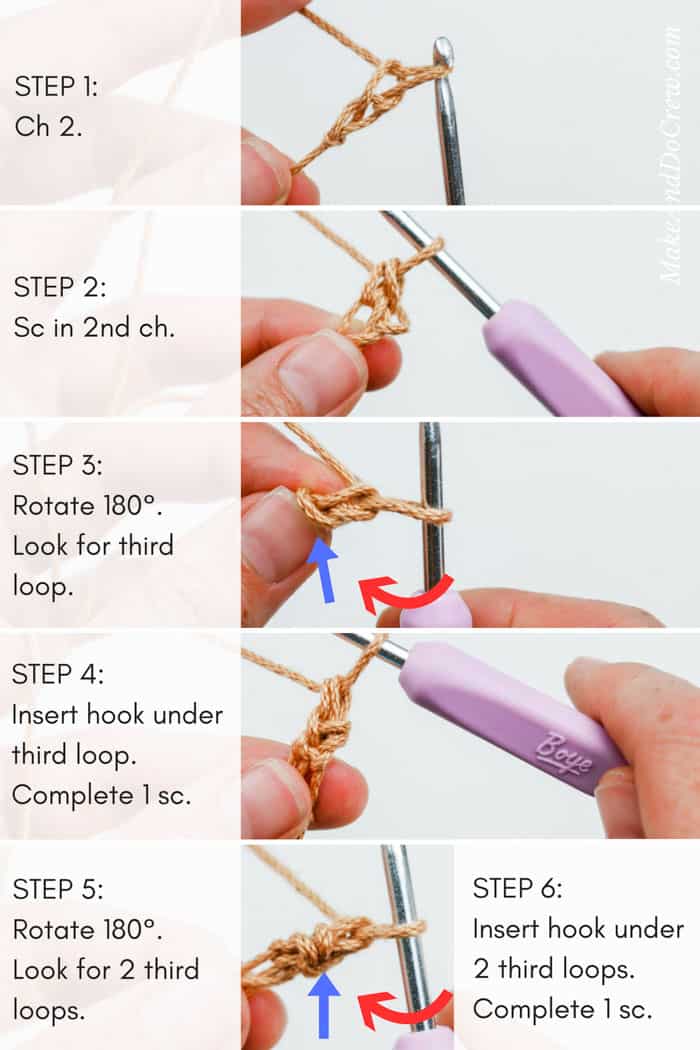
Foundation Row: Ch 2.
Row 1: Sc in second ch from hook; rotate stitch clockwise.
Row 2: Insert hook under loop at “back” of stitch were two “V”s point to. Work 1 sc under this loop; rotate stitch clockwise.
Row 3 and beyond: Insert hook under two loops at “back” of stitch were two “V”s point to. Work 1 sc under these loops; rotate stitch clockwise.
Rep Row 3 until cord measures 55”. Cord is quite sturdy, but will stretch a bit once worn.
Fasten off and use tapestry needle to weave in ends of cords.
Link straps at top of shoulder, thread each through one strap loop and tie in a square knot. See photo in blog post above. (Both tails of Strap A are tied together and both tails of Strap B are tied together.)
Adding a Closure
To add a closure to top of purse choose to either crochet the button described below or find a wooden, bone or plastic button you prefer.
Make a Crochet Button:
Foundation Round: Ch 5, sl st to first ch to form a circle.
Round 1: Ch 1, 11 sc in circle, sl st to first sc to join. Fasten off leaving a 12” tail to sew button to purse.
Sew button of choice to whichever side you’d like to designate the front of the purse as pictured in photo in blog post above.
Adding Loop:
Join yarn in center top of “back”circle.
Ch 8 (or however many chains it takes to comfortably wrap around button), sl st to dc in center top of back circle. Fasten off and weave in all ends.
Adding Fringe
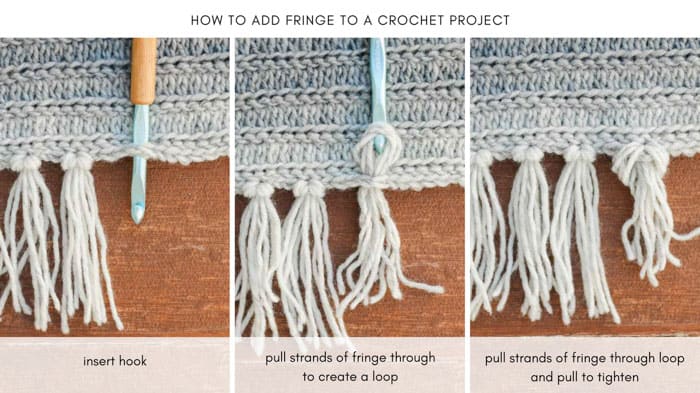
To quickly cut fringe pieces of all the same length, wrap yarn around a book that is approximately 8-9” tall. Cut at one end.
Beginning in any dc toward bottom of purse, insert hook from the top down and grab seven strands of fringe. Pull fringe partially up to top of purse. Insert fingers through resulting loop of fringe and pull fringe tails through loop.
Repeat in every other dc around bottom of purse. Trim as desired.
That was so fun! Now what?
Invitation to our Facebook group
Come discuss crocheting round boho bag patterns and lots of other crochet projects and techniques in our Make & Do Crew Facebook group. Here thousands of helpful crocheters answer each others questions and share their stitches. Come join us here.
More Free Crochet Patterns for Bags + Purses
- Granny Square Crochet Bag Pattern – on-trend sling bag
- Mesh Crochet Market Bag Pattern – perfect for the farmer’s market
- Crochet Bag Made From Squares – dead simple, yet so fun
- Urban Nomad Boho Bag – creative construction + style
- Crochet Lunch Bag Pattern – also fun gift for kids
- Lacy Crochet Shoulder Bag Pattern – summery tote bag
- Fringe Crochet Purse Pattern – bohemian flare!
- Beginner Crochet Tote Bag – fun crochet geometry
More Crochet Bag Patterns
Put your crochet skills to good use on these on-trend boho crochet patterns and tutorials from Make & Do Crew. Find all my free bohemian crochet patterns here.
See more free crochet bag patterns →
How to Crochet a Hippie Purse
Materials
Yarn
- Lion Brand 24/7 Cotton Weight: 4/medium – 186 yds, 3.5 oz
- COLOR: Camel #761-124 – 3 skeins* [(approx. 290 g)]
Additional Supplies
- Tapestry needle
- Size J 5.75 mm crochet hook
- Button for fastening top optional
Abbreviations + Glossary (US Terms)
- sc – single crochet
- sk – skip
- sl st – slip stitch
- ch(s) – chain(s)
- dc – double crochet
- RS – right side
- st – stitch
- sp – space
- yo – yarn over
Abbreviations and Glossary (US Terms):
Want some company while you crochet?
Get support (and camaraderie!) in the Make & Do Crochet Crew Facebook Group. Search “Make and Do Crochet Crew” on Facebook.com.
Permissions + Copyright
Please do not publish or share this pattern as your own. You may make items to sell with this pattern. In exchange, please link back to this page. Do NOT use my photos as your own sales photos.
Overall Pattern Notes
Instructions
Basic Crochet Boho Bag making process
- 1. Create a magic ring and follow instructions for main circle.
- 2. Repeat main circle instructions to create a second identical circle.
- 3. Join main circles to create purse pouch.
- 4. Create loops for straps.
- 6. Add a closure to the top of the purse.
- 7. Make a crochet button and sew button to whichever side you'd like to designate the front of the purse.
- 8. Crochet strap for bag using the Roman cord technique.
- 9. Add fringe to the bottom of purse.
- 10. Congrats, you now have an awesome crochet boho purse you made yourself!




Jade says
love this, making my second bag! Only issue I have is when I follow the written pattern, the last 3 rounds have a gaping hole after the ch3. It’s so big I had to sew it shut. I wonder what Happened!
Jasmine Dorsey says
The pattern is great but its very confusing, some of the rows written , are not consistent with the entire pattern instrustions.
Jess @ Make and Do Crew says
Hey Jasmine,
Is there something I can help clarify for you? 🙂
Jess
Ana says
Hi Jess, I made 3 pairs of flip Flop sandals for my 3 grand kids. I had to figure out what I was going to do since there was no style for age 10 ,8, 7 So I worked my magic and use their foot lol. I would love to show you what I came up with.. God Bless.. Ana
Patricia Oliver says
I absolutely cannot figure out how to make the strap for this pretty bag – so glad I tried that before making the bag first! I’ve been crocheting for 65 years but still find myself getting stuck on your patterns.
Priscilla says
Watch the video. It helps.
Kismet Sherwood says
I. Love your patterns! Please put me on your email list, so I don’t miss anything. Thank you!