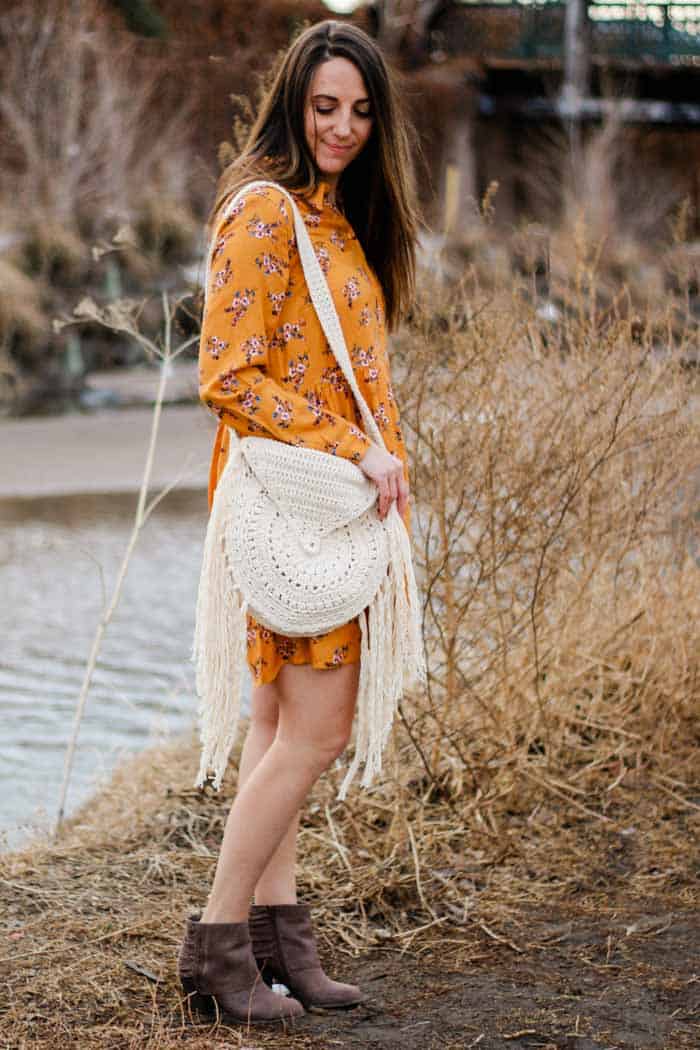
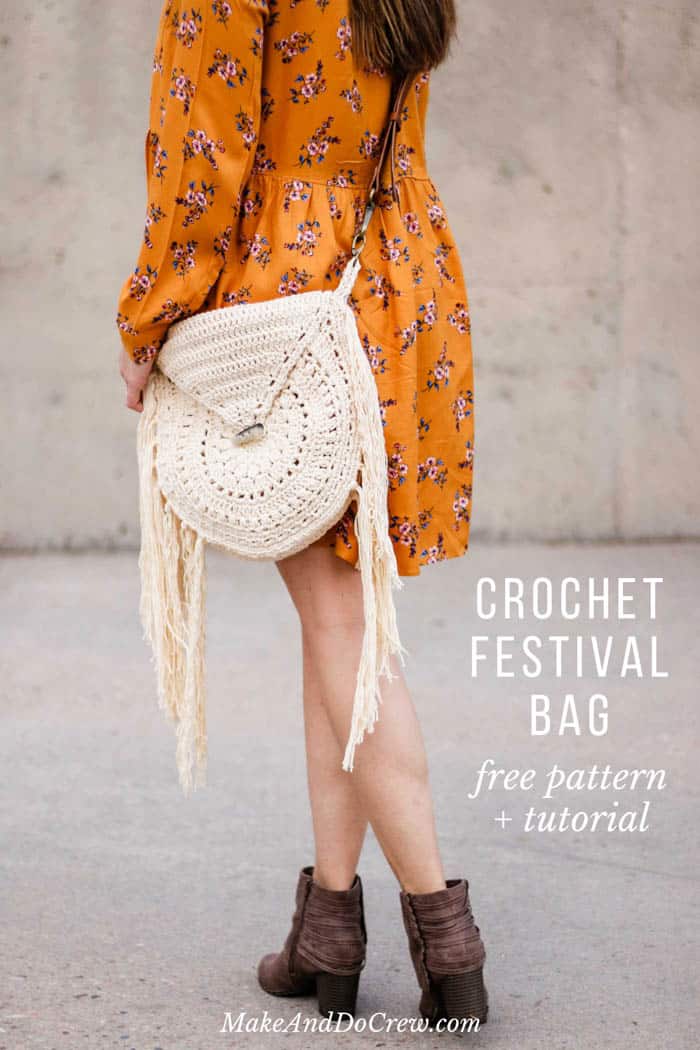
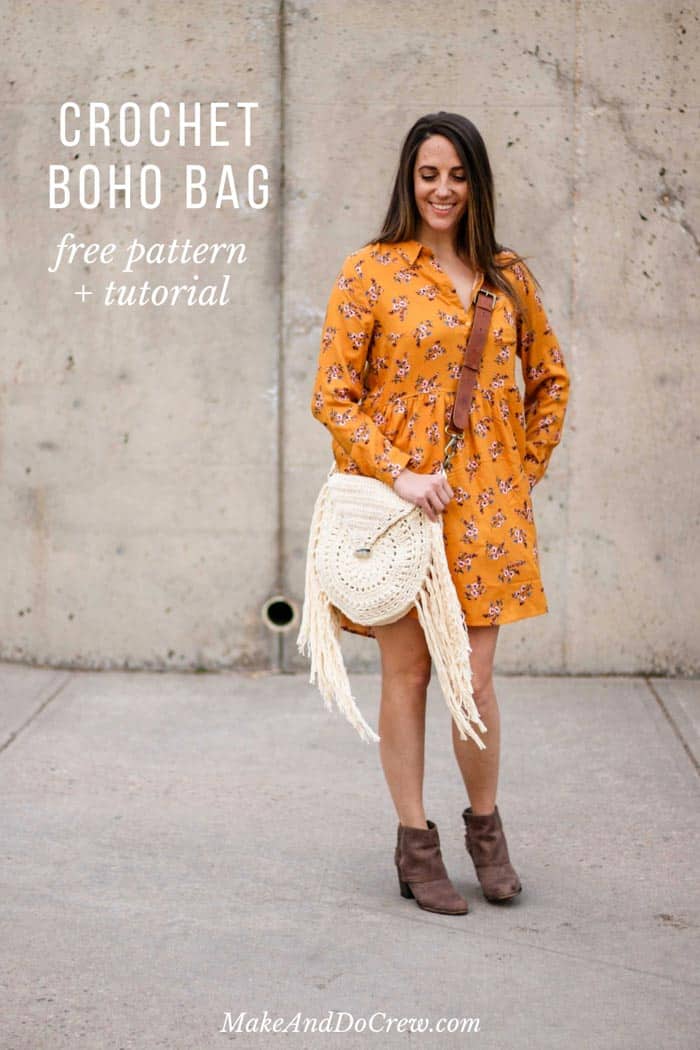
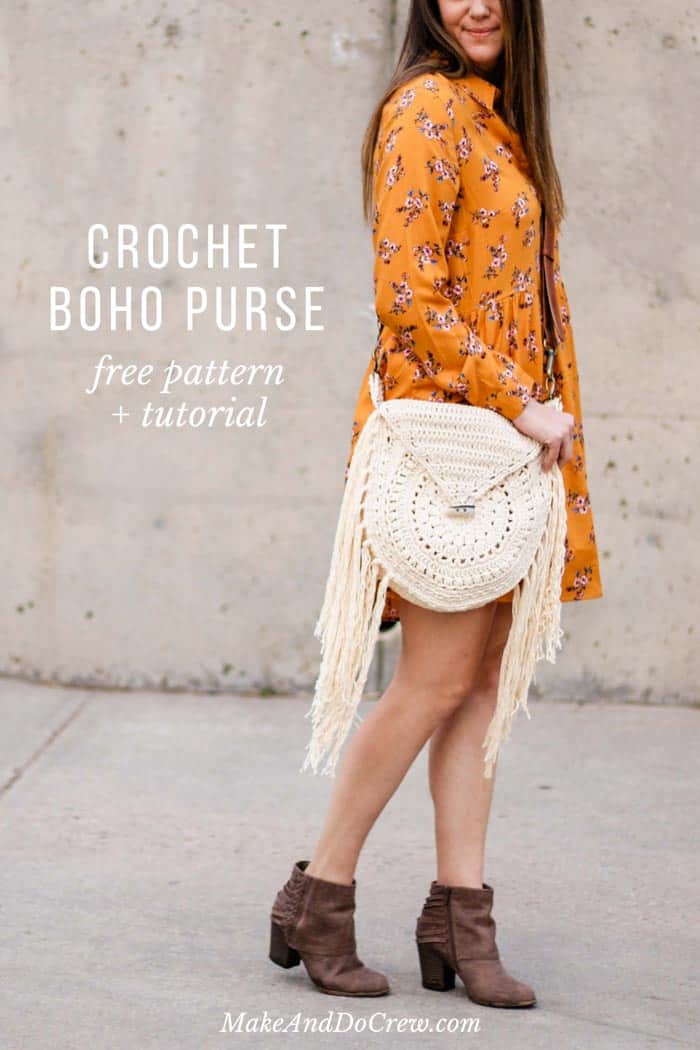
Made from richly textured circles, this fringed crochet bag pattern comes together in three fun pieces. Finish it off with crocheted details or add a leather strap to make it just your style. Get the free crochet pattern below or purchase the ad-free, printable PDF with stitch chart here.
This fringed crochet bag pattern is part of a collaboration with Lion Brand Yarns. This post contains affiliate links.
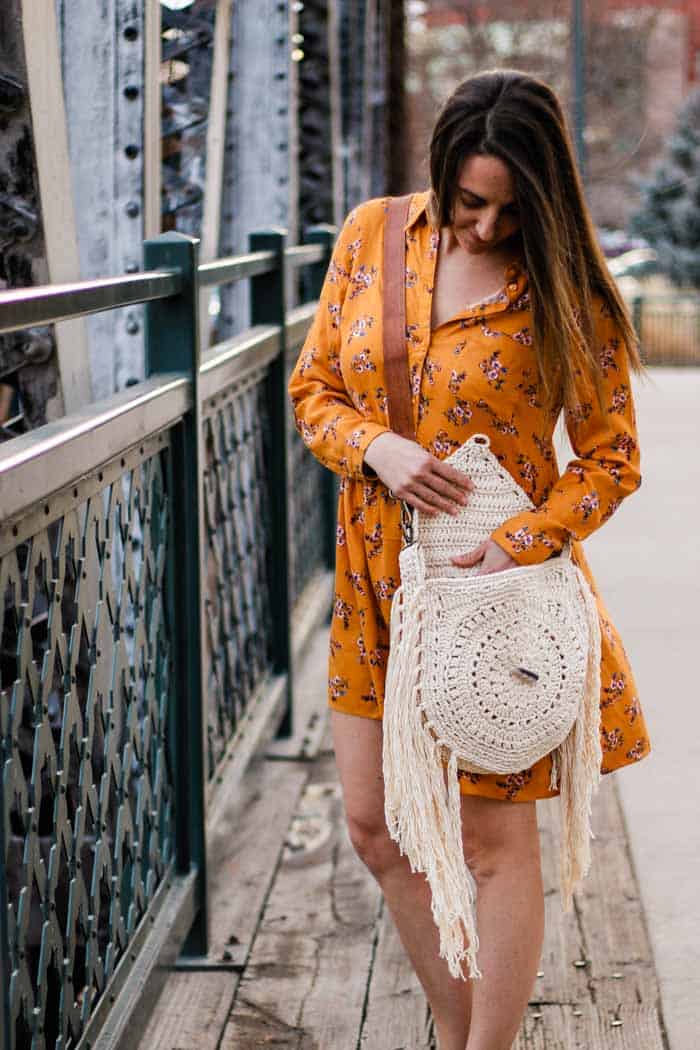
Just because you’re a free spirit doesn’t mean don’t need to carry along some essentials. This fringed boho purse is the perfect size to stash a wallet, lipstick and water bottle on your bohemian adventures. Read on for the pattern inspiration and yarn details or scroll down for the complete free pattern.
Fringed Crochet Bag Pattern Inspo
Many of you know we’ve been sharing a series of guest designer patterns here on the blog as I spend some time with our very new baby.
This week, we’re taking a break from guest patterns to bring you a project I designed during the last few months of pregnancy. I’ve been loving wearing this purse and I’m excited to share it with you!
You can’t take a stroll through the aisles of Target or a peek into Pinterest without seeing Urban Nomad Boho Bag everywhere. And most of them are made with some version of industrial crochet.
I wanted to take that same organic, bohemian vibe and design a project that is even cooler–because it’s made by hand!
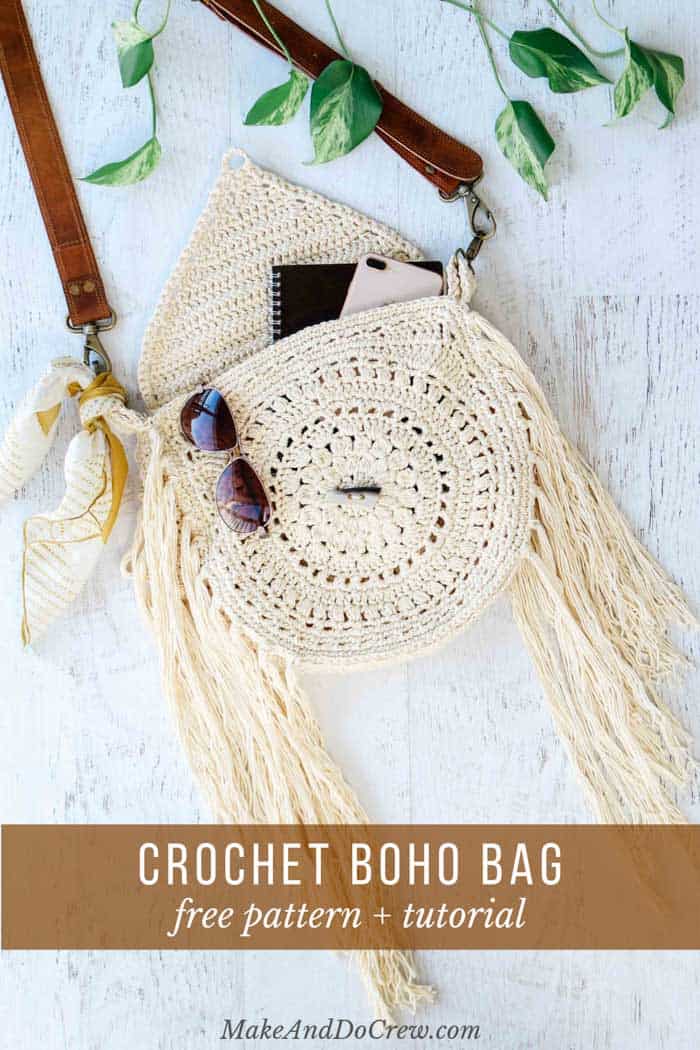
I’m a big fan of mixing different materials with crocheting (like flip flops, twine and leather!), so naturally, I decided to add a leather strap to this boho crochet purse. While I like to Urban Nomad Boho Bag, this time, I didn’t have a belt that was quite making this purse sing. So, I did what any person in the 21st century does, I looked on Amazon for a solution.
The strap and fasters I found seemed promising, but it was only after they arrived and I put the entire crochet bag together that I decided this strap/faster combo is about the best thing ever for crocheted purses and bags. Not only is the leather sturdy and a beautiful shade of brown, it’s complimented perfectly by the brass accessories and the natural colored yarn.
Perhaps the best feature though is that you can order a set of several fasteners for all your crochet and knit bag projects and then just unclip the strap and transfer it to whatever bag you’re wearing that day.
My Favorite Yarn for Crochet Purses
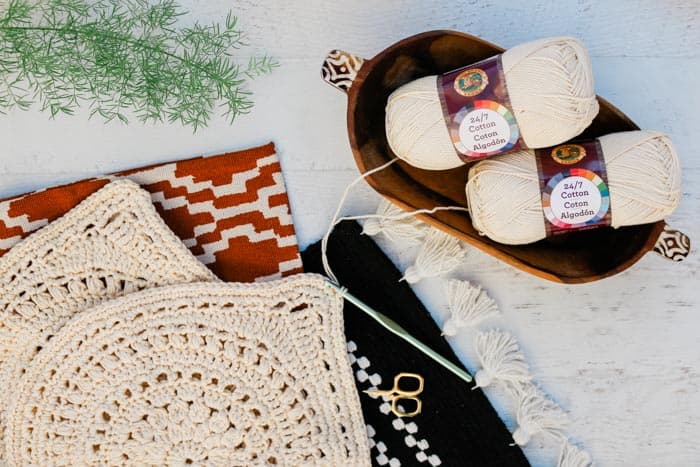
When it comes to crochet bags and shoes, Lion Brand’s 24/7 Cotton is by far my favorite yarn to use. It’s strong and hardwearing for projects that do better with a lack of stretch. But it’s also mercerized, so it’s very has a lovely, subtle sheen that makes your crocheted items feel polished and professional.
For this fringed crochet bag, you’ll use two strands of 24/7 Cotton held together, which gives the purse just the right amount of strength and texture. You can see all 24 colors of 24/7 Cotton here.
Crochet Help For Visual Learners
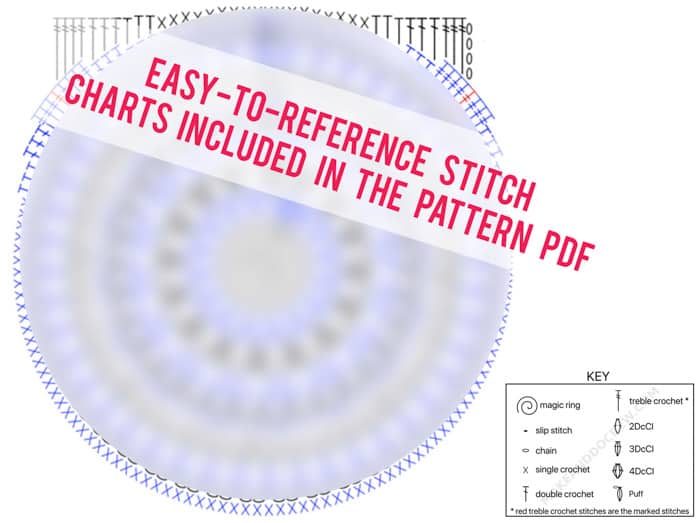
While this crochet boho purse is not complicated to make, sometimes explaining how to do it is. That’s the trouble I find with crochet pattern lingo sometimes–it’s wordy! So if you’re more of a visual learner like me and want to cut to the chase, I highly suggest investing a few dollars in the printable PDF of this pattern, which is formatted for easy printing and includes a detailed stitch chart of the purse front/back section. You can purchase the PDF here.
More Free Crochet Bag + Purse Patterns
From modern granny square bags to mesh market totes to circle purses, we’ve got lots more free crochet bag patterns for you to enjoy. With sturdy straps and stylish details, you might just become a crochet bag-a-holic.
See more free crochet bags & purses patterns →
Moonrise Fringed Crochet Bag
Free Pattern
Purchase ad-free, printable PDF with stitch chart here.
Save this to Ravelry here.
Pin it for later here.
Explanation:
Just because you’re a free spirit doesn’t mean don’t need to carry along some essentials. This fringed boho purse is the perfect size to stash a wallet, lipstick and water bottle on your bohemian adventures.
Made from richly textured circles, this pattern comes together in three main pieces: a front, a back and a closure flap. Finish it off with crocheted details or add a special button and leather strap to make it just your style. (Instructions for both options are included below.)
Supplies:
• Lion Brand 24/7 Cotton (Weight: 4/medium – 186 yds, 3.5 oz)
Ecru (#761-098) – 6 skeins [ (approx. 550 g)]
• Tapestry needle
• 4 locking stitch markers
• Size J (5.75 mm) crochet hook
• Button for fastening top (optional)
• Leather strap ( optional – this strap is pictured in sample https://amzn.to/2Gjubxm )
• Strap fasteners ( optional – these fasteners are pictured in sample https://amzn.to/2IDjicm )
Measurements:
Purse: 12” tall x 12” wide x 1.75” deep
Strap: approx. 67”, which allows for an approx. 13” drop from top of shoulder to top of purse
Gauge:
Rounds 1-4 should measure approx. 5.75” across
For strap: 13 sts should measure approx 5” across the row
Abbreviations and Glossary (US Terms):
ch(s) – chain(s)
ch-1 sp – space created by 1 ch
ch-2 sp – space created by 2 ch
dc – double crochet
dc2tog – double crochet 2 together
dc3tog – double crochet 3 together
fsc – foundation single crochet
hdc – half double crochet
PM – place marker
rep – repeat
RS – right side
sc – single crochet
sk – skip
sl st – slip stitch
sp – space
st(s) – stitch(es)
tr – treble crochet
WS – wrong side
yo – yarn over
2DcCl – 2 double crochet cluster – yo, insert hook in the designated stitch, yo and pull up a loop , yo and pull through 2 loops (2 loops on hook). Yo, insert hook in same stitch, yo and pull up a loop, yo and pull through 2 loops (3 loops on hook). Yo and pull through all 3 loops.
3DcCl – 3 double crochet cluster – yo, insert hook in the designated stitch, yo and pull up a loop , yo and pull through 2 loops (2 loops on hook). Yo, insert hook in same stitch, yo and pull up a loop, yo and pull through 2 loops (3 loops on hook). Yo, insert hook in same stitch, yo and pull up a loop, yo and pull through 2 loops (4 loops on hook). Yo and pull through all 4 loops.
4DcCl – 4 double crochet cluster – yo, insert hook in the designated stitch, yo and pull up a loop , yo and pull through 2 loops (2 loops on hook). Yo, insert hook in same stitch, yo and pull up a loop, yo and pull through 2 loops (3 loops on hook). Yo, insert hook in same stitch, yo and pull up a loop, yo and pull through 2 loops (4 loops on hook). Yo, insert hook in same stitch, yo and pull up a loop, yo and pull through 2 loops (5 loops on hook). Yo and pull through all 5 loops.
Puff – [yo, insert hook in the designated stitch, yo and pull up a loop ] three times in the same stitch, yo and pull through all 7 loops on hook, ch 1 to close puff.
Overall Pattern Notes:
• IMPORTANT: Pattern is worked with two strands of yarn held together throughout.
Main Front + Back
Notes:
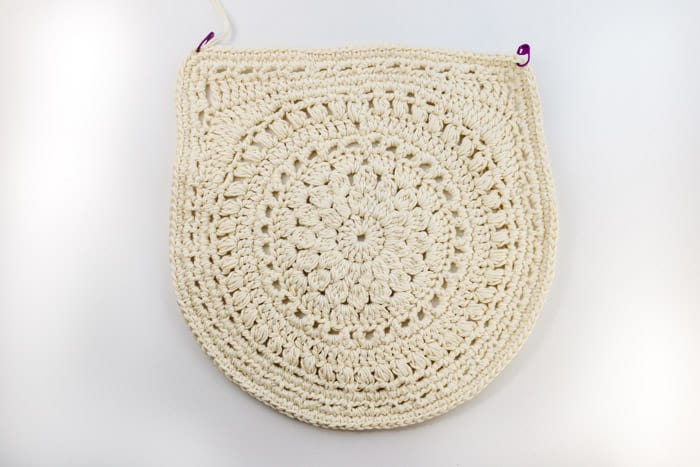
• Main circles are worked in the round. Each round is finished with a sl st to the first st of the round.
• Ch 3 at beginning of round always counts as 1 dc. Work these chs quite tightly so as to minimize the potential gap they can create in a round.
• See stitch chart in printable PDF for visual explanation of main circle pattern.
Make 2.
Foundation: Create a magic ring (or ch 5, sl st to join).
Round 1: Ch 3, 15 dc in ring, sl st to third ch from beginning of round to join. (16 sts)
Round 2: Ch 3, 2DcCl in top of ch-3, ch 1, [3DcCl in next dc, ch 1] 15 times, sl st to top of first cluster to join. (32 sts)
Round 3: Sl st into first ch-1sp, ch 3, 3DcCl in first ch-1 sp, ch 2, [4DcCl in next ch-1 sp, ch 2] 15 times, sl st to top of first cluster to join. (48 sts)
✨Unlock this free subscriber-exclusive pattern ✨
Follow these steps to view the full free pattern below
Main Front + Back Finishing Border
Notes:
• Rounds 1-3 are once again worked in the round. Round 1 is worked with WS facing.
Round 1 (WS):
Along top edge:
Ch 1, [sc in next st, ch 2, sk 2 sts] 12 times, sc in next st…
Continuing around sides and bottom of bag:
…ch 2, (PM in ch-sp), sc in side of ch-4, ch 2, sc in marked st, *ch 2, sk 2 sts, sc in next st; rep from * to next marked st, ch 2, sk marked st, sc in side of tr, ch 2, sc in side of tr once more, ch 2, (PM in ch-sp), sl st to first sc of round to join; turn. (49 sc, 49 ch-2 sps)
New markers placed in Round 1 now indicate top corners of purse. Markers from Round 10 may be removed.
Round 2 (RS): Ch 1, sc in first ch-2sp, (PM in sc), sc twice more in same sp, sc in next sc, *2 sc in next ch-2 sp, sc in next sc**; rep from * to marked sp, 3 sc in marked ch-2 sp, (PM in third sc), rep from * to ** to end of round, sl st to first sc of round to join; do not turn. (149 sts)
Round 3 (RS): Ch 1, 2 sc in marked st, (re-place marker in first sc), sc in each sc until second marker, 2 sc in marked st, (re-place marker in second sc), sc in each sc to end of round, sl st to first sc of round to join. (151 sc)
Fasten off leaving a 30” tail for seaming.
Front Purse Flap
Notes:
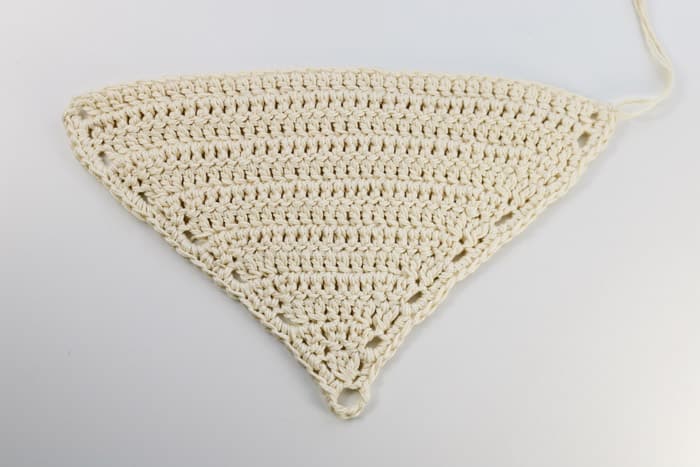
• Purse flap is crocheted separately and seamed to purse at the end.
Wanna save this pattern?
• Ch 3 at beginning of row counts as first dc.
Make 1.
Foundation: Ch 41.
Row 1 (RS): Sk 2 ch, dc in each ch to end of row; turn. (39)
Rows 2-3: Ch 3, sk first dc, dc in each dc to end of row; turn. (39)
Row 4 (RS): Ch 3, sk first dc, [dc2tog over next 2 dc] twice, dc in each dc until 5 sts remain, [dc2tog over next 2 dc] twice, dc in last dc; turn. (35)
Rows 5-11: Rep Row 4.
Row 12 (WS): Ch 3, sk first dc, dc2tog over next 2 dc, dc in next dc, dc2tog over next 2 dc, dc in last dc; turn. (5)
Row 13 (RS): Ch 3, sk first dc, dc3tog over next 3 dc, dc in last dc; do not turn. (3)
Fasten off.
Right-handed crocheters: With RS of flap facing, attach yarn on the right-hand side of foundation ch.
Left-handed crocheters: With RS of flap facing, attach yarn on the left-hand side of foundation ch.
Border is crocheted around slanted edges of flap
. To accommodate a different size button, adjust the number of chs in the middle of the border.
Border (RS): Ch 1, sc evenly along first slanted edge to corner (Row 13 of flap), ch 6, sc evenly along second slanted edge to end of Row 1 of flap. Fasten off leaving a 20” tail for seaming.
Straps
Notes:
• There are two options for finishing the bottom of the purse and creating a way to carry it.
- Crochet a shorter strap that serves only as the purse bottom. Then add a leather shoulder strap.
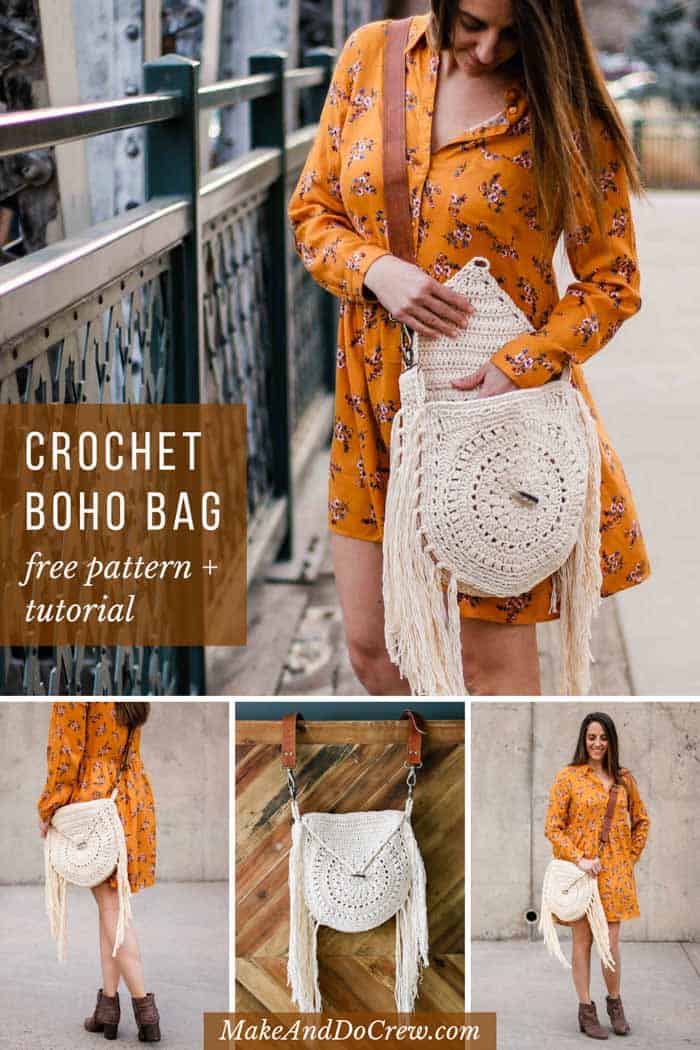
- Crochet a longer strap that serves as both the purse bottom as well as the shoulder strap. (See photo above.)
Shorter Purse Bottom – Option A:
The following instructions will create enough length for the leather strap to have a place to attach.
Recommended Foundation + Row 1: Fsc 100.
Alternative Foundation: Ch 101.
Alternative Row 1: Sk first ch, sc in each ch to end of row; turn. (100)
Rows 2-5 : Ch 1, sc in each sc; turn. (100)
Fasten off leaving a 12” tail for seaming.
Longer Purse Bottom + Strap – Option B:
The following instructions will create a strap that is approx. 67” long after blocking. For a longer or shorter strap, adjust number of chains in foundation.
Recommended Foundation + Row 1: Fsc 175.
Alternative Foundation: Ch 176.
Alternative Row 1: Sk first ch, sc in each ch to end of row; turn. (175)
Rows 2-5 : Ch 1, sc in each sc; turn. (175)
Fasten off leaving a 15” tail for seaming. Use tail and tapestry needle to seam short edges of strap together into a loop, taking care to ensure it’s not twisted.
Finishing
Blocking:
Steam block main pieces using either a steamer or steam setting on iron. (Do not touch iron to yarn.) To block strap, stretch it a bit and pin to blocking board, then steam as described above. Blocking in stretched position will help ensure the crochet strap doesn’t stretch a lot with wear.
Joining Main Pieces:
With right sides of Main Front and Back facing out, pin purse front and back to crocheted strap/purse bottom as described below.
- If using shorter purse bottom piece (Option A), position piece so that both the beginning and end of piece has an equal amount of overhang on each side of purse top, then pin to front and back pieces along 2 sides and bottom.
- If using longer purse bottom + strap (Option B), position strap seam at bottom of purse then pin to front and back pieces along 2 sides and bottom.
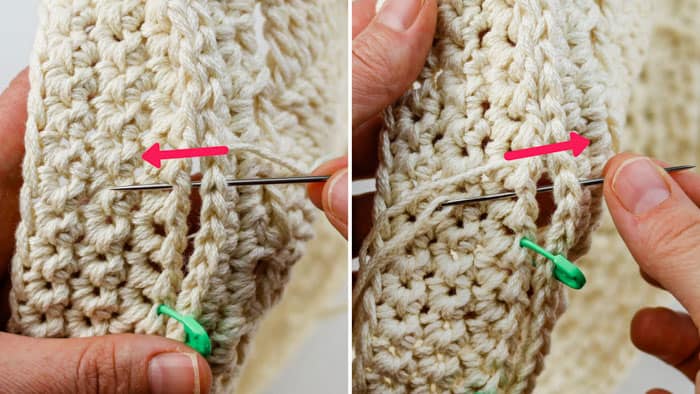
Using a tapestry needle and existing yarn tails where possible, seam front of purse to purse bottom piece along pinned edges. Using a basting stitch, work underneath both strands of the sc “V”s of both the front and purse bottom piece/strap. Join back of purse to purse bottom piece in the same manner. (See photo above.)
If using strap Option A, before fastening off seaming thread, thread strap hardware onto overhanging pieces of purse bottom on either side of purse. Fold overhanging pieces toward inside of purse and seam so as to securely fasten.
Joining Purse Flap:
Choose a side of purse to designate as the front. With RS of purse flap facing out, pin flap to Purse Back along top edge. Using existing yarn tails if possible, seam flap to Purse Back. Using a basting stitch, work underneath the sc “V”s of both pieces to be joined.
Adding a Closure
To add a closure to top of purse choose to either crochet the button described below or find a wooden, bone or plastic button you prefer.
Make a Crochet Button:
Foundation Round: Ch 5, sl st to first ch to form a circle.
Round 1: Ch 1, 11 sc in circle, sl st to first sc to join. Fasten off leaving a 12” tail to sew button to purse.
Sew button of choice to front of purse.
Adding Fringe
Fringe pieces need to measure approx. 32” long before adding them to bag. To quickly cut fringe pieces of all the same length, wrap yarn around a piece of cardboard that is approximately 16” tall. Cut at one end.
Beginning in top of purse at front seam, insert hook from the front of purse toward back and grab five strands of fringe. Pull fringe partially up to front of purse. Insert fingers through resulting loop of fringe and pull fringe tails through loop. (See photo tutorial in this blog post.)
Repeat in every fourth or fifth stitch along side of purse until approx. 10 sections of fringe are complete. Repeat on opposite front of purse. Flip purse over and repeat on both edges of back. Trim as desired. (Fringe pictured in sample is approx. 14-15” long.)
Grab your new bag, pop a flower in your hair and head out for your next vagabond adventure!
That was so fun! Now what?
Invitation to our Facebook group
Come discuss crocheting boho bag patterns and lots of other projects and techniques in our Make & Do Crew Facebook group. Here thousands of helpful crocheters answer each others questions and share their stitches. Come join us here.
More Free Crochet Patterns for Bags + Purses
- Beginner Crochet Tote Bag – fun crochet geometry
- How to Add Leather Handles to Any Crochet Bag – easy upgrade
- Crochet Tote Bag Free Pattern – with leather handles
- Finger Crochet Bag Pattern + Video – no hook, no problem!
- Free Crochet Bag Pattern For Beginners – very simple construction
- Mesh Crochet Market Bag Pattern – perfect for the farmer’s market
- Crochet Bag Made From Squares – dead simple, yet so fun
- Urban Nomad Boho Bag – creative construction + style
More Boho Free Crochet Patterns
Need some more free boho crochet patterns to add to your handmade wardrobe? Here are a few reader faves you might like. You can always find all our free crochet patterns here.
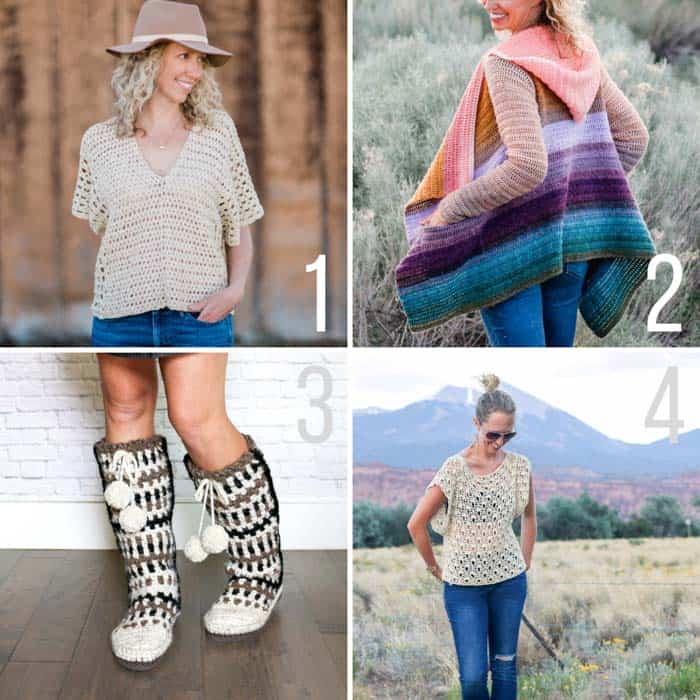
1. Saratoga Poncho Top – an easy, lightweight crochet top for spring made from two simple rectangles.
2. Remix Cardigan – made with virtually no seaming, this fun pattern is ripe with options to personalize.
3. Taos Mukluk Slippers – these cozy kicks are crocheted on top of flip flops, making them extra comfy and slip resistant.
4. Canyonlands Boho Top – this drapey, flattering top is made with very easy construction and a beautiful lacy stitch.



Leave a Reply