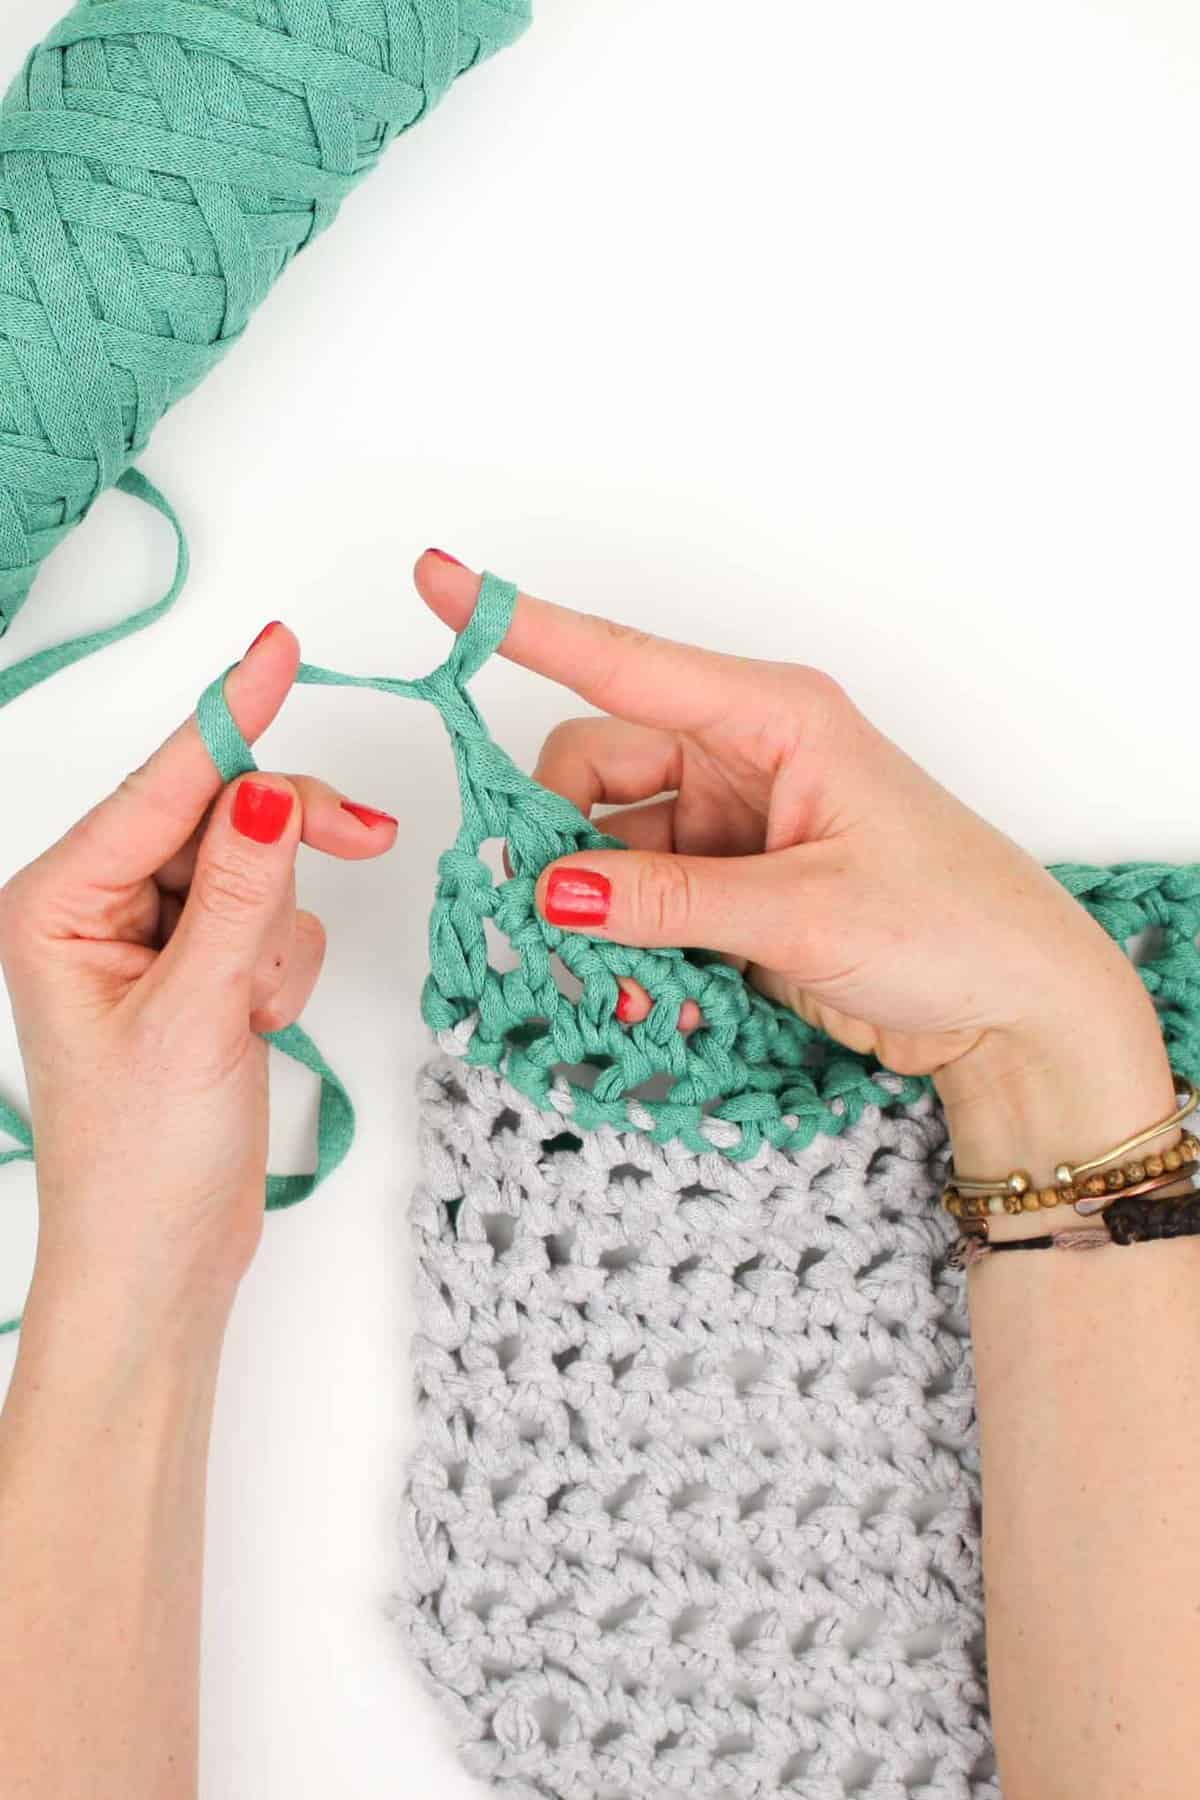
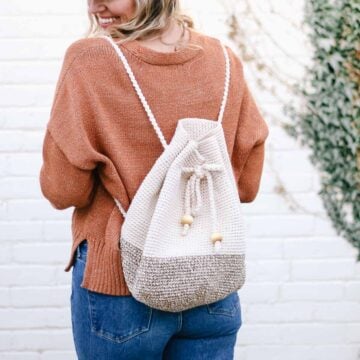
This free market tote bag pattern and video tutorial is the perfect introduction on how to finger crochet! A speedy, satisfying project for adults and older kids alike (even if you've never crocheted before!)
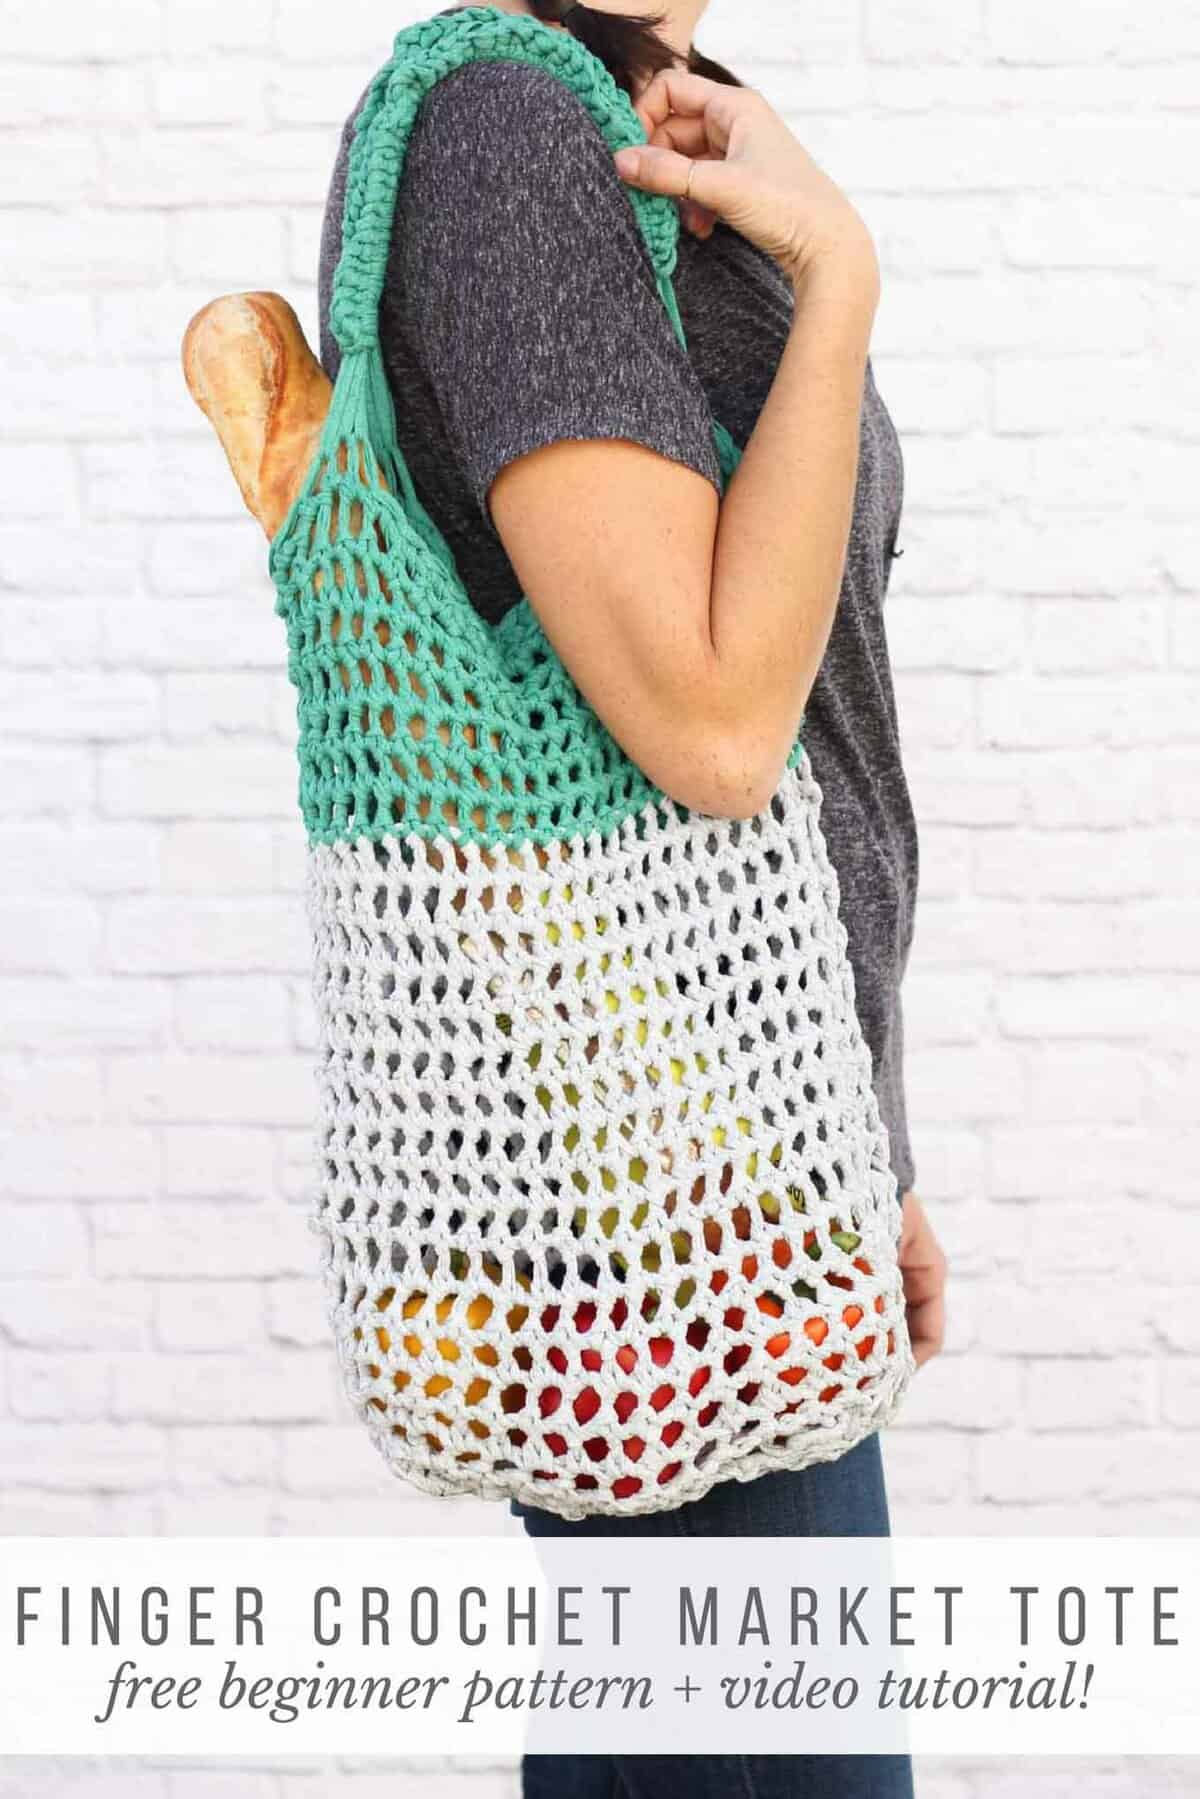
This modern finger crochet market tote free pattern is a collaboration with my friends at Lion Brand Yarn. This post contains affiliate links.
To me, crochet is one big experiment. I've tried crochet shoes on flip flops, crocheting with twine from the dollar store, crocheting pictures I've drawn and crocheting with clothesline.
Until recently though, I had never tried finger crocheting. (Well, unless you count making chains with my long hair as a bored elementary schooler.)
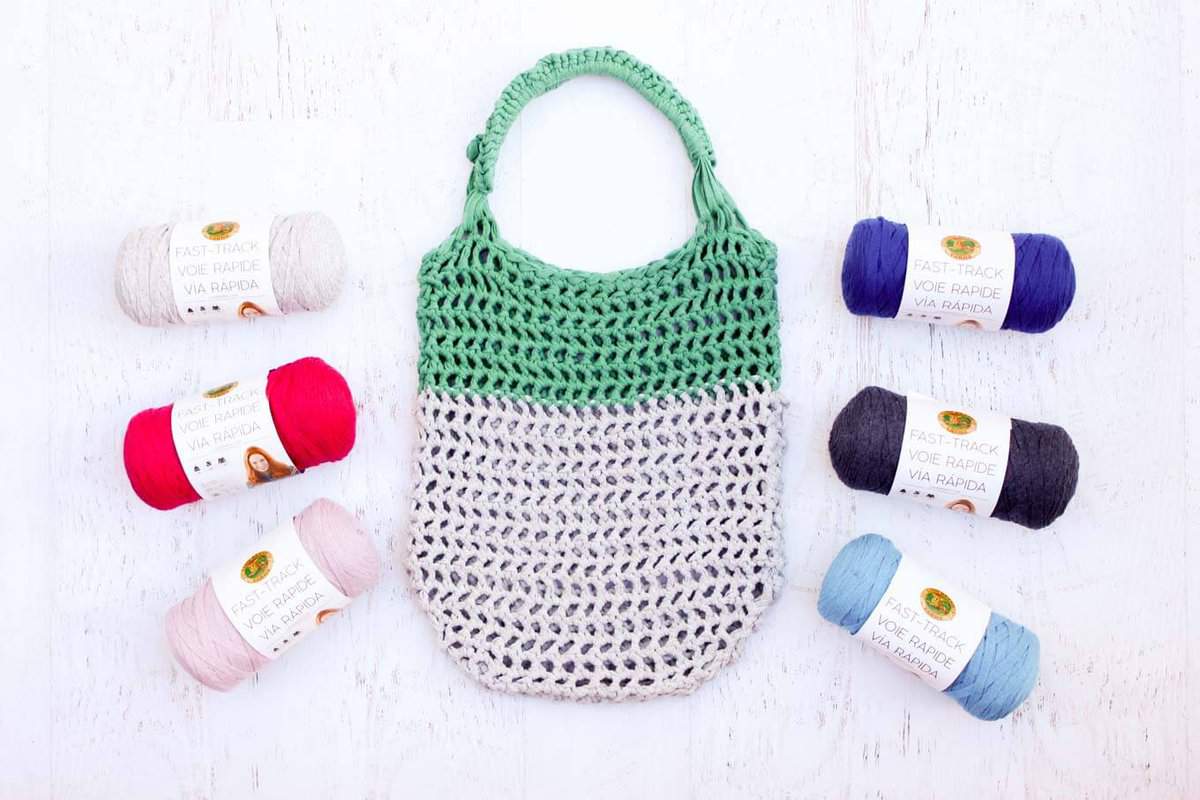
 When I got my hands on Lion Brand's new Fast-Track yarn, I knew that it was meant for something special and unique. Fast-Track is a little similar to t-shirt yarn in that it's bulky, but it also compresses pretty flat. It's actually hollow in the inside, like a tube, and has a bit of stretch while still maintaining a lot of sturdy durability. In all my crochet experiments, I've never used anything like it!
I started playing with a strand of Fast-Track with my hands and the idea for finger crocheting a market tote bag was born.

 While finger crocheting is perhaps a little more work for your actual hands, I find it to be extremely satisfying and soothing. I think there's something about how hands-on and tactile it is that gives a fidgety, sometimes anxious, gal like me something to "do" with all my extra energy. Even though I've done my fair share of crocheting in my life, I find it easier to work without looking while I'm finger crocheting. (Cue that subtitled Netflix documentary you've been putting off!)
 If you have kids around, this free market tote pattern would be a perfect intro finger crochet project for them too! You can reduce the number of stitches you chain at the beginning as well as the number of rows you crochet to make the right size tote bag for any age finger crocheter. Wondering how you and your kids will survive spring break? Grab a couple skeins of Fast-Track and set them loose with the video tutorial below.
 This finger crochet video tutorial is meant for absolute beginners , so even if you've never crocheted before, or are still learning how to crochet, you can make this free market tote bag pattern!
And if you're not into finger crochet, you still follow the pattern and achieve a similar gauge with a 25 mm hook.
Thanks to Lion Brand Yarn for sponsoring this post and enabling more free patterns on Make and Do Crew!
UPDATE: Lion Brand has created a kit that includes all the yarn you need to make this market tote bag as well as a copy of the printable pattern. You can score the kit for 20% off through March 30, 2017! Check out the Finger Crochet Market Tote kit here.
Please do not publish or share this pattern as your own. You may make items to sell with this pattern. In exchange, please link back to this post. Do NOT use my photos as your own sales photos. You can read my policies here. Now let’s make something awesome!
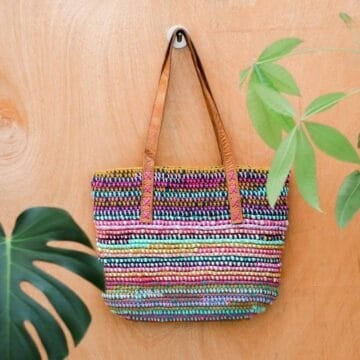
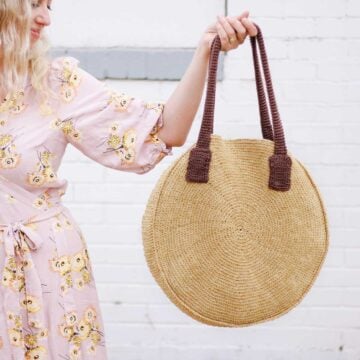
More Free Crochet Bag + Purse Patterns
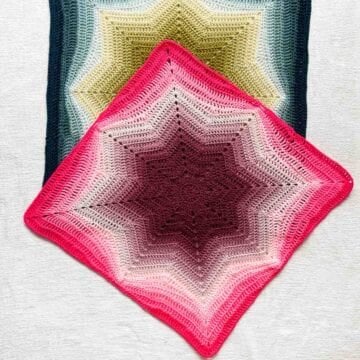
From modern granny square bags to mesh market totes to circle purses, we've got lots more free crochet bag patterns for you to enjoy. With sturdy straps and stylish details, you might just become a crochet bag-a-holic.
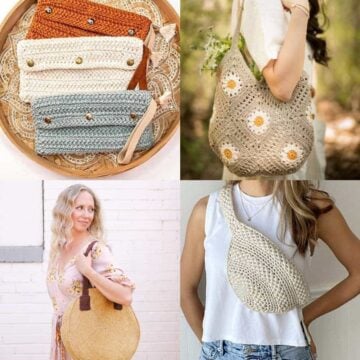
See more free crochet bags & purses patterns →
Finger Crochet Free Market Tote Bag Pattern
Add this pattern to your Ravelry favorites here.
Measurements:
Bag laying flat (without handle): 13.5” x 15”
Handle height: approx. 7.5”
Supplies:
• (1) Lion Brand Fast-Track in “Chopper Grey” – 149 yards/227 g
• (1) Lion Brand Fast-Track in “Go Kart Green” – 149 yards/227 g
• Tapestry needle
• Stitch markers or safety pins
• To make with a hook instead of your fingers, a 25 mm hook will achieve a similar gauge
Gauge:
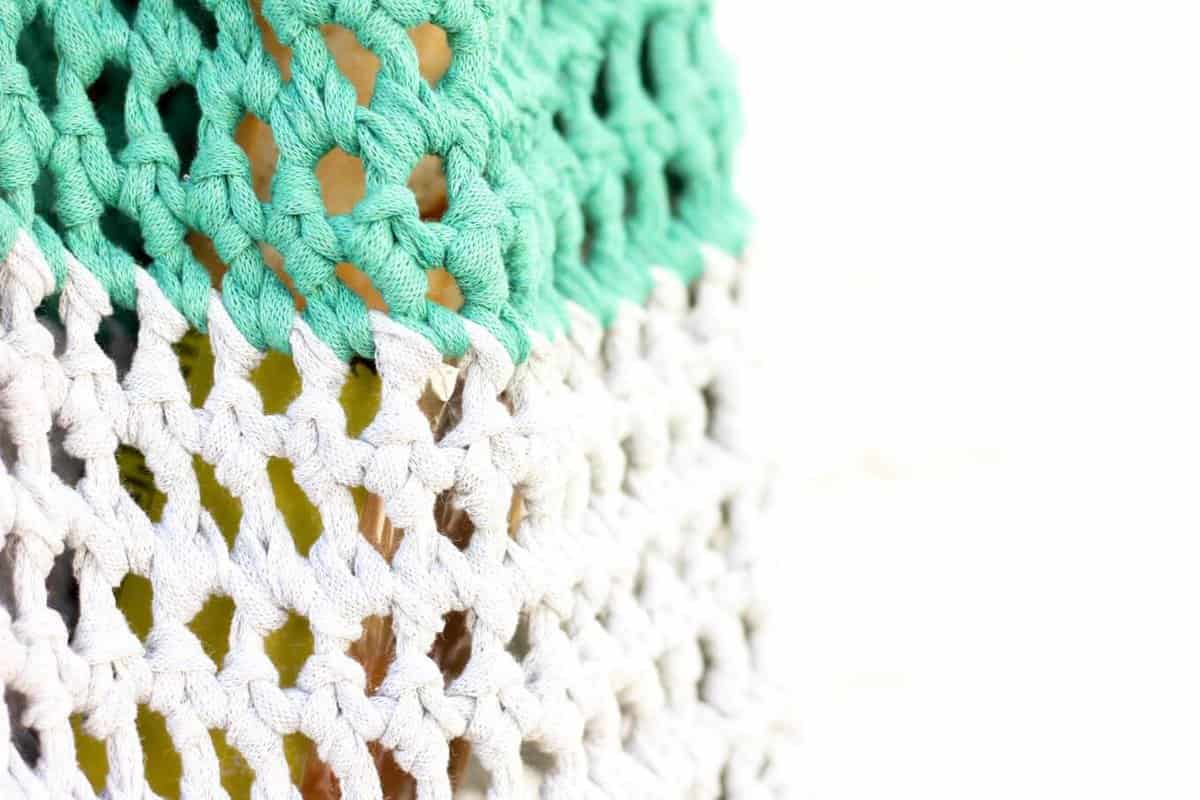
7sc = 4”
7 rows = 4”
Abbreviations (US Terms):
sc – single crochet
st – stitch
ch – chain
RS – right side
Notes:
- This tote bag is intended to be finger crocheted without a hook. If you desire to work with a hook, you can use a 25 mm hook to achieve a similar result.
- The size of your hands and tension of your finger crochet will impact the gauge and relative structure of the bag. Aim to make your stitches fairly tight while still allowing enough room in each loop for your fingers to work comfortably.
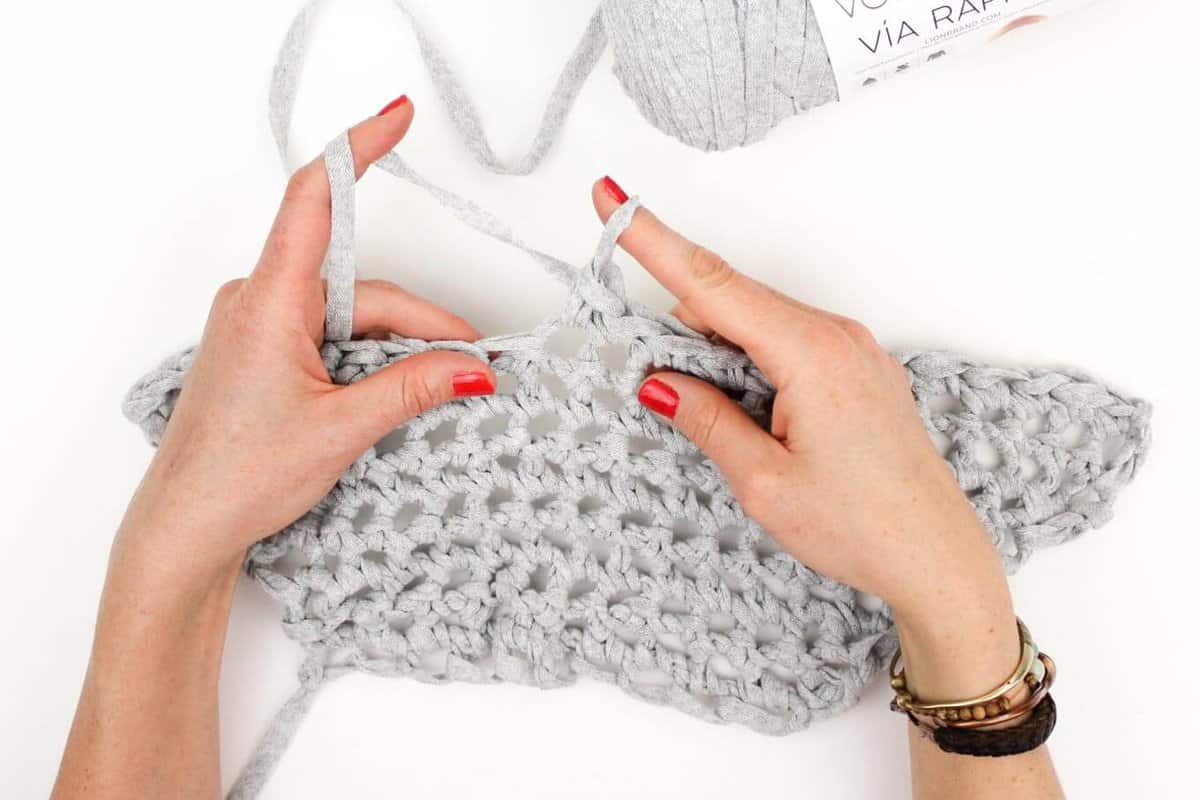
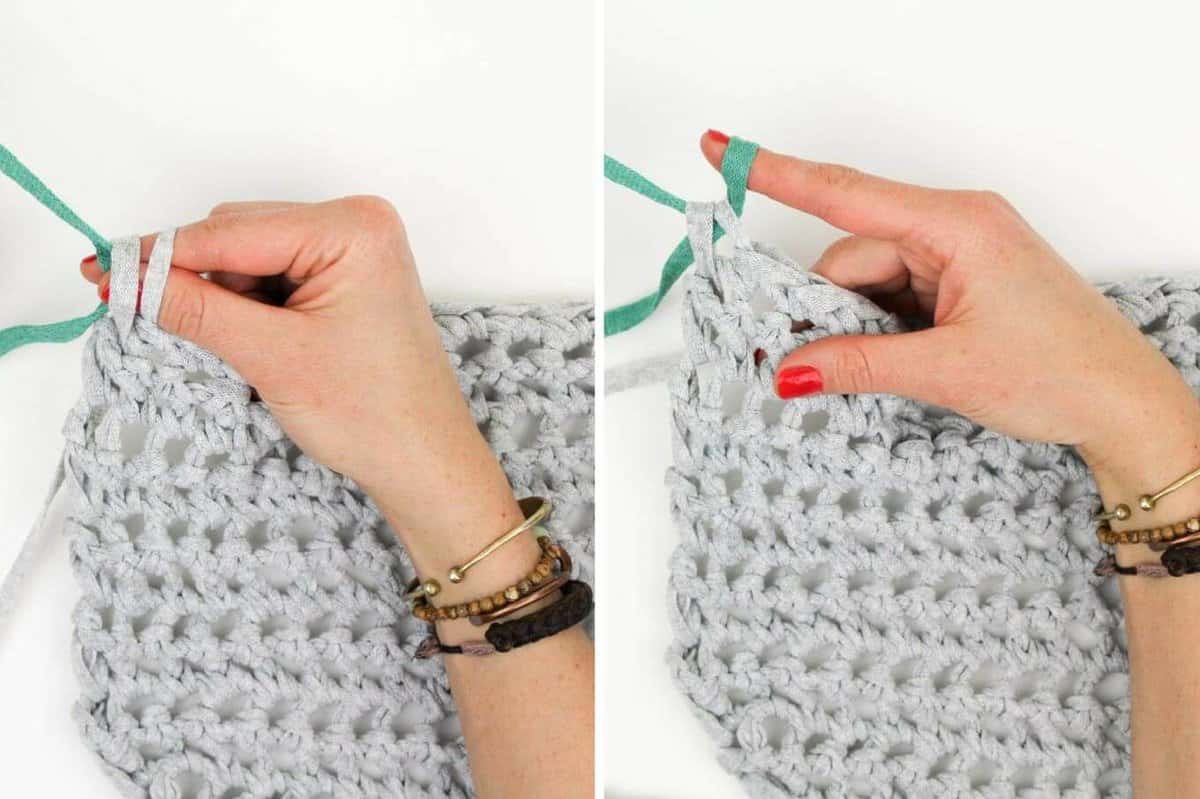
- View the video tutorial above for a thorough demonstration of finger crochet.
- 2 identical panels are worked for the front and back of the bag and then seamed together.
Bag Panel
(Make 2.)
Using Chopper Grey:
Ch 12.
Row 1: Sk first ch, sc in next 11 ch; turn. (11 sc)
Wanna save this pattern?
Row 2: Ch 1, 2 sc in first sc, sc in next 9 sc, 2 sc in last sc; turn. (13)
Row 3: Ch 1, 2 sc in first sc, sc in next 11 sc, 2 sc in last sc; turn. (15)
Row 4: Ch 1, 2 sc in first sc, sc in next 13 sc, 2 sc in last sc; turn. (17)
Row 5: Ch 1, 2 sc in first sc, sc in next 15 sc, 2 sc in last sc; turn. (19)
Row 6: Ch 1, 2 sc in first sc, sc in next 17 sc, 2 sc in last sc; turn. (21)
Row 7: Ch 1, 2 sc in first sc, sc in next 19 sc, 2 sc in last sc; turn. (23)
Rows 8-16: Ch 1, sc in each sc across; turn. (23)
Row 17: Ch 1, sc in each sc until 1 sc remains; insert hook in last sc, yo using grey and pull through st, yo using Go Kart Green to complete sc. (See photo below.)
 Using Go Kart Green:
Rows 18-25: Ch 1, sc in each sc across; turn. (23)
Fasten off, leaving a 15” tail. Do not weave in. Repeat for second bag panel, taking care to keep finger tension similar.

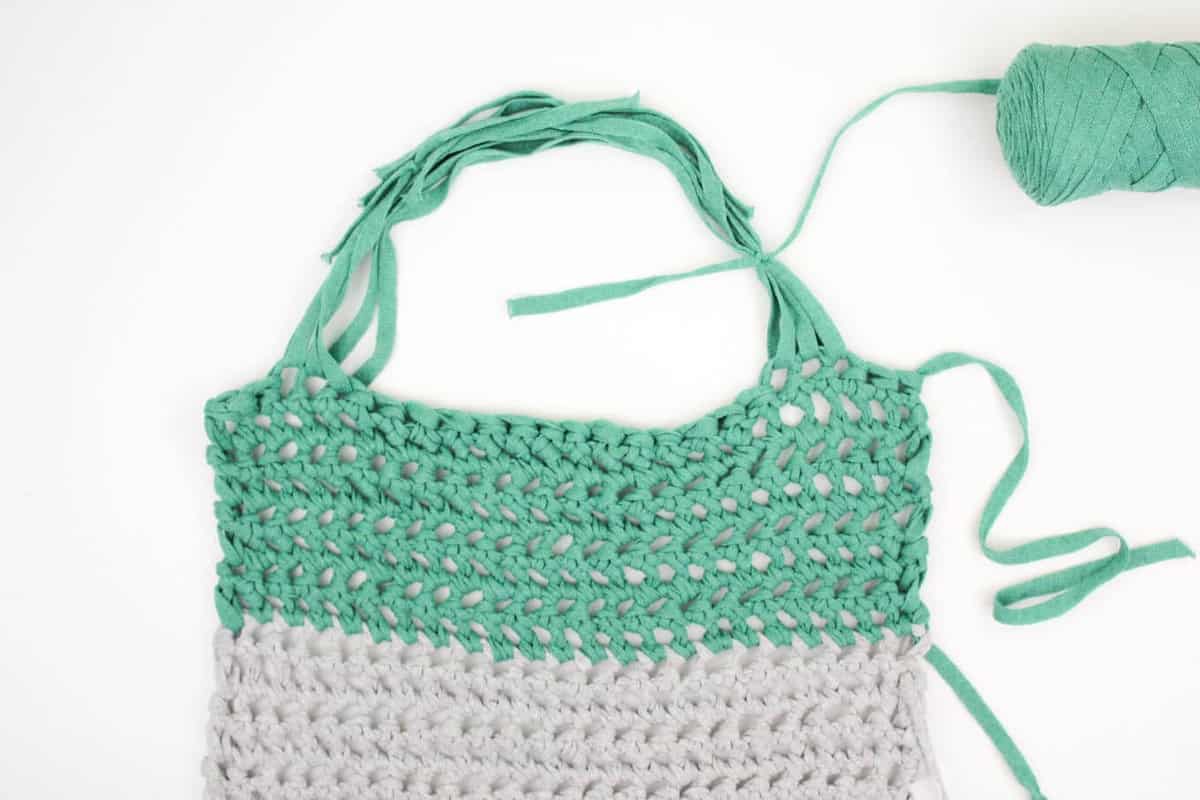
Adding Handles
Cut six 50” strands of Go Kart Green. At top of one of the bag panels, thread one strand through the third stitch from the left side. Thread the same strand through the third stitch from the right side. Securely knot strand at top of handle once desired length is achieved. (Keep in mind, bag will stretch out a bit once filled with belongings. Handle pictured is approx. 7.5” high when unstretched.) Repeat this process with the other two strands in the fourth and fifth stitches from each edge. (See photo below.)
Trim handle strands, leaving 2” tails. Using main ball of Go Kart Green yarn, securely attach yarn on right side of handle (left side for left-handed crocheters) as pictured below.
 Ch 1, sc fairly tightly along handle working around all three strands of handle yarn and any tails as you go. Scrunch sc stitches together periodically until you like the density of how they look. Fasten off and weave in last tail under handle sc stitches.
Repeat for second handle.


Seaming Panels
Set panels on top of each other with the sides you want to show facing each other. (Panels should be identical, but if you prefer one side of a panel, face it inward.) Pin panels together with stitch markers.
Thread Go Kart Green tail from panel onto tapestry needle. Using mattress stitch, sew along green section of panels. Fasten off green yarn. Switch to grey yarn to seam grey section, taking care to work into the first row of sc (not the ch stitches) along the bottom of bag. Fasten off grey yarn. Complete final green section using tail from panel. Fasten off and turn bag right side out.
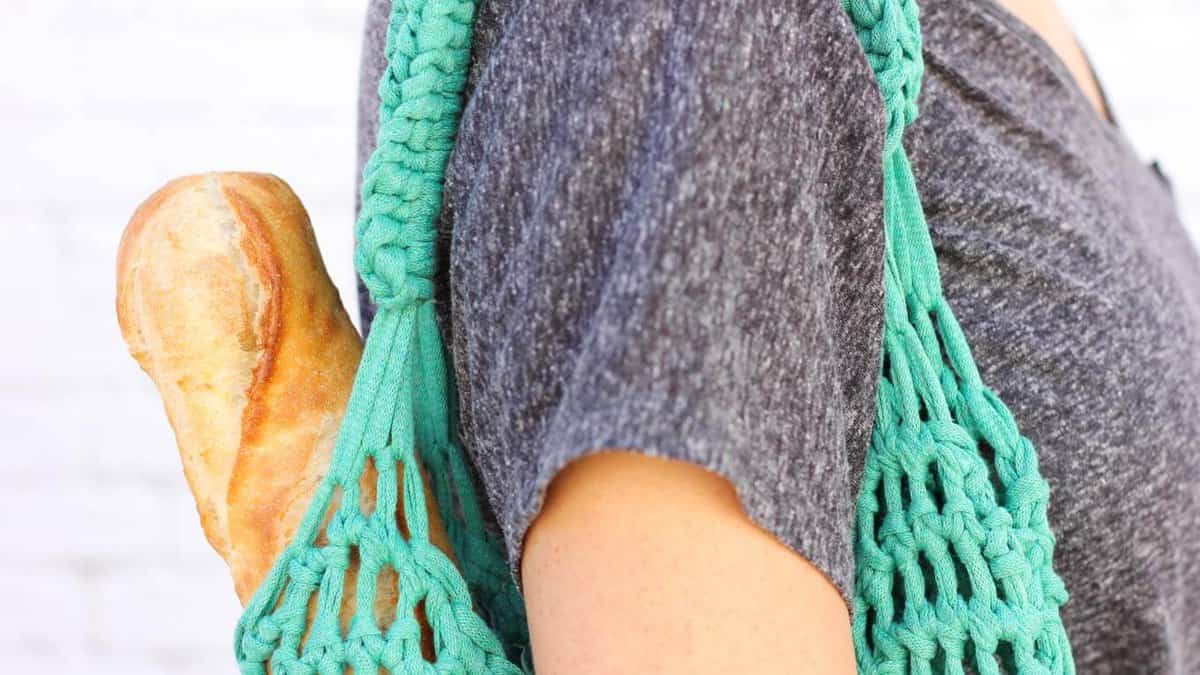
Hit the farmer’s market, the grocery store or the beach with your new HAND-made bag!
That was so fun! Now what?
Invitation to our Facebook group
Come discuss finger crocheting bags and lots of other projects and techniques in our Make & Do Crew Facebook group. Here thousands of helpful crocheters answer each others questions and share their stitches. Come join us here.
More Free Crochet Patterns for Bags + Purses
- Free Crochet Bag Pattern For Beginners - very simple construction
- Boho Crochet Bag Pattern - creative construction + style
- Crochet Lunch Bag Pattern - also fun gift for kids
- Lacy Crochet Shoulder Bag Pattern - summery tote bag
- Fringe Crochet Purse Pattern - bohemian flare!
- Beginner Crochet Tote Bag - fun crochet geometry
- How to Add Leather Handles to Any Crochet Bag - easy upgrade
- Crochet Tote Bag Free Pattern - with leather handles
Now that your fingers are warmed up, here are more free patterns you might enjoy!
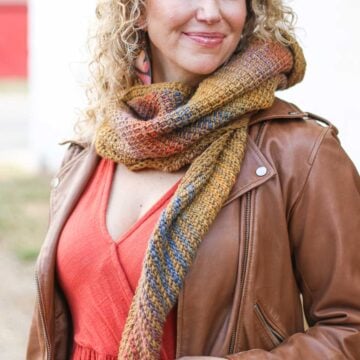
Cocoon Cardigan - great pattern + video tutorial for a confident beginner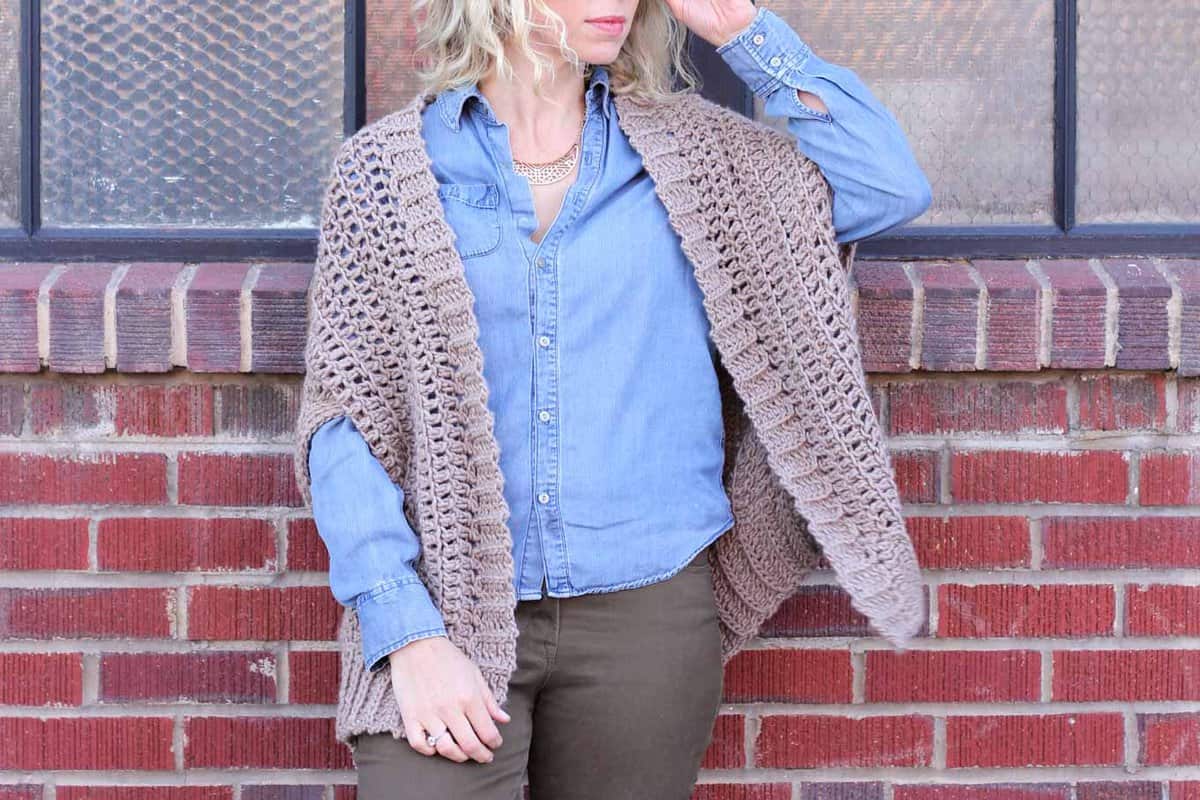
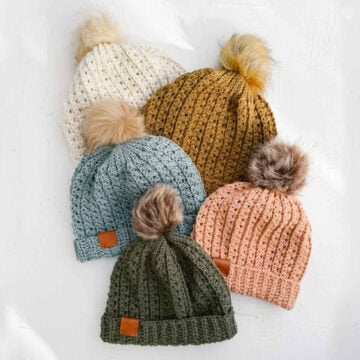
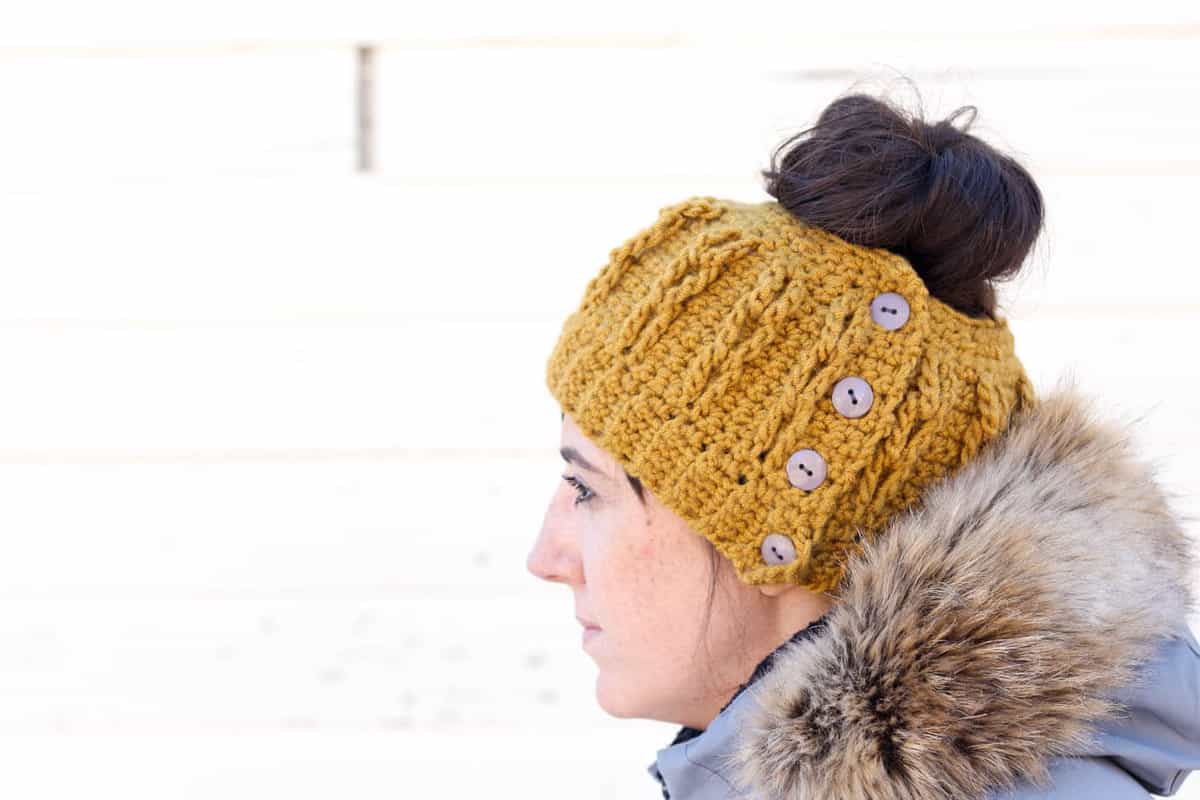
Faux Cabled Bun Beanie - free pattern and video tutorial!


Lydia says
Hi. Such an awesome idea ! Looking forward to trying it . I have had carpal tunnel surgery on both hands so
hopefully this will be possible ....I will just have to take it slowly... Thanks so much. I love the flip-flop ideas also.
Would love to try them to .... Thanks again for patterns !
Annie says
Could this be done with worsted weight yarn doubled? I'm working night shift, packed my yarn but forgot my hooks on my coffee table!!
Thanks!
Annie
Jess @ Make and Do Crew says
Haha, oh man, forgetting my hook is devastating to me! I'd say you'd prob want more like 3 strands held together, but just experiment and see what you think! 🙂
Jess
Valerie says
Tried to use the large 25 mm hook and found it to be very cumbersome.
I am going to try to use the finger type crochet to make the grocery bag and follow the video instructions.
Would you have to buy more yarn if a smaller hook is used?
Jess @ Make and Do Crew says
Hey Valerie,
I know what you mean about the hook! I actually found finger crocheting to be much easier than using a large hook. If you use a smaller hook, you might need more yarn. This bag is pretty adjustable though, so if you want to just make a narrower bag and use less yarn, just start with fewer chains from the beginning. 🙂
Jess
kathy says
with the other 2 50" strands?
Jess @ Make and Do Crew says
Hey Kathy--
3 of the strands go on one side of the bag for one handle and three are used for the other handle. There's a photo a little ways up that might make this clearer. I'm sorry if what I wrote didn't make sense. 🙂
Jess
kathy says
you mention to cut 6 50" strands of yarn but only instructed to use four of the six. what do you do with the other wo 50 " strands.
Andrea Timmons says
I would so like to make this bag. I am going to give it a try. Stuff is a little harder for me because I am left handed when crocheting but for the finger crocheting I think I could do it with my right hand.
Can't wait to give it a try. I have a thing for bags, purses, caryalls, etc. Will be watching your videos/tutorials tonight.
Just hope I am able to find the materials. Very limited here. Our Walmart doesn't have a lot of choices I find. Gonna try Michaels on the weekend.
Regards,
Andrea
Jess @ Make and Do Crew says
Hey Andrea,
Yes, I do think this one shouldn't be too tricky to convert to left handed. I do understand though how that must be challenging sometimes! I'm actually just starting a new crochet bag experiment tonight. If it goes well, I'll post it on the blog soon!
I don't think this Fast-Track yarn is in stores yet, unfortunately. You can get it from LionBrand.com, but if you're eager to get started, look for a fairly chunky yarn that doesn't have a ton of stretch. Have fun!
Jess
Andrea says
Just an FYI, the video is stuttering.