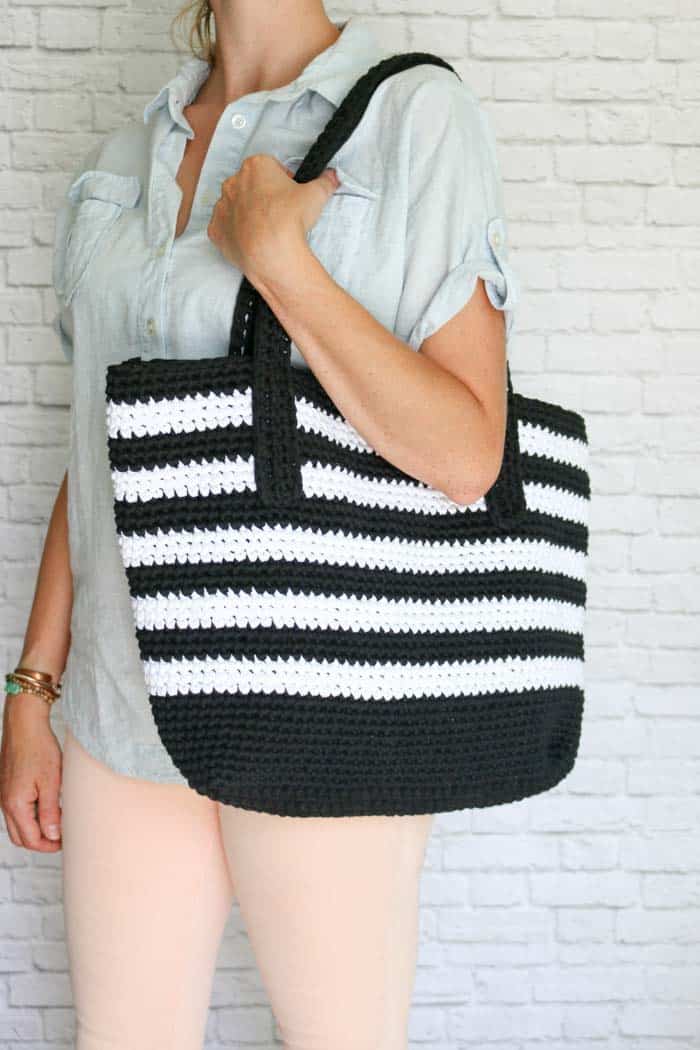
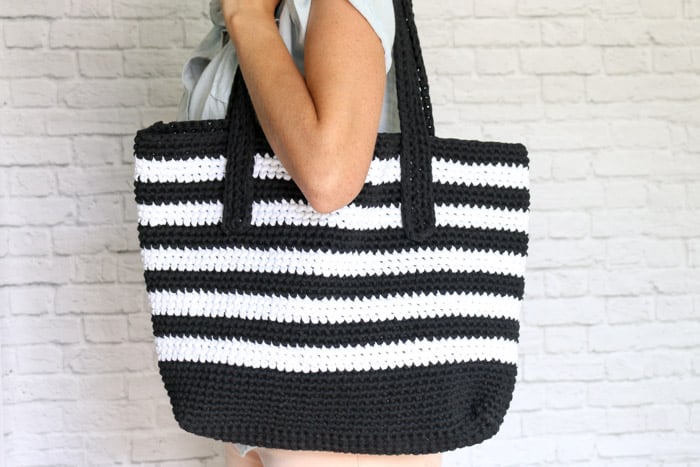
Classic meets modern in this crochet tote bag free pattern. Made with very basic crochet techniques, this tote is a perfect project for a confident beginner to practice seamless color changes and crocheting in the round. The free bag pattern is below or you can purchase the ad-free, printable PDF here.
This free crochet tote bag pattern is part of a collaboration with Lion Brand. This post contains affiliate links.
Useful Crochet Tote Bag Pattern
The Audrey Tote pattern was born out of the desire to make a crochet tote bag that could really be useful. Like for your real life. Not just for holding down the hooks in your closet. 🙂

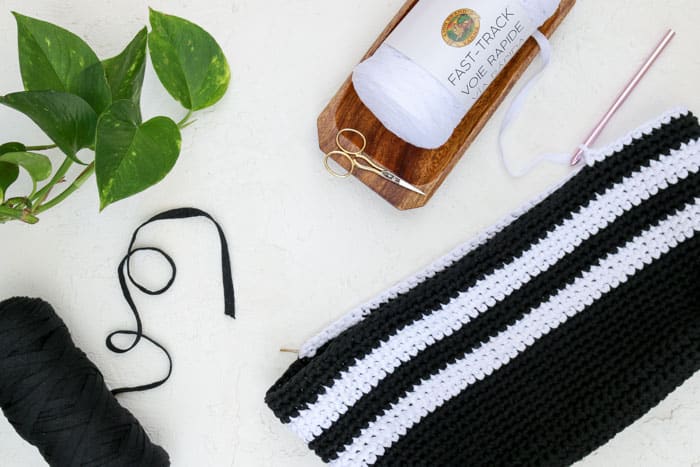
Best Sturdy Yarn for a Crochet Bag
Thanks to this totally tubular Lion Brand Fast-Track yarn, this bag feels strong, soft, and appropriate for the beach, the mall or even, work.
Really, I can't think of a better yarn to make a bag like this because Fast-Track is more sturdy than stretchy. Tt's flat tube shape compresses nicely, creating great stitch definition.
Related: 30+ Best Crochet Crop + Tank Top Patterns
How to Strengthen a Crochet Shoulder Bag
Even loaded down with a day's worth of necessities, this crochet tote bag really doesn't feel like it's going to stretch to be six feet long by the time you arrive home in the evening.
Add a Fabric Lining
If you want to make your crochet bag even stronger, you can always add a simple fabric lining on the inside, which will keep the bag from stretching at all.
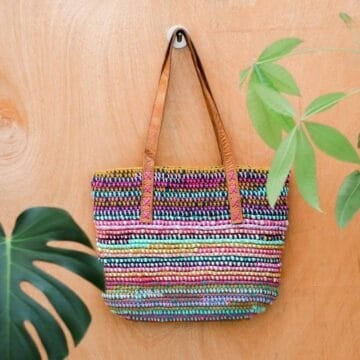
Add Leather Straps
I'm a big fan of mixing different materials with yarn, so of course I had to try an option of this bag with some DIY leather handles. Don't they add such a pretty mix of color and texture to this bag?
I'm so in love with these handles that I kind of want to see what else I can hammer leather to!
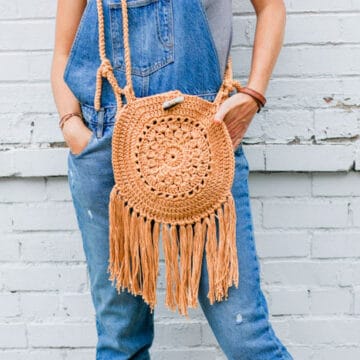
(If you love the look of crochet & leather look too, you'll definitely want to check out the free Urban Gypsy Boho Bag pattern and the free Dollar Store Twine + Thrifted Belt Basket pattern.)
Related: 30+ Stunning Dresses to Crochet

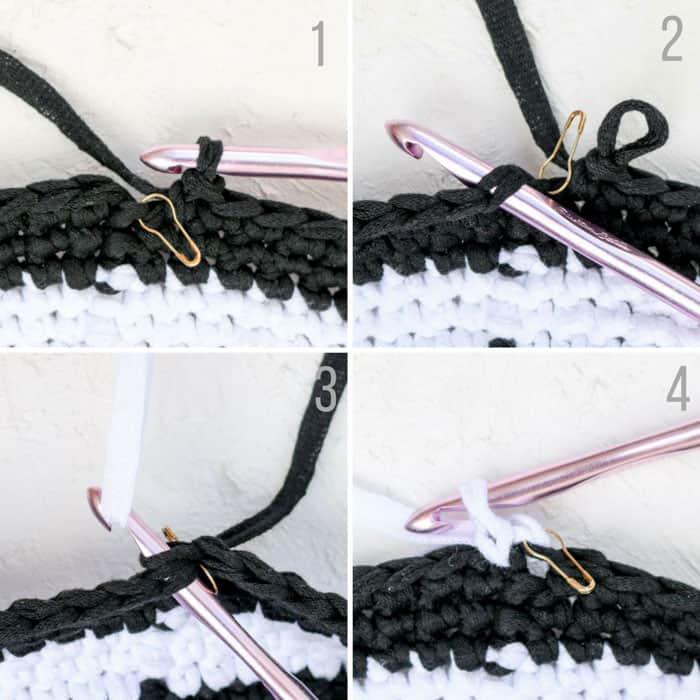
How To Crochet Jogless Stripes in the Round
Since changing colors in the round can be a little tricky (I literally screw it up almost every time I try), I put together a little photo tutorial about the way I like to change colors to create jogless stripes. If you have a favorite way of changing colors, feel free to do it your way and just scroll down for The Audrey crochet tote free pattern below.
If nothing else, this tutorial will be here next time I need to reference it for my own project!
• Check out the video tutorial below if you need to see someone's hands in action doing these jogless color changes.
• In photos above, marker is in sl st at the end of the round previous round.
Step-by-Step Instructions
- Work last single crochet of round.
- Remove hook. Insert hook in first single crochet of round.
- Place loop back onto hook. Yarn over with new color.
- Pull yarn-over through loop on hook and first single crochet to create a slip stitch. (Rounds joined.) Proceed with next round as instructed.
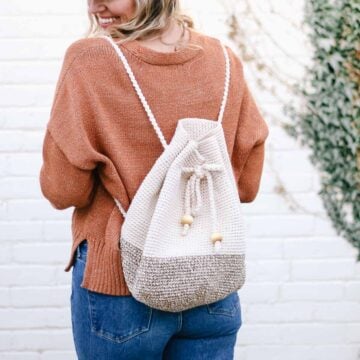
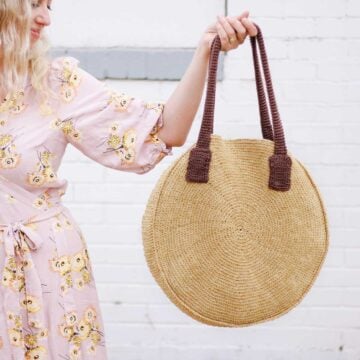
More Free Crochet Bag + Purse Patterns
From modern granny square bags to mesh market totes to circle purses, we've got lots more free crochet bag patterns for you to enjoy. With sturdy straps and stylish details, you might just become a crochet bag-a-holic.
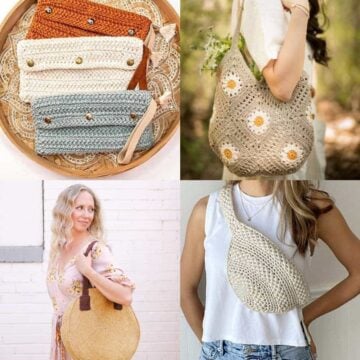
See more free crochet bags & purses patterns →
Please do not publish or share this pattern as your own. You may make items to sell with this pattern. In exchange, please link back to this post. Do NOT use my photos as your own sales photos. You can read my policies here.
Audrey Crochet Tote Bag - Free Pattern
Purchase the ad-free, printable PDF here.
Add this pattern to your Ravelry favorites here.
Pin this pattern for later here.
Explanation:
This classic crochet tote bag is sure to become a staple of your wardrobe. Very simple techniques combine with Lion Brand Fast-Track yarn to make a bag that transitions between seasons effortlessly and looks like something from a high-end store—only better. Add basic crochet straps or snazz up your bag with leather and gold accents, either way, you’ll have a functional and stylish beach bag, work bag or everyday-life bag.
Tote Bag Supplies:
• Lion Brand Fast-Track (Weight: 6/super bulky - 149 yds, 8 oz)|
- Color A: Jet Black (2 full skeins)
- Color B: Airstream White (1 full skein)
• Tapestry needle
• Size L (8 mm) crochet hook
• Stitch markers or safety pins
• Needle and sewing thread to match Color A (if adding crochet handles)
• Straight pins (if adding crochet handles)
• Approx 50” long,1.5” wide leather strap (if adding leather handles--see the detailed tutorial here)
• 16 gold rivets + rivet tools, size: 8mm cap, 10mm post (if adding leather handles)
• Hammer (if adding leather handles)
• 6” square of plastic canvas (if adding leather handles)
Measurements:
19” wide
13” tall
handle height: approx. 9.5”
Wanna save this pattern?
Gauge:
11 sc = 4”
12 rows = 4”
Abbreviations and Glossary (US Terms):
ch – chain
sc – single crochet
sk – skip
st – stitch
RS – right side
WS – wrong side
rep – repeat
PM – place marker
Overall Pattern Notes:
• The bag base is worked first and the body is added on top.
• IMPORTANT: The gauge is intentionally quite tight so as to create a bag that won’t be too stretchy. Please check gauge to ensure you will have enough yarn to complete the pattern.
Bag Base Instructions
Foundation Row: Using Color A, ch 37.
Row 1: Sk first ch, sc in each ch; turn. (36 sc)
Row 2: Ch 1, sc in each sc; turn.
Rep Row 2 ten more times for a total of 12 rows. Do not cut yarn.

✨Unlock this free subscriber-exclusive pattern ✨
Follow these steps to view the full free pattern below
Handles
Notes:
• You may choose to crochet handles with the instructions below or add leather handles with this step-by-step tutorial.
• If you crochet your handles and plan to carry very heavy items, you might like to sew webbing similar to this to the back of the handles before sewing them onto the bag.
• Handles measure about 30” each. To adjust the length, create additional or fewer chain stitches in the foundation.
• Round 1 is worked in the round, first along foundation chain and then along the underside of the chain. Row 2 is worked similarly to the first half of Round 1, but ends before working the underside.
Make 2.
Foundation Row: Using Color A, ch 74.
Round 1: Sk first ch, 2 sc in second ch, 1 sc in each ch until 1 sc remains, 2 sc in last ch, (PM) (now begin working along bottom side of chain), 2 sc in first ch, 1 sc in each ch until 1 sc remains, 2 sc in last ch, sl st to first sc of round to join.
Row 2: 2 sc in first sc, sc in each sc until 1 sc remains before marker, 2 sc in next two sc, 1 sl st. Fasten off.


Finishing
Using straight pins, pin handles to bag as pictured in photo below. Space handles so that they line up with the bottom of the third black stripe and there is about 8” between the handles.
With sewing thread that matches Color A, securely sew handles to bag.
Weave in remaining ends. If planning to line bag, there is no need to weave in the remaining ends inside the bag. (Hooray!)
Fill your new stylish tote with…your next crochet project, of course!
That was so fun! Now what?
Invitation to our Facebook group
Come discuss crocheting tote bag patterns and lots of other crochet projects and techniques in our Make & Do Crew Facebook group. Here thousands of helpful crocheters answer each others questions and share their stitches. Come join us here.
More Free Crochet Patterns for Bags + Purses
- Finger Crochet Bag Pattern + Video - no hook, no problem!
- Free Crochet Bag Pattern For Beginners - very simple construction
- Boho Crochet Bag Pattern - creative construction + style
- Crochet Lunch Bag Pattern - also fun gift for kids
- Lacy Crochet Shoulder Bag Pattern - summery tote bag
- Fringe Crochet Purse Pattern - bohemian flare!
- Beginner Crochet Tote Bag - fun crochet geometry
- How to Add Leather Handles to Any Crochet Bag - easy upgrade
If you're a bag lady or a leather lover, you might also enjoy these free crochet patterns from Make & Do Crew:
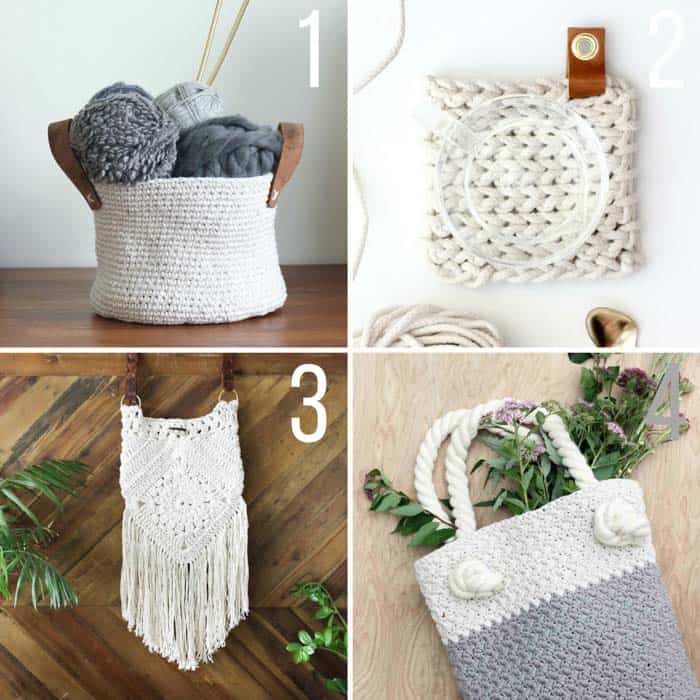
1. Dollar Store Twine + Leather Belt Basket free pattern
2. Clothesline Rope Trivet free pattern
3. Urban Gypsy Boho Bag free pattern
4. Suzette Bag free pattern (excellent for beginners!)

Camille Cardarella says
Thanks for you r info. But I thought this is a beginner pattern. I also thought there were tutorials throughout. I don't know where to go from here, as I have never worked in the round. The pattern didn't scare me because for some reason I thought there were tutorials for the whole thing. Am I missing tutorials from somewhere else? All I have is the bag base but have no idea what to do next. Can you help?
Jess @ Make and Do Crew says
Hey Camille,
I'm sorry to hear you're having trouble. After you work the base, you'll work the first round of the bag sides by crocheting around all four sides of the bottom rectangle. From that point on, you'll be working in the round. You can reference the photo tutorial on switching colors for instructions on how to join rounds for the stripes.
Hope that helps!
Jess
Lindsay says
I'm very excited to see how you put the leather straps on your bag! I have been wanting to do the same because I find the crocheted handles stretch, a lot! I have been researching different methods and I love the way yours looks so I can't wait!
Thanks in advance!
Jess @ Make and Do Crew says
Hey Lindsay!
Yes, I really didn't know how these would turn out, but I love them too! I'll be sharing the leather strap tutorial tomorrow. 🙂
Jess
Stephanie says
This is beautiful, Jess! Love the striking black and white! I'm finishing up my purse design too and will also be trying to add leather handles! The leather looks so stunning against the crochet 🙂
Jess @ Make and Do Crew says
Thanks so much, Stephanie. I just love the texture a little leather and metal add to a yarn project. Can't wait to see what you're making. I'm sure it will be stunning as always. 🙂
Jess