Learn how to add leather handles to a crochet bag or purse to add instant sophistication, strength and texture.
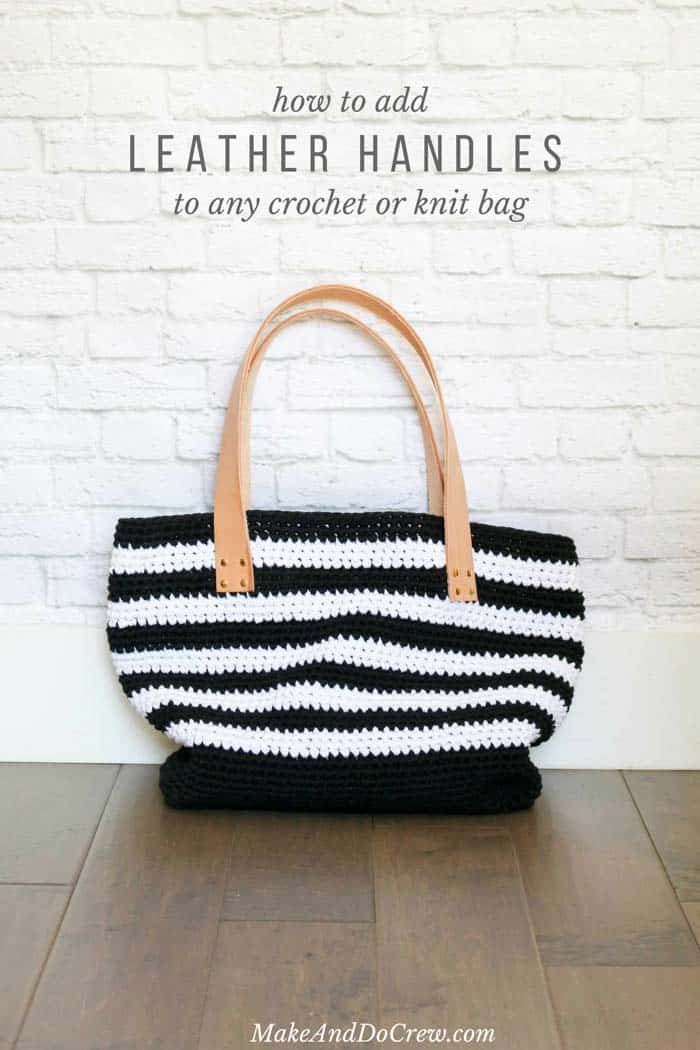
If you had to say what your favorite thing about crocheting or knitting is, what would your answer be? (Yarn shopping is a totally legit response, btw!)
For me, one of the things I love most about fiber arts is how much texture you can create from a simple strand of yarn. Many of my projects, like my recent Canyonlands Boho Top or Coachella Boots with flip flop soles, begin by just wanting to make the yarn I’m using really look as rich and full of detail as possible.
Juxtaposing Fibers and Textures
One way I think we can draw attention to the texture of our crochet or knit projects is by juxtaposing them against something with a completely different texture.
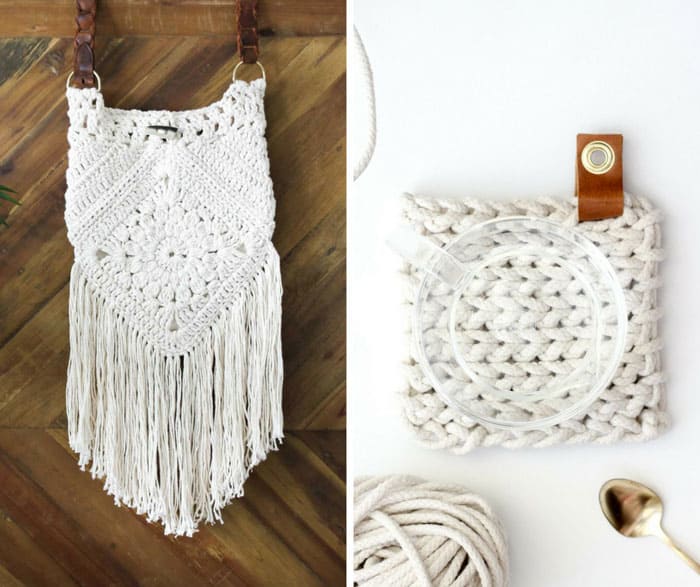
I find myself often gravitating to leather for this reason because it offers such a contrast to the soft, yet bumpy stitches of knitting or crochet. You can see how nicely cotton yarn and leather play together in the Urban Nomad Boho Bag pattern and the Clothesline Rope Trivet below.
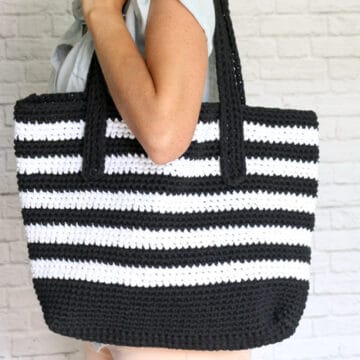
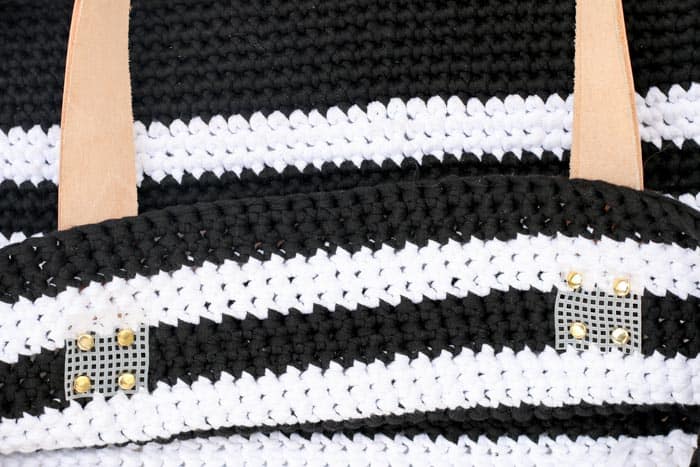
When I was making The Audrey Tote recently and saw how gorgeous simple single crochet stitches looked in the Lion Brand Fast-Track yarn, I knew I’d also want to try to add some leather to further amp up the texture quotient. A handful of shiny gold rivets later, I think textures of The Audrey Tote are singing in harmony.
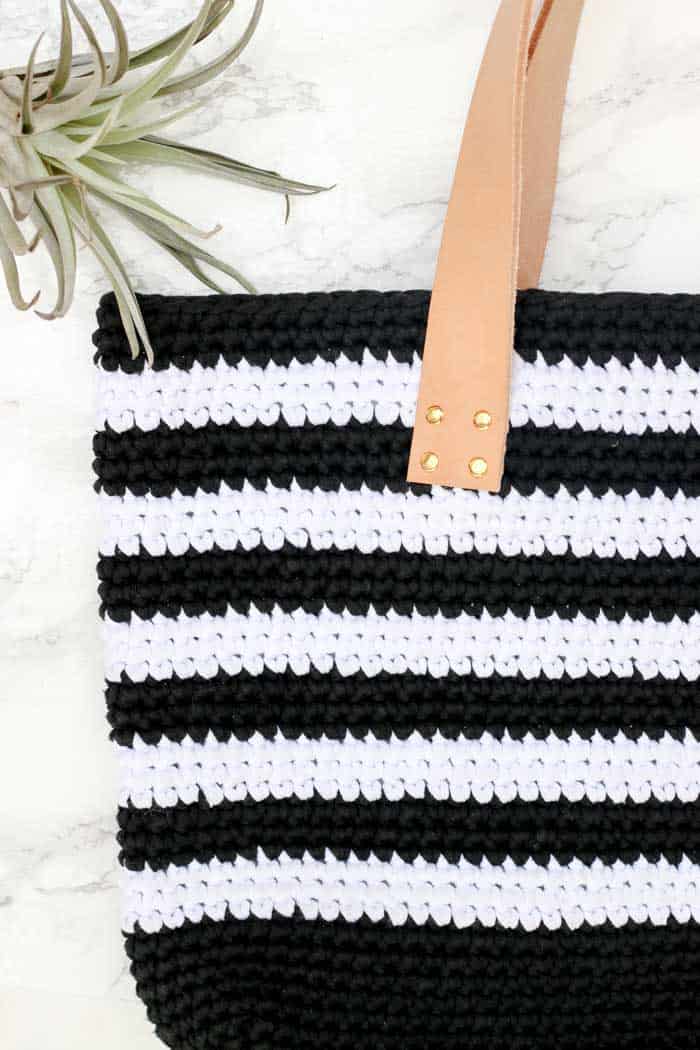
Until now, I’ve hesitated to use rivets directly on crochet or knit fabric because the rivets would just pull through the spaces between the stitches. Then I came across this sewing tutorial from the Polka Dot Chair though that uses plastic canvas to stabilize the bag handles. It finally solved the problem I’ve always had with using rivets and I think it’ll work well for many of your crochet and knit projects too!
Today I’ll show you how to add leather handles to a crochet bag, but feel free to take take these basic concepts to design leather straps and handles that suit your style and the bag you’re making.
Where to Find Leather Straps
While I found a great deal on the supplies for this bag on Amazon (linked below in the “supplies” section), I also love using thrifted leather belts as accents on crochet projects, like I did in this Dollar Store twine basket!
If you’re new to shopping second-hand, check out this guide to finding the best thrift store treasures.
More Free Crochet Bag + Purse Patterns
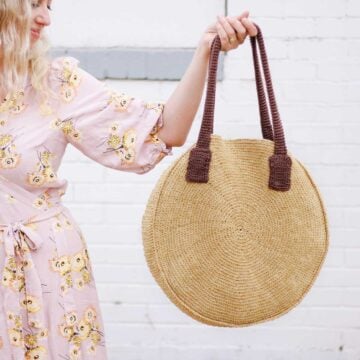
From modern granny square bags to mesh market totes to circle purses, we’ve got lots more free crochet bag patterns for you to enjoy. With sturdy straps and stylish details, you might just become a crochet bag-a-holic.
See more free crochet bags & purses patterns →
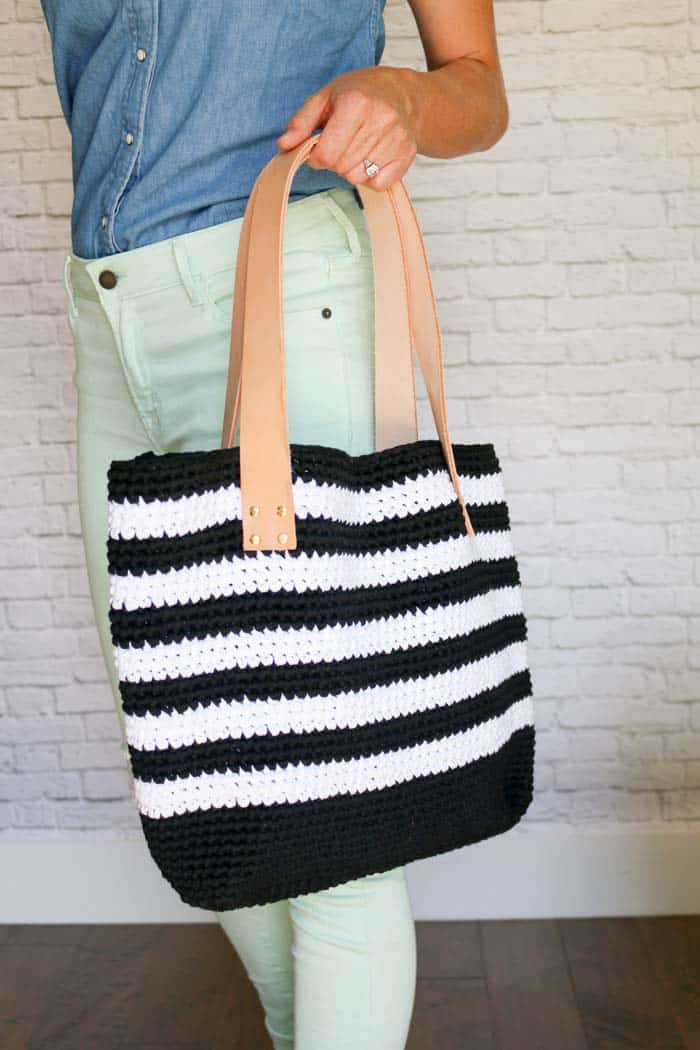
How to Add Leather Handles to a Crochet Bag or Purse
Supplies:
So you can spend more time making handbags and less time shopping, this post contains affiliate links at no extra cost to you.
• Approx 50” long,1.5” wide leather strap, cut into two even pieces (or length to suit your bag)
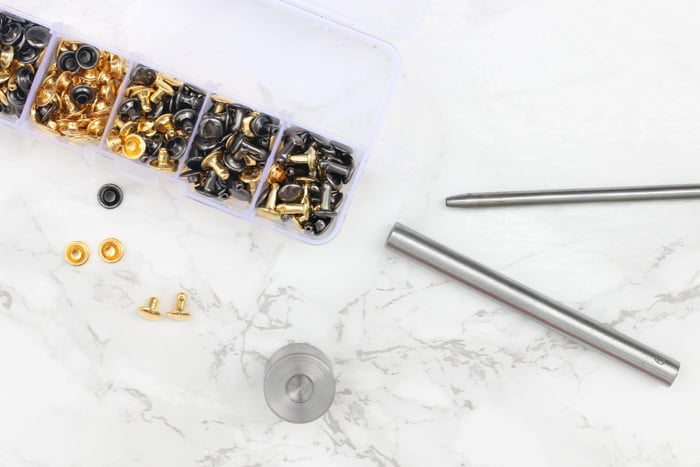
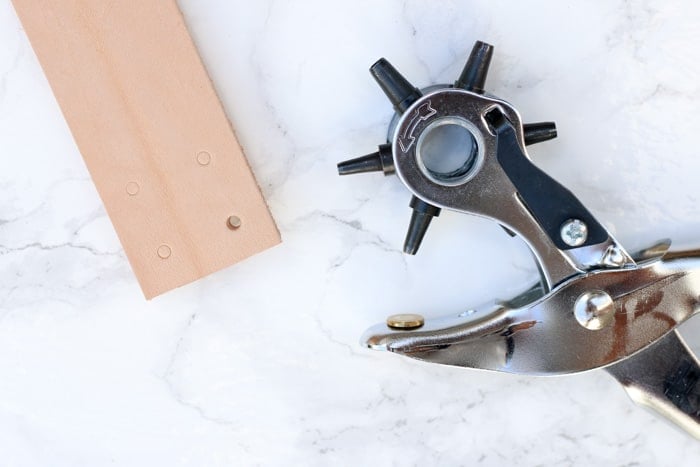
• 16 gold rivets + rivet tools, size: 8mm cap, 10mm post (this is the exact kit I used and it includes all the necessary tools)
• Hammer
• Leather Punch (this is what I use, but the rivet kit above also includes a punch tool you can hammer to make holes–it’s the thinnest cylinder in the photo above)
• 4” square of plastic canvas
Definitions:
• right side = the side you want showing when your bag is used, the “nice” side of the bag or leather
Notes:
• It’s helpful to work on a hard surface when you’re hammering the rivets. It’s also a good idea to lay a sheet or cloth down under your project so the rivets don’t get scuffed in the process.
1. Use leather punch to gently score leather and mark placement of four holes in both ends of each strap. When you’re happy with the marks, punch all holes.
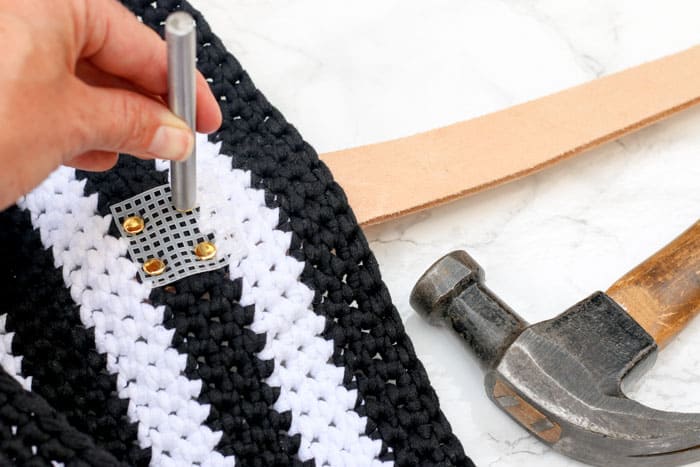
2. Cut four plastic canvas squares to be large enough to cover the width of your strap and the height of your four holes. (My pieces are about 1.5″x1.5.”)
3. Now you’ll make a “sandwich” of all your supplies to attach the first strap. Place a rivet post (the longer piece) face up on your work surface. With the right side of your leather strap facing down, place the it on the rivet post. Stack the crochet or knit back on the leather strap, with the right side of the bag facing down. Place one canvas square on top of the bag, threading the rivet post through a hole in the plastic grid.
4. Place the rivet cap on top of the post, with all the other layers squished in between. You may need to press the rivet together with your fingers to get a little tension on it before you hammer it.
Wanna save this pattern?
5. Put the small, wider metal cylinder tool below the bottom rivet cap, making sure to place the concave, curved portion on the rivet cap. Place the long, thinner cylinder on top of the top rivet cap, again being sure to have the curved side on the rivet.
6. Hammer time! You’re going to want to give this a good couple of whacks. After the first one, you should be able to tell if the rivet connected because it’ll immediatly feel more stable and connected than before. If your crochet or knit bag is made from fairly chunky yarn, like the bag made with Lion Brand Fast-Track pictured here, you may find that one portion of the rivet slips periodically when you’re hammering and you end up smooshing it with your hammer. I did this 3-4 times during the course of adding handles to The Audrey Tote, but luckily, the kit I used comes with plenty of extra rivets.
7. Repeat steps 3-6 with each hole in your leather strap.
8. Sell your designer crochet or knit handbag for hundreds of dollars OR, much better yet, keep it for yourself! 😉
That was so fun! Now what?
Invitation to our Facebook group
Come discuss crocheting handles for bags patterns and lots of other crochet projects and techniques in our Make & Do Crew Facebook group. Here thousands of helpful crocheters answer each others questions and share their stitches. Come join us here.
More Free Crochet Patterns for Bags + Purses
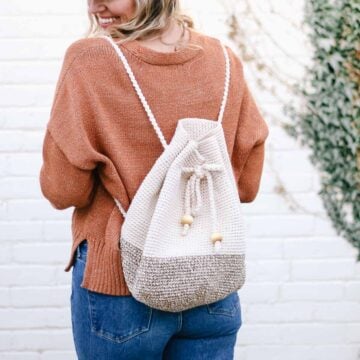
- Crochet Tote Bag Free Pattern – with leather handles
- Finger Crochet Bag Pattern + Video – no hook, no problem!
- Free Crochet Bag Pattern For Beginners – very simple construction
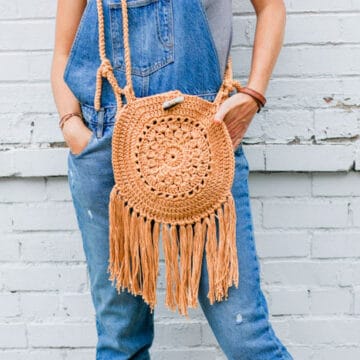
- Crochet Festival Purse Pattern – circle purse with style galore
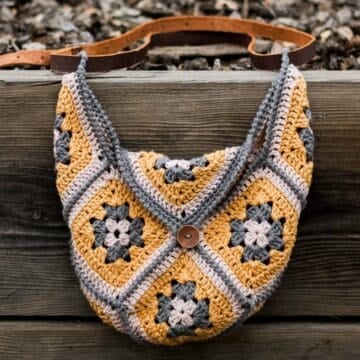
- Granny Square Crochet Bag Pattern – on-trend sling bag
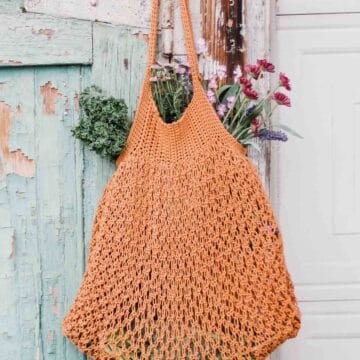
- Mesh Crochet Market Bag Pattern – perfect for the farmer’s market
- Crochet Bag Made From Squares – dead simple, yet so fun
- Urban Nomad Boho Bag – creative construction + style
If you’re a bag lady or leather lover like me, you might enjoy these other free Make & Do Crew patterns:
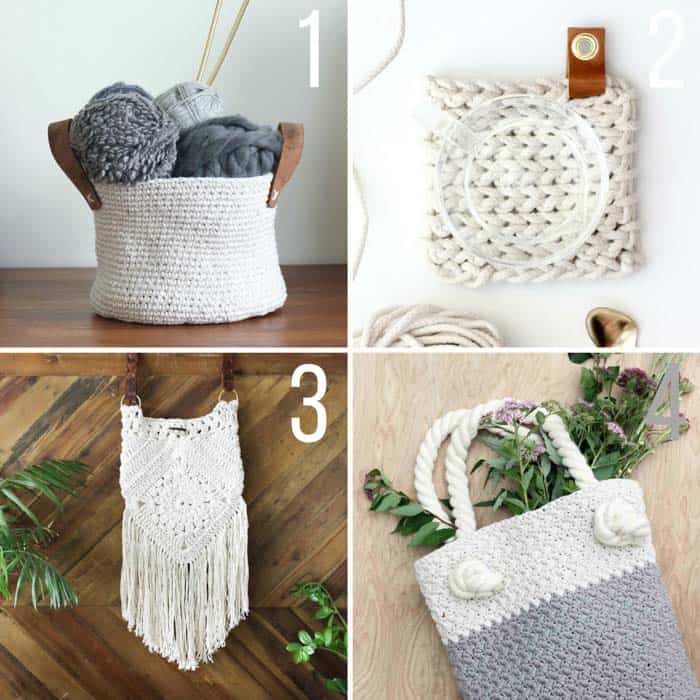
1. Dollar Store Twine + Leather Belt Basket free pattern
2. Clothesline Rope Trivet free pattern
3. Urban Nomad Boho Bag free pattern
4. Suzette Bag free pattern (excellent for beginners!)

Shehla | The Blue Elephants says
Beautiful! I loved seeing leather on crochet in shops, but I never understood how to do it myself. Thanks for sharing! I’m going to try this soon 🙂
Jess @ Make and Do Crew says
Honestly, I didn’t understand either until I just started experimenting! 🙂 Now I see that there’s so many possibilities! Glad to hear you’re inspired as well.
Happy crocheting, Shehla!
Jess