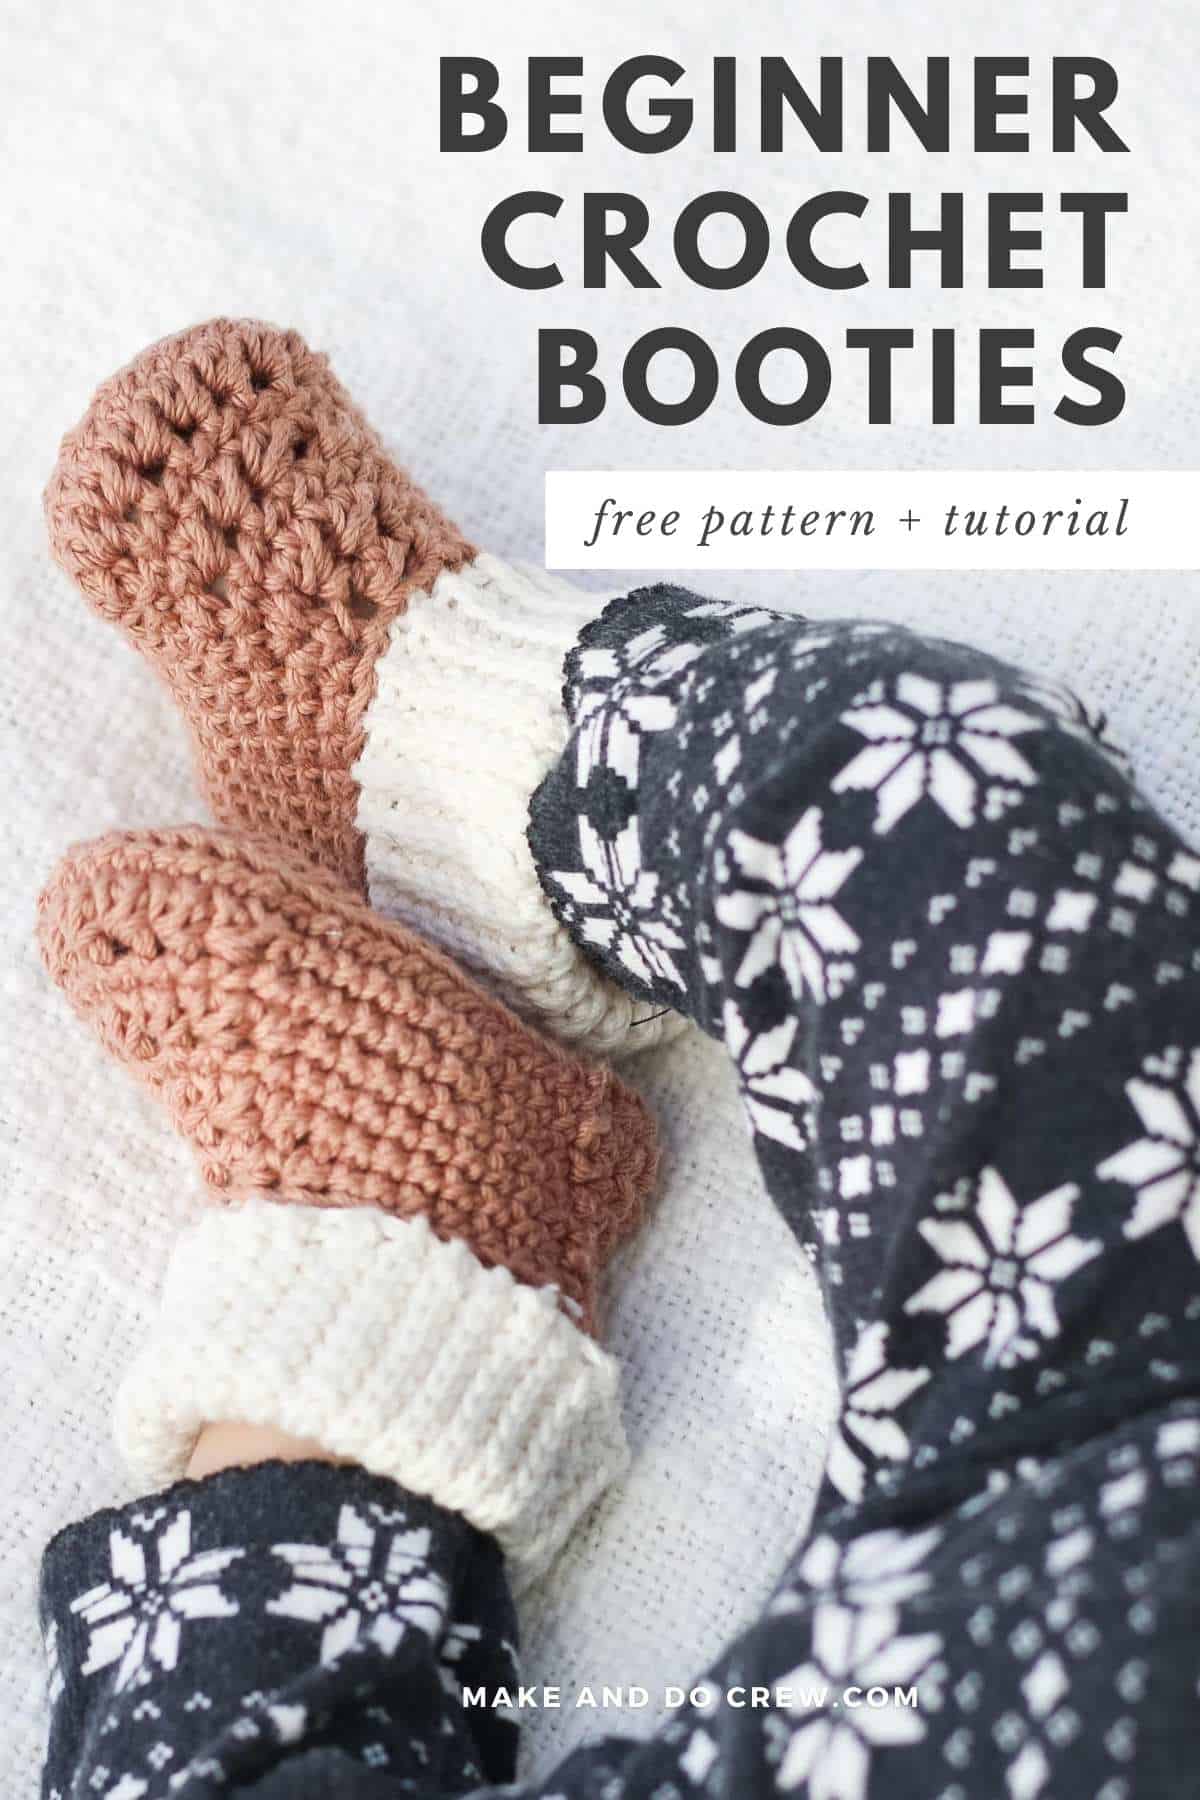
Crochet baby booties that stay on little feet can be hard to find – until now! This easy bootie pattern includes stretchy ribbing and the option to add elastic to the folded cuff for an extra secure fit.
Get the free baby booties crochet pattern below, or purchase the ad-free, printable PDF.
This post contains affiliate links.
Jump to:
- Easy Crochet Baby Booties for Beginners
- Baby Crochet Shoes Pattern Details
- Skill Level and Techniques You’ll Use
- Best Yarn for Baby Boots
- Baby Shoes Size Chart
- Baby Booties Free Crochet Pattern
- Tips to Keep Those Booties On!
- Customizing Your Baby Boots
- Invitation to our Facebook group
- How to Crochet Baby Booties for Beginners
Easy Crochet Baby Booties for Beginners
Crocheted booties are perfect for beginners who want to learn some new skills without the commitment of a big project.
And easy crochet baby shoes can be made in an hour or two, making them an excellent dopamine hit for instant gratification seekers.
Plus, come on, they are just SO adorbs!
Baby Crochet Shoes Pattern Details
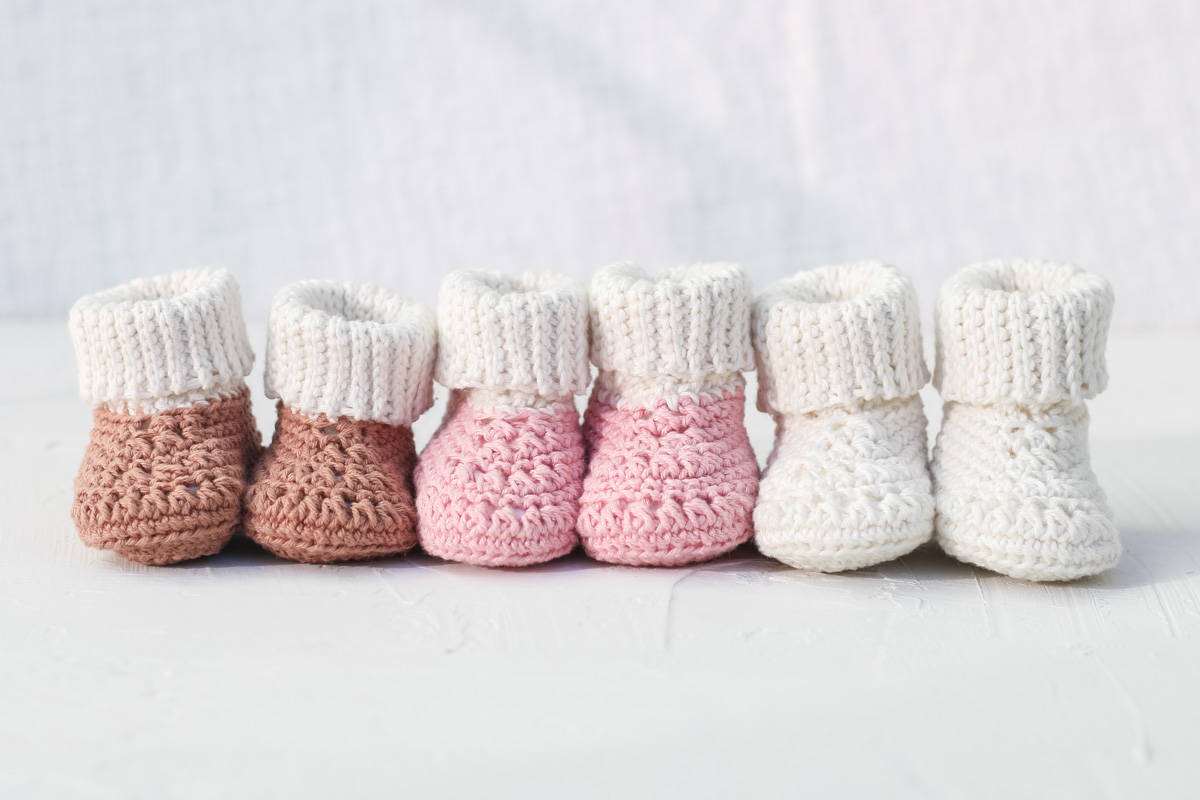
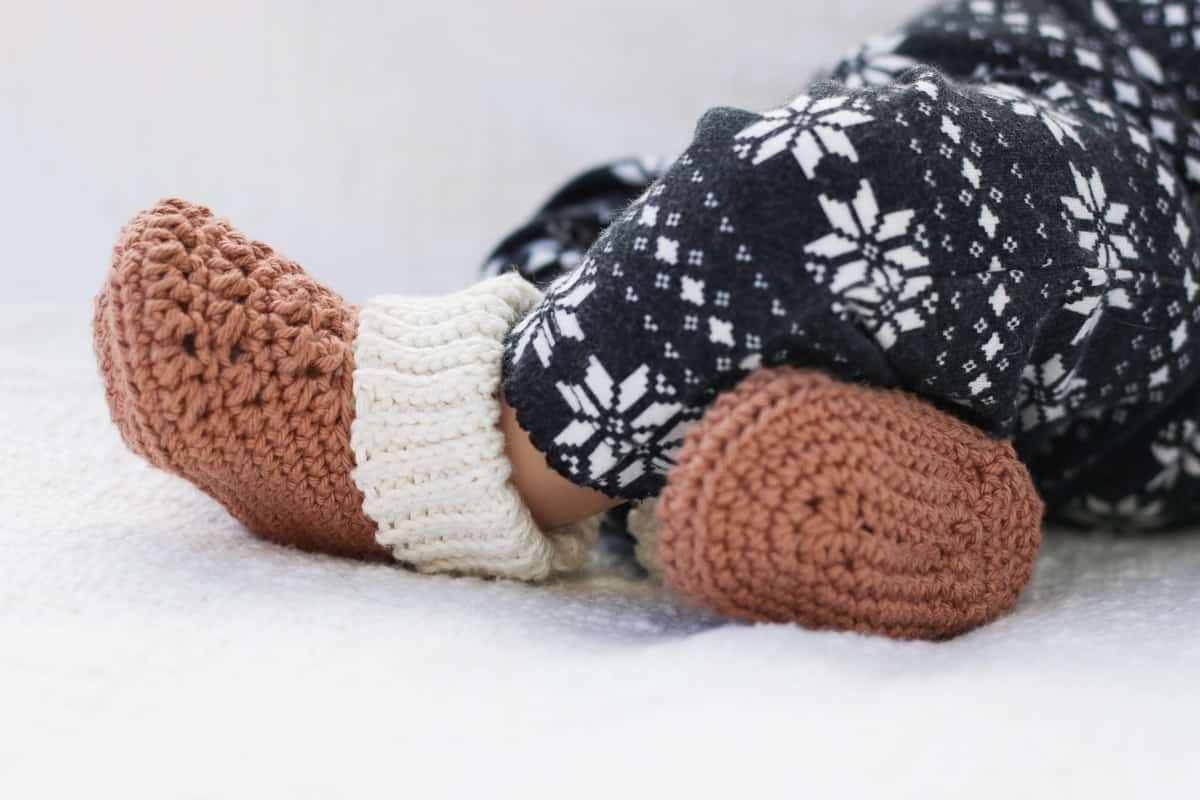
These cute and cozy booties feature a ribbed, fold-down cuff with an elastic thread to help keep them on wriggly feet.
We kept the design minimalist and gender-neutral so that you can customize the slippers to suit the special baby boy or baby girl in your life.
This free booties pattern can be your go-to for creating a unisex baby shower gift. Combine a pair with a crocheted baby blanket for the VIBs (very important babies) in your life.
Skill Level and Techniques You’ll Use
This pattern requires advanced beginner crochet skills. Making booties will give you a chance to practice the following skills:
- Single crochet (including back loop only)
- Half double crochet
- Slip stitch or yarn over slip stitch (including back loop only)
- Increasing and decreasing
- Changing colors (optional)
- Weaving in ends
Best Yarn for Baby Boots
The best yarn for infant crochet booties is generally soft, washable, and thin enough not to overwhelm newborn baby feet.
We chose Lion Brand 24/7 Cotton DK for these booties, a durable and washable category 3 yarn. The stitch definition of 24/7 Cotton DK is perfect for capturing the detail in tiny shoes. It’s 100% mercerized cotton, which keeps the colors rich and vivid, even after washing.
You can also use medium-weight Lion Brand 24/7 Cotton, which is a little heavier than the DK version but not as thick as true worsted weight yarn. I cover more details about this choice in the Supplies section below.
Substituting Different Yarn
To crochet these baby boots, you’ll need one or two colors of any DK weight (category 3) yarn. Since you don’t need much yardage, booties are a great stash-busting project to use up half-finished skeins.
Here are some DK weight yarns that would substitute well:
| Yarn | Fiber Type |
|---|---|
| Lion Brand Coboo | 51% Cotton, 49% Rayon from Bamboo |
| Rowan Cotton Glacé | 100% Cotton |
| Patons Grace | 100% Cotton |
| Premier Afternoon Cotton | 100% Cotton |
| Cascade Noble Cotton | 100% Cotton |
Baby Shoes Size Chart
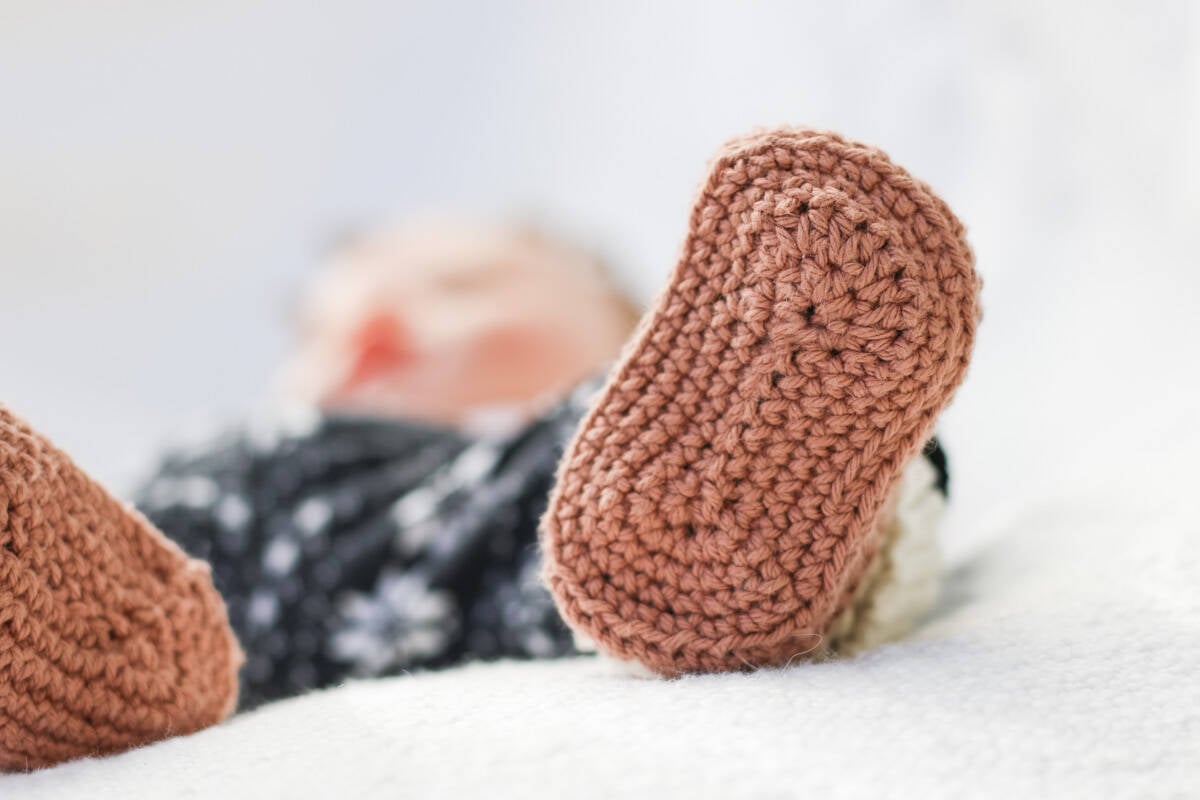
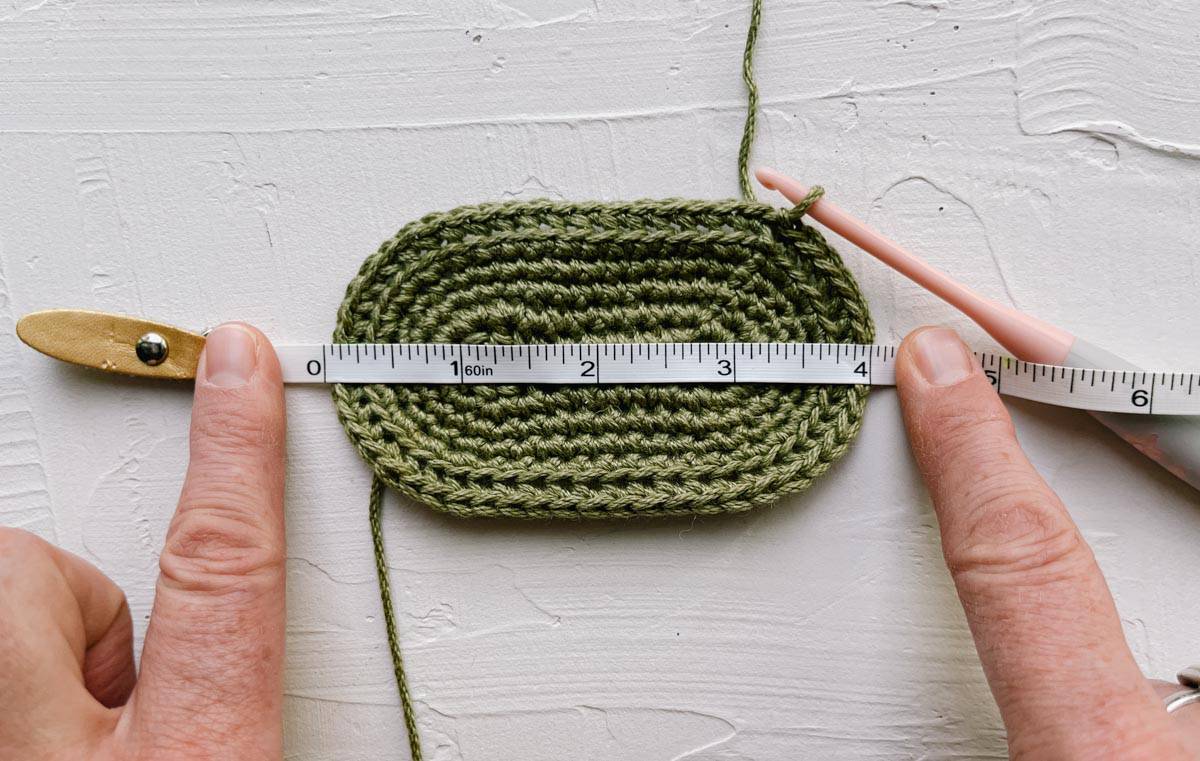
Babies’ feet come in all shapes and sizes, but you can use this sizing chart as a general guide for your newborn booties or baby boots. You should measure the sole after the 6th round is complete to check it’s working up to the correct gauge.
| Age/Size | Sole Length | Recommended Crochet Hook Size |
|---|---|---|
| 0-3 Months (newborn) | 3.3” | Size E/3.5mm hook |
| 3-6 Months (infant) | 3.5” | Size F/3.75mm hook |
| 6-12 Months (baby) | 4.0” | Size G/4.0mm hook |
Choosing a Size
The easiest option for determining the right crochet bootie size is to measure the baby’s foot length. If that’s not possible, choose based on the baby’s age.
Related: Make an easy pair of slippers for the whole family from rectangles.
Baby Booties Free Crochet Pattern
Supplies + Materials
To make these booties, you’ll need about 35-40 total grams of yarn. You can use two colors (approx 18g each) or make solid color booties.
The yarns and colors listed below are what is pictured in the samples.
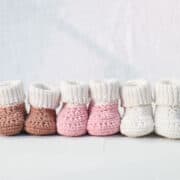
Pink, White and Taupe booties pictured:
• Lion Brand 24/7 Cotton DK (Weight: 3/light – 273 yds, 3.5 oz)
Colors:
• Cacao (769-127N)
• Creme (769-098W)
• Pink Diamond (769-303AJ)
Green booties pictured:
• Lion Brand 24/7 Cotton ** (Weight: 4/medium – 219 yds, 2.8 oz)
Color:
• Bay Leaf (761-171V)
** Note: This yarn is thicker than 24/7 Cotton DK weight, therefore I recommend using the one hook size smaller than what’s listed for the bootie size you’re making. Be sure to measure your gauge after the sole is complete and adjust hook size if necessary.
You’ll need the following additional crochet supplies to complete this baby bootie pattern.
• Tapestry needle
• Crochet hook in size suggested below in sizing section
Optional Materials:
• 1 yard elastic thread
• 24” leather shoe lace, cut into two 12” sections
• 60” strand of Lion Brand Go For Faux (Weight: 6/super bulky – 65 yds, 100 g)
Color pictured:
• Pomeranian [322-203BS]
Gauge
Instead of crocheting a gauge swatch, we measure the bootie sole after completing the 6th round. I’ve included detailed gauge check instructions below.
Pro tip: If you struggle to meet the pattern gauge with the suggested hook size, it’s always okay to use a different size hook.
Download the PDF and Print This Pattern
Need a portable, printable booties pattern? You’ll love the premium PDF! The instantly downloadable, ad-free file is formatted for easy printing and includes the complete pattern and step-by-step photo tutorial.
Abbreviations + Glossary (US Terms)
ch – chain
dec – decrease
hdc – half double crochet
hdc2tog – half double crochet two together
inc – increase
rep – repeat
RS – right side
sc – single crochet
scblo – single crochet back loop only
sc2tog – single crochet two together
sk – skip
slst – slip stitch
slstblo – slip stitch back loop only
st(s) – stitch(es)
blo – back loop only
WS – wrong side
Special Stitches
Single crochet two together (sc2tog):
- Insert hook in next stitch
- Yarn over and pull up a loop
- Insert hook in next stitch, pull up a loop
- Yarn over and pull through all three loops on hook
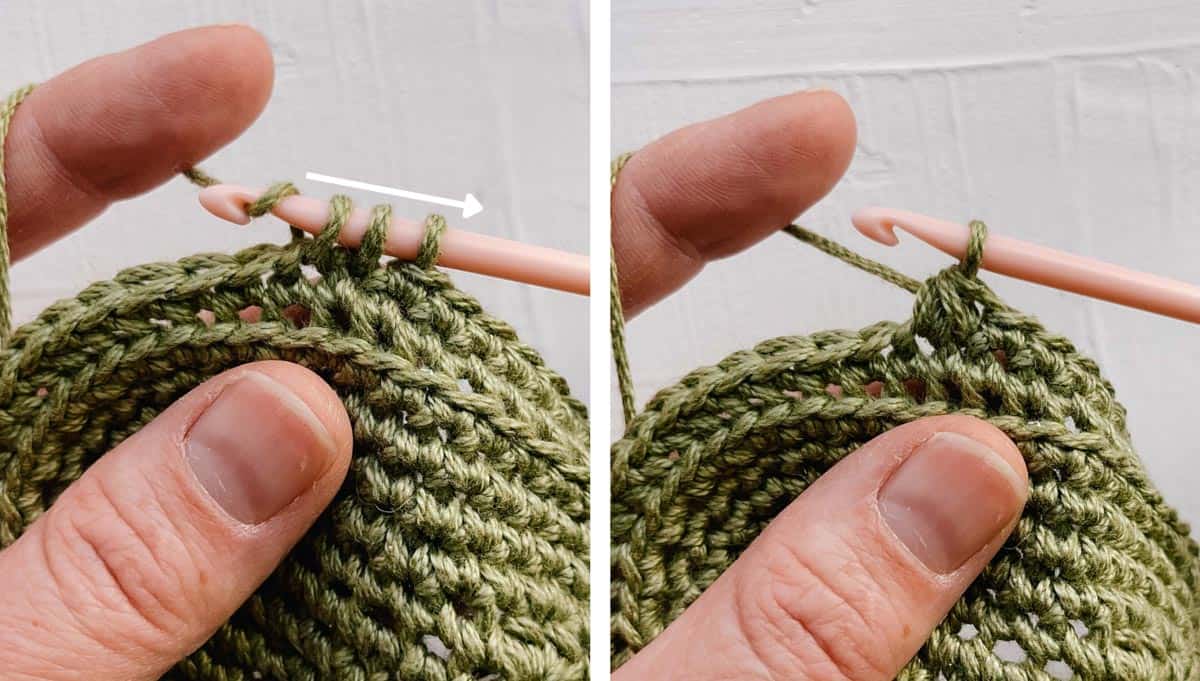
Half double crochet two together (hdc2tog):
- Yarn over and insert hook in next stitch
- Yarn over and pull up a loop
- Yarn over and insert hook in next stitch, pull up a loop
- Yarn over and pull through all five loops on hook

How to Read This Pattern
Crochet patterns can seem like mysterious hieroglyphics, but they don’t have to. Check out our beginner’s guide to reading crochet patterns if you’re a beginner.
Premium PDF
easier and faster with fewer mistakes.
- Complete pattern + photo tutorials
- Instant download
- Formatted for easy printing
Main Bootie
Bootie is worked in joined rounds with right side facing throughout. Do not turn at the end of each round.
The hook size to use is determined by the size of booties you’re making. If you’re struggling to meet the pattern gauge with the suggested hook size, it’s okay to use a different size.
Sole
Foundation Row: Ch 9 with Color A.
Wanna save this pattern?
The first round is worked around both sides of the chain, with increases in the first and last stitch.
Round 1 (inc): Sc in the second ch from the hook, 1 sc in each of the next 6 ch, 6 hdc in the last ch.
(Continue around back side of chain) 1 sc in each of the next 6 ch, 5 sc in the last ch, join with slst to the first sc. (24 sts)
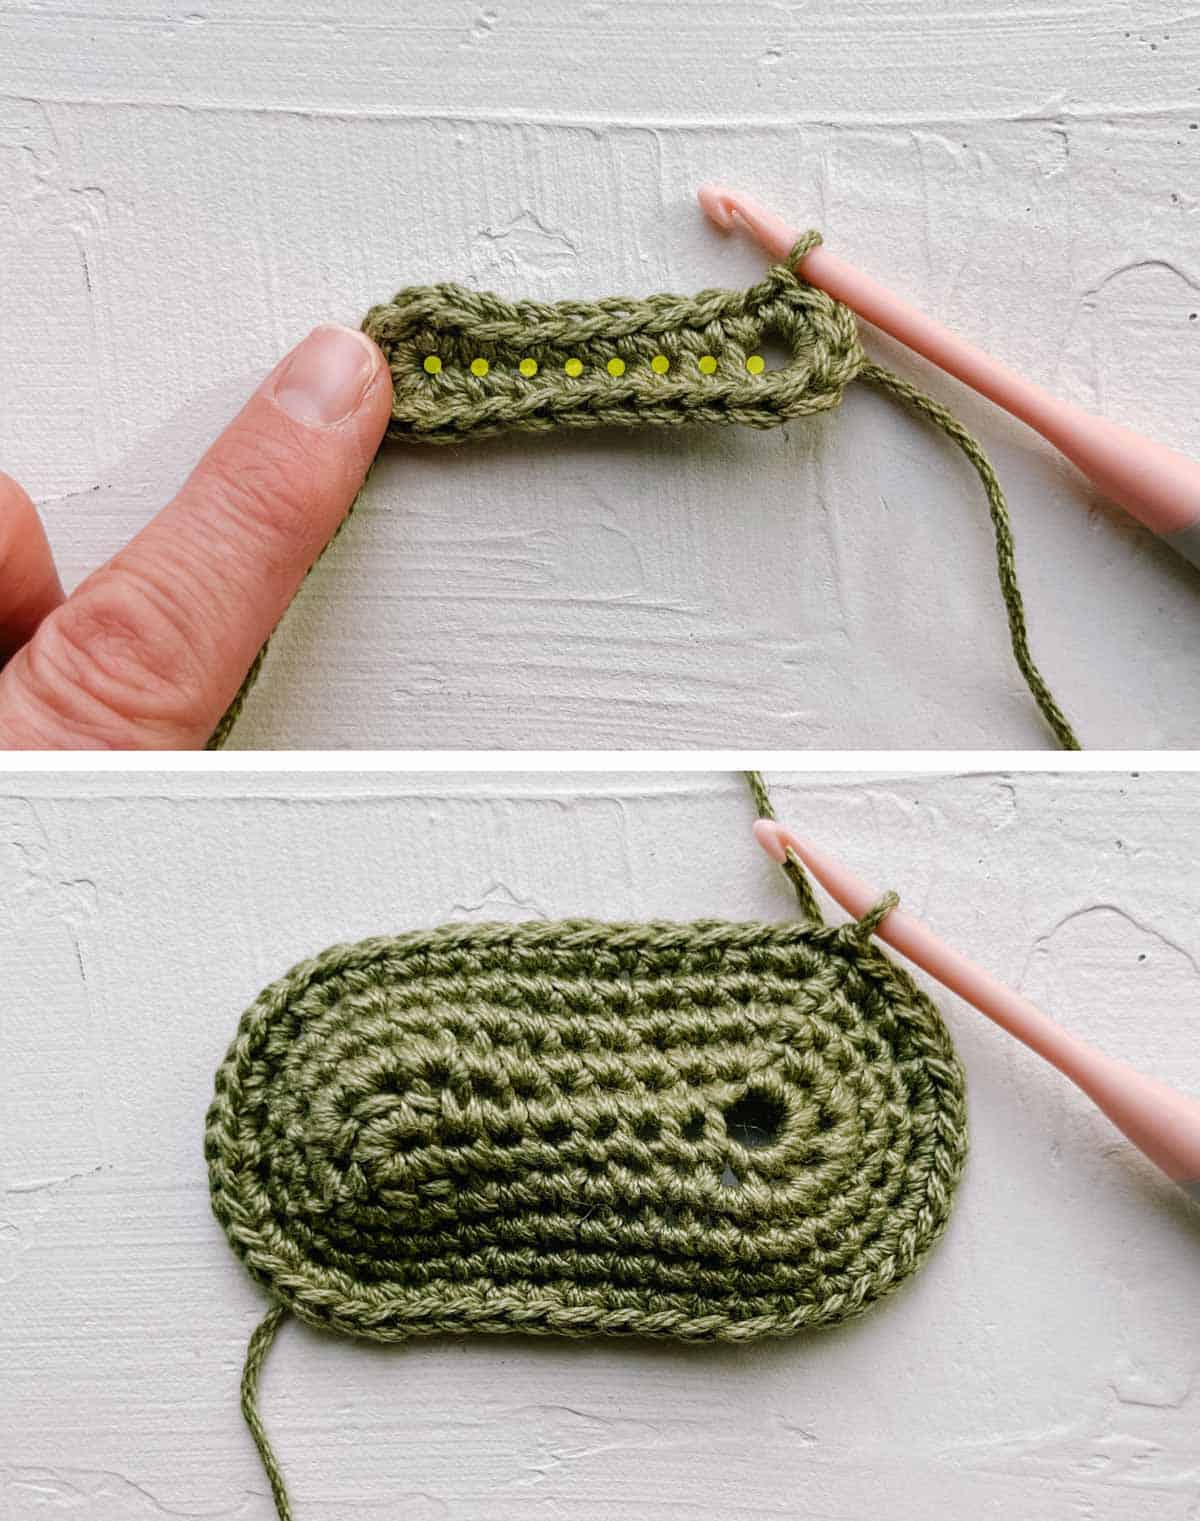
Round 2 (inc): Ch 1, 2 sc in first st, 1 sc in each of next 6 sts, 2 sc in each of next 6 sts, 1 sc in each of next 6 sts, 2 sc in each of next 5 sts, join with slst to first sc. (36 sts)
Rounds 3-4: Ch 1, 1 sc in each st around, join with slst to first sc. (36 sts)
Round 5 (inc): Ch 1, 2 sc in first st, 1 sc in each of the next 10 sts, 2 sc in each of the next 8 sts, 1 sc in each of the next 10 sts, 2 sc in each of the next 7 sts, join with slst to first sc. (52 sts)
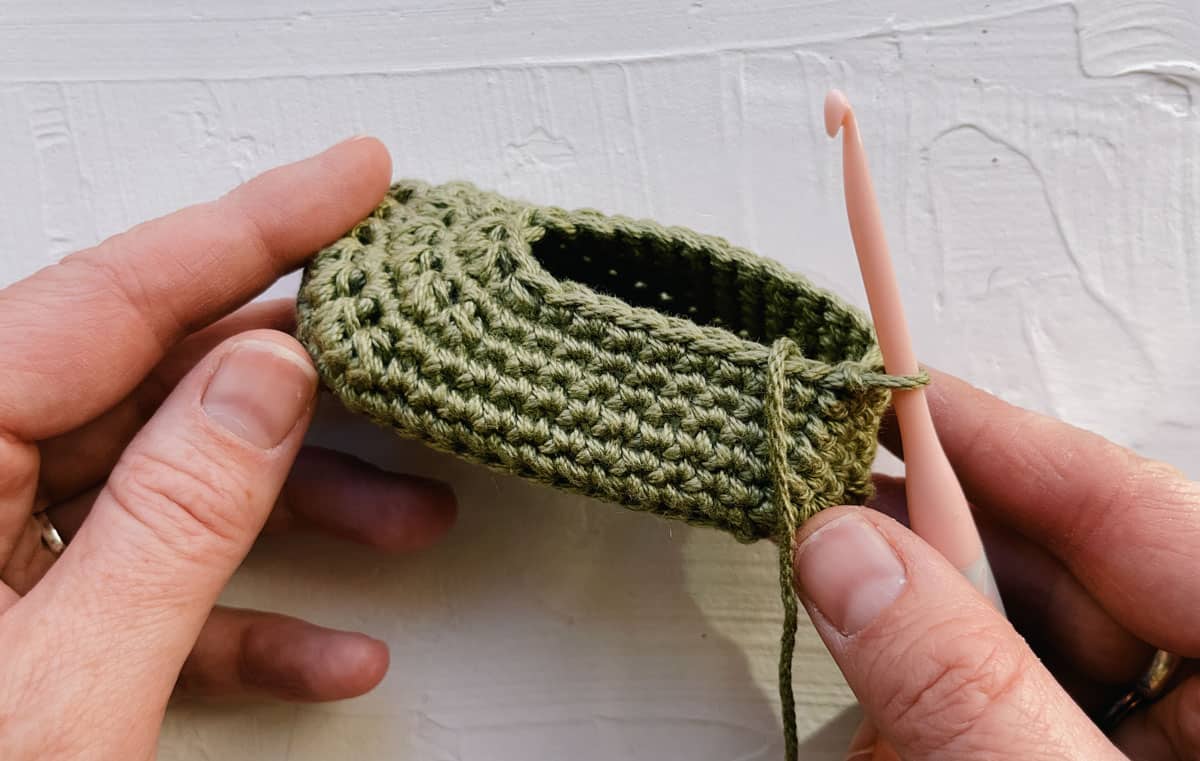
Round 6: Ch 1, scblo in each st around, join with slst to first sc.
!! Gauge Check !!
Measure the baby bootie lengthwise from toe to heel. Please take advantage of this step, or you will risk your finished booties not measuring as expected.
- Size 0-3 months sole should measure 3.3”
- Size 3-6 months sole should measure 3.5”
- Size 6-12 months sole should measure 4.0”
If the bootie measures greater than the desired length, remake it with a smaller hook, regardless of the pattern size being made.
If the bootie measures shorter than the desired length, remake it with a larger hook, regardless of the pattern size being made.
Shoe
Round 7 (dec): Ch 1, 1 sc in first st, 1 sc in each of next 10 sts, hdc2tog eight times, 1 sc in each of the next 12 sts, sc2tog six times, 1 sc in last st, join with slst to first sc. (38 sts)
Round 8: Ch 1, 1 sc in each st around, join with slst to first sc. (38 sts)
Round 9 (dec): Ch 1, 1 sc in first st, 1 sc in each of the next 8 sts, sc2tog, hdc2tog four times, sc2tog, 1 sc in each of the next 17 sts, join with slst to first sc. (32 sts)
Round 10: Ch 1, 1 sc in each st around, join with slst to first sc. (32 sts)
Round 11 (dec): Ch 1, 1 sc in first st, 1 sc in each of next 7 sts, sc2tog, hdc2tog two times, sc2tog, 1 sc in each of next 16 sts, join with slst to first sc. (28 sts)
Round 12 (dec): Ch 1, 1 sc in first st, 1 sc in each of the next 6 sts, sc2tog, hdc2tog, sc2tog, 1 sc in each of next 15 sts, join with slst to first sc. (25 sts)
(If you’re using a different color for the sock portion of the bootie, fasten off and use the new color to complete the slip stitch to join on Round 12).
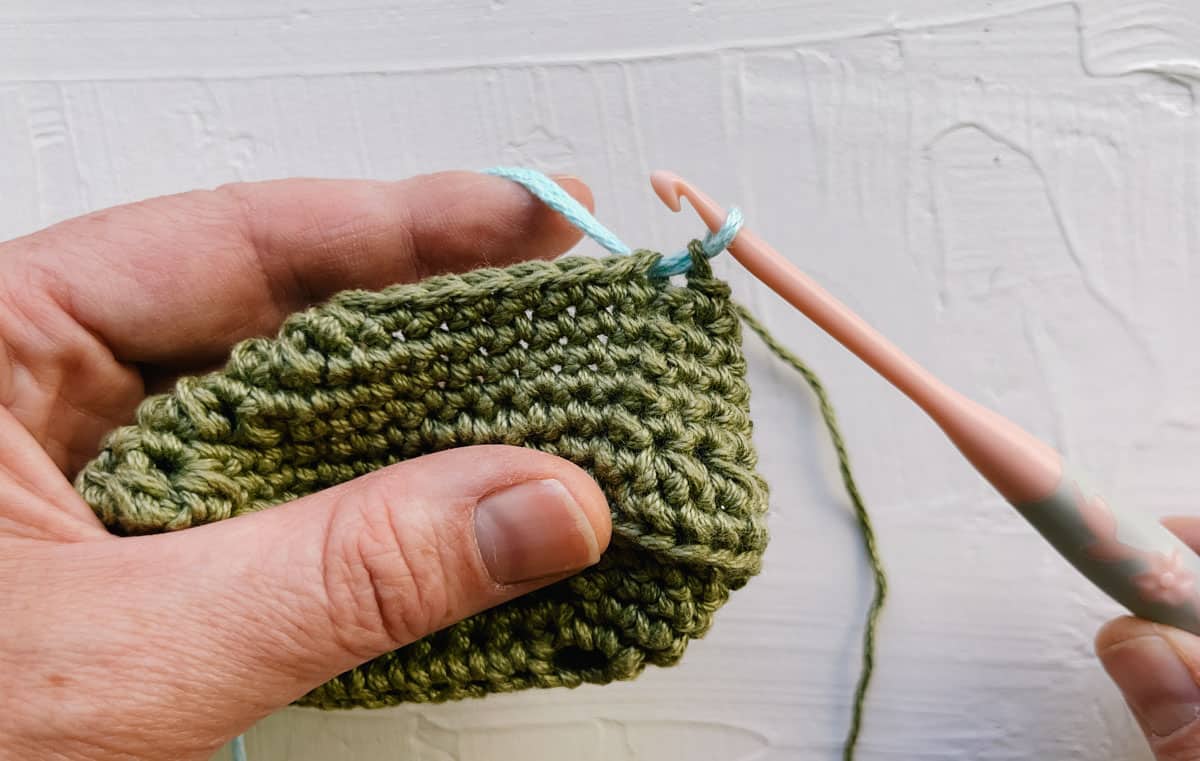
With Color B and RS still facing:
Round 13 (sock set up round): Ch 1, 1 scblo in each st around, join with slst to first sc. (25 sts)
Sock Ribbing
You have two options for adding ribbing to your booties. Watch a video tutorial on this general method of crocheting ribbing.
Option 1: Yarn Over Slip Stitch Ribbing
• Pictured in green booties
• Easier and faster for beginners
• Slightly less elastic (add elastic thread or tie around ankle for extra secure booties)
Option 2: Slip Stitch Ribbing
• Pictured in white, pink, and tan booties
• Stretchiest option
• More tedious to work
• It can help to use a hook with a pointy tip
In both options, each stitch is worked through the back loop only to create a ribbed effect.
Option #1: Yarn Over Slip Stitch
Foundation Row: Ch 15. (Adjust this number for taller or shorter ribbing.)
Row 1 (RS): Yoslst in the second ch from hook and each ch to cuff edge, slst in each of next two unworked sts of cuff edge; turn. (14 ribbing sts + 2 slsts)
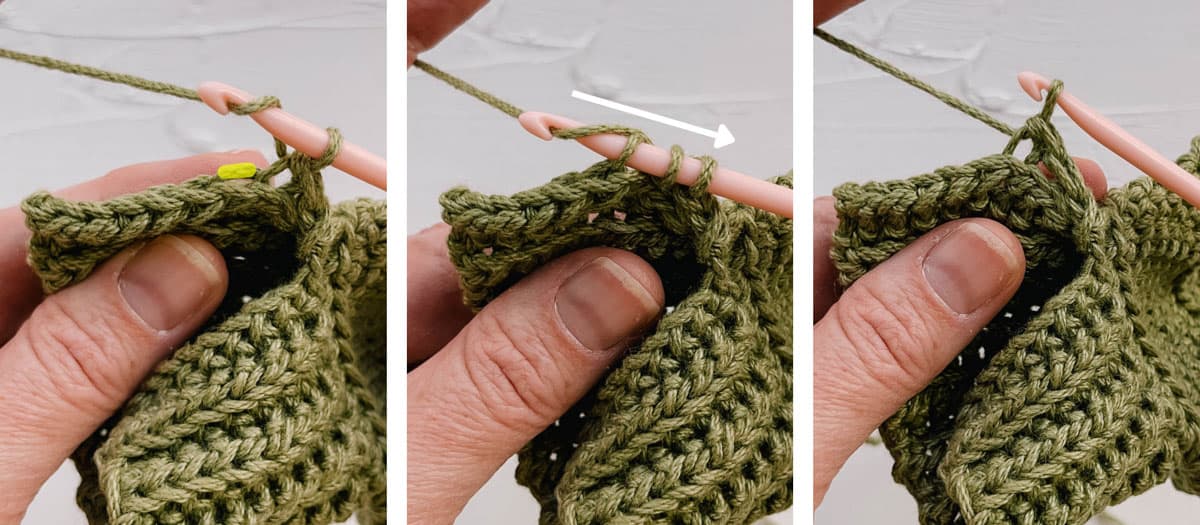
Row 2 (WS): Skip final slsts of previous row, yoslst through the back loop in each st until 1 remains, yoslst through both loops of last stitch; turn.
Row 3 (RS): Ch 1, yoslst through the back loop in each st to cuff edge, slst in each of next two unworked sts of cuff edge; turn.
Repeat Rows 2 and 3 around ankle. End with a Row 2 (WS) row. Fasten off leaving a 20 inch tail for seaming.
Option #2: Slip Stitch Ribbing
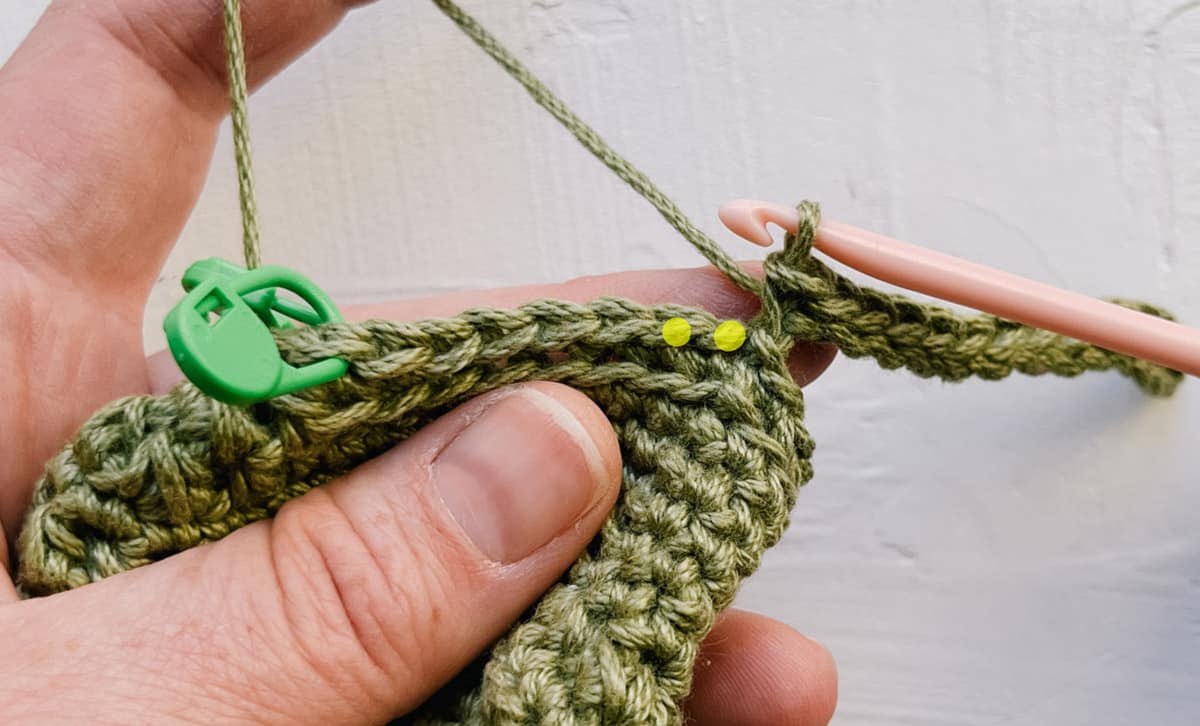
Place a marker in the eighth and thirteenth stitches from the hook.
Foundation Row: Ch 15. (Adjust this number for taller or shorter ribbing.)
Row 1 (RS): Slst in the second ch from hook and each ch to cuff edge, slst in next unworked st of cuff edge; turn. (14 ribbing sts + 1 slst)
Row 2 (WS): Skip attaching slst of previous row, slstblo in each st until 1 remains, slst through both loops of last stitch; turn.
Row 3 (RS): Ch 1, slstblo in each st to cuff edge, slst in next unworked st of cuff edge; turn.
Repeat Rows 2 and 3 until you reach the first marked st.
Working between markers: Repeat Rows 2 and 3 three times beginning with first marked stitch and ending with last marked stitch. At end of each Row 3, slip stitch in next two unworked stitches of cuff edge rather than one.
After last marked st: Continue repeating Rows 2 and 3 as written around the bootie, working a single slip stitch into cuff edge at the end of each Row 3. End with a Row 2 (WS) row. Fasten off leaving a 20 inch tail for seaming.
Seaming Sock Cuff
Thread the remaining yarn tail on a tapestry needle. Using a running stitch through the back loop of the last row and front loop of the first row to join them together.
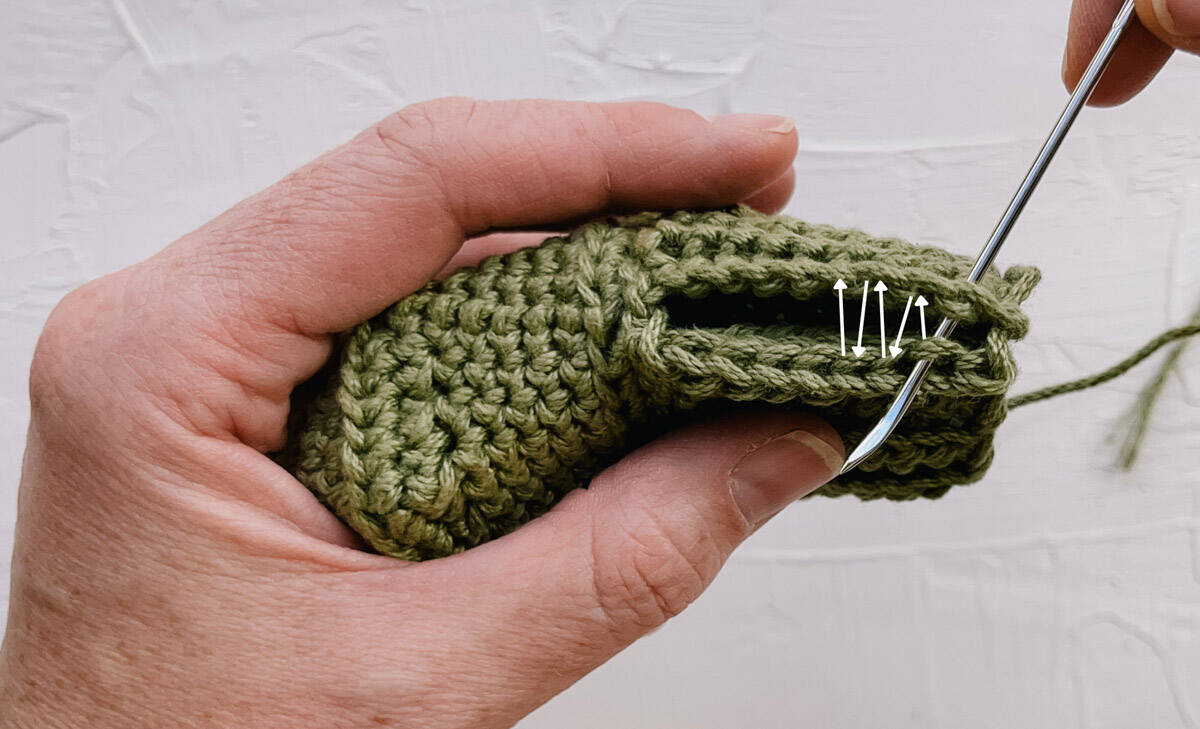
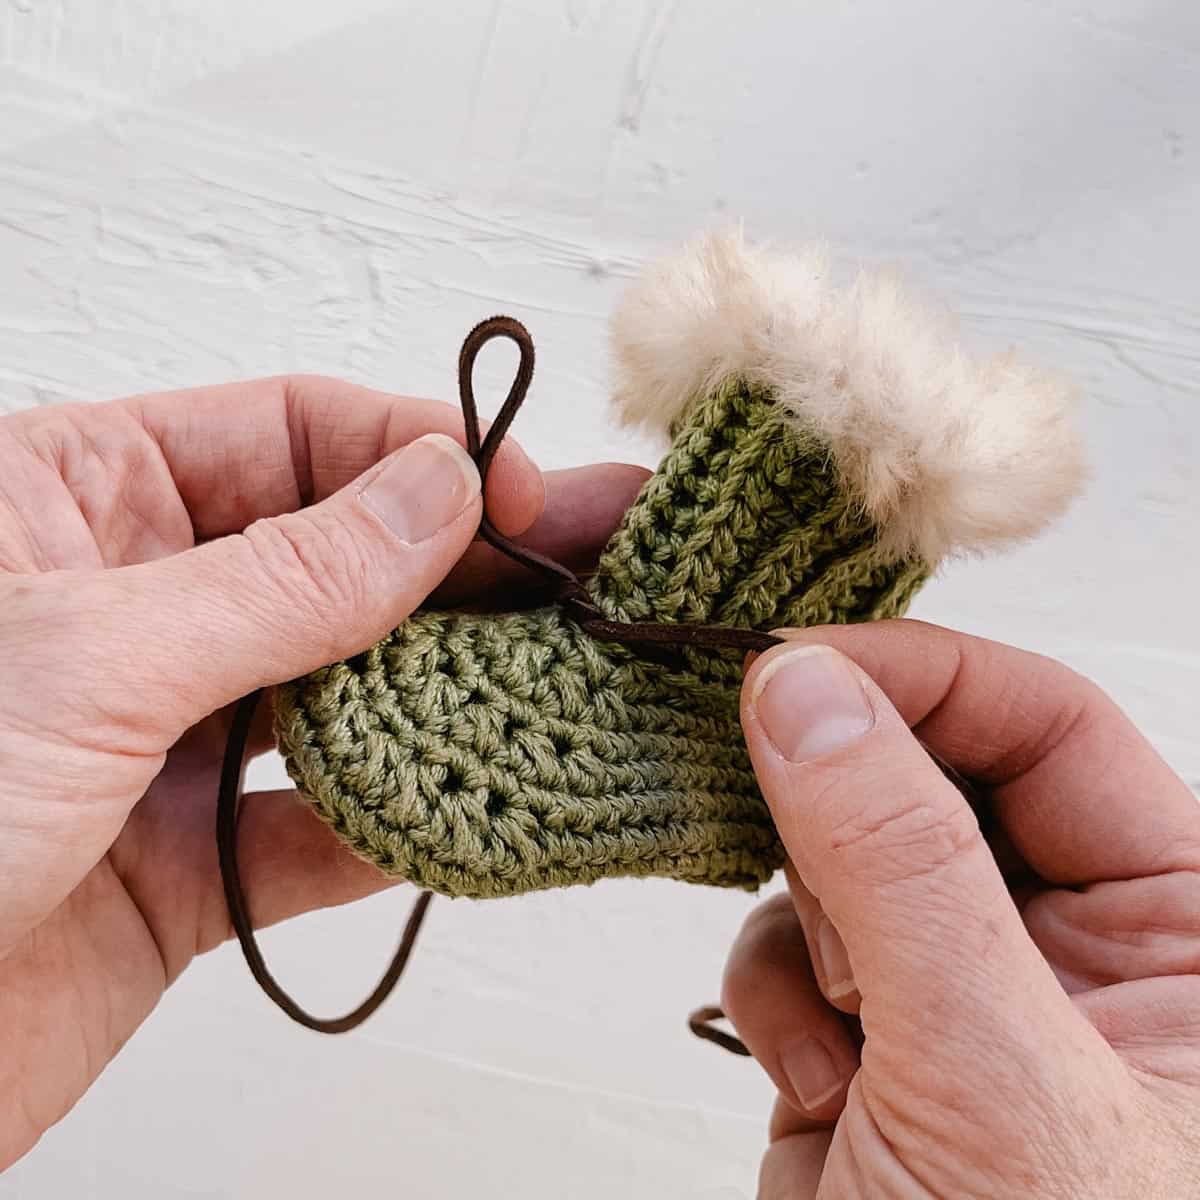
Weave in yarn tail. Turn the cuff down. For an extra secure fit, use a tapestry needle to weave a strand of elastic thread along the join where the shoe meets the ribbing. Tie a knot and weave in the ends.
Tips to Keep Those Booties On!
The biggest challenge with crochet baby slippers or socks is getting them to stay on wiggly feet! Many crochet booties look cute in the pattern photos, but will get kicked off almost immediately. Our infant booties include a tall, stretchy ankle cuff so they stay on.
That said, you can make your baby boots extra secure with these tricks:
Customizing Your Baby Boots
Crocheting simple baby booties offers a fantastic opportunity to add a bit of personal flair. You can transform the basic shoe pattern to match your style and taste.
Here are a few ways to personalize your crochet baby shoes:
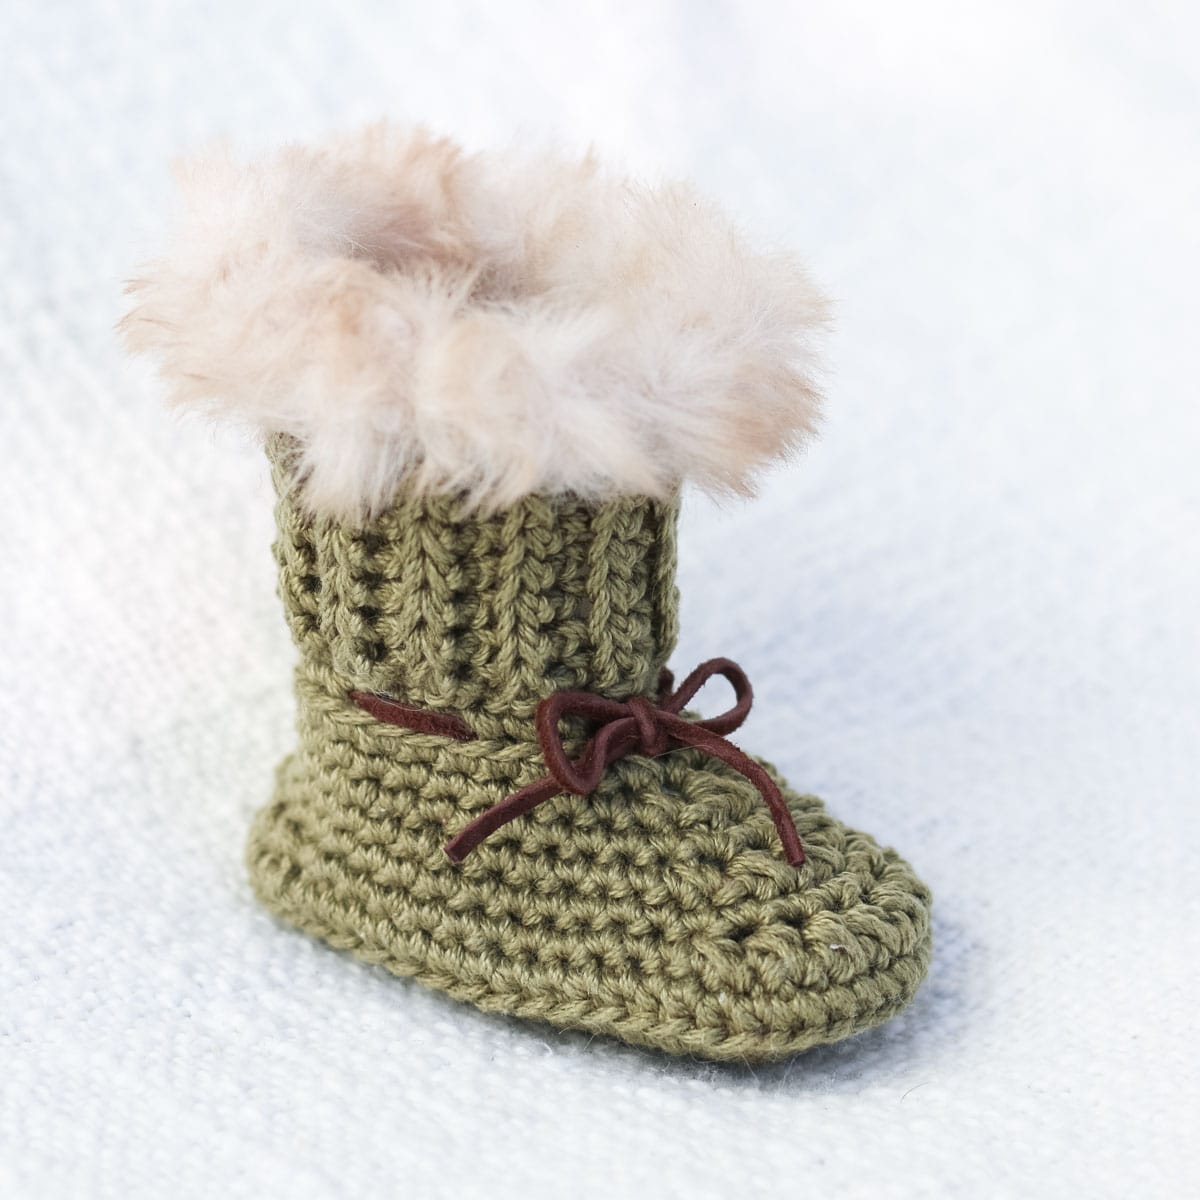
Ugg boots: Crochet baby boots in a solid color. Then, using a tapestry needle and a strand of faux fur yarn doubled over, whip stitch around the top of the cuff.
Make yourself some by using our crochet sweater boots pattern and a pair of flip flop soles!
Moccasin: Use a tan or mustard color yarn to recreate the leather look of classic baby moccasin shoes. Attach beads to the top and a cuff with tassels to complete the look.
Check out our crochet moccasins with flip flop soles to craft an adult version.
Converse: Crochet baby sneakers that resemble this famous shoe brand by using black yarn for the sole and white for the main body and cuff. Then, add little laces using yarn scraps and a fabric or cross-stitch logo.
Learn how to cross-stitch on crochet using this tutorial.
Lining: Sew a buffalo plaid fabric lining to the inside of the cuff to add an extra layer of polish and swagger.
More Patterns for Cute Baby Sets
Handmade booties are adorable baby shower gifts, especially in a basket with a cozy baby blanket, headband, or crochet hat. Check out a few of our favorite free crochet patterns for baby projects:
That was so fun! Now what?
Invitation to our Facebook group
Come discuss crocheting baby booties and lots of other projects and techniques in our Make & Do Crew Facebook group. Here thousands of helpful crocheters answer each other’s questions and share their stitches. Join us!
How to Crochet Baby Booties for Beginners
Materials
Yarn
- Lion Brand 24/7 Cotton DK Weight: 3/light – 273 yds, 3.5 oz
- Note: You’ll need about 35-40 total grams of yarn. You can use two colors approx 18g each or make solid color booties.
Additional Supplies
- Tapestry needle
- Crochet hook in size suggested above in sizing section
- 2 stitch markers
- 1 yard elastic thread optional
- 24 ” leather shoe lace cut into two 12” sections (optional)
- 60 ” strand of Lion Brand Go For Faux Weight: 6/super bulky – 65 yds, 100 g (optional)
Abbreviations + Glossary (US Terms)
- ch – chain
- dec – decrease
- hdc – half double crochet
- hdc2tog – half double crochet two together
- inc – increase
- rep – repeat
- RS – right side
- sc – single crochet
- scblo – single crochet back loop only
- sc2tog – single crochet two together
- sk – skip
- slst – slip stitch
- slstblo – slip stitch back loop only
- st(s) – stitch(es)
- blo – back loop only
- WS – wrong side
Abbreviations and Glossary (US Terms):
Want some company while you crochet?
Get support (and camaraderie!) in the Make & Do Crochet Crew Facebook Group. Search “Make and Do Crochet Crew” on Facebook.com.
Permissions + Copyright
Please do not publish or share this pattern as your own. You may make items to sell with this pattern. In exchange, please link back to this page. Do NOT use my photos as your own sales photos.
Overall Pattern Notes
Instructions
- Step 1: Crochet in the round to make the sole.
- Step 2: Continue in the round with periodic decrease stitches to create the shoe.
- Step 3: Switch colors if desired. Add ribbing that is attached as you go.
- Step 4: Thread elastic through the ribbed cuff to make booties extra secure (optional).
Overall Pattern Notes
- Check out our beginner’s guide to reading crochet patterns if you’re a beginner.
- See note in Supplies section above if using 24/7 Cotton that is #4/medium-weight.
- Bootie is worked in joined rounds with right side facing throughout. Do not turn at the end of each round.
- The hook size to use is determined by the size of booties you’re making. If you’re struggling to meet the pattern gauge with the suggested hook size, it’s okay to use a different size.


Leave a Reply