Ready for a textured crochet hat pattern you can finish in an evening? You’ll crochet the brim, body, and crown all at once in sideways rows, so the whole hat comes together fast with no extra steps.
The free hat pattern (sizes preemie – adult) is below or purchase the ad-free, printable PDF.
This post contains affiliate links.
Jump to:
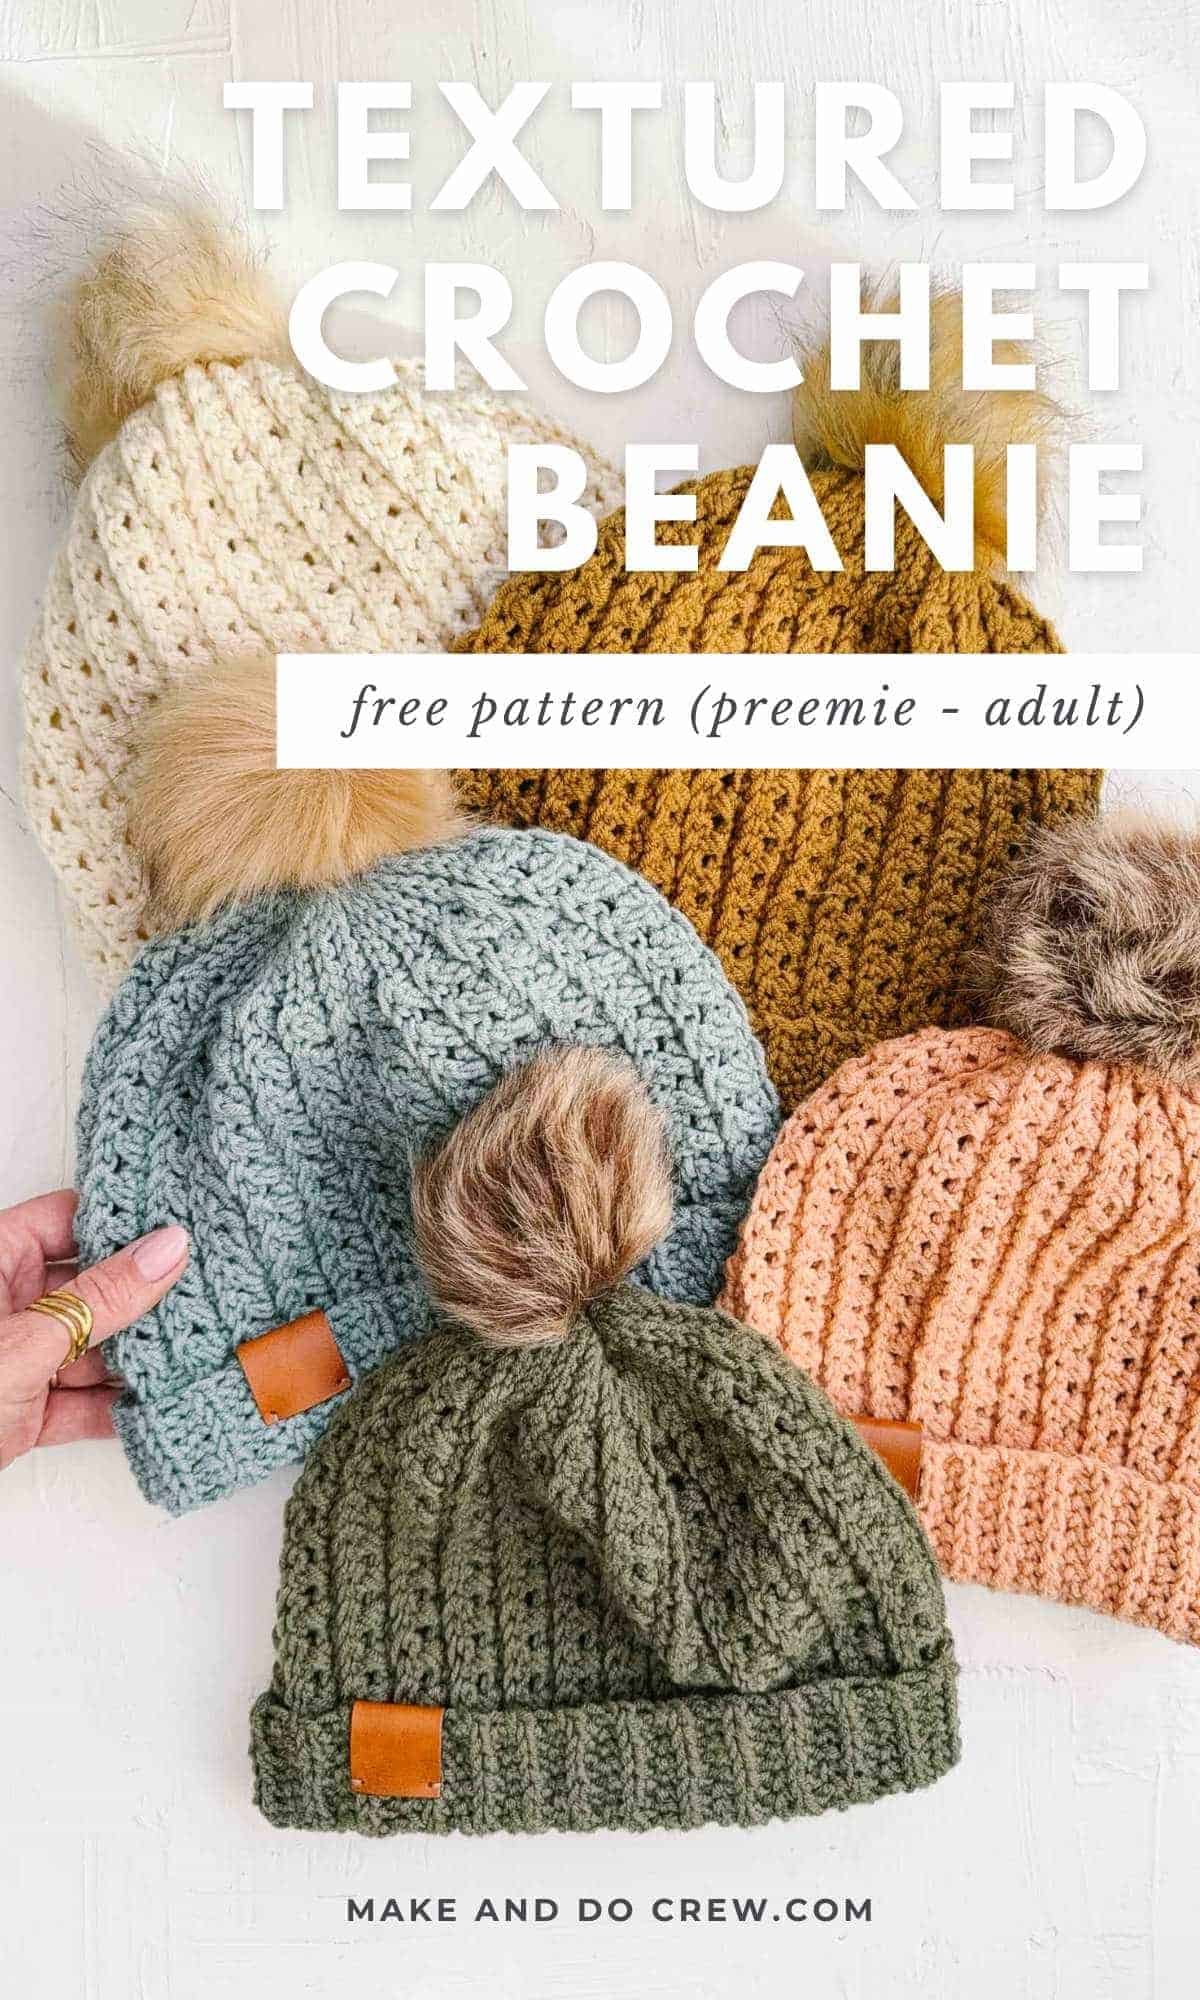
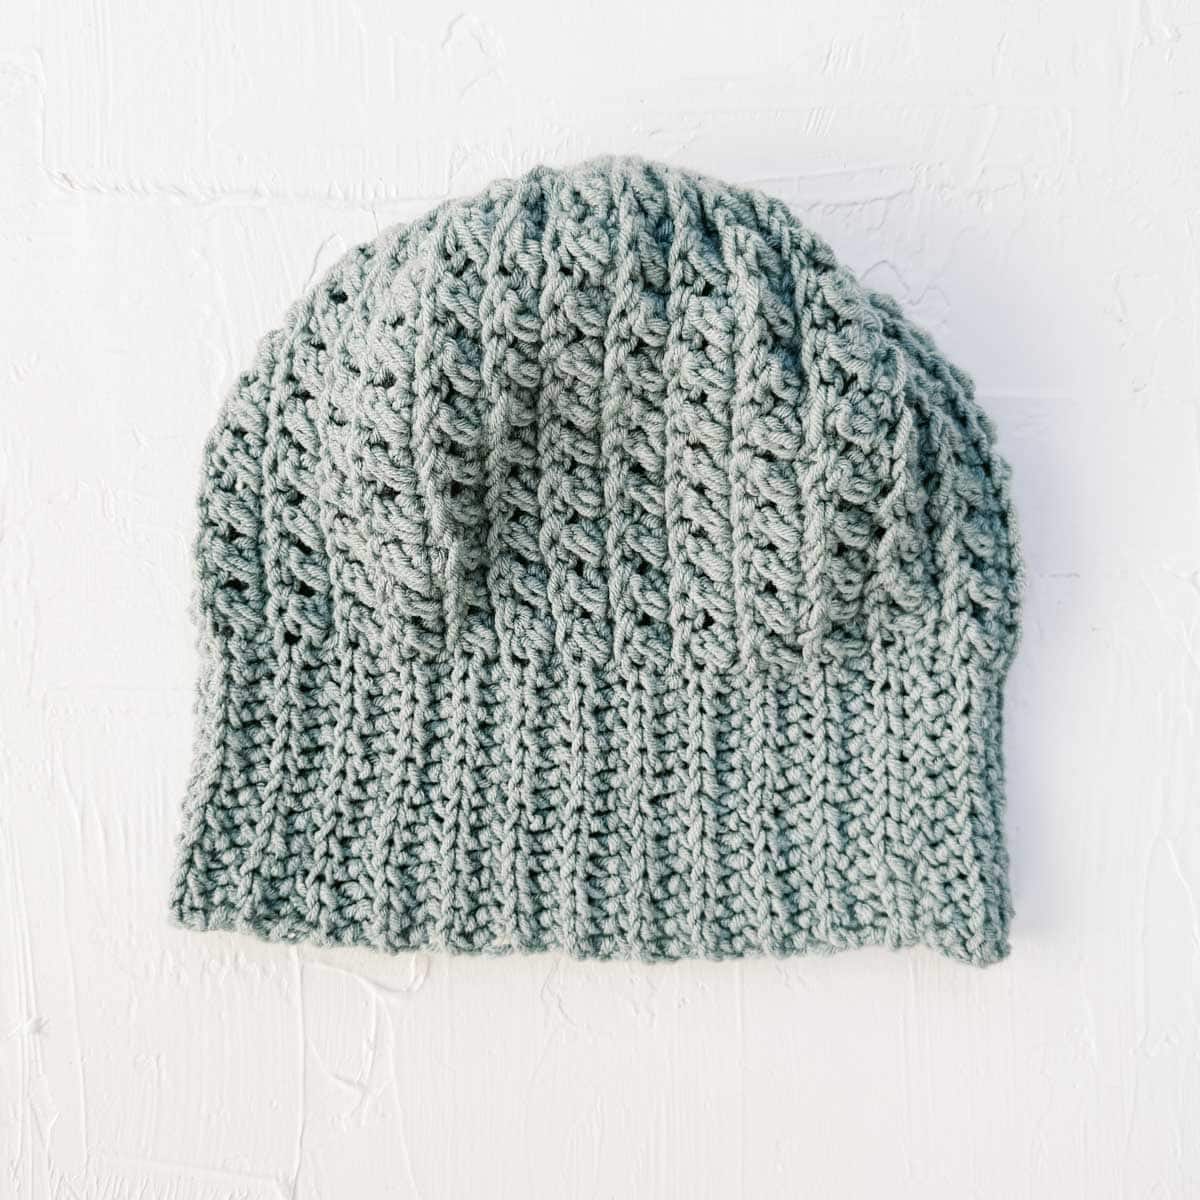
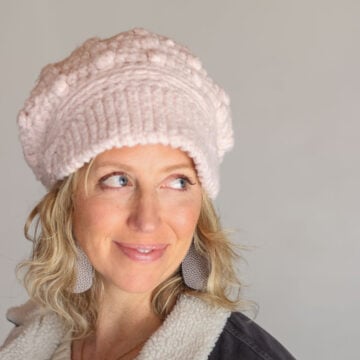
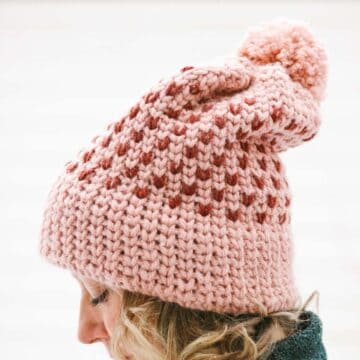
Sundowner Beanie - Free Crochet Pattern
The Sundowner Beanie is a quick, cozy project that uses a simple variation of double crochet to create subtle X-stitches with great texture.
The pattern includes seven sizes, ranging from baby to adult large, so you can make one for everyone. It’s an easy, satisfying project you’ll want to stitch more than once.
Skill Level
This project is quite approachable, but it does require combining a few different crochet stitches. Once you get the stitch pattern established, it's straightforward.
Here are the skills you'll practice while making your Sundowner:
- basic stitches and stitch combos
- working flat
- side-to-side construction
- measuring gauge
- simple seaming
- loop recognition
- pattern reading
Print this Pattern
Prefer a portable, printable pattern without ads? You'll love the premium PDF! The instantly downloadable, ad-free file is formatted for easy printing and includes the complete pattern and plenty of detailed photos.
Premium PDF
easier and faster with fewer mistakes.
- Complete pattern + photo tutorials
- Instant download
- Formatted for easy printing
Supplies + Materials
• Lion Brand Color Theory (Weight 4/Medium - 246 yds, 3.5 oz, 100 g)
Colors pictured:
- Ivory (619-098AW)
- Tourmaline (619-184X)
- Caper(619-173AE)
- Dijon (619-170AE)
- Himalayan Salt (619-184X)
• Size I (5.5 mm) crochet hook or size needed to obtain gauge
Substituting Yarn
It's easy to sub yarn in this pattern because most medium, worsted weight (category #4) yarns will work well. Check out the measurement chart below to know the amount of yarn you'll need for the size you're making. Keep in mind, this weight may vary when you substitute yarn.
Measurements + Yarn Amounts
Choose your pattern size based on the actual head circumference of the person who will wear it.
| Hat Size | Actual Head Circumference | Yarn Needed* |
|---|---|---|
| Preemie | 9-12” | 20g |
| Baby | 14-16” | 45g |
| Toddler | 16-18” | 65g |
| Child | 18-20” | 75g |
| Tween | 20-22” | 95g |
| Adult Small | 21-23” | 110g |
| Adult Large | 22-24” | 115g |
* Does not include yarn for optional pom pom
Main Hat Gauge
16 sts = 4”
9 rows (5 rows of dc “X” sts + 4 rows of scblo sts) = 4”
Abbreviations + Glossary (US Terms)
ch – chain
dc – double crochet
PM – place marker
rep – repeat
RS – right side
scblo – single crochet through the back loop only
sk – skip
slst – slip stitch
slstblo – slip stitch through the back loop only
st(s) – stitch(es)
WS – wrong side
yoslst - yarn over slip stitch
yoslstblo – yarn over slip stitch back loop only
Print This Pattern: purchase the ad-free, printable PDF
Wanna save this pattern?
Crocheting Your Textured Beanie
- Instructions are written with the stitch count for the smallest size first and each larger size following in parentheses, for example: Premie, (Toddler, Child, Tween, Adult Small, Adult Large). It can be very helpful to highlight the numbers for your size before beginning the project. When only one number is given, it pertains to all sizes.
Stitch counts at the end of each round are for given sizes. - The beanie is worked sideways. Each row contains a section of ribbing, main hat, and tapering.
crown (slstblo)
body of hat (rows of X stitches alternated by rows of scblo)
ribbing (yoslstblo)
- It’s helpful to place markers between each section to differentiate them visually and reduce the need to count. Move markers as you work.
- The ribbing slip stitches can become difficult to work into when crocheted too tightly. It’s helpful to make them intentionally a little bit loose.
With desired color:
Foundation Row: Ch 24 (34 , 44, 46, 52, 56, 58).
Row 1 (WS): Yoslst in second ch from hook, yoslst in next 7 (9, 15, 15, 17, 17, 17) sts, PM, *sk 1 ch, dc in next ch, dc in previously skipped ch, rep from * until 3 (5, 5, 5, 5, 7, 7) chs remain, PM, slst in remaining chs; turn. 23 (33, 43, 45, 51, 55, 57) sts
Row 2 (RS): Ch 1, slstblo in first 3 (5, 5, 5, 5, 7, 7) sts, scblo in next 12 (18, 22, 24, 28, 30, 32) sts, yoslstblo in last 8 (10, 16, 16, 18, 18, 18) sts; turn.
Row 3 (WS): Ch 1, yoslstblo in first 8 (10, 16, 16, 18, 18, 18) sts, *sk 1 st, dc in next st, dc in previously skipped st, rep from * until 3 (5, 5, 5, 5, 7, 7) sts remain, slstblo in remaining sts; turn.
Repeat Rows 2 and 3 two more times for a total of 7 rows.
Want some company while you crochet?
Get support (and camaraderie!) in the Make & Do Crew community. Join for free here.
!! Gauge Check !!
It's important to pause here and make sure your stitch tension matches the pattern gauge. This will ensure your beanie is the size you expect.
Row Gauge: Measuring from the foundation row to the last row in the middle (where the X sts are worked), the piece should be approximately 3”.
Stitch Gauge: Measure the center 8 (8, 16, 16, 16, 16, 16) sts in the body of the hat where the X sts are worked. Sts should measure 2 (2, 4, 4, 4, 4, 4)”.
- If your hat is measuring too narrow, increase your hook size and re-work the first 7 rows.
- If your hat is measuring too wide, decrease your hook size and re-work the first 7 rows.
Once correct hook size is confirmed, proceed with the remainder of the hat rows.
Continuing in Beanie Pattern
Rep Rows 2 and 3 [9 (15, 19, 22, 23, 25, 27)] more times for a total of 25 (37, 45, 51, 53, 57, 61) rows.
Rep Row 2. (26 (38, 46, 52, 54, 58, 62) total rows)
Fasten off leaving a 24” tail for seaming.
Finishing
Creating Hat Tube: With RS facing out, fold piece into a tube so the last row overlaps the first row. Using leftover yarn tail and a tapestry needle, seam toward crown with the mattress stitch, working into the first and last row of the hat. Tie a few knots to secure the seam before moving on to Step 2. Keep yarn attached.
Cinching Hat Top: Whip stitch around top of hat working into turning chain of each visual ridge of the tapered crown. Pull gently until top has closed. Use a few whip sts to close crown if a small space remains.
Weave in remaining ends: Learn more.
Blocking: Weave in any remaining ends. Once all ends are woven in, you may do a light steam blocking using either a steamer or iron with steam setting. Focus on any areas that aren’t laying as flat as you’d like, such as the seam. Do not touch steamer or iron directly to yarn. Detailed blocking info here.
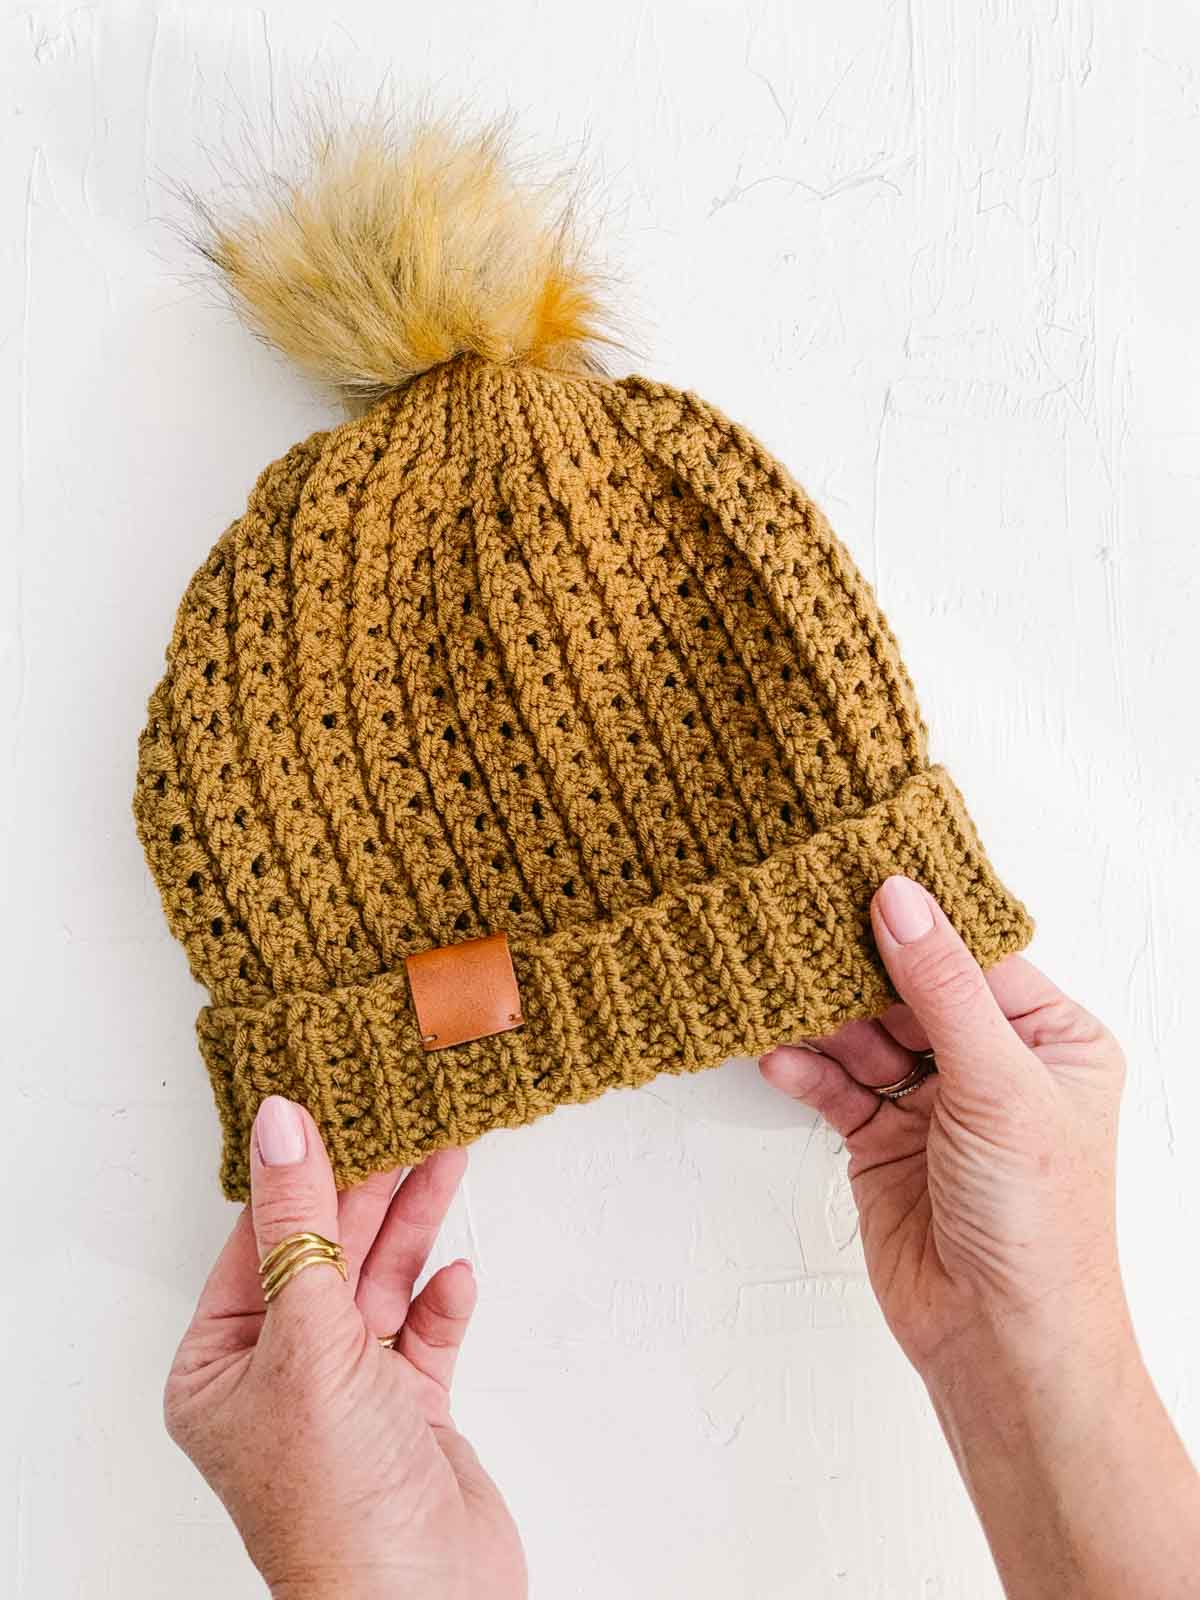
Adding a Pom Pom: Use yarn and a tapestry needle to attach fur or yarn pom pom. View a tutorial on making a yarn pom pom.
Wear your new beanie from sunup till sundown!
Permissions + Copyright:
Please do not publish or share this pattern as your own. You may make items to sell with this pattern. In exchange, please link back this post. Do NOT use our photos as your own sales photos.
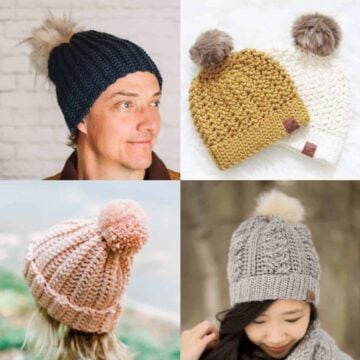
More Hat Free Patterns
If you love crocheting hats as much as I do, check out the free patterns and tutorials below. May your ears never be chilly again!
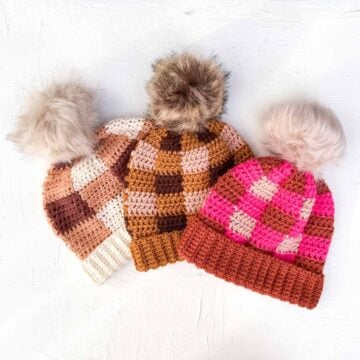
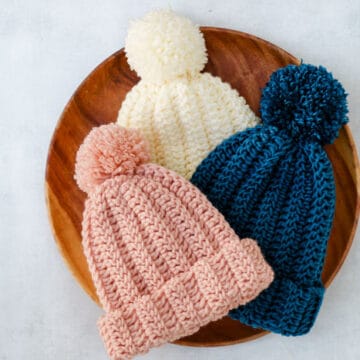
- How to Crochet a Plaid Beanie Pattern + Video (Baby-Adult)
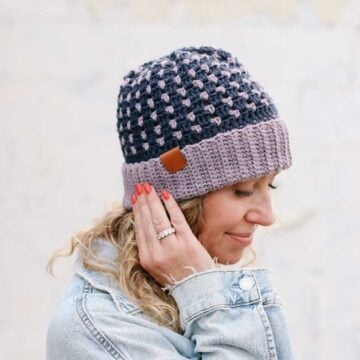
- Multicolor Beanie Crochet Pattern For Babies - Adults
- 3 Hour Free Crochet Newsboy Hat Pattern
- Free Crochet Bunny Hat Pattern (Newborn, Baby, Toddler, Child)
- 1 Hour Easy Child's Crochet Hat Pattern With Toddler Sizes
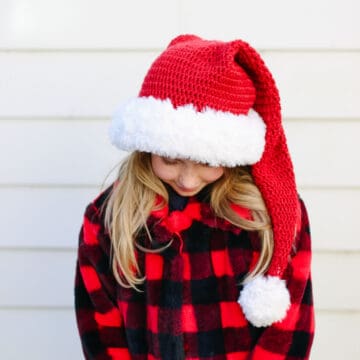
- Easy Classic Santa Hat Crochet Pattern
That was so fun! Now what?
Invitation to our Private Community
Come discuss crocheting your Sundowner Beanie and lots of other projects and techniques in our Make & Do Crew community. Here thousands of helpful crocheters answer each other's questions and share their stitches. Join us!


Leave a Reply