
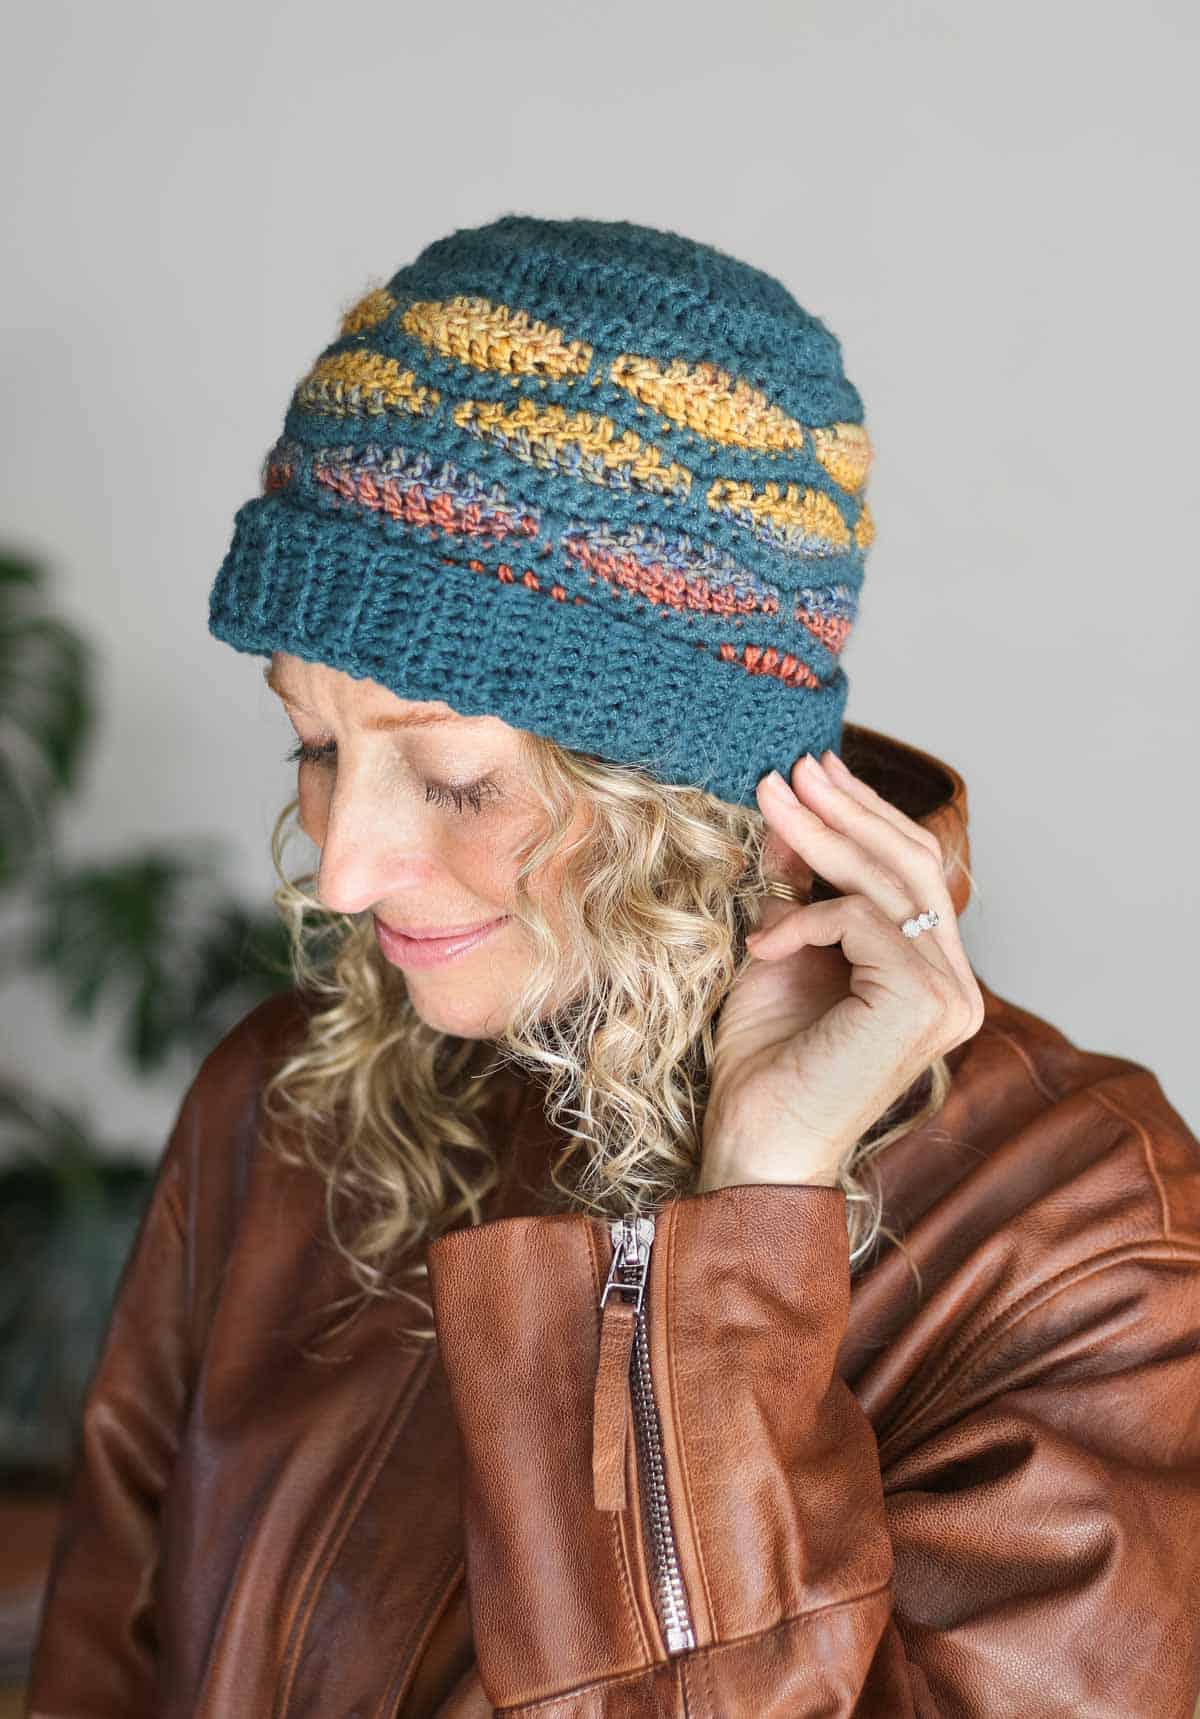
This two color crochet beanie pattern pairs a solid main color with a color-changing yarn worked in a wave stitch, so you get organic stripes without a pile of ends to weave in. It comes in four sizes, from baby to adult large, and finishes with a folded ribbed brim and a fluffy pom pom.
The free two color beanie pattern is below or purchase the ad-free, printable PDF.
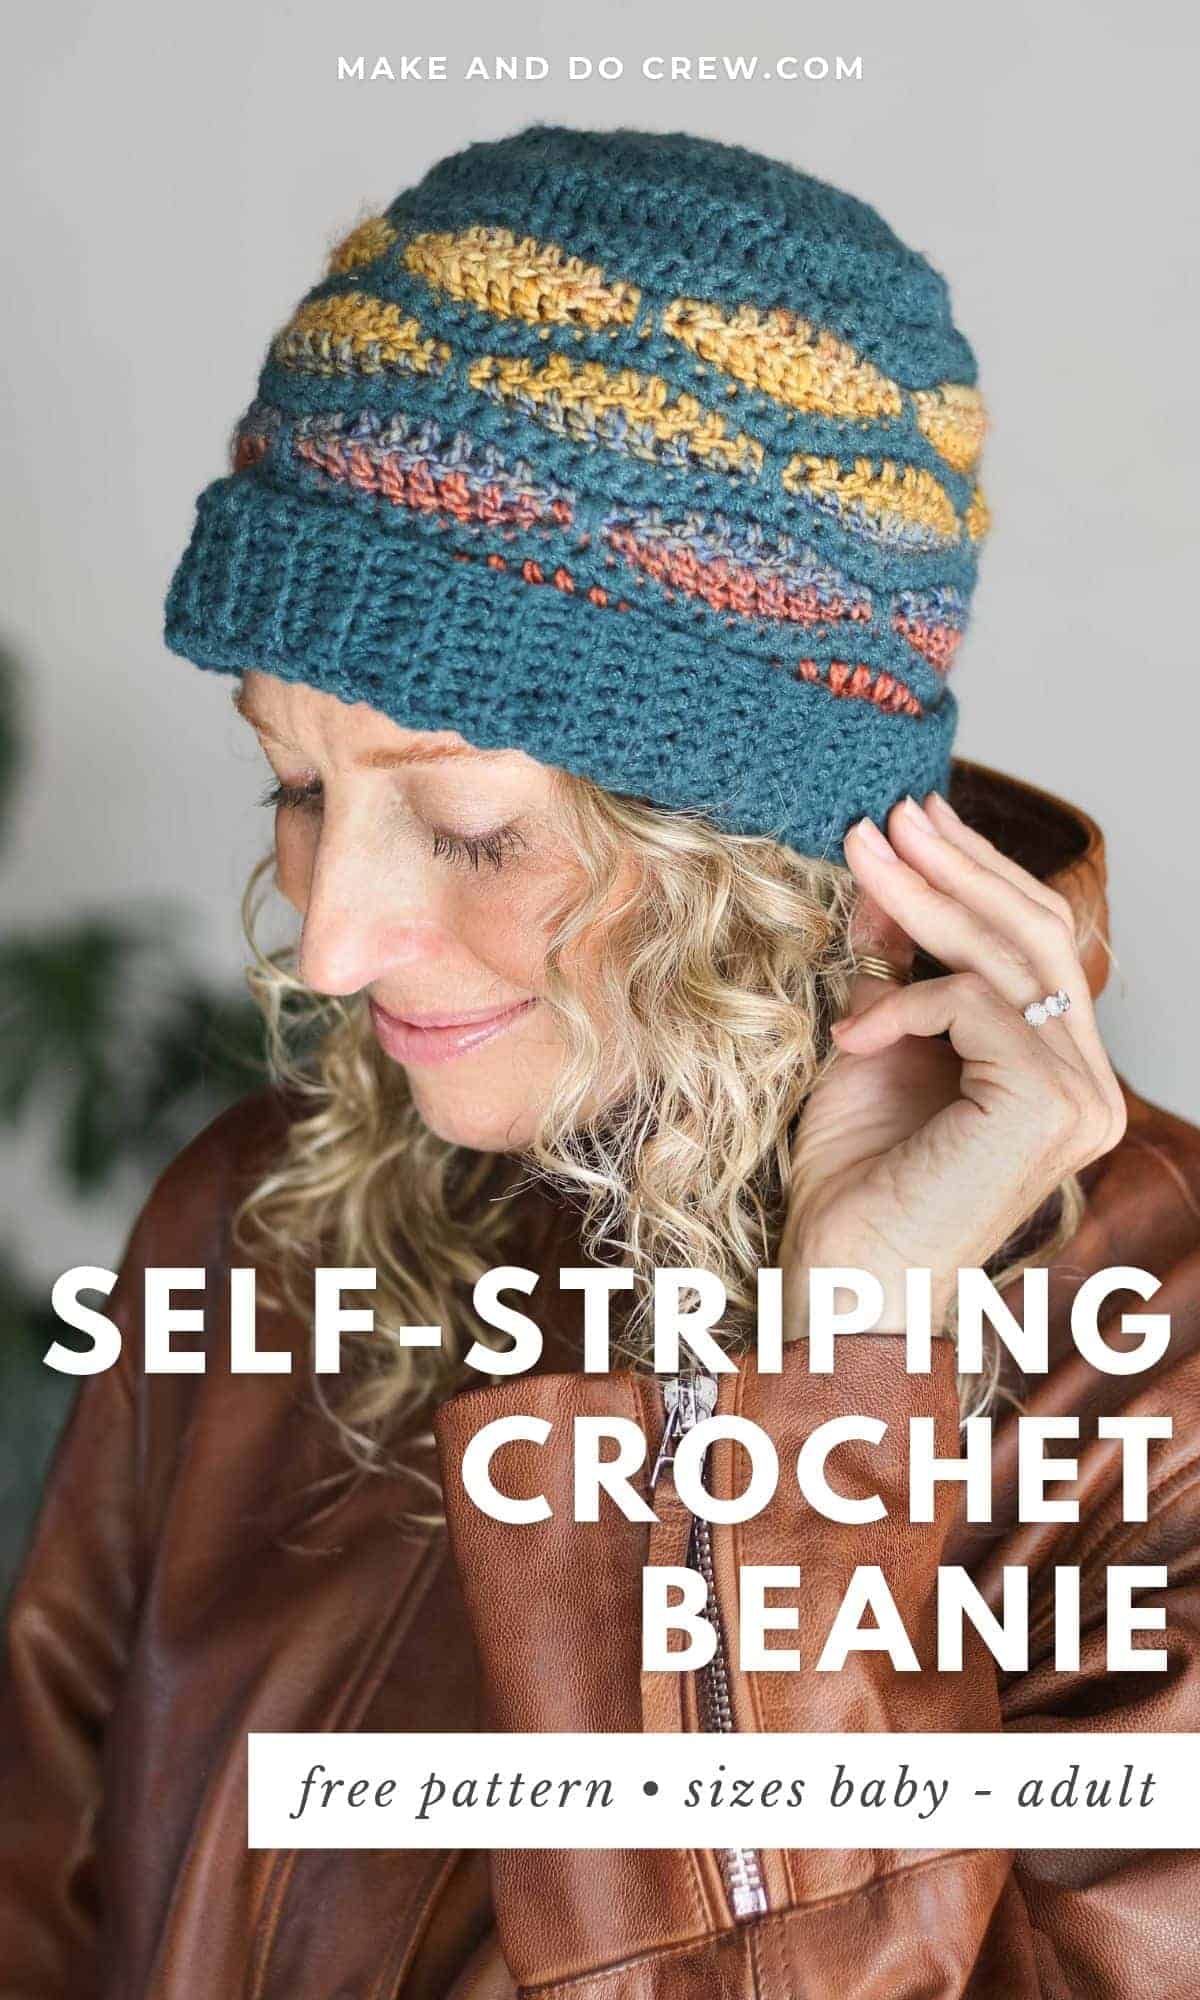
Lion Brand Yarns provided the yarn for this two color crochet beanie. This post contains affiliate links.
Jump to:
Nightshift Beanie - Free Crochet Pattern
This simple beanie gets its personality from an undulating wave stitch worked in contrasting, color-changing yarn. The waves create organic stripes around the hat without fastening off or adding extra ends to weave in.
A solid main color keeps the look clean and lets the shifting accent shades stand out. It’s a straightforward project with just enough stitch interest to keep things fun.
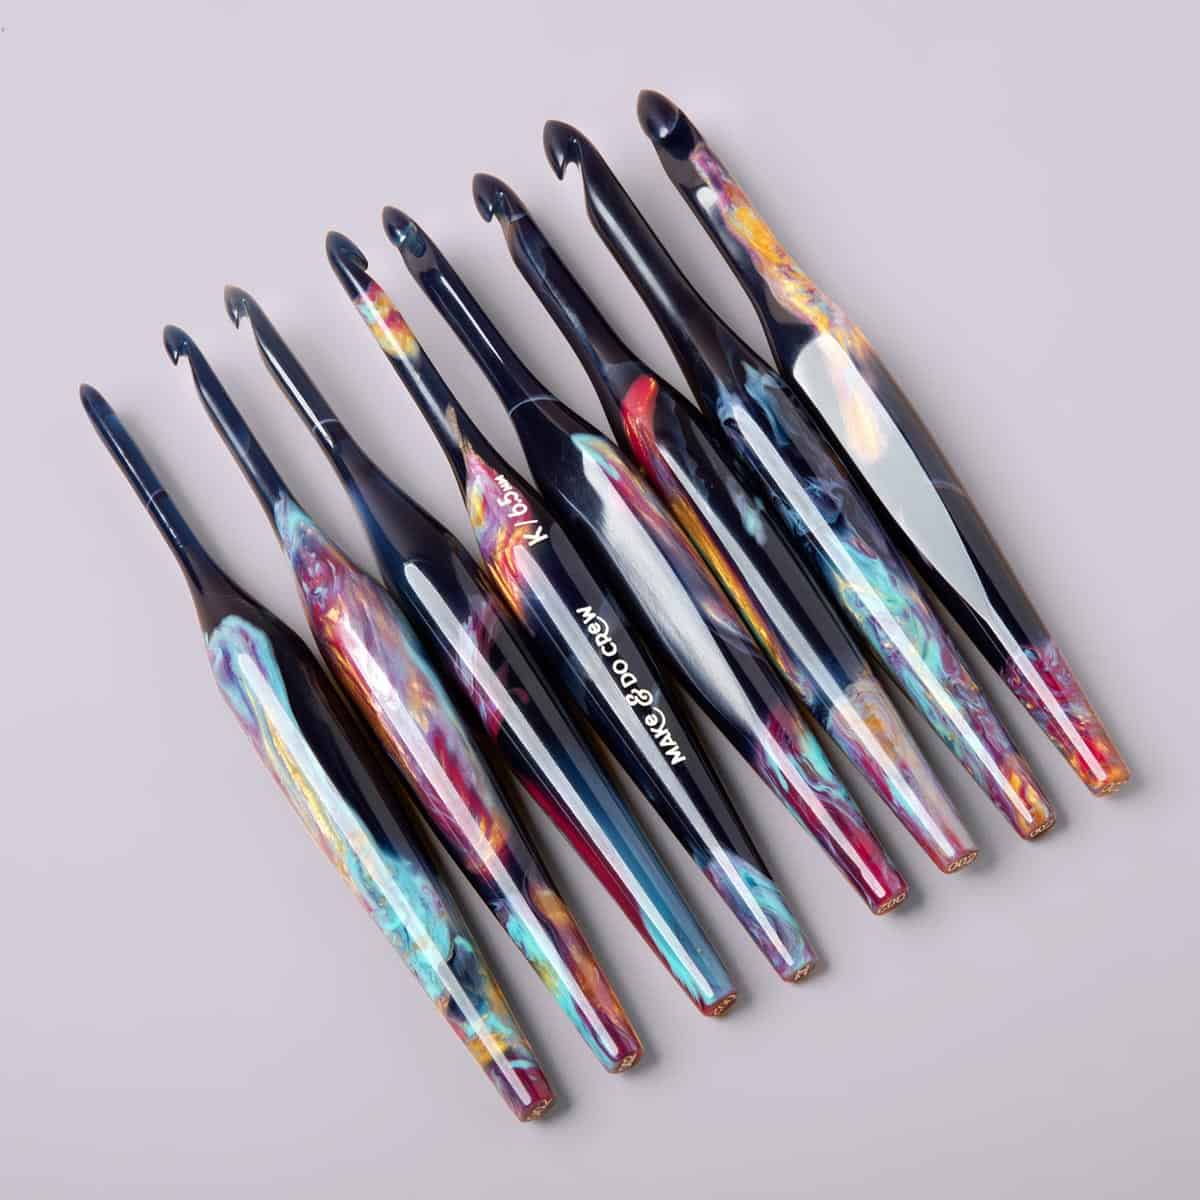
We designed this beanie to celebrate Batch 002 of our limited-edition ergonomic crochet hooks in the “Afterhours” colorway.
Skill Level
This is an advanced beginner crochet pattern. In this project, you'll practice:
- basic stitches and stitch combos
- working flat
- side-to-side construction
- measuring gauge
- simple seaming
- loop recognition
- stitch anatomy
- working in joined, turned rounds
- changing colors
- spike stitches
- pattern reading
Premium PDF
easier and faster with fewer mistakes.
- Complete pattern + photo tutorials
- Instant download
- Formatted for easy printing
Supplies + Materials
• Color A: Lion Brand Re-Make (#4/medium - 217 yds, 3.5 oz, 100 g) – 1 (1, 1, 1) skeins [(approx. 25 (40, 50, 60) g)]
Pictured:
- Seaspray [849-111S]
- Dusty Lilac [849-144AF]
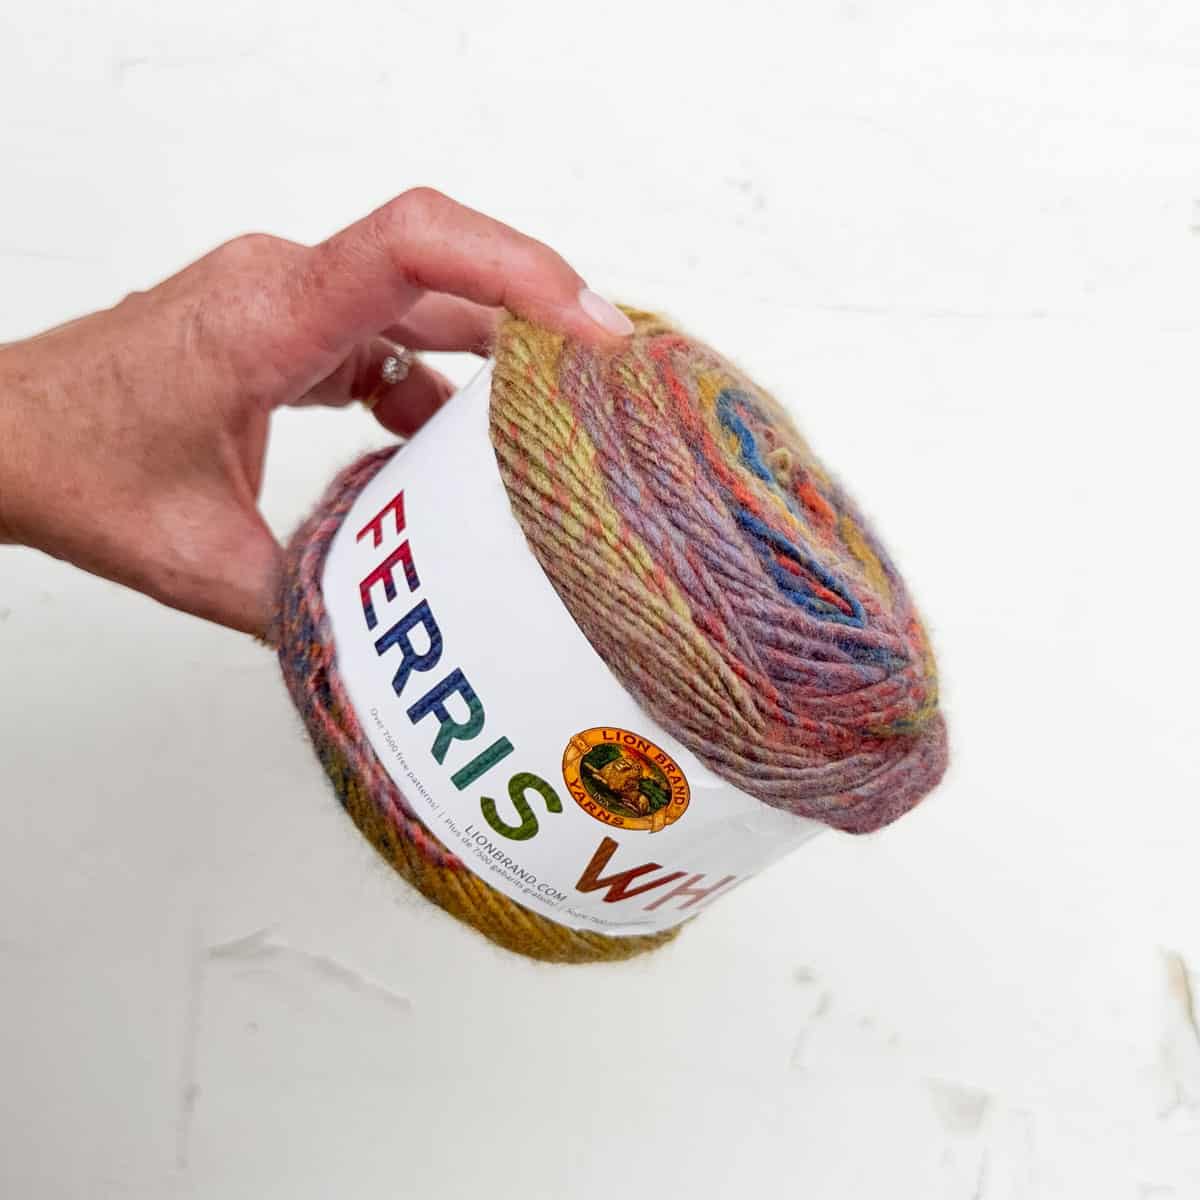
• Color B: Lion Brand Ferris Wheel (#4/medium - 270 yds, 3.0 oz, 85 g) – 1 (1, 1, 1) skeins [(approx. 15 (25, 30, 30) g)]
Pictured:
- Buttercup [217-605H]
• Tapestry needle
• Size J (6.0 mm) crochet hook or size needed to obtain gauge
• Size I (5.5 mm) crochet hook or one size smaller than hook used to obtain gauge
• Fur pom pom
• 1 stitch marker
• Measuring tape
Measurements
| Size | Actual Head Circumference | Total Yarn Needed Color A (g) | Total Yarn Needed Color B (g) |
|---|---|---|---|
| Baby | 14 - 16" | 25 | 15 |
| Child | 18 - 20" | 40 | 25 |
| Adult Small | 21 - 23" | 50 | 30 |
| Adult Large | 22 - 24" | 60 | 30 |
Gauge
4 rounds of hat top = 4” when measured across circle (diameter)
13 stitches = 4”
Abbreviations + Glossary (US Terms)
ch – chain
chsp – chain space
dc – double crochet
hdc – half double crochet
PM – place marker
rem - remain
rep – repeat
RS – right side
sc – single crochet
scblo – single crochet through the back loop only
sk – skip
slst – slip stitch
slstblo – slip stitch through the back loop only
st(s) – stitch(es)
tch - turning chain
WS – wrong side
Print this Pattern
Prefer to crochet on the couch? Need a portable, printable pattern? You'll love the premium PDF! The instantly downloadable, ad-free file is formatted for easy printing and includes the complete pattern in all four sizes, plus all the photo tutorials.
Overall Pattern Notes
- If you’re new to reading crochet patterns, check out more info here.
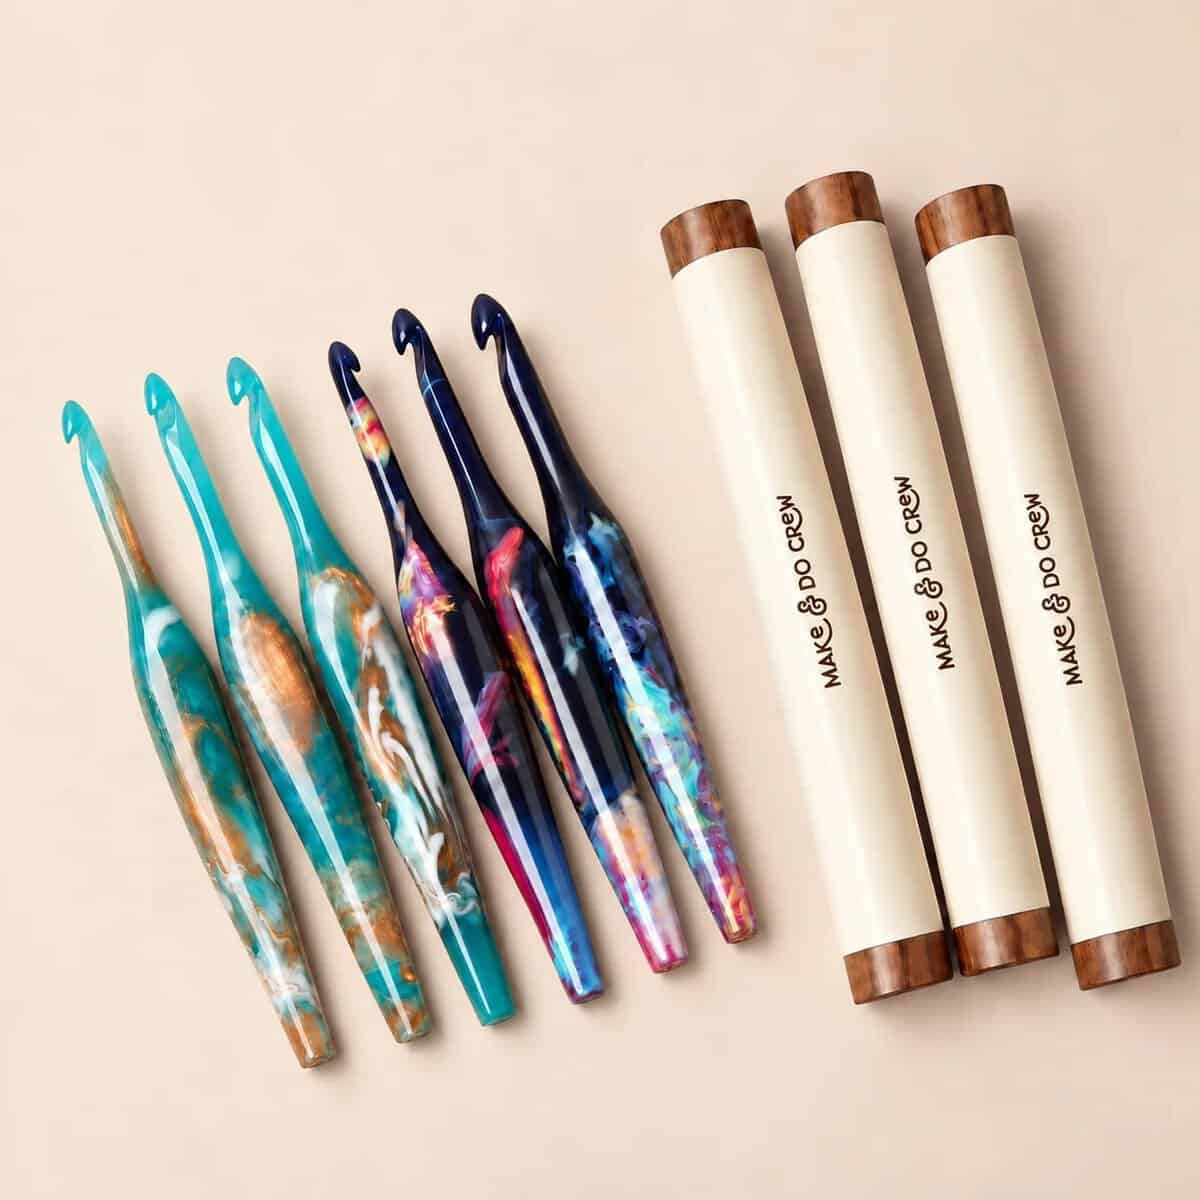
Most hooks make your hands work too hard.
Ours are designed to take effort off your hands. The next batch opens soon, in limited numbers. The last two batches sold out within hours.
Plus a free hand care guide, sent today.
Something went wrong. Please check your email address and try again.
Woohoo! You're on the early access list. 🙌Your hand care guide is on its way to your inbox.
See the hooks first →“The best designed crochet hook I have used in 55 years of crocheting.” Mary M.
- To avoid making a separate gauge swatch, we measure gauge four rounds into the hat top. Making sure your tension is correct at this point is what will ensure your finished hat fits as expected.
- Instructions are written with the stitch count for the smallest size first and each larger size following in parentheses, for example: Baby (Child, Adult Small, Adult Large). It can be very helpful to highlight the numbers for your size before beginning the project. When only one number is given, it pertains to all sizes.
Stitch counts at the end of each round are for given sizes.
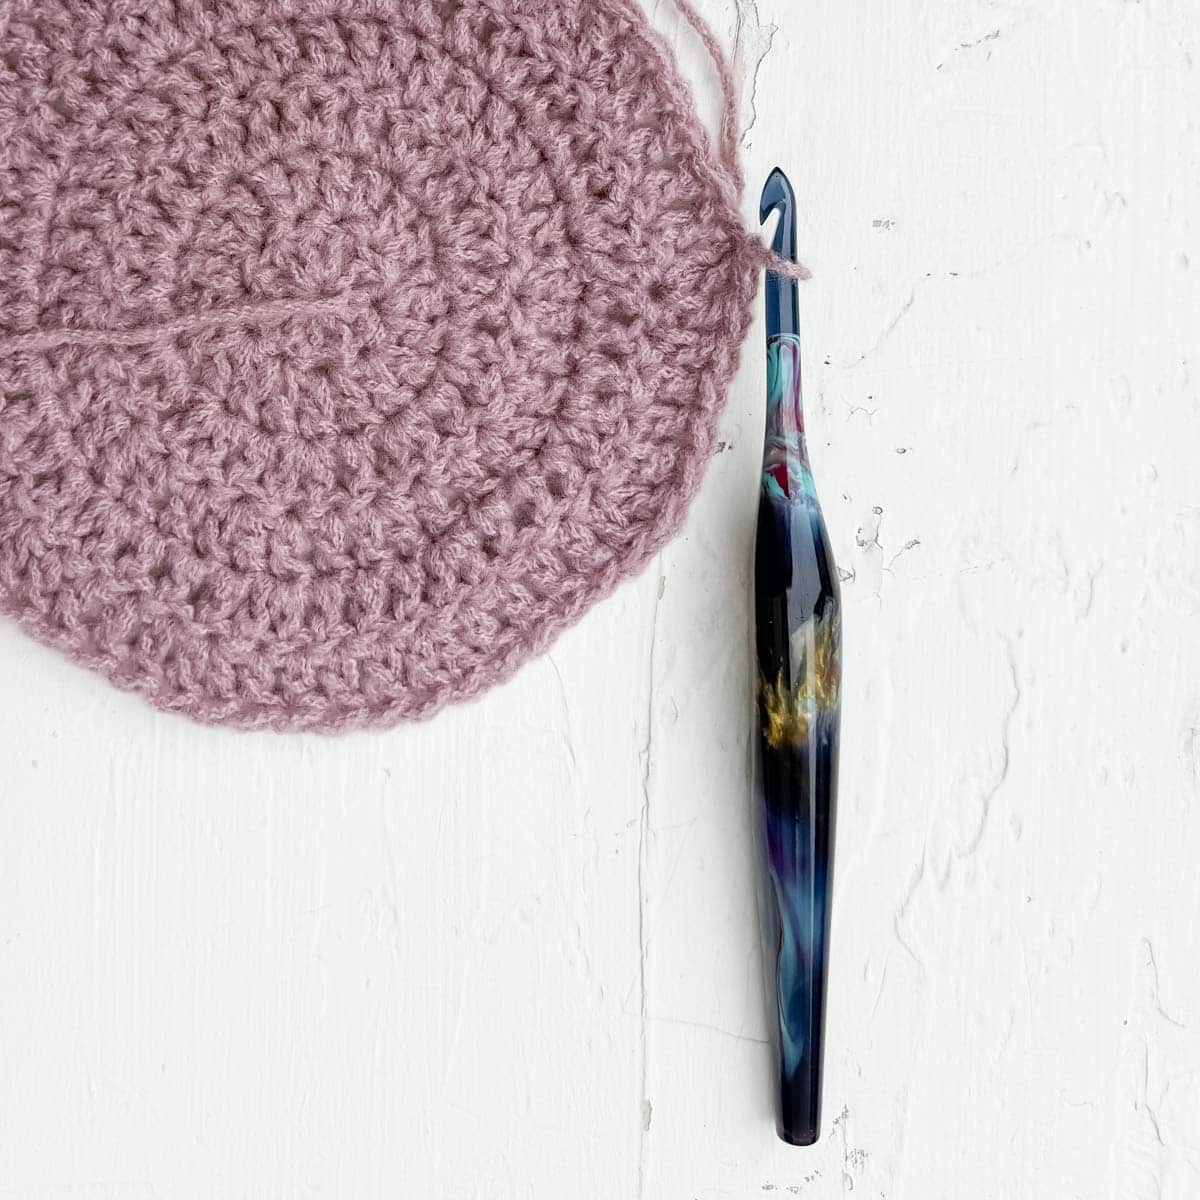
Top of Beanie
Notes:
- Chain 2 at beginning of round does not count as a stitch. This means you’ll work into the first stitch of the round.
- Beanie is worked in joined, turned rounds. This means at the end of each round, you’ll slip stitch to the first stitch of the round, then turn your hat to work back in the opposite direction for the next round.
With color A and larger hook:
Foundation: (Leave a 15 tail at beginning of magic ring for joining pom pom later.) Create a magic ring. (Alternative, ch 4 and slst to first ch to join into a ring.)
Round 1 (RS): Ch 2, 10 dc in magic ring, slst to first dc to join; turn. (10)
Round 2 (WS): Ch 2, 2 dc in each st, slst to first dc to join; turn. (20)
Round 3 (RS): Ch 2, [dc in next st, 2 dc in next st] 10 times, slst to first dc to join; turn. (30)
PM in round just crocheted so that you know which side of the project is the RS as you work the wave section.
Round 4 (WS): Ch 2, [dc in each of next 2 st, 2 dc in next st] 10 times, slst to first dc to join; turn. (40)
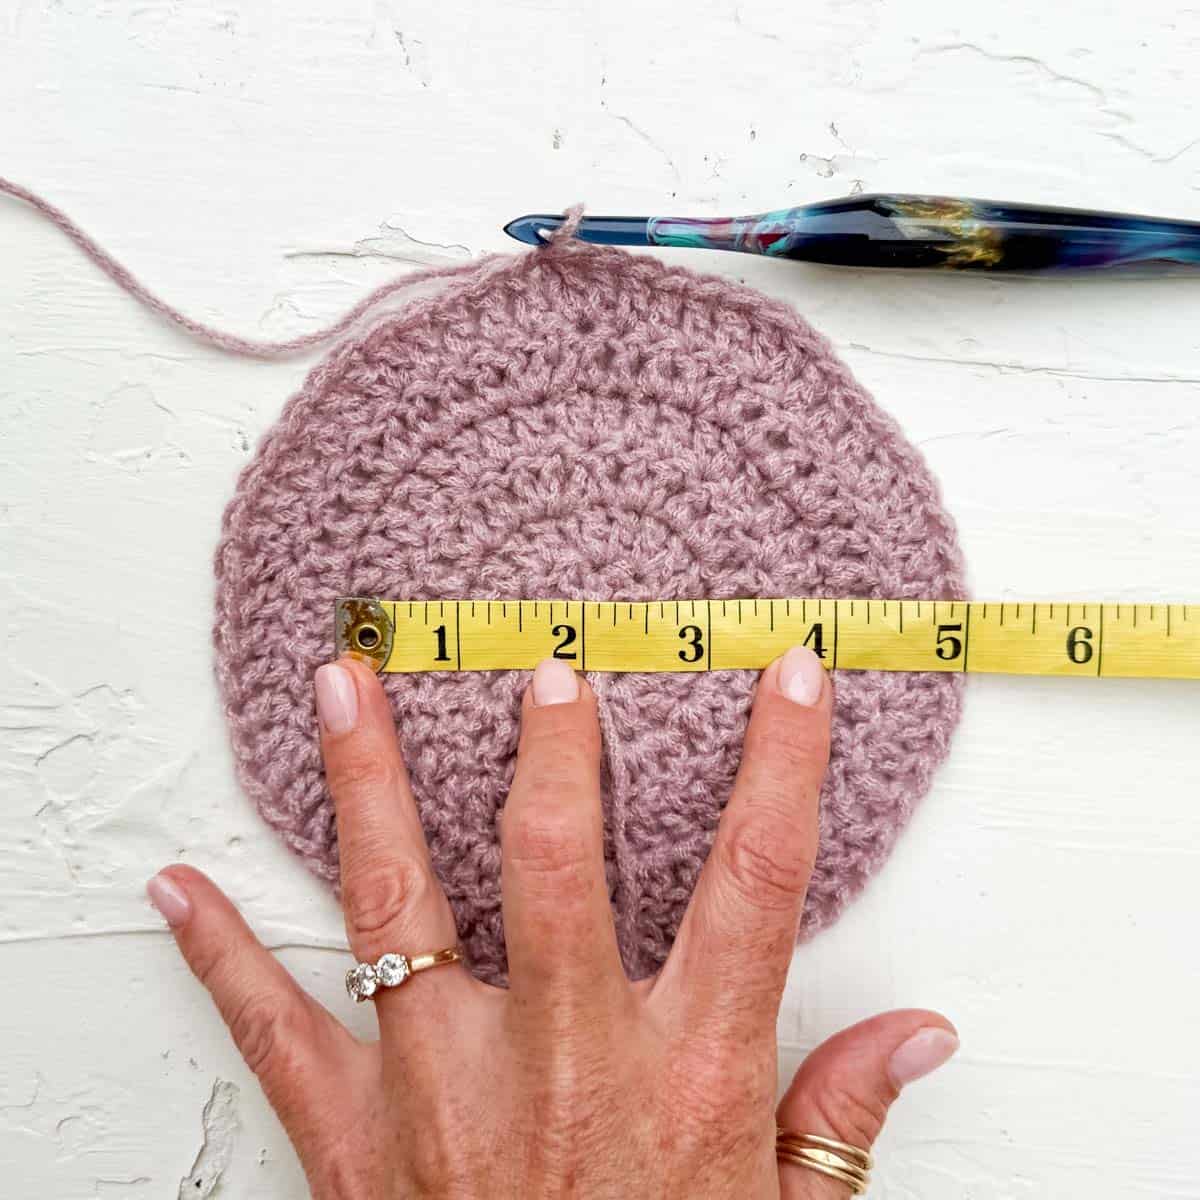
!! Gauge Check !!
Pause here to measure your circle diameter. Your circle should measure 4” across in order to ensure your hat fits as expected.
- If your circle is too big, decrease your hook size and re-work Rounds 1-4.
- If your circle is too small, increase your hook size or make a deliberate effort to pull loops up a bit higher before completing each double crochet. Rework Rounds 1-4.
Once the correct tension is achieved, continue with the Top of Beanie rounds for the size you’re making.
Baby Size: Proceed to Wave Section, all other sizes proceed to Round 5.
Round 5 (RS): Ch 2, [dc in each of next 3 sts, 2 dc in next st] 10 times, slst to first dc to join; turn. (50)
Child Size: Proceed to Wave Section, Adult Small and Adult Large proceed to Round 6.
Round 6 (WS): Ch 2, [dc in each of next 4 sts, 2 dc in next st] 10 times, slst to first dc to join; turn. (60)
Adult Small Size: Proceed to Wave Section, Adult Large proceed to Round 7.
Round 7 (RS): Ch 2, [dc in each of next 5 sts, 2 dc in next st] 10 times, slst to first dc to join; turn. (70)
Want some company while you crochet?
Get support (and camaraderie!) in the Make & Do Crew community. Join for free here.
Premium PDF
easier and faster with fewer mistakes.
- Complete pattern + photo tutorials
- Instant download
- Formatted for easy printing
Wave Section
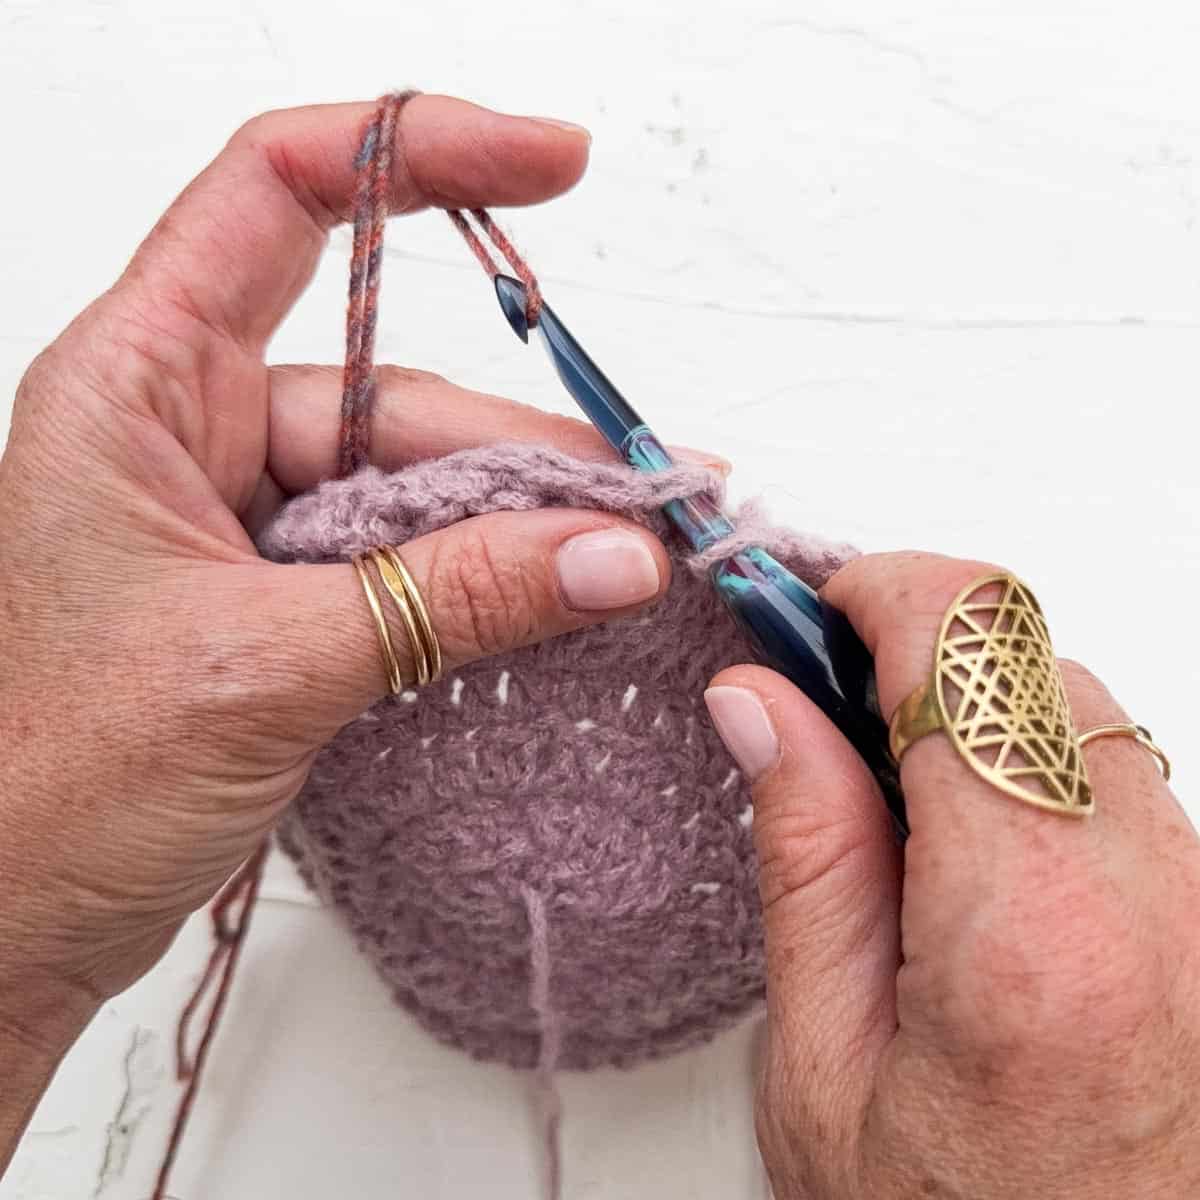
- To minimize ends to weave in, keep both colors of yarn attached through the entire wave stripe section.
- When a color isn’t being used, drop it to the wrong side of the project. (This is always the side that doesn’t have the stitch marker.)
- When switching colors, we always complete the final slip stitch of the previous round using the new color. For simplicity, instructions will assume this and not explain it again for each color section.
Continuing with color A and larger hook:
Baby and Adult Large Only:
Set up round (WS): Ch 1, sc in each st, slst to first sc to join; turn.
Round 1 (RS): Ch 1, [sc in next st, hdc in next, dc in each of next 5 sts, hdc in next st, sc in next st, ch 1, sk next st] 4 (5, 6, 7) times, slst to first sc to join; turn. (40 (50, 60, 70) sts)
Round 2 (WS): Ch 1, [spike st in dc 2 rows below, sc in each of next 9 sts] 4 (5, 6, 7) times, slst to first st to join; turn.
With color B (wave stripe #1):
Round 3 (RS): Ch 2, dc in first st, dc in next st, [hdc in next st, sc in next st, ch 1, sk next st, sc in next st, hdc in next st, dc in next 5 sts] 4 (5, 6, 7) times, ending last rep with 3 dc instead of 5; slst to first dc to join; turn.
Round 4 (WS): Ch 2, dc in first st, dc in each of next 2 sts, [hdc in next st, sc in next st, ch 1, sk next st, sc in next st, hdc in next st, dc in next 5 sts] 4 (5, 6, 7) times, ending last rep with 2 dc instead of 5; slst to first dc to join; turn.
With color A:
Round 5 (RS): Ch 1, sc in each of next 4 sts, [spike sts in sc 3 rows below, sc in each of next 9 sts] 4 (5, 6, 7) times, ending last rep with 5 sc instead of 9; slst to first sc to join; turn.
Round 6 (WS): Ch 1, sc in each st, slst to first sc to join; turn.
With color B (wave stripe #2):
Round 7 (RS): Rep Round 1.
Round 8 (WS): Ch 2 (counts as tch and chsp), sk first st, [sc in next st, hdc in next, dc in next 5 sts, hdc in next st, sc in next st**, ch 1, sk next st] 4 (5, 6, 7) times ending last rep at **, slst to first ch to join; turn.
With color A:
Round 9 (RS): Ch 1, [sc in each of next 9 sts, spike sts in sc 3 rows below] 4 (5, 6, 7) times, slst to first sc to join; turn.
Round 10 (WS): Ch 1, sc in each st, slst to first sc to join; turn.
With color B (wave stripe #3):
Round 11 (RS): Rep Round 3.
Round 12 (WS): Rep Round 4.
With color A:
Round 13 (RS): Rep Round 5.
Baby Size: Fasten off Color B and keep Color A attached. Proceed to Last Round, all other sizes proceed to Round 14.
Round 14 (WS): Rep Round 6.
With color B (wave stripe #4):
Round 15 (RS): Rep Round 7.
Round 16 (WS): Rep Round 8. Fasten off Color B.
With color A:
Round 17 (RS): Rep Round 9.
Last Round
The following round straightens out the wave pattern to prepare for the brim. Continue with color A and larger hook.
Baby Size (WS): Ch 1, [sc in first 2 sts, hdc in next, dc in each of next 5 sts, hdc in next st, sc in next st] 4 times, slst to first ch to join; turn. Keep Color A attached.
All other sizes (WS): Ch 2, dc in first st, dc in each of next 2 sts, [hdc in next st, sc in next st 3 sts, hdc in next st, dc in next 5 sts] (5, 6, 7) times, ending last repeat with 2 dc instead of 5; slst to first dc to join; turn. Keep color A attached.
Ribbed Brim
- Stitch counts at the end of each round are for given sizes.
- Ribbing is worked in rows perpendicular to bottom edge of hat. Ribbing is attached as it’s created by slip stitching to hat edge.
- Each single crochet is worked through the back loop only (blo) of the stitch in the previous row. On odd rows only (those heading away from hat), the last stitch of the row is worked through both loops.
- Pay attention to the RS/WS designation of row as it will help clarify which side of the hat is facing in each row.
- Beanie is intended to be worn with ribbed brim folded up. If a slouchier look is preferred, wear with ribbed brim un-folded.
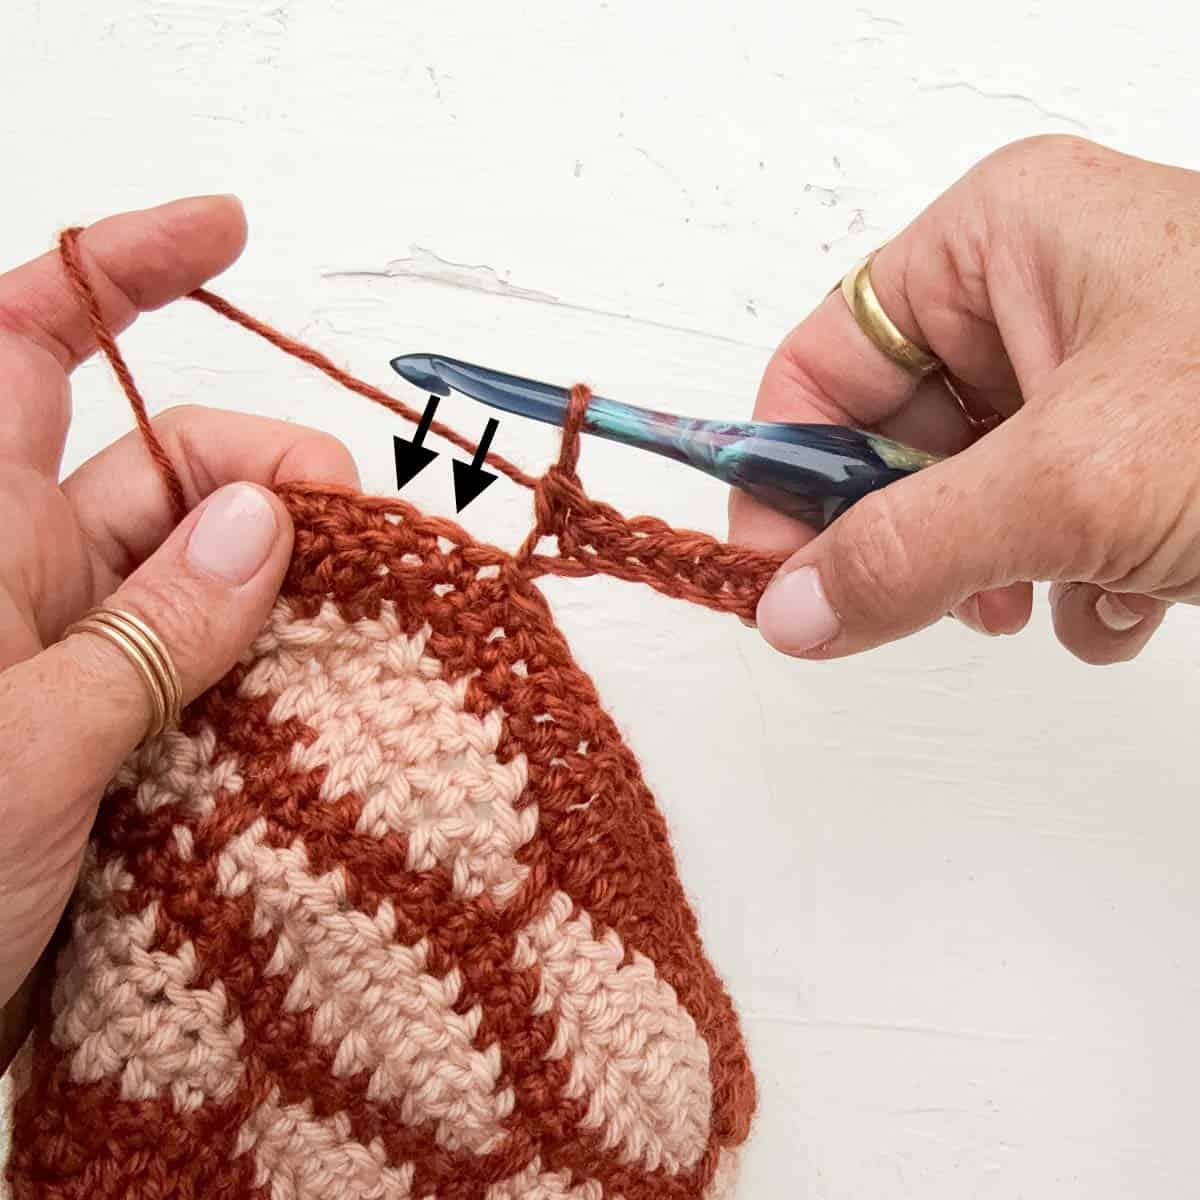
Slip stitch to next two stitches along bottom edge of hat.
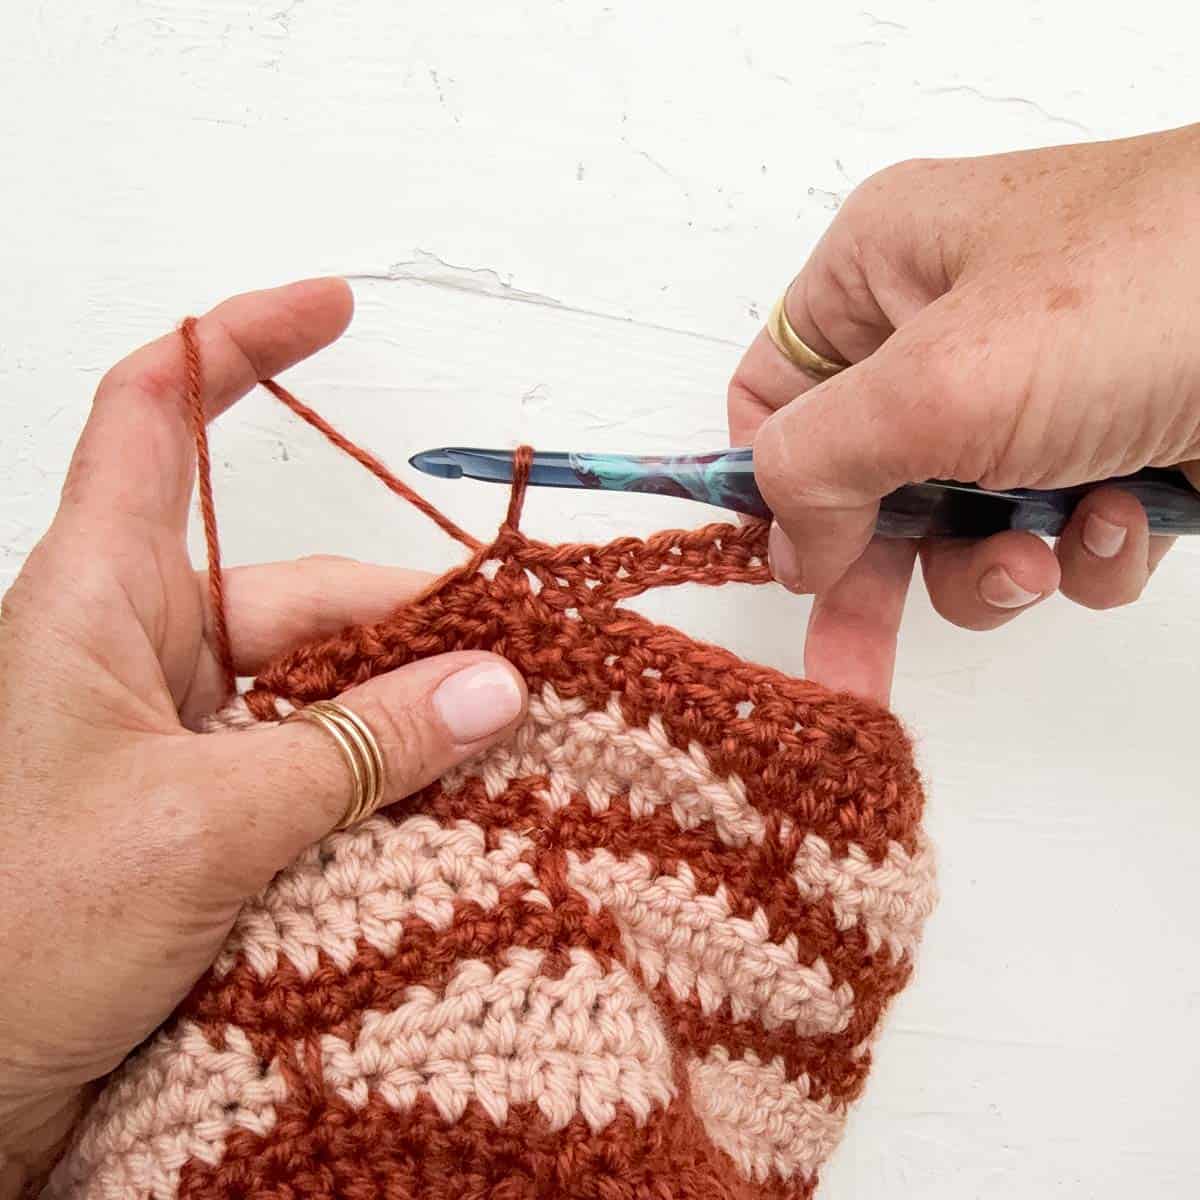
Slip stitches complete. Turn to work in opposite direction.
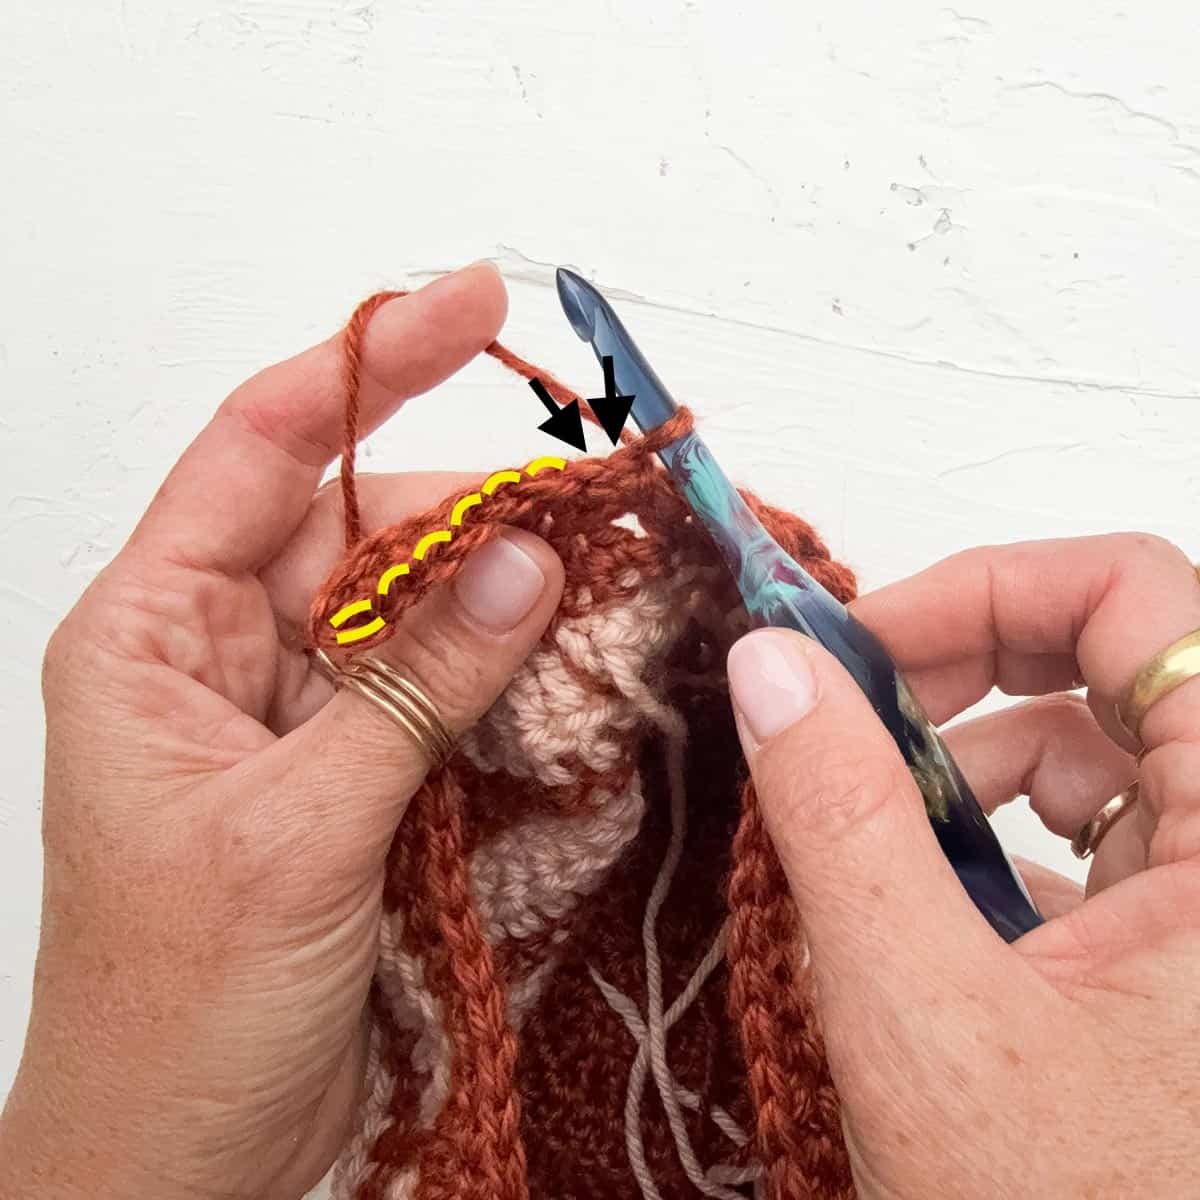
All Sizes:
Set Up Round (RS): Ch 1, sc in each st around, slst to first sc to join.
With smaller hook:
Ribbing Foundation: With attached yarn, ch 5 (6, 7, 8).
Row 1 (RS): Sc in second ch from hook, sc in each rem ch, slst to second st of hat edge, slst to next st along hat edge; turn. (4 (5, 6, 7) sc + 2 slsts on hat)
Row 2 (WS): (Do not ch 1), sk slsts along hat edge, sc in blo of each sc until 1 st rem, sc through both loops of the last st; turn. (4 (5, 6, 7) sc)
Row 3 (RS): Ch 1, sc blo in each sc, slst in each of the next 2 sts along hat edge; turn.
Row 4 (WS): Rep Row 2.
Rep Rows 3 and 4 around hat, ending with a Row 4. This may require you to slip stitch only one stitch instead of two along hat on the final repeat. It’s fine to improvise here to ensure you end with a Row 4. This will position the yarn at the bottom of brim. Fasten off leaving a 15” tail.
Joining Brim
Place last row of ribbing on top of foundation row. With existing yarn tail and tapestry needle, use a running stitch to seam brim. Take care to line up on stitches as you seam. Weave in yarn tail and fasten off.
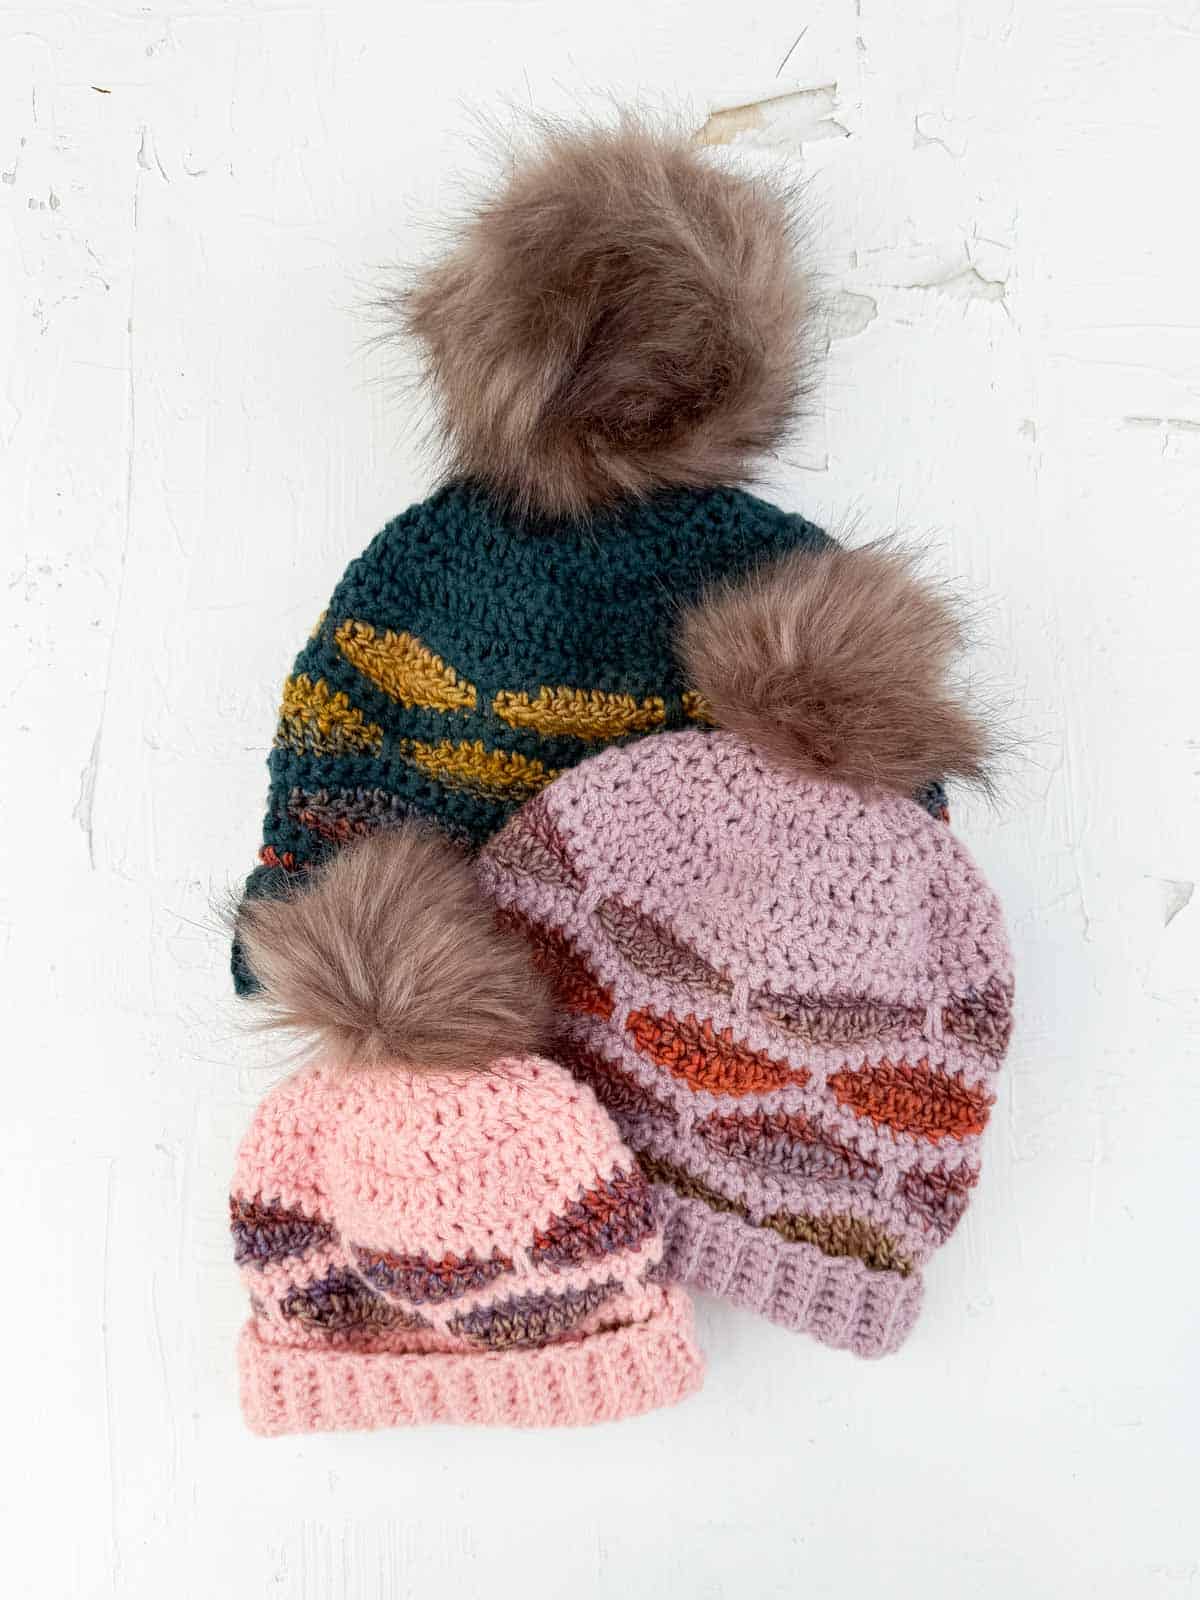
Finishing
Add a pom pom (optional): Using the leftover yarn tail from the magic ring, attach a fur pom pom to the top of hat.
Weave in remaining ends: Learn more here.
Optional Blocking (optional): Once all ends are woven in, you may do a light steam blocking using either a steamer or iron with steam setting. Focus on any areas that aren’t laying as flat as you’d like, such as the wave stripes. Do not touch steamer or iron directly to yarn. Detailed info here.
Pull on your new beanie, fluff that pom pom and ride those waves straight into your next crochet project!
Permissions + Copyright:
Please do not publish or share this pattern as your own. You may make items to sell with this pattern. In exchange, please link back this post. Do NOT use our photos as your own sales photos.
More Beanie Free Patterns
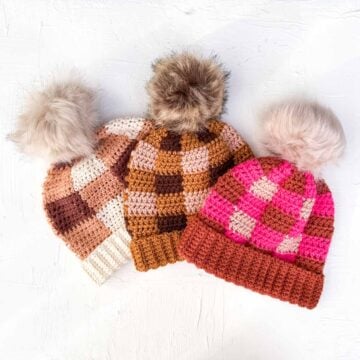
- How to Crochet a Plaid Beanie Pattern + Video (Baby-Adult)
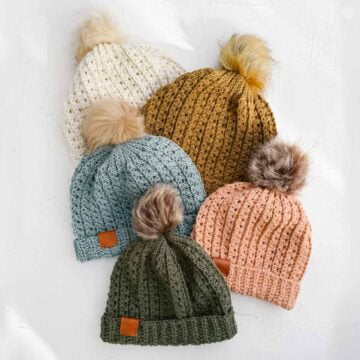
- Sundowner Textured Crochet Hat Pattern (Baby-Adult)
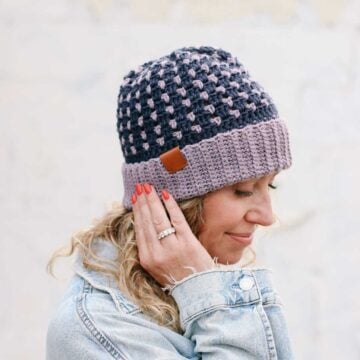
- Multicolor Beanie Crochet Pattern For Babies - Adults
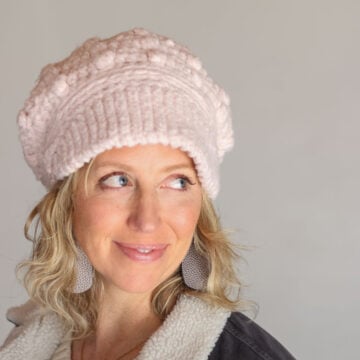
- 3 Hour Free Crochet Newsboy Hat Pattern
- Free Crochet Bunny Hat Pattern (Newborn, Baby, Toddler, Child)
- 1 Hour Easy Child's Crochet Hat Pattern With Toddler Sizes
That was so fun! Now what?
Invitation to our Private Community
Come discuss crocheting your two color beanie and lots of other projects and techniques in our Make & Do Crew community. Here thousands of helpful crocheters answer each other's questions and share their stitches. Join us!
Leave a Reply