Knowing how to weave in ends in crochet is a must-have skill for every beginner to master.
Follow our step-by-step photo tutorial to secure those pesky yarn tails so your project doesn’t unravel. “Weave” got you covered with clear instructions that'll provide a polished look and stand the test of time.
This crochet tutorial contains affiliate links.
Jump to:
What Does “Weave in the Ends” Mean, Anyhow?
Weaving in the ends refers to securing the loose strands of yarn when you finish crocheting. These yarn tails are usually created when you start a project, change colors, join separate pieces, or fasten off your work.
There are many ways to secure your tail ends. Some techniques work better for single-color projects, while others are perfect for intricate colorwork. I recommend trying each one to see which one works best for you.
Key Takeaway
Although we cover a bunch of methods for weaving in ends below, the key to all of them is inserting your tapestry needle through the thickest part of the stitch and changing directions a couple of times.
You can’t go wrong if you keep these two concepts in mind!
Why it’s Important to Secure Yarn Tails
Weaving in ends might seem like a snooze-fest, but it's a crucial step in any knitting or crochet project. Think of it as the broccoli of crochet – not the most exciting, but super important for a healthy finished piece.
Taking the time to weave in the ends securely helps prevent your hard work from unraveling faster than a ball of yarn in a room full of kittens.
Plus, if you plan on actually using or washing your masterpiece, securing the ends is non-negotiable. As a bonus, it gives your project a polished, "I totally know what I'm doing" look.
How to Weave in Crochet Ends
Weaving in your yarn ends is less about following one specific path and more about going through the densest part of the stitch. Along the way, you’ll change direction to disguise and secure the end into place.
The step-by-step photo tutorial below shows my favorite way to weave in yarn tails so your hard work is secure and looks great for the long haul.
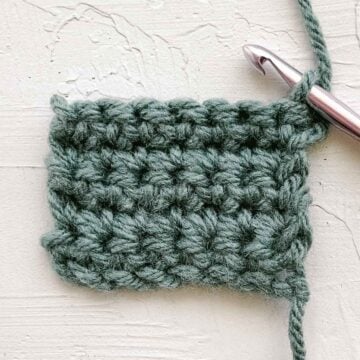
Step 1: Once you’ve finished the last stitch of your project, cut the yarn using a pair of sharp scissors. Leave a long tail around 6-8” long to weave in.
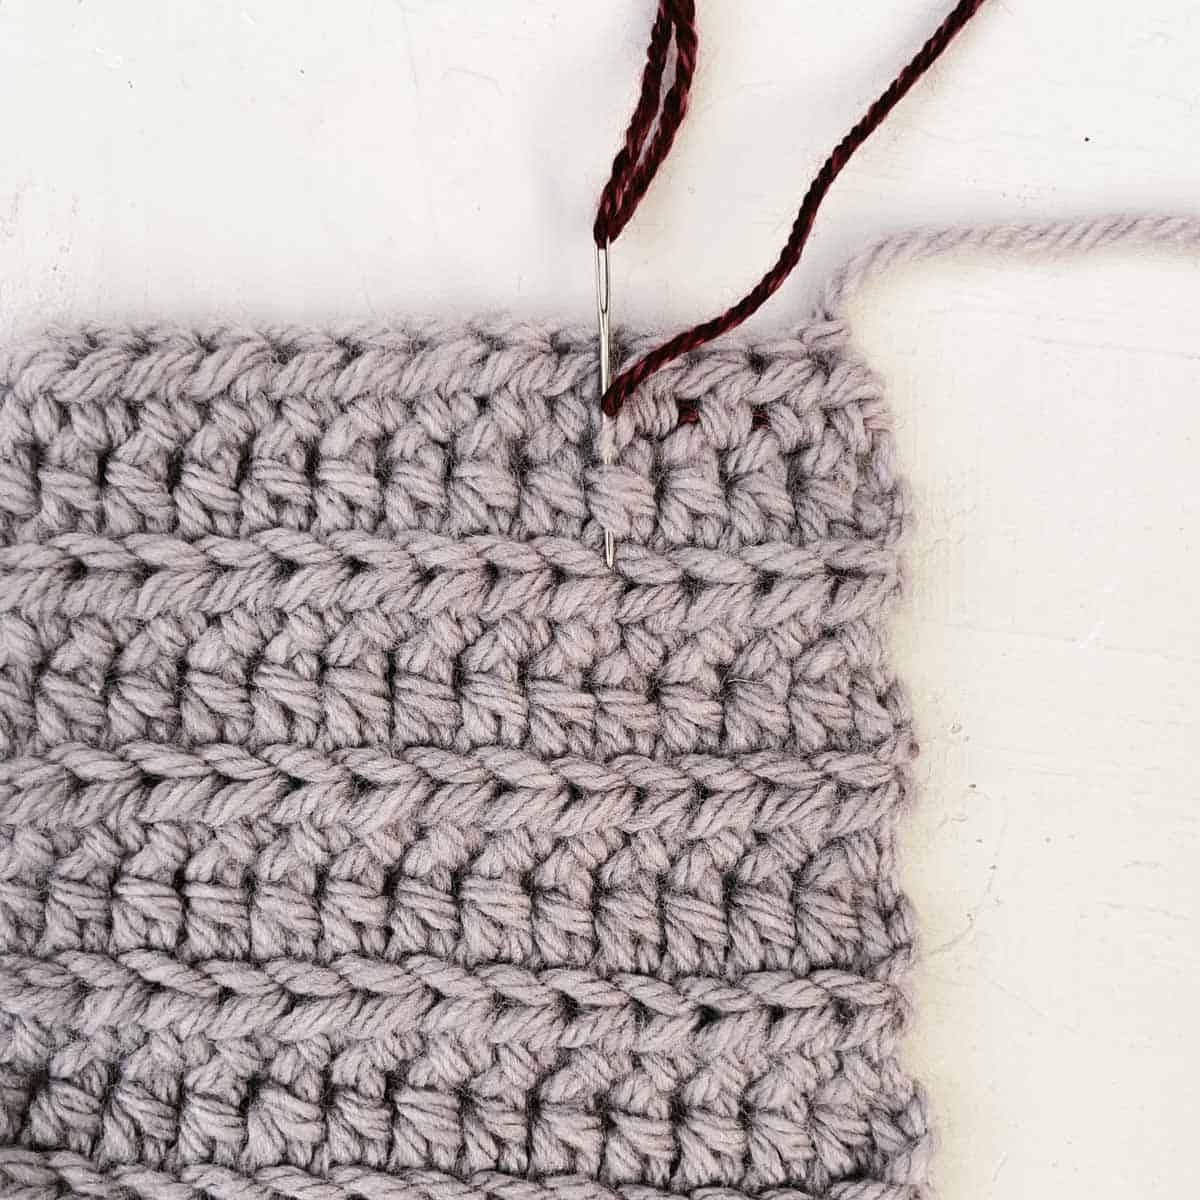
Step 2: Thread the yarn tail through the eye of your chosen tapestry needle. If you’re struggling, try using a needle threader.
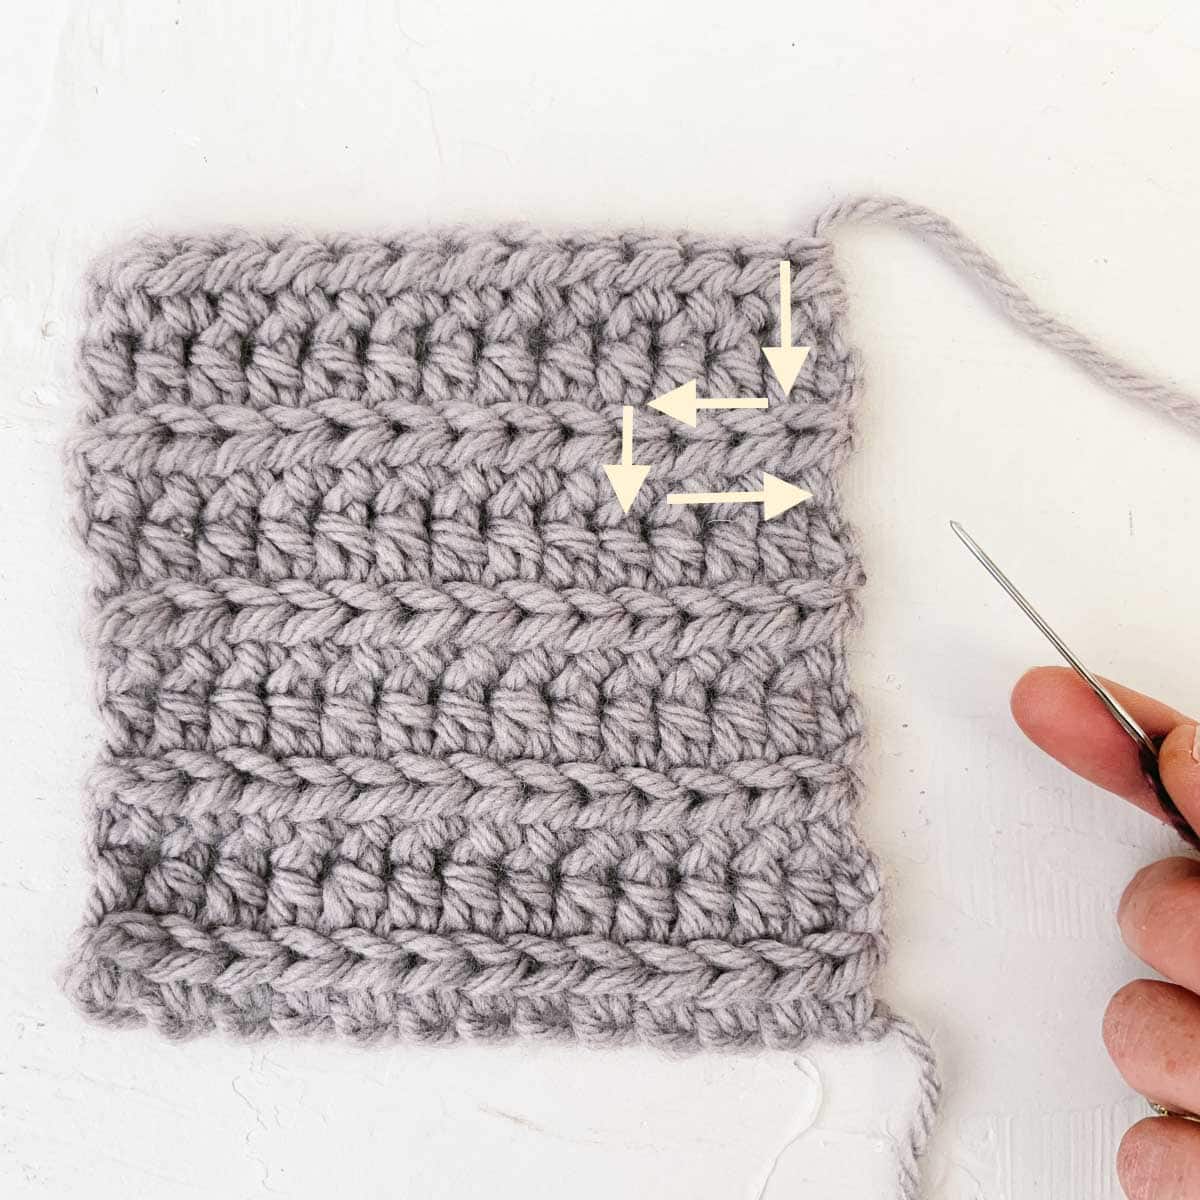
Step 3: Decide which is the wrong side (WS) of your fabric. (If your stitches are reversible, just choose the side you don’t want to look at as much.)
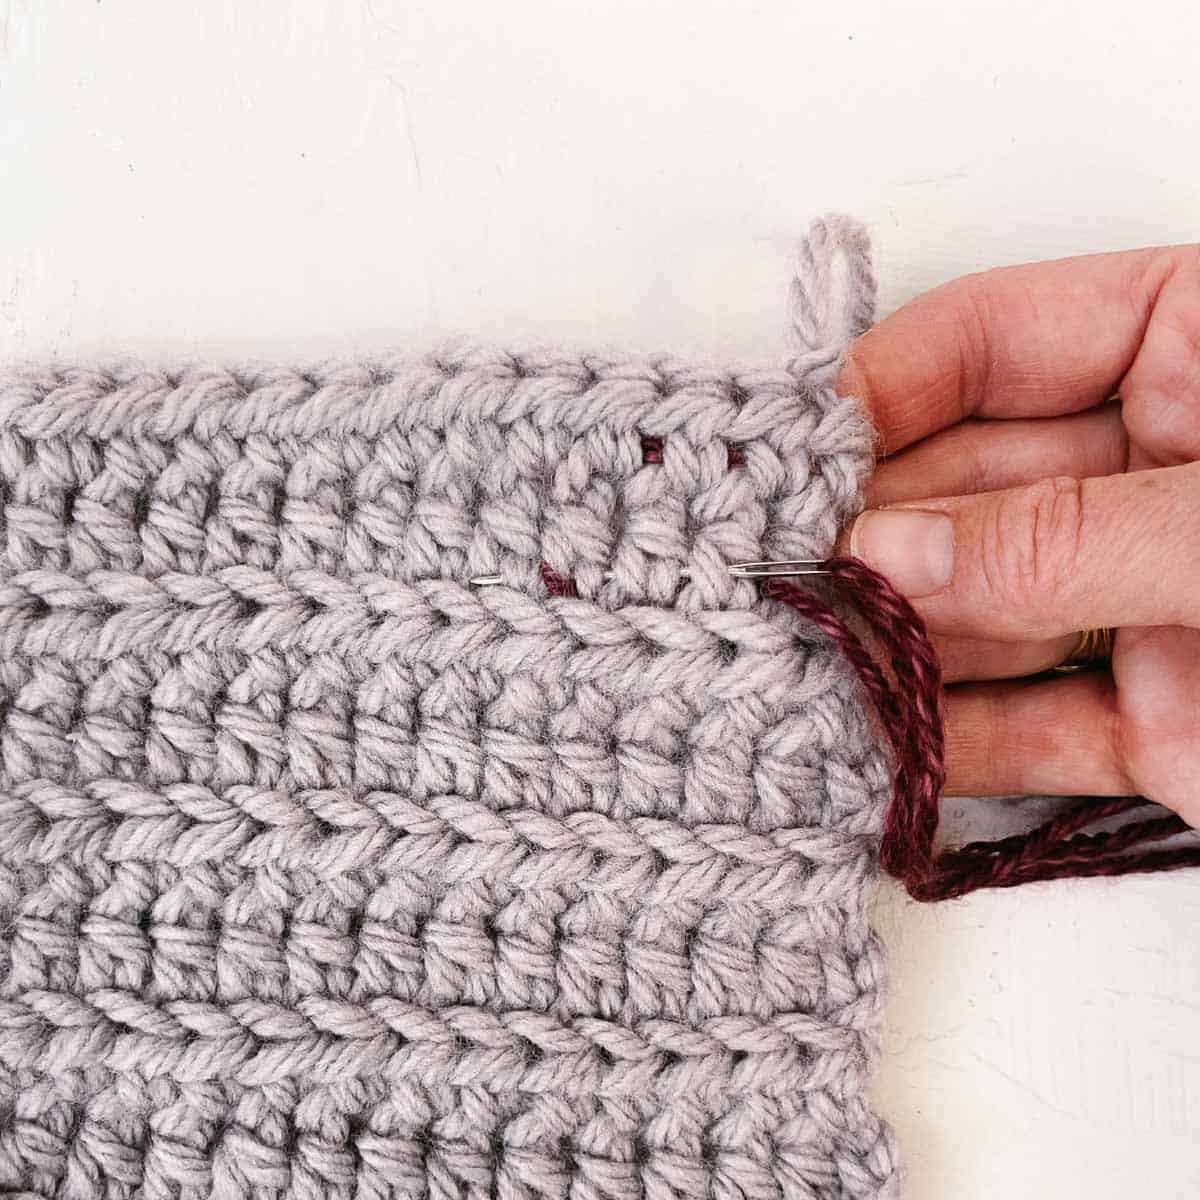
Insert your needle horizontally into a few stitches in the previous row, and pull the yarn through. Make sure the yarn is pulled snug, but not too tight, as this can change the tension and cause the fabric to pucker.

Step 4: Change direction. Weave the needle vertically through a column of stitches and pull the yarn end through.
Step 5: Then, change direction again and weave the yarn horizontally in the opposite direction (towards the edge of the fabric).
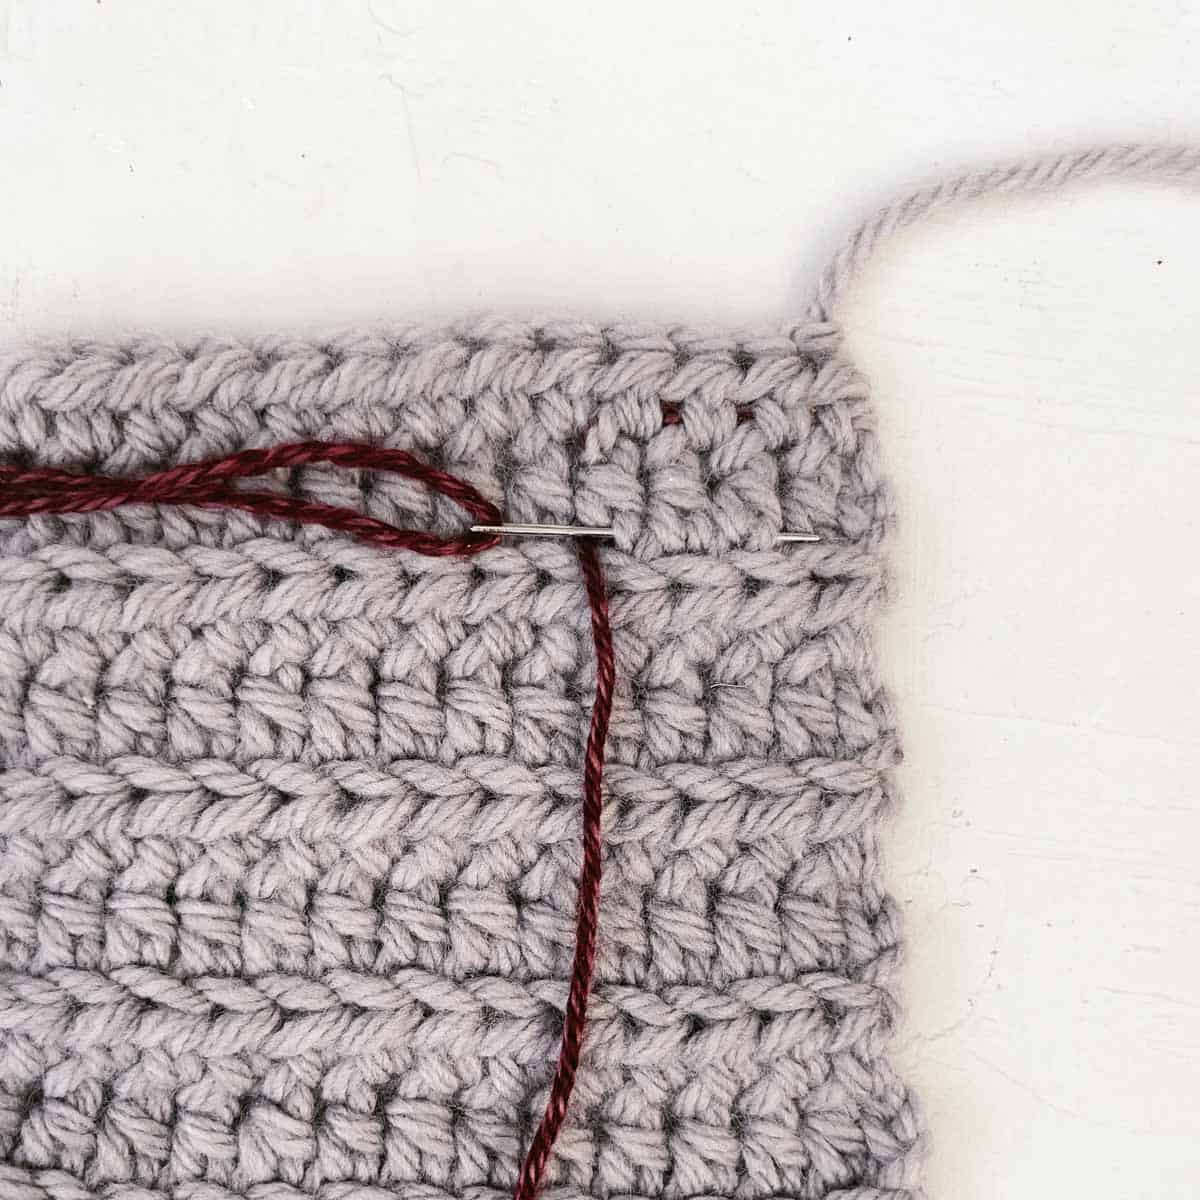
Step 6: Weave the yarn through the same horizontal stitches, but skip the first strand before inserting the needle so you don't pull out what you just threaded through!
Step 7: Again, skip a strand and change direction, weaving horizontally along the same row of stitches towards the edge of the fabric. (This will be the third time in this row.)

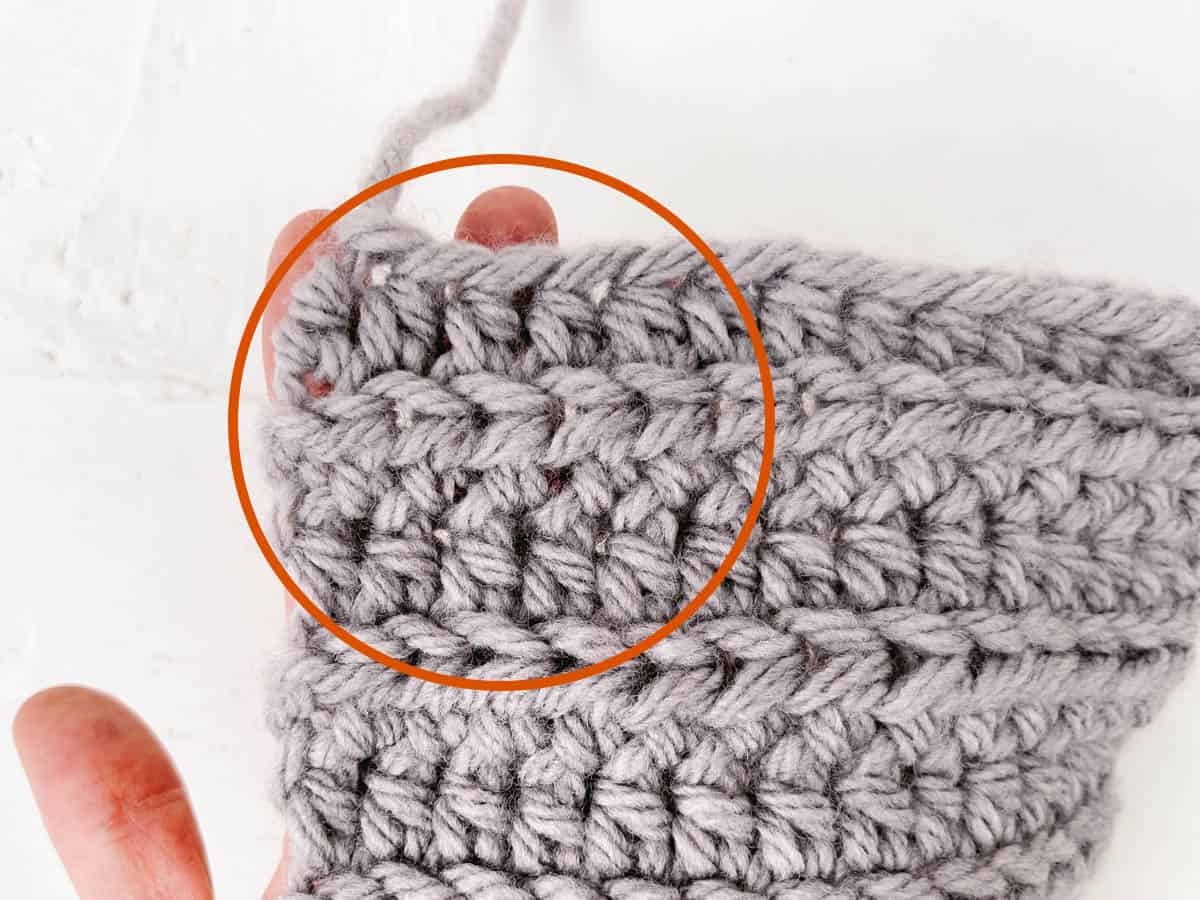
Step 8: Gently but firmly pull the yarn tail through and cut it close to the fabric’s surface. Be careful not to cut too close and snip any of your stitches! Stretch out the fabric to hide the crochet end.

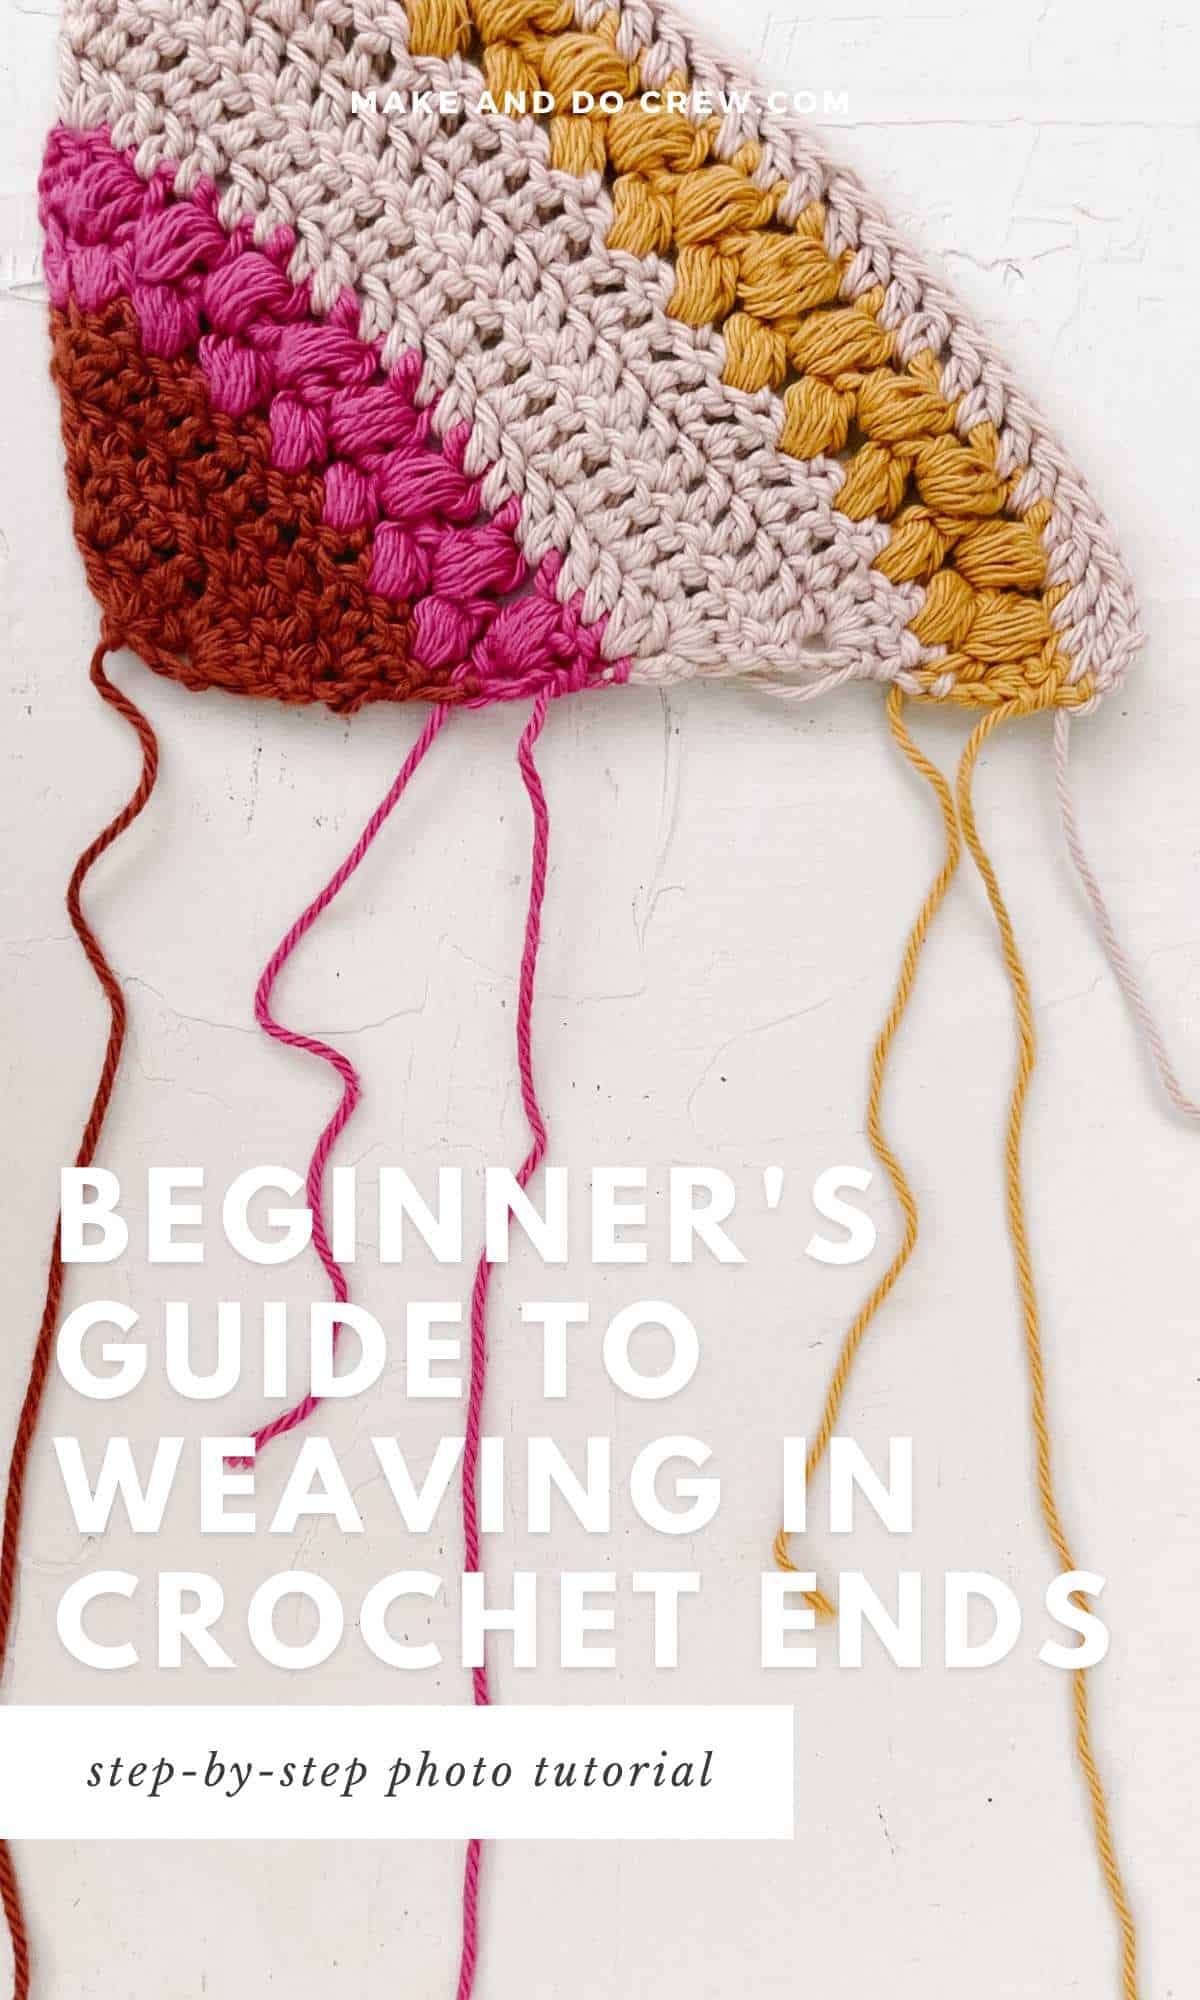
Handling Multiple Colors
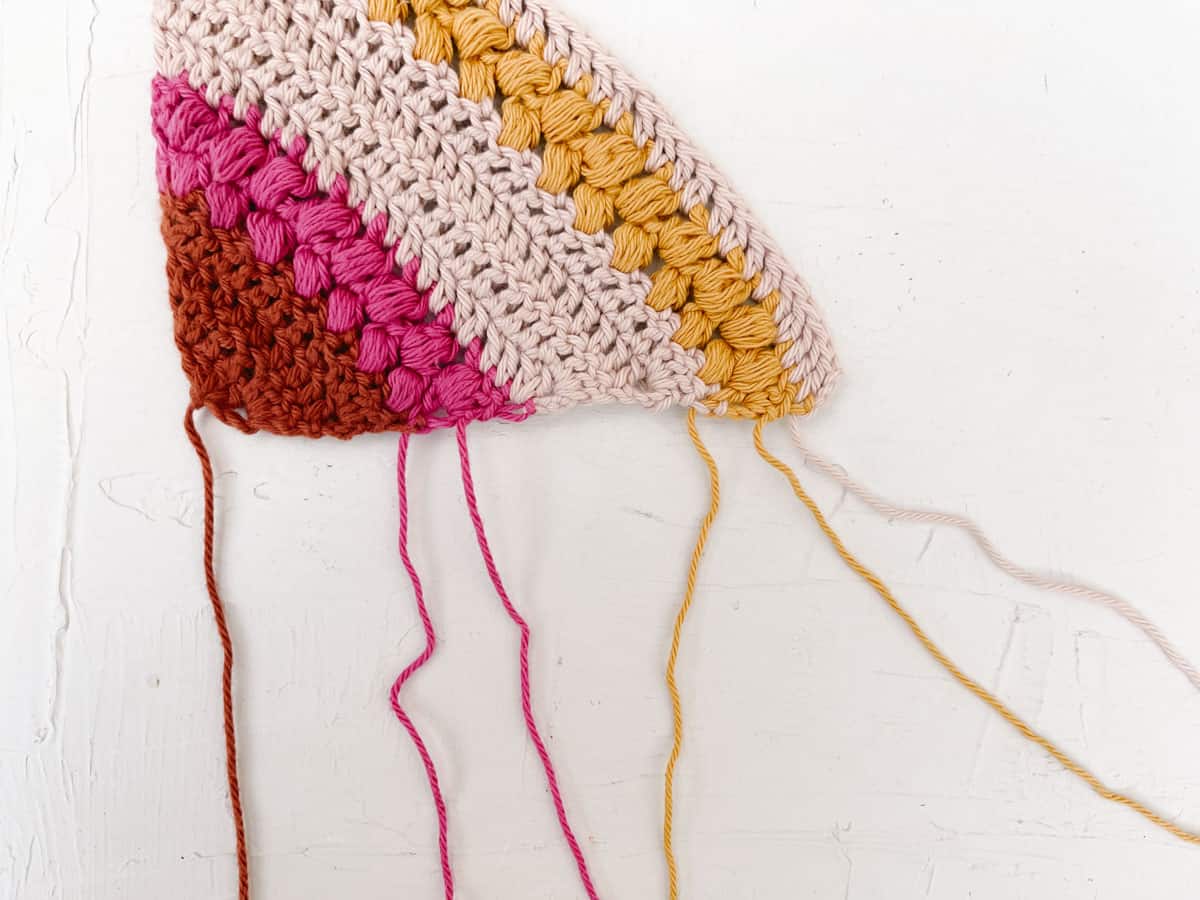
If your project involves many colors, like temperature blankets or a striped afghan, you’ll need to weave the yarn tails for each shade separately.
Follow the weaving instructions to thread the tapestry needle under stitches the same color as the crochet end. This will hide the yarn tail securely within the fabric while also disguising it as much as possible.
Pro Tip: If you love a colorful look, but want fewer ends to weave in, use a self-striping yarn like Lion Brand Mandala.
Granny Squares
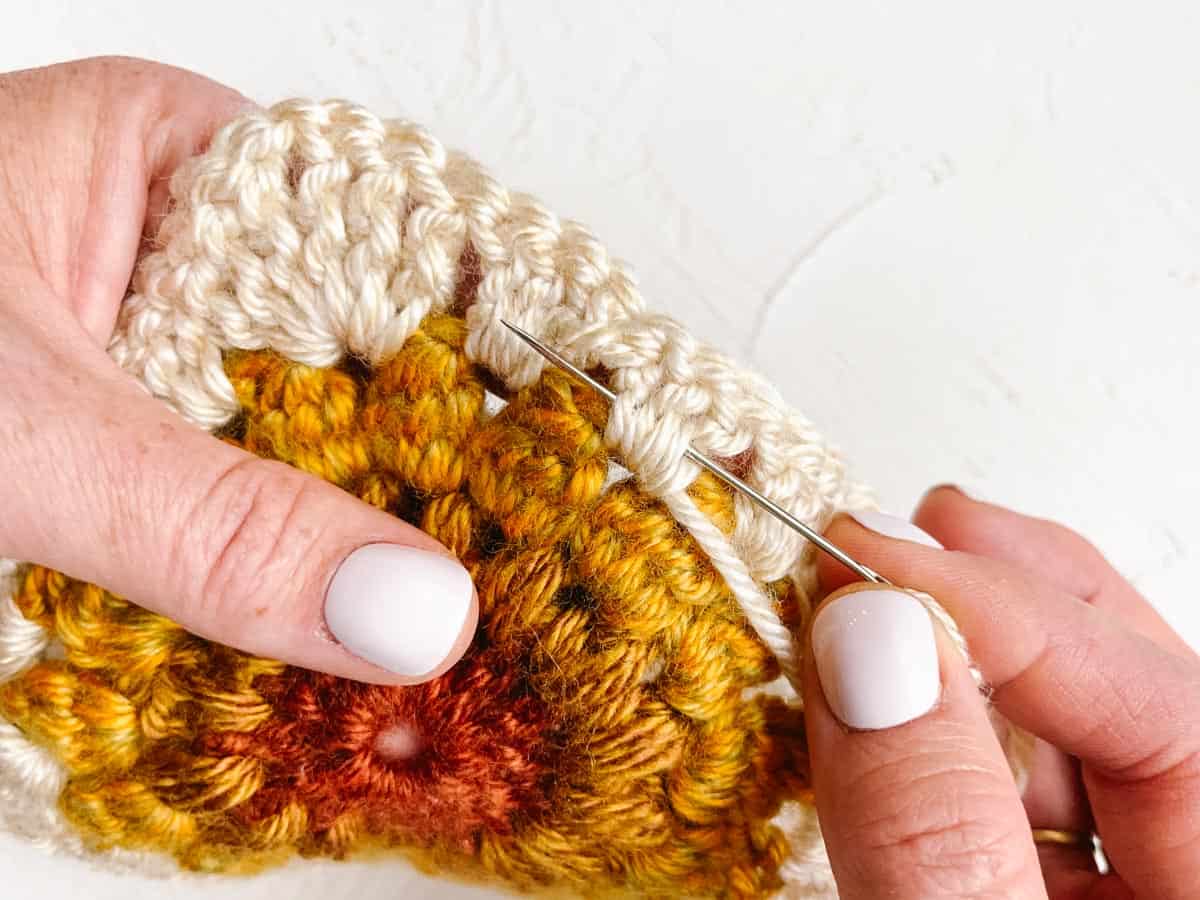
For granny motifs, you should aim to weave the yarn tail under the thickest part of the stitches, which is typically a granny cluster. This will hide the end within the fabric without impacting the look of the design.
Step 1: Working in the opposite direction from where you finished your stitches, insert your tapestry needle horizontally along the base of the stitches.
Step 2: Wiggle under a few stitches and pull the yarn through. It’s important to skip over a strand when inserting the needle so you don’t pull back from where you’ve just come from. This technique will “lock” the strand in place and prevent unraveling.

Step 3: Then, change direction. Skip over a strand of yarn and weave the needle back through the same stitches.

Step 4: Pull the yarn snug and cut it close to the fabric. Stretch out the fabric, and the securely woven end will be hidden within the stitches.
Magic Ring
Many patterns begin with a magic ring (aka magic circle or loop), including granny squares, amigurumi, and hats.
You have to really pay attention to securing ends when using this starting method because if your magic ring unravels, the whole project will fall apart!
Step 1: After making your magic ring, pull the yarn tail tight to close the hole. (This can’t be done after the tail is woven in, so make sure you’re happy with the center of the ring before moving on.)
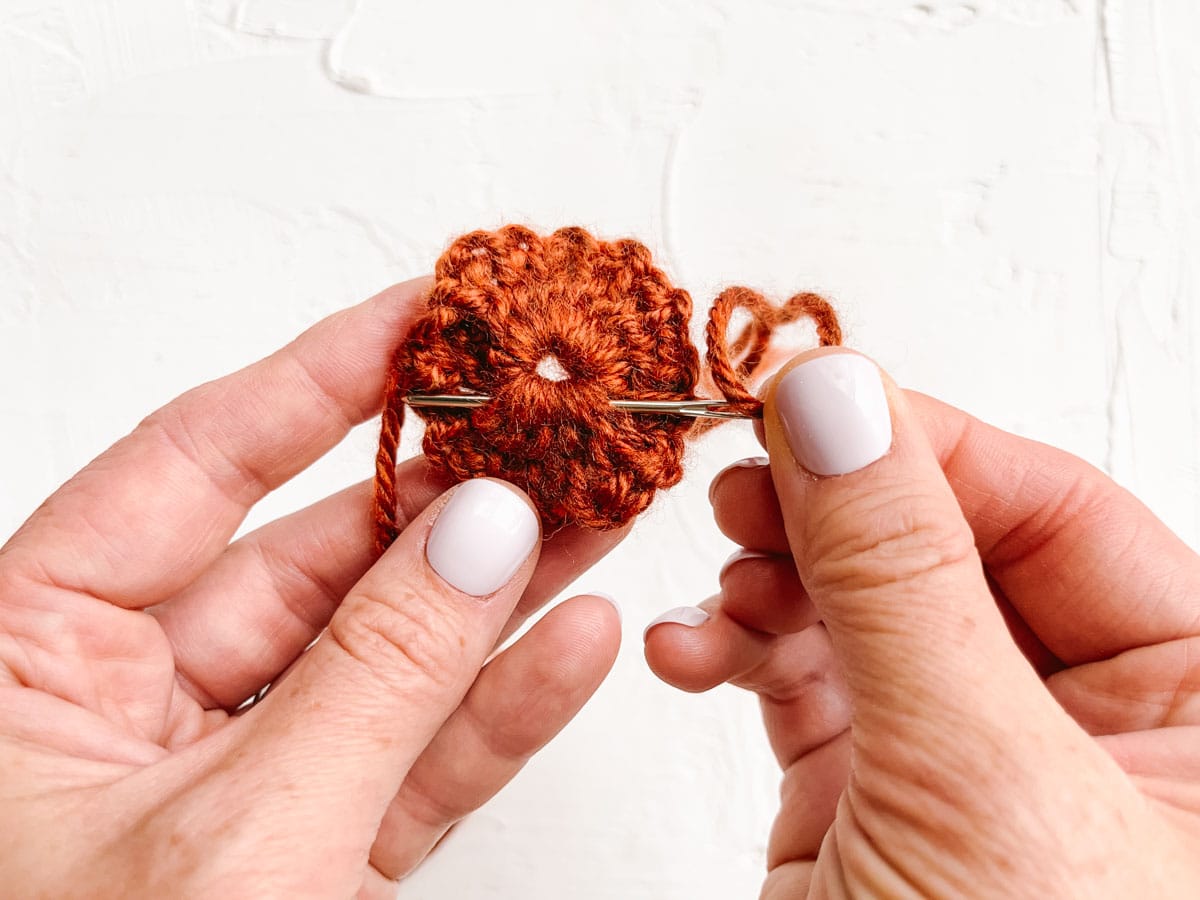
Step 2: Weave the tail end through several stitches in the first round (closest to the center). Follow the path of the yarn to mimic the stitch pattern and help camouflage the tail.
Wanna save this pattern?
Step 3: Reverse direction and work back through a different set of stitches. This back-and-forth weaving acts as a lock, preventing the tail from slipping out.
Step 4: Tug the tail gently to ensure it’s taut and doesn’t distort the stitches. Then, trim the excess yarn close to your work.
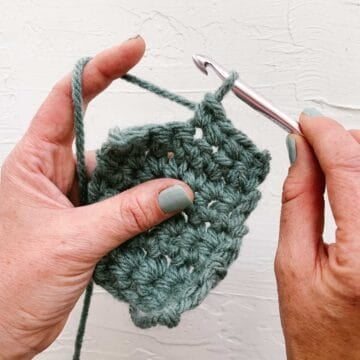
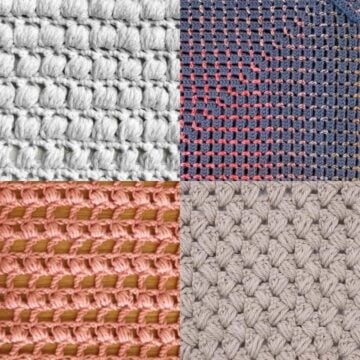
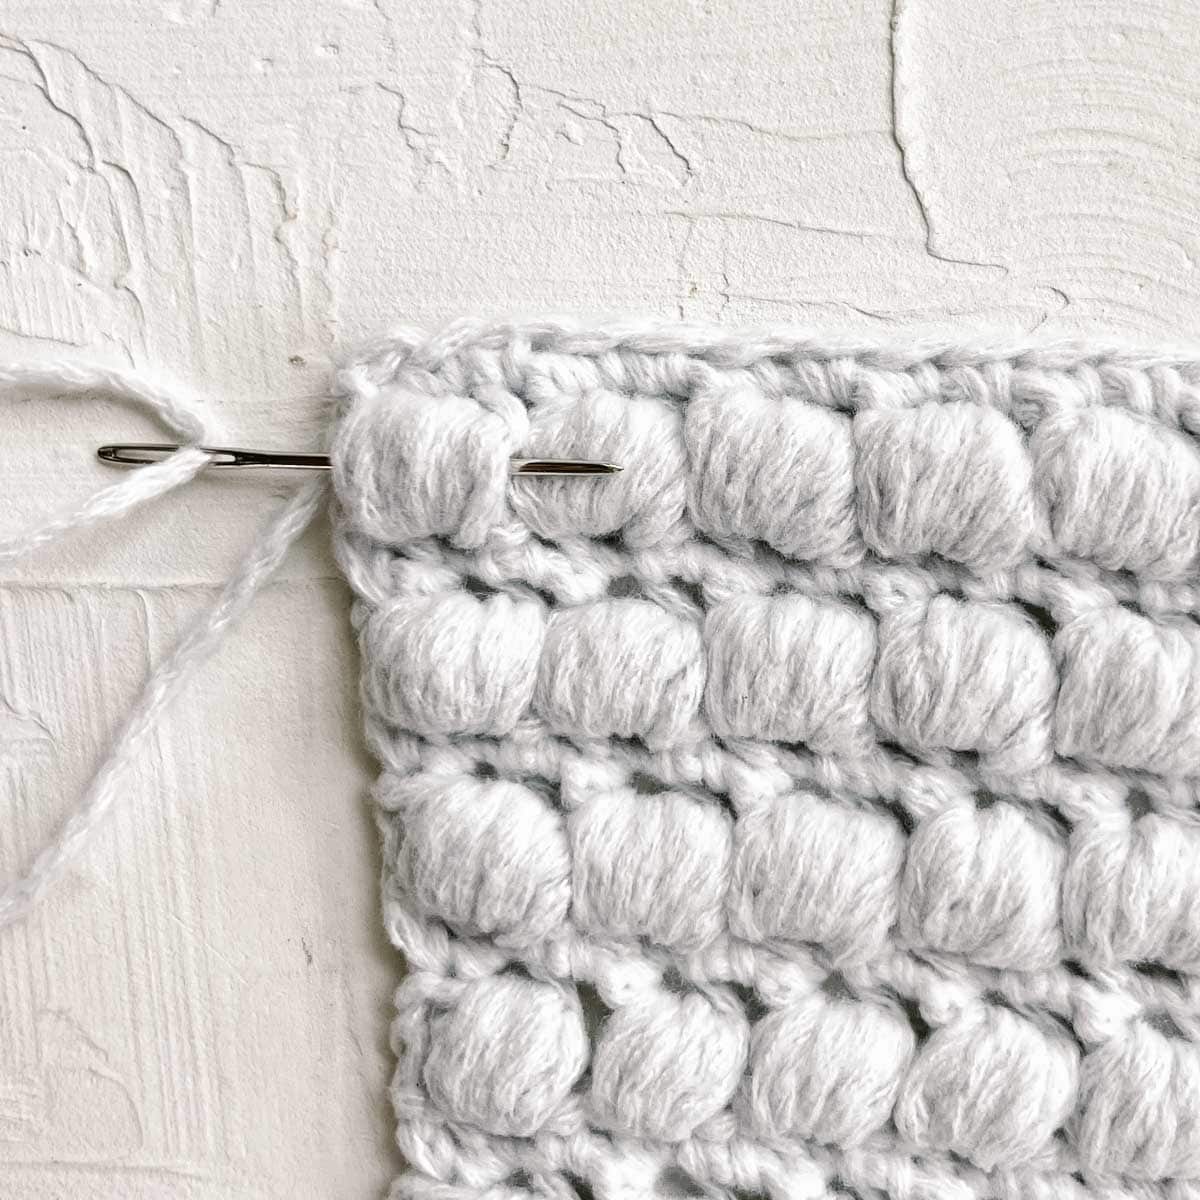
Thick, Textured Stitches
Take advantage of bobble, popcorn, and puff stitches by hiding the woven ends within the bulky textured fabric. Simply weave the yarn through the thickest part of the stitch and remember to change directions a couple of times to secure the tail end into place.
Top Tip: If you struggle to weave bulkier yarns, you can split them into plies and weave in each ply separately.
Weaving In Ends With a Crochet Hook
There are a few types of yarn that are particularly hard to weave in the ends. Any tubular or T-shirt yarn presents an issue because you can’t split the fibers of the strand to pull your tapestry needle through.
In these cases, I prefer to finish my projects by pulling the yarn tail through the woven stitches with a small crochet hook. And, as you’ve probably figured out by now, changing directions a few times will help prevent the tails from coming loose.
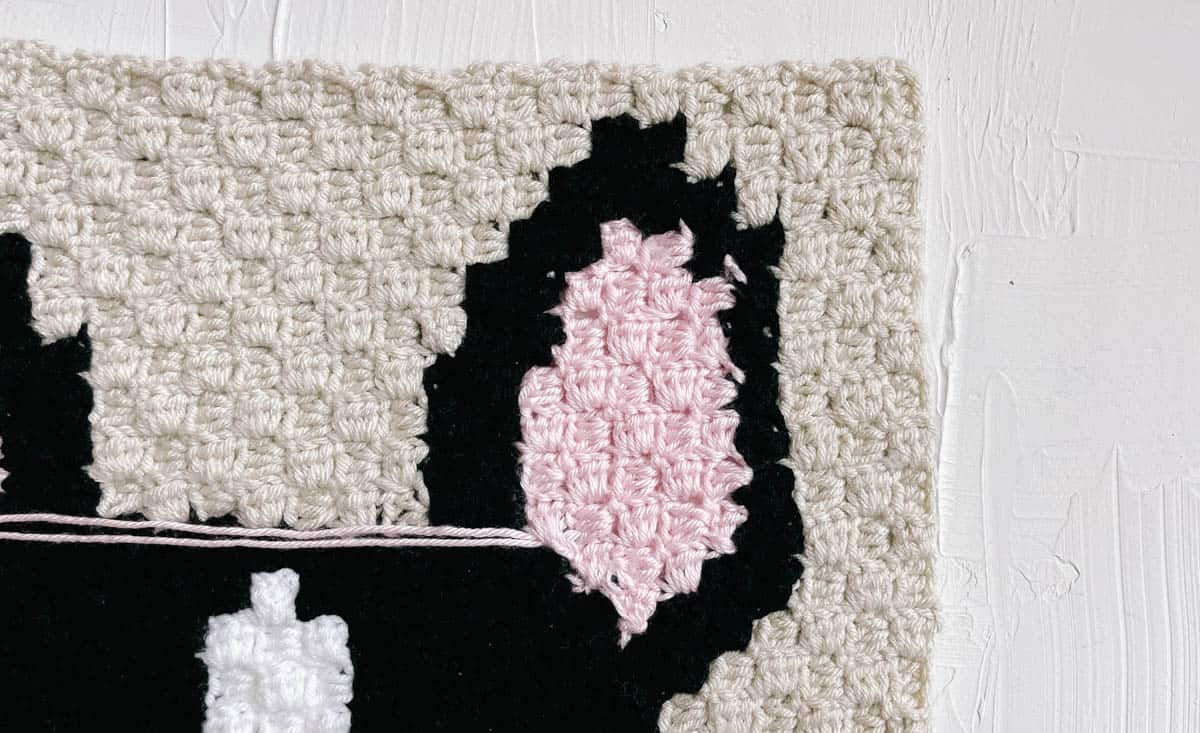
Corner to Corner Crochet
C2C crochet is amazing for creating colorful yarn "illustrations," but it can result in a lot of yarn tails.
You'll want to follow the basic steps outlined above to weave in your ends. Remember to work through the same color stitches as the tail and go back and forth within c2c square multiple times.
Pro Tip: You can use this opportunity to visually connect tiles in your finished c2c pattern. Before weaving in, do a few whip stitches to merge tiles that will look better when "blurred" together.
Essential Tools You’ll Need
To hide your tail ends, you’ll need a finished project and the following tools:
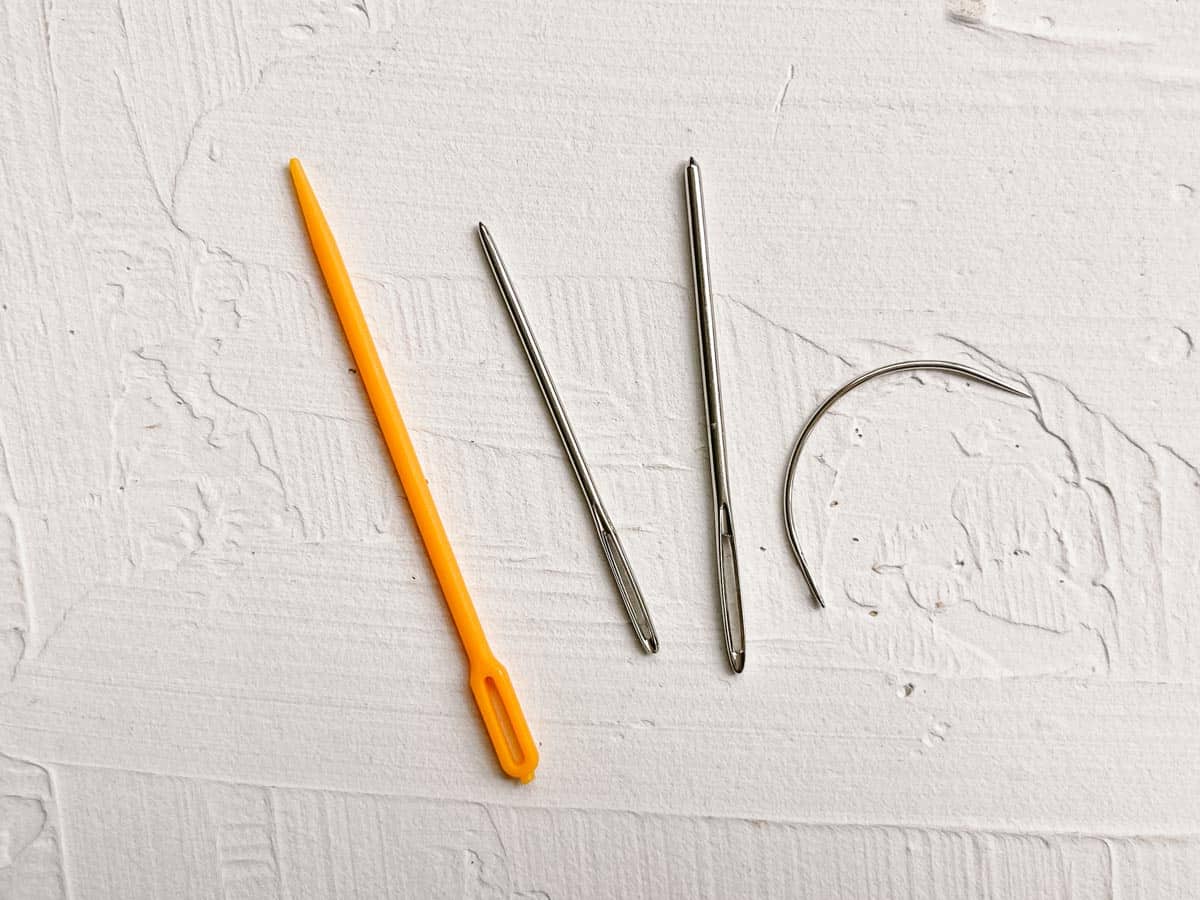
- Tapestry needle/yarn needle: These come in all shapes (blunt tip, bent-tip, or straight tip), sizes (from small to large), and materials (plastic or metal). It’s a good idea to pick up a multi-pack of different needles to try out and find the type that works best for you.
- Pair of scissors: I like embroidery scissors as they’re sharp and small enough to snip close to the fabric.
Tips to Avoid Common Mistakes
Hiding yarn ends might sound easy, but some simple blunders can ruin all your hard work. Here are six frequent pitfalls and how to avoid them.
- When changing colors or fastening off, do not cut your yarn too short. It's best to leave about 6-10” of yarn tail so you have enough to weave in. Shorter ends are harder to weave and more likely to unravel.
- Remember not to tug on your yarn too tightly while weaving. Maintaining consistent tension is essential, as pulling too hard can distort your stitches and cause your project to pucker.
- When working with multiple colors, weave the ends through sections of the same color to hide them. A red yarn tail will be much more noticeable against cream-colored stitches, for example.
- Don’t skip stitches. Try to weave under every stitch as you go. Skipping stitches can lead to visible loops and unsightly bumps, ruining the look of your work.
- Don't only weave in one direction. Change direction at least once to make sure your ends are securely woven in.
- Avoid the temptation to tie knots and just cut the tails off. Tying a knot and trimming the ends short is so tempting, I know, but they often come undone over time. If you prefer to knot your yarn when adding a new skein, always make sure to leave tails long enough to weave in.
Ways to Reduce Yarn Ends
If you can’t bear the thought of weaving in a million ends, try some of these top tips to minimize the number of woven ends you have.
Want some company while you crochet?
Get support (and camaraderie!) in the Make & Do Crew community. Join for free here.
FAQs
Generally, it’s best to weave in your yarn tails as you go, especially when working on a large, multicolored project. Weaving before blocking and seaming helps keep everything neat and secure.
It also means you won’t have a mammoth task of weaving at the end. While I don’t always stick to this myself - it’s one of those classic “do as I say, not as I do” moments - I recommend it to keep things organized.
When working on corner-to-corner patterns, I like to play a little game. I finish off all the ends of one color before moving onto the next. It's a great way to feel like you're making progress toward a finish line.
You should always aim to weave through the thickest part of the fabric, whether that’s single crochet stitches, double crochet stitches, or any other pattern.
Changing direction to prevent the yarn tail from coming loose or undone is just as important. For projects that will be worn or washed frequently, you should change direction multiple times to secure the end in place.
Yikes! Typically, it's best to avoid using glue or a lighter to secure yarn ends, as these methods can damage the yarn and affect the overall look and feel of your project.
However, I know plenty of crocheters use glue as an extra layer of security on top of the standard weaving technique. For example, using a small dab of fabric-safe glue can help secure the tail of a magic ring to prevent unraveling.
Try to weave ends discreetly along denser sections of the pattern, such as the base of a cluster of stitches or along a post stitch. Use a fine needle and weave in multiple directions to ensure the end won't come loose.
(Depending on your lace pattern, you might find that you weave across more surface area because you need to hopscotch to the denser stitches.)
More Beginner Tutorials
Whether you're just learning how to crochet or want to learn a new technique, we've got plenty of fun tutorials to keep you busy.


That was so fun! Now what?
Invitation to our Facebook group
Come discuss your favorite ways to weave in ends and lots of other crochet projects and techniques in our Make & Do Crew Facebook group. Here thousands of helpful crocheters answer each others questions and share their stitches. Come join us!