Who knew your junk drawer could be a gold mine of crochet tools? Discover clever crochet hacks that’ll save you cash, time and frustration by using things you already have lying around the house.

This post contains affiliate links.
Jump to:
- Clever Crochet Tools You Can Make Yourself
- How to Use Your Household Stuff to Improve Your Crocheting
- Get Hooked on Comfort: Ergonomic Crochet Handles
- Stash-Saving Stitch Markers
- Tame Your Yarn Stash with These DIY Winders
- Budget-Friendly Yarn Bowls You Can Make at Home
- Handmade Yarn Holders
- Blocking Boards That Don’t Break the Bank
- Repurposing Kitchen and Household Items as Craft Tools
- What Will You Make Next?
- Invitation to our Facebook group
Clever Crochet Tools You Can Make Yourself
As soon as you learn how to crochet, you start to be bombarded with ads for fancy tools and accessories. But let’s be real, do we really need all that stuff? Probs not! (Read more about what I do think you need here.)
We crocheters are a resourceful bunch, so I've collected all the creative ideas for using random stuff to improve your crochet skills. Some of these are things I've done for years and some are tips that have gone viral on TikTok, Youtube or Instagram.
How to Use Your Household Stuff to Improve Your Crocheting
Before you splurge on the latest crochet gadget, take a look around your house. You might be surprised at what you can repurpose. From household items to unexpected gadgets, these helpful hacks can help you stitch like a pro.
You know how the saying goes, "One person's trash is another crocheter's treasure..."
Get Hooked on Comfort: Ergonomic Crochet Handles
These nifty tools help ease the strain on your hands, wrists, and elbows, allowing you to crochet longer without feeling like your arm's going to fall off.
But here's the catch – they can be pricey, and finding the perfect one might feel like searching for a needle in a haystack. If you're not keen on spending big bucks or already have a beloved hook, don’t worry.
There are several inexpensive ways to create your own ergonomic crochet handle customized just for you.
Bake Your Own Crochet Handle With Polymer Clay
This versatile material can be molded to fit your hand perfectly. Just mold the clay around your hook, bake it according to the package instructions, and you’ve created a custom ergonomic handle that’s both comfy and cool.
And if you're feeling extra creative, you can even sculpt it and give it a lick of paint to make your handle look like a piece of art.
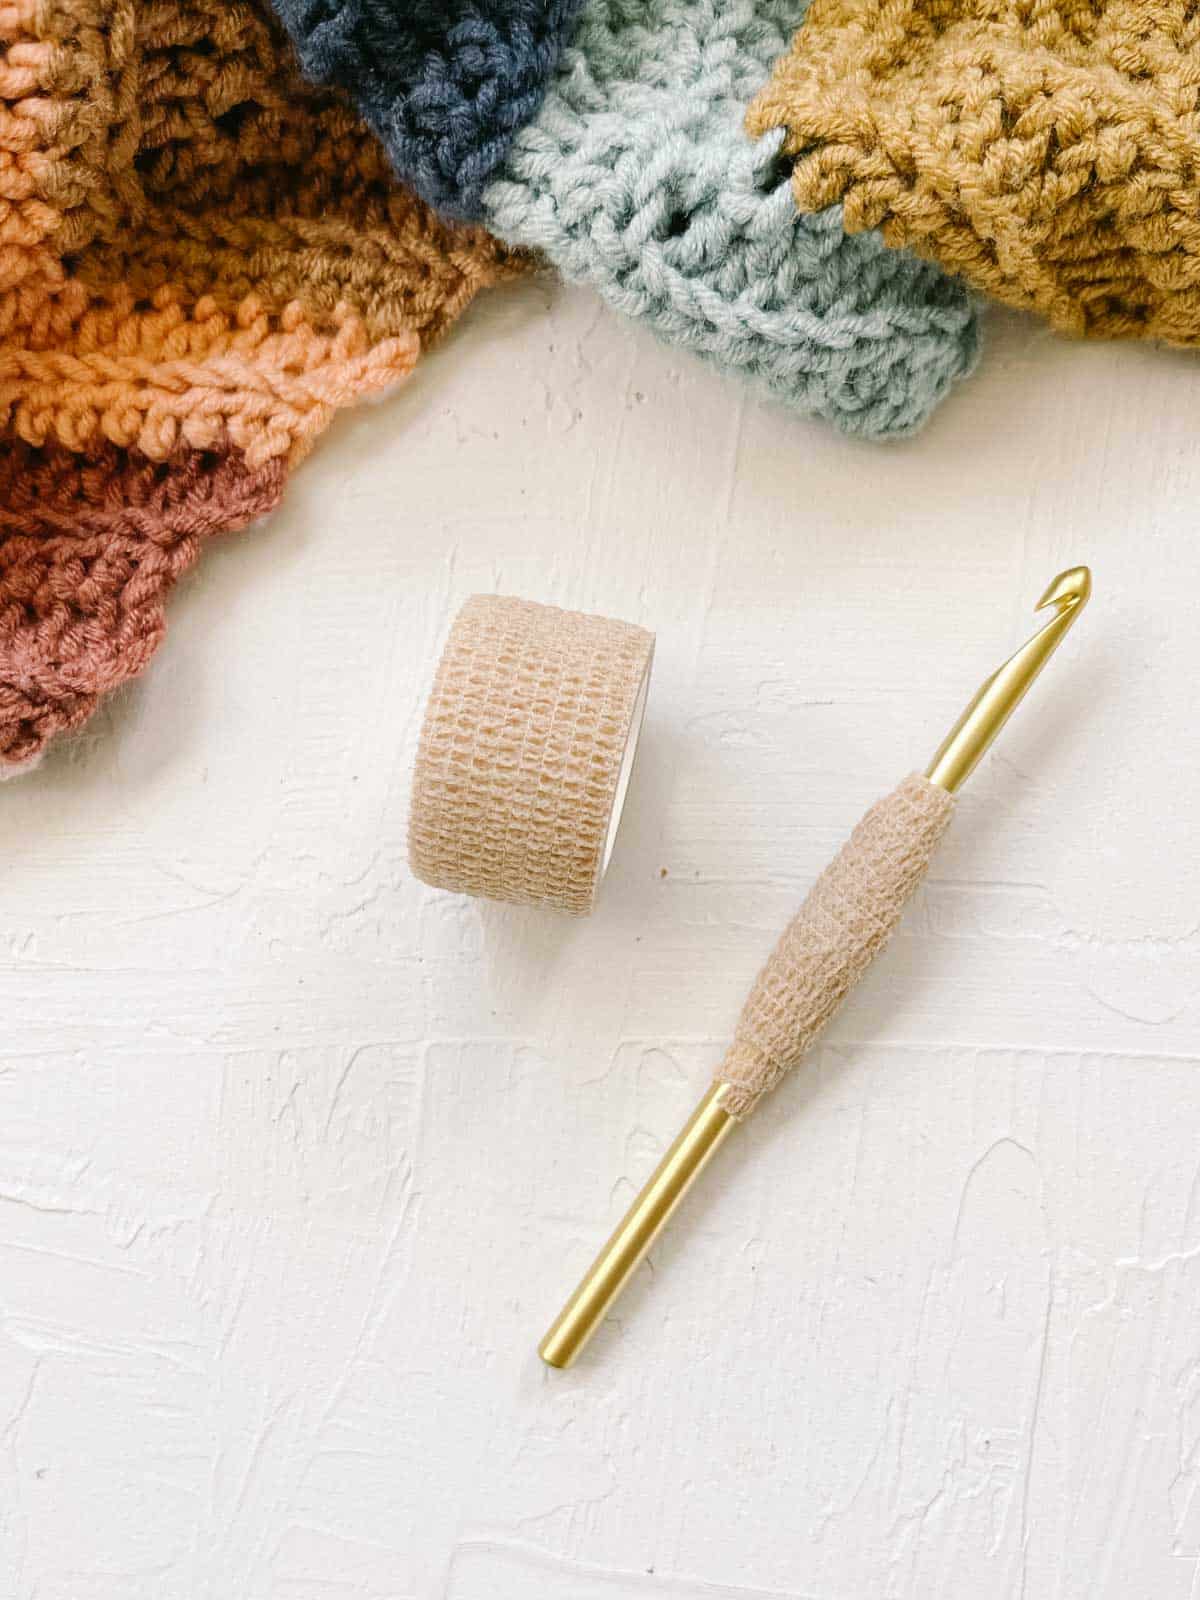
Wrap Your Hook in Squishy Goodness
Want to give your hook a cozy, comfy makeover? Wrap it in a soft, rubbery material for an instant ergonomic upgrade.
There are tons of items in your home that can be used to create a cushioning layer around your handle: shelf liner, grip tape, tensor bandages, leather strips, or even fabric band aids.
Start by cutting the material into a rectangle and tapering the edges to create a triangle (without the pointy end). Then, roll your hook in it like a mini burrito. A dab of hot glue will keep everything in place.
If you ever need to remove it, just unwrap, and you’re good to go!
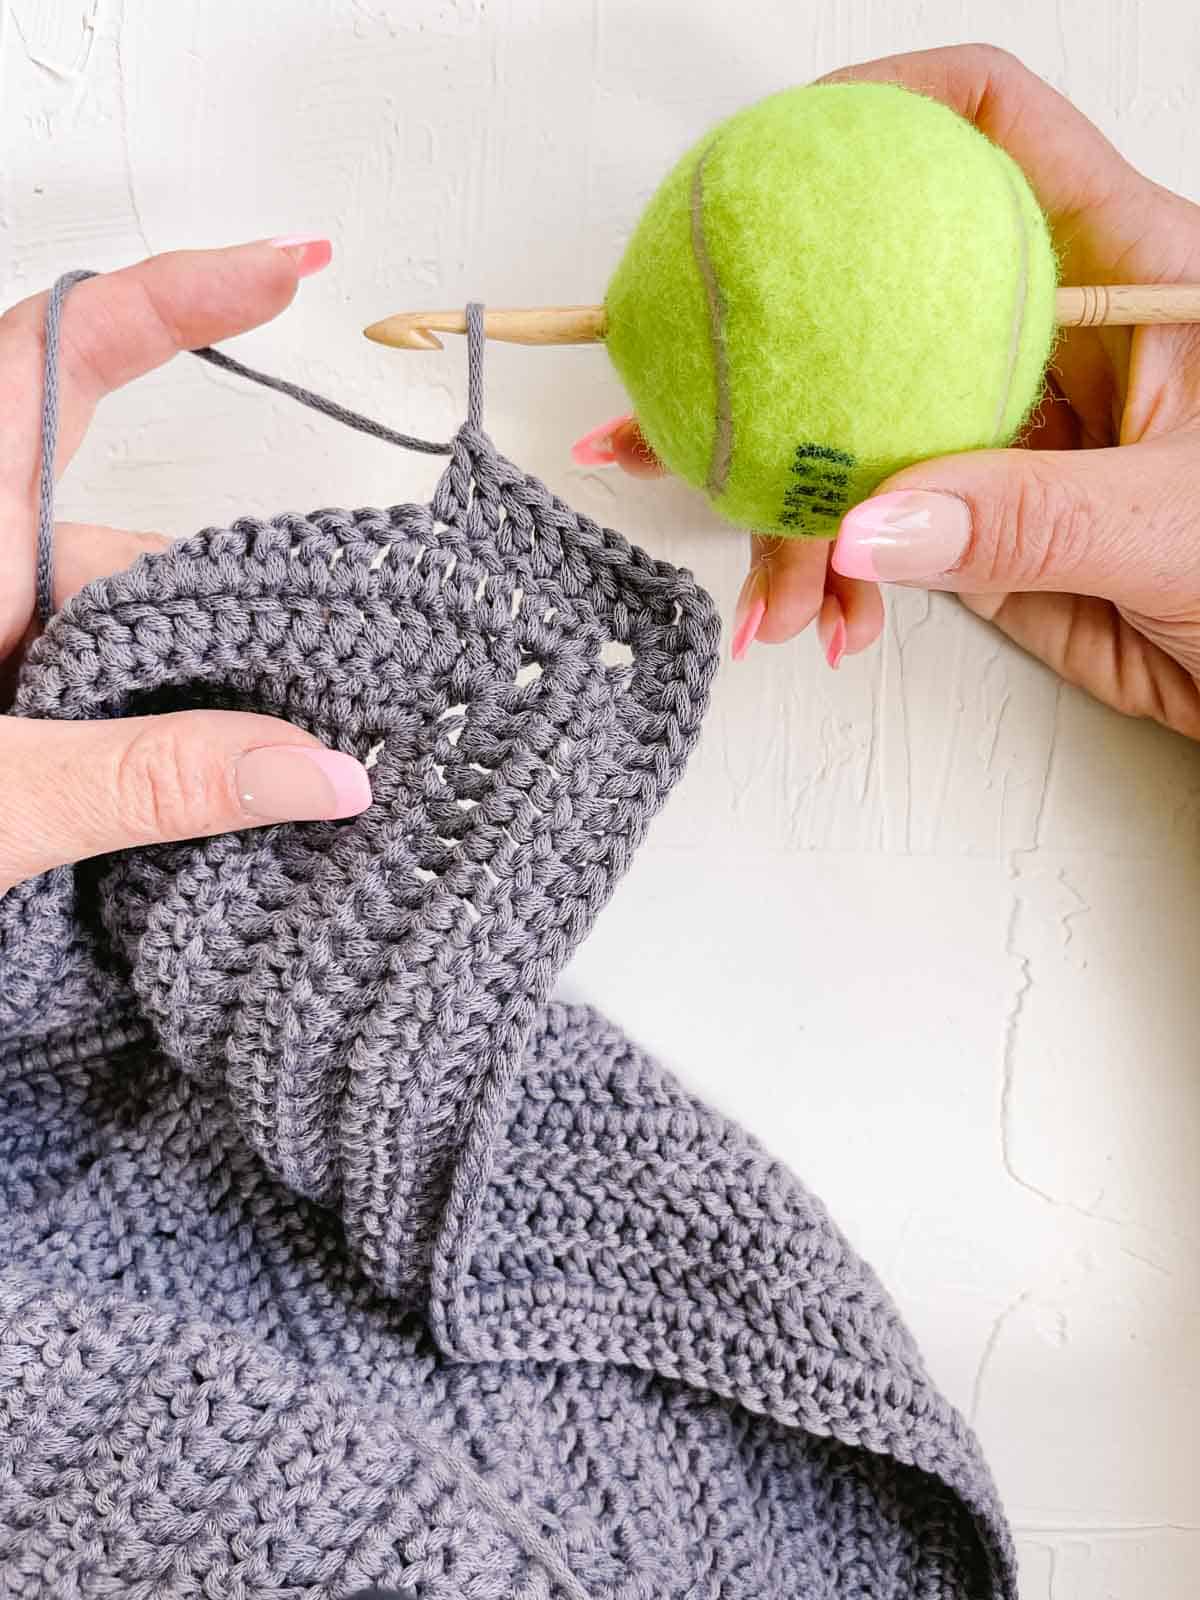
Serve up Comfort with a Tennis Ball Handle
For those who experience significant hand pain, a tennis ball might be your new best friend.
Carefully cut small slits on both sides of the tennis ball, and poke the hook through. Pro tip: a scalpel works like a charm and is way less intimidating than a knife!
You'll end up holding the tennis ball instead of the hook, which can significantly reduce hand pain. Sure, it might feel a bit weird at first, but it’s worth a shot, especially if you already have some spare tennis balls.
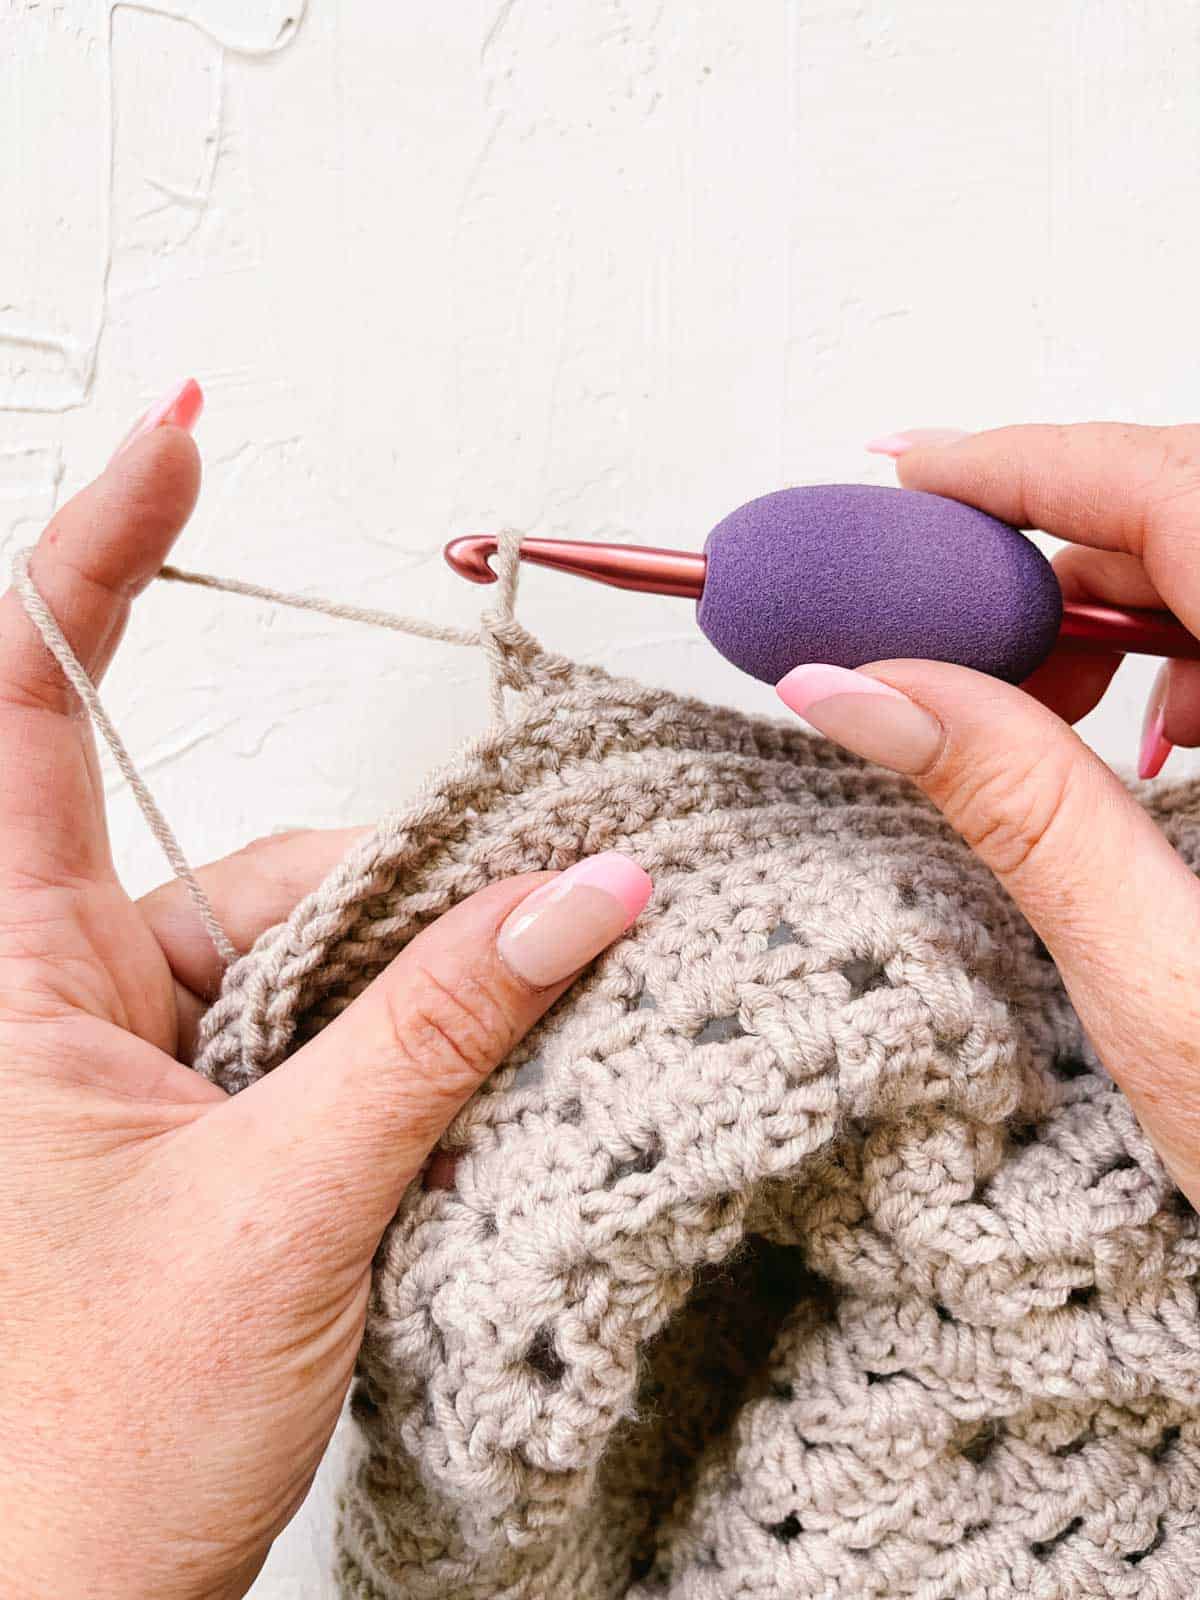
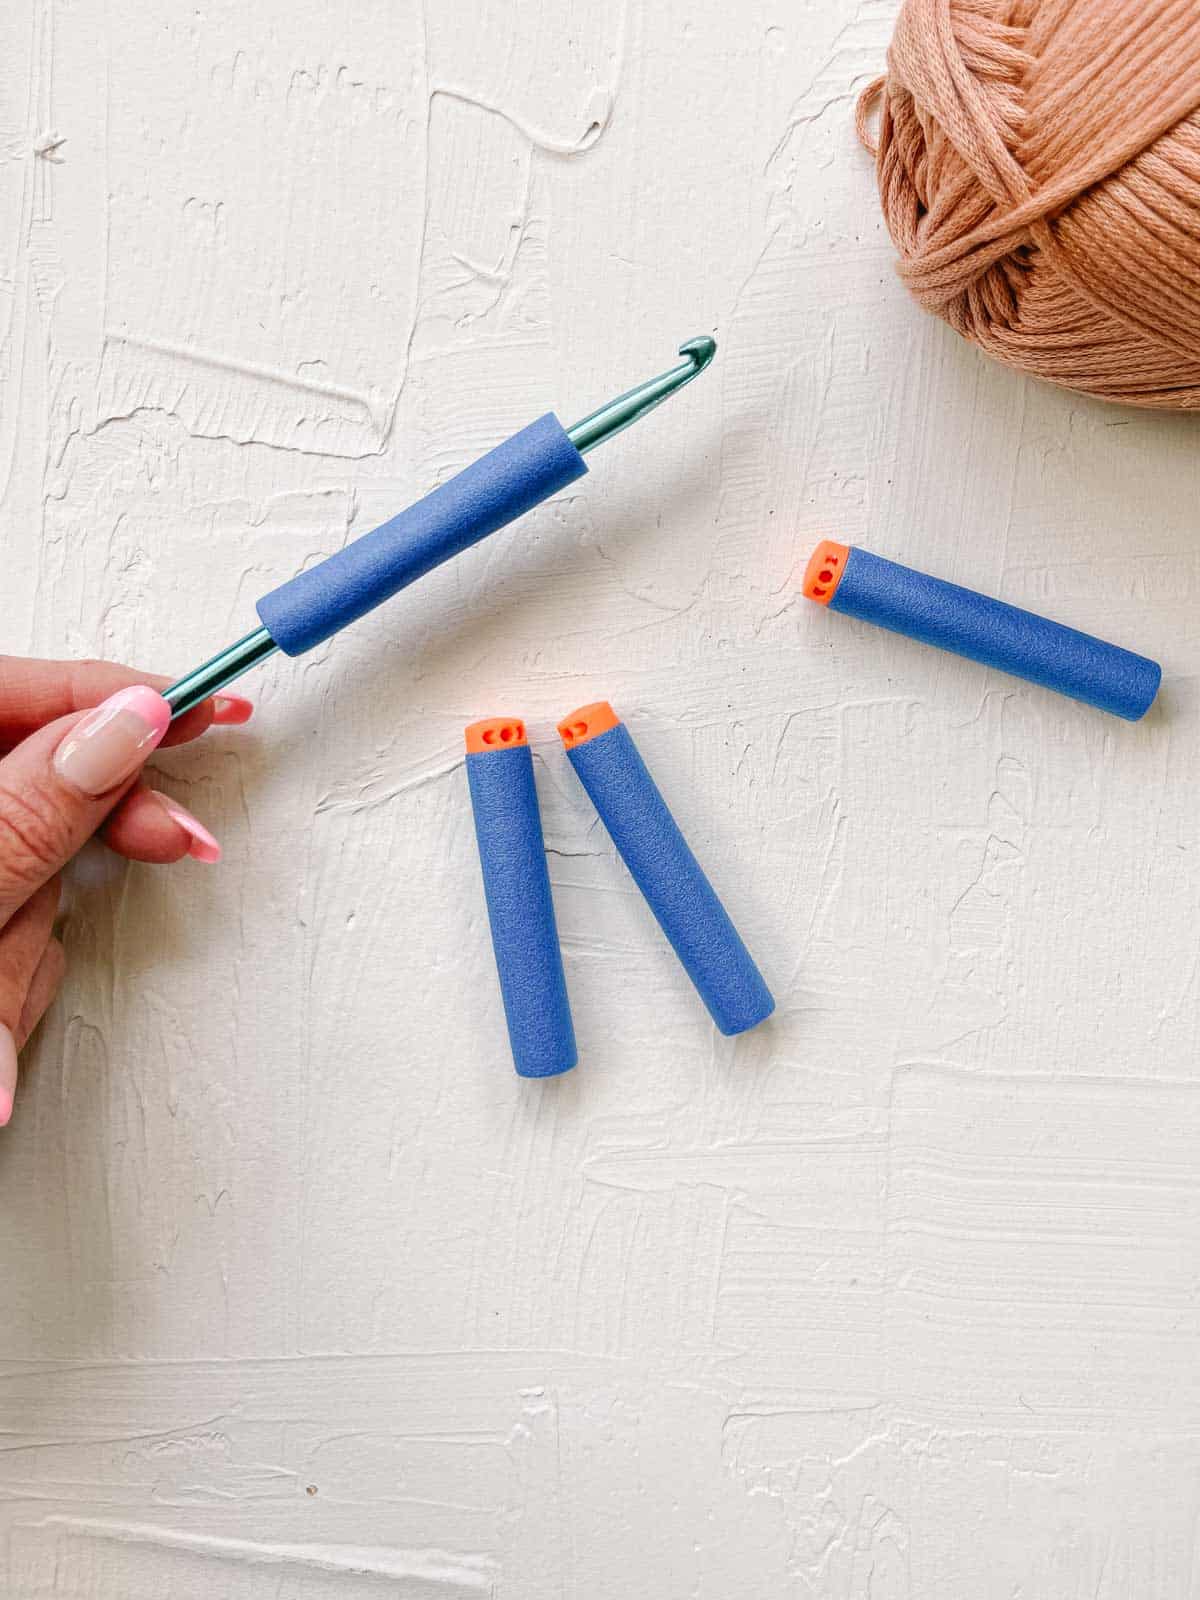
Cushion Your Crochet Hook with Foam Accessories
A simple beauty blender sponge can double as an ergonomic crochet handle. These squishy sponges come in different shapes and sizes, so you can mix and match them to find the perfect fit.
Simply poke your hook right through one, two, or even three blenders, and you’ve got yourself a cushioned handle that’s ideal for long crochet sessions.
They’re super soft and spongy, providing a comfortable grip, especially on metal hooks. If needed, you can trim them for an even better fit. Getting used to crocheting with this setup may take time, but your hands will thank you for it.
No beauty blenders to hand? Try using your kid’s pencil grip or nerf gun bullets instead to achieve the same result.
Stash-Saving Stitch Markers
These tiny tools help you track your stitches and make sure your project doesn't go rogue. But what if you're in a pinch and don't have any markers handy? No worries! Let's explore some easy DIY options you can whip up at home.
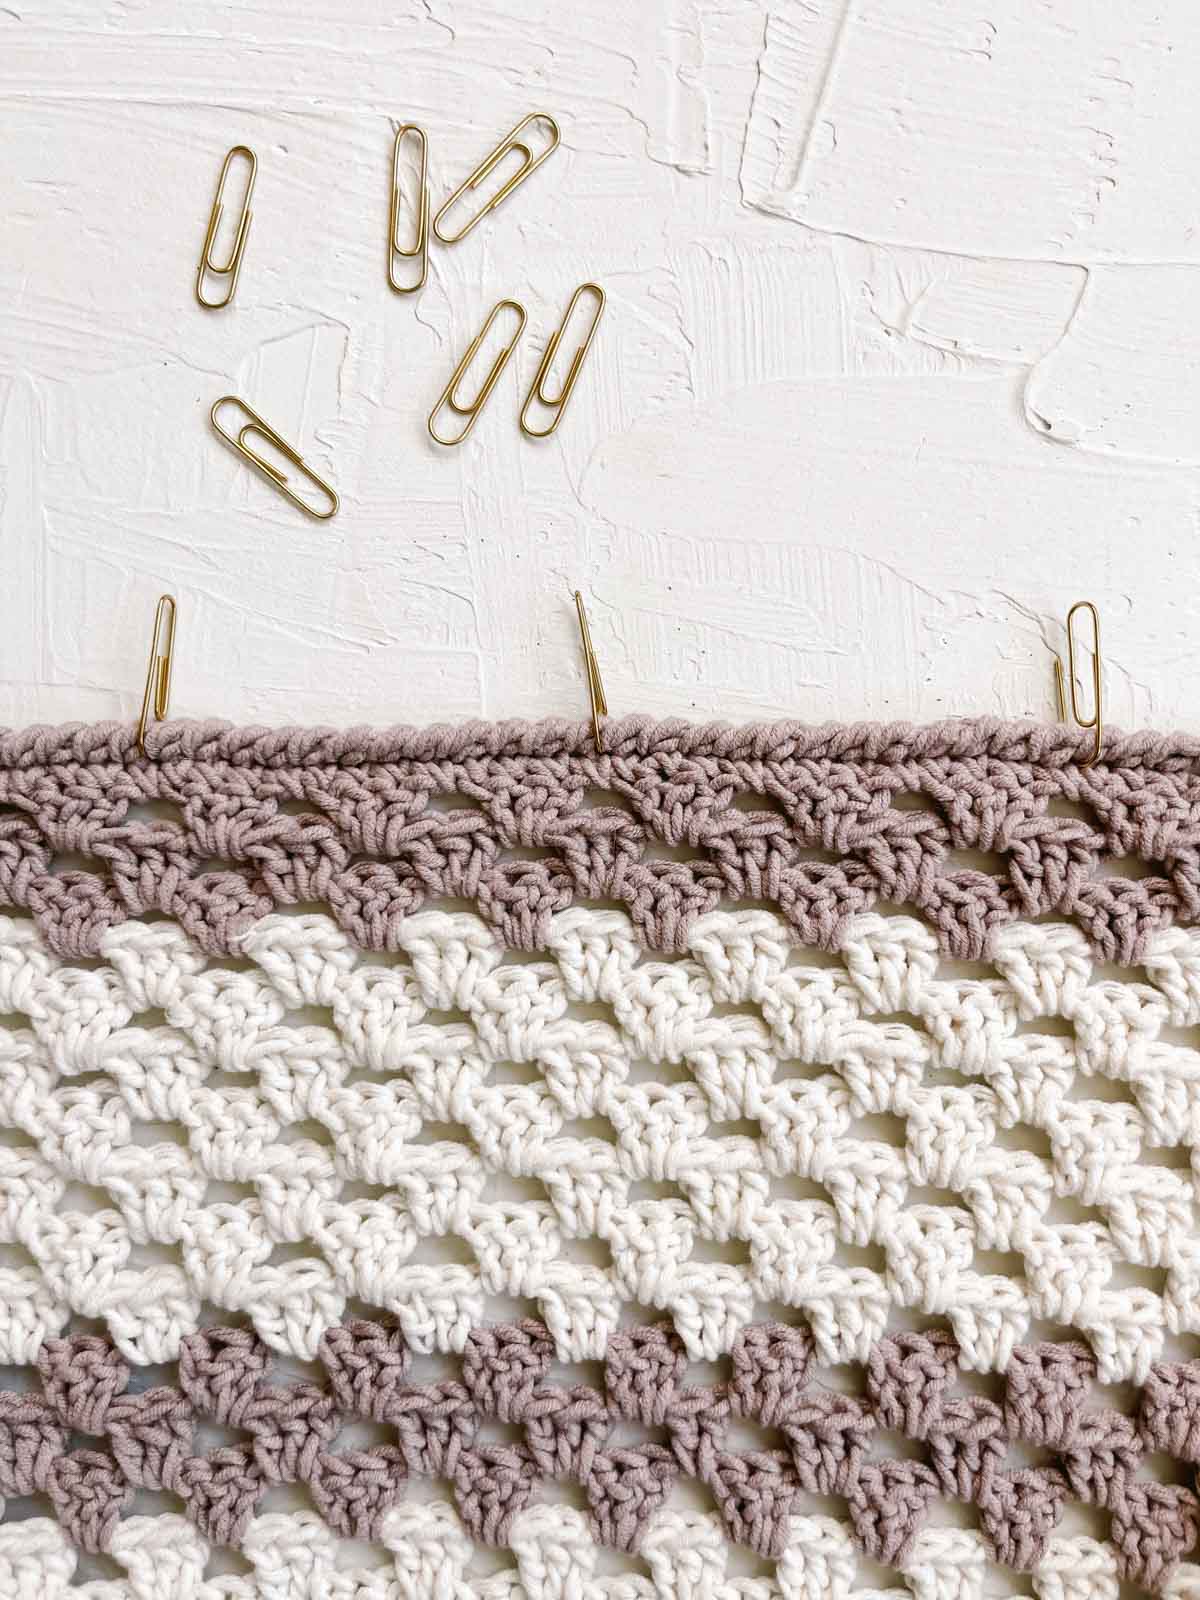
Clip it and Stitch it with Paper Clips
Have you ever noticed how paper clips seem to magically multiply in your drawers? Put them to good use as stitch markers! Slip a paper clip onto your stitch, just like you would with a circular stitch marker.
And if you give that clip a little twist, it even acts like a locking stitch marker. Say goodbye to dropped stitches, and finally put that endless supply of paper clips to work!
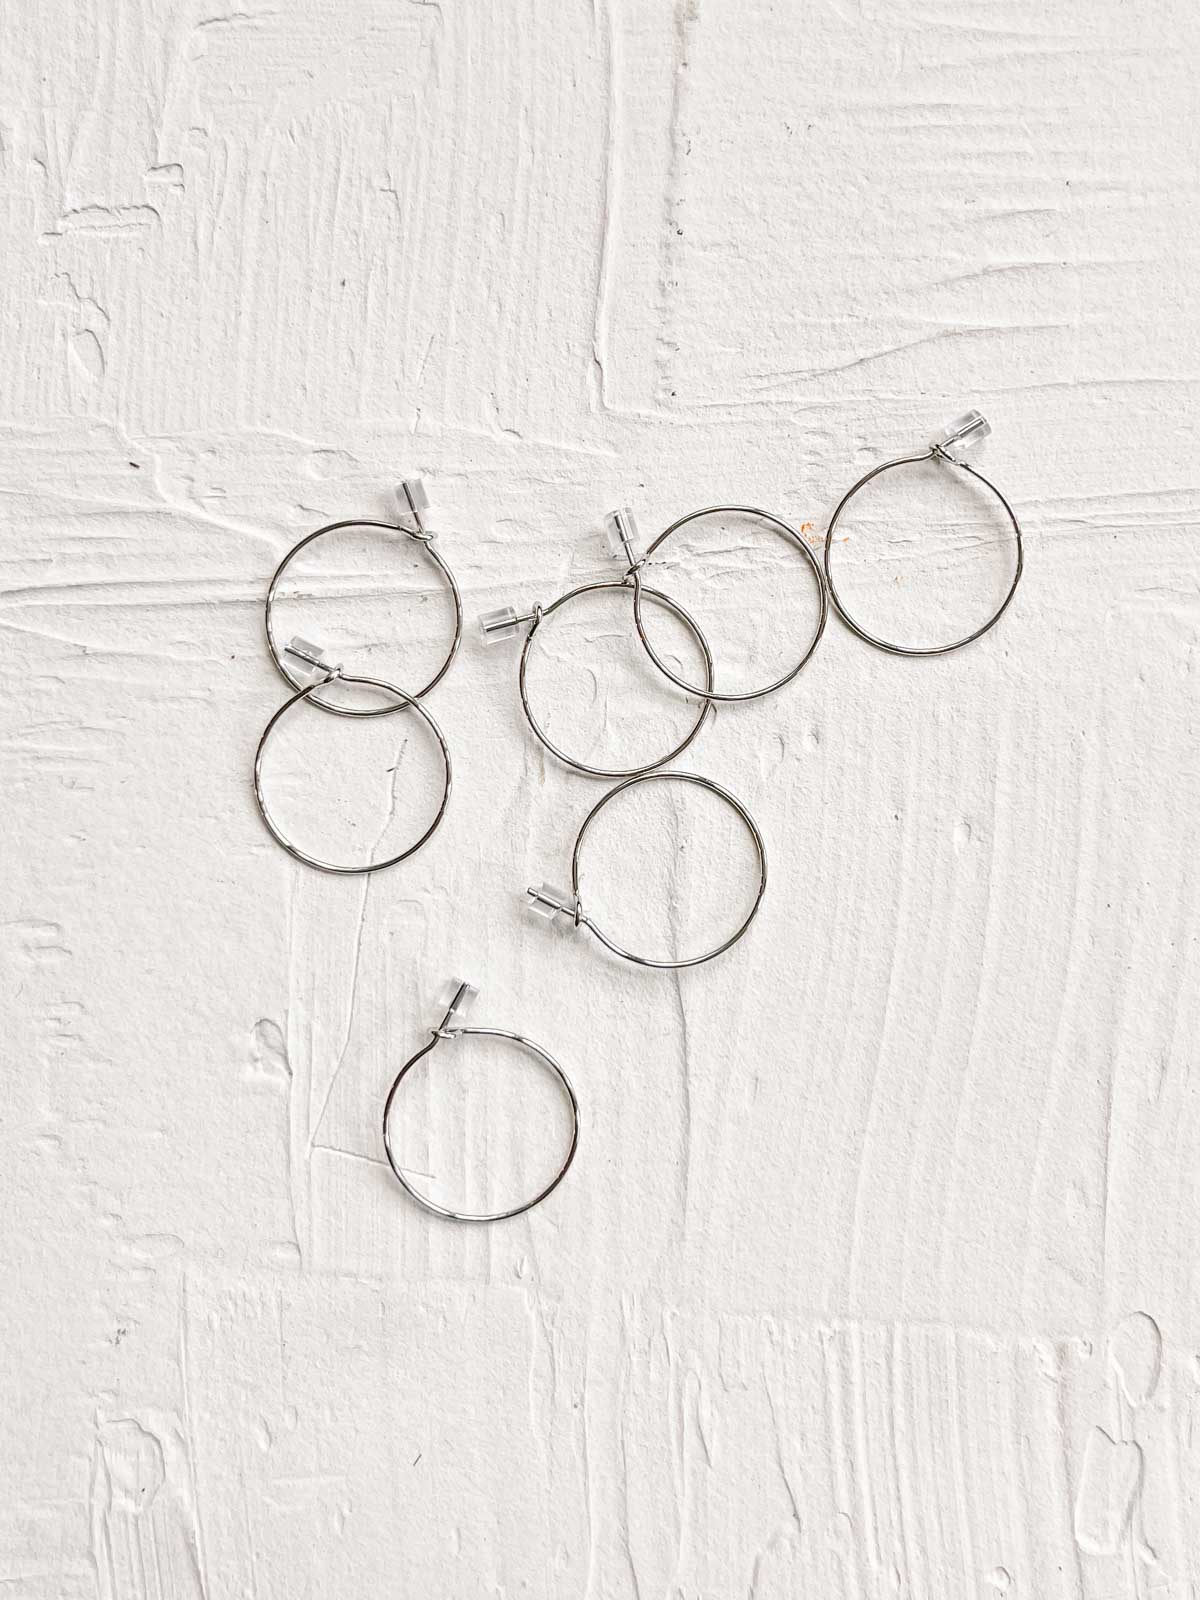
Add Bling to Your Crochet with Jewelry Findings
Head over to the jewelry section at your favorite craft store or raid your trinket box to find awesome stitch marker stand-ins.
Hoop wire earrings are the perfect choice – they’re slim and easy to manipulate, so they won’t mess up your stitches. Plus, they’re super simple to remove, especially if you hook them around the front or back loop only.
For the budget-conscious, you can usually snag these beauties on BOGO or in packs on Amazon.
Secure Your Stitches with Safety Pins
These classic DIY stitch markers lock into place, making them perfect for those projects where your regular stitch markers keep falling out. But beware: they can be a bit sharp. Nobody wants a snagged stitch or, worse, a stabby surprise!
Handle them with care, and you’ll find them a handy and secure option for keeping your crochet on track.
Unlock the Potential of Key Rings as Stitch Markers
Those tiny, skinny wire key rings? They’re not just for keys anymore; they also make fantastic stitch markers. (Just steer clear of the big, bulky ones that need the strength of Superman to open.)
To use them, poke one end of the ring through your stitch and give it a little twist to secure it in place. Again, the ends of these can be a little sharp, so be careful not to snag your fabric and ruin your hard work.
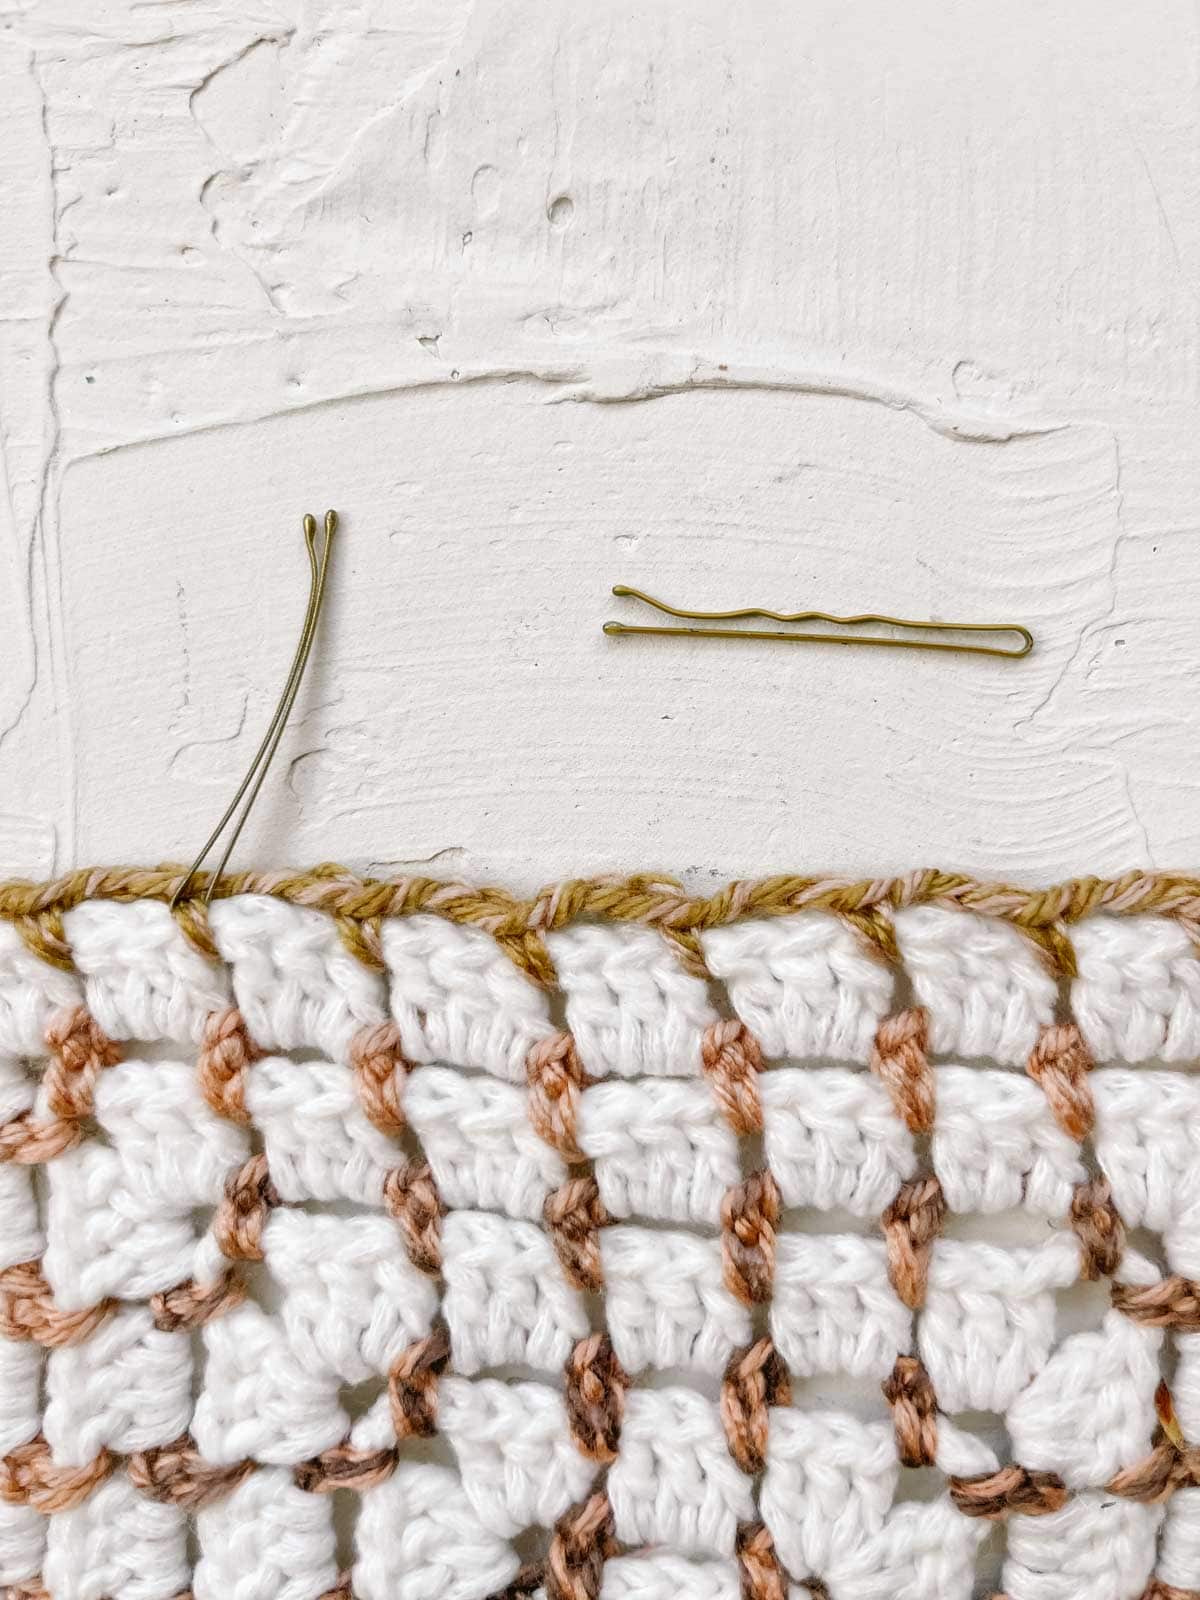
Reuse Hair Pins for Crochet Wins
Bobby pins aren’t just for keeping your hair in check—they also make fantastic stitch markers. These little accessories easily slide onto your stitches and practically lock themselves into place.
Plus, thanks to the plastic tips, you don’t have to worry about them snagging your project or poking you. Functional and pain-free, what a winner!
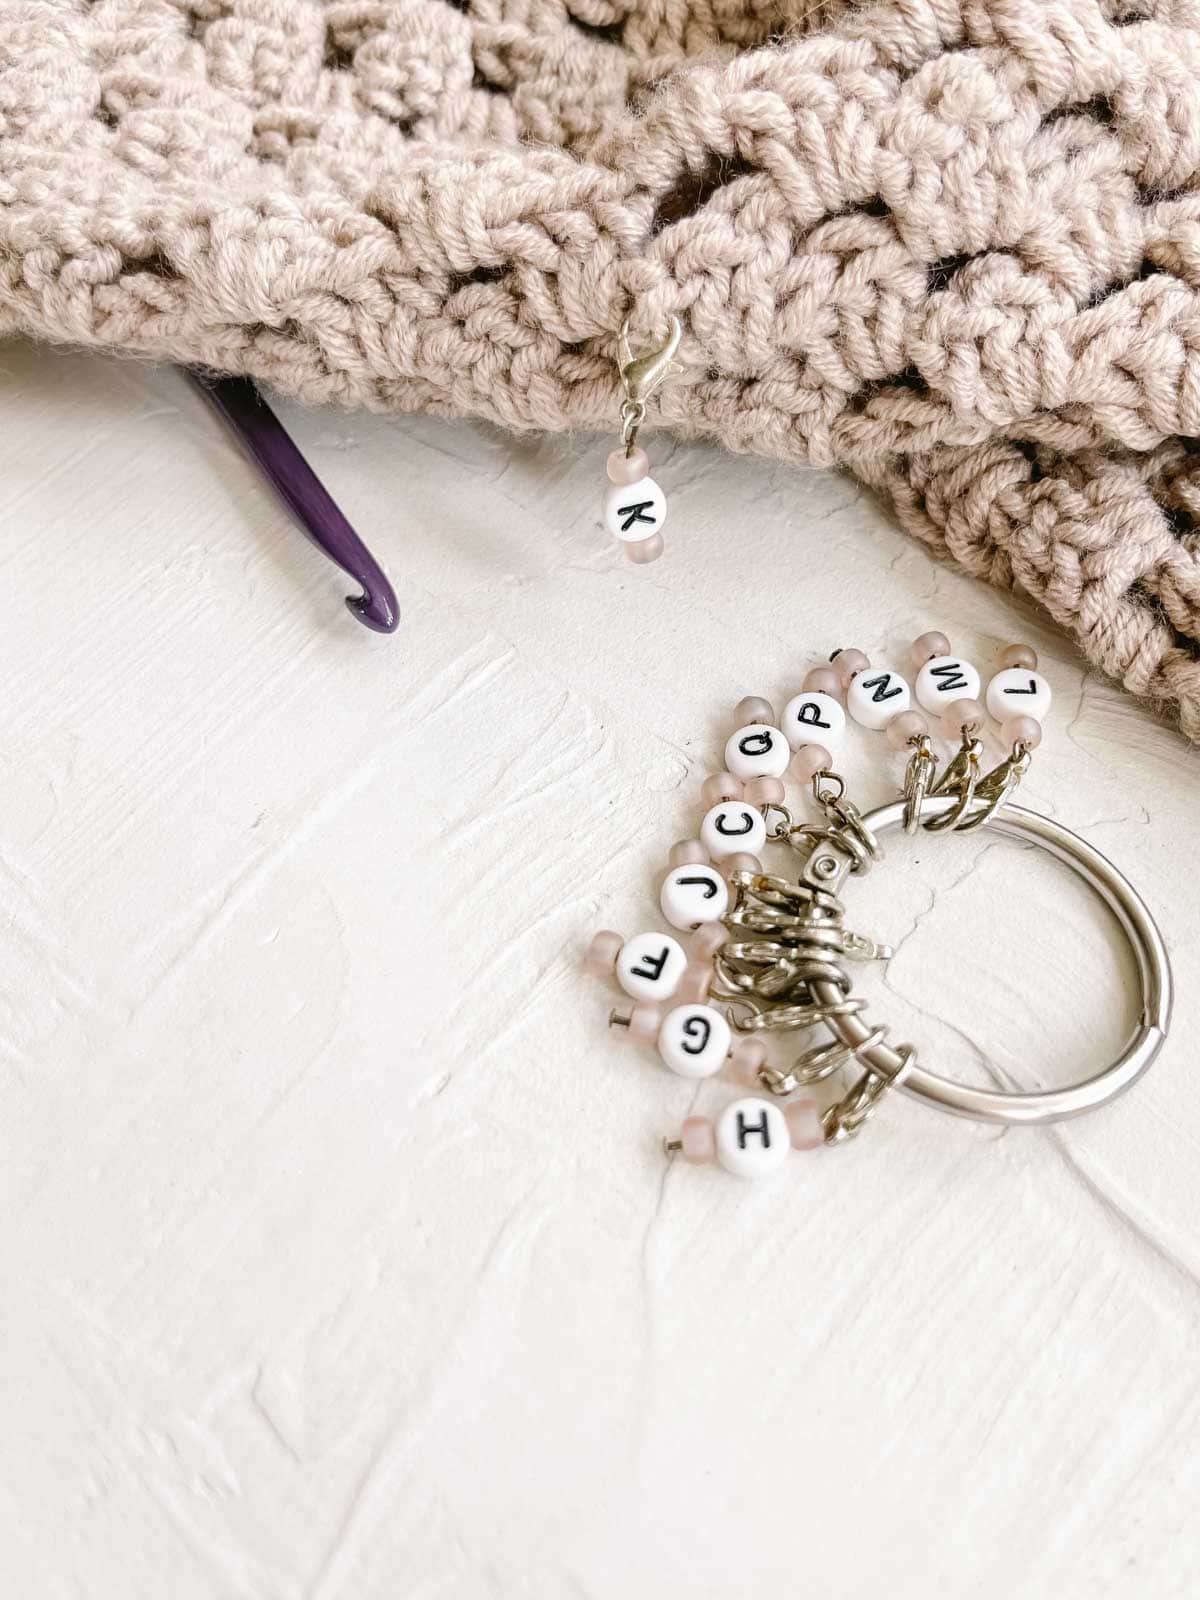
Make Your Own Personalized Stitch Markers
Pick up a pack of lobster claw clasps and a set of craft beads featuring numbers and letters. These little guys will help you keep track of your stitches and hook size like a pro!
Plus, your kiddos can use the leftover beads to create some seriously adorable bracelets.
Use Scrap Yarn as Stitch Savers
Got a stash of scrap yarn taking over your crafting corner? Don’t let those colorful bits go to waste—turn them into stitch markers instead!
Snip small pieces of yarn and place them exactly where you would put a regular stitch marker. And here’s the best part: you can even crochet right over them. This is especially handy when working in the round.
It’s an easy, eco-friendly solution that uses up those yarn scraps you already have lying around. It’s also great if you’re traveling as you don’t need to pack extra tools.
Pro tip: If your yarn scraps are already reserved for another project, you can always substitute ribbons or jute twine instead.
Tame Your Yarn Stash with These DIY Winders
Yarn winders turn even the floppiest of skeins into neat little yarn cakes. Keep your yarn stash in check with these fun DIY ideas and wind up some fun!
Repurpose Your Recycling
Give your recycling a second chance at life with this tidy time-saver. For this hack, grab a cardboard tube, like an empty toilet roll, paper towel tube, or wrapping paper insert. (Plastic bottles with the ends snipped off also do the trick.)
- First, make a small slit at one end of the tube and thread your yarn through it.
- Now, start winding the yarn around the tube, doing it at a slight angle and occasionally turning it.
- Once all your yarn is wrapped around, pull the yarn through the center.
Ta-da! You’ve turned a floppy mess into a neat, center-pull skein. This technique is especially handy when deconstructing yarn cakes into separate colors.
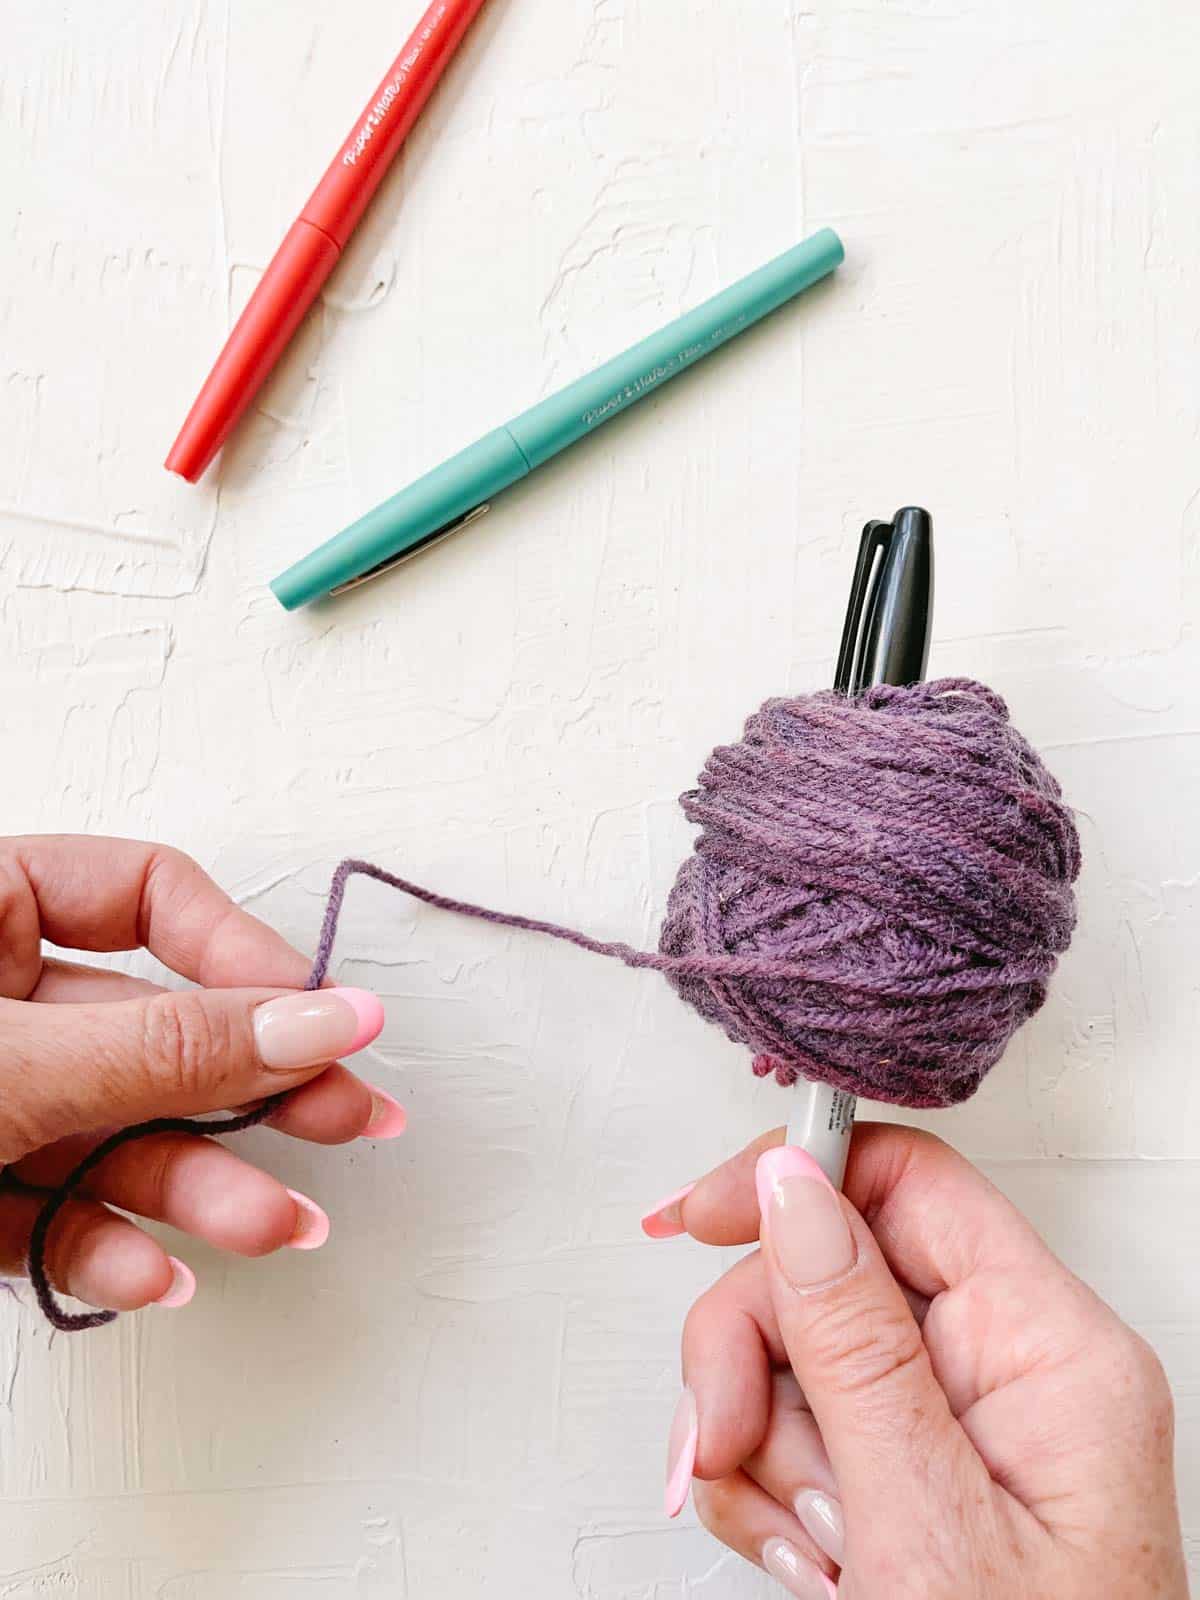
Organize Leftover Yarn with Sharpies
Next up, pens–they’re not just for doodling anymore! This trick is as simple as it gets and will help you organize those half-used skeins.
- First, choose a highlighter or Sharpie as your tool of choice.
- Then, thread the end of your yarn through the clip on the pen’s lid.
- Start winding the yarn around the pen, changing direction and angling it as you go.
- When you’re done, slide the yarn cake off from the bottom of the pen (trust me, trying to pull it over the lid clip is a one-way ticket to frustration).
And there you have it: a tidy, center-pull ball of yarn, perfect for organizing those leftover scraps. Check out the best stash-buster patterns to put that yarn to work.
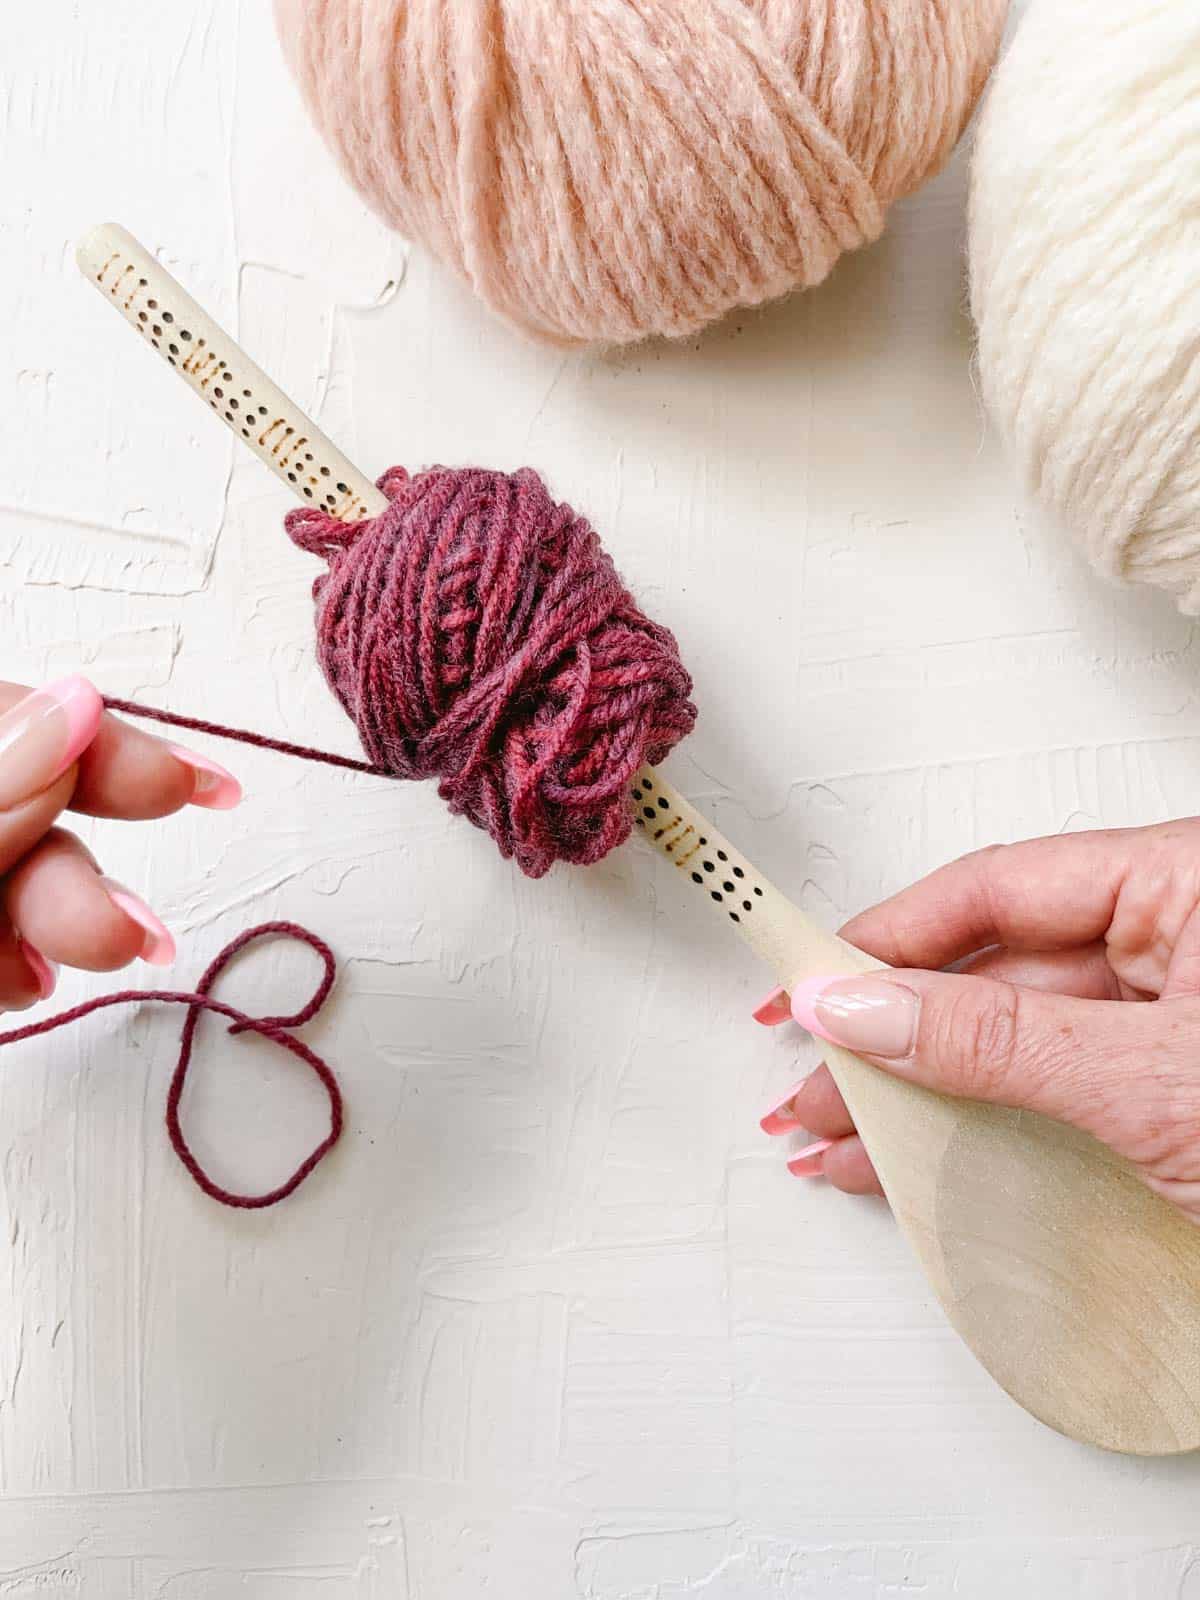
From Kitchen to Craft Room: Wooden Spoon Winder
This works in exactly the same way as the pens, just without the clip. Tie your yarn to the handle of the spoon and wind to your heart’s content! I've found it pretty easy to then just slide the spoon handle out and be left with a tidy little yarn cake.
Wanna save this pattern?
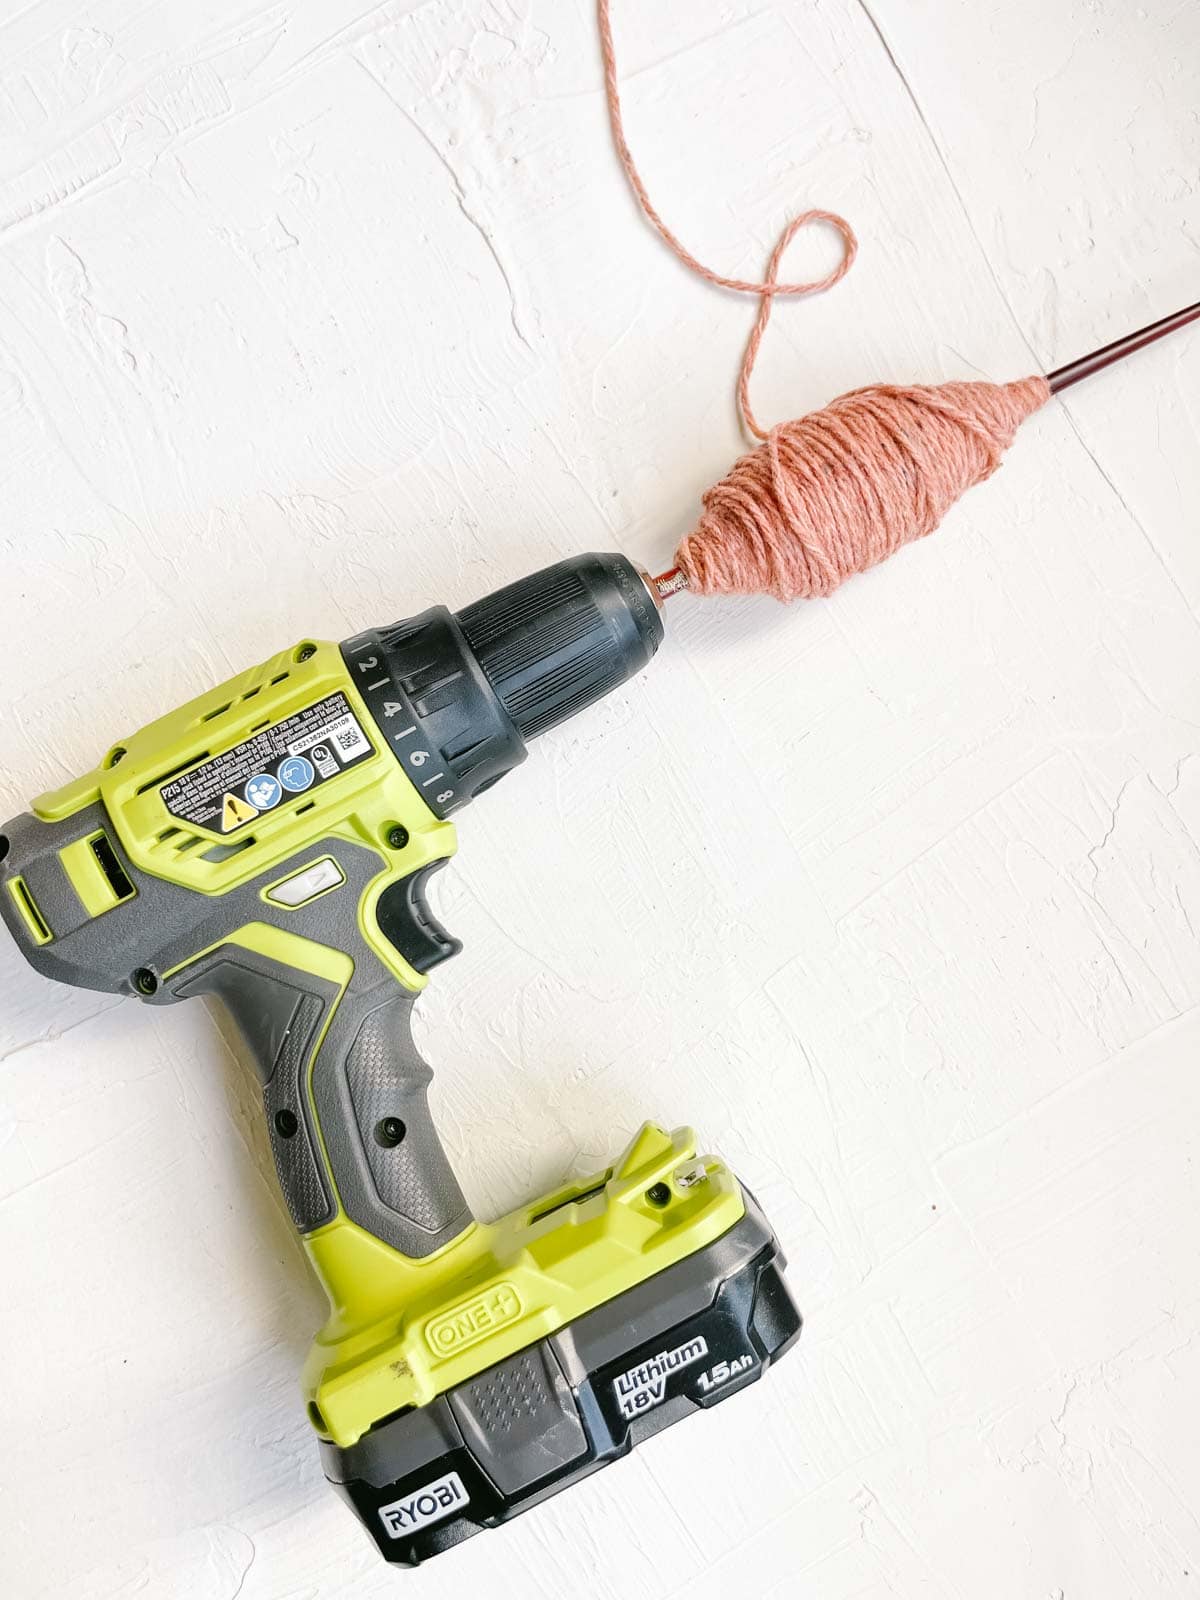
Spin Your Way to Perfect Yarn Cakes Using a Drill
Here’s one for those who like their tools with a bit more power.
- You’ll need a bamboo knitting needle or a wooden dowel, a drill, and some yarn.
- Insert the needle or dowel into the drill and tighten it securely.
- Next, tie your yarn onto the wood and manually wrap it around a few times to get started.
- Hold the yarn taut (but not too tight) and start spinning the drill.
- Keep your hand loose and guide the yarn to ensure it winds evenly. Go as slow or as fast as you like.
- When you’re done, remove the cake from the drill. Congrats, you’ve just made yourself a super efficient yarn winder!
Budget-Friendly Yarn Bowls You Can Make at Home
Yarn bowls might seem like a luxury item that can cost a pretty penny, but they're also incredibly handy for keeping your yarn in check. They prevent your yarn from rolling away, getting tangled, or becoming a cat toy.
"Official" yarn bowls have clever little notches designed to feed your yarn through smoothly. The good news? You can make your own DIY versions that won't put a dent in your wallet.
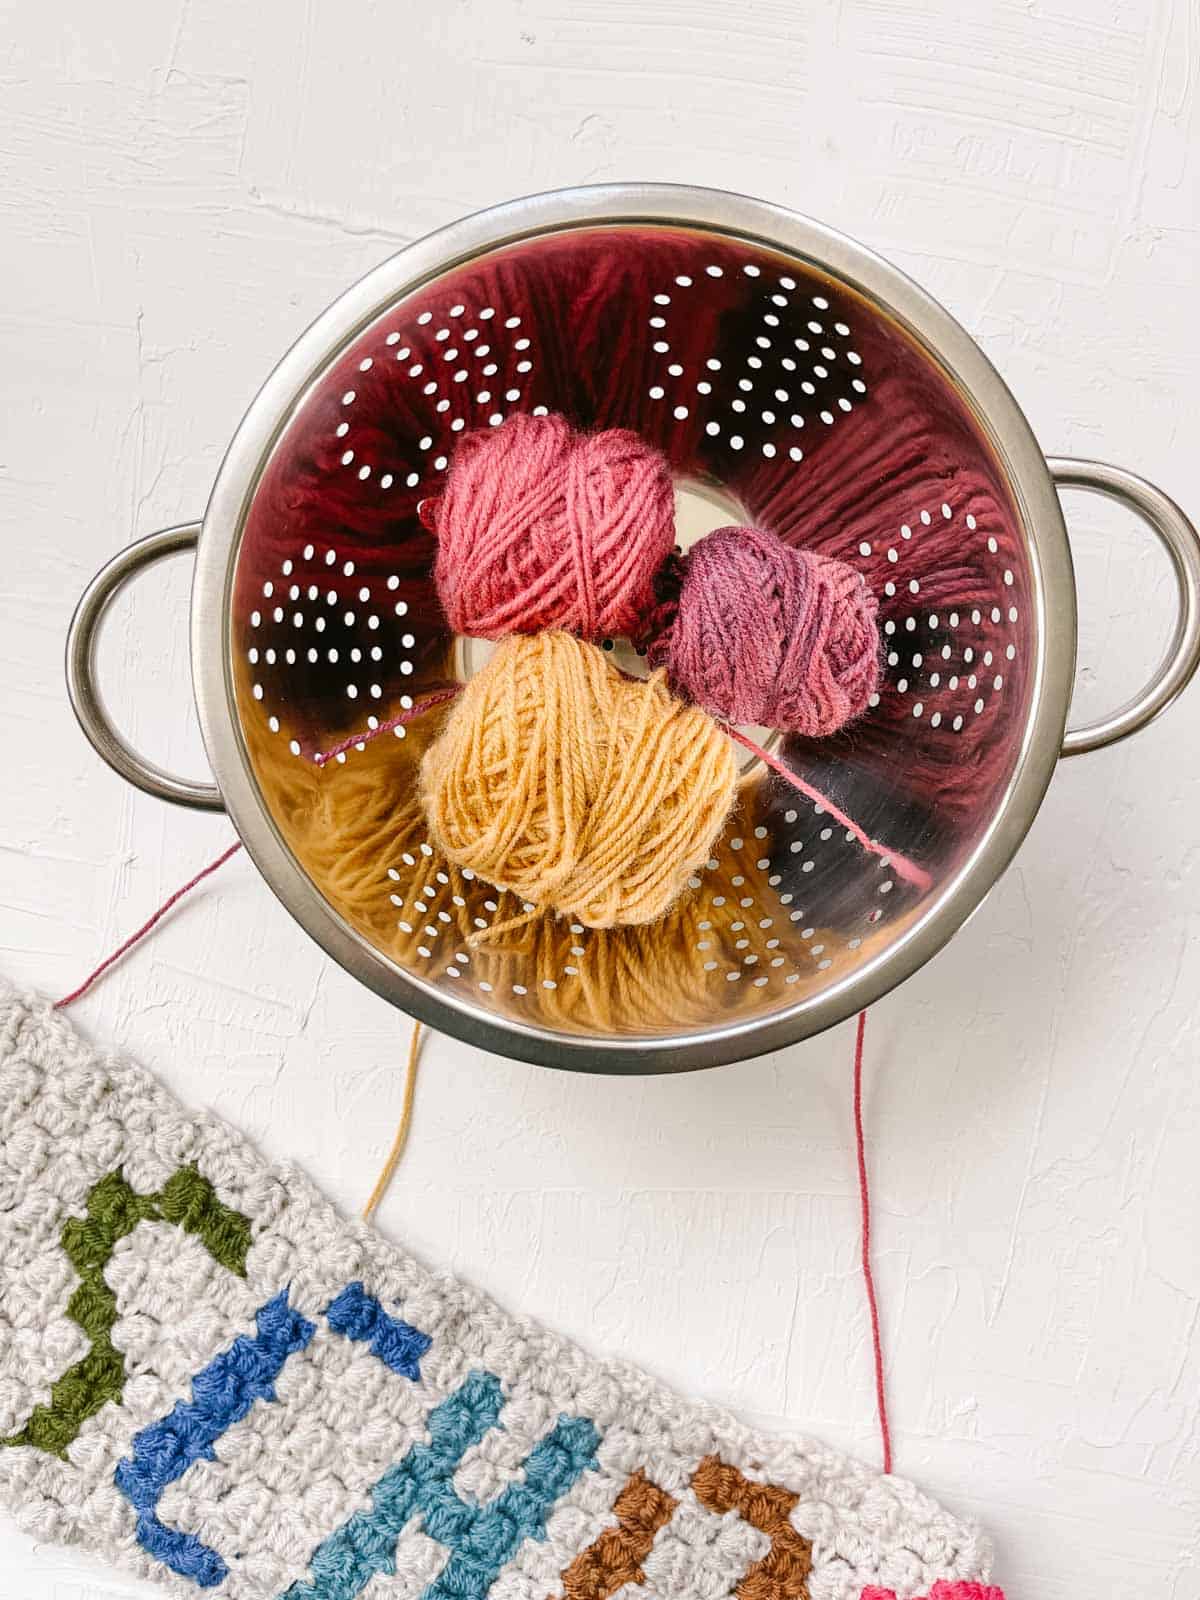
Keep Your Yarn in Check with a Kitchen Colander
Got a colander handy? Of course you do–it's a kitchen staple! Toss your yarn into a colander and thread it through one of the holes.
The only downside to this trick is that once the yarn is in, your project is stuck with it. If you want to remove it, you’ll have to cut the yarn and join it again later. This is one of my favorite ways to keep yarn contained when I'm working on a c2c pattern.
The Ultimate Yarn Organizer Hiding in Your Laundry Room
A laundry basket is a fantastic option, especially if you’re juggling multiple skeins or colors. Place your yarn in the basket and thread it through one of the holes —it’s that easy.
A big basket can fit several skeins, perfect for bigger projects like afghans or intricate colorwork like C2C patterns.
But what if your laundry basket is already overflowing with, you know, actual laundry? Pick up a dirt-cheap mesh trash bin instead.
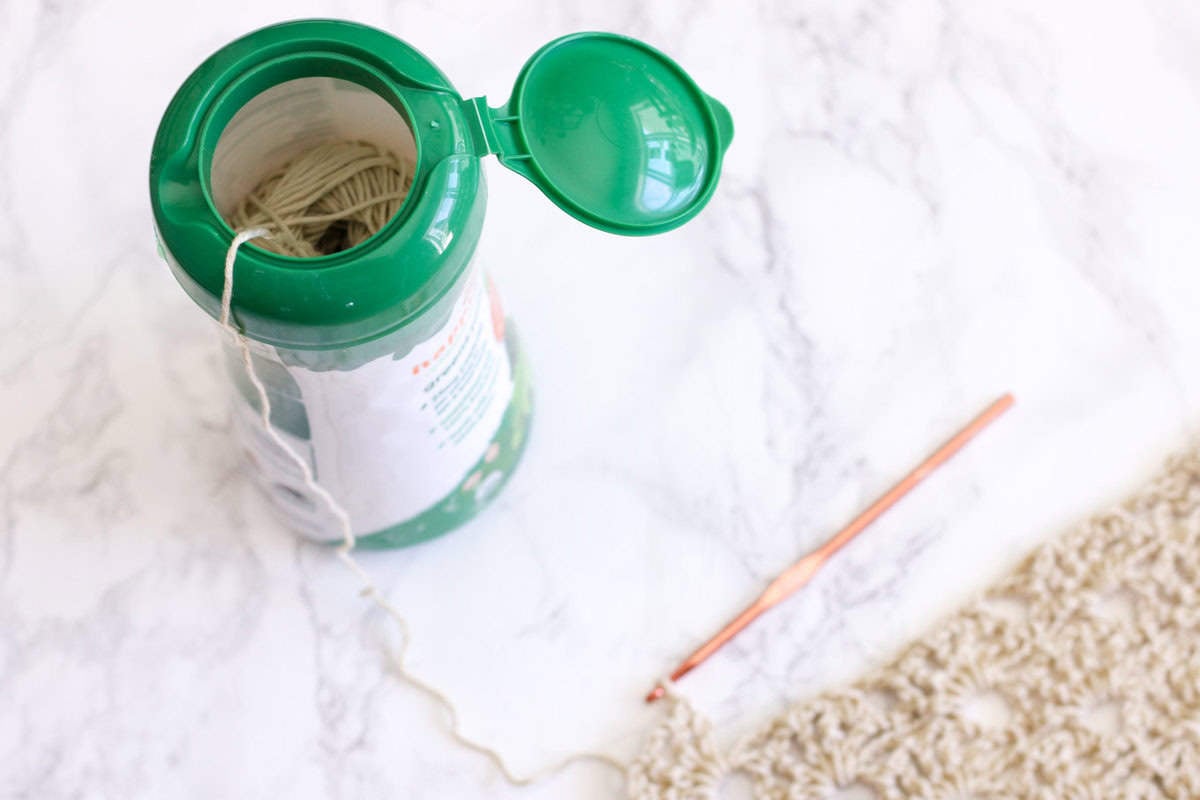
Reusable Container Tube Tricks
Say goodbye to tangled yarn! Keep your yarn neat and tidy with this clever trick using containers you probably have in your kitchen. Grab a Clorox wipe box, oatmeal tub, coffee canister, or any other container big enough for your yarn stash.
Pop the lid, tuck your yarn inside, and poke a hole in the top for the yarn to peek through. Easy peasy!
If you’re using a wet wipe box, it usually has a flip-top lid and a notch to thread your yarn through. You can even decorate the container to match your craft corner.
This is one of my favorite tricks to keep yarn from rolling around the car when I'm crocheting as a passenger.
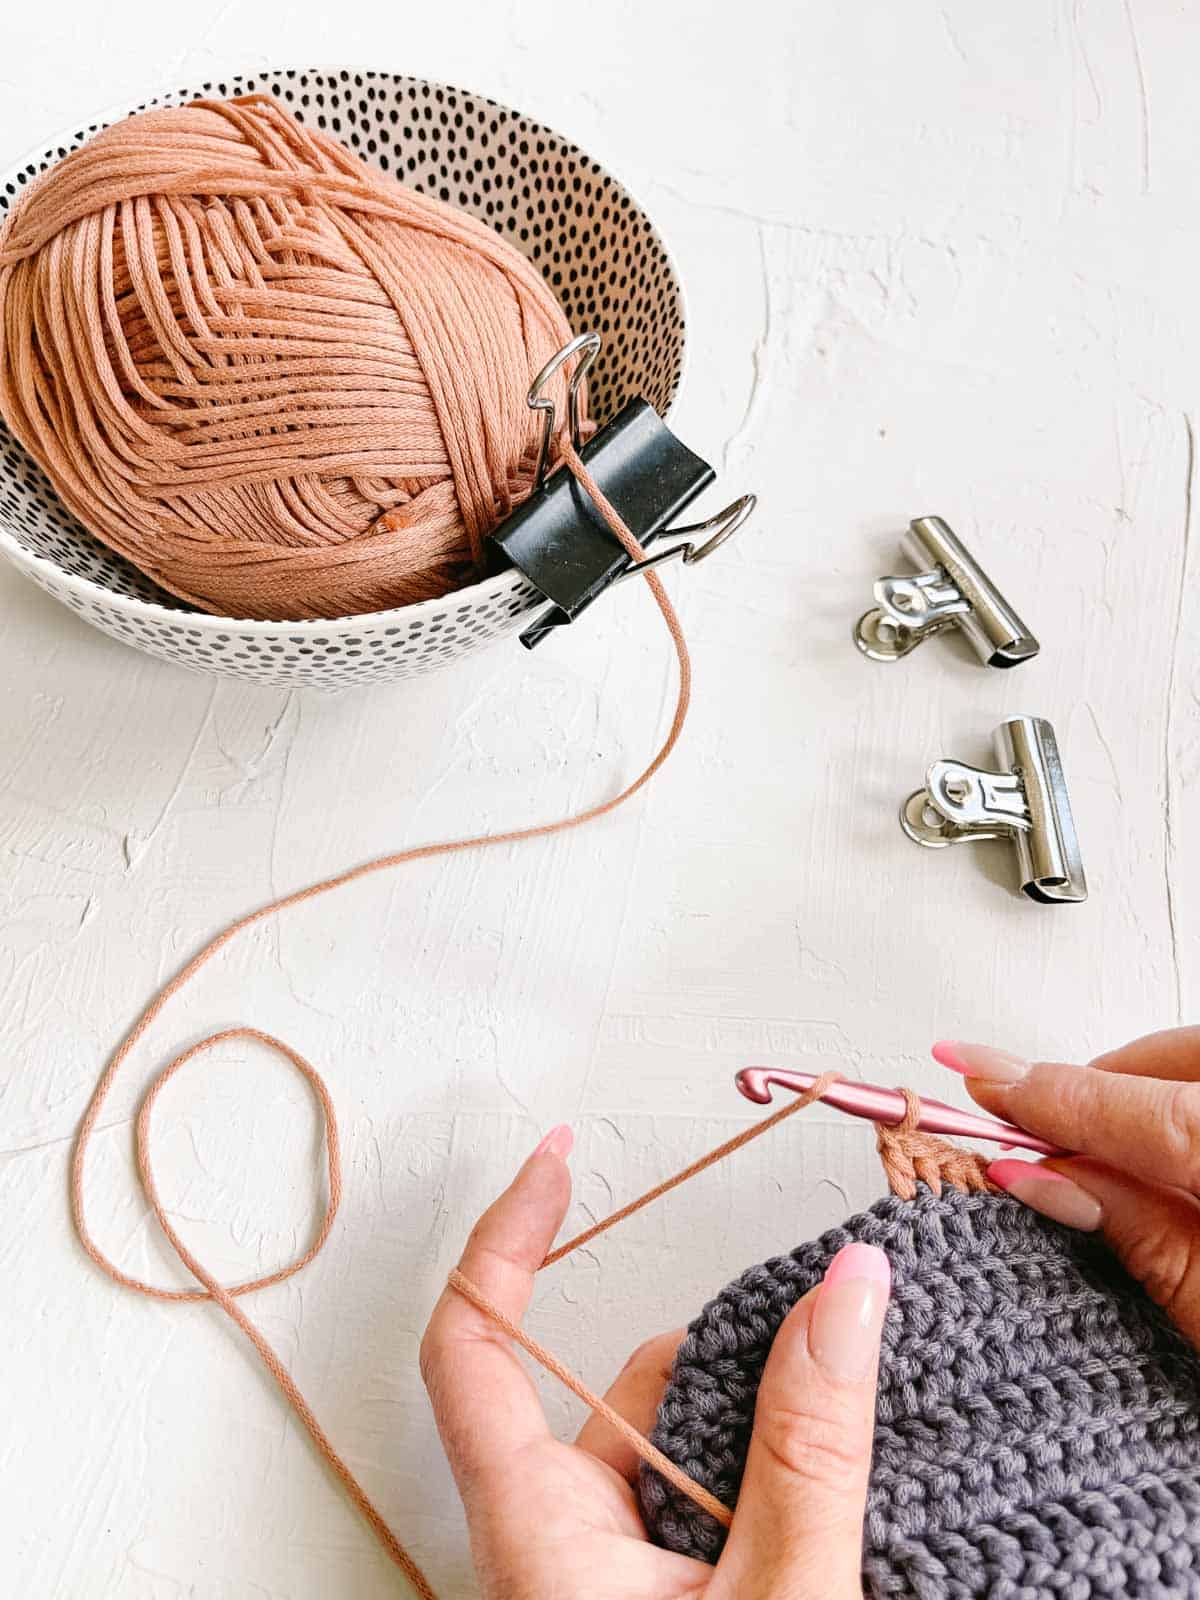
Portable Yarn Feeder Using Items in Your Cupboards
A regular bowl or tupperware container and a binder clip can work wonders for your crojo. Or, if you're feeling fancy, dust off that crystal vase and punch bowl wedding set you've been saving for a special occasion.
Place your yarn in the bowl, snap the binder clip onto the edge, and thread your yarn through the clip's holes. Voila! You’ve got a yarn feeder that’ll keep your yarn tangle-free and ready to go.
This crafty trick works almost anywhere. Just stash a binder clip in your purse and clip it onto any bowl you spot. (This works best if you thread the yarn through the binder clip before attaching it to your project.)
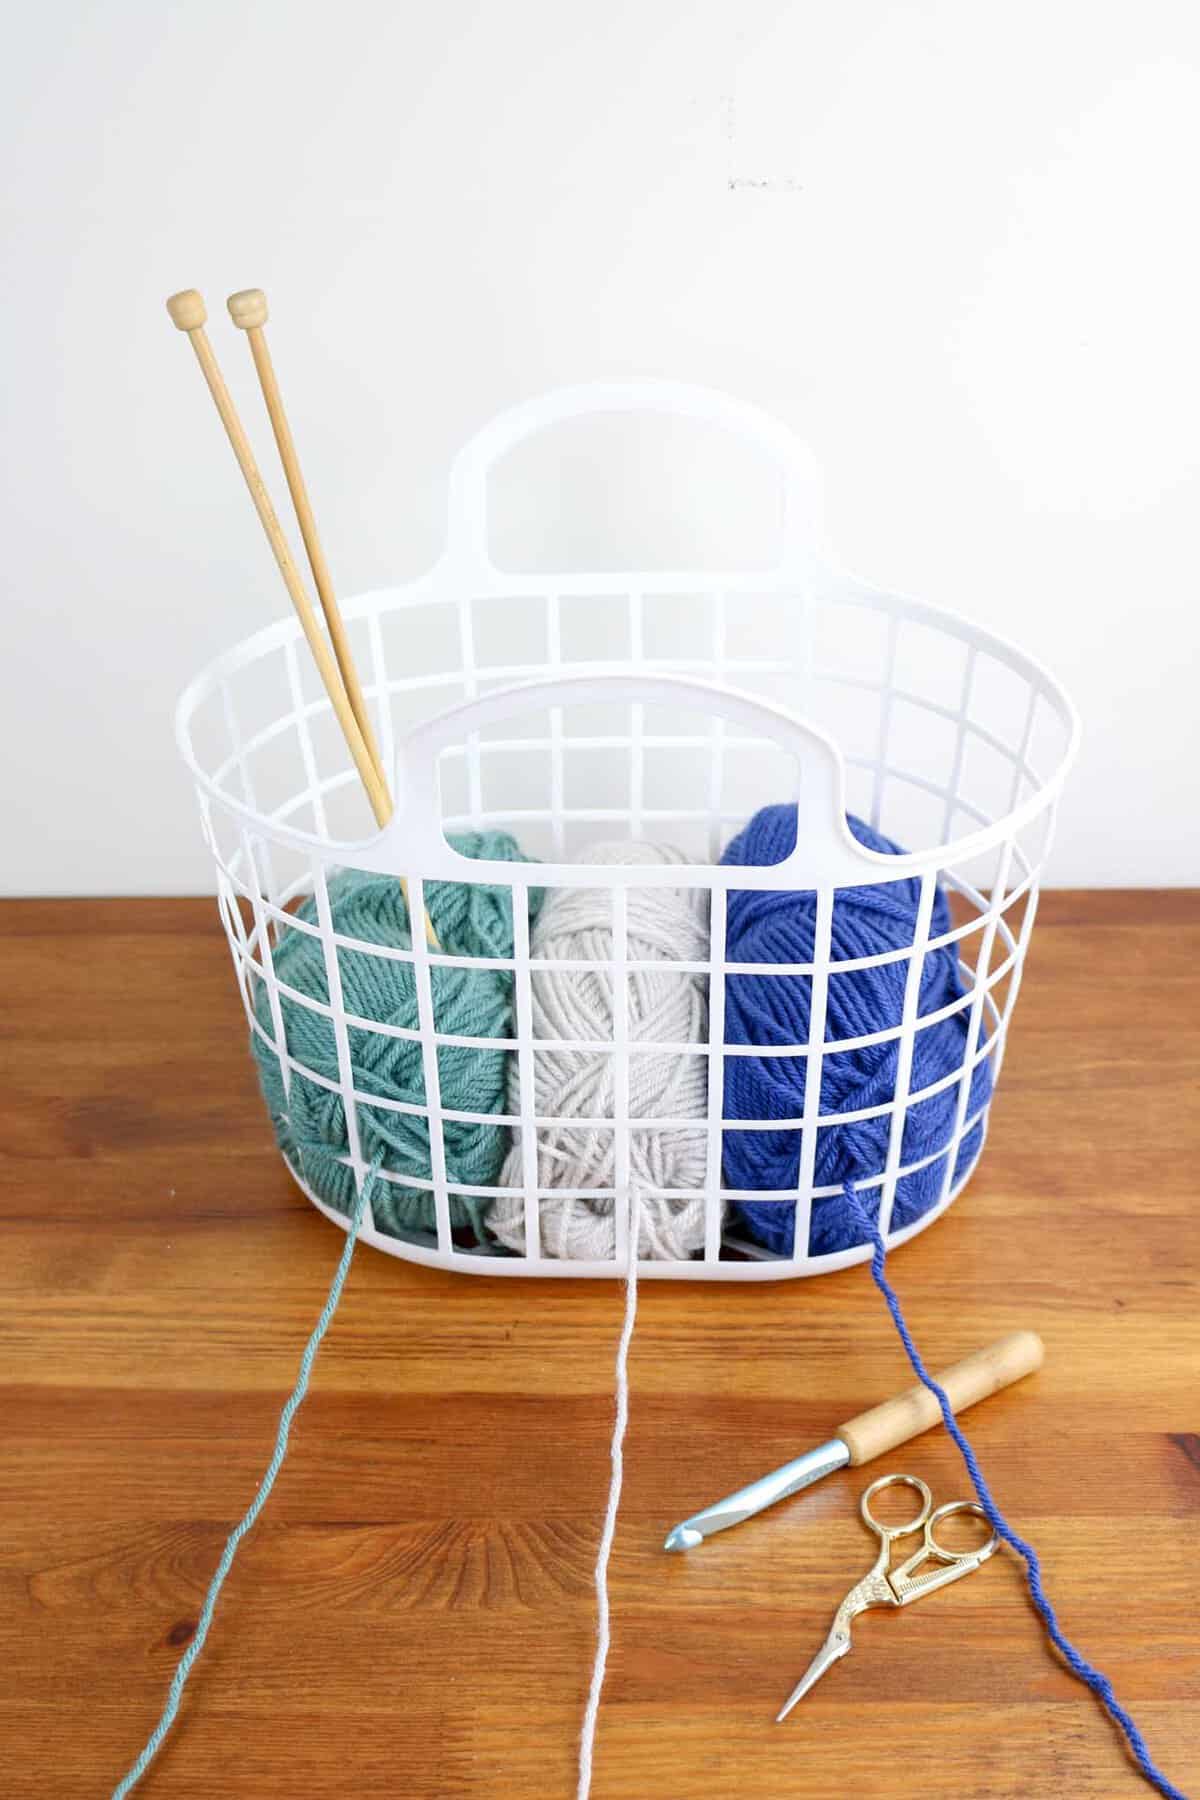
Handmade Yarn Holders
If you've ever found yourself corner to corner crocheting with multiple colors, you know the value of a good yarn holder.
They come in all shapes and sizes, from sleek wooden models to high-tech gadgets like the Wool Genie, which promise a tangle-free experience for a cool $50. A bit pricey, though, right? If this makes your wallet wince, why not make your own instead?
Check out more DIY yarn holder ideas here.
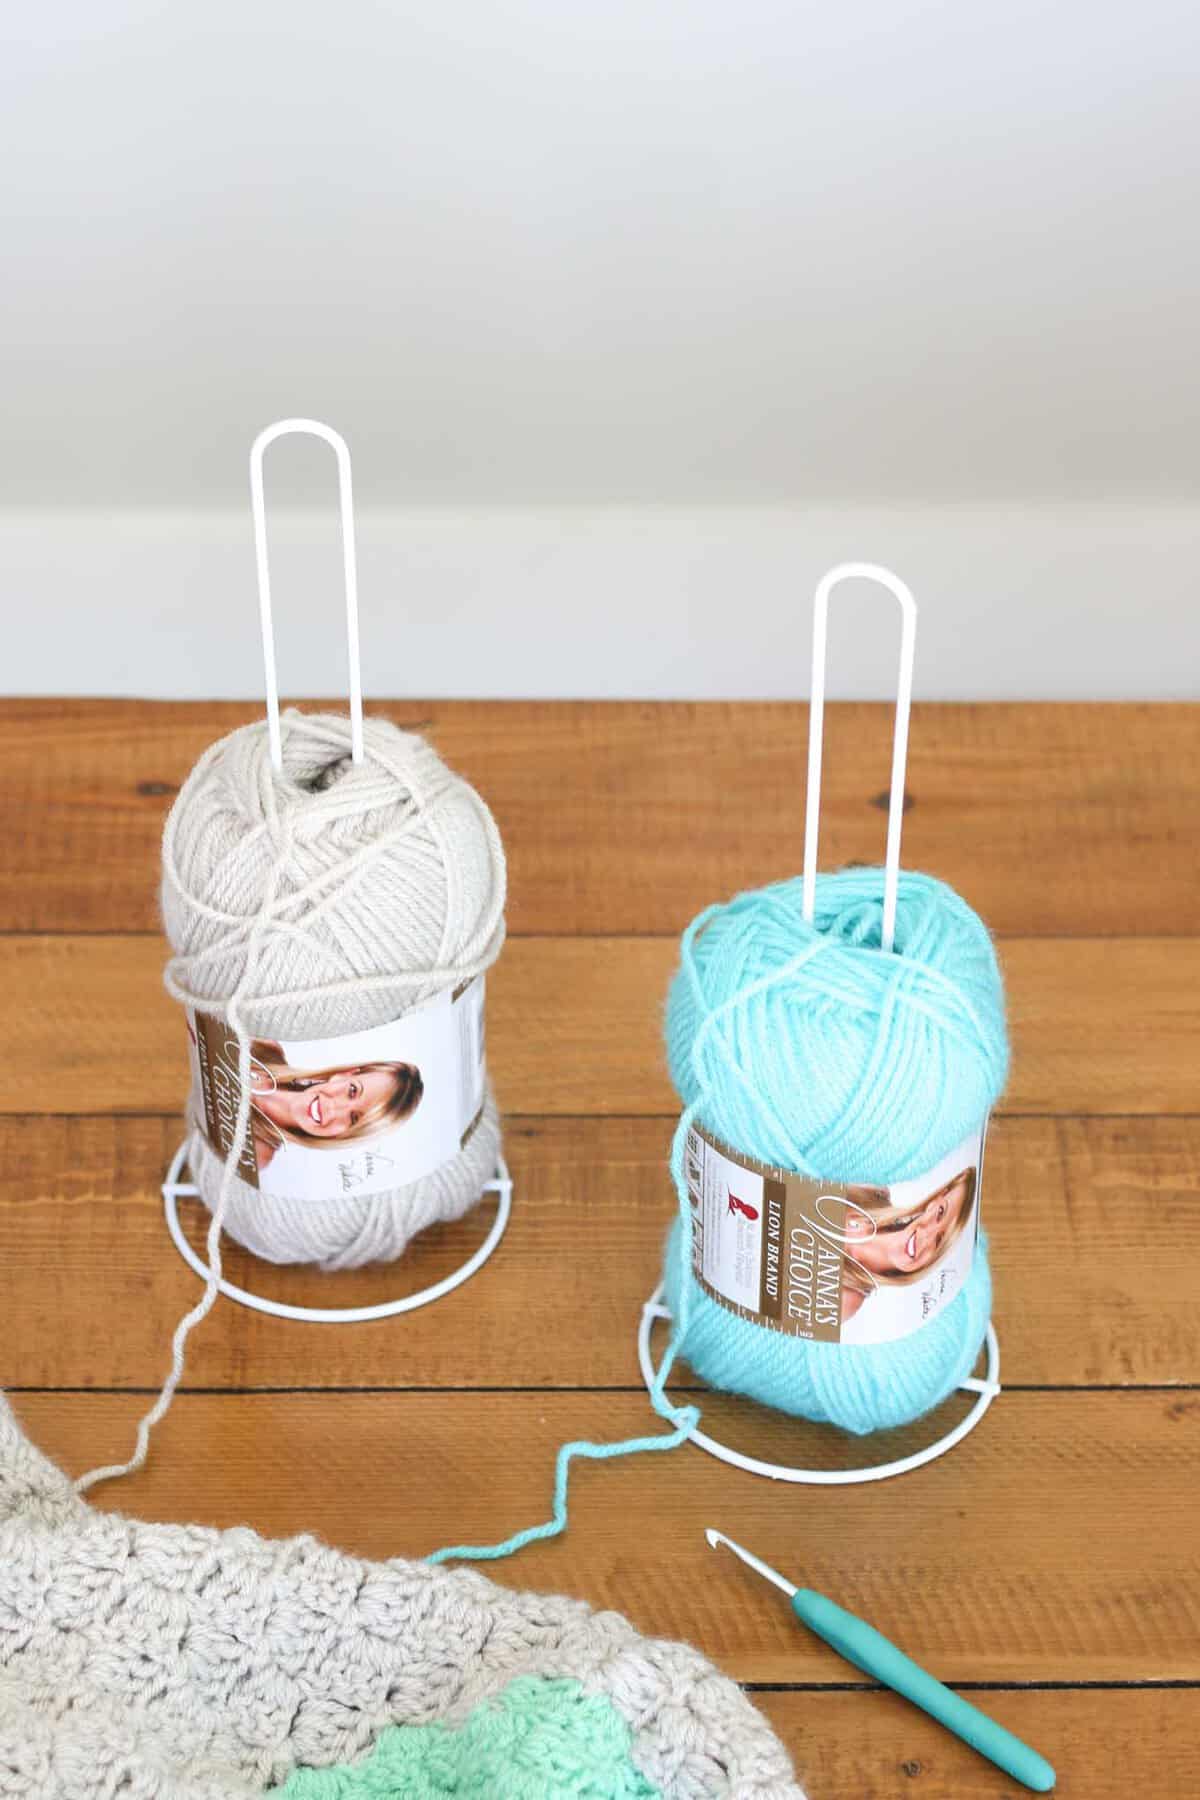
Dollar Store Vertical Paper Towel Holder
A vertical paper towel roll holder looks suspiciously like a yarn holder but way cheaper. At just a dollar each, these really are a steal.
Simply place your skein on the holder, and you have a budget-friendly yarn wrangler that gets the job done for a fraction of the price.

Ikea Hack: Turn Your Pegboard into a Yarn Feeder
If you’re a fan of Ikea (who isn’t?), their practical pegboard system is about to become your new best friend.
- First, grab two handy hook attachments and stick ‘em to the pegboard.
- Make sure they’re spaced far out just right to fit your ball of yarn.
- Next, thread a knitting needle or wooden dowel through your yarn.
- Place your skewered yarn on the hooks, and you’ll have a yarn feeder that keeps your craft table clutter-free!
You can also whip up this crafty contraption using Command Strips (or magnetic tape) and a few hooks. Or, give an old coat hook rack a new lease on life by standing it up and using the pegs to hold your little yarn skeins.
DIY Skein "Unroller"
Raid your closets for a spare plastic box and attach binder clips to each end. Skewer your yarn with a knitting needle or wooden dowel, and then dangle this over the box using the binder clips. This setup lets your yarn unravel as you crochet, similar to how toilet paper rolls off the tube.
Keep Your Yarn Skeins Snug with a Yarn Sock
Keeping your yarn clean and tidy can be challenging, especially when it's rolling all over the place or getting tangled. That's where a yarn cozy, also known as a yarn sock or sleeve, comes in handy.
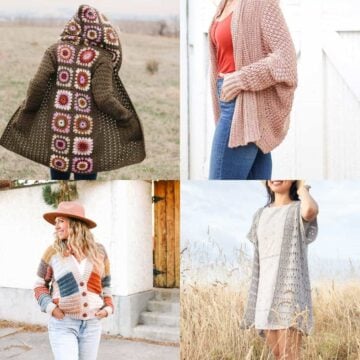
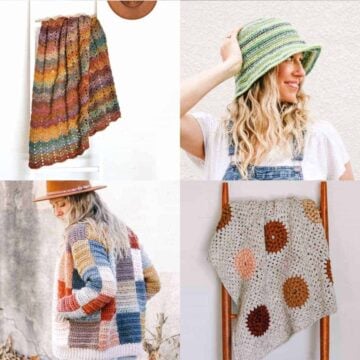
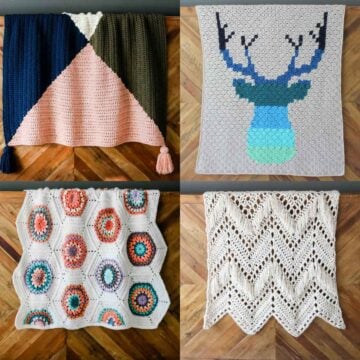
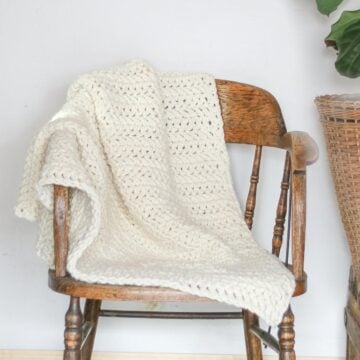
Our Latest Crochet Inspiration:
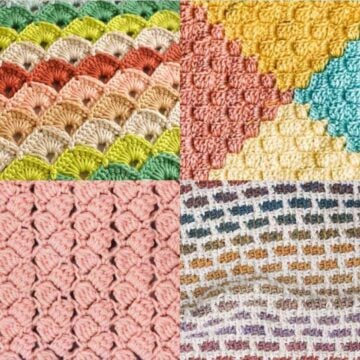
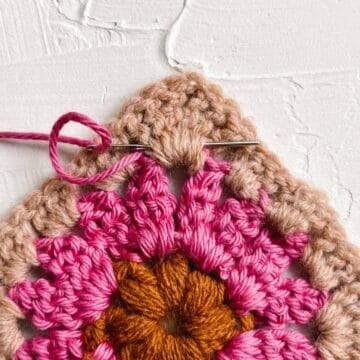
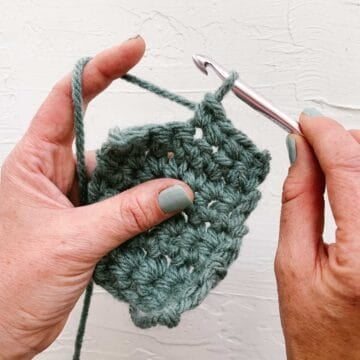
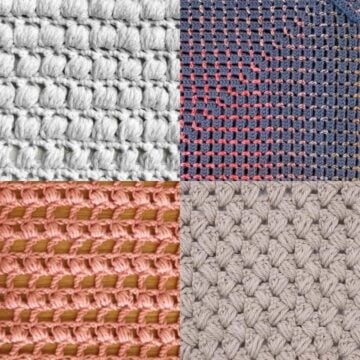
Here are a few more free crochet patterns and tutorials that are hot off the presses.


Creative Cozies From Hosiery
Take those stretched-out pantyhose, tatty tights, and lonely socks lurking in the depths of your drawer and turn them into a DIY yarn sleeve. You can even snip off the sleeves of a worn-out sweater to use!
For pantyhose or knee-high stockings, simply snip off the toe and a bit of the leg to create a footless sock. Low-and-behold, you have a perfect protective tube for your yarn. Just slip your yarn inside the sleeve, and it’ll stay clean and tangle-free as you crochet your next sweater or blanket.
The beauty of using old hosiery is that it’s stretchy enough to hold your yarn without squishing it. Plus, it's a great way to recycle something that might have otherwise ended up in the trash.
Never Lose Count Again with These DIY Row Counters
Keeping track of rows in crochet projects can feel like herding cats, but that's where row counters come to the rescue! These handy tools ensure you never lose your place in a pattern, making any crochet project a breeze!
Pop Your Way to Perfect Rows with Fidget Toys
Got a fidget popper collecting dust? Turn that little stress-buster into a row counter. Each time you complete a row or round, 'pop' one of the bubbles on your fidget popper. Not only does this keep you on track, but it's also oddly satisfying.
If you don’t have a fidget poppet (or your kid’s actually using it), an abacus can do the trick, too. Just slide the beads across to keep count of your rows/rounds.
Blocking Boards That Don’t Break the Bank
Blocking whips your crochet tops and other projects into shape, making sure they’re the right size so all the pieces fit together like a dream. But who says you have to shell out for a fancy blocking board when you can make one at home?
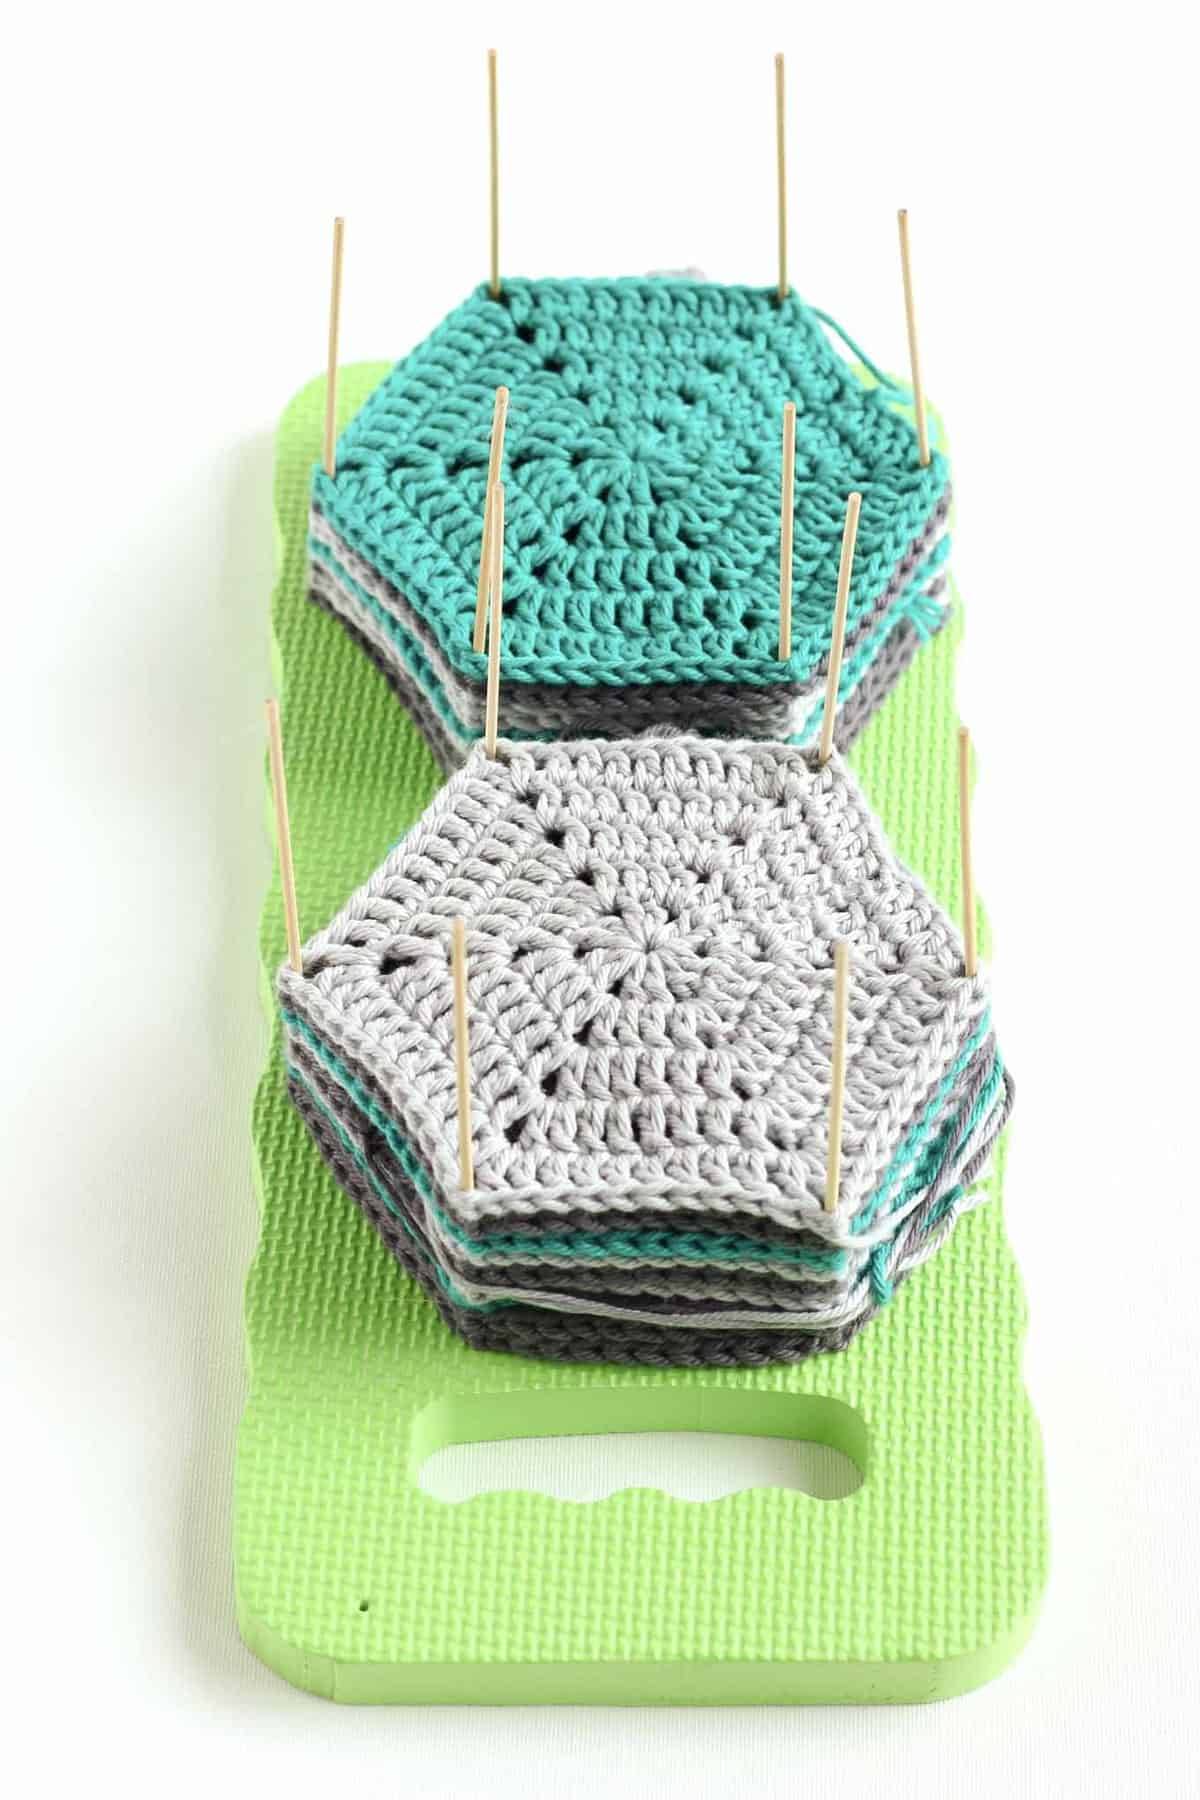
Knee Pad Blocking Hack
This garden accessory can double as an effective blocking board for smaller crochet projects such as granny squares, coasters, doilies, headbands, and baby booties.
Here’s how it works:
- Lay your crochet piece on the knee pad.
- Pin it in place with some pins or even kitchen skewers
- Give it a gentle spritz with water.
The foam of the knee pad is perfect for holding the pins securely, and its durable surface can handle all the use you throw at it.
Plus, it’s portable, so you can block your pieces while catching up on your favorite show or soaking up some sun in the garden.

Repurposing Kitchen and Household Items as Craft Tools
Here are a few other things you might have hiding in your kitchen drawers that could prove handy in your next project.
What Will You Make Next?
Now that you've got all your tools and gear handled, find a free crochet pattern to put it all to use!

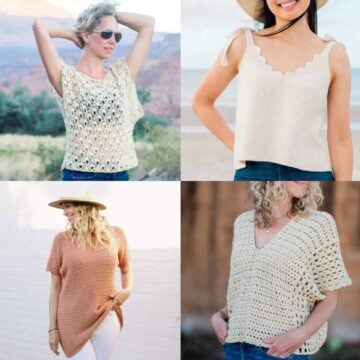

See more free crochet patterns→
That was so fun! Now what?
Invitation to our Facebook group
Come discuss DIY crochet tools and lots of other projects and techniques in our Make & Do Crew Facebook group. Here thousands of helpful crocheters answer each others questions and share their stitches. Join us!
Leave a Reply