
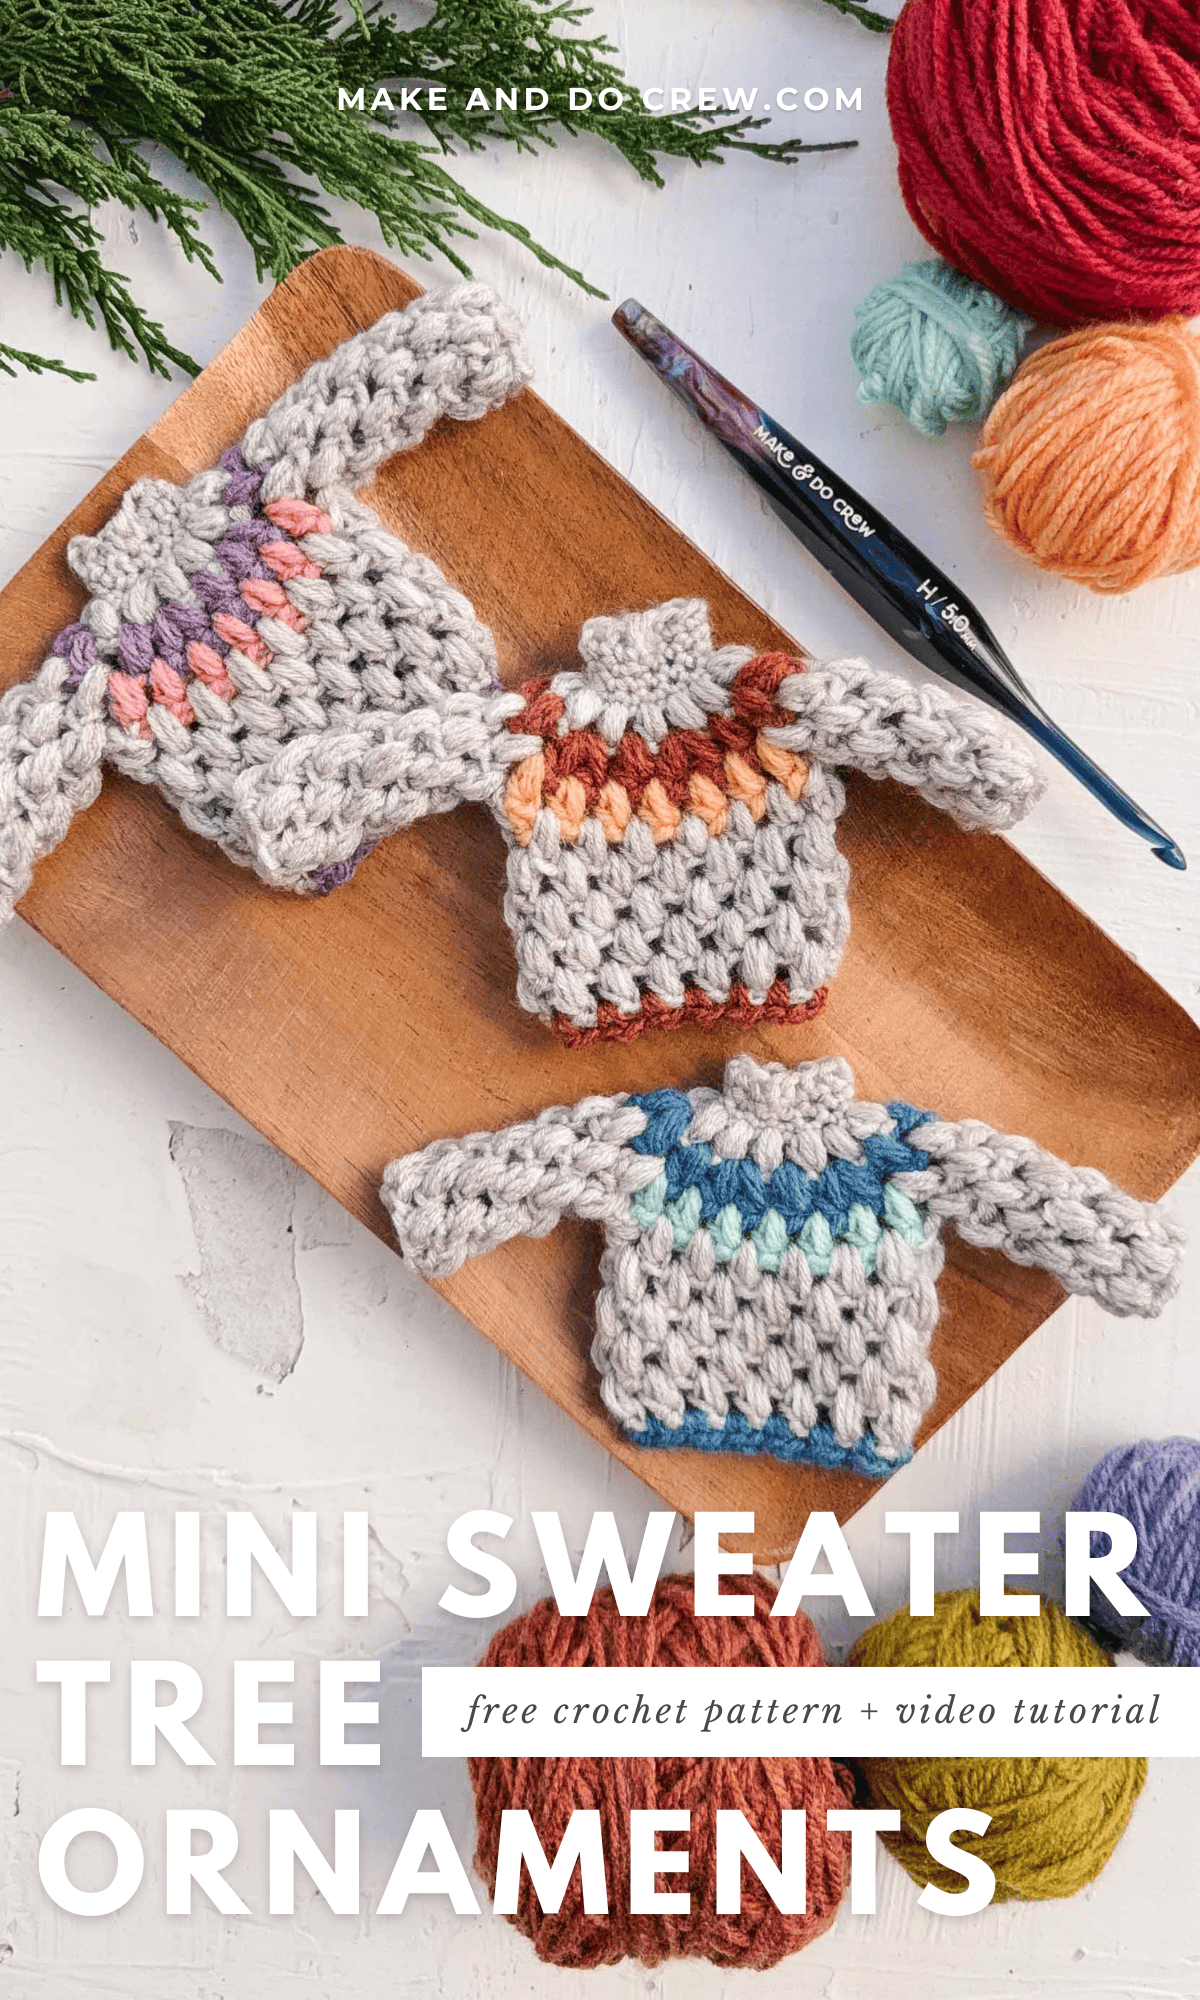
This mini crochet sweater ornament is a quick, scrap-friendly Christmas make inspired by classic Nordic ski sweaters. Each tiny pullover works up in well under an hour, so you can stitch a whole set for your tree or use them as gift toppers.
The free crochet sweater ornament pattern is below or purchase the ad-free, printable PDF.
This post contains affiliate links.
Jump to:
Mini Crochet Ski Sweater Ornament - Free Pattern
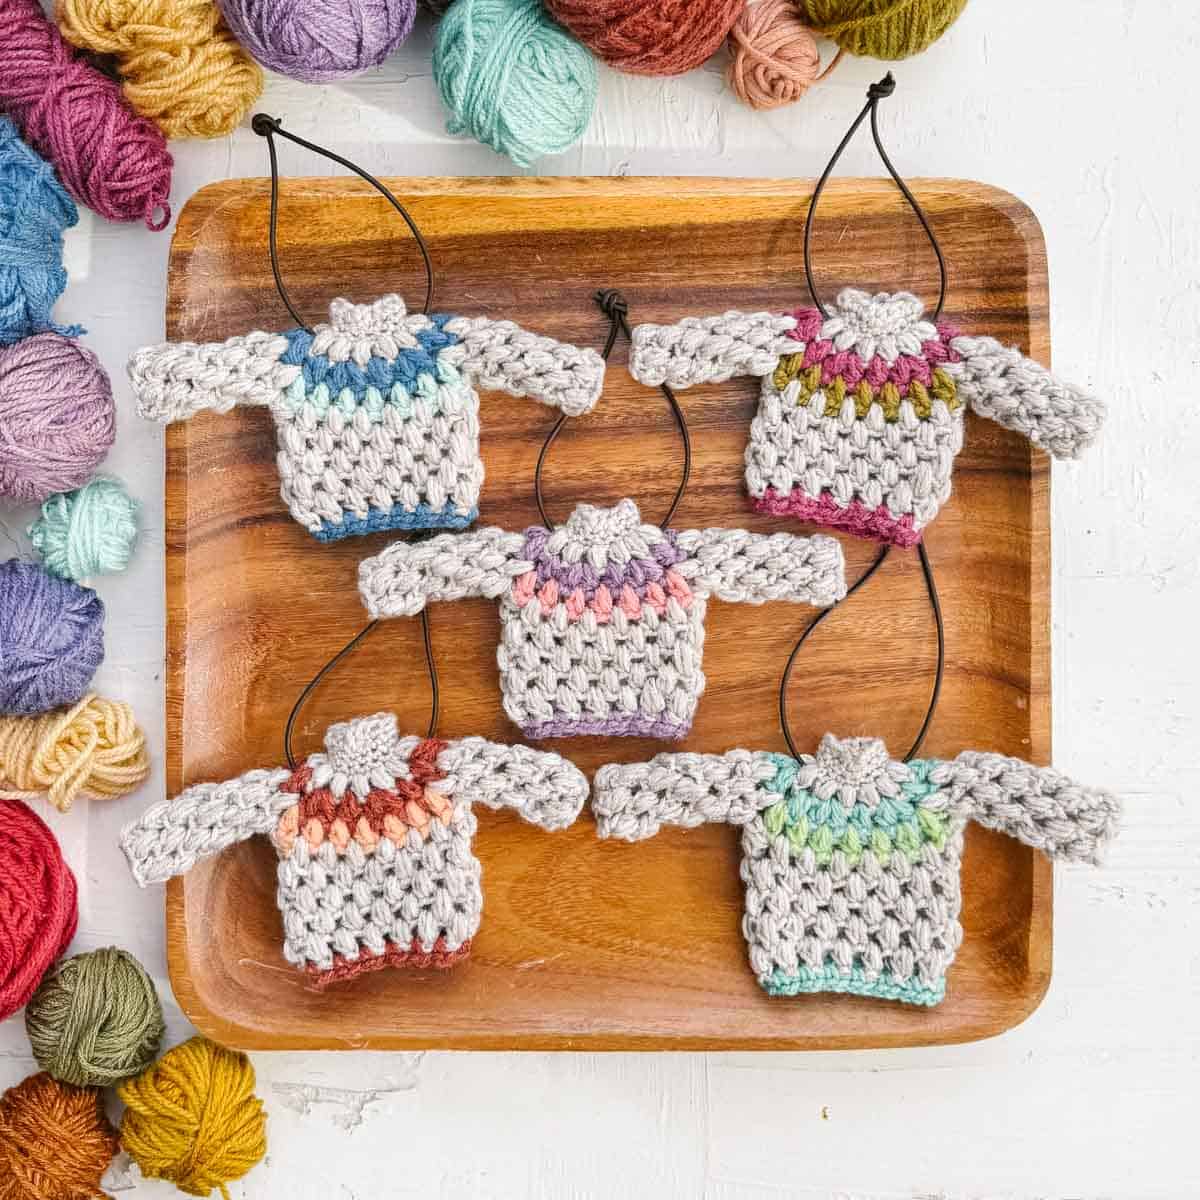
These mini crochet sweaters might be the most addictive Christmas project you make this year! Inspired by classic Nordic ski sweaters, they're just the right size to hang on your Christmas tree or tie onto a wrapped gift.
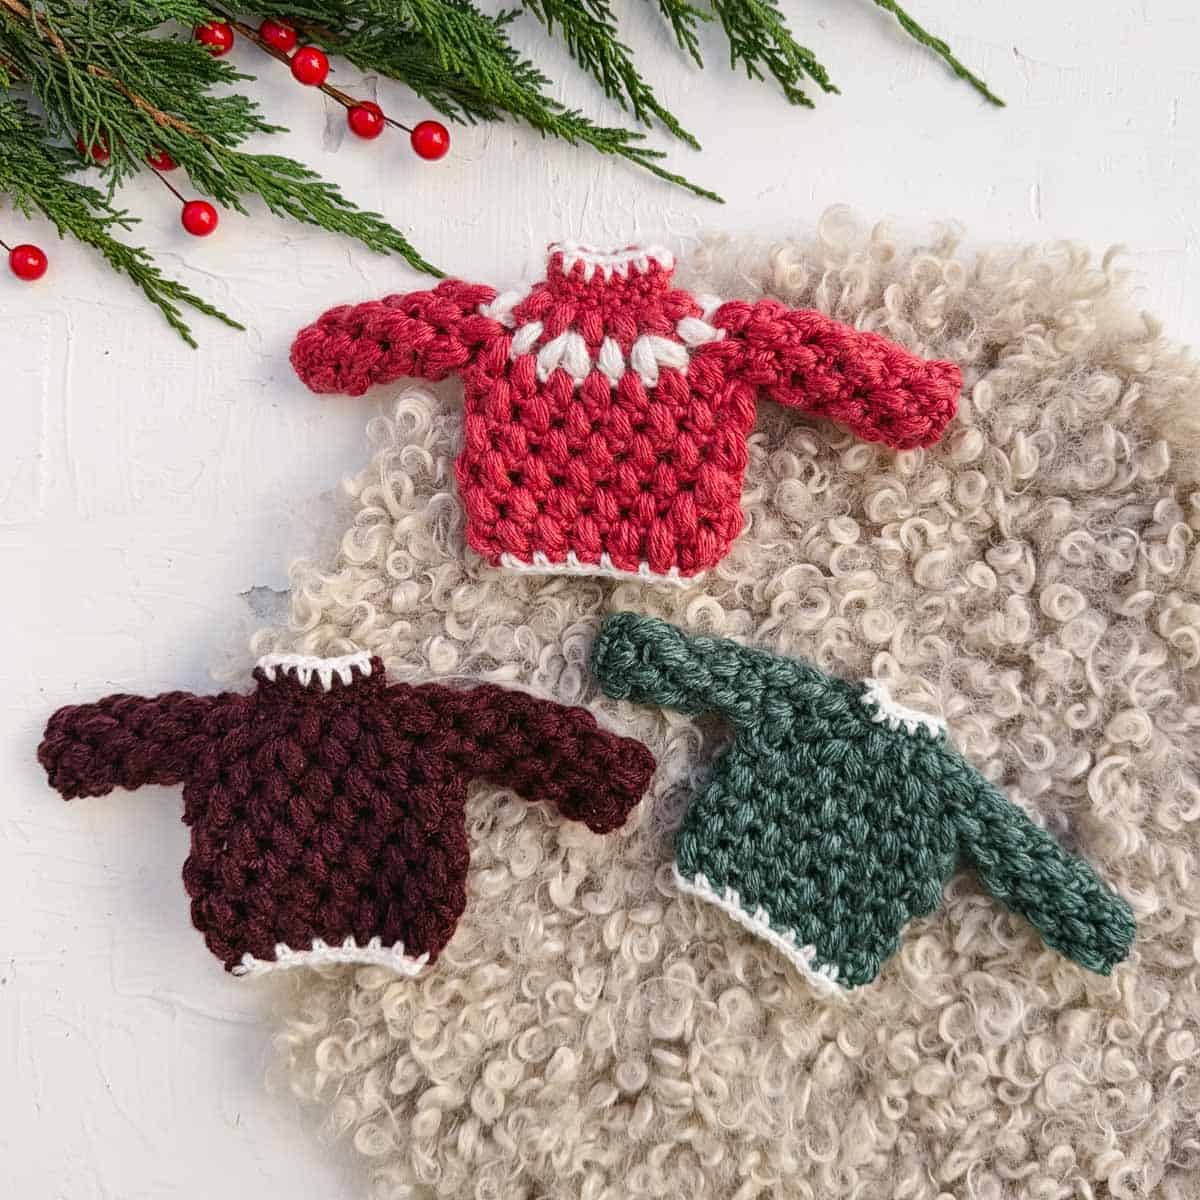
Each tiny puff stitch pullover takes only 30–45 minutes to crochet, and you can use yarn scraps you already have on hand. Mix and match colors to make each sweater a little different. They're quick, cute, and so fun to make that you might end up with a whole wardrobe of itty bitty sweaters!
Skill Level
This is an advanced beginner crochet pattern. In this project, you'll practice:
- puff stitches
- working in joined rounds
- changing colors
- crocheting over yarn tails
- pattern reading
Print this Pattern
Prefer to crochet on the couch? Need a portable, printable pattern? You'll love the premium PDF! The instantly downloadable, ad-free file is formatted for easy printing and includes the complete pattern, all the photo tutorials and sizing notes for different yarn weights.
Premium PDF
easier and faster with fewer mistakes.
- Complete pattern + photo tutorials
- Instant download
- Formatted for easy printing
Supplies + Materials
This pattern contains affiliate links at no extra cost to you.
• Yarn: Scraps in Category #2, #3 or #4
- Sweaters pictured are made with category #2 and #3 yarn.
• Tapestry needle
• Hook size to complement the weight of yarn and keep the stitches fairly tight
• 12-15” yarn, ribbon, or waxed cord for the ornament hanger
Measurements
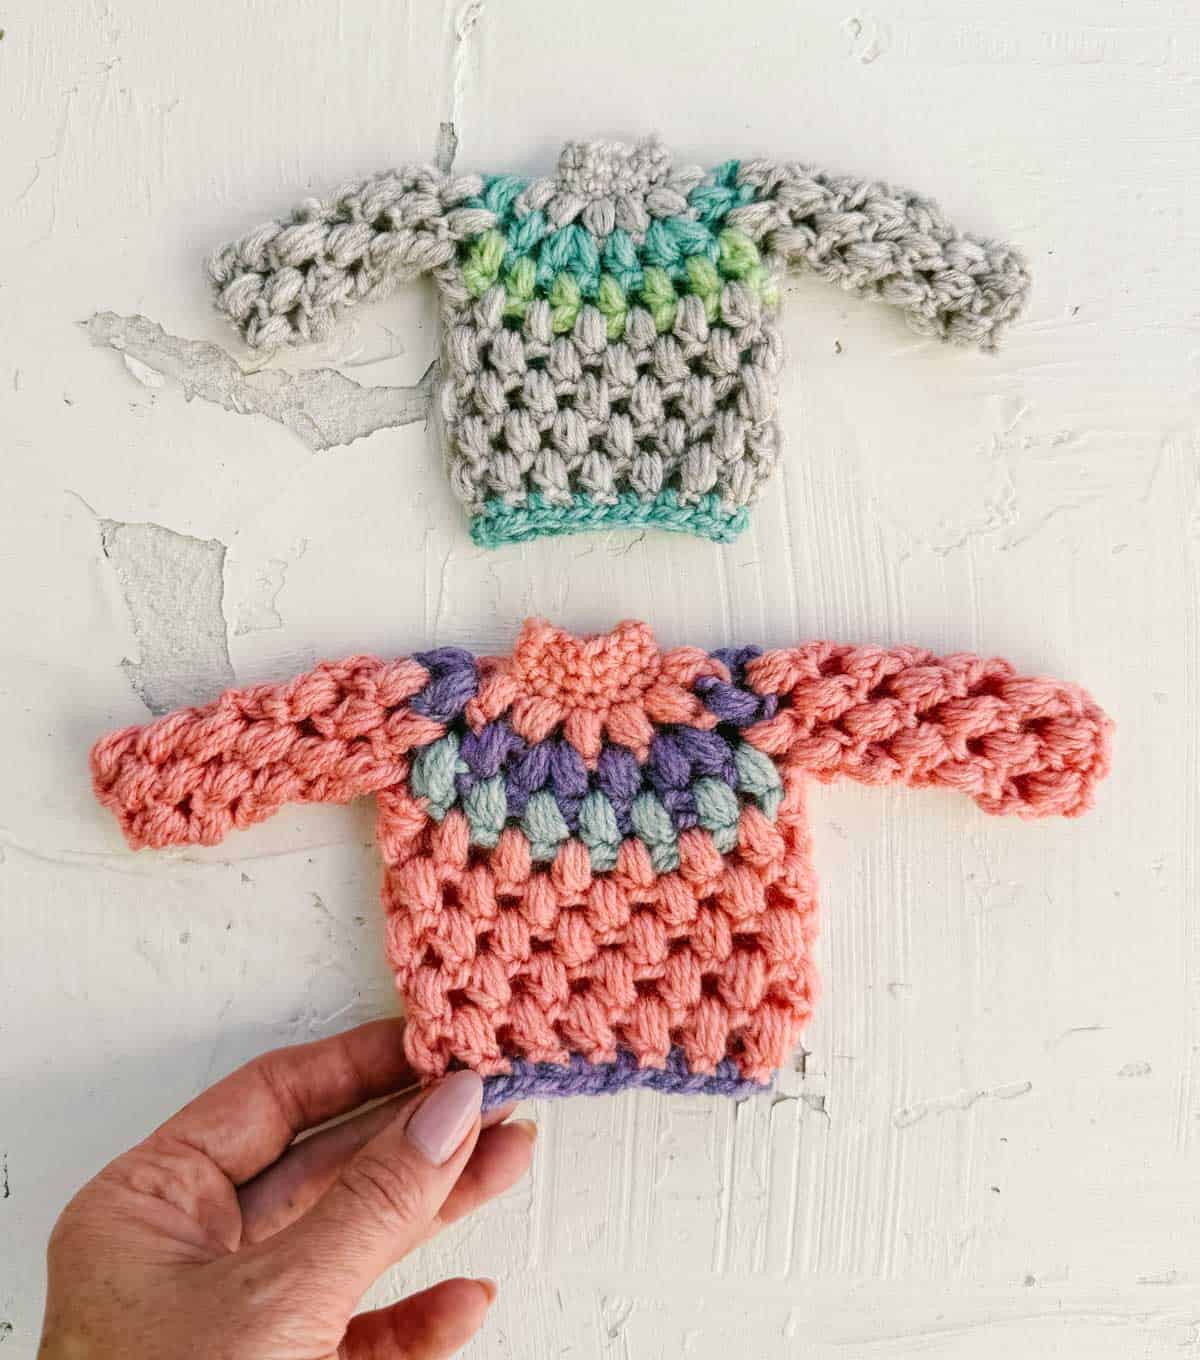
Using a category #2 yarn, sweater ornament measures approximately 6.5 x 3”, not including hanger.
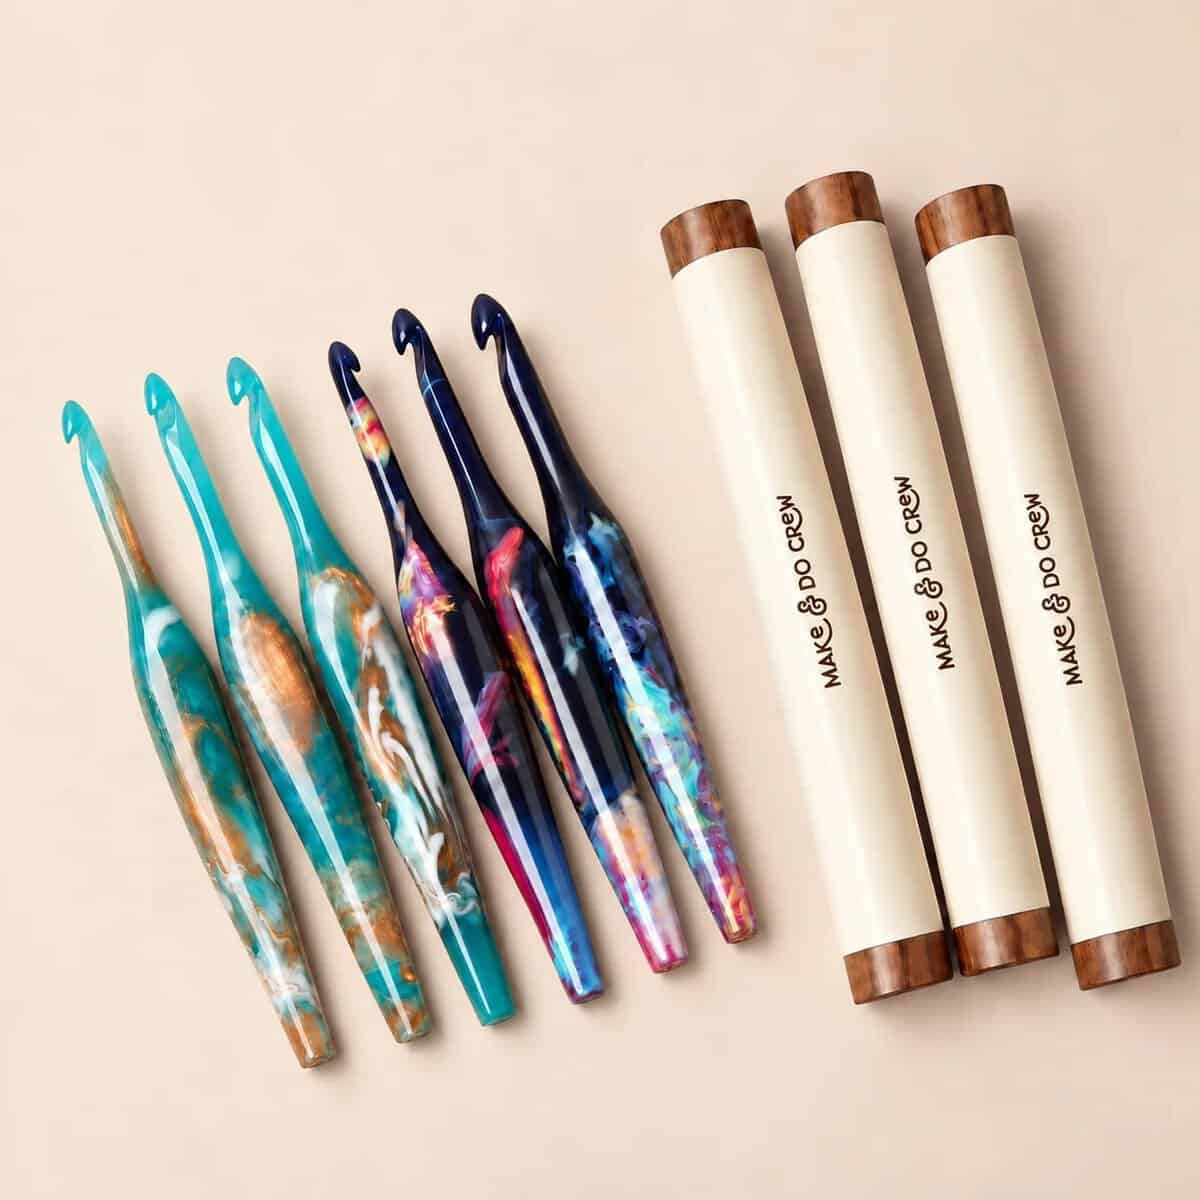
Most hooks make your hands work too hard.
Ours are designed to take effort off your hands. The next batch opens soon, in limited numbers. The last two batches sold out within hours.
Plus a free hand care guide, sent today.
Something went wrong. Please check your email address and try again.
Woohoo! You're on the early access list. 🙌Your hand care guide is on its way to your inbox.
See the hooks first →“The best designed crochet hook I have used in 55 years of crocheting.” Mary M.
Using a category #3 yarn, sweater ornament measures approximately 9 x 4”, not including hanger.
Using a thicker yarn will create a larger sweater.
Gauge
Gauge is hard to measure and also unimportant in this pattern. Pair whatever yarn you’re using with a hook size that allows for fairly tight stitches.
Abbreviations + Glossary (US Terms)
ch – chain
chsp – chain space
inc – increase
rep – repeat
RS – right side
sc – single crochet
sk – skip
slst – slip stitch
st(s) – stitch(es)
WS – wrong side
yo – yarn over
Special Stitches
Puff – [yo, insert hook, yo and pull up a loop] three times in the same stitch, yo and pull through all 7 loops on hook.
Puff2tog – [yo, insert hook, yo and pull up a loop] twice in the same space, yo, insert hook in the next space, yo and pull up a loop, yo and pull through all 7 loops on hook.
Print This Pattern: purchase the ad-free, printable PDF.
Overall Pattern Notes
- If you’re new to reading crochet patterns, check out more info here.
- If desired, for your stripes, you can use one yarn weight heavier than your Main Color. For each puff in that heavier yarn, work [yo, insert hook, yo and pull up a loop] twice instead of three times, then yo and pull through all 5 loops on hook. This will create a puff that’s similar in size to your Main Color puffs.
- Because this is an ornament rather than an actual garment that will be worn, I crochet over as many yarn tails as possible to avoid weaving them in.
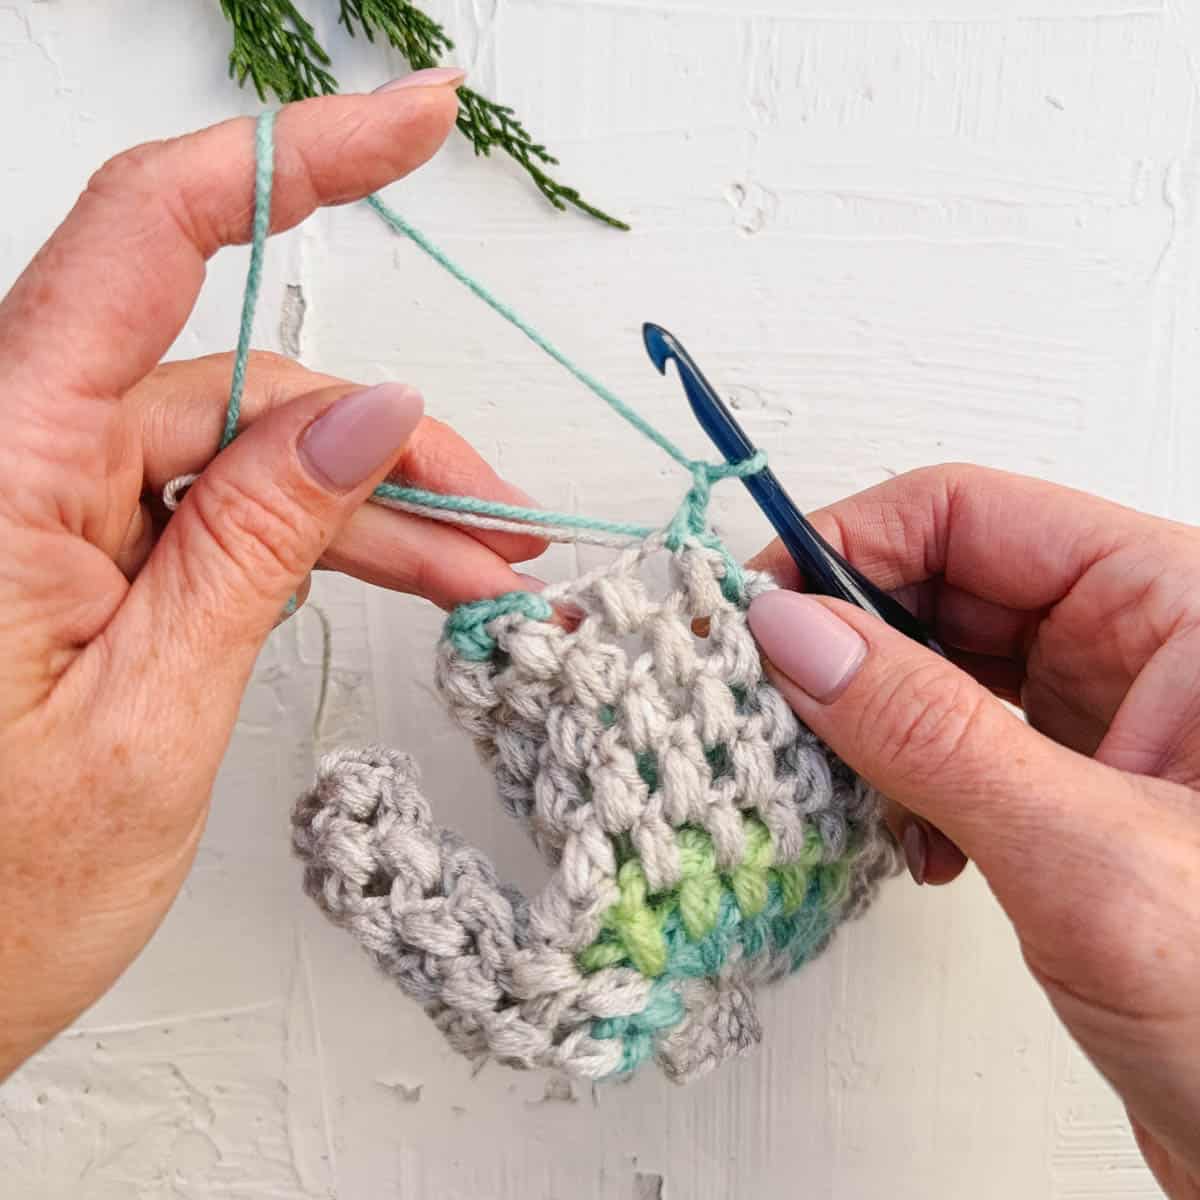
Mini Sweater
- Pattern is worked in rounds with RS facing throughout.
- Chain 1 in Rounds 1-3 does not count as a stitch.
Turtleneck:
With Main Color:
Foundation: Ch 12, slst to first ch to join, being careful not to twist ch.
Round 1 (RS): Ch 1, sc in each ch, slst to first sc to join. (12 sc)
Round 2: Ch 1, sc in each sc, slst to first sc to join.
Round 3: Rep Round 2.
Yoke:
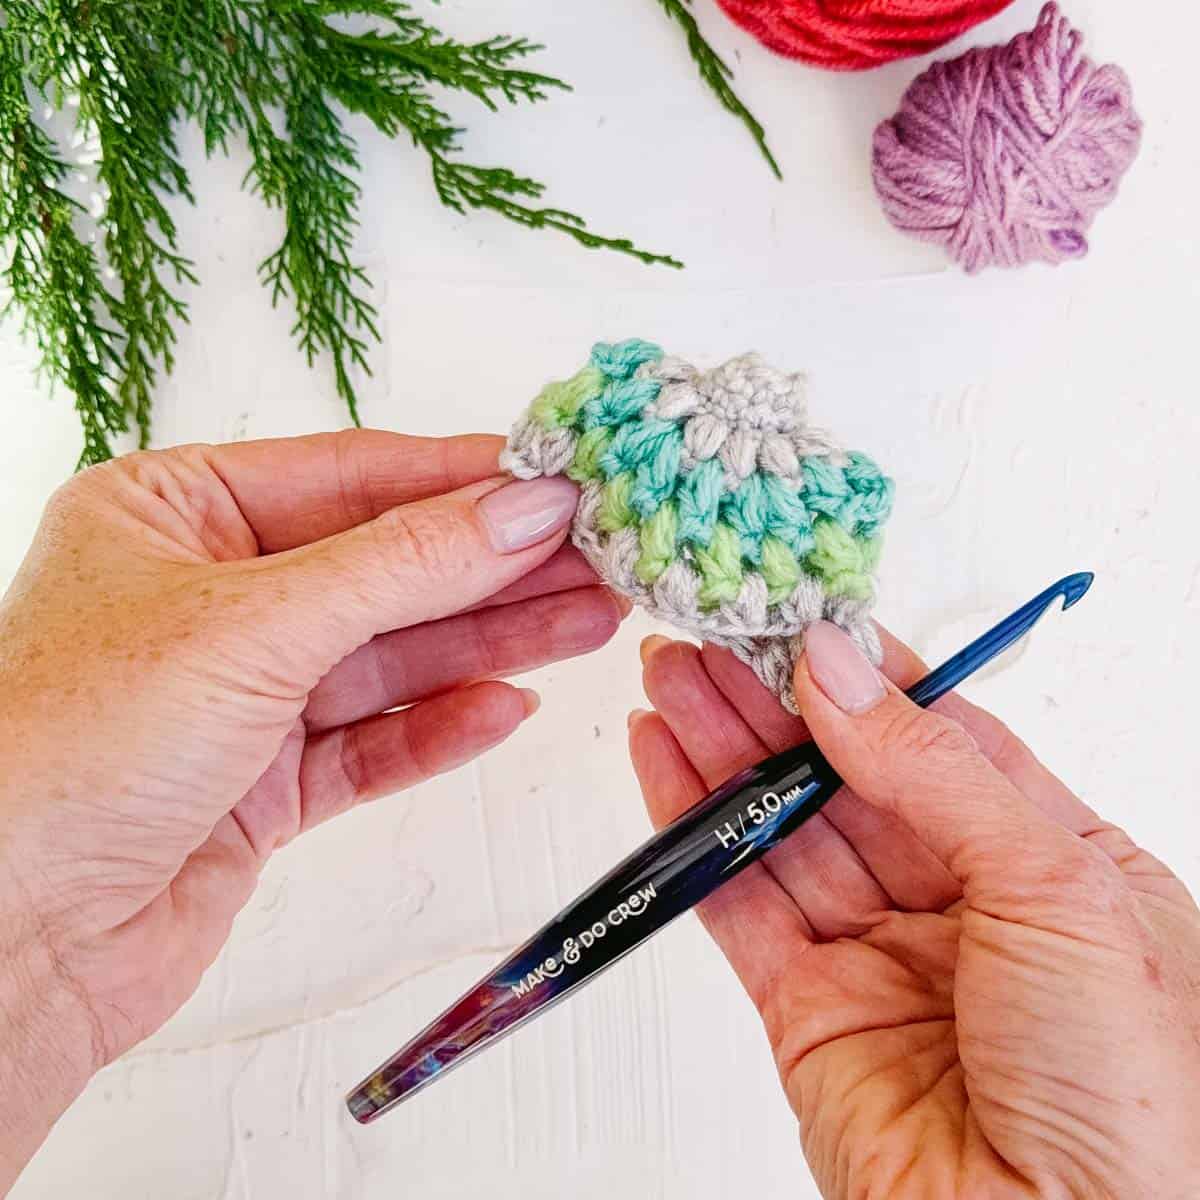
- Instead of creating a chain stitch at beginning of each round, stretch loop on hook slightly to the height of puff stitch you’re about to create.
- To change colors between rounds, complete final slip stitch of round using new color. After Round 4, drop Main Color to inside of sweater. Keep it attached and pick it up again at the end of Round 6.
Round 4: (Puff, ch 1) in same sc as slst join, (puff, ch 1) in each remaining sc, slst to top of first puff with Accent Color #1 to join. (12 puffs, 12 chsps)
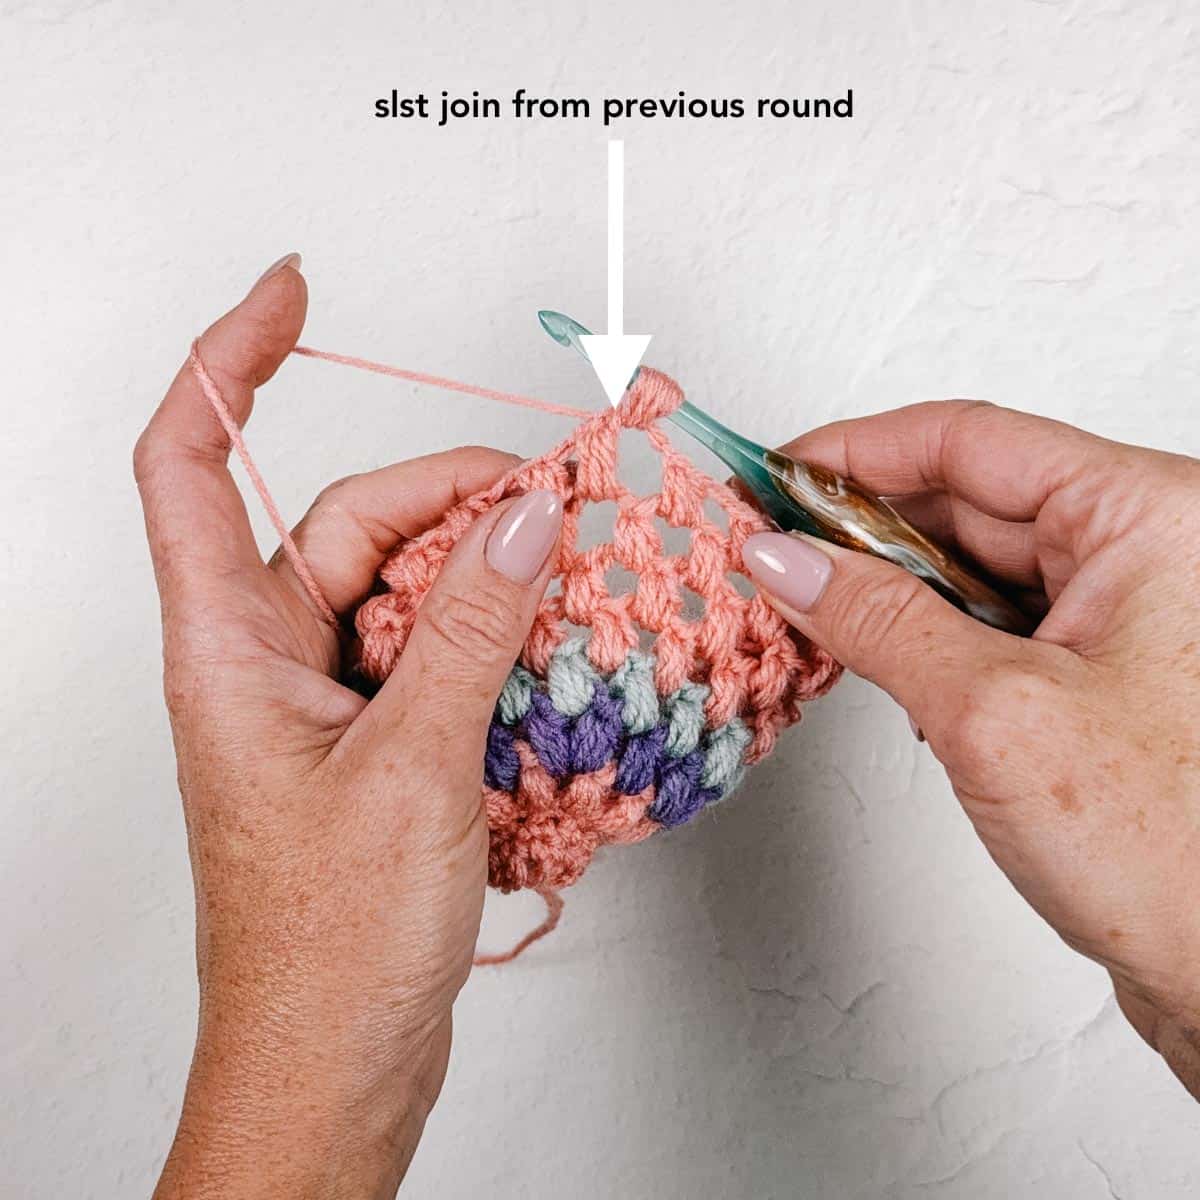
- Important Note: From now on in pattern, the first puff stitch of each round is worked into the last chain space of previous round. This will feel slightly “behind” the last slip stitch of the previous round, but this is intentional. (See photo below).
With Accent Color #1:
Round 5 (inc): *(Puff, ch 1) in next chsp, (puff, ch 1, puff, ch 1) in next chsp; rep from * 5 more times, slst to top of first puff with Accent Color #2 to join. (18 puffs, 18 chsps)
Fasten off Accent Color #1 and crochet over it in next round.
Creating Armholes:
With Accent Color #2:
Round 6: *(Puff, ch 1) in each of next 7 chsps, sk next 2 chsps; rep from * once more, slst to top of first puff with Main Color to join. (14 puffs, 14 chsps; 7 puffs each on Front and Back, with 3 puffs of Round 5 skipped at each armhole)
Fasten off Accent Color #2 and crochet over it in next round.
Want some company while you crochet?
Get support (and camaraderie!) in the Make & Do Crew community. Join for free here.
Premium PDF
easier and faster with fewer mistakes.
- Complete pattern + photo tutorials
- Instant download
- Formatted for easy printing
Continuing in Body:
With Main Color:
Round 7: (Puff, ch 1) in each chsp, slst to top of first puff to join. (14 puffs, 14 chsps)
Rounds 8-11 (4 rounds): (Puff, ch 1) in each chsp, slst to top of first puff to join. Fasten off.
Creating Sleeves:
Hold sweater with RS facing and the arm opening toward you, neckline at top. With Main Color:
Right-Handed Crocheters: Attach yarn in chsp on right of underarm puff stitch. (This is the Round 7 puff worked into the Round 6 ch-1 that spans the armhole).
Left-Handed Crocheters: Attach yarn in chsp on left of underarm puff stitch. (This is the Round 7 puff worked into the Round 6 ch-1 that spans the armhole).
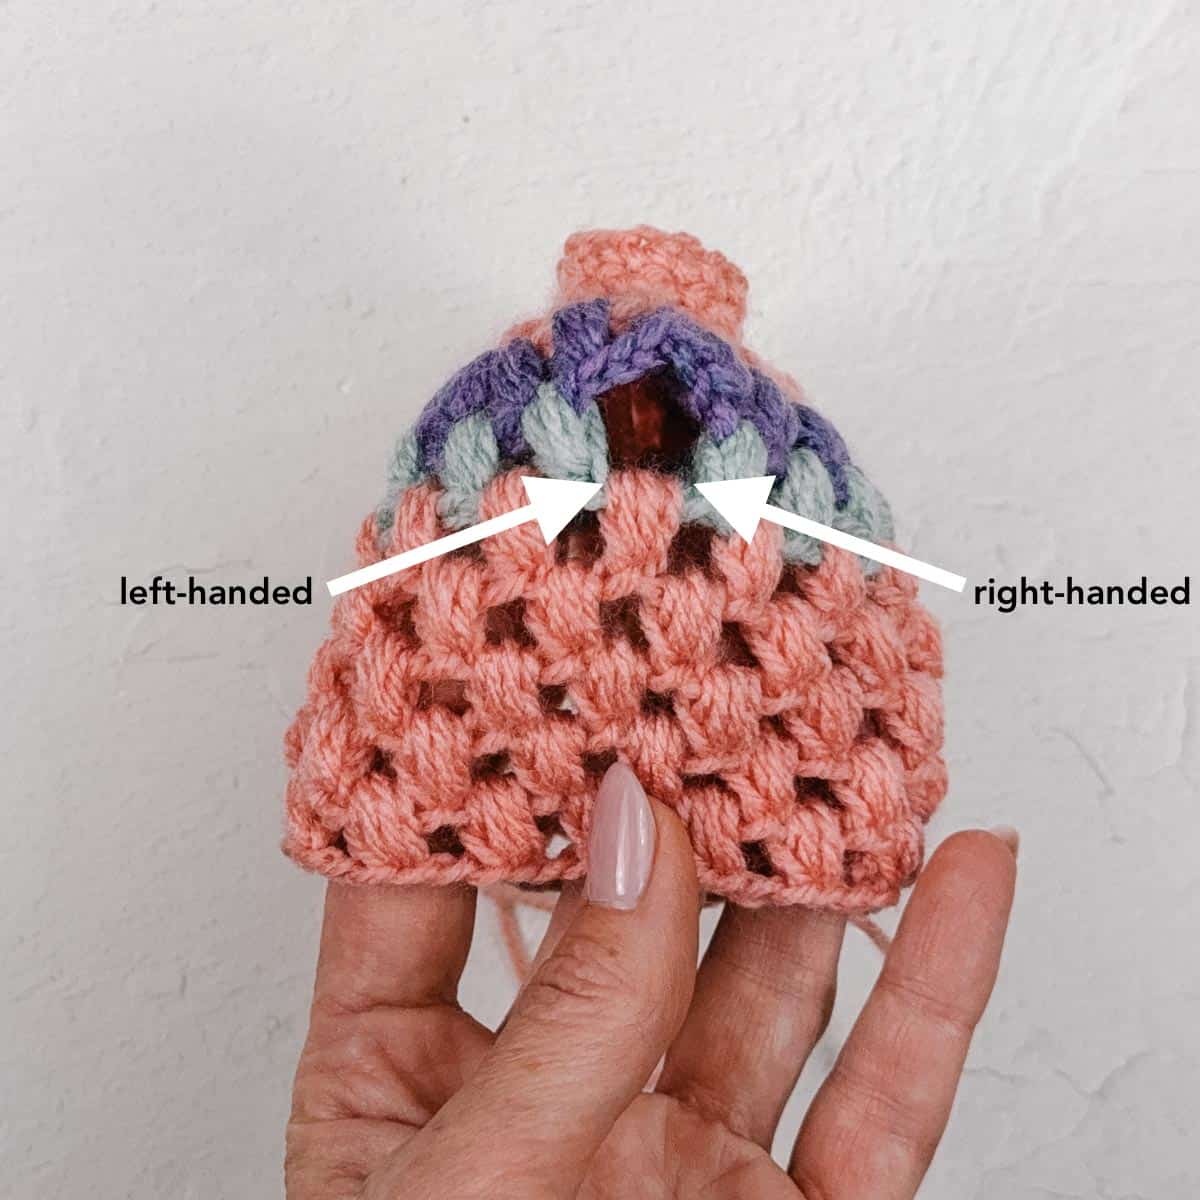
Round 1: Puff2tog (see photo below) over the chsps on either side of the underarm puff, ch 1, sk Yoke Round 6 puff, (puff, ch 1) in chsp at base of Yoke Round 6 puff, (puff, ch 1) in each of next 2 chsps around arm opening, (puff, ch 1) in chsp at base of Yoke Round 6 puff, slst to top of puff2tog to join. (5 puffs, 5 chsps)
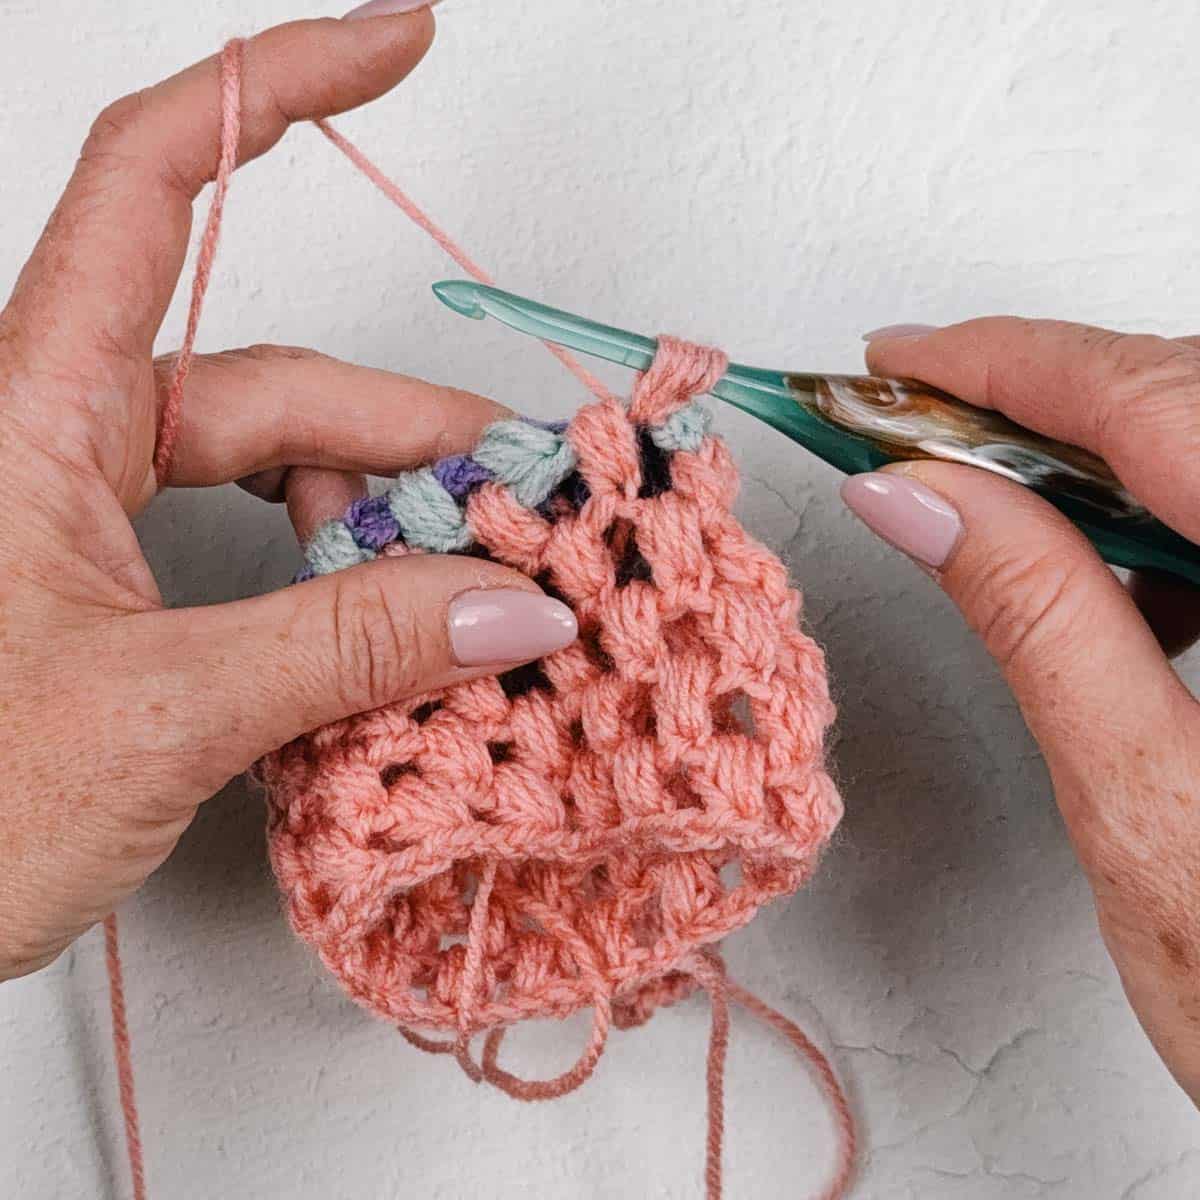
How to puff2tog Part 1:
Puff2tog is a decrease. Work two of the puff stitch yarn overs in the same space yarn was attached in, then work the third yarn over on the other side of the underarm puff stitch...
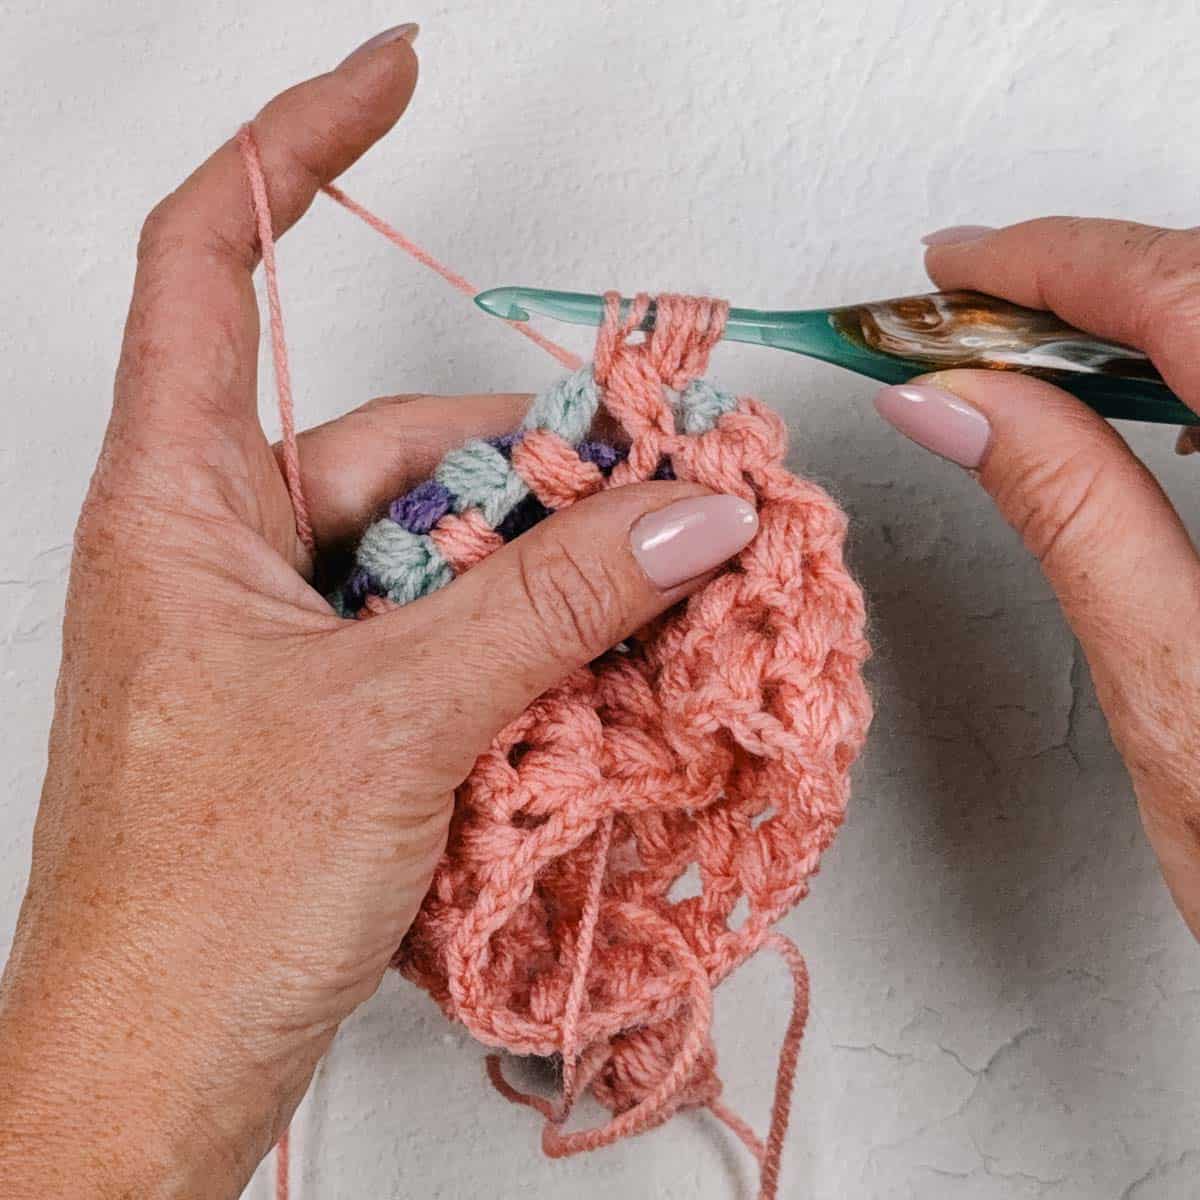
How to puff2tog Part 2:
…Complete the puff by yarning over and pulling through all seven loops, then chain one to close.
Rounds 2-7: (Puff, ch 1) in each chsp, slst to top of first puff to join. Fasten off.
Repeat for second sleeve.
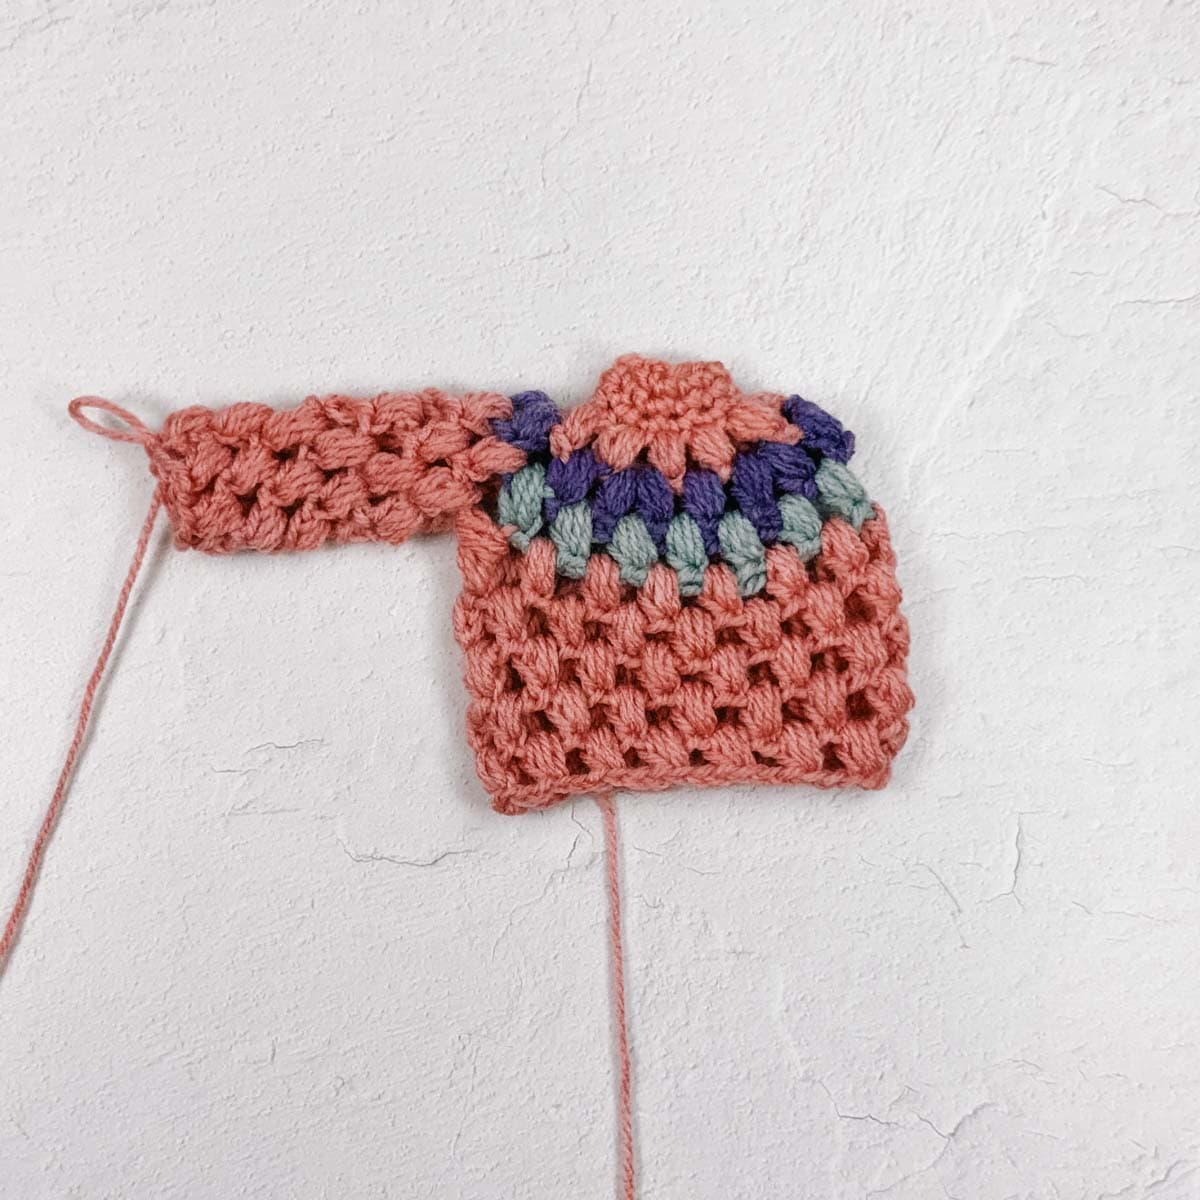
Neckline Border (optional):
With RS facing, attach Accent Color yarn of your choice to the turtleneck foundation chain at one side, above a sleeve.
Neckline Border (RS): Ch 1, sc in base of each sc from Turtleneck Round 1, slst to first sc to join. Fasten off. (12 sc)
Bottom Border (optional):
With RS facing, attach Accent Color yarn of your choice in a chsp of Round 11 at one side of sweater, below sleeve.
Bottom Border (RS): Ch 2 (counts as first sc and chsp), *sc in next chsp, ch 1; rep from * around sweater bottom, slst to first ch of beginning ch-2 to join. Fasten off. (14 sc, 14 chsps)
Finishing
Weave in remaining ends: Because this is an ornament rather than an actual garment that will be worn, I approach this step with some laziness. (Don’t tell the crochet police!) Weave in ends where necessary, and tie knots or pull remaining tails inside the sweater instead wherever you can.
Adding an ornament hanger: Thread 12-15” of yarn, ribbon or waxed cord through the shoulders of your sweater. Tie into a loop.
Ski you later! How many more mini sweaters can you make before Christmas?
Permissions + Copyright:
Please do not publish or share this pattern as your own. You may make items to sell with this pattern. In exchange, please link back this post. Do NOT use our photos as your own sales photos.
More Christmas Free Patterns
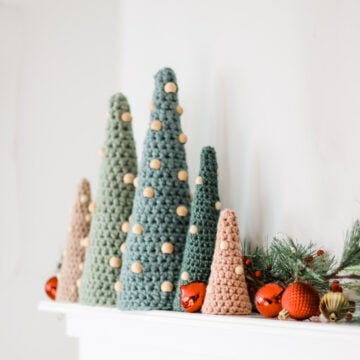
- Farmhouse Crochet Christmas Trees With Beads | Pattern + Video
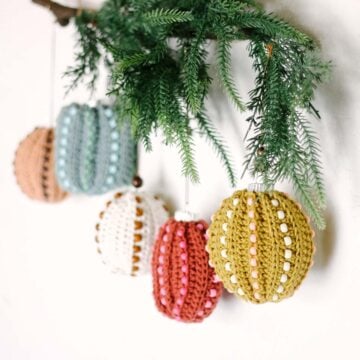
- Modern Crochet Bauble Ornaments with Beads | Free Pattern + Video
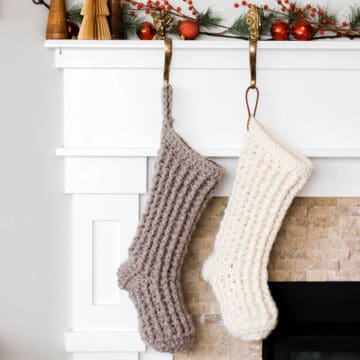
- 2 Hour Fast Crochet Stocking - Free Pattern + Video
- 55+ Free Crochet Christmas Ornament Patterns to Trim Your Tree
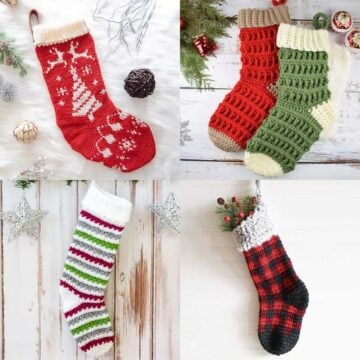
- 35 Free Crochet Christmas Stocking Patterns for Easy Heirlooms
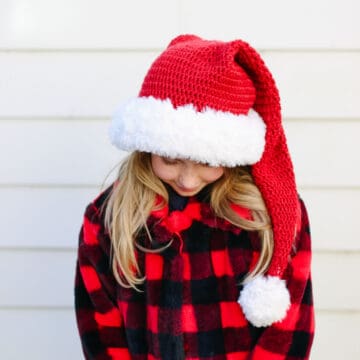
- Easy Classic Santa Hat Crochet Pattern
That was so fun! Now what?
Invitation to our Private Community
Come discuss crocheting your mini crochet sweaters and lots of other projects and techniques in our Make & Do Crew community. Here thousands of helpful crocheters answer each other's questions and share their stitches. Join us!
Leave a Reply