If you're wondering how to change colors in corner to corner crochet, this post is for you! Make picture afghans from charts (graphgans) using this simple technique.
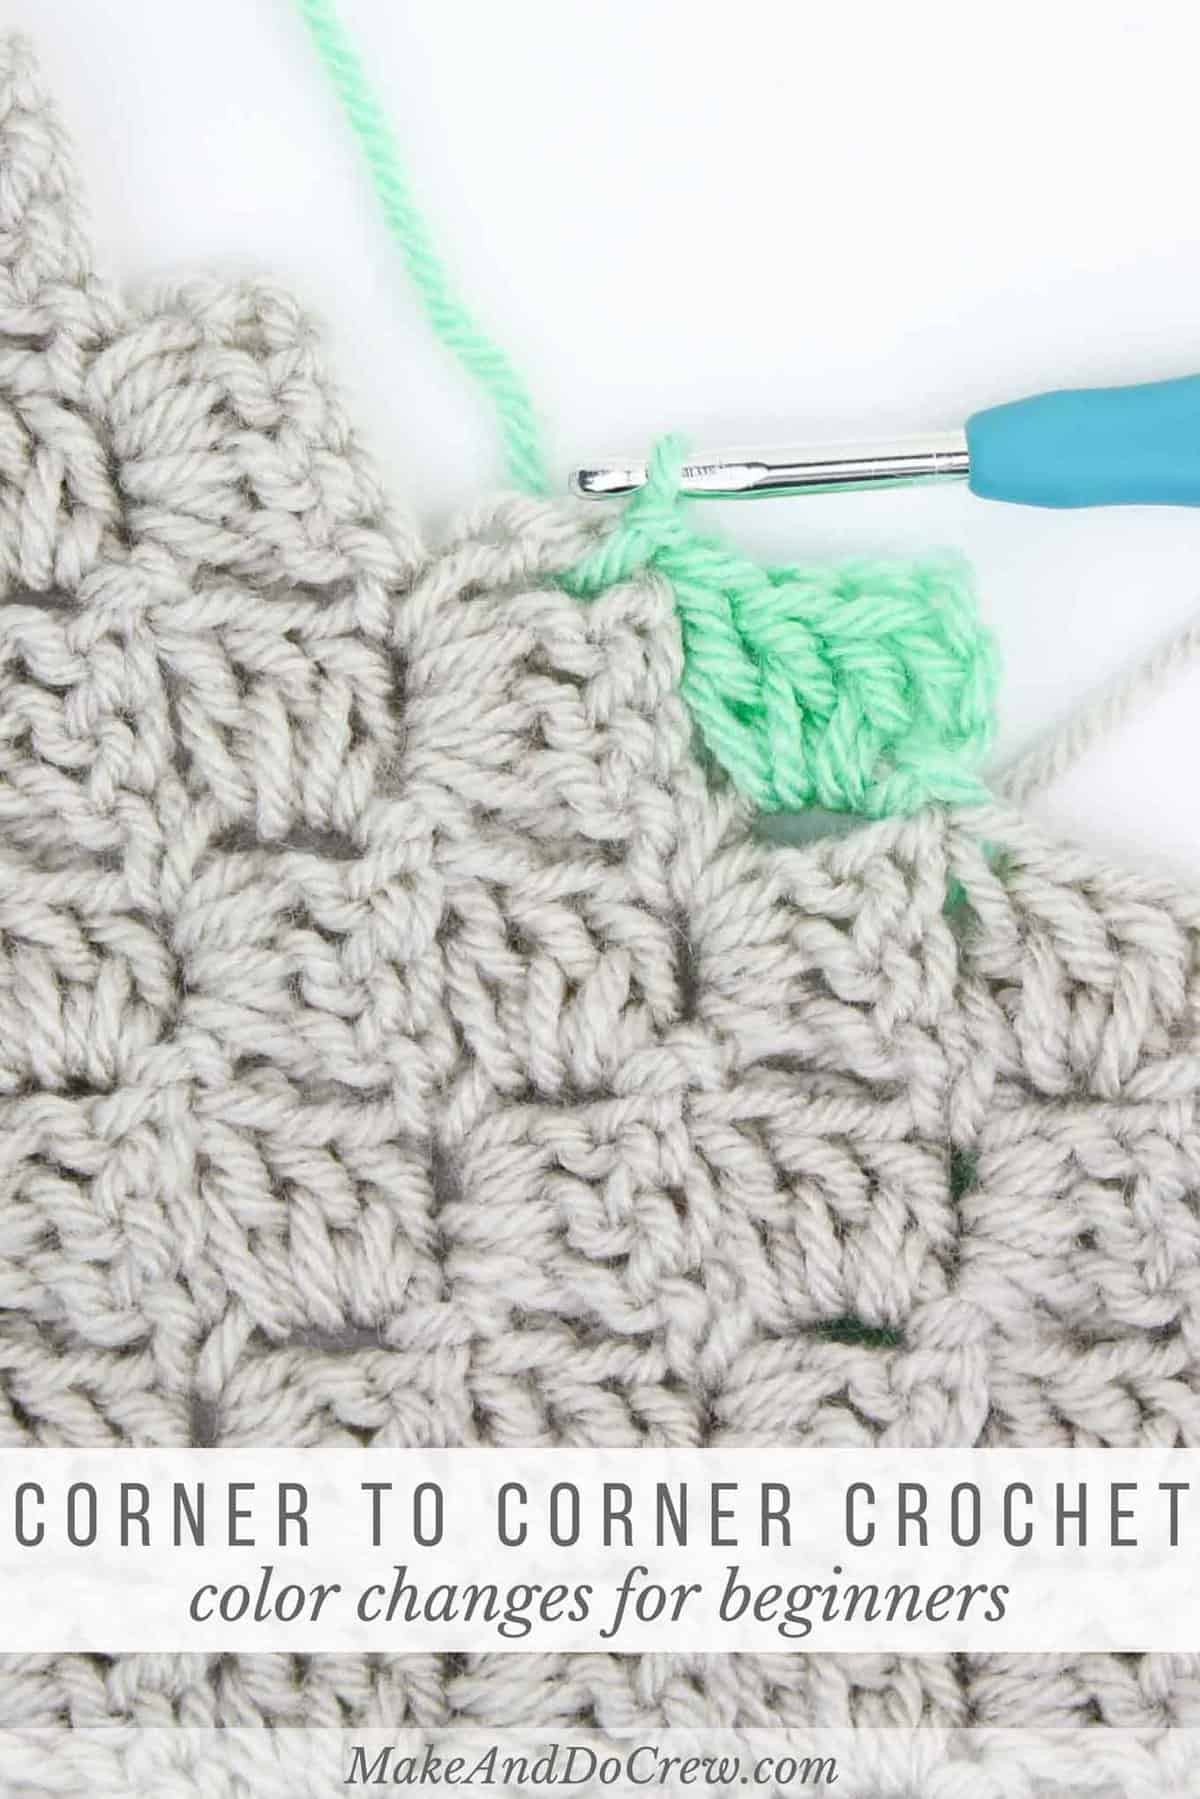 Earlier this week, I shared a tutorial on basic corner to corner (c2c) crochet stitches and how to read a c2c chart or graph. Of course, the corner to corner stitch can be used to create a solid colored design and it actually looks quite lovely and textured that way, but the real fun comes in "illustrating" pictures with many colors of yarn.
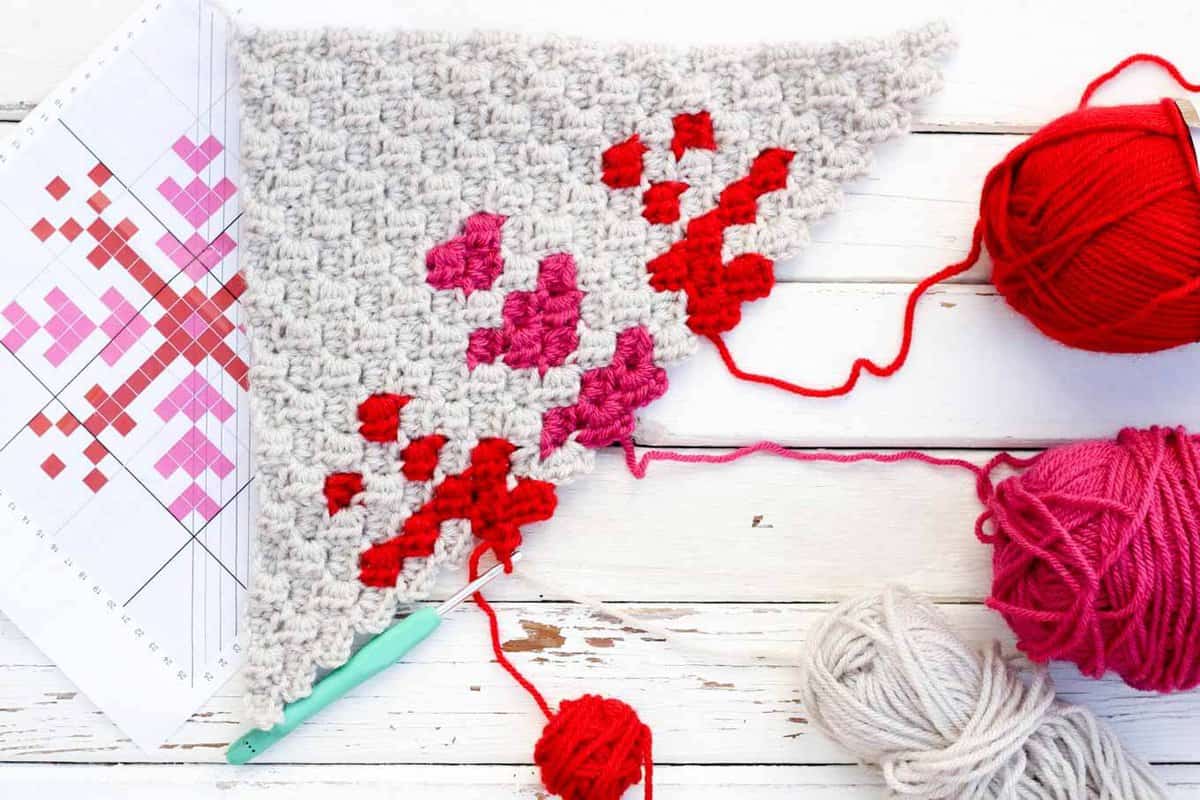 Learning how to change colors in corner to corner crochet is easier than you might think. It's minimizing the ends to weave in and keeping your yarn organized once you've attached several colors to your project that can get tricky. I have a few ideas on that, but first, let's learn how to switch colors.
How to Change Colors In Corner To Corner Crochet
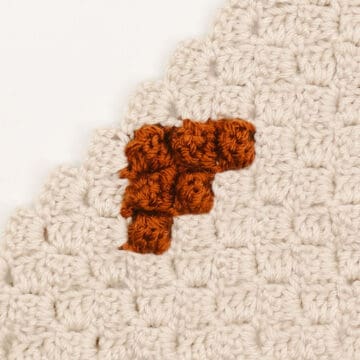
When your c2c chart or graph indicates that it's time to switch colors, you will actually begin the color change in the last double crochet of the original colored tile. These photos illustrate how to change colors in corner to corner crochet, but there are additional written details below.
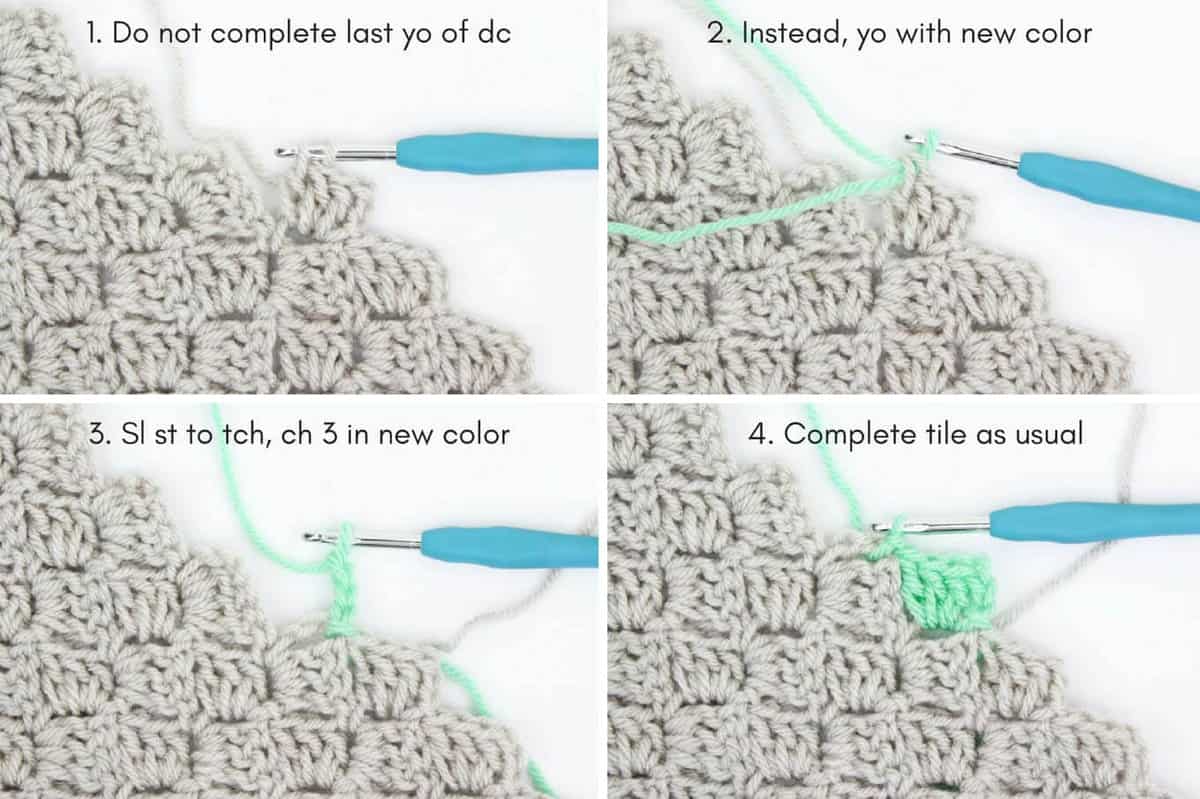
Step 2: Instead, yarn over with the new color to complete the double crochet
Step 3: Slip stitch to ch-3 turning chain of next tile and chain 3
Step 4: Work 3 double crochet in ch-3 turning chain as you usually would
It’s not necessary to cut your yarn after each color change. In fact, it’s best to keep it attached whenever possible in order to minimize the yarn tails you’ll need to weave in.
How to Keep Yarn Organized In C2C Crochet
Once you start adding multiple colors of yarn, you can quickly tangle yourself into a tizzy. I have tried many ways to keep my yarn organized with varying success. Sometimes I simple put each ball into a Ziploc bag and zip it as far closed as possible around the strand of yarn in use. This helps keep the balls from unraveling and getting messy, but it doesn't do much to prevent the different colors from getting twisted.
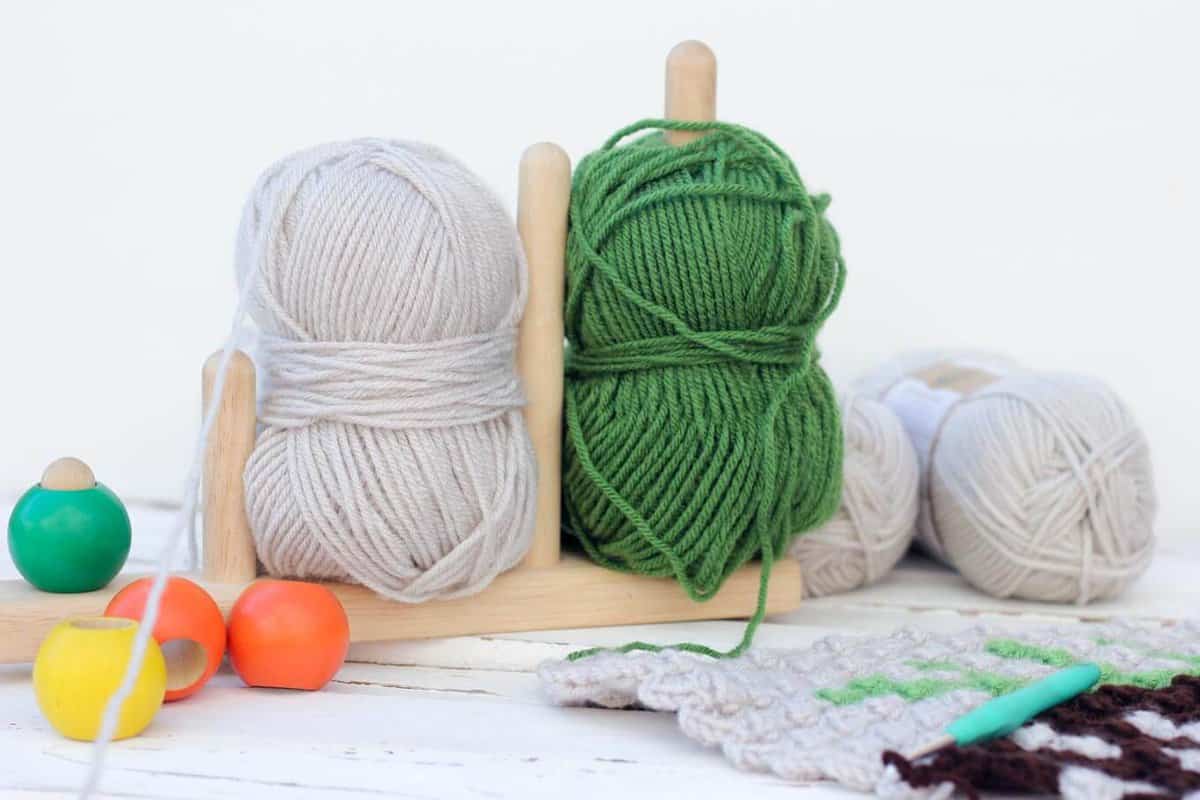
The best success I've had is with using a yarn skein holder my dad made me for Christmas. I simply pop the skeins I'm using onto the modular dowels and it generally keeps things pretty well in order.
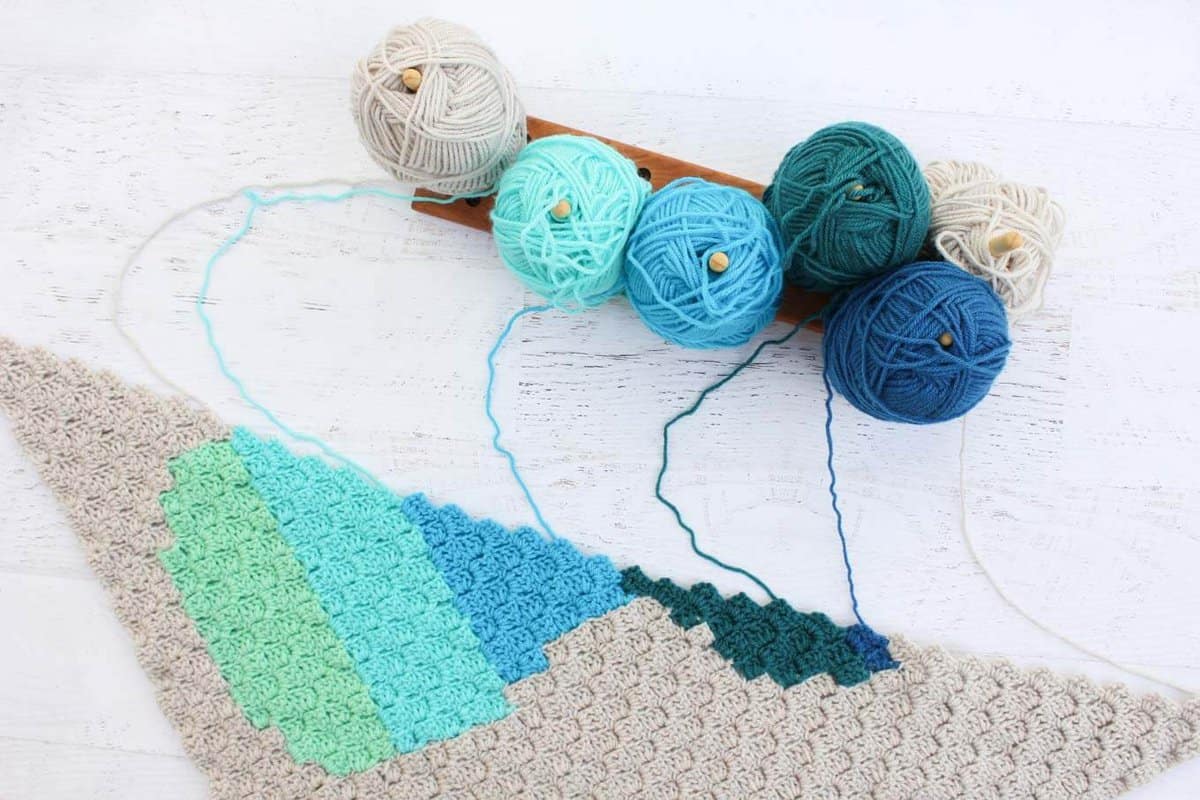
One of the most important tips to prevent yarn distress is simply to be aware of which direction you're flipping your c2c project when you finish a row. So if you flip it right to left (like you're turning the page of a book) the first time, flip it back from left to right for the next row. This will "unwind" any twisting that happened from the original flip over.
Want to practice the basics of corner-to-corner crochet like increasing, decreasing, and changing colors at the end of a row? This C2C blanket is the perfect beginner project to hone your skills.
Wanna save this pattern?
How to Minimize Ends to Weave In
One of the more tedious parts of corner to corner crochet can be the number of yarn ends there are to weave in. With a few simple tricks though, you can minimize yarn wrangling you'll have to do at the end.
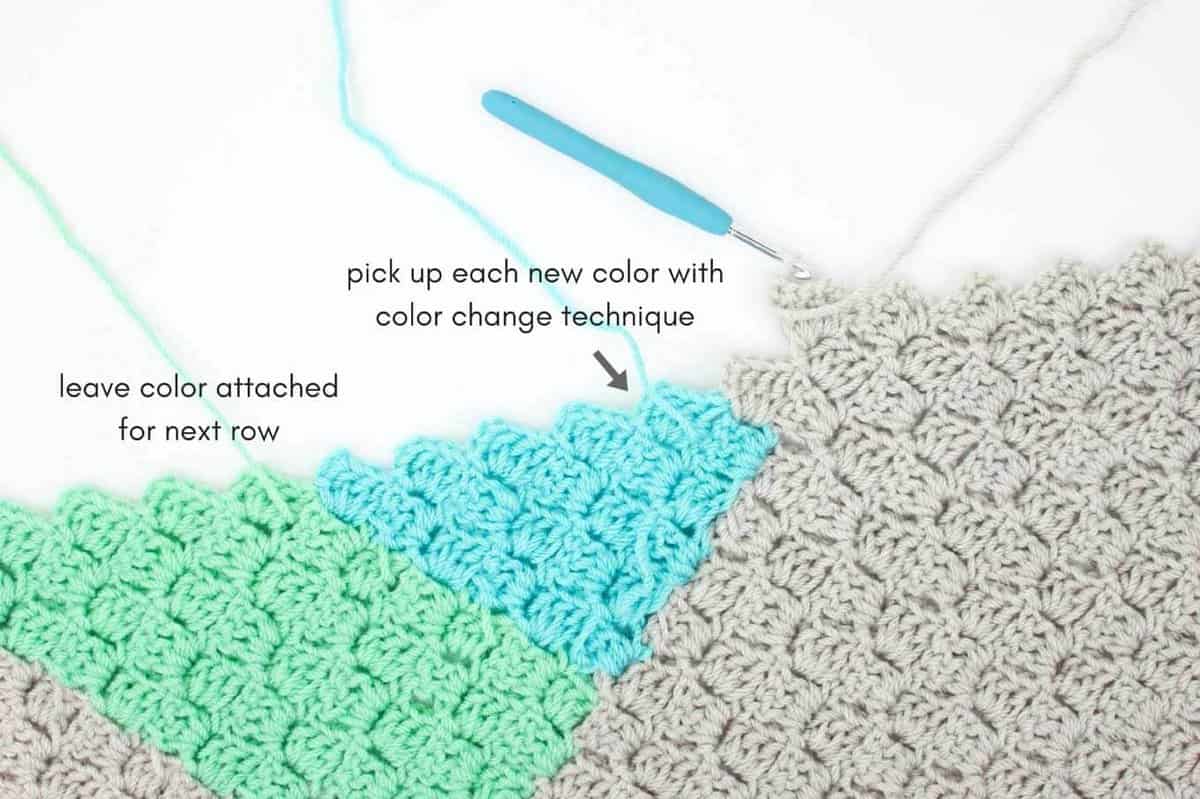
Below is a work in progress c2c project where you can see that I have a several different colors in action. Because I'm working larger sections of each color, I've just attached a bobbin or skein of each color that is needed in that row of the graph. That way I can just pick up the color and use it as I get to that point in the row.
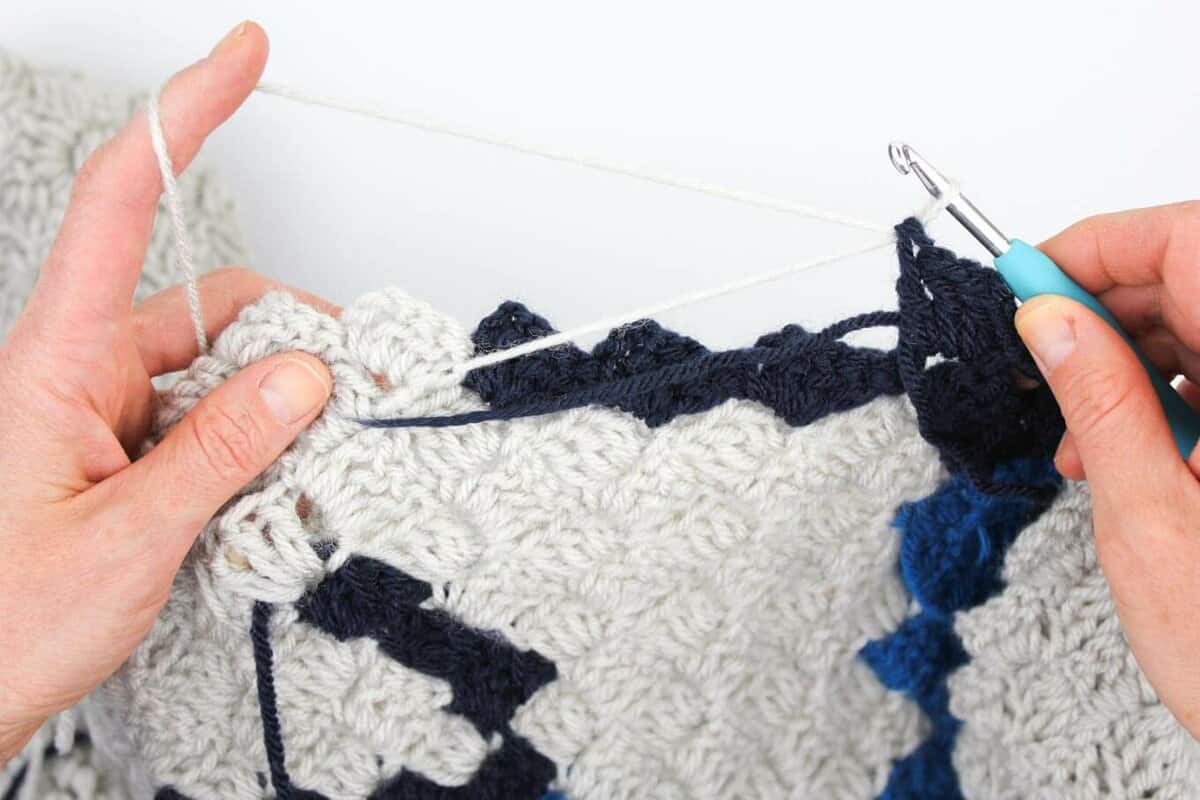
Sometimes you'll find that the color you want is nearby, but not exactly right next to the tile you need to work. As you can see in the example below, I'm able to pull the linen color over to the right to work into the next navy tile below. While doing so, I crochet over the strand of linen yarn I pulled over to disguise it. This way I avoid cutting the linen color and creating a new end to weave in.
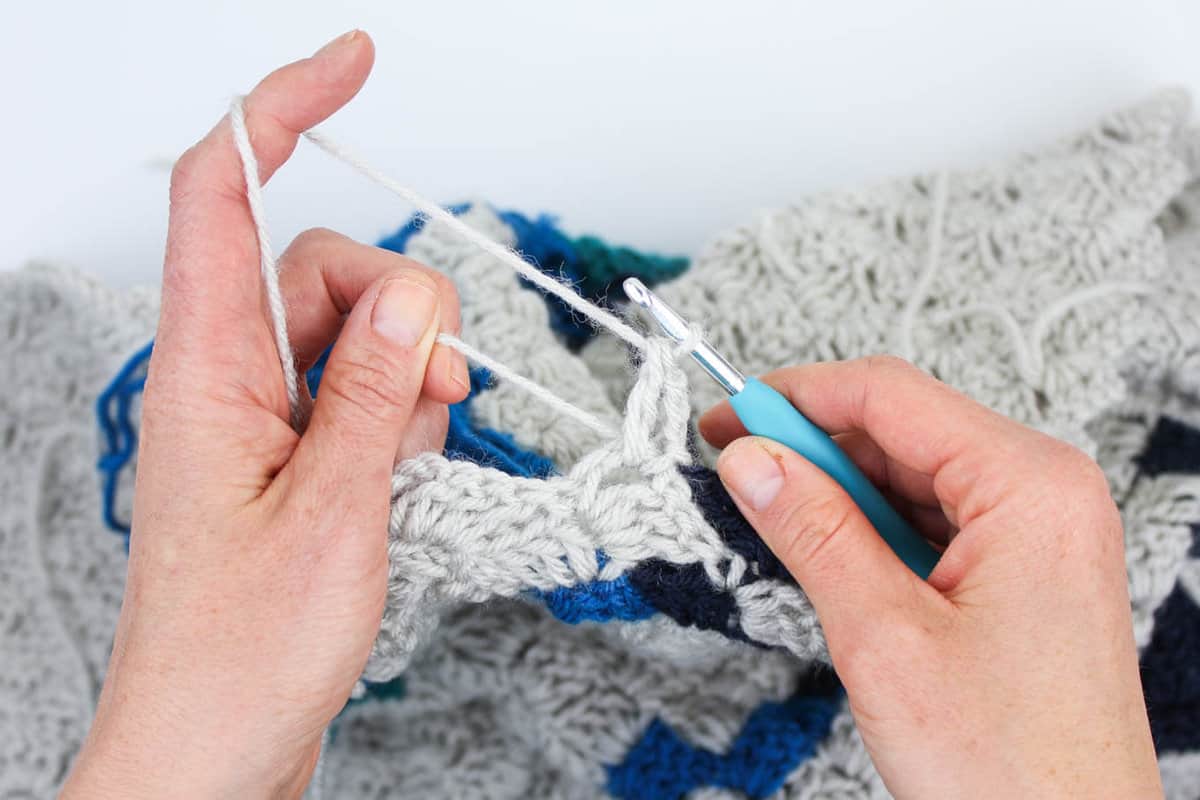
It's a great idea to crochet over your tails whenever possible because it will significantly reduce the ends you'll have to weave in. My rule of thumb is that if the tail color matches either the tiles below it or the tiles I'm creating above it, I can just work over the tail. But if for example, the tail was navy and the tiles below and above it were linen, I wouldn't want to crochet over it because it wouldn't disappear enough into the linen yarn.
The example below is another case when it would be A-OK to crochet right over the linen tail.
Additional C2C Resources
I hope that you know a little more about how to change colors in corner to corner crochet now (and that when you do, you don't feel like you're spinning yourself Charlotte's Web of yarn!) Here are some helpful posts and places to learn more about the c2c crochet technique.
• VIDEO: How to Sew C2C Squares Together With the Mattress Stitch
• Repeat Crafter Me: Sarah's got the market on corner to corner crochet cornered. (Pun intended!) She's got an incredible collection of free c2c patterns on her blog as well as a full How to C2C Video Course available for purchase.
• The Crochet Crowd: Mikey has a really clear way of explaining corner to corner crochet in his video tutorials that helped me a lot as I was getting started.
• 1 Dog Woof: ChiWei has put all her c2c tutorials and tips on one super helpful page. She has several free c2c patterns as well.
And now that you know what you're doing with corner to corner crochet, here are some of my free patterns you might enjoy!
Nordic Crochet Super Scarf - free c2c pattern


Luna L. says
This was so helpful! Thankyou!
Jamie Shank says
Great idea, Charlotte!
Melyna says
I can't seem to get my squares to be "squares" the other colours go into my square. So they don't look crisp. I just did an owl c2c and the main colour looks like it "seeped" into the eye (if that makes sense) and the flowers dont even look like they are attachedto the branches. Any suggestions as to what I may be doing wrong or how to fix that??
Thanks!!
Jess @ Make and Do Crew says
Yes! I think I know exactly what you mean! I find that making the slip stitch a little extra tight when I first join the new color makes the transition a bit cleaner.
Hope that helps you too!
jess
Doni says
I find that using hair clips to snap down my yarn works excwllwntly, especially when there are many colors that are being used.
Jess @ Make and Do Crew says
Thanks for that tip, Doni! It sounds like it would work really well!