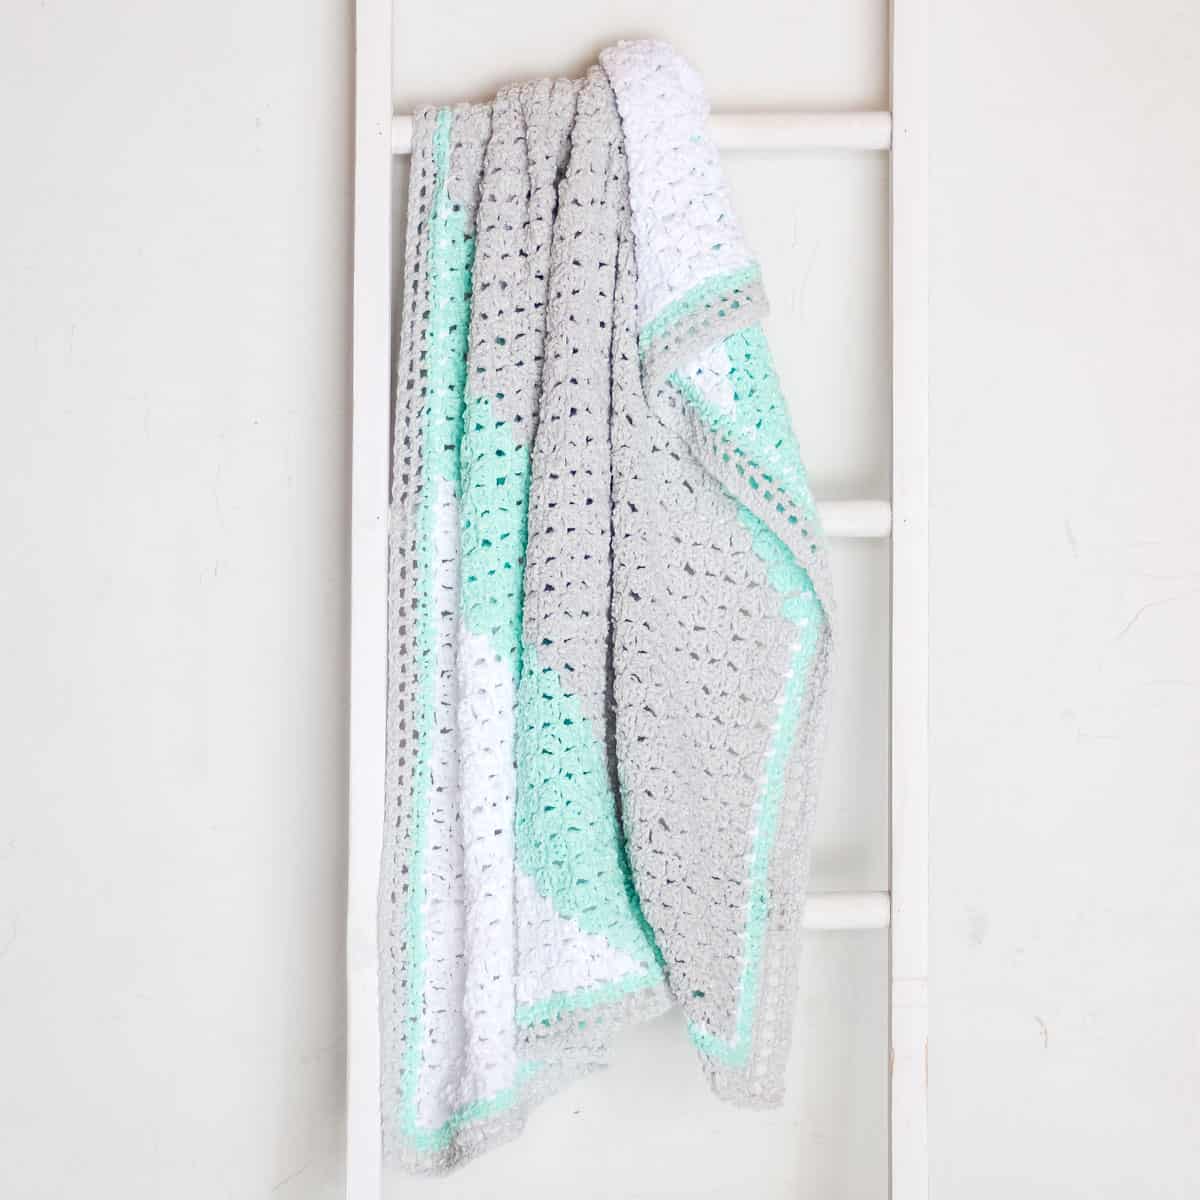
This corner to corner crochet blanket pattern is ideal for those new to the technique because it requires no mid-row color changes. You’ll love the supple, soft stitches, and so will the lucky baby who is snuggled in them.
Download the free C2C graph pattern below or purchase the ad-free PDF with written instructions.
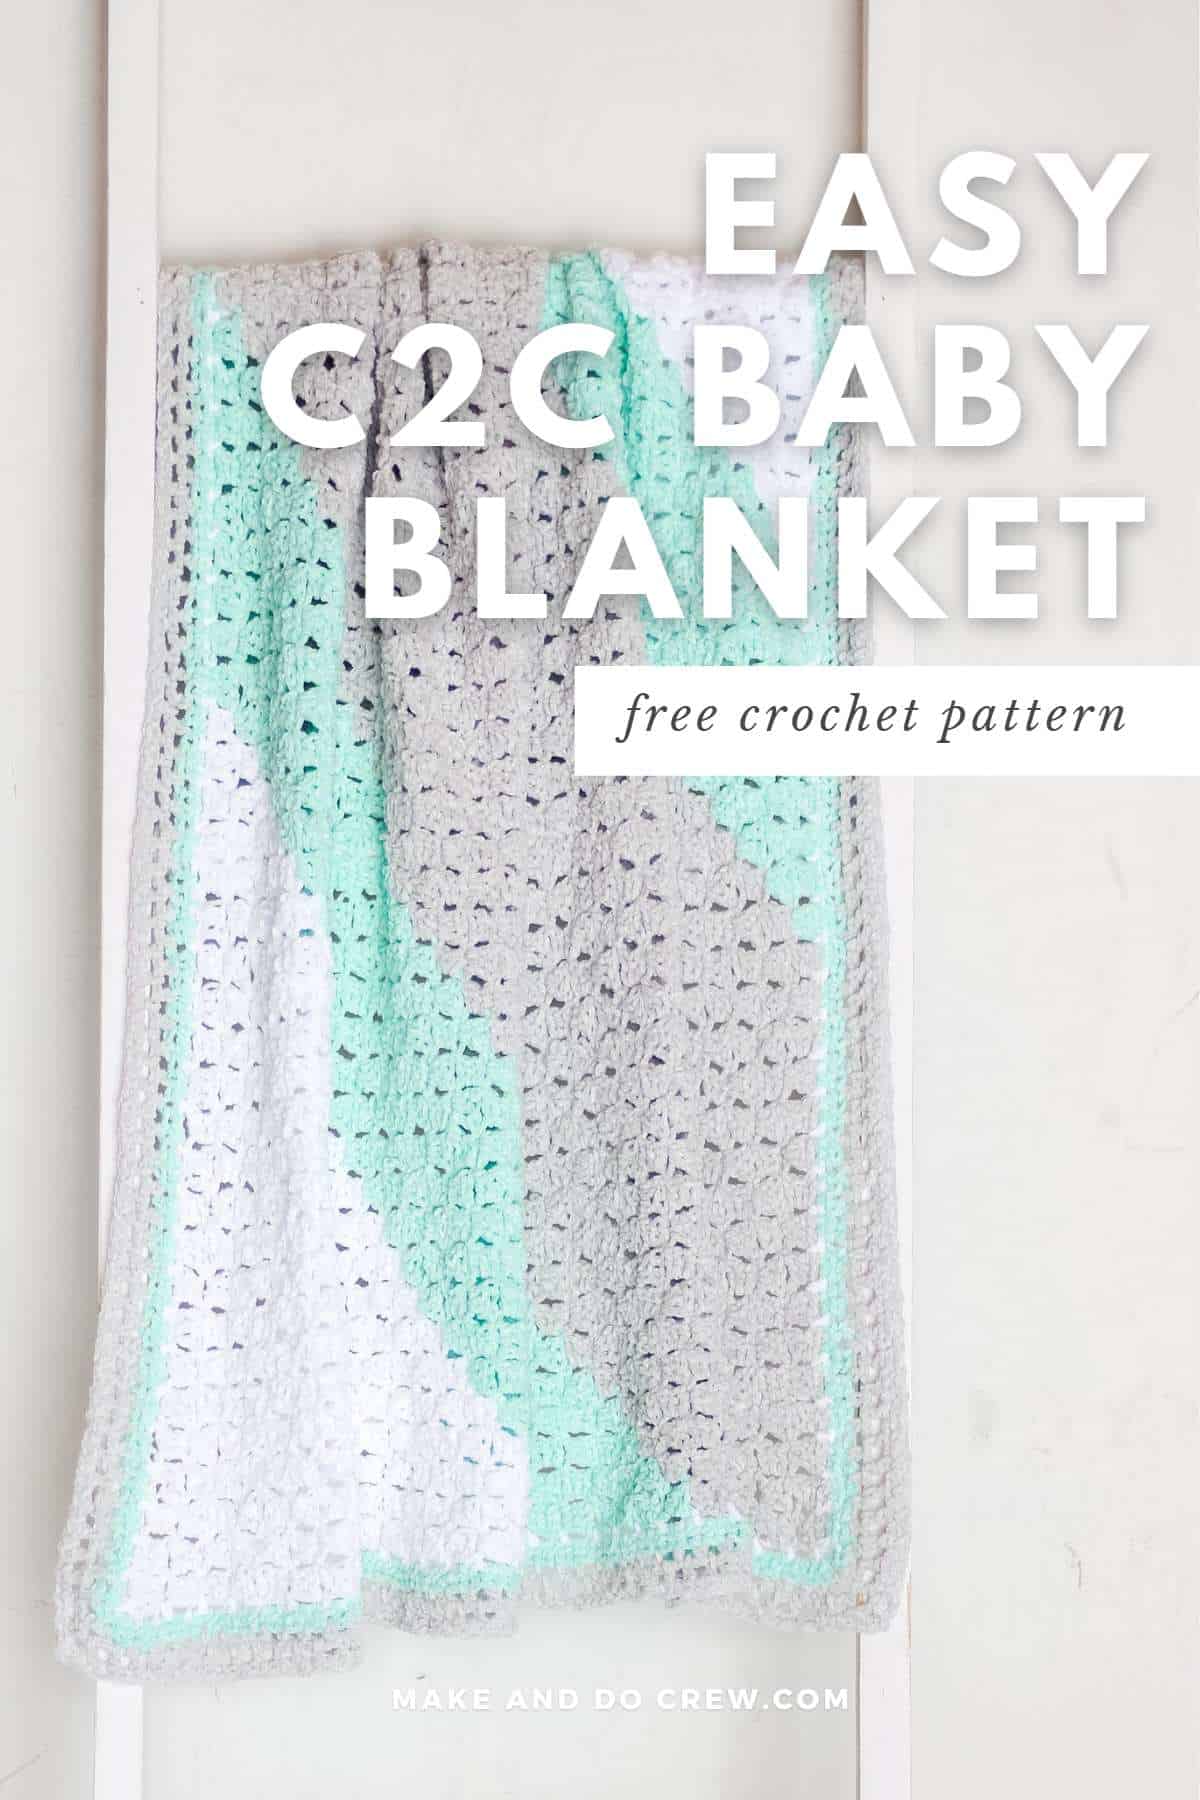
This corner-to-corner blanket pattern is part of a collaboration with Lion Brand Yarns. This post contains affiliate links.
Jump to:
- What Is a Corner to Corner Crochet Blanket?
- A C2C Crochet Project for Beginners
- What Makes This Pattern Easy
- Techniques You’ll Practice
- If This Is Your First C2C Crochet Afghan
- Yarn + Supplies
- Order An All-in-One Crochet Kit
- Print the Written Instructions
- How to Increase a C2C Crochet Blanket
- How to Decrease Corner to Corner Crochet Blanket
- How Do You Crochet a Corner to Corner Blanket Border?
- Slanted Stripes Blanket – Free Pattern
- How Big Should a C2C Baby Blanket Be?
- How Much Yarn Do You Need for Corner to Corner Crochet Blanket?
- That was so fun! Now what?
- Invitation to our Facebook group
What Is a Corner to Corner Crochet Blanket?
Unlike traditional crochet blankets that are typically worked back and forth in rows, the corner-to-corner crochet (C2C) technique is worked on a diagonal axis.
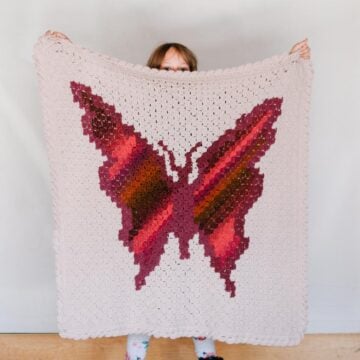
C2C can be a fun and fast way to crochet easy blankets, but it’s often used to incorporate pictures and graphic elements into crochet fabric in general.
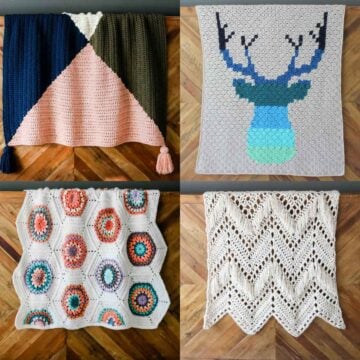
If you’re new to C2C crochet, check out our complete guide to corner to corner crochet for beginners.
Why you’ll love this easy baby blankie!
A C2C Crochet Project for Beginners
While my mom and I have designed lots of graphgans with dogs, Christmas elements, and our favorite plants, we’ve never offered a simple corner to corner blanket for makers who are new to the technique.
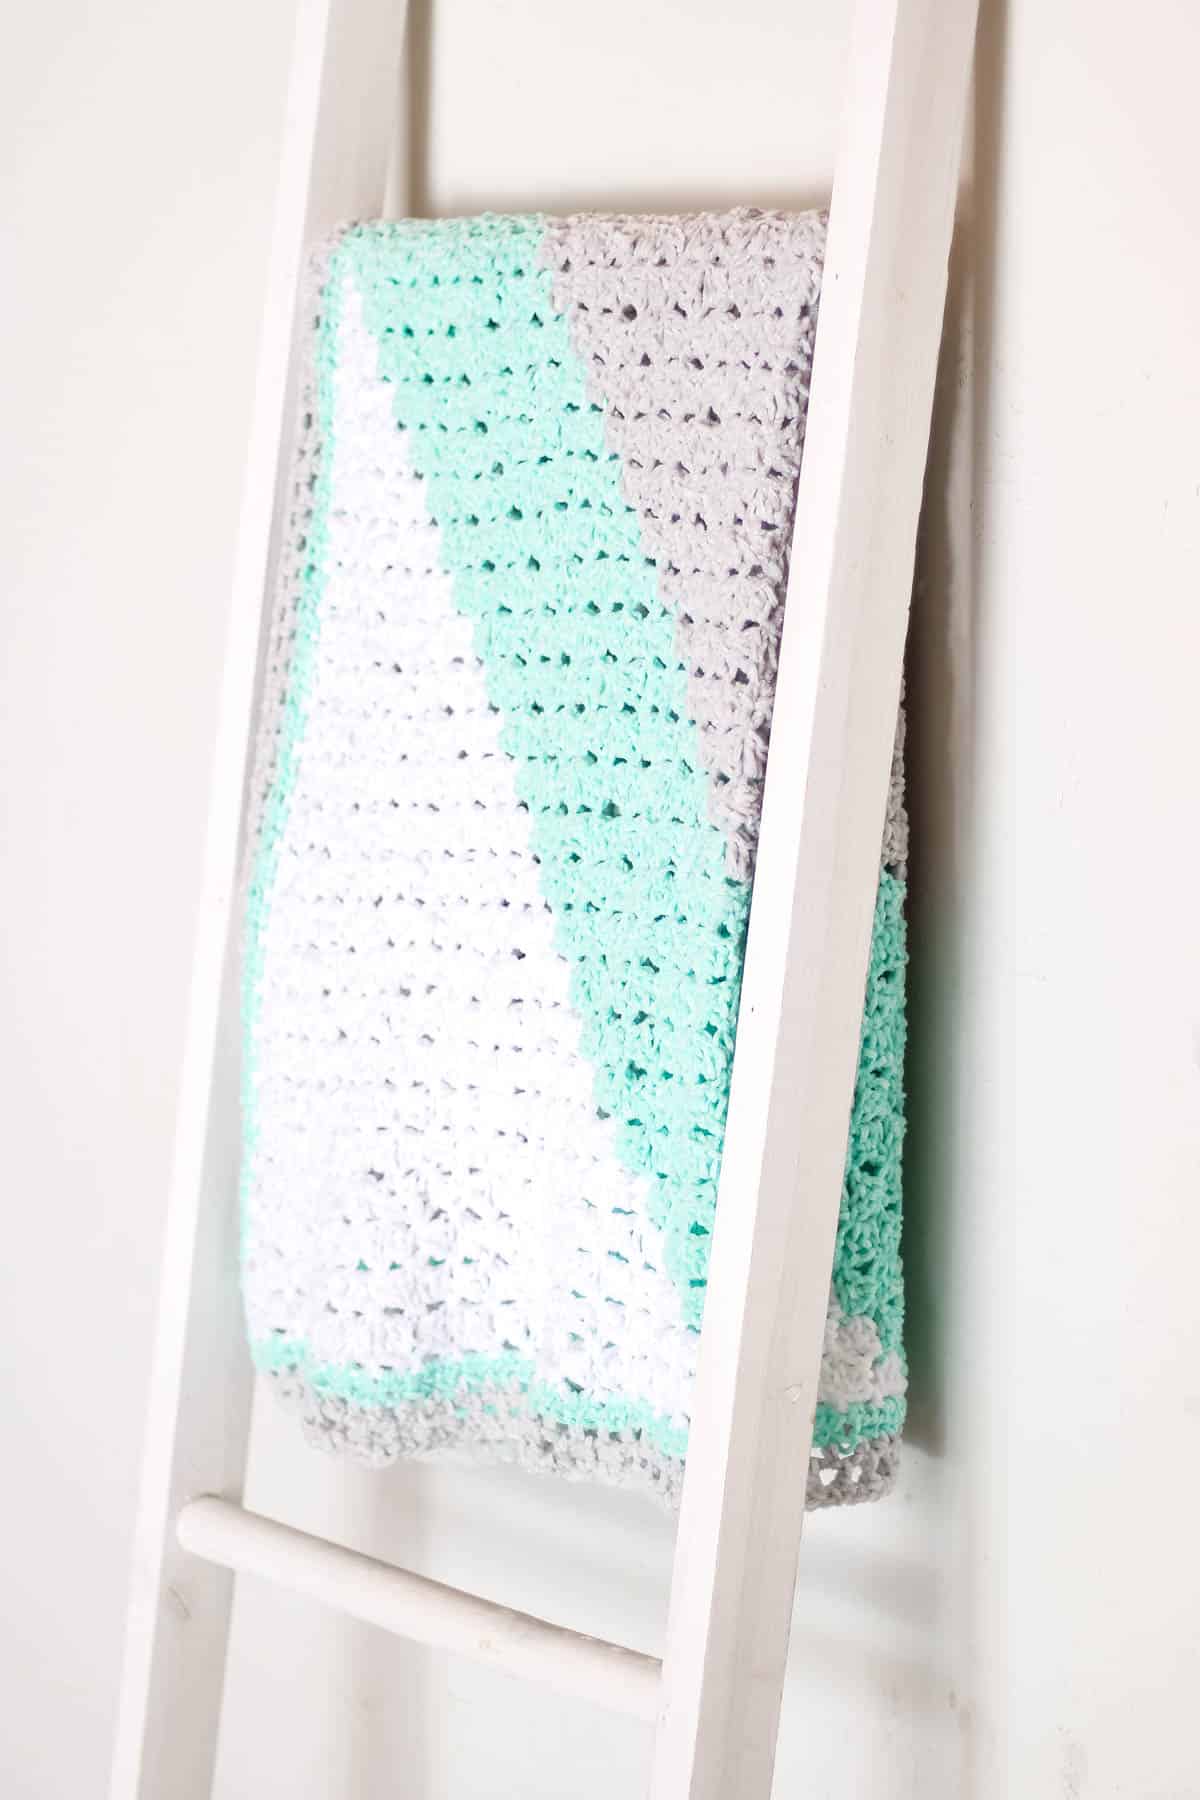
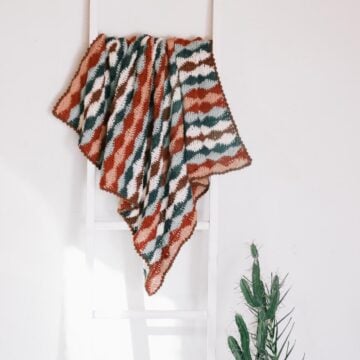
The Slanted Stripes Blanket is intended to fill that gap. Even if you’re just learning how to corner to corner crochet, this pattern is totally doable.
What Makes This Pattern Easy
Because this corner to corner afghan only changes colors at the end of the row, you’ll avoid needing to keep multiple colors of yarn attached at the same time. For these diagonal stripes, you’ll cut the yarn at the end of a blanket row and begin working with the next color.
Once you start projects like our C2C deer blanket, you’ll want to learn how to keep your yarn organized while you crochet.
Techniques You’ll Practice
As you progress through this free c2c crochet blanket pattern, you’ll get a chance to work on these skills:
If This Is Your First C2C Crochet Afghan
While this beginner blanket involves minimal color changes, you can reduce them further for an even easier project.
Using variegated yarn, such as Lion Brand Basic Stitch, is an excellent way to add visual interest without having to change colors manually.
Try Self Striping Yarns
Similarly, self-striping yarns automatically create color transitions as you work through the skein. The main drawback is that you’ll likely have a new color start in the middle of the diagonal rows sometimes.
If you find a cake yarn with a color combo you love, I think this compromise is worth it for the ease.
Related: The Best Free Crochet Patterns to Make with Lion Brand Mandala
Yarn + Supplies
For the Slanted Stripes beginner blanket pattern, we chose a medium-weight yarn made from super soft chenille called A Star is Born: Nap Time. This yarn has drape for days!
The fuzzy chenille can be more friction-y to crochet with, so it takes a bit of getting used to. I suggest using a smaller hook if you notice loose loops in your crocheted fabric. And if chenille isn’t for you, you can easily substitute another worsted weight yarn.
Substitutions
If A Star is Born: Nap Time is unavailable near you, you can check YarnSub.com for similar suggestions.
Crochet Hook Recommendation
This free baby blanket pattern uses a size H (5 mm) crochet hook While meeting the pattern gauge isn’t essential in this project, you should adjust your hook size if you notice your C2C squares have large spaces between them (size down) or too tight to crochet with ease (size up).
Order An All-in-One Crochet Kit
If you don’t live near amazing yarn stores or if you just like to get fun packages in the mail, the all-in-one kit is a perfect way to make your Slanted Stripes blanket.
This bundle from Lion Brand includes all the A Star is Born: Nap Time you’ll need, plus a bonus printable PDF of the graph pattern and written line-by-line instructions (delivered digitally).
Print the Written Instructions
You can download the free Slanted Stripes Blanket printable PDF graph pattern to crochet this design for free. If you prefer to have line-by-line written instructions as well, the ad-free PDF will be your best friend.
Following and checking the written pattern against the visual graph pattern can often be the fastest way to C2C crochet. Using both together will also help you avoid mistakes!
When you purchase the premium PDF, you’ll be able to instantly download a nicely formatted file that includes:
- The visual graphgan chart
- Line-by-line written instructions
- Links to all relevant photo and video tutorials to complete this pattern successfully (even if you’re new to C2C crochet!)
How to Increase a C2C Crochet Blanket
If you’re making your first corner to corner blanket, you’ll need to know how to increase. Not to worry, though, because it’s quite straightforward once you see it in action.
When working the first half of corner to corner crochet patterns, each row will increase by one tile. This means that for the first half of the pattern, the pattern row number always corresponds to the number of tiles in the row. (Row 1 = 1 tile. Row 2 = 2 tiles)
Row 1:
Step 1: Ch 6.
Step 2: Dc into the fourth ch from the hook.
Step 3: Dc into the next 2 chs; turn. (1 tile made)
Row 2:
Step 4: Ch 6.
Step 5: Dc into the fourth ch from the hook and the next 2 chs. (1 tile made)
Step 6: Sk the next 3 dc, then slst into the space created by the ch-3 at end of tile.
Step 7: Ch 3 quite tightly.
Step 8: Dc 3 into the same space; turn. (1 tile made, 2 total tiles in row)
Row 3 and Beyond:
Repeat Steps 4-8 to begin each row. As rows increase in number of tiles, repeat steps 6-8 in each remaining tile of row.
Follow our detailed tutorial on increasing in corner to corner crochet to learn this skill step-by-step.
How to Decrease Corner to Corner Crochet Blanket
Once the corner of the blanket is reached, you’ll begin decreasing in the first tile of each row. Each decrease row eliminates one tile until only one remains in the final row.
Step 1: Chain 1, slip stitch (sl st) into next 3 double crochet. (1 tile decreased)
Step 2: Slip stitch into the ch-3 turning chain.
Step 3: Chain 3 quite tightly.
Step 4: Double crochet (dc) 3 into ch-3 turning chain of previous row. (First tile of blanket made)
Repeat Steps 6-8 of the “C2C Double Crochet – Increasing” tutorial above in each remaining tile of row.
Follow our detailed tutorial on how to decrease in corner to corner crochet to learn this skill step-by-step.
How Do You Crochet a Corner to Corner Blanket Border?
One of the easiest blanket borders to use on graphgans is the crab stitch (also known as reverse single crochet). This simple border helps finish off the edge of your corner to corner blankets, without distracting from the main design.
While the Slanted Stripes pattern uses a different border, you can easily default to this crab stitch border for this or any other C2C afghan pattern.
Here’s the basic formula for adding a reverse single crochet (rsc) border to a corner-to-corner crochet blanket.
Step 1. Ch 3 (counts as sc and 2 ch), skip first tile, sc in space between next 2 tiles, *ch 2, skip tile, sc in space between tiles; rep from * around blanket. Place [sc, ch 1, sc] in each corner. Slip stitch to first ch from beginning of round to join.
Step 2. Ch 1, rsc around blanket placing 1 rsc in each sc and 2 rsc in each ch2sp, slst to first st of round to join. Fasten off and weave in end.
Related: Easy Crochet Stitches for Blankets
More Free Baby Blanket Patterns
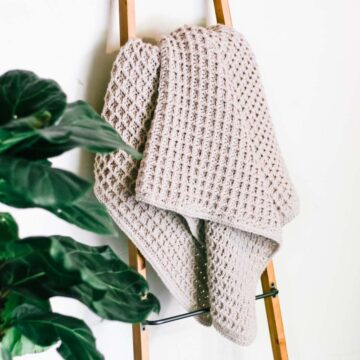
If you love crocheting easy, modern baby blankets, we’ve got plenty more to add to your project queue.
See more crochet baby blanket patterns →
Slanted Stripes Blanket – Free Pattern
Explanation:
Work up an easy diagonal striped baby blanket using the meditative corner to corner (c2c) crochet. You’ll love the supple, soft stitches, and so will the lucky baby who is snuggled in them. This c2c crochet pattern is ideal for those new to the technique because it requires no mid-row color changes.
Supplies + Materials
Order an all-in-one kit from Lion Brand here.
• Lion Brand A Star is Born: Nap Time (Weight: 4/Medium – 306 yds, 3.5 oz, 100 g)
– Color A: White (171-100) – 1 skein (approx 100 g)
– Color B: Pale Aqua (171-104R) – 1 skein (approx. 100 g)
– Color C: Pale Grey (171-149AE) – 2 skeins [(approx. 200 g)
• Size H (5.0 mm) crochet hook or size needed to obtain gauge
• T-pins
Wanna save this pattern?
• Steamer or iron with steam function (alternative: use a spray bottle)
• Blocking board (optional)
• Printable free graph pattern (download)
Measurements
33 x 38”
Gauge
5.5 tiles = 4”
Abbreviations + Glossary
(US Terms)
ch – chain
chsp – chain space
dc – double crochet
rep – repeat
RS – right side
sc – single crochet
sk – skip
slst – slip stitch
sp – space
st(s) – stitch(es)
WS – wrong side
yo – yarn over
tch – turning chain
C2C Crochet Skill Level
This easy corner to corner blanket pattern is ideal for crocheters with experience in the basic skills of creating chains, double crochet, and weaving in ends. If you’re new to C2C crochet, you’ll find this beginner pattern an good place to start.
Permissions + Copyright:
Please do not publish or share this pattern as your own. You may make items to sell with this pattern. In exchange, please link back this post. Do NOT use our photos as your own sales photos.
Additional Corner-to-Corner Crochet Resources:
More help with learning corner-to-corner-crochet basics can be found here:
- My Book: Corner To Corner Crochet: 15 Contemporary C2C Projects
- How to Change Colors in a C2C Project
- How to Design C2C Patterns Using Stitch Fiddle
Overall Pattern Notes
- Each pixel in the graph corresponds with one tile in your afghan. A tile = 3 ch (the tch, which counts as a dc) + 3 dc
- Instead of working a separate gauge swatch, you can begin the blanket and measure gauge about 12 rows in to make sure you’re on track. While meeting pattern gauge is not essential, it will ensure the finished blanket turns out expected size and uses as much yarn as listed in “Supplies” above.
Blanket Making Process
- Crochet main blanket by following the graph pattern and (optional) written instructions.
- Crochet border Rounds 1-4.
- Lightly steam block blanket. Do not actually touch steamer or iron to the yarn. Click here to learn more about blocking your crochet projects.
Want some company while you crochet?
Get support (and camaraderie!) in the Make & Do Crew Facebook Group.
Free pattern
Great free option.
- C2C blanket pattern only.
- Printable.
- Cross off each graph row as you crochet.
Premium PDF
Faster with fewer mistakes.
- Includes line-by-line written instructions for each graph row.
- Saves time and mistakes.
- Printable graph pattern included.
Border
- Even though each color is fastened off at the end of the round, be sure to alternate right side and wrong side rounds when working border.
Attach Color C in any corner sp.
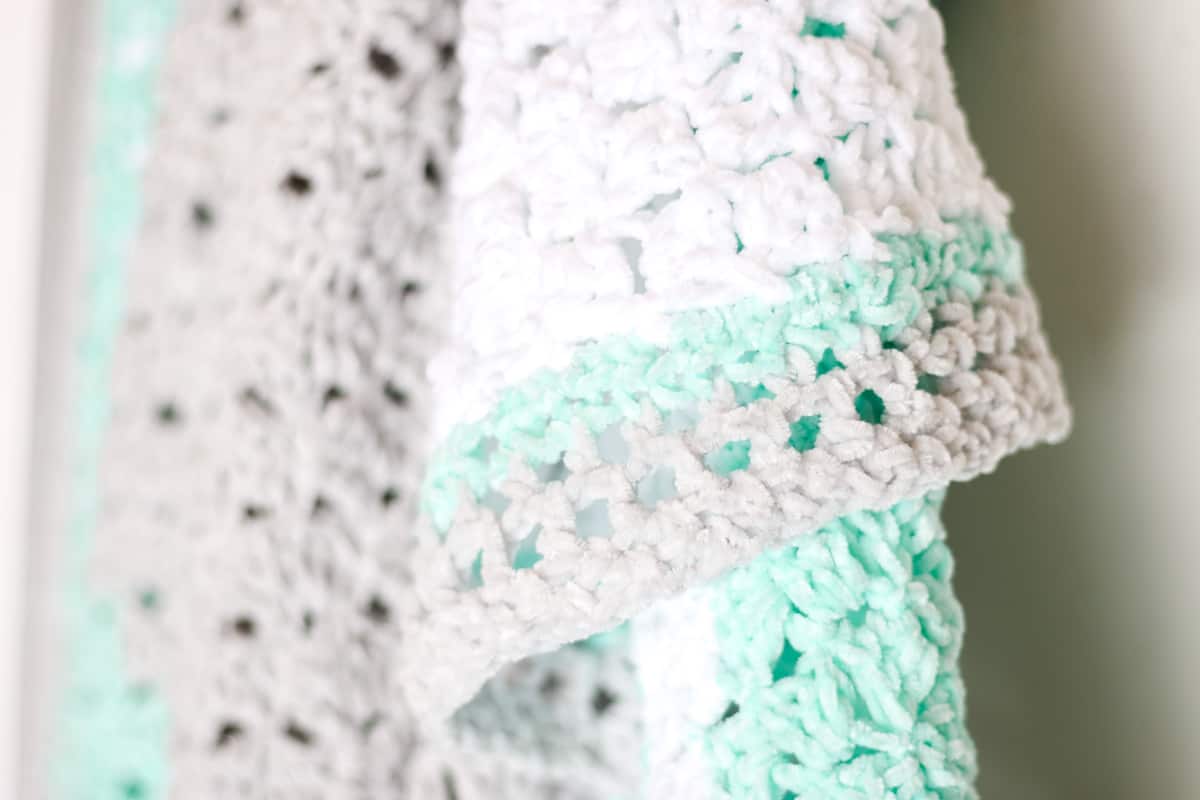
Foundation Round (RS): Ch 1, sc in same sp, ch 2, *sk next tile, sc in space between next 2 tiles, ch 2, rep from * to next corner sp, (sc, ch 2, sc) in corner sc, rep around entire piece working (sc, ch 2, sc) in each corner sp, to last corner sp, sc, ch 2, join with slst to first sc; turn. Fasten off Color C.
Attach Color B in any corner ch 2 sp.
Round 1 (WS): Ch 3 (counts as 1 hdc, ch 1), hdc in same sp, hdc in first sc, *2 hdc in each ch 2 sp, hdc in each sc, rep from * around blanket working (hdc, ch 1, hdc) in each corner sp, join with slst to first hdc of round, turn. Fasten off Color B.
Attach Color A in any corner sp.
Round 2 (RS): Ch 4 (counts as 1 hdc, ch 2) in corner sp, hdc in same sp, *ch 1, sk next sc, hdc in next st, rep from * around blanket working (hdc, ch 2, hdc) in corner sp, join with slst to third ch of tch; turn. Do not fasten off.
Round 3 (WS): Slst to corner ch 2 sp, ch 5 (counts as 1 dc, ch 2)dc in same sp, *ch 1, sk next hdc, dc in ch 1 sp, rep from * around blanket working (dc, ch 2, dc) in corner sp, join with slst to third ch of tch.
Round 4 (RS): Slst to corner ch 2 sp, ch 1, (sc, ch2, sc) in corner ch 2 sp, *sk next dc, ch 1, sc in next ch 1 sp, ch 1, rep from * around, working (sc, ch2, sc) in corner sp, join with slst to first sc.
Finishing
Blocking:
Lay blanket flat. Lightly block using a steamer, iron with steam functionality or a spray bottle. If using a steamer or iron, take not to touch yarn directly as the synthetic fibers can melt.
Weave in Ends:
Put on a great show or podcast, pour a beverage, and weave remaining ends in using a tapestry needle. It’ll be worth it!
Wrap the nearest kiddo up in your new cozy cloud!
Obsessed with finding the best free crochet patterns?
Check out these collections of handpicked patterns to find your next project.
You must use the category name, not a URL, in the category field.How Big Should a C2C Baby Blanket Be?
Most crochet patterns will indicate the size of the blanket you’re making. However, if you are creating your own design or altering an existing pattern, you can refer to these dimensions as a general guide.
Remember, these C2C baby blanket dimensions are only a starting point. The size of your afghan doesn’t need to be exact, as nobody will be measuring it, especially not the baby who’s wrapped up in it!
| Type of Baby Blanket | Dimensions – inches | Dimensions – cm |
|---|---|---|
| Lovey | 10×10 in | 25×25 cm |
| Security blanket | 14×17 in | 36×43 cm |
| Standard baby blanket | 30×35 in | 76×89 cm |
| Receiving blanket | 40×40 in | 102×102 cm |
| Toddler blanket | 42×52 in | 107×132 cm |
| Crib blanket | 45×60 in | 114×152 cm |
How Much Yarn Do You Need for Corner to Corner Crochet Blanket?
The amount of yarn you need for a corner to corner crochet blanket depends on the size of the blanket and pattern you’re using. Here’s how to estimate the yardage your particular design will require.
Step 1. Crochet the first 10 rows of a pattern. This triangle swatch will include 55 tiles at the end of row 10.
Step 2. Weigh the swatch using a kitchen scale. If you don’t have one, tear the swatch out and measure the approximate length of the yarn used with a long tape measure or yard stick.
Step 3. Divide the number of grams or number of inches/centimeters by 55. The resulting number is approximately how much yarn is needed to crochet one tile.
Step 4. Calculate the number of tiles in your pattern by multiplying the number of tiles in the width by the number of tiles in the height. For example, this C2C crochet baby blanket is 39 tiles by 46, which means the whole blanket is ____ tiles.
Step 5. Multiple the number of tiles in your pattern by the amount of yarn needed for one tile (the number from step 4). This is the amount of yarn you’ll need for your afghan.
Step 6. Because there is always some variability in stitch tension throughout a project, I highly recommend adding 10 percent to the amount of yarn you calculate in step 5. It’s always better to have some leftover yarn than to run out!
More Free C2C Crochet Patterns
If you’ve fallen in love with working on the diagonal, we have plenty more free crochet patterns for you to try.
You must use the category name, not a URL, in the category field.Learn a New Skill
When you’re ready to master a new skill, check out our detailed guides that include everything you need to know to level up your crochet game.
- How to Crochet Sweaters – beginner’s guide with all the tips
- How to Crochet a Beginner Hat – make an entire beanie in 1.5 hours!
- How to Crochet Amigurumi for Beginners – the ultimate guide to making your own toys and plushies
- How to Tunisian Crochet – learn with this video and a standard hook
That was so fun! Now what?
Invitation to our Facebook group
Come discuss crocheting corner to corner blankets and lots of other projects and techniques in our Make & Do Crew Facebook group. Here thousands of helpful crocheters answer each other’s questions and share their stitches. Join us!

Leave a Reply