In Part 3 of the Dahlia Scrapgan, our individual squares are going to officially become a join as you go crochet blanket. Woohoo! Get the free pattern below or purchase the pattern PDF in its entirety on LoveCrafts here or on Etsy here.
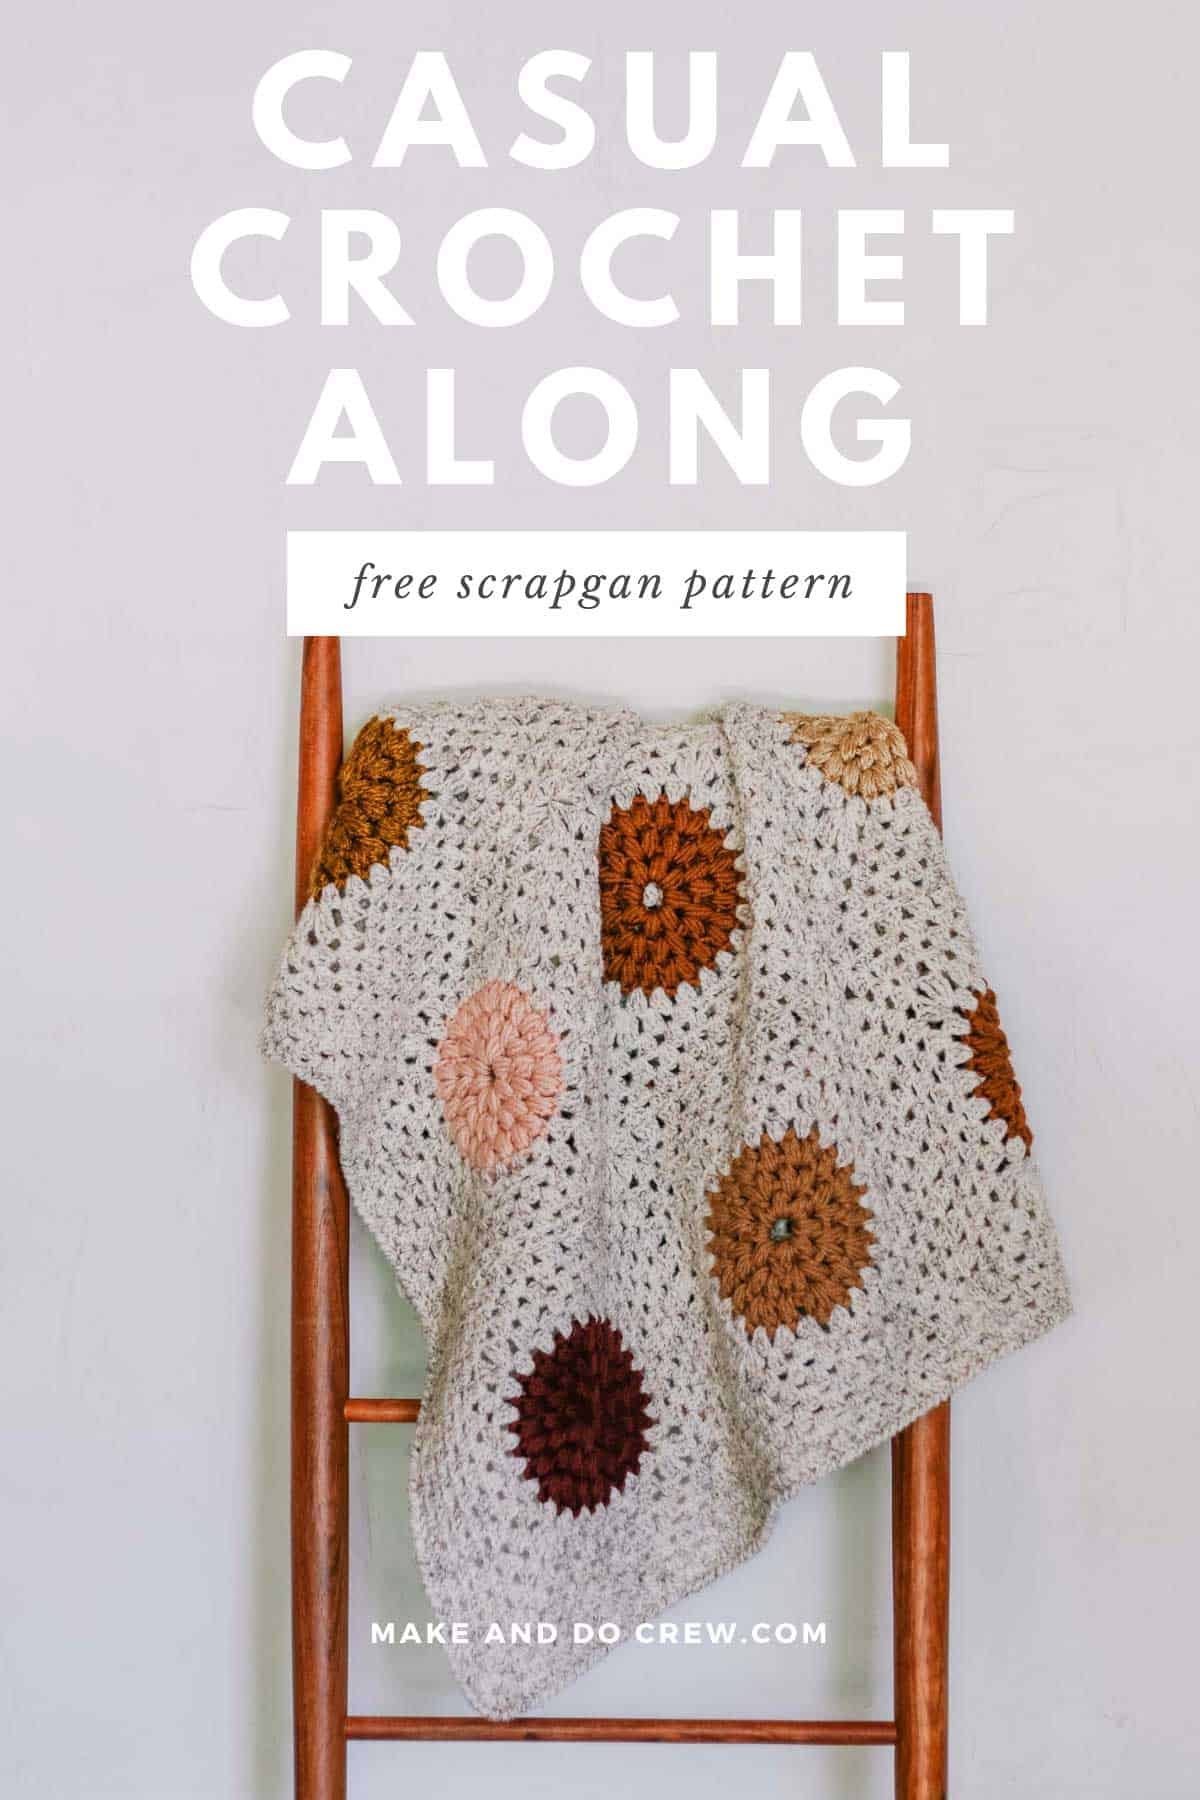
This join as you go crochet blanket pattern is part of a collaboration with Lion Brand Yarns. This post contains affiliate links.
If you're new to the Dahlia Scrapgan Casual Crochet Along, head to the main page here to learn all about the inspiration behind the pattern, which yarns will work well and what to expect from the rest of the free pattern.
Then grab your puff stitch granny squares and lets learn a skill that's going to change your crochet life!
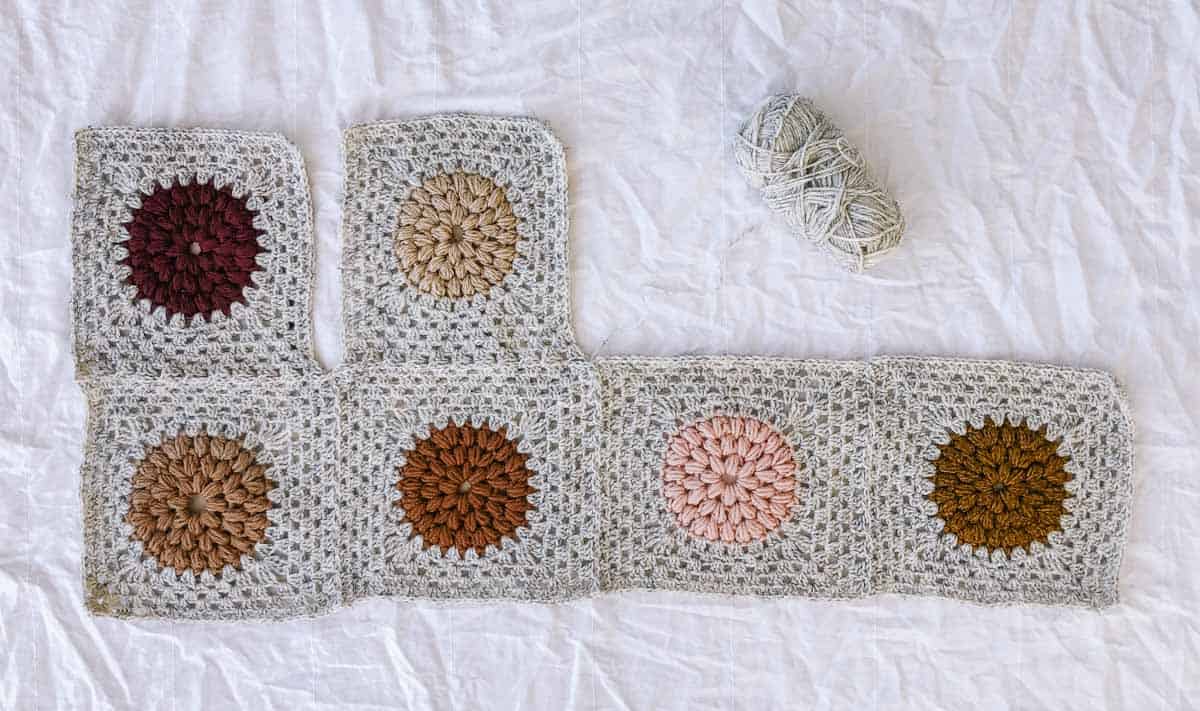
A Totally Seamless Granny Square Blanket
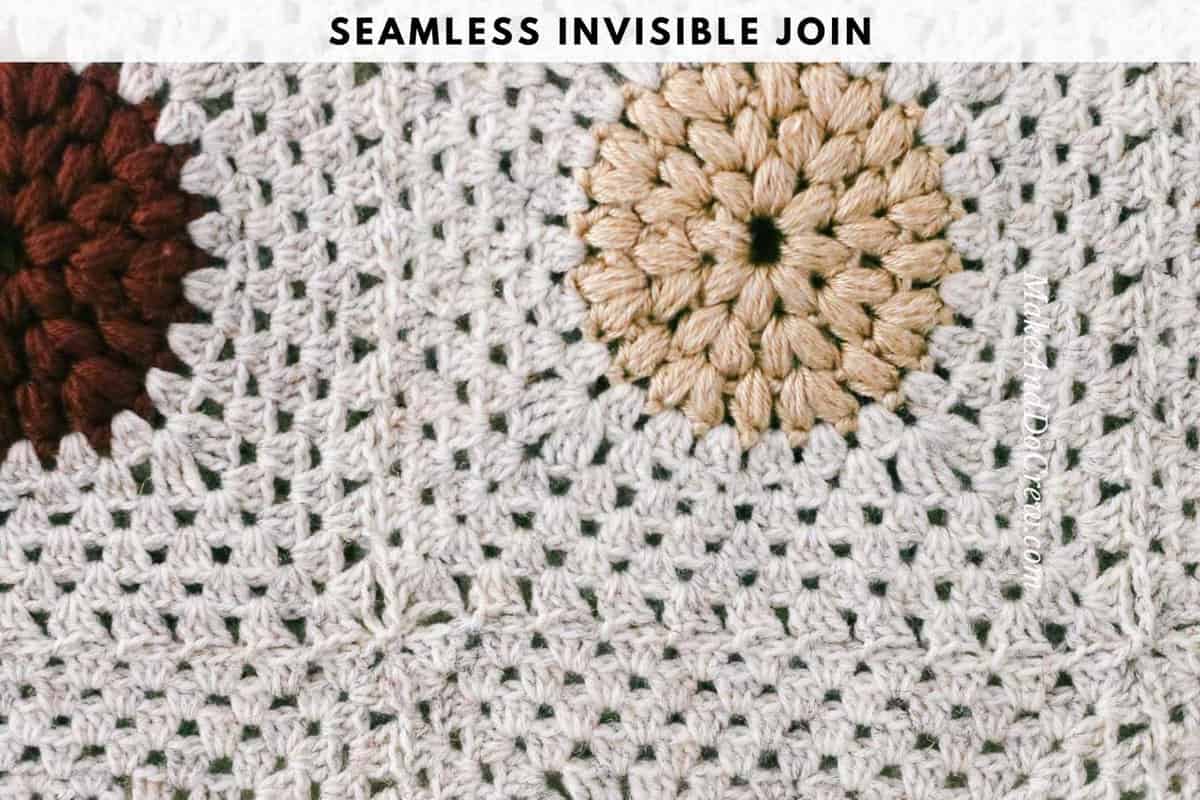
Are you ready to give your tapestry needle a rest? I love the look of crochet blankets that are pieced together, the Happy Hexagons Blanket, but I can really do without the seaming. That's why I knew this afghan pattern would need to achieve its varied, scrappy look seamlessly.
And you know what? In addition to making this project just about 10000% more enjoyable, learning this join as you go crochet technique is going to make you so much less intimidated by granny square patterns that require joining.
Where Have We Seen This Before?
Ever since I really figured out how to create a flat, flexible join between granny squares, I've used it on almost every pattern I've designed since. (Ha. I promise I'm make something that's not a join as you go granny square project soon...we're just having a moment right now.)
If you decide you love the ease and simplicity of this way of making a join as you go crochet blanket, then you'll definitely want to check out the Revival Cardigan and the Evermore Vest. Both of these garments are completely seamless, thanks to this little technique we're going to learn today.
Related: 33+ Crochet Border Patterns for Blankets
More Free Join As You Go Crochet Patterns
Video Tutorial Support
I'm so enamored by this continuous join crochet technique, I created a video tutorial to show you how to do it. It's one of those cases where a picture's worth a thousand words so definitely check out the video tutorial as you're following along with the free pattern below.
Go to the join as you go tutorial ⇨
The cool thing about learning how to join crochet granny squares to make a blanket is that you can very easily translate the skill to any size project. As you'll see in the video tutorial and projects linked above, you can use this continuous join technique to create a crochet blanket made with four squares or 60.
Prefer Working From a Printed Pattern?
If you want to continue the Dahlia Scrapgan at your own pace or just prefer to print a pattern instead of viewing it from a screen, consider upgrading to the ad-free PDF. It includes all four parts of the pattern immediately and it's formatted for easy printing or viewing on a phone or tablet. Purchase the ad-free, printable PDF on LoveCrafts here or on Etsy here.
The Dahlia Scrapgan
Free Granny Square Blanket Pattern - Part 3
Purchase the ad-free, printable PDF on LoveCrafts here or on Etsy here.
Save this pattern to your Ravelry here.
Pin this pattern for later here.
Explanation:
Bring together yarns of different weights in harmonious colors to create a blanket your eyes can’t help but dance across. Each square is worked individually, making this a perfect meditative project when you’re on the go. A continuous crochet joining technique brings everything together seamlessly so you’re left with fewer ends to weave in and a blanket made with zero sewing!
Supplies:
Main Color (MC:)
Lion Brand Wool-Ease (Weight: 4/worsted - 197 yds, 3.0 oz)
- Wheat (620-402) – 10 skeins (approx. 875 g)
Accent Colors (AC):
Lion Brand Basic Stitch Anti Pilling (Weight: 4/worsted - 185 yds, 3.5 oz)s
- Pomegranate (202-138)
- Gold Heather (202-401)
Lion Brand Basic Stitch Premium (Weight: 4/worsted - 219 yds, 3.5 oz)
- Gold Mine (201-126)
Lion Brand Color Made Easy (Weight: 5/bulky - 247 yds, 7 oz)
- Millennial (195-184)
- Kombucha (195-126)
Lion Brand Heartland (Weight: 4/worsted weight - 251 yds, 5 oz)
- Great Sand Dunes (136-123)
• Tapestry needle
• Size 6 (6.00 mm) crochet hook or size needed to obtain gauge
• Size M (9.00 mm) crochet hook or size needed to obtain gauge
• Stitch markers or safety pins
• T-pins for blocking
• Steamer or iron with steam setting for blocking
• Blocking board or towel
Purchase a kit with all the yarn you'll need + the pattern ⇨
Gauge:
Puff circle = 5.5” diameter using larger hook
Finished square = 9.5” after blocking
Wanna save this pattern?
Abbreviations and Glossary (US Terms):
ch – chain
chsp – chain space
dc – double crochet
PM – place marker
rep – repeat
RS – right side
sc – single crochet
sk – skip
slst – slip stitch
st(s) – stitch(es)
tc - treble crochet
WS – wrong side
yo – yarn over
Overall Pattern Notes:
• Ch 3 counts as 1 dc throughout.
• Circles and squares may not lay completely flat depending on your stitch tightness and yarn used. This is normal and will be resolved with blocking.
If you haven't already crocheted Part 1 and Part 2 of the pattern, do so first. Get Part 1 here. Get Part 2 here.
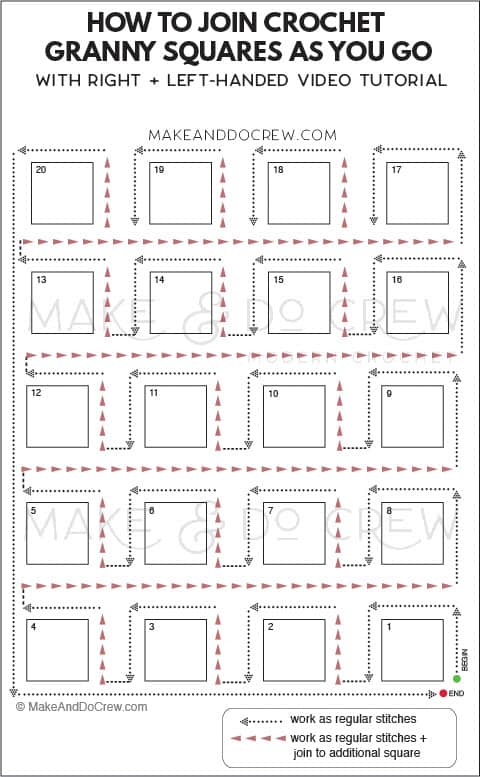
JOINING SQUARES
Notes:
- Squares are joined using a join as you go method that creates zero extra ends to weave in. Hooray!
- Watch a step-by-step video tutorial on this continuous crochet join method here.
Arrange squares in five rows of four. Make sure RS is facing up on all squares. Follow diagram above that maps out the path to join all 20 squares without fastening off.
TIP: Separate squares into piles of light, medium and dark circles. When laying out blanket, try to avoid placing two squares from the same category next to each other.
With smaller hook:
Attach yarn in bottom corner of first square.
In Same Corner: Ch 3 (counts as 1 dc), 2 dc in corner…
Along Next 3 Sides of Square: ...3 dc between each 3dcCl to next corner…
And In Second and Third Corners: …[3 dc, ch 1, 3 dc] all in corner sp…
In Fourth Corner: ...3 dc, ch 2, (grab next granny square)...
In Second Granny Square:
In First Corner: ...3 dc, ch 2…
Along First Side of Square: …*Remove loop from hook, insert hook from the top down in next space of first granny square (between 3dcClusters), pick up working loop, pull through space; 3 dc in next space of second square, ch 2; rep from * to corner…
Second Corner: ...Remove loop from hook, insert hook from the top down in last space between 3dcClusters of first granny square, pick up working loop, pull through space, 3 dc in corner, ch 2, remove loop from hook, insert hook from the top down in adjacent corner of first granny square, pick up working loop, pull through space; 3 dc in same corner space of second granny square….
Second and Third Sides of Square and Third Corner: Work as sides/corner of square 1 were worked.
Fourth Corner: Work as fourth corner of first square was worked.
Repeat this joining process with 2 more squares. On fourth square, stop after second side is worked, just before 3rd corner (two sides will be unworked at this point). See diagram above.
Third Corner of Fourth Square: ...3 dc, ch 2, (grab next granny square)...
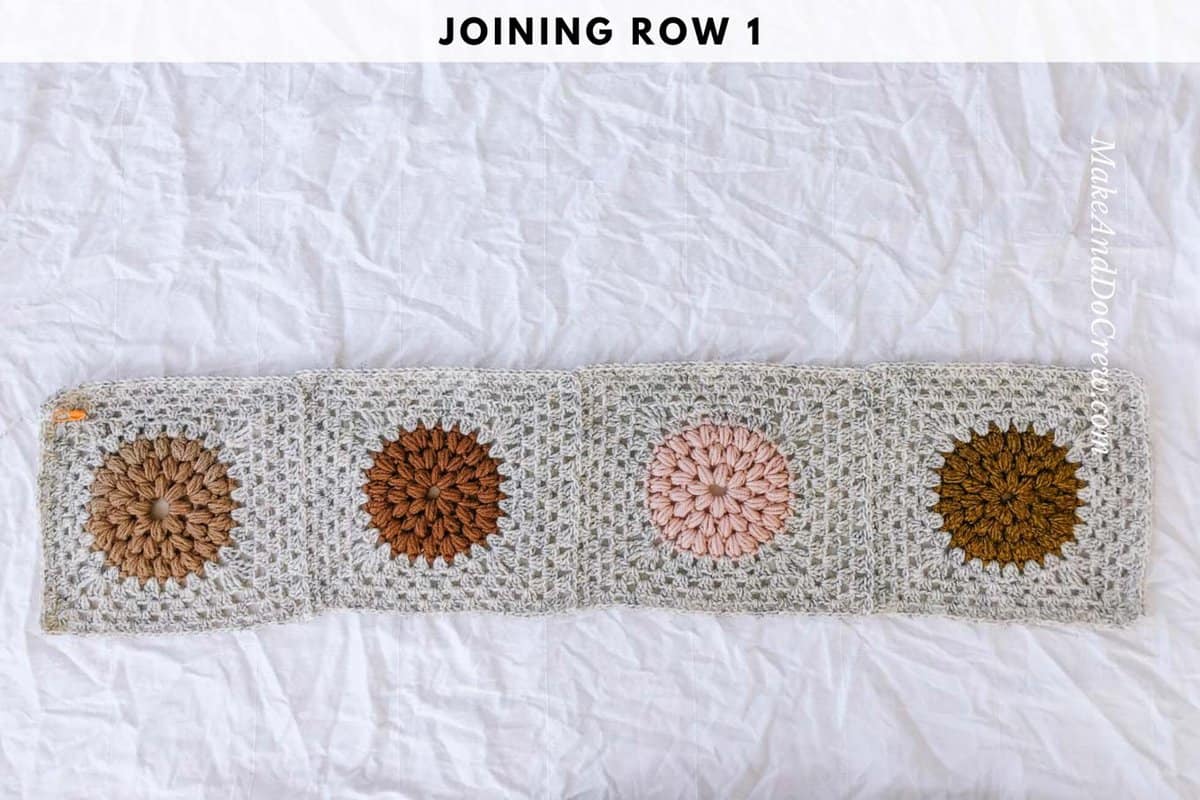
Joining Second Row of Grannies:
First Side of First Square: 3 dc, ch 2 in first corner, *remove loop from hook, insert hook from the top down in next space (between 3dcClusters) of adjacent granny square, pick up working loop, pull through space; 3 dc in next space on working square, ch 2; rep from * to corner…
Corner Join: ...Remove loop from hook, insert hook from the top down in last space between 3dcClusters of adjacent granny square, pick up working loop, pull through space, 3 dc in corner of working square, ch 2, remove loop from hook, insert hook from the top down in nearest corner space of Row 1, pick up working loop, pull through space, sl st into corner space of next square in Row 1, ch 2**, (grab next granny square to be joined on second row)...
Corner of Next Square: ...3 dc in corner space, ch 2, rep from * to next corner…
Continue adding squares in this manner until Row 2 contains 4 squares, ending at **...
Finishing End of Row Corner: ...3 dc in corner of 6th square, ch 2, remove loop from hook, insert hook from the top down in nearest corner space of Row 1, pick up working loop, pull through space, 3 dc in same corner of 4th square…
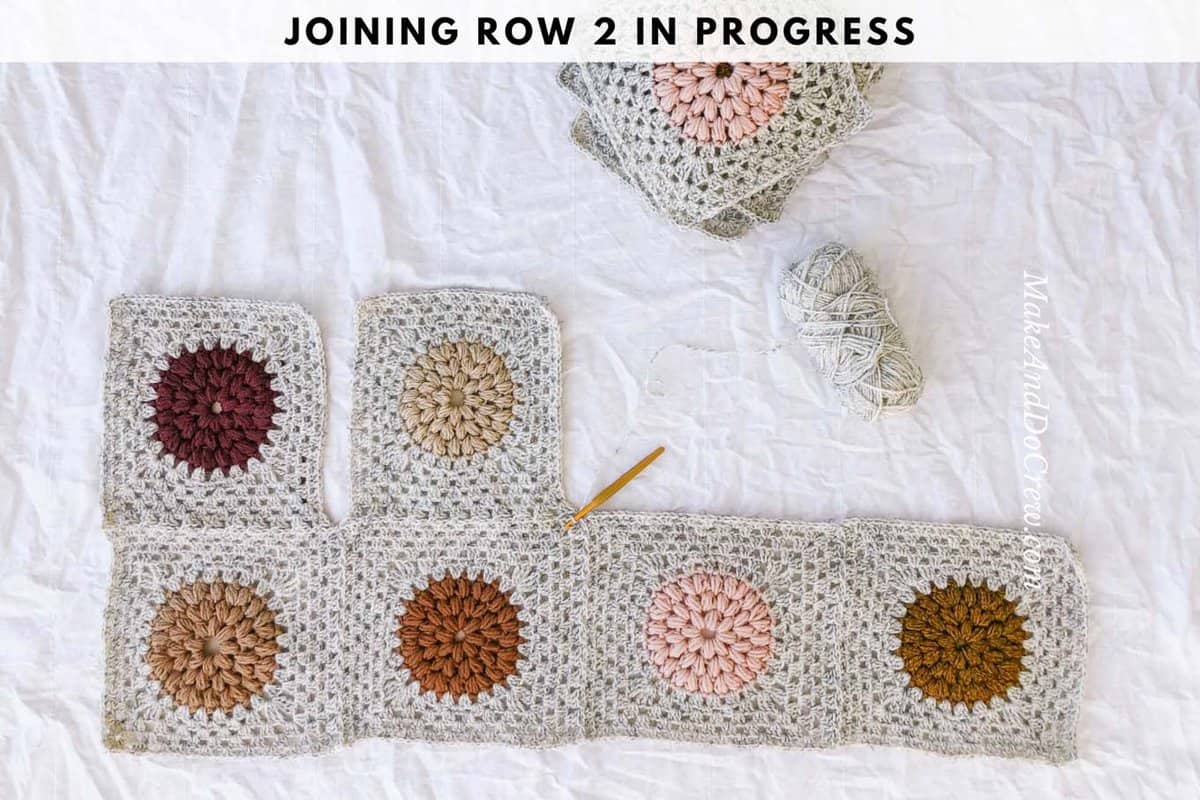
Continue in this manner to add three more rows.
Completing Joining Round:
Continue around the fifth row of squares as shown in diagram.
Next, work down down unfinished rectangle edge in the same manner. At intersection where each row meets, work into corners as 3 dc in corner of first granny, ch 1, sl st in ch2sp between grannies of different rows, ch 1, 3 dc in corner of next granny. Continue along edge placing 3 dc between each 3dcCl to next corner.
Place [3 dc, ch 1, 3 dc] in next corner and finish final edge in same manner as previous edge.
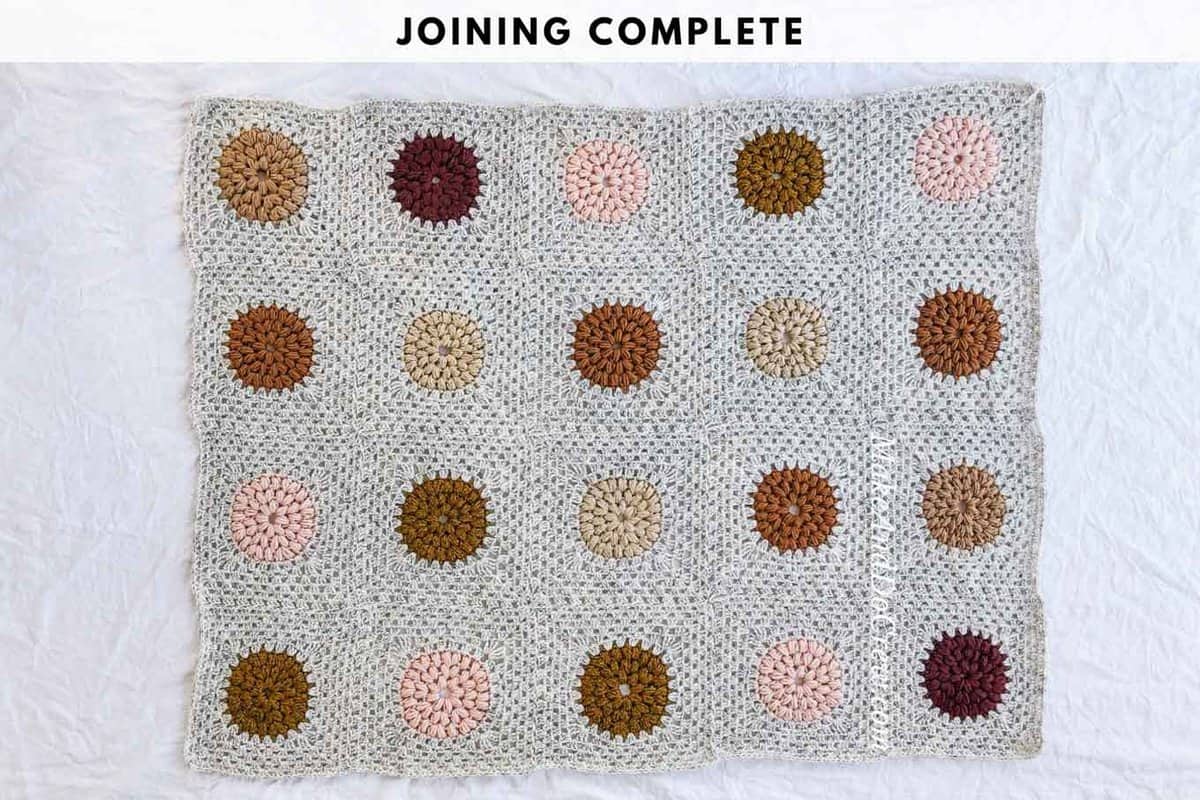
Final Corner Where Joining Began: 3 dc, ch 1, sl st to top of ch from beginning of round to join. Do not fasten off.
Part 4 - The Last Hurrah!
Head to Part 4 of the free pattern where we'll finish off our granny square blankets with a tidy border and one final blocking session. Or if you'd like, you can get the complete pattern in the printable PDF. Purchase the ad-free, printable PDF on LoveCrafts here or on Etsy here.

Leave a Reply