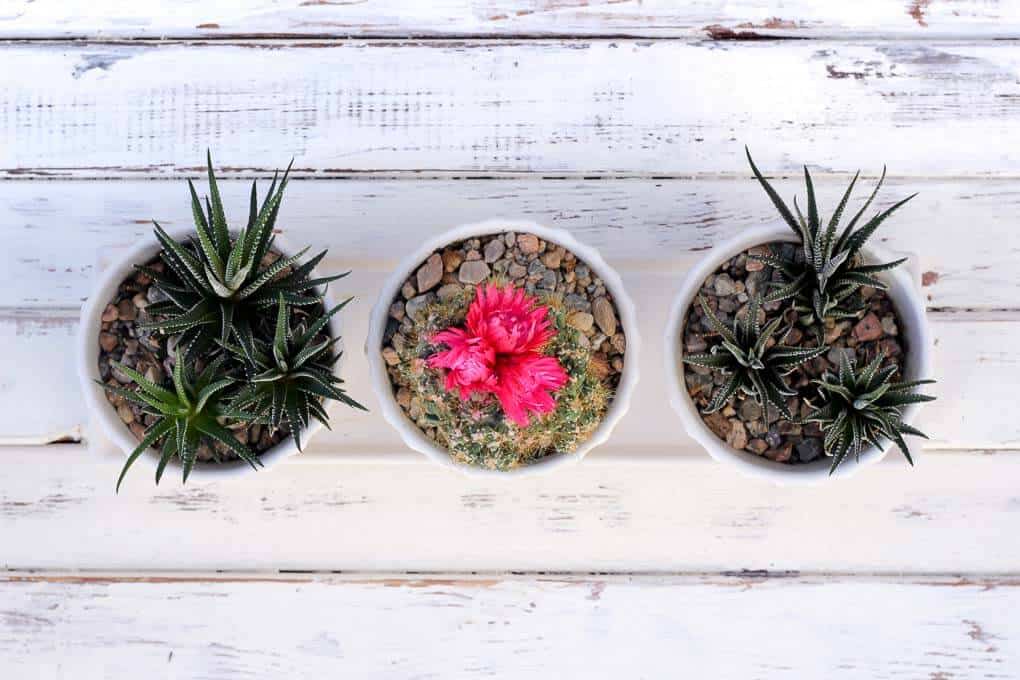
 As you probably know, the internet is brimming with weird uses for coconut oil. Today I'm just gonna go ahead and add my own brand of crafty weirdness to the heap. In addition to removing jar labels, moisturizing crows feet and pulling toxins from your mouth, you can indeed use coconut oil to distress wood.
How do I know this? Funny you should ask. I didn't set out to know this sort of thing.
I recently acquired some wood bed slats from my woodworker dad. (So, I guess they're officially "reclaimed wood"--do you see how trendy I am!?) I used the bed slats to build a backdrop for blog photos and I wanted it to be double sided, as in, I could use leave one side woody and bed-slat-y and paint the other side to look distressed.
I remembered I had seen some ideas on Pinterest about how to distress wood with Vaseline, so I brushed up on this tutorial, got my paint ready and then...realized we didn't have a single glob of Vaseline in the house.
"Petroleum jelly!? Never will this come near my child's nether regions ever again!"
Well, I've gotten along fine without it for diaper changes, but it never occurred to me that I might need that Vaseline for a future DIY project.
So instead of wrapping my offspring up in two jackets, four mittens, two hats, two boots and two booties and loading them into their two carseats just to go to the store to by one ounce of Vaseline, I started thinking about what I could use instead. Essentially, I just needed something oily to repel the paint a bit so that some of the wood underneath would be easy to expose.
Olive oil? Way too sloppy.
Butter? Too delicious to waste on wood.
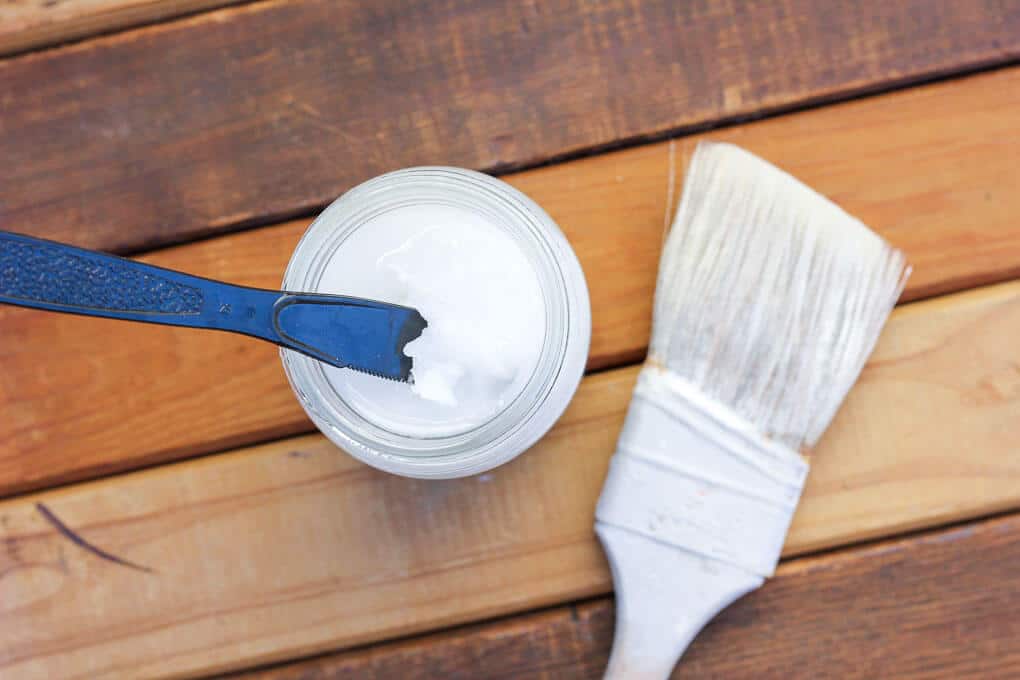
Coconut oil? Sounds just weird enough to work.
And it did!
Come on, I'll show you how!
SUPPLIES
• the wood you want to distress (this technique would be great for distressing wood furniture)
• paint (I used latex paint meant for a wall.)
• paintbrush
• chilled (hard) coconut oil
• plastic knife or something to apply the coconut oil
• sandpaper
Wanna save this pattern?
INSTRUCTIONS
1. I completed this project when it was about 40 degrees outside, so my coconut oil stayed nice and firm. I wouldn't recommend tackling this in the at noon, in the sun, in the summer.
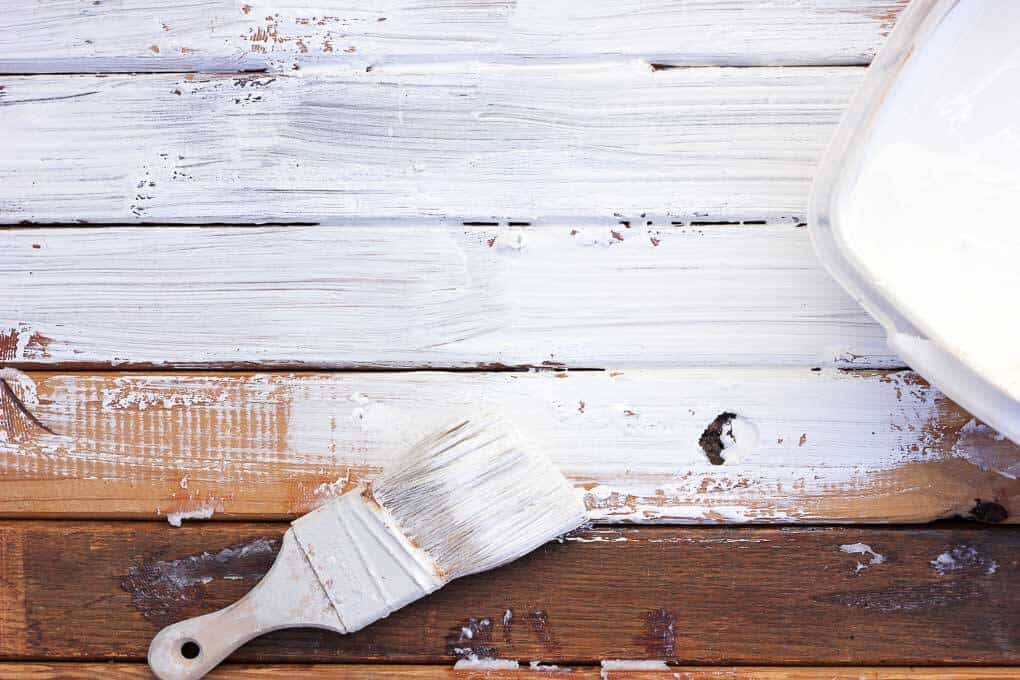
Start by applying a thin layer of coconut oil to the areas of where you eventually want the wood to show through again. So if you're painting furniture, this might be the edges. (In the photo you can see I used pretty big, thick globs. You can use much less and in fact, you definitely should.)
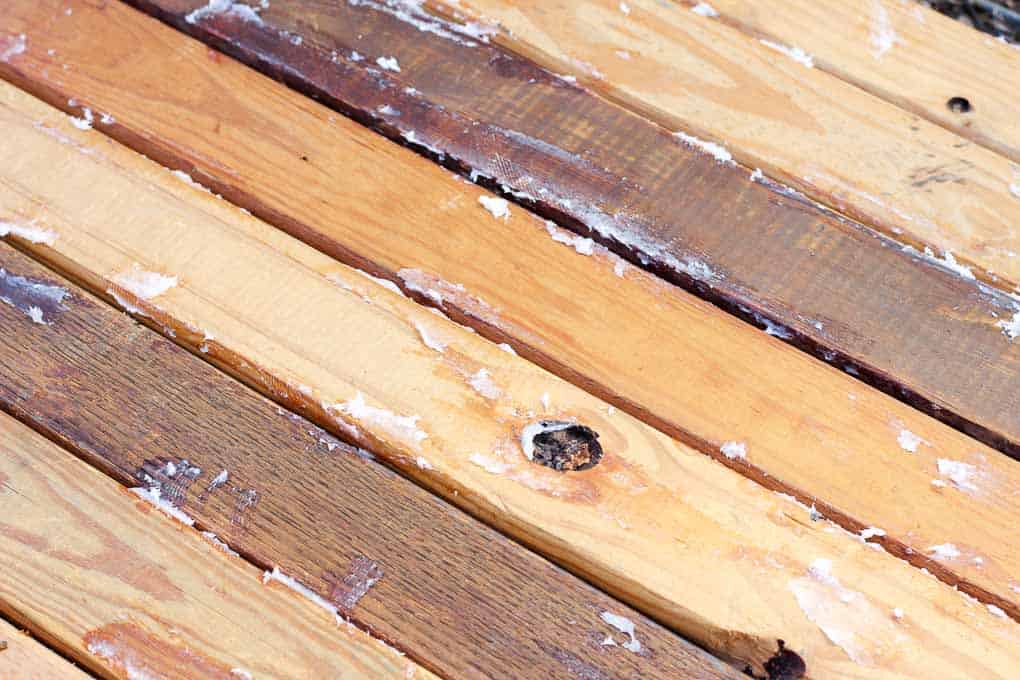
3. Now is when you can place your piece in the sun if you'd like. Even though it was still cold out during this phase, I put the wood in the sun and the coconut oil softened immediately. Use sandpaper to lightly rub the paint off the areas that you'd like exposed. Look around to be sure you didn't miss any coconut oil that's hiding under the paint.
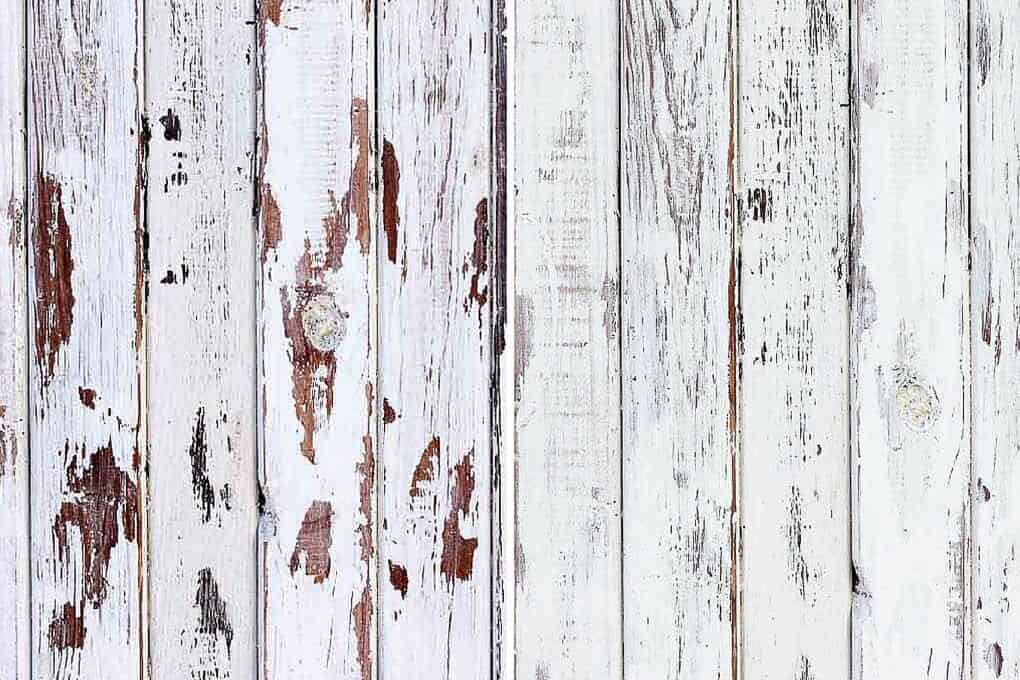
4. The wood on the left is how my photography backdrop looked after doing steps 1-3. I think it looks pretty cool and definitely accomplishes the distressed wood look. Since I knew I'd be using my wood for a photography backdrop though, I wanted a little less visual busyness (contrast).
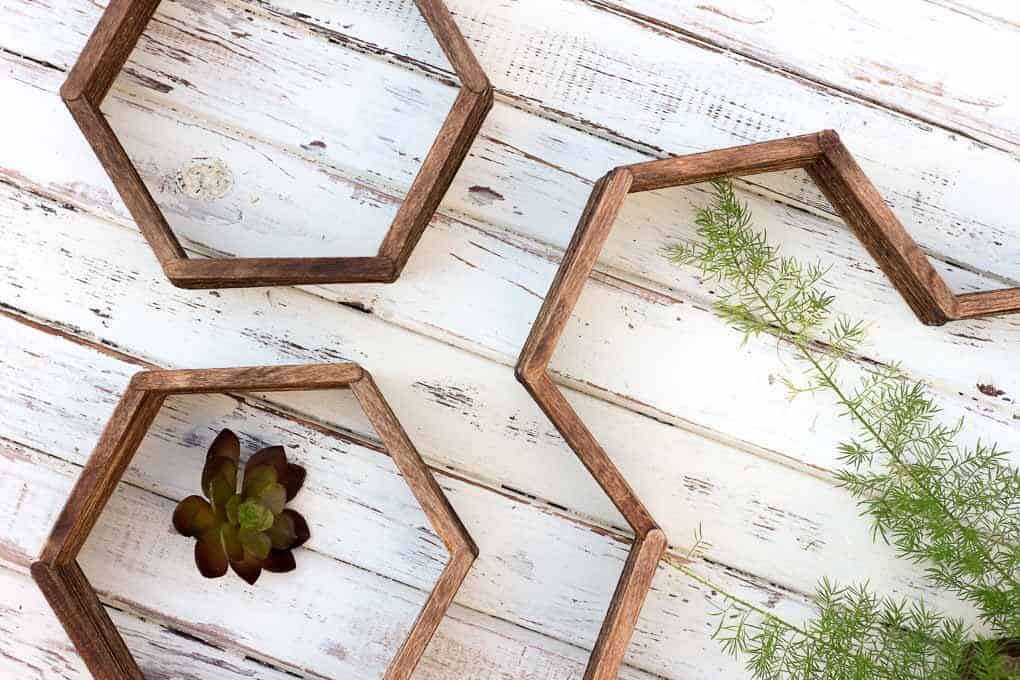
Here's the perfectly distressed, texture-riffic photography backdrop working hard in this post about making honeycomb shelves from popsicle sticks.
And if you're into the weathered-wood look like me, you might like to make this DIY Wall Art With Coffee Stirrers next!
Snazzy blog photos can make it look like some people are doing it all (effortlessly!) while others of us (me!) are barely holding it together. So whenever I can, I like to introduce a little reality check in the form of a very un-Pinterest-worthy detail from my perfectly imperfect real life.
My hope is that it’s a helpful reminder to anyone reading that NO ONE is doing it all perfectly.

She's breaking records in the toilet-paper-usage category as well. (For her nose. We ran out of legit tissue about 3,409 blows ago.)
And yes, she's still rockin' her Christmas pajamas. And very eagerly awaiting Santa's 2016 return. Ha.





Matthew Arnold says
Its very amazing article. I am glad to know more about distress wood paint coconut oil.. Its really interesting information.Thanks for sharing this information..