 Today I'm going to show you how to clean pine cones for crafts. Why? Because the masochistic hunter gatherer in me isn't satisfied buying something at a craft store that I can get from Mother Earth for free.
I'd like to say that of all the bizarre, messy, fragrant things that have taken place in my kitchen, this ranks up there among the weirdest. Last night the house smelled like a mortuary that just happens to be on a Christmas tree farm. Mike didn't even bat an eye. He seriously only inquired about what I was doing after my pine cones had been in the oven for a couple of hours (I forgot about them!) and even then it was simply to say, "Do you remember about these pine cones in the oven?"
 So actually, this latest pine cone spa and sauna was just par for the course.
Now, why was the fruit of the beloved pine tree hanging out in my oven?
THIS IS WHY!
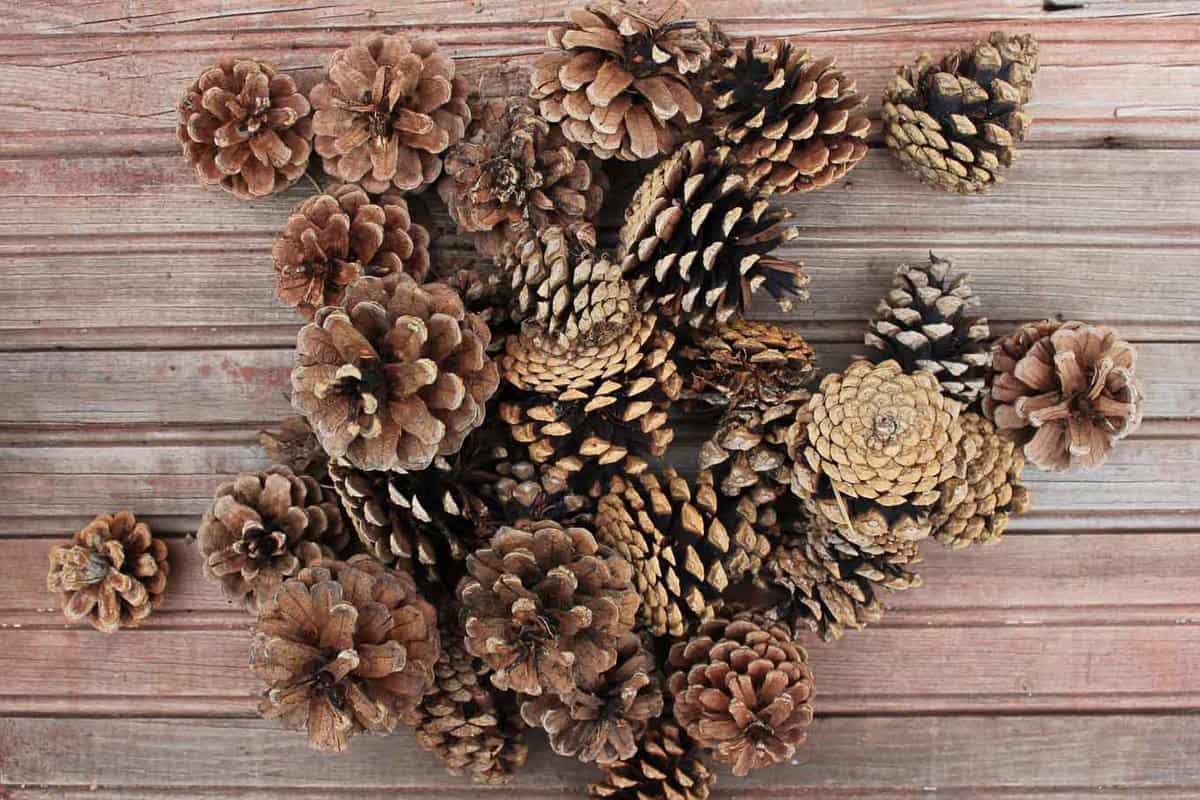
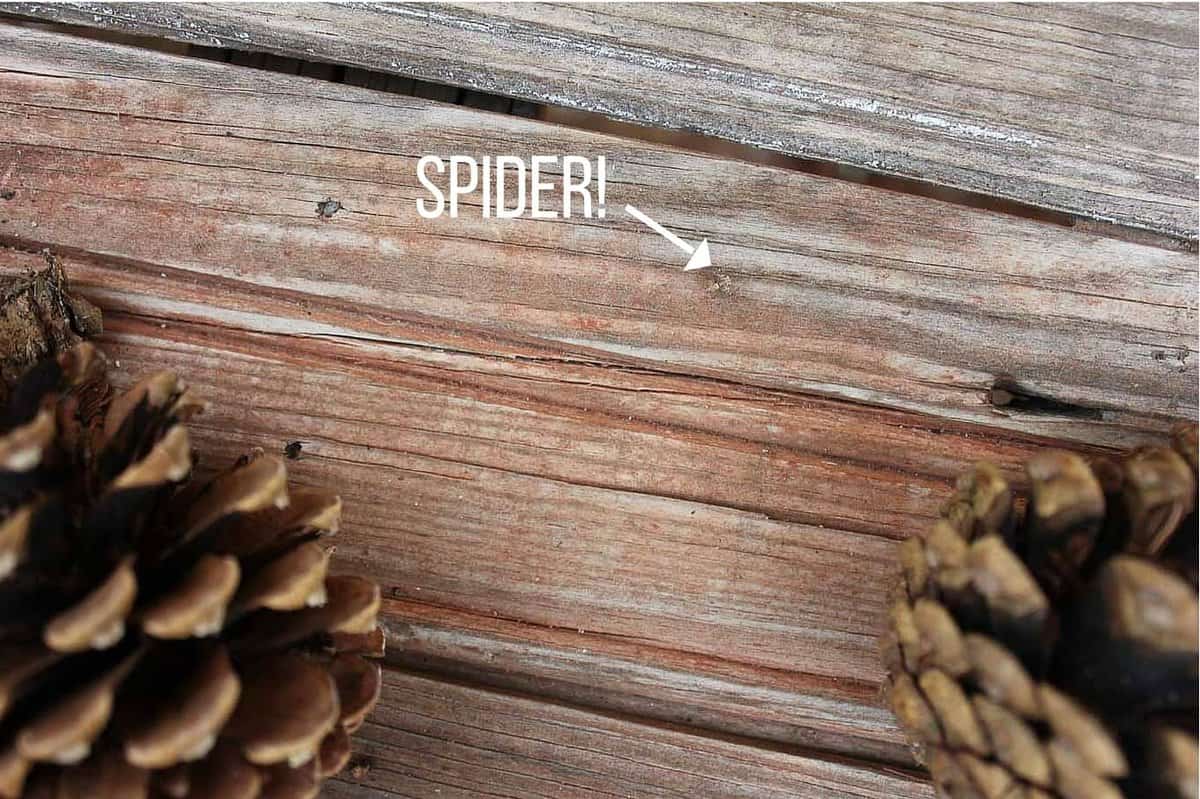 I actually spotted this guy after started to plan my pine cone cleaning process, so it would be unfair to pin all the blame on him. After digging around in some soggy pine needles on my hands and knees wearing baby Quinn in the carrier (Go ahead picture it. It was as crazy, uncomfortable and awesome in a She-Woman-sort-of-way as it sounds.), it occurred to me that the pine cones I was collecting weren't just going to become inhospitable to bugs simply because I brought them inside my house.
Nope, I needed to find a way to de-bug, disinfect and otherwise sterilize the pine cones before I could ever consider making something from them. I consulted a few tutorials here and here and then devised my own grand plan.
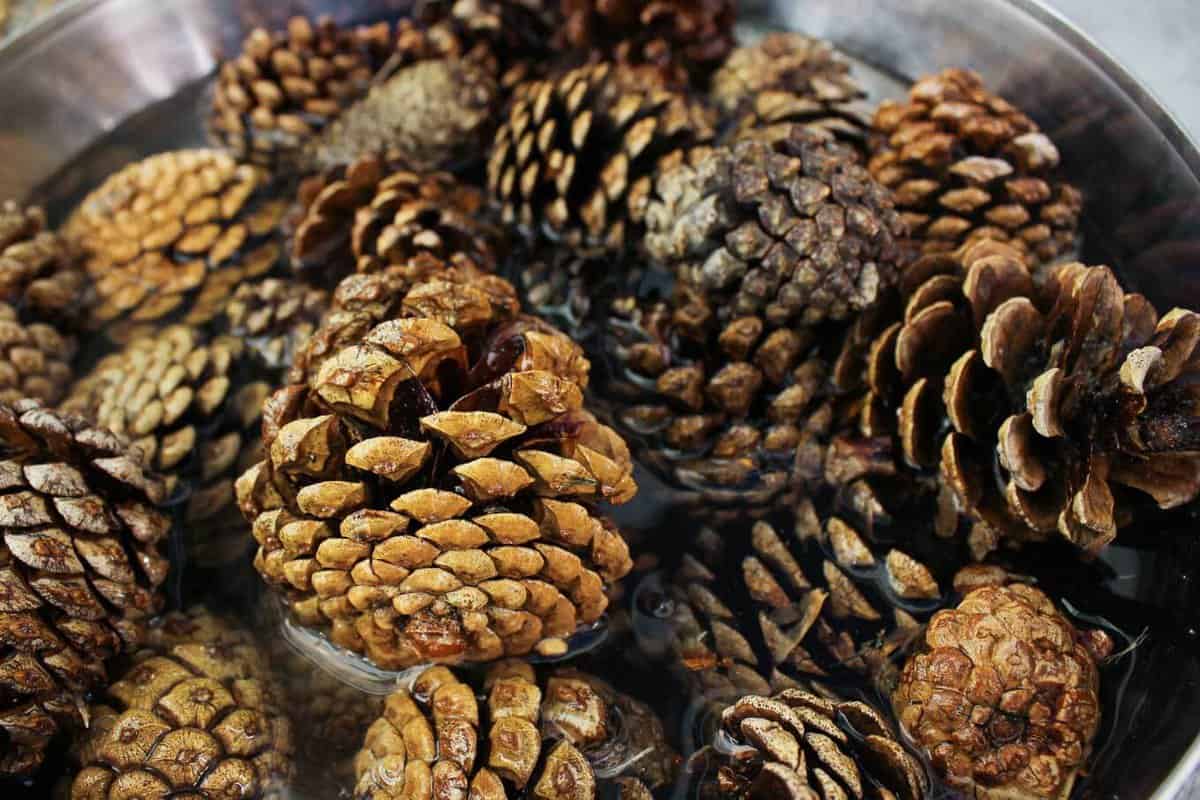
I needed my pinecones to be dry asap and I also needed them to be open fully. (Who knew that when pine cones soak in water, they close up?! Not this Colorado mountain girl.)
Wanna save this pattern?
 What follows is a comprehensive strategy to clean and dry your pine cones before you lose focus on your pine cone craft and move onto something else. Not that I'd know anything about that.
How To Clean Pinecones
1. In a sink or large bowl, mix ½+ cups of white vinegar with water. Soak your pine cones for about 30 minutes. Clearly, this is not exact pine cone science, so just take them out after a little while. Avoid leaving them in for a super long time because they'll totally close up.
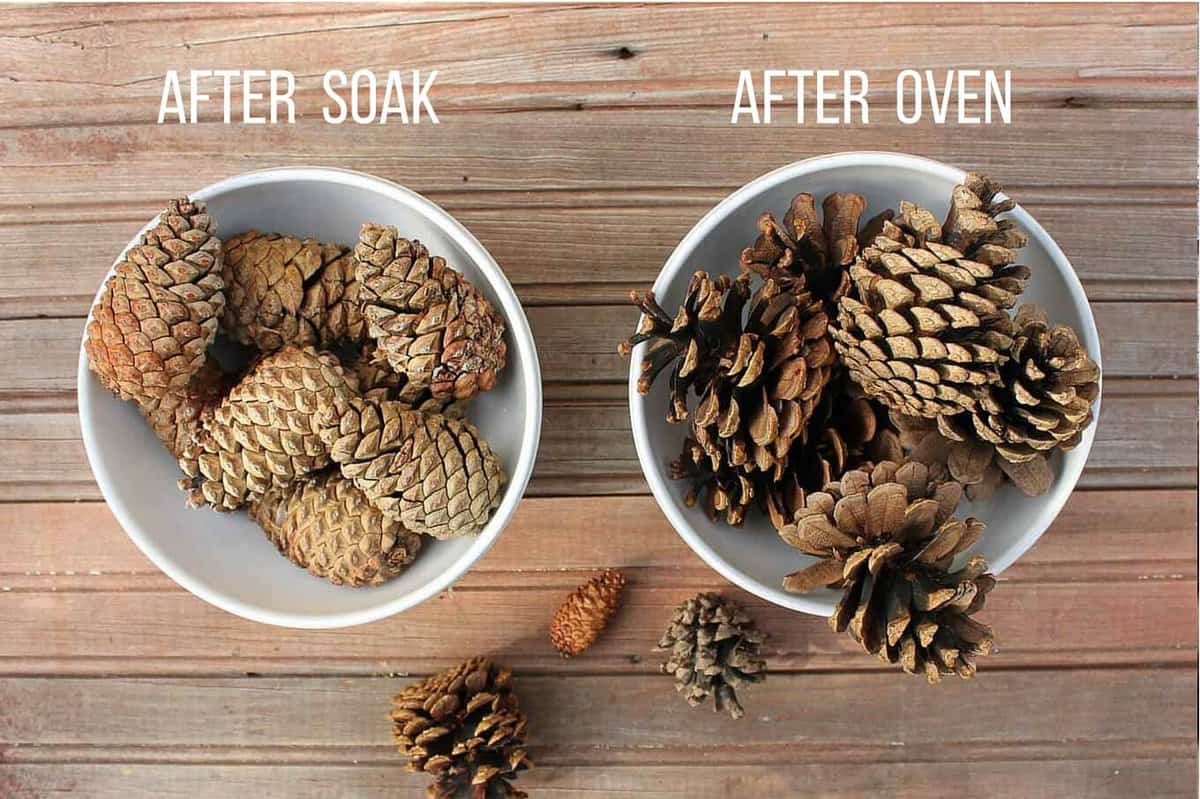
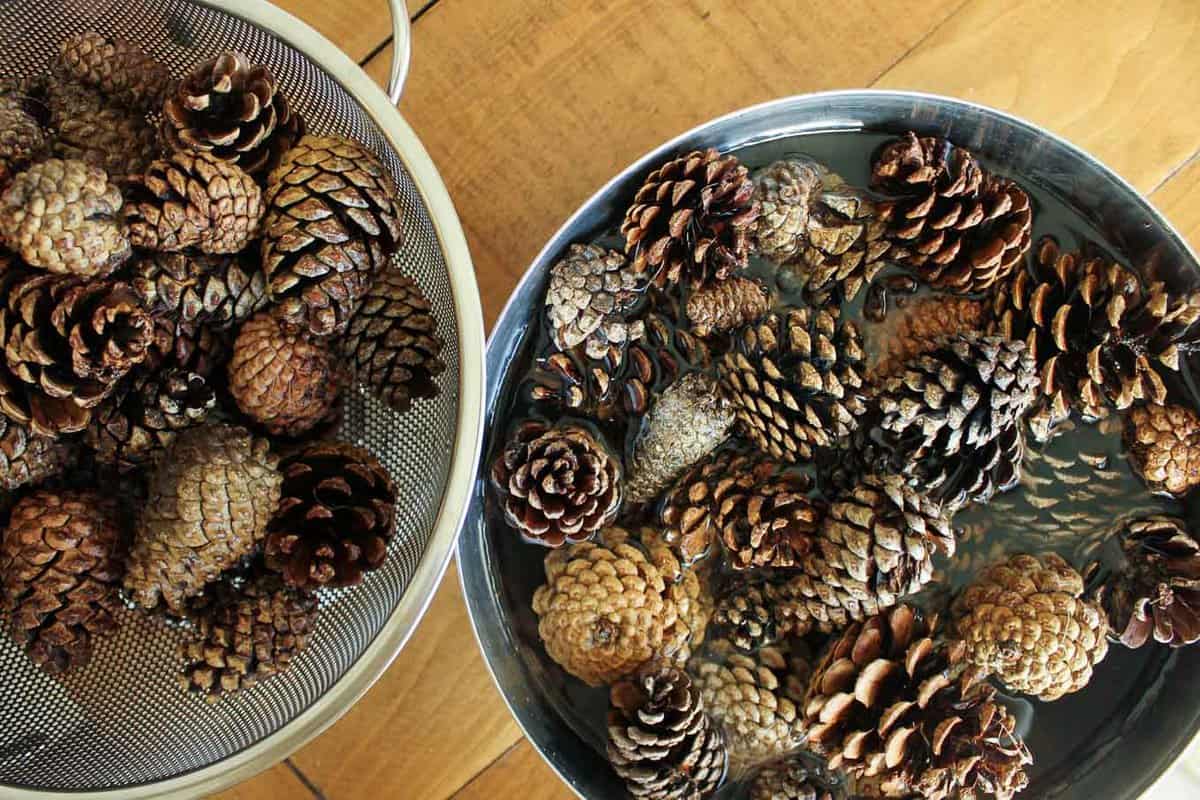 2. Rinse the pine cones and let them hang out in a strainer for a few minutes.
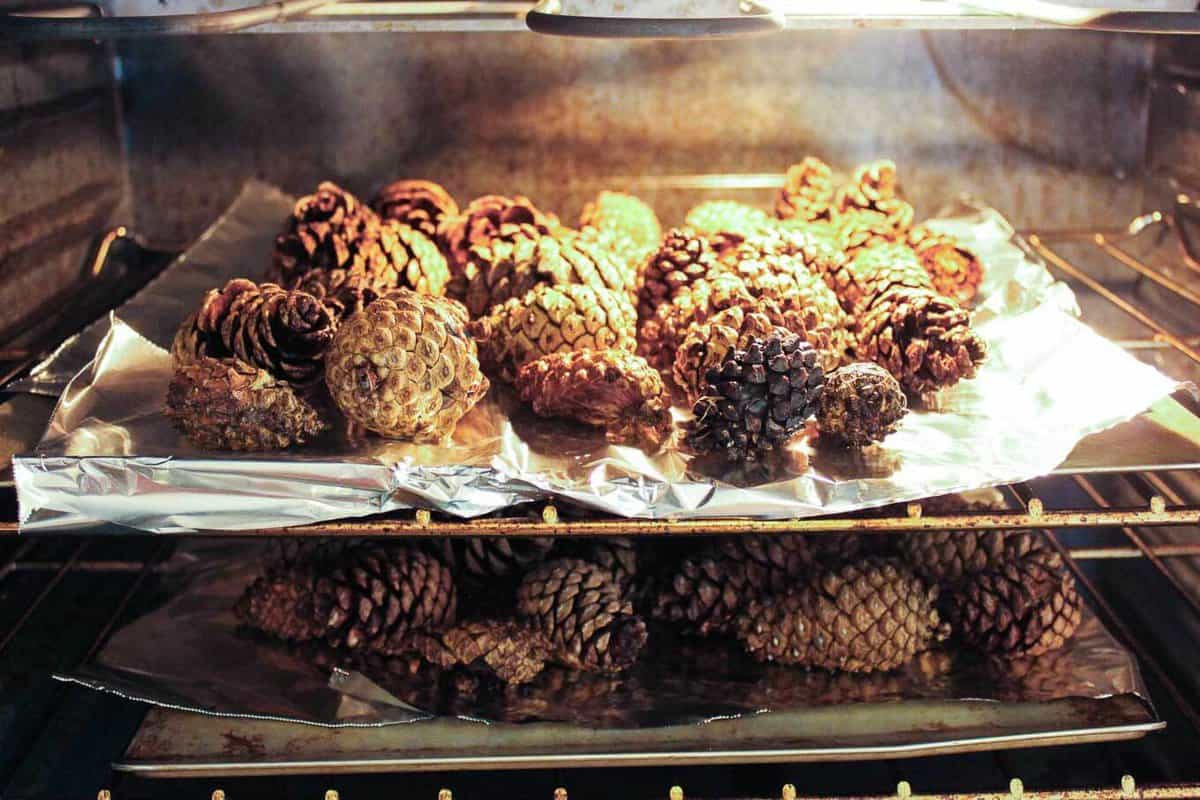
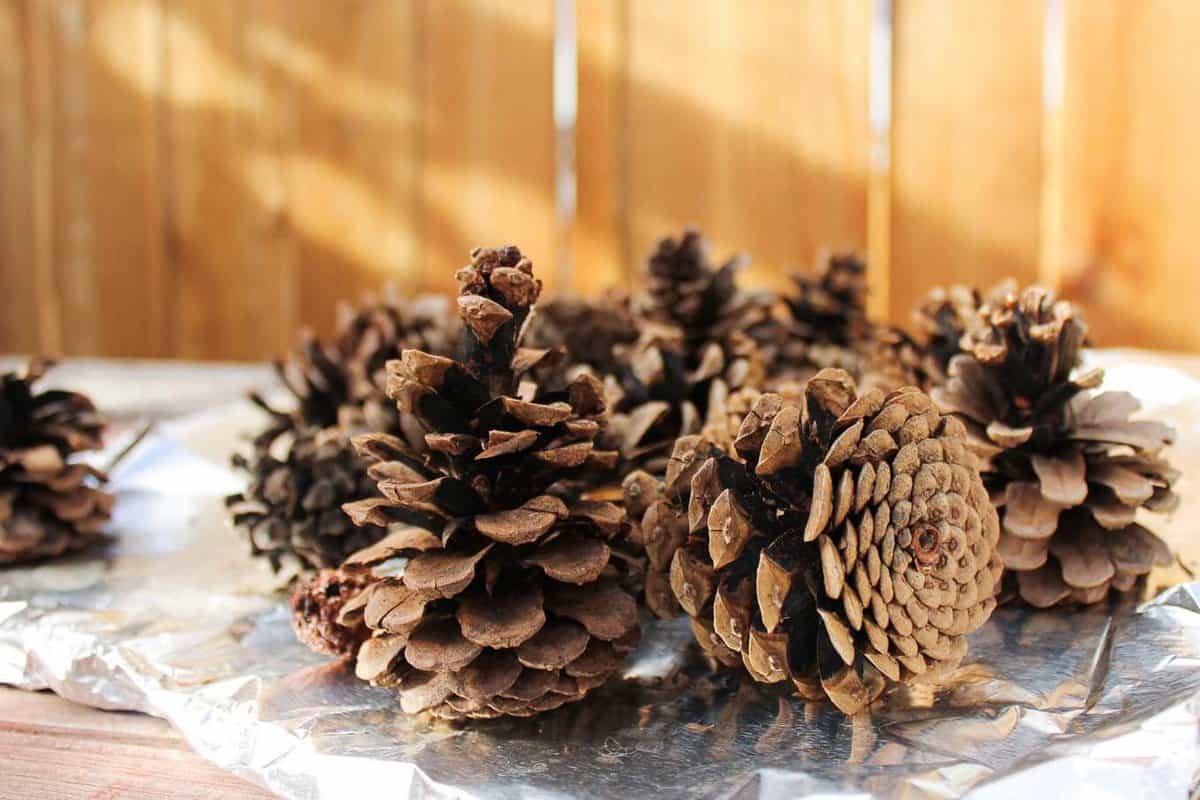
3. Spread them on a foil-lined cookie sheet and bake them at 300 degrees. For how long? Well, until you remember they're in there. 🙂 Just kidding. I needed mine to bake for 1-1.5 hours to dry and bloom again. I baked one batch for too long and those pine cones sort of over-bloomed. They look like inside out, bedraggled soldiers who just want to be sent back to their happy forrest life. I also noticed that if the pine cones bake too long, they end up brittle. Just take them out of the oven when they've sufficiently opened up, but don't let them linger past that sweet spot.
 4. Check back in later this week when I share a pine cone craft project that'll make you think all this pine cone cleaning hulabaloo is well worth it.


Jen says
I put the pinecones in the over for 30 min and the horrible smell took over my house! When I opened to oven to take them out the fragance of the cones burned my eyes! I think I'll just stick to buying them at Ac Moore.
Dave says
I'm just doing the huge sugar pine cones- I have a few 16" long !! I washed em in warm vinegar water for 1/2 hour then baked them starting at 200, then gradually up to 300 for an Hour- Mine aren't losing the copious amounts of sap, even after an hour ?? They also haven't reopened ?? I live in very dry climate ??
Any thoughts appreciated. Thx Dave
Pat nickel says
Anyway,to re do pinecones,that opened too much?
Leah says
Just looked this up to use in cleaning the pine cones I got for free in the woods. I hope and it looks like the ones I purchased on line and in the craft store are clean. I have been keeping them outside just in case.. So thanks for all the great tips.
Mary says
Hi
Do you know if this cleaning process also removes the sap? I cannot handle them without getting sap all over my hands thanks mary
Jess @ Make and Do Crew says
Hmmm. Good question! I'm not sure about that. I did notice when I worked on this that some of the sap sort of "cooks out" in the oven. Might be worth just trying it with a couple to see what happens. 🙂
Virginia says
Thanks for sharing this, I'm doing it and hope to have good results.
Heidi Bollinger says
Do you think I can use apple vinegar?
Jess @ Make and Do Crew says
Hmm. I would think so! Apple cider vinegar is pure magic in my book so I would guess it would work great for this. 🙂
julie joseph says
Mine have just had a second wash and baking - the first was in white vinegar but they still looked dirty. They have also air dried for over a week but ..... quite a few of them went really soft and seemed to be rotten? How can i get that lovely natural /clean looking pine cone colour?
Jess @ Make and Do Crew says
Hey Julie,
I'm sorry you're having trouble! Do you live in a fairly humid climate? I live where it's quite dry, which could explain why mine crisped up so quickly. If you have more pinecones to experiment with, you might try soaking them for less time. Also, I think more time in the oven, as long as it's on a really low heat, could help too.
Karen Cox says
Ya know, I'm thinking of upping the temp to 225 and after this next "batch" of cones, I will put these back in. Also I read to put them in the 300 oven for 30 minutes...... maybe longer on the as well?
gahhhhh I hope these work - I wanted to paint them tomorrow. ?
Jess @ Make and Do Crew says
Hey Karen,
Yeah, I think you could up the temp a bit or just leave them in longer. I def made the mistake of leaving them in too long the first time, thinking that more was just better and they ended up too brittle. I think it has a lot to do with your climate, how wet they were to begin with, etc. But I think if you keep them in a bit longer and check on them frequently, you should def have something paintable by tomorrow. 🙂
Good luck!
Jess
Karen Cox says
I'm so bummed. I did this and out of the oven they feel soggy and closed. ?
Beth Weingartner says
Thank you for this cleaning lesson. This style of pine cone is my favorite to craft with. Do you happen to know the name of these pinecones: what tree they are from? I have a hard time finding them in my area. Mostly long, white pine cones are around me. Thanks!
Jess @ Make and Do Crew says
That's a great question, Beth. I was actually wondering this the other day. I'm not sure what these are called. I'll be sure to update the post with the pinecone name if I find it out though.
Happy crafting!
Jess
sheila says
great article on cleaning cones had to share on our facebook page
Jess @ Make and Do Crew says
Thanks so much, Sheila! Your "cone models" are adorable 🙂