Have you ever wondered how to design your own corner to corner crochet graph pattern? Learn where to look for inspiration, how to figure out the size of your project and what tools to use for drawing your charts this in-depth tutorial.
So maybe you've made a few corner-to-corner crochet projects and fallen in love with "painting by number" with yarn. Now you're feeling ready to create your own custom design. I don't blame you. C2C designing is so fun!
Below we'll learn how to plan your corner to corner crochet chart and determine what size it should be. Next we'll cover the easiest way to actually illustrate your chart (even if you're not an "artist!") and lastly we'll talk about how to create a c2c chart from a photograph.
If you're totally new to corner-to-corner crochet, learn the ins and outs and watch our step-by-step video tutorial here.
Planning Your C2C Crochet Chart
Before you dive into actually creating your own corner to corner graph, there are a few steps to take.
Note: In this tutorial, we're using the terms "chart" and "graph" interchangeably to refer to the visual aspect of a corner to corner crochet pattern.
1. Come up with a concept. There are so many options when it comes to designing your own corner to corner crochet graph. You can crochet words into a blanket, design a graph based on a photograph or simply "draw" your own chart.
Perler bead graphs, cross stitch and modern and traditional textiles can all serve as excellent C2C inspiration. Silhouettes are often the easiest type of c2c pattern to crochet because they only require two yarn colors.
There are so many options when it comes to designing your own corner to corner crochet graph. You can crochet words into a blanket, design a graph based on a photograph or simply "draw" your own chart.
Perler bead graphs, cross stitch and modern and traditional textiles can all serve as excellent C2C inspiration. Silhouettes are often the easiest type of c2c pattern to crochet because they only require two yarn colors.
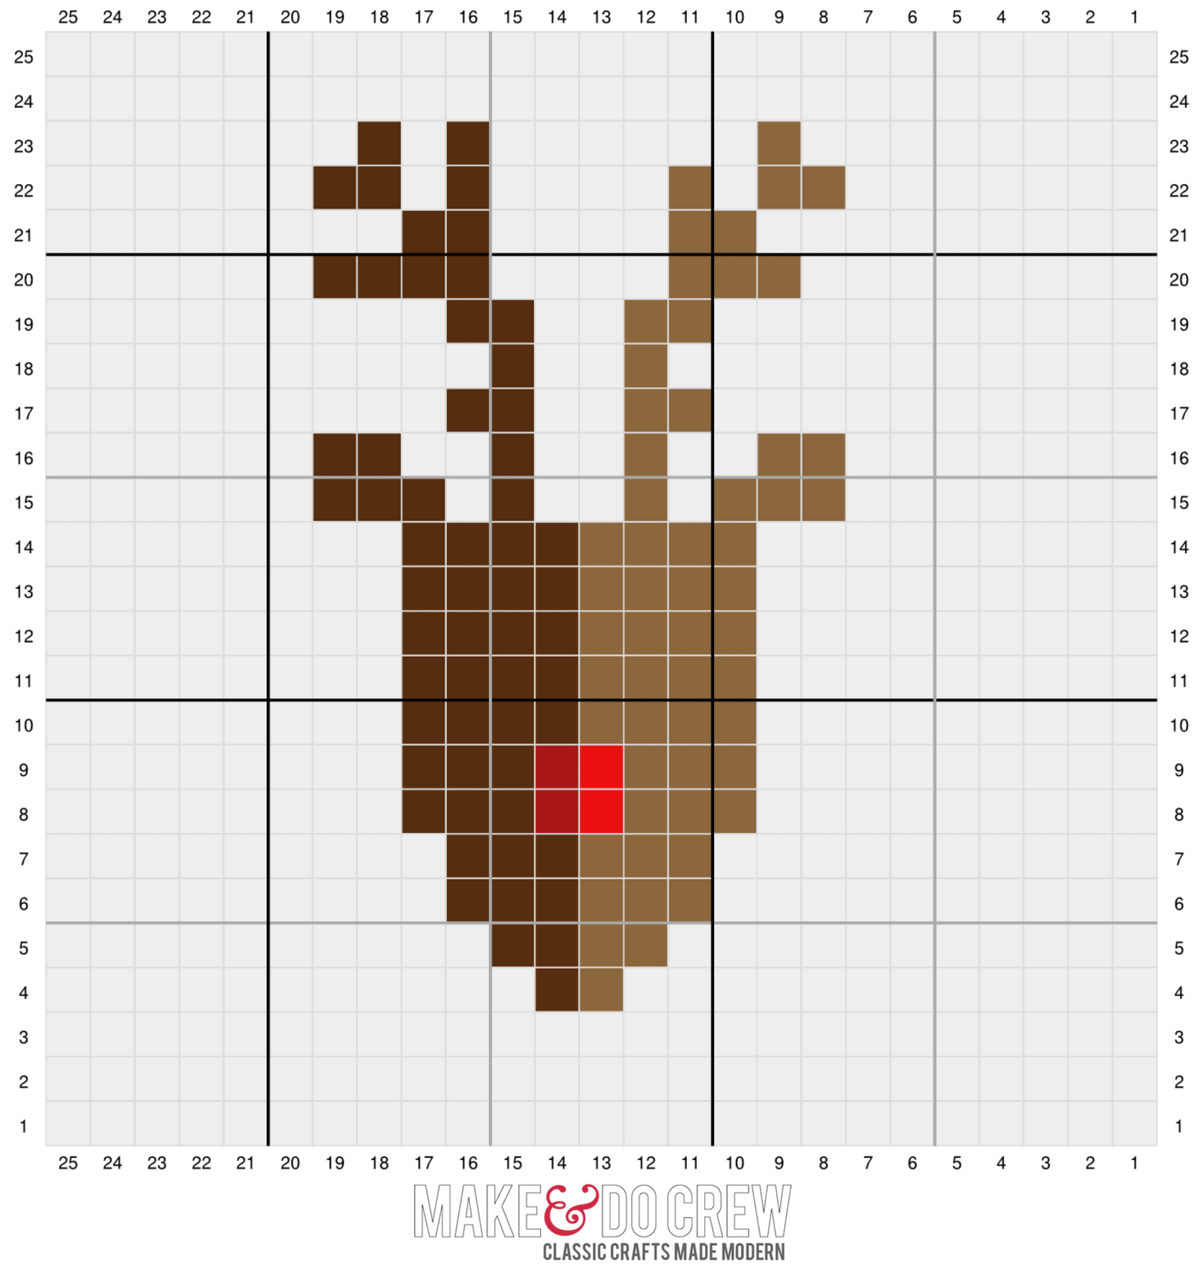
TIP: Simple is better! You might have ambitious plans about what your graph could include, but you will likely discover that you graph needs to be simpler than it is in your mind's eye unless you plan to crochet a giant blanket.
Consider designing multiple C2C squares that are joined together into a blanket (like this modern Christmas afghan!) to reduce the number of bobbins attached any any given time.
2. Determine sizing. To figure out how many tiles wide and tall your project should be to create the size your want, you need to first know your gauge. Using your project yarn and hook, crochet a small swatch that has 6 tiles per side. Measure the middle four tiles in both directions and average that number to determine the length of four tiles. Take this length and divide by 4. The resulting number is the approximate length of one tile.
Take the total desired width of your project and divide that number by the length of one tile. This number is the approximate number of tiles you should work for the width of your project. Repeat the same equation to determine the number of tiles to create your desired project length.
Example:
If 4 tiles = 5” and I want to make a blanket that is 50 x 60”:
Approximate length of one tile = ⅘ = 1.25”
Desired blanket width = 50”/1.25” = 40 tiles
Desired blanket height = 60”/1.25” = 48 tiles
TIP: The smaller your tiles are, the more detail you will be able to fit into the square footage of your pattern. If necessary, there are two ways to decrease the size of your tiles. First, you can opt for using half double crochets to create your diagonal box stitch tiles instead of double crochet (learn how here!) or you can use thinner yarn and a smaller hook.
3. Chart it. Even if your design only includes stripes, it’s still a good idea to map it out based on the total number of tiles per side you determined above. While you can definitely do this in Excel or with good ol' graph paper, I love using StitchFiddle.com. Stitch Fiddle is a fantastic free design resource that allows you to draw c2c charts, create written line-by-line instructions from your graph, track your progress as you crochet and even design a graphgan from a photograph.
Let's take a look at how to design a corner to corner crochet chart in StitchFiddle.com.
click to pin this tutorial for later ⇨
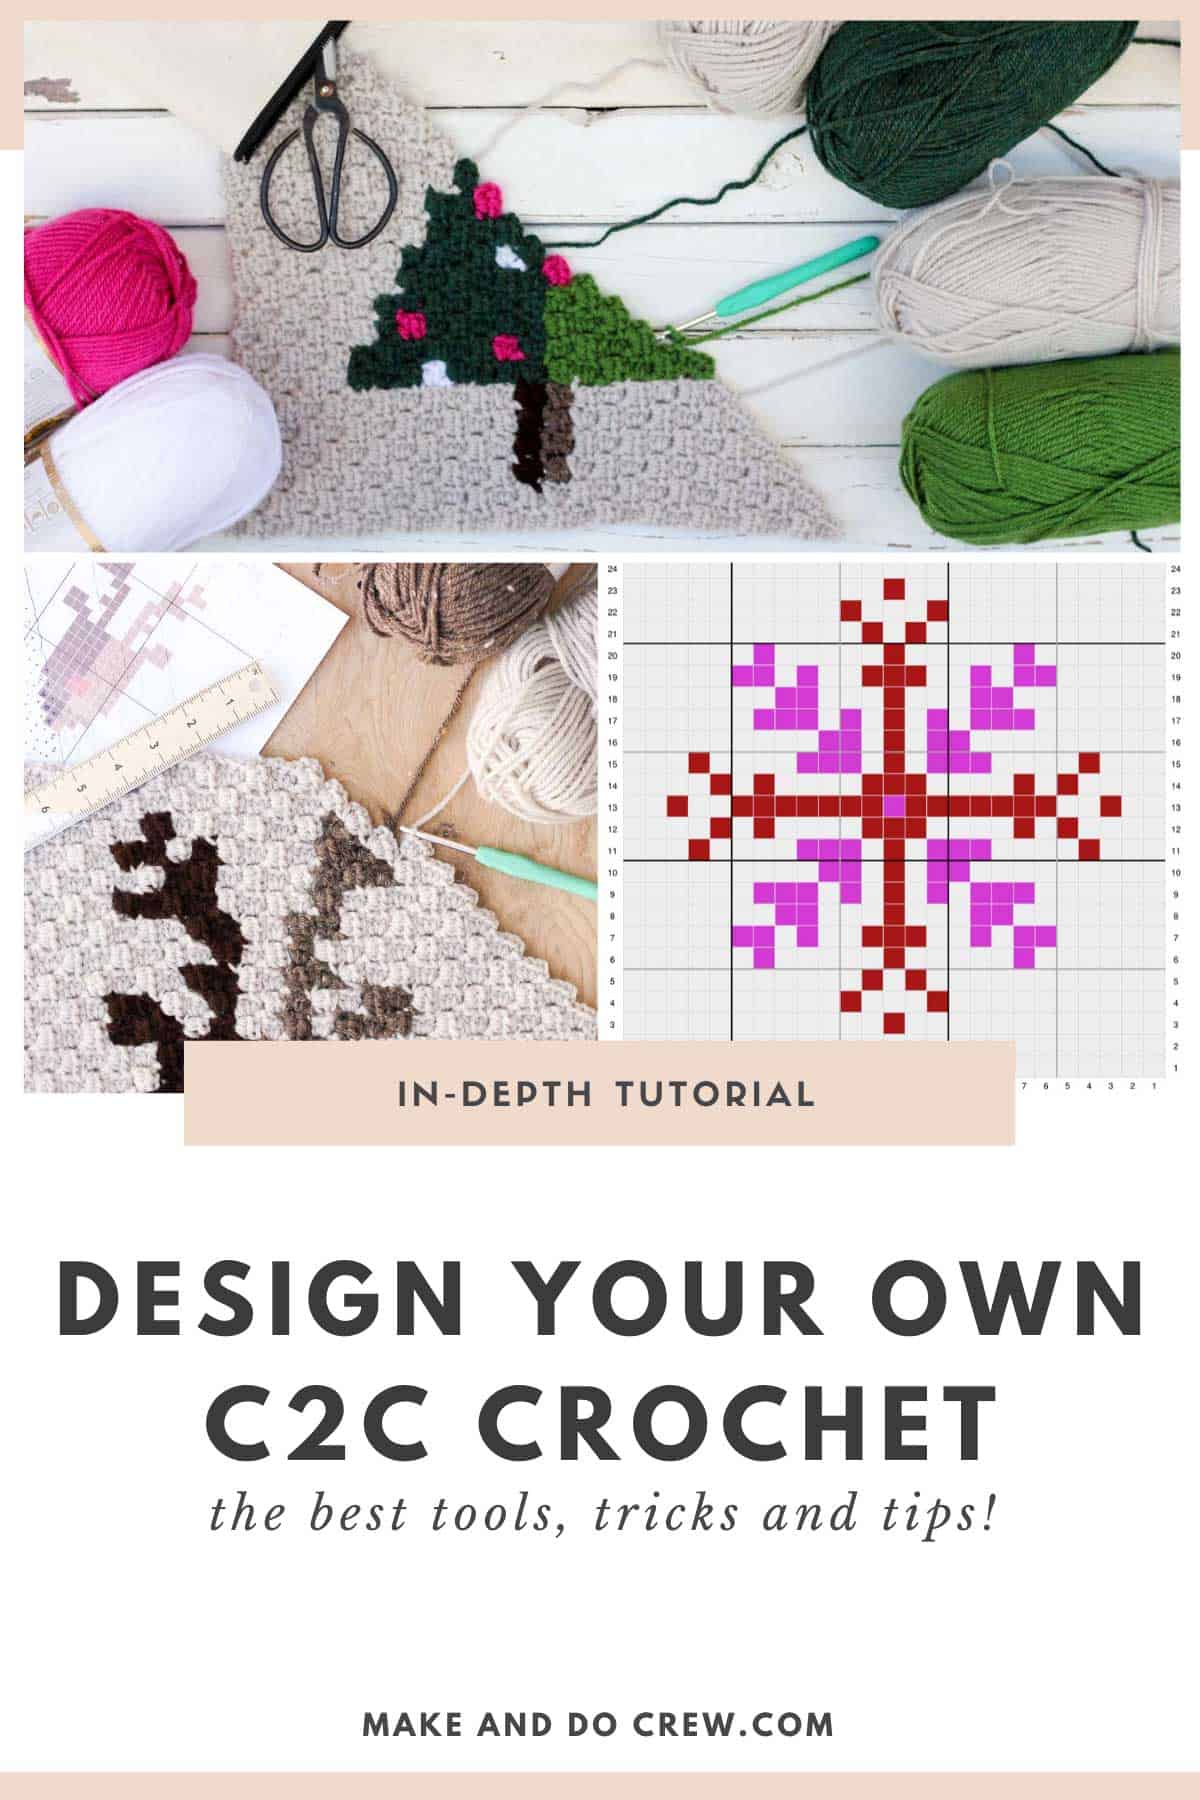
How to Design a Corner to Corner Crochet Graph in Stitch Fiddle
Note: This post no way sponsored by Stitch Fiddle. I don't receive anything for telling you how awesome it is. It's just the tool I use and I think you'll enjoy it too!
You'll need to create a free account at StitchFiddle.com to save and download your c2c chart, so you might as well do it at the beginning. (Heaven forbid your computer crashes and you lose your design before it's saved! Been there, done that.)
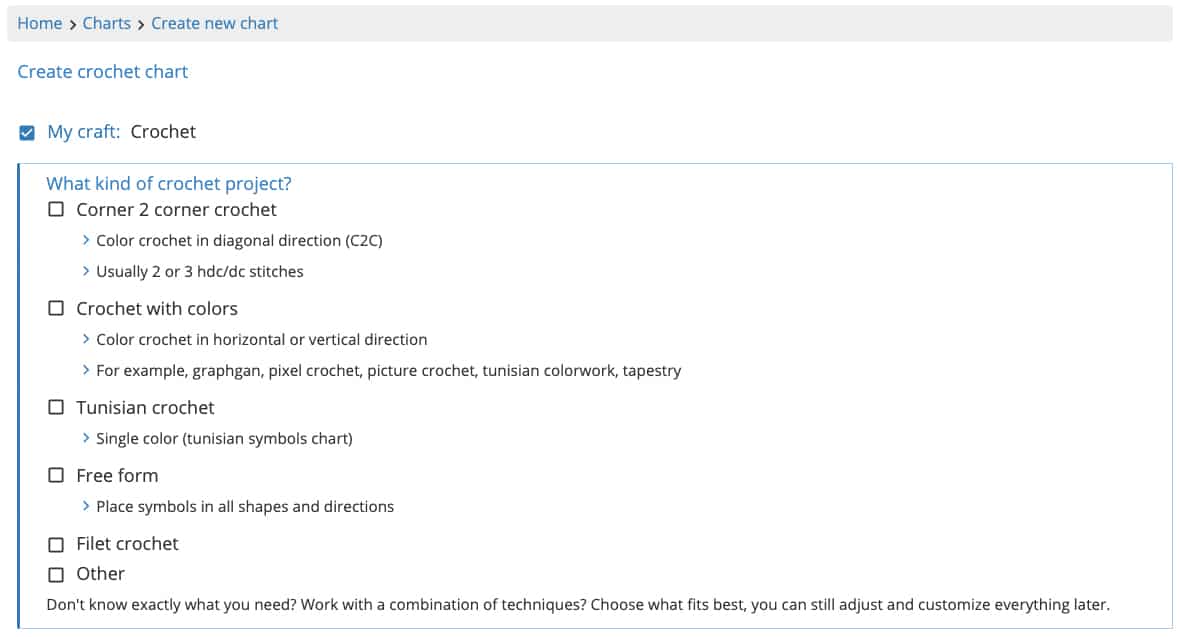
When you select the "crochet" pattern option, you'll be presented with a few types of crochet charts you can design. Stitch Fiddle is really versatile, so if you'd also like to design tapestry crochet, Tunisian crochet patterns or even knit color work patterns, this could be a great tool to use also.
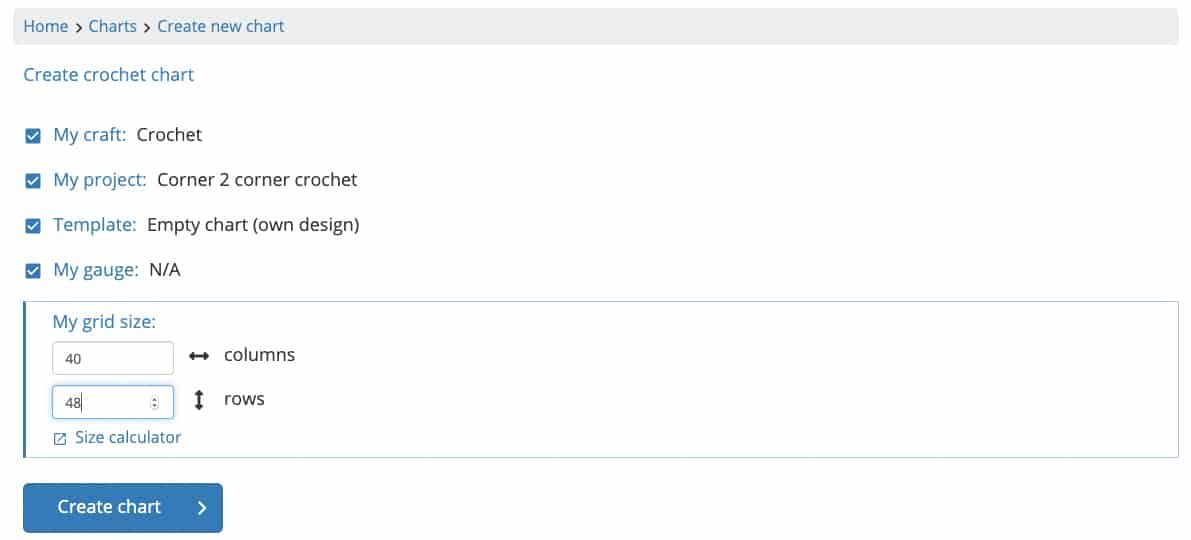
To design a c2c crochet chart though, you will choose "Corner 2 corner crochet" from the menu options.
The next part is really cool because you can choose to either design a c2c graph from scratch or turn a photo or screengrab into a chart. For now, we'll choose the "Empty chart" option. (More on designing a C2C chart from a photograph below.)

Selecting your grid size is where your gauge swatch from earlier comes in. You'll input the number of rows and columns needed to achieve the size blanket or project you want. These numbers are based on the math you did in the planning section above. These numbers can be fine tuned once you're designing your graph and understand the total visual space you need.
Wanna save this pattern?
Once your empty chart is created, click on any of the existing colors on the left side to begin drawing your pattern design. To erase, simply use the background color to change the grid square.
Drawing your chart can be really fun, especially once you learn some of the tricks in Stitch Fiddle. Right click on your chart to see some of the available options. One that will likely come in handy is the ability to delete or add rows and columns. This is useful if you find that your design isn't centered in your chart or if you need an odd/even number of rows to balance a design.
If you upgrade to a premium account, you have the option to highlight sections of your chart and flip them horizontal/vertical, which can be really helpful if you're creating a repeating pattern like the pillow pictured below.
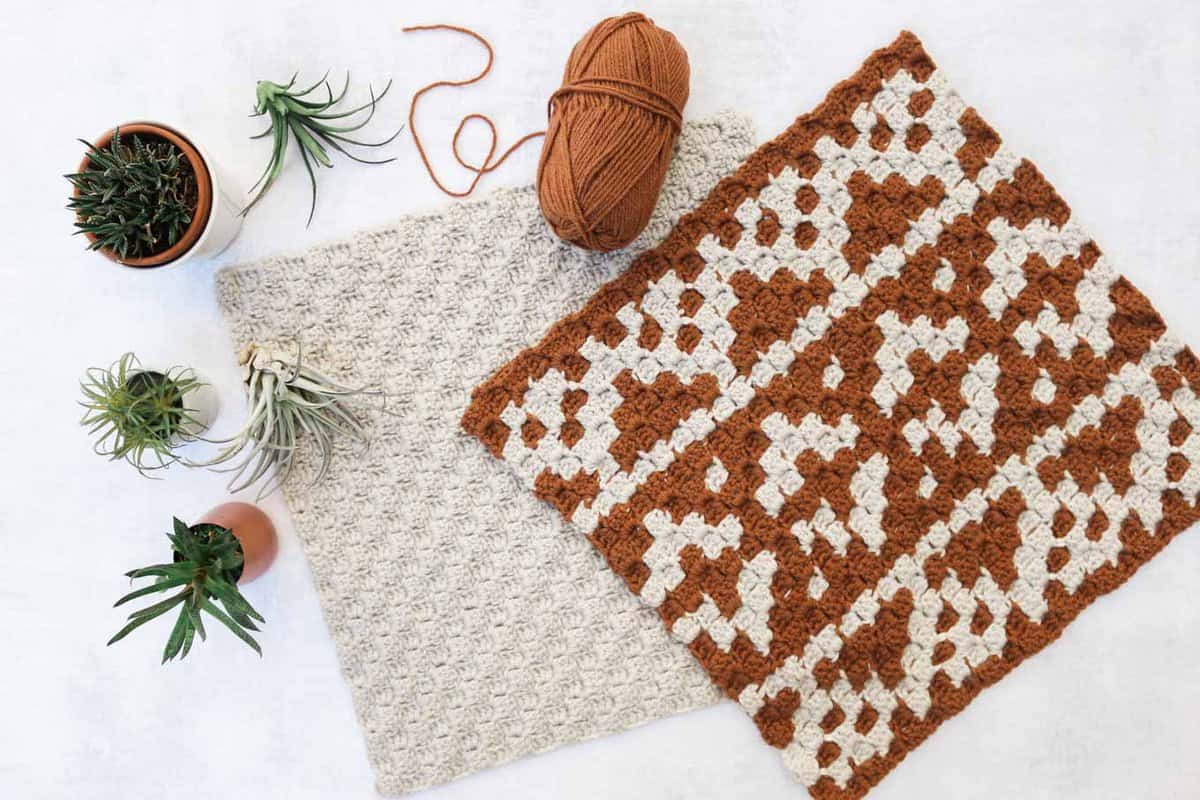
One of my favorite parts of designing in Stitch Fiddle versus on graph paper is that it's extremely easy to change the colors of my c2c design.
Simply double click on any color in the palette on the left side of your screen. In the menu that appears, click "color" and you'll be able to choose a new color to replace the existing color. This is very helpful when you want to offer multiple color options of a given c2c crochet pattern, like I did in this plaid bunny blanket pattern.
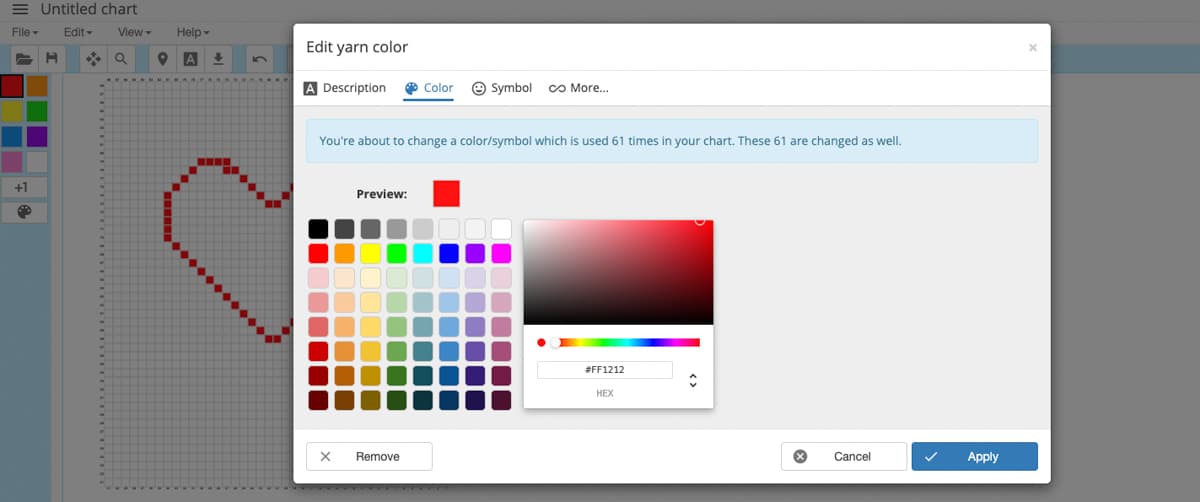
This menu is also where you can customize the description and abbreviation for each color that appears in your chart. (This is relevant to the legend that can accompany your chart and the written, line-by-line instructions.)
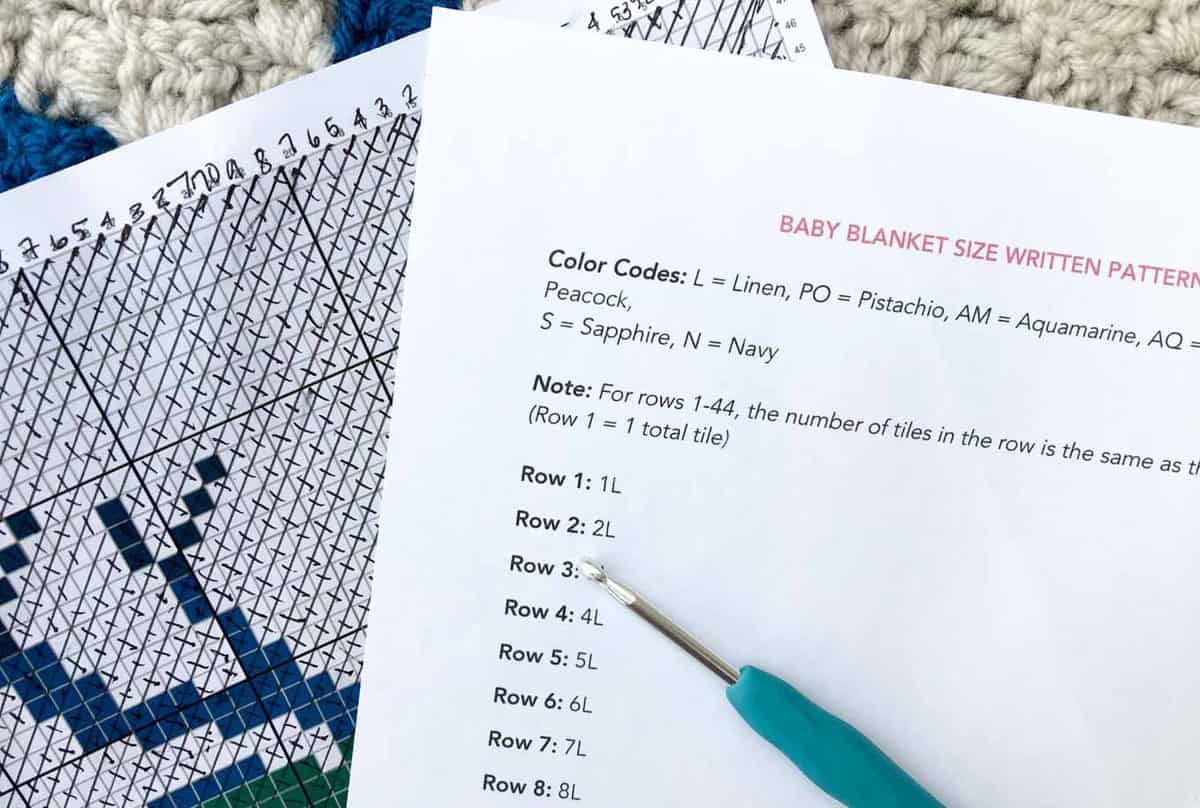
Speaking of line-by-line instructions, one of the very best aspects of Stitch Fiddle is that it allows you to export written instructions for any graph or colorwork crochet pattern you create. This means that you can crochet along with written instructions in addition to referencing your graph. This tends to be a much faster and more accurate way to follow a c2c pattern!
And if you're hoping to sell a PDF of the pattern you design, I've found that being able to offer line-by-line instructions is a really compelling offering.
Creating a Corner to Corner Crochet Pattern From a Photo
Alright, now let's talk about a shortcut you can use to create a really custom corner to corner crochet graph pattern.
When you're first setting up your c2c chart, you have the option to design it based on a photograph. Unless you're planning to crochet a very large blanket, a typical photo is likely to be too detailed to translate into a c2c pattern.
BUT, this feature is super useful if you have a logo, piece of clipart or simple silhouette that you'd like to create a pattern from.
Similar to what recent guest designer Maria from PukaPuka mentioned in her map of Africa blanket pattern, using the outline of a map, shape or animal can work really well. (Check out E'Claire Makery's Buffalo Plaid Bear Blanket for another great example!)
Let's look at how I created a c2c graph pattern for a New York blanket.
click to pin this tutorial for later ⇨
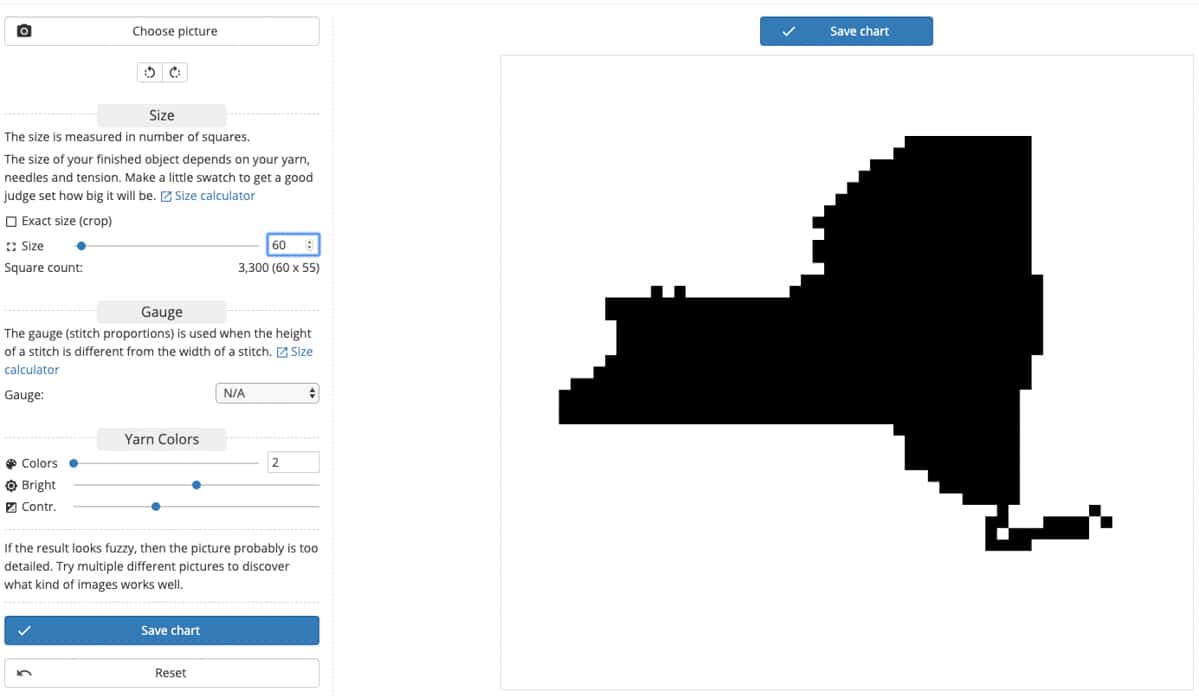
First I googled "New York state silhouette" and found plenty of options. I took a screengrab of one. Then I selected the "create a chart from a photo" option in Stitch Fiddle.
The default settings are very detailed and would result in a very large blanket using anything but the very thinnest of yarn, so I decreased the "size" field to 60 squares wide.
Since I wanted to design a silhouetted version of the state of New York, I reduced the "colors" field to two. This removed any extra blurriness created by the pixelation.
While the resulting chart doesn't look exactly like New York, it's good enough to click "save chart" and move on.
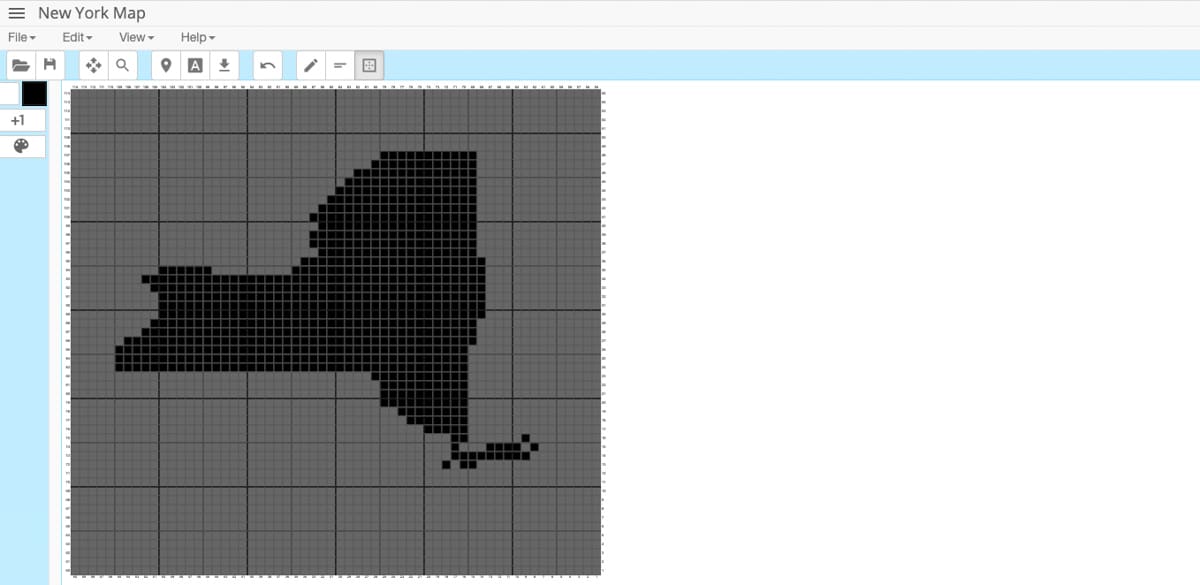
I used the color options on the left of my screen to clean up the shape of the silhouette, knowing that all the lines will look softer and smoother in yarn form. Some aspects that can look a little rigid in a graph look a lot better once they're actually crocheted.
Next I used the tools mentioned above to illustrate letters in the silhouette, adjust the colors and delete a few columns that were making the chart feel too wide.
Once I was satisfied, I downloaded it using the customized chart settings that I wanted to work from. (There are many options to change the visibility of the chart lines, spread your chart over multiple pages, etc. Play around and see what suites your eye.)
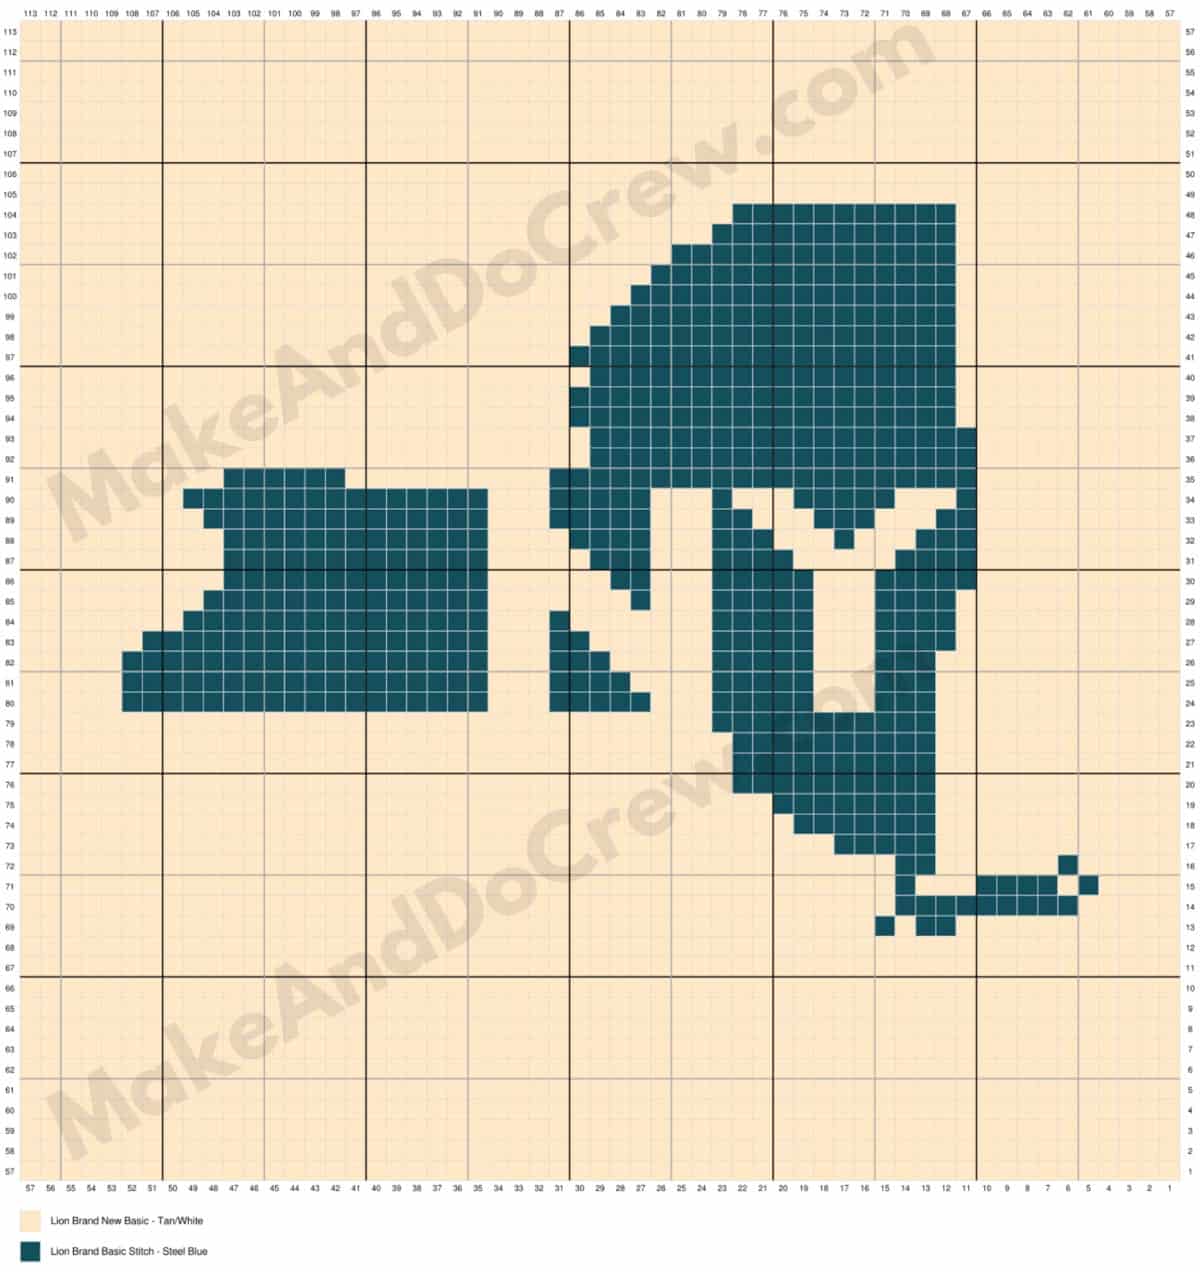
Alright, those are the basic steps to follow to design your own corner to corner crochet graph! What else would you like to know about this process? Leave any questions you have in the comments below.
And stay tuned because next week I'll share tips for designing a graphgan with words in it!
Ready to Learn More?
I've been LOVING Tunisian crochet lately. If you're new to this awesome alternative to standard crochet, I'd love to show you the basics. You can practice everything I teach in this free crash course using a regular ol' standard crochet hook. Learn Tunisian crochet here!

Leave a Reply