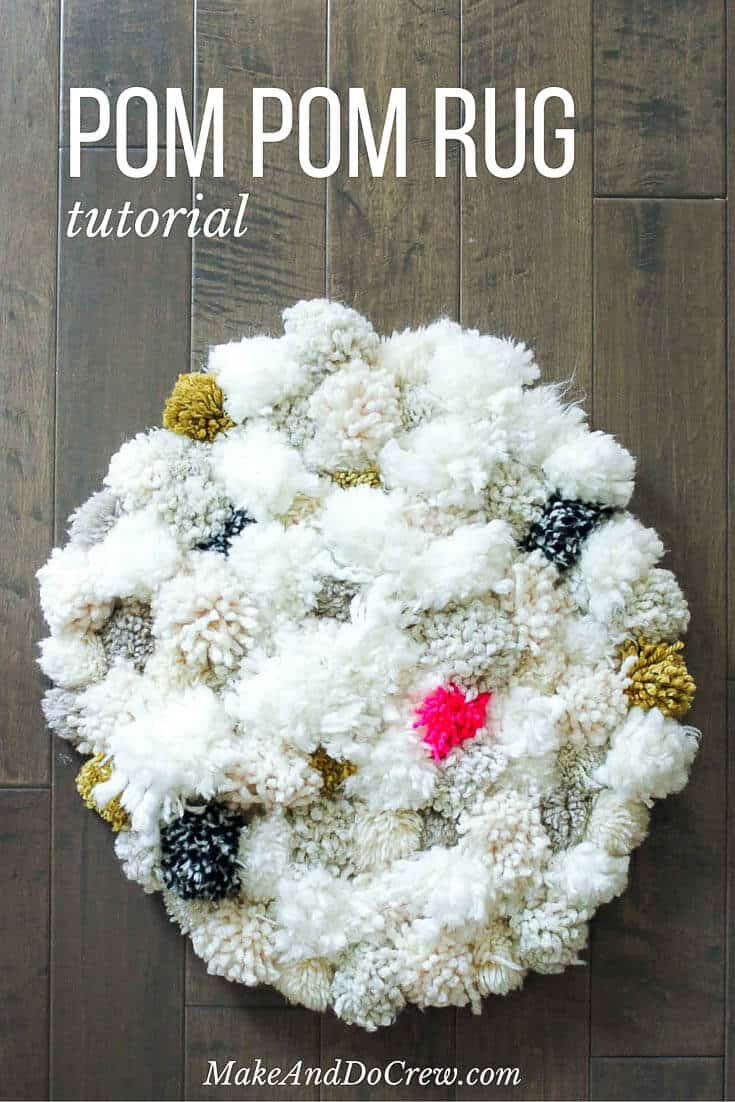
This soft, scrumptiously squishy DIY pom pom rug takes very few skills to create and is a great way to use up a bunch of scrap yarn!
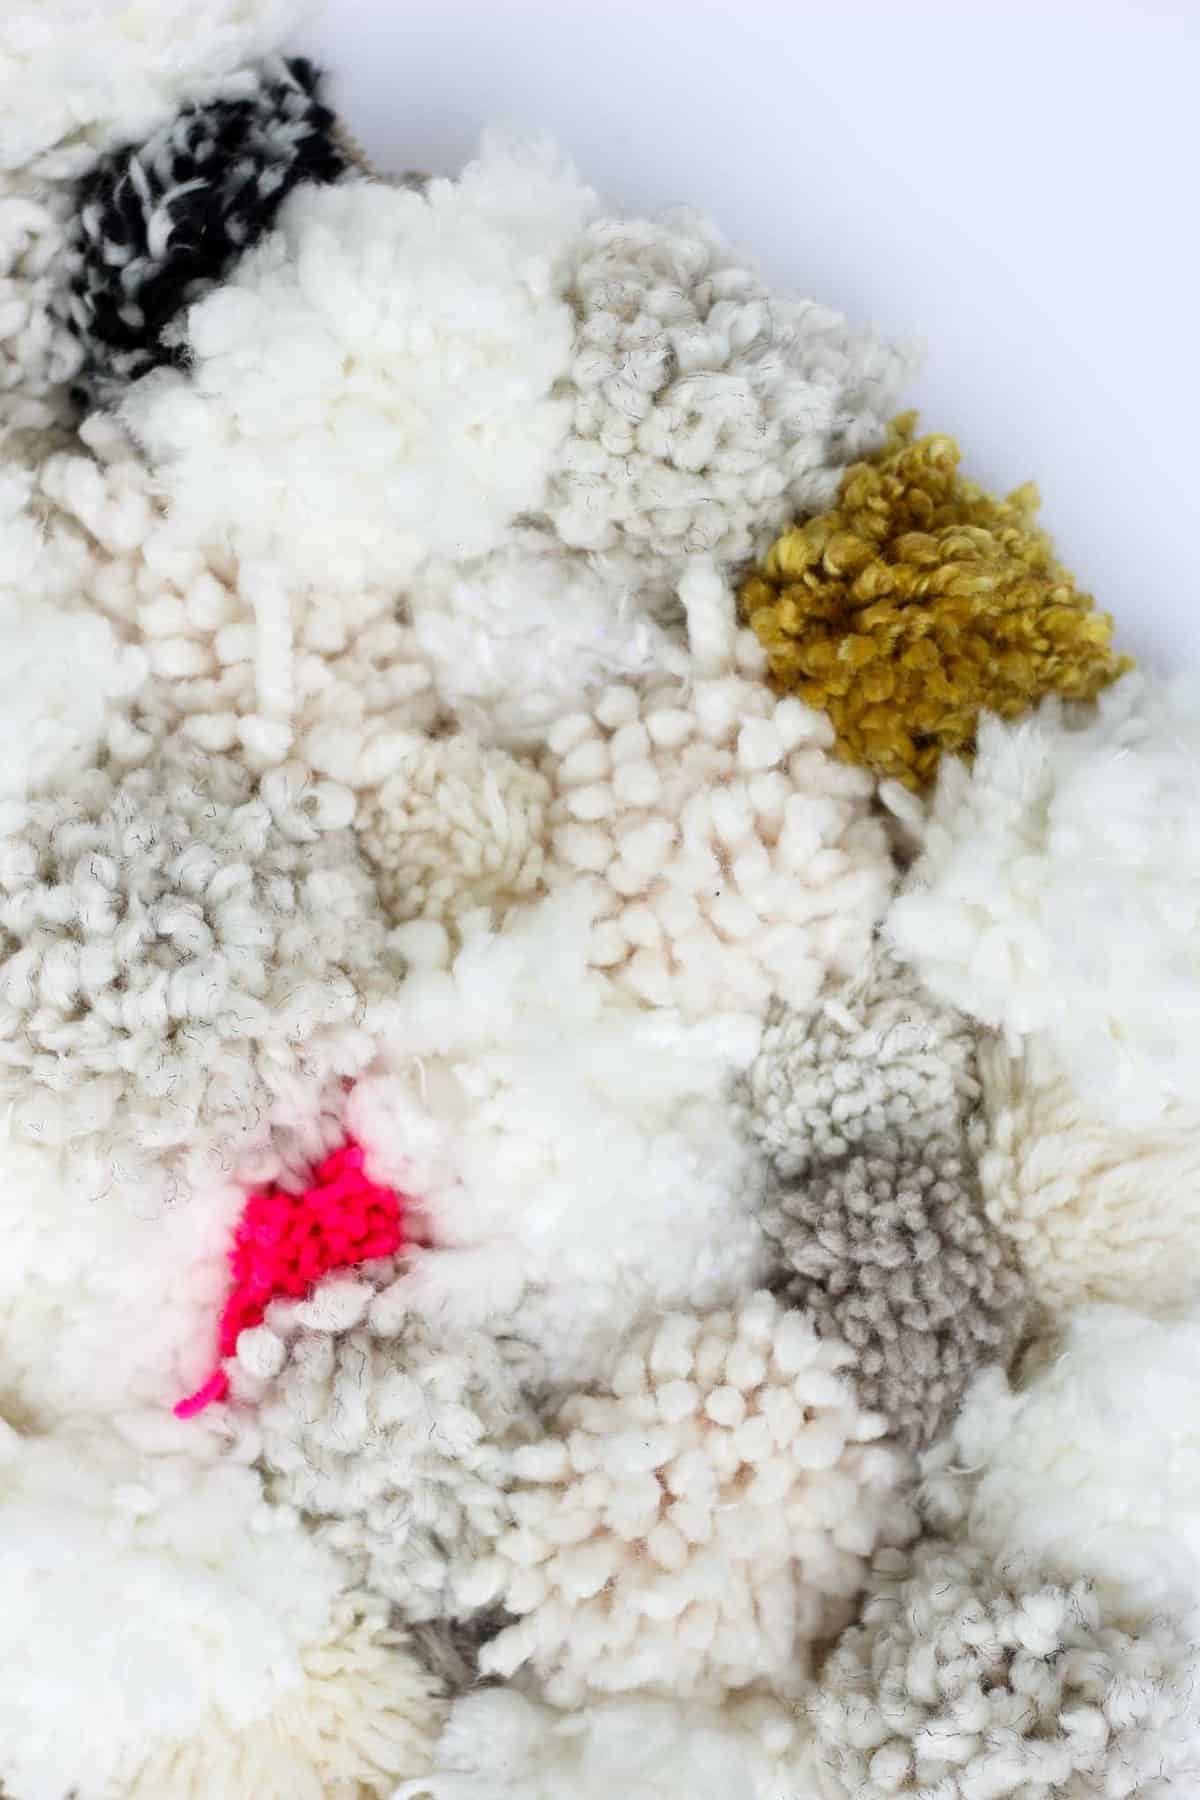
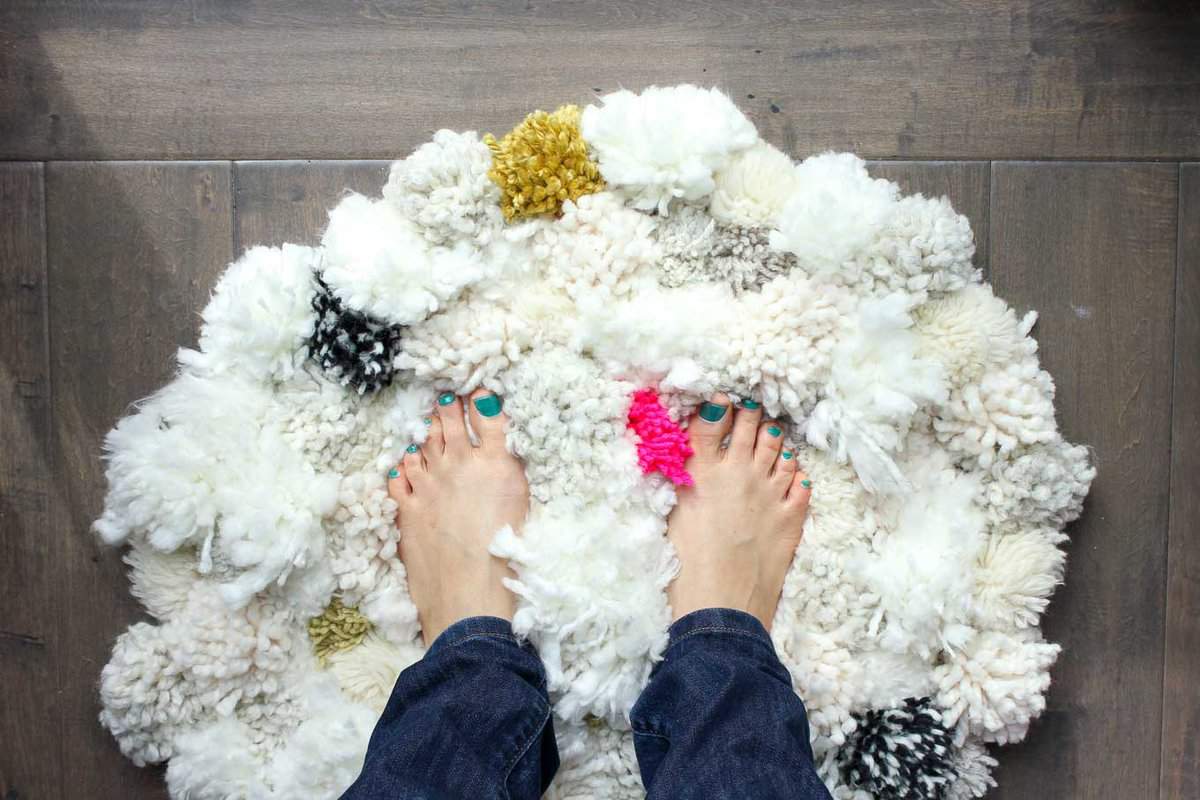 This DIY pom pom rug is like the best gift you could ever give your home. Seriously. Your home is there for you everyday, having walls and a roof and heat. The least you can do is gift it an epically squishy, texture-tastic rug for the floor.
And let’s just admit that a handmade pom pom rug is just as much a gift for your feet and eyes as it is for your floors.
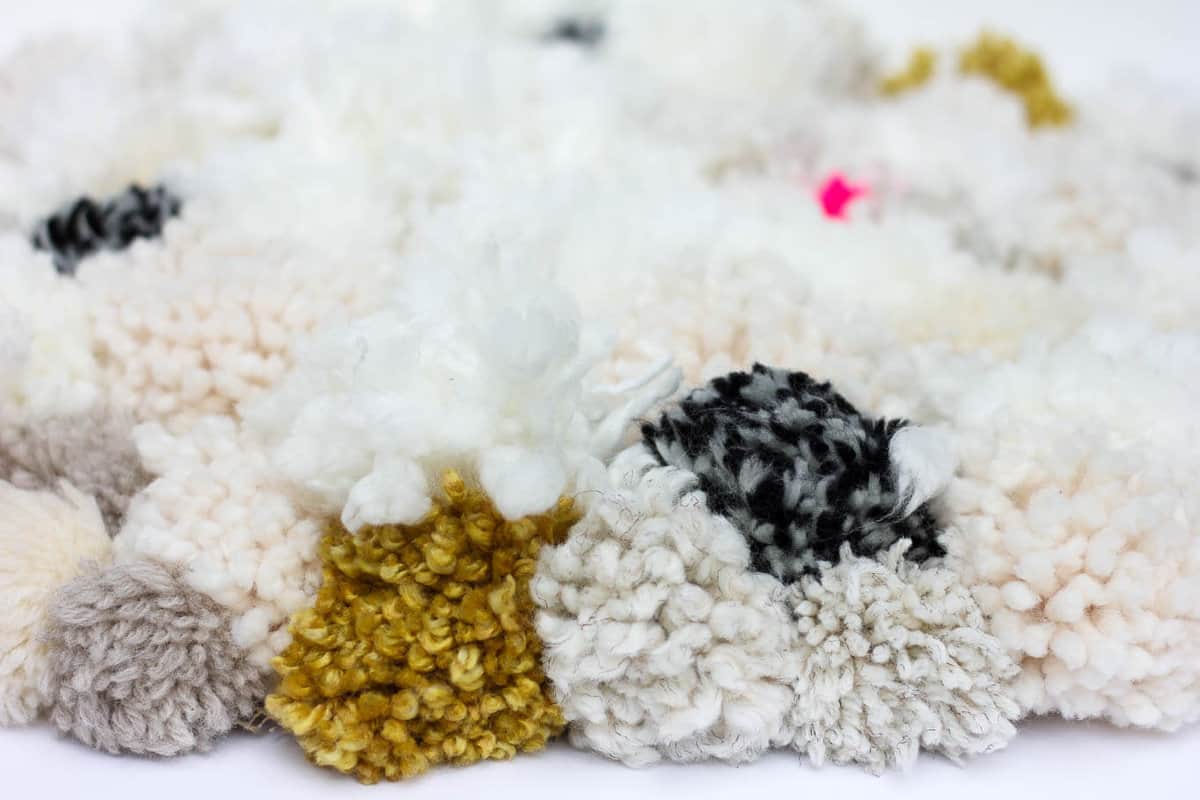
And the kids love it too. They roll around on its fluffiness and stroke the strands of the pom poms.

I first came across a tutorial about how to make a pom pom rug on Say Yes and I knew immediately that Quinn’s room would need this furry amoeba.

(This rug turned out to be that 1 in 100 time where you can justify all the stuff you’ve been hoarding for years “in case you need it for a project some day.” I needed it! And thus will now have ammunition to justify hoarding another 10 years of craft supplies.)
DIY Pom Pom Rug Supplies
For your pom pom making convenience, this post contains affiliate links at no extra cost to you. Thanks for supporting free tutorials and patterns on M&DC!
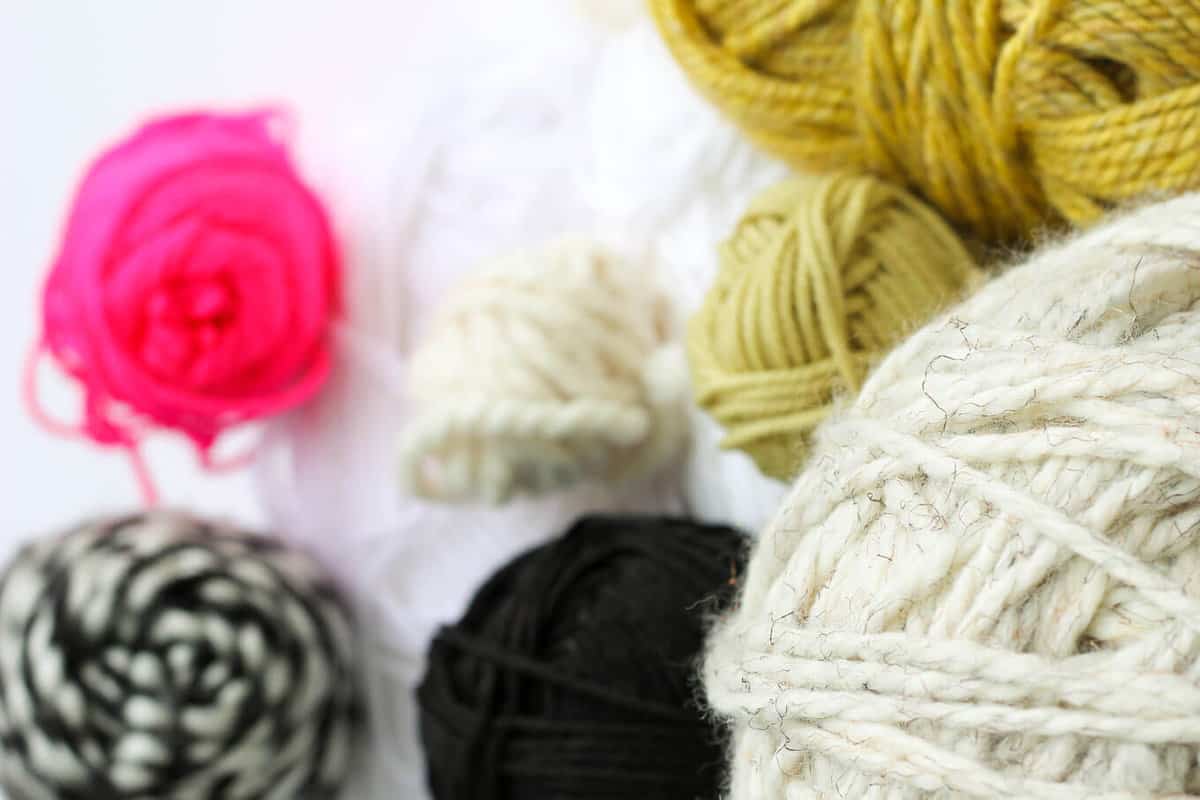
• yarn (Try to use different textures and thicknesses to add more variety to your rug, especially if your color scheme is fairly monochromatic like mine. Check out this guide if you need help choosing rug colors.)
• rug pad
• toilet paper tubes
• sharp scissors (These are my fav!)
Wanna save this pattern?
How to make a pom pom rug
1. Cut your rug pad into the size and shape you’d like your rug to be. Mine is an oval.
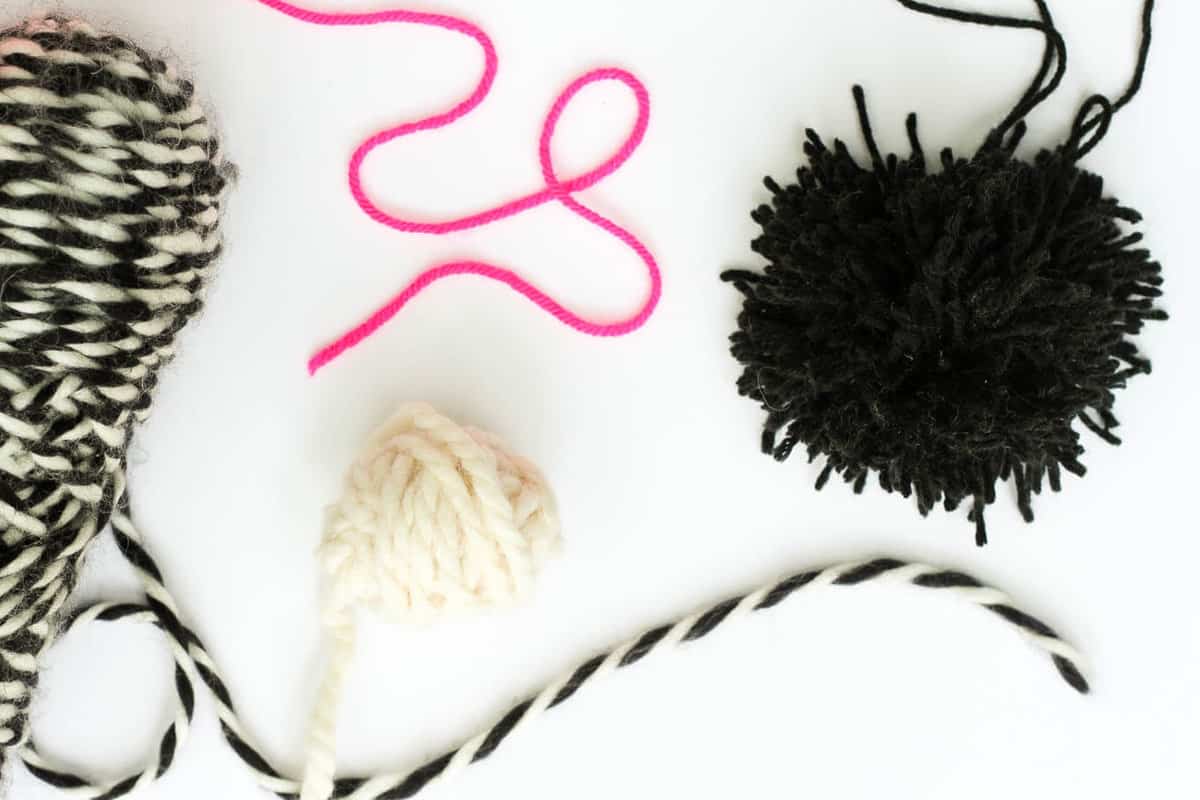
2. Make a boatload of pom poms. (Check out my full pom pom tutorial!) Make sure that you leave the “tails” of the yarn you’re tying around the pom pom yarn pretty long. These tails are what you’ll use to tie the pom poms to the rug pad.
3. Lay your pom poms out on the floor and admire how cool they’ll look together.
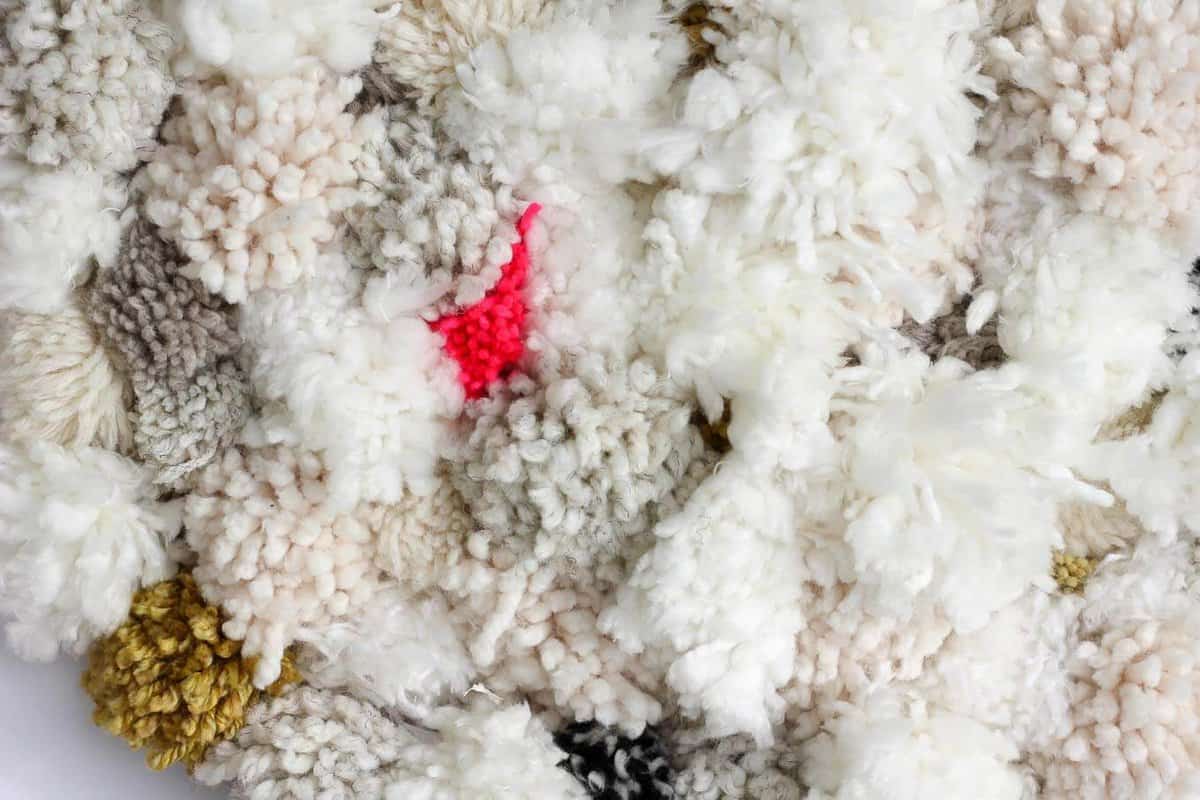
5. When you’re starting to get close to having enough to cover your rug pad, begin tying them on using the “tails” from creating the pom poms. I knew I wanted a really dense rug, so I placed them fairly close together. Once you’ve tied some on, you can always go back and fill in any gaps if it’s not fluffing to your liking.
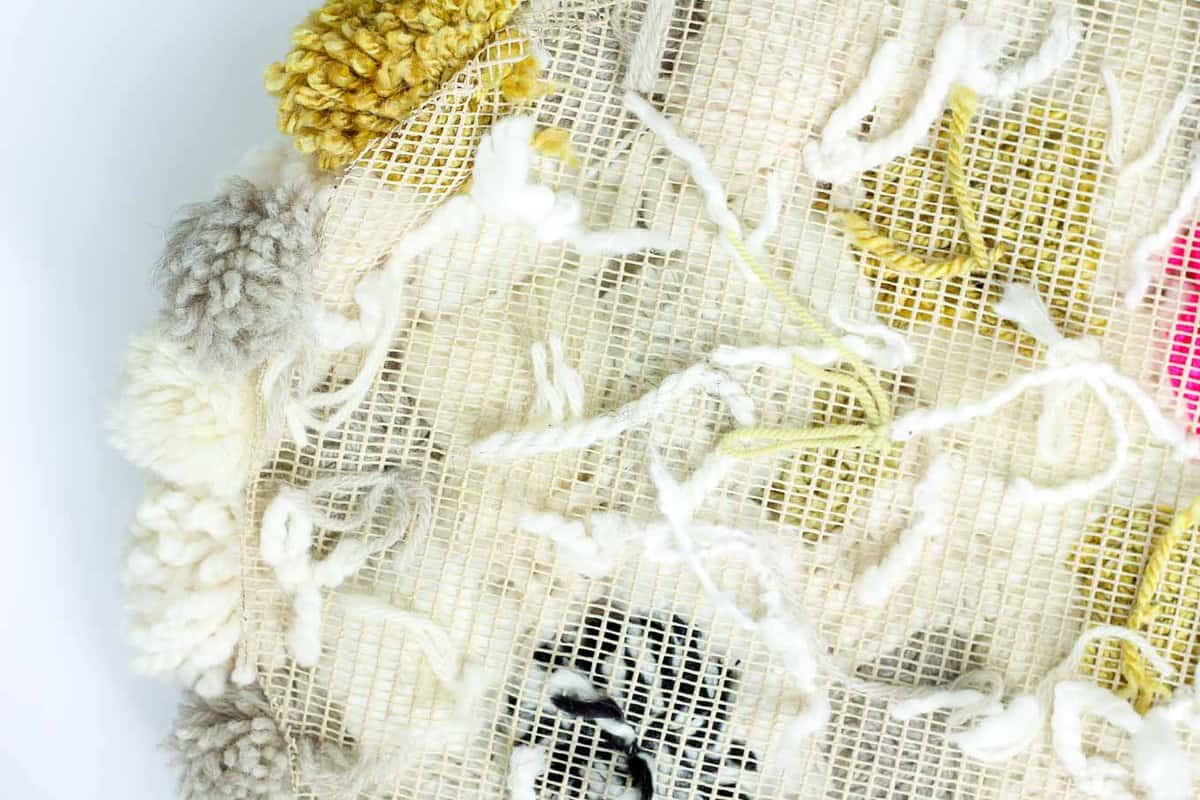
7. Trim off any wildly stray strands from your pom poms. And if you’d like, trim the tails on the backside of the rug. I didn’t.
8. Sink your feet, hands, heck even your elbow, into the heavenly bliss that is a pom pom rug.
9. What room in your house could use a little pom pom floor party? I hope you enjoy your rug as much as I love ours.
If you’re looking for other modern DIY home decor ideas to deck out your space, you might like:
How To Make a Hexagon Shelf From Popsicle Sticks
15 Minute Floating Box Shelves from Cigar Boxes How to Recover a Glider Chair
DIY Modern Bunny Shelf (perfect for a baby’s nursery!)



Donna says
Is it best to use acrylic or wool yarn or is it okay to mix and match?
Jess @ Make and Do Crew says
You can totally mix and match! I like the variety of texture.
Jillypotato says
Why do you need the toilet paper roles