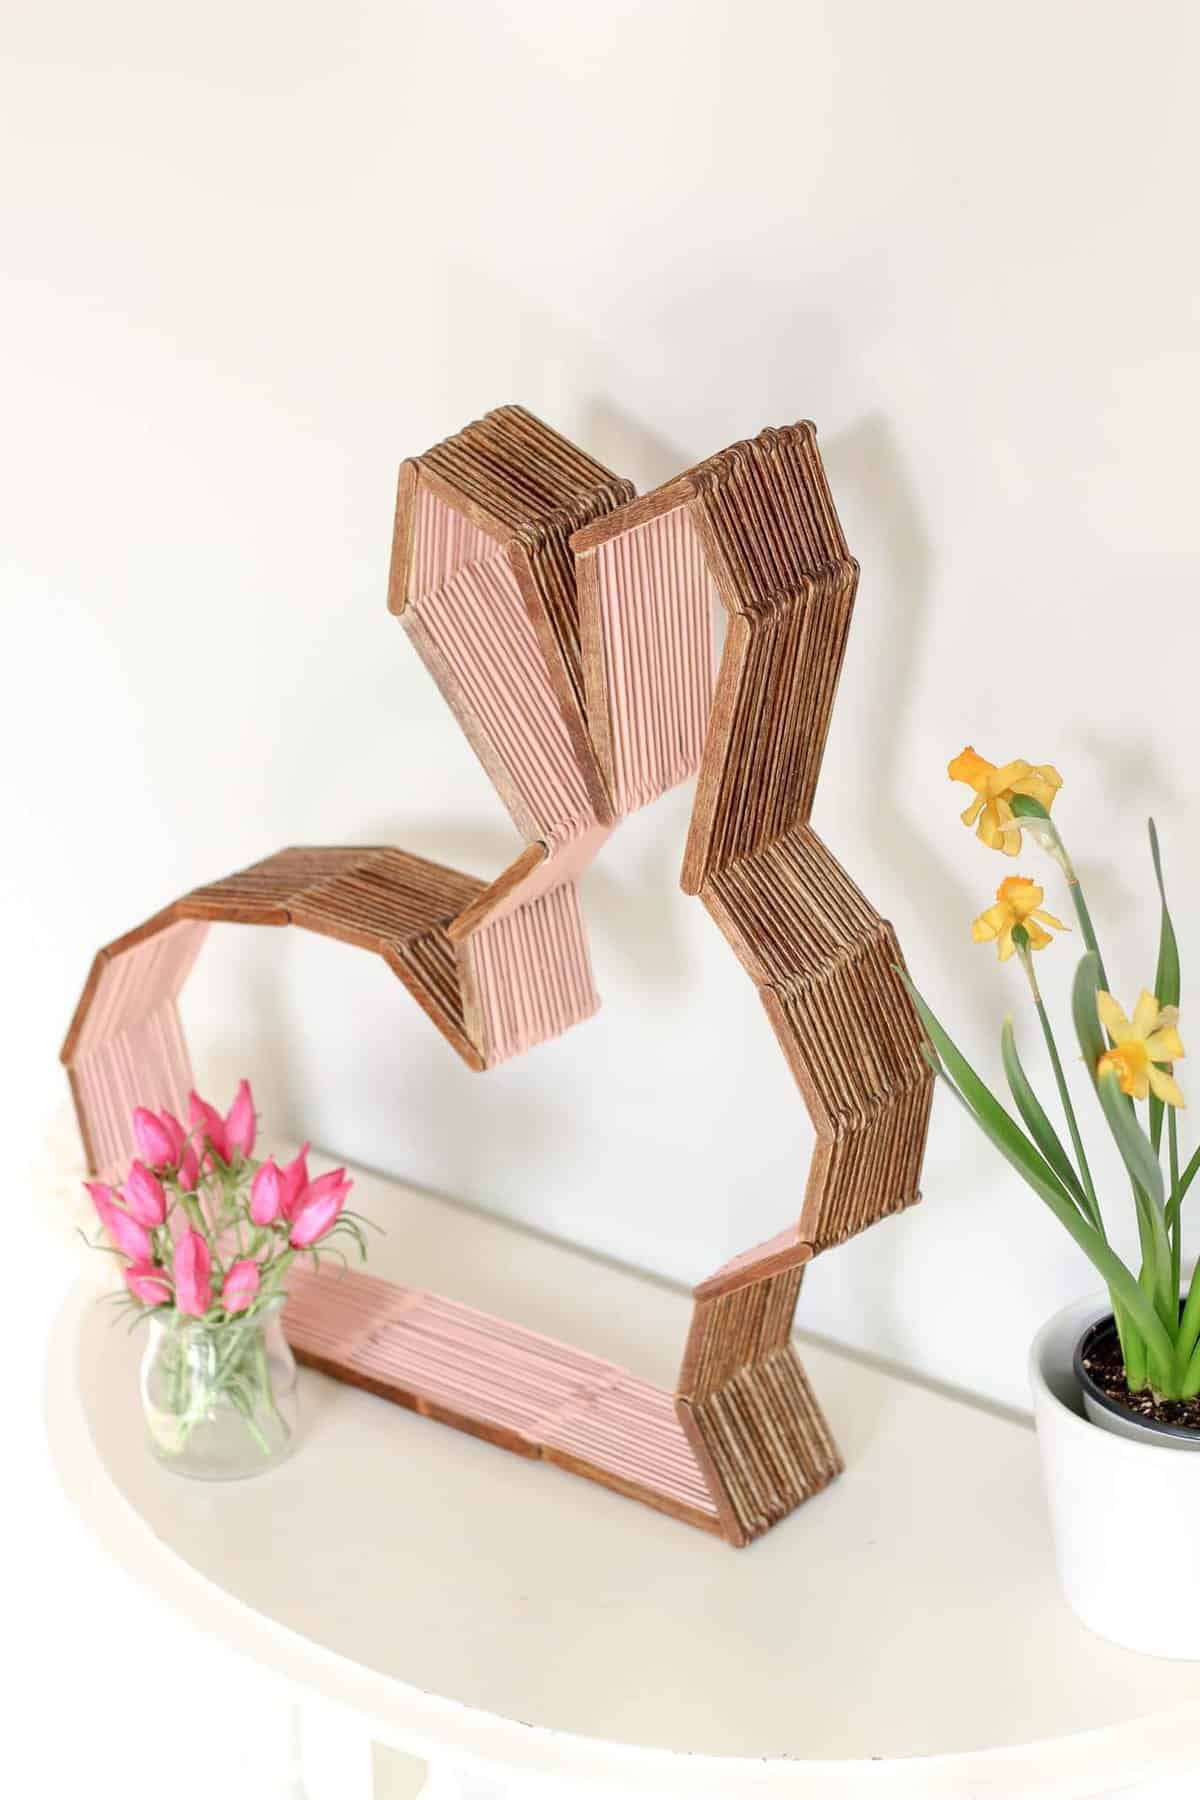
This bunny shelf makes a perfect Easter craft idea for Spring or DIY nursery decor to enjoy year round!
I’m just “hopping” by to drop off a DIY bunny project that can be made entirely from popsicle sticks! This is one of those crafts that looks much harder than it actually is, so as long as you can stack sticks, you can make this DIY art.
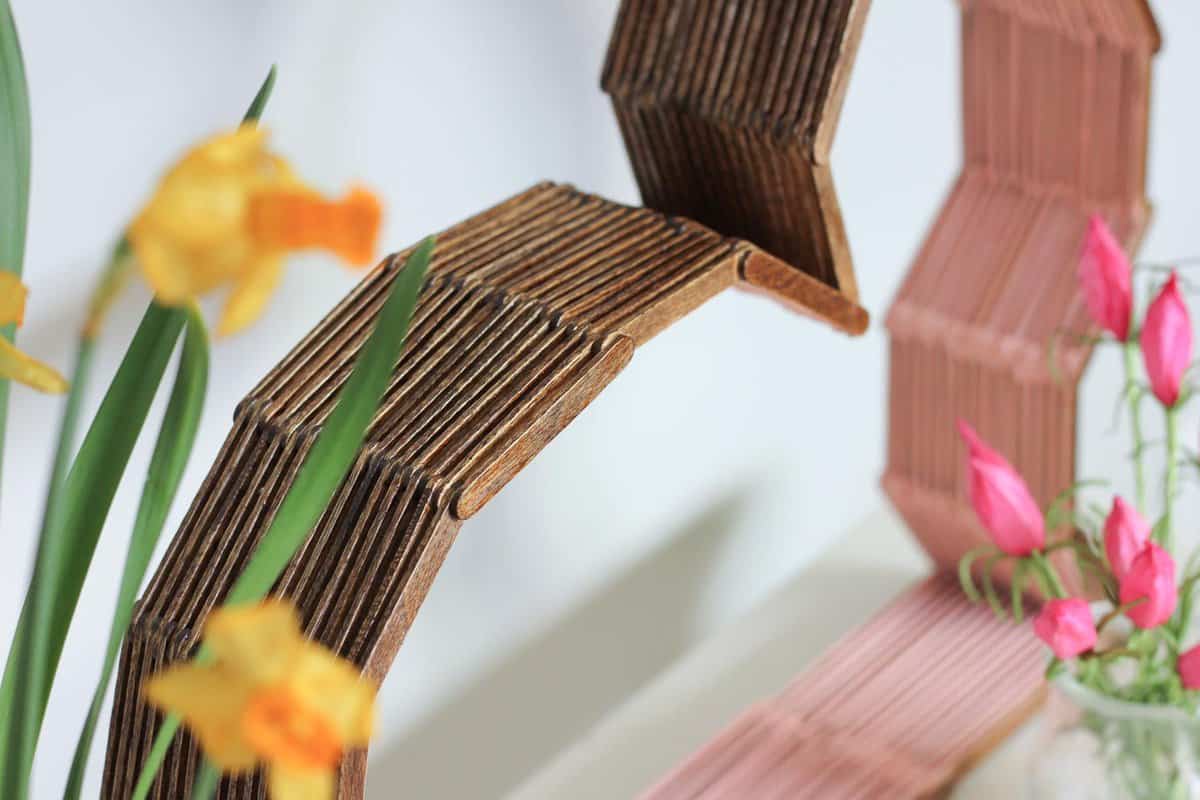
 DIY art? A little shelf? A modern sculpture? I’m actually not sure what to call this little bunny project. It looks charming as part of a Spring vignette, sitting on a table or mantle, but you can also hang it on the wall to create a little Easter-themed shelf in your entryway or kitchen.
 I suspect you might become fast friends with your little bunny like I have and want to keep it around all year. Personally, I think this little guy is a great DIY nursery decor idea that would so sweet in a gallery wall among other keepsakes and art. (If you love the idea of adding handmade touches to your baby’s room as much as I do, here are some other projects you might like.)
Really, our bunny might just hop from one room to the next around our house.
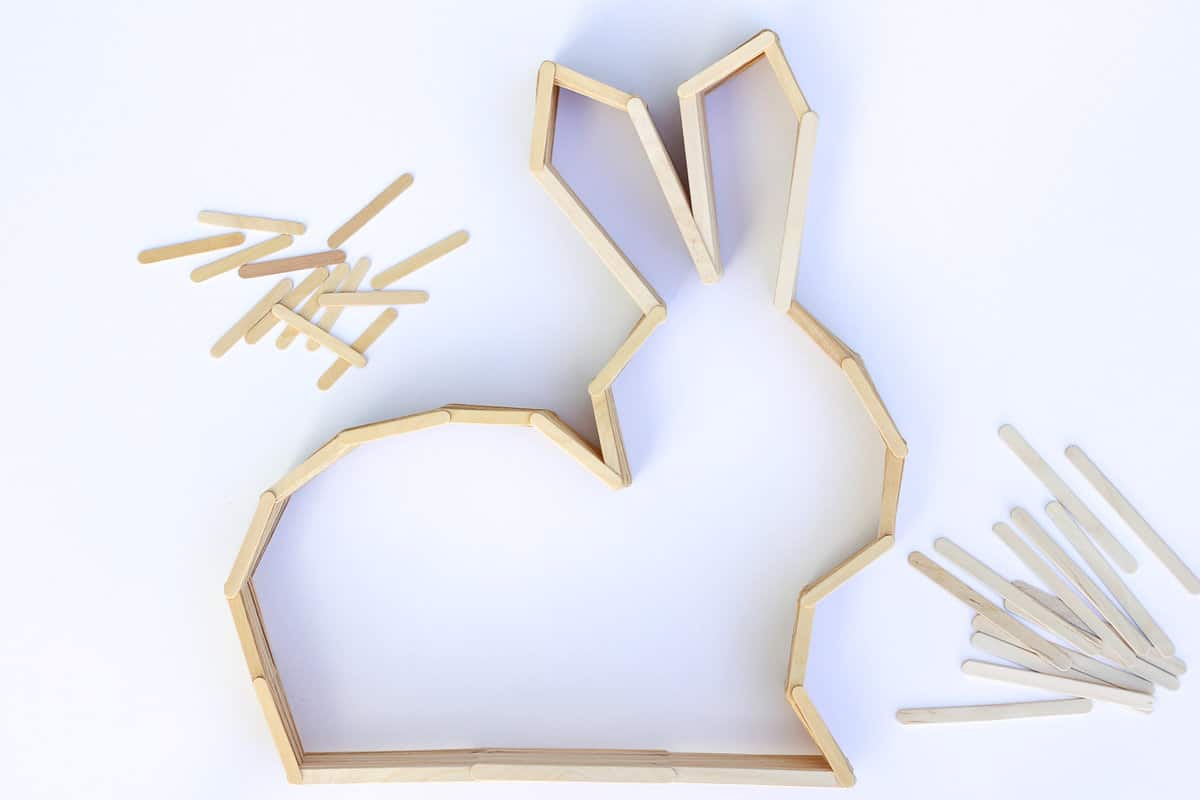
 As with all of my popsicle stick projects, having a template to build your project on makes getting the shape so much easier. This is the most intricate design I’ve created so far, so using the template will really help keep your craft sticks lined up as your bunny grows deeper.
To download the bunny template, enter your email address in the pink and green box at the bottom of this post to gain immediate access to our exclusive subscriber “Vault.”
(Plus, you’ll find a lot of other free patterns and templates for home decor projects including several other popsicle stick projects!)
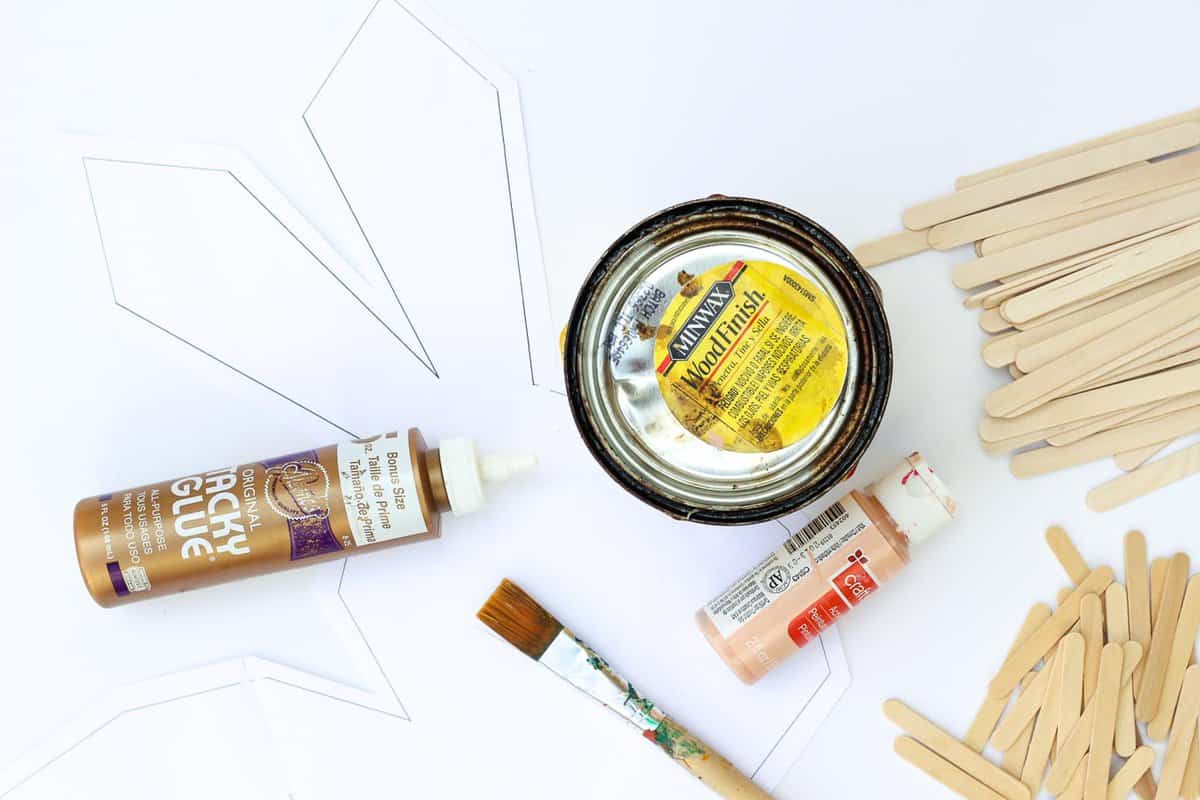 DIY BUNNY DECOR SUPPLIES
This post contains affiliate links at no extra cost to you so you can spend less time “hopping” from store to store looking for supplies. Thanks for supporting this blog!
• bunny template (Enter your email address in the box below get the free download.)
• full size 4.5" popsicle sticks (I used about 120. I buy them in bulk on Amazon.)
• mini 2.5" popsicle sticks (I used about 310.)
• glue (Wood glue is great, but you can use more basic school or tacky glue too.)
• acrylic paint
• wood stain
• paintbrushes
• yarn (If you prefer a pom pom tail to a popsicle stick tail.)
1. Print the template and tape it together. HINT: if you’re having trouble lining up the pieces, hold it up to a window to make the paper more transparent.
Wanna save this pattern?
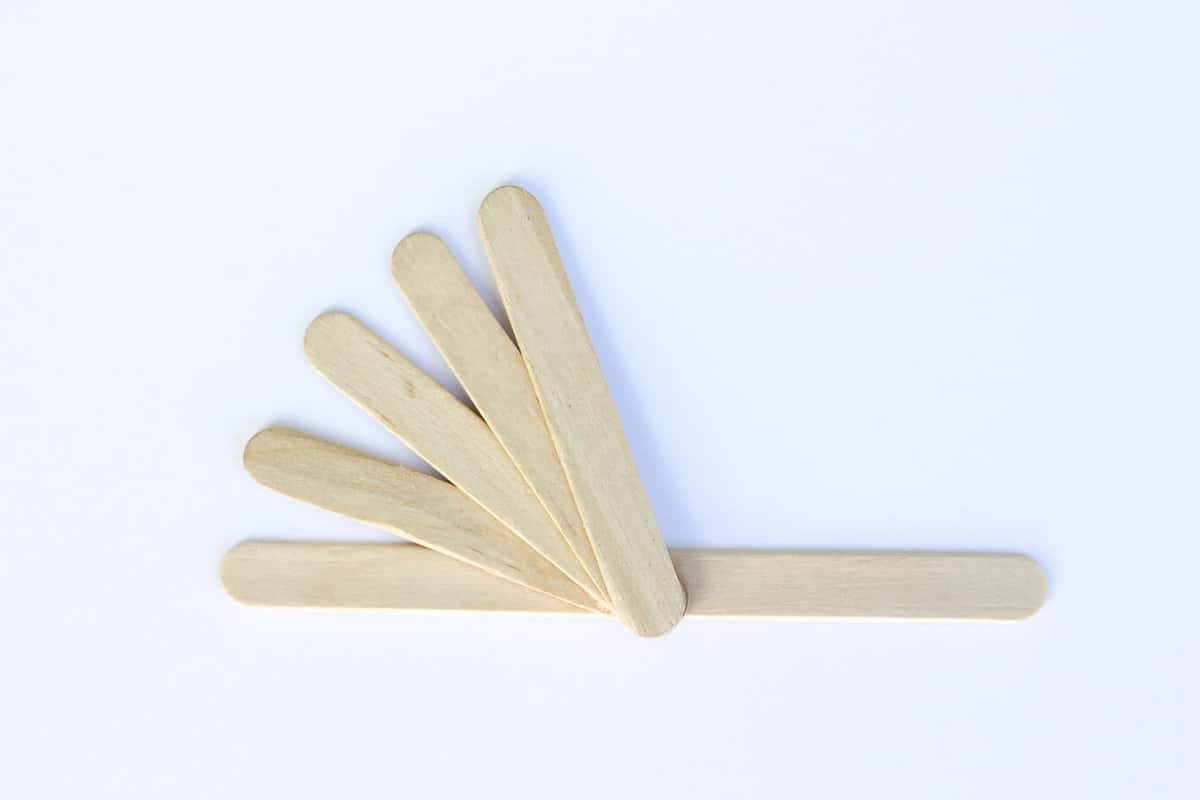
2. Arrange your first row of popsicle sticks as pictured, alternating every other stick. I find it efficient to add glue to several sticks before laying them down, but find a system that works for you.
 3. Place a second layer of sticks in the gaps of the first layer.
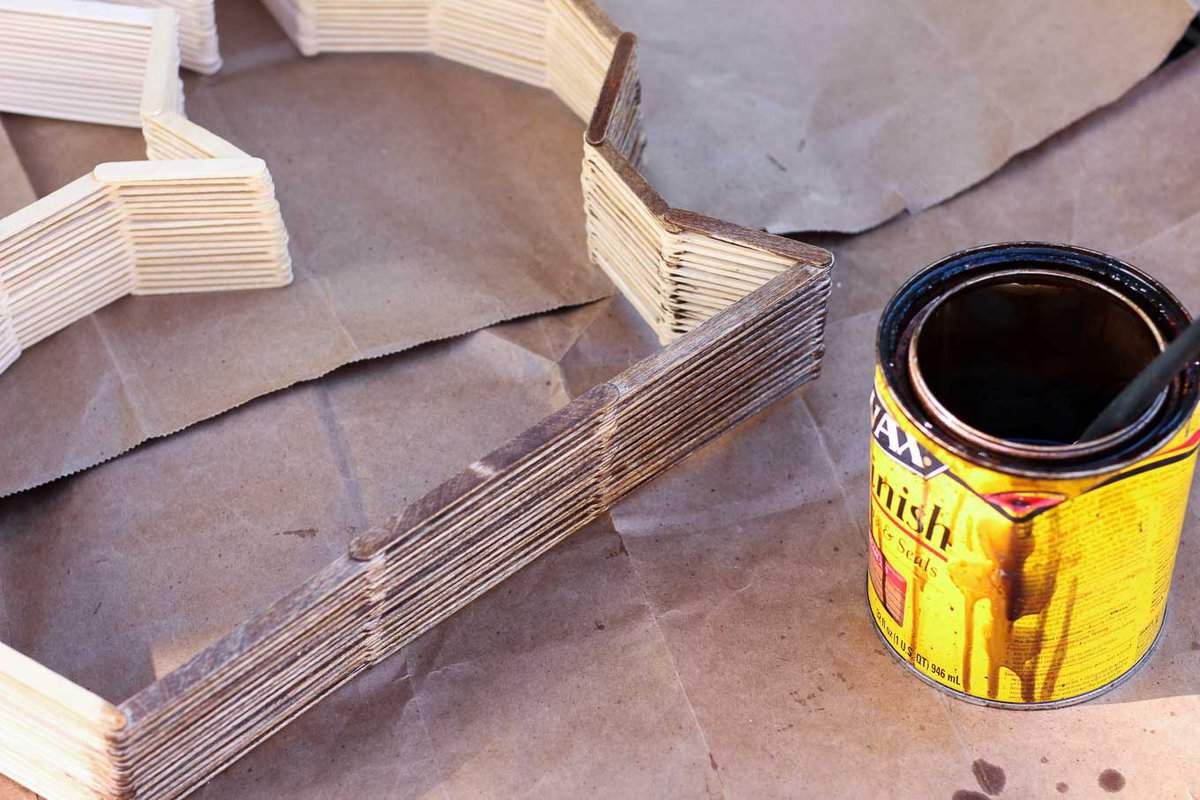
4. Continue gluing and layering like this until your bunny is as deep as you’d like it to be. (Mine is about 16 sticks deep.)
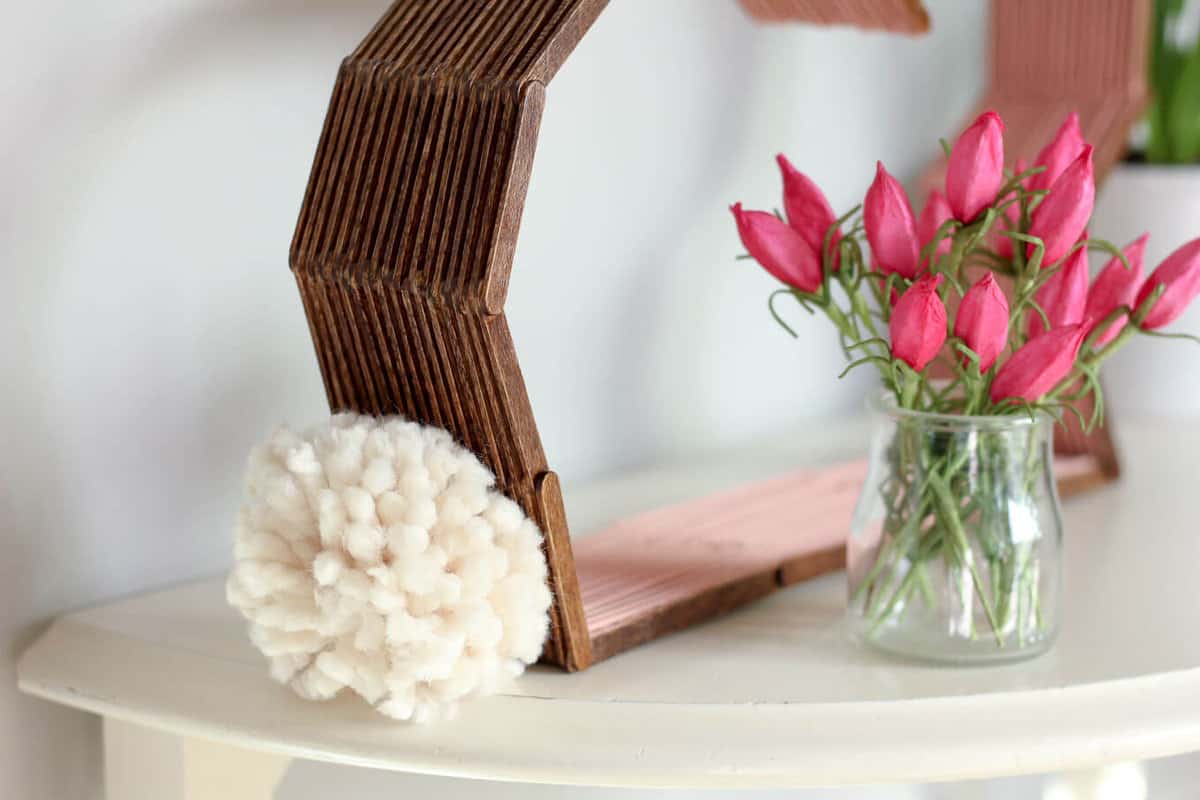
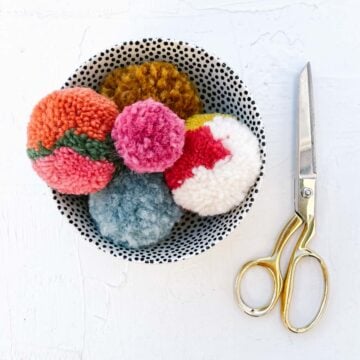
5. Glue popsicle sticks together as pictured to create your bunny's tail. Glue the non-tail half of the longer stick (the right side in the photo) to the back of your shelf. If you prefer, create a pop pom for a fluffier tail and glue it to your bunny. Here's how to make a perfect pom pom.
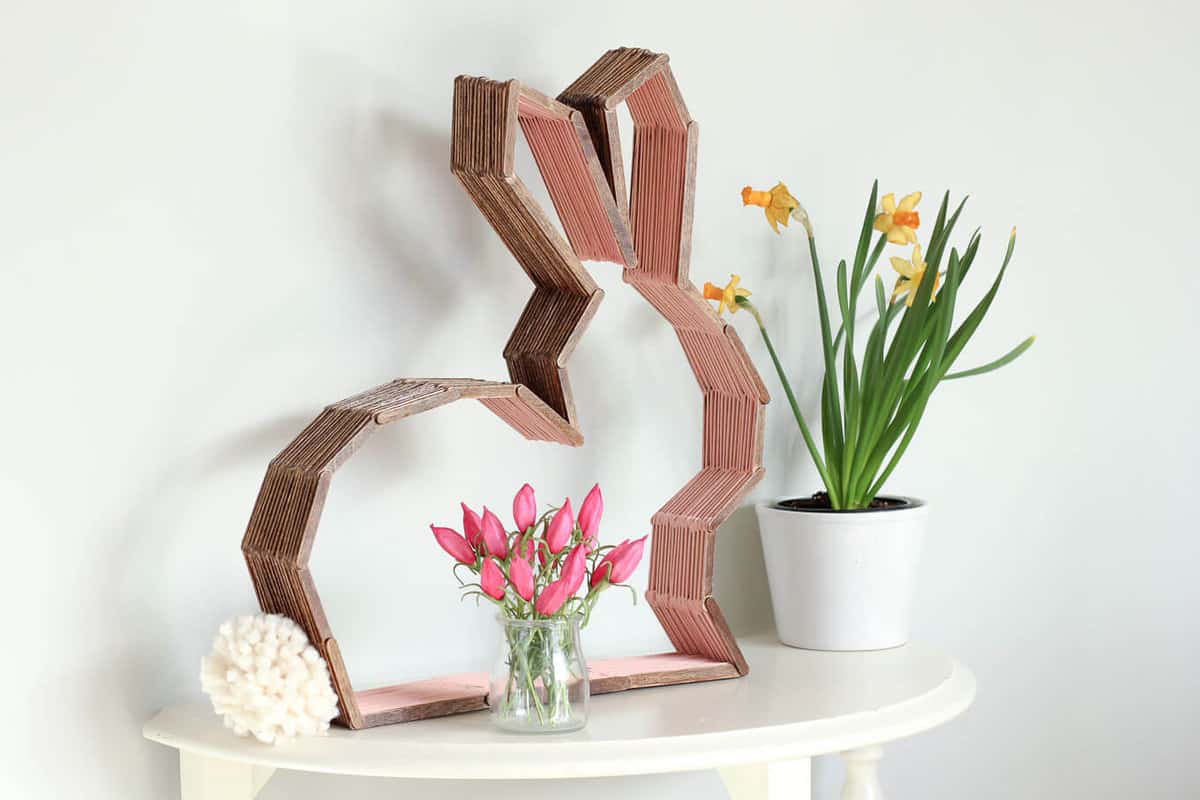
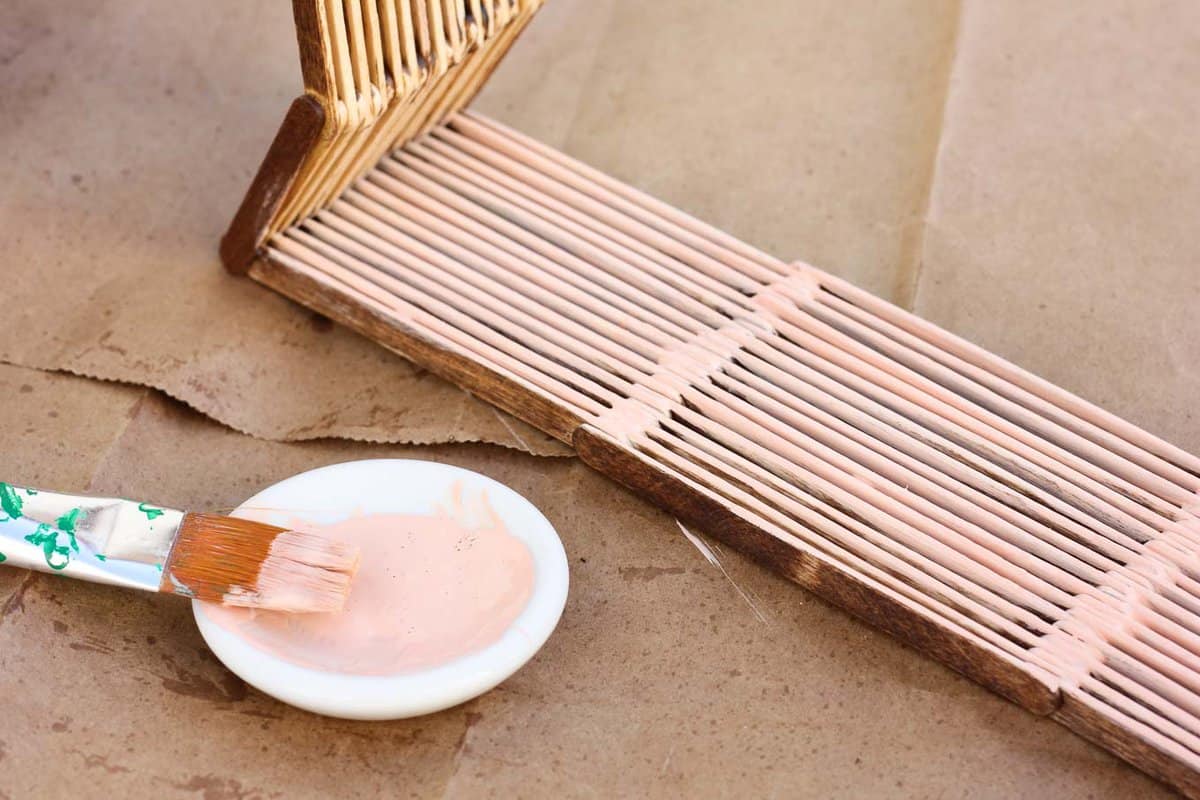
 6. When your glue is thoroughly dry, use a paintbrush to apply wood stain to the outside of the bunny. You want to be careful here to use enough stain that it can get between the sticks somewhat, but not so much that it seeps into the inner side of the bunny. I went slowly and needed to touch up a few areas when I was finished. (Alternatively, just stain the entire bunny, inside and out and skip the paint altogether!)
 7. Allow the stain to dry thoroughly (overnight is ideal) and then carefully paint the inside surface of the bunny.
 8. If your fresh new bunny is going to become wall decor, you can hang her up by simply putting a couple of nails in the wall for her ears and the top of her back to rest on.
And keep a good eye on her, you know how bunny crafts like to reproduce!
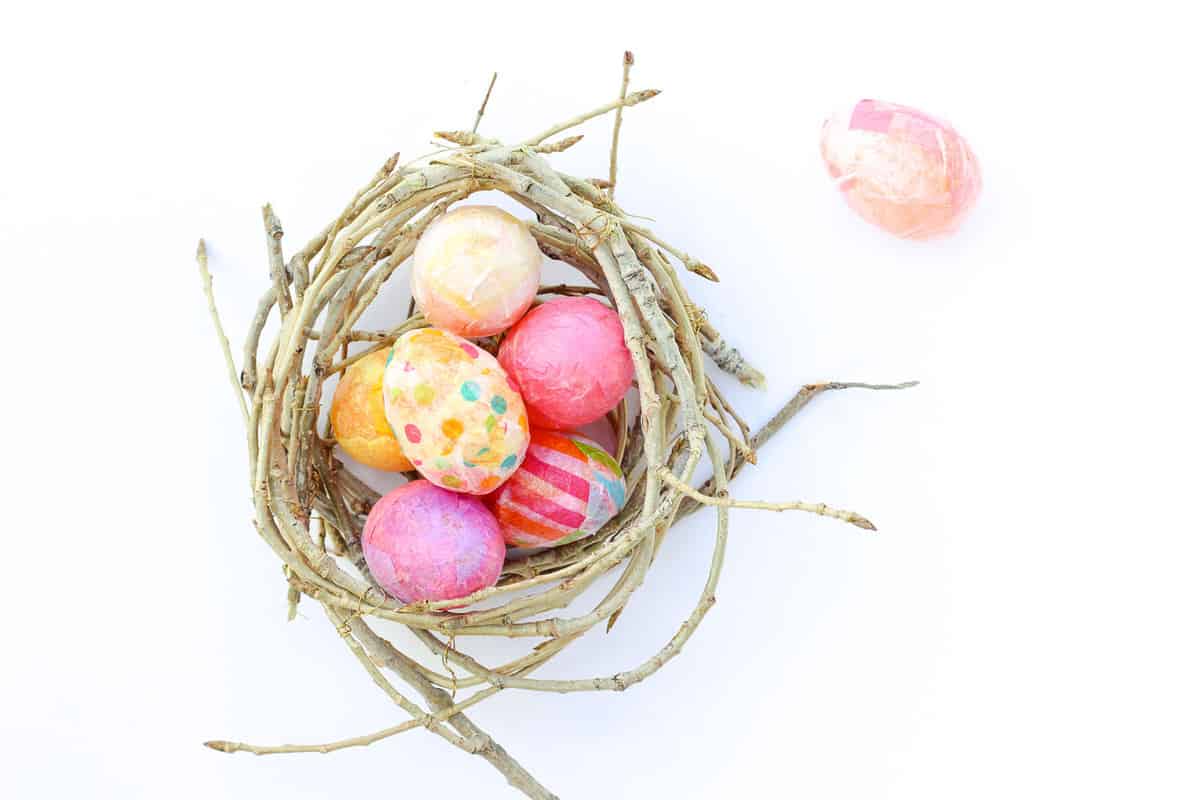
Check out my other DIY Easter craft ideas, like this easy decorative nest, if you're in the mood for more making.
 And for more modern, unique home decor ideas made from popsicle sticks, check out these tutorials:
How To Make a Hexagon Shelf
How to Build Honeycomb Shelves
Geometric Heart DIY Wall Art
Mini Heart Art (Perfect for DIY Valentine’s or decor in a kids space!)
This post was written as part of a #DIYMySpring collection for Hometalk. (For those of you who don’t know, Hometalk is bursting at the seams with do-it-yourself inspiration. It’s a bit like Pinterest, but without all the posts about how to get skinny :))
An extremely creative group of bloggers have put together loads of Spring decorating ideas so be sure to check them out below! But consider this a warning: you might fall down a DIY decorating rabbit hole never to be seen again! (Actually sounds lovely, doesn’t it?)

<!-- end InLinkz script →
Jenn says
So I have received the email with the password and I copy and past the password and nothing happens.
Jess @ Make and Do Crew says
Sometimes with copying and pasting an extra space gets included. You might want to try just typing it in, just know that it's case and space sensitive. 🙂
shiva says
This is so clever Thanks for a great idea!
Jenny Stroberg says
Just joined your page and loving all the fun ideas yo have.
I'm trying to find the template for your popsicle bunny and cant seem to get it, please can you help.
wanting to do this for the décor for my little girls 1st birthday on Sunday.
Thanks so much 🙂
Nicole says
This is amazing! What kind of yarn did you use for the Pom Pom bunny tail? I make Pom poms for a lot of my projects and this one looks so cute! Thanks 🙂
Daisy says
Hi- I am trying to down load the bunny popsicle templet, and I registered with my email address, but I find no way to set up a password, which is required to access the down load of the templet. Please help, thank you
Jess @ Make and Do Crew says
Hey Daisy!
Thanks so much for reading Make and Do Crew! I'm sorry you're having trouble! I don't want anything to stand in the way of your crafting 🙂
When you subscribed, you should have received an email asking you to confirm your subscription. Once you click that, you'll receive another email that gives you the password to enter the Make & Do Crew Vault. (It's the same password for everyone.)
Have you gotten that yet? If not, just check your spam folder for the confirmation email or do a search within your email for "Make and Do Crew."
Let me know if this works for you. I'm here to help if not.
jess
Daisy says
I just checked and I got the password in the second email, I was able to print the templet. Thank you, looking forward to making this, looks like a fun project!
Jess @ Make and Do Crew says
Yay! Have fun, Daisy! Let know if you have any questions.
Happy crafting!
jess
Carrie says
I love this! Such a creative idea and I love how it adds some super cute spring style without being too cutesy! Pinning for sure!
Jess @ Make and Do Crew says
Thanks so much, Carrie. I'm a fan of the "not too cutesy" stuff too. Your blog is full of design ideas I want to try too! I love the bathroom hooks! I look forward to following along with Lovely, etc. 🙂
jess
Nicole says
What color of acrylic paint did you use to paint the inside?
Diana says
Cutest bunny I've ever seen--who knew popsicle craft could be so hip and charming? Love it--
Jess @ Make and Do Crew says
Thanks, Diana! I certainly underestimated the lowly popsicle stick for a long time, but no more! 🙂
Happy crafting!
jess
Mary-the boondocks blog says
I absolutely love this. So creative and original. It can stand as a modern sculpture all on its own.
Jess @ Make and Do Crew says
Yes, Mary, I agree! And I think it might be a sculpture that stays out long past Easter in our house. I love that you made a DIY nest. Using a wreath was so smart! I actually made a nest too recently and it was so fun.
Happy Spring crafting!
jess
Jess @ Make and Do Crew says
Hey Alicia,
I'd be honored! Thanks so much for including me. I can't wait to see what else you find. The projects from last year are so adorable!
Happy crafting!
jess
Kelly says
This bunny is so adorable! Such a great idea!