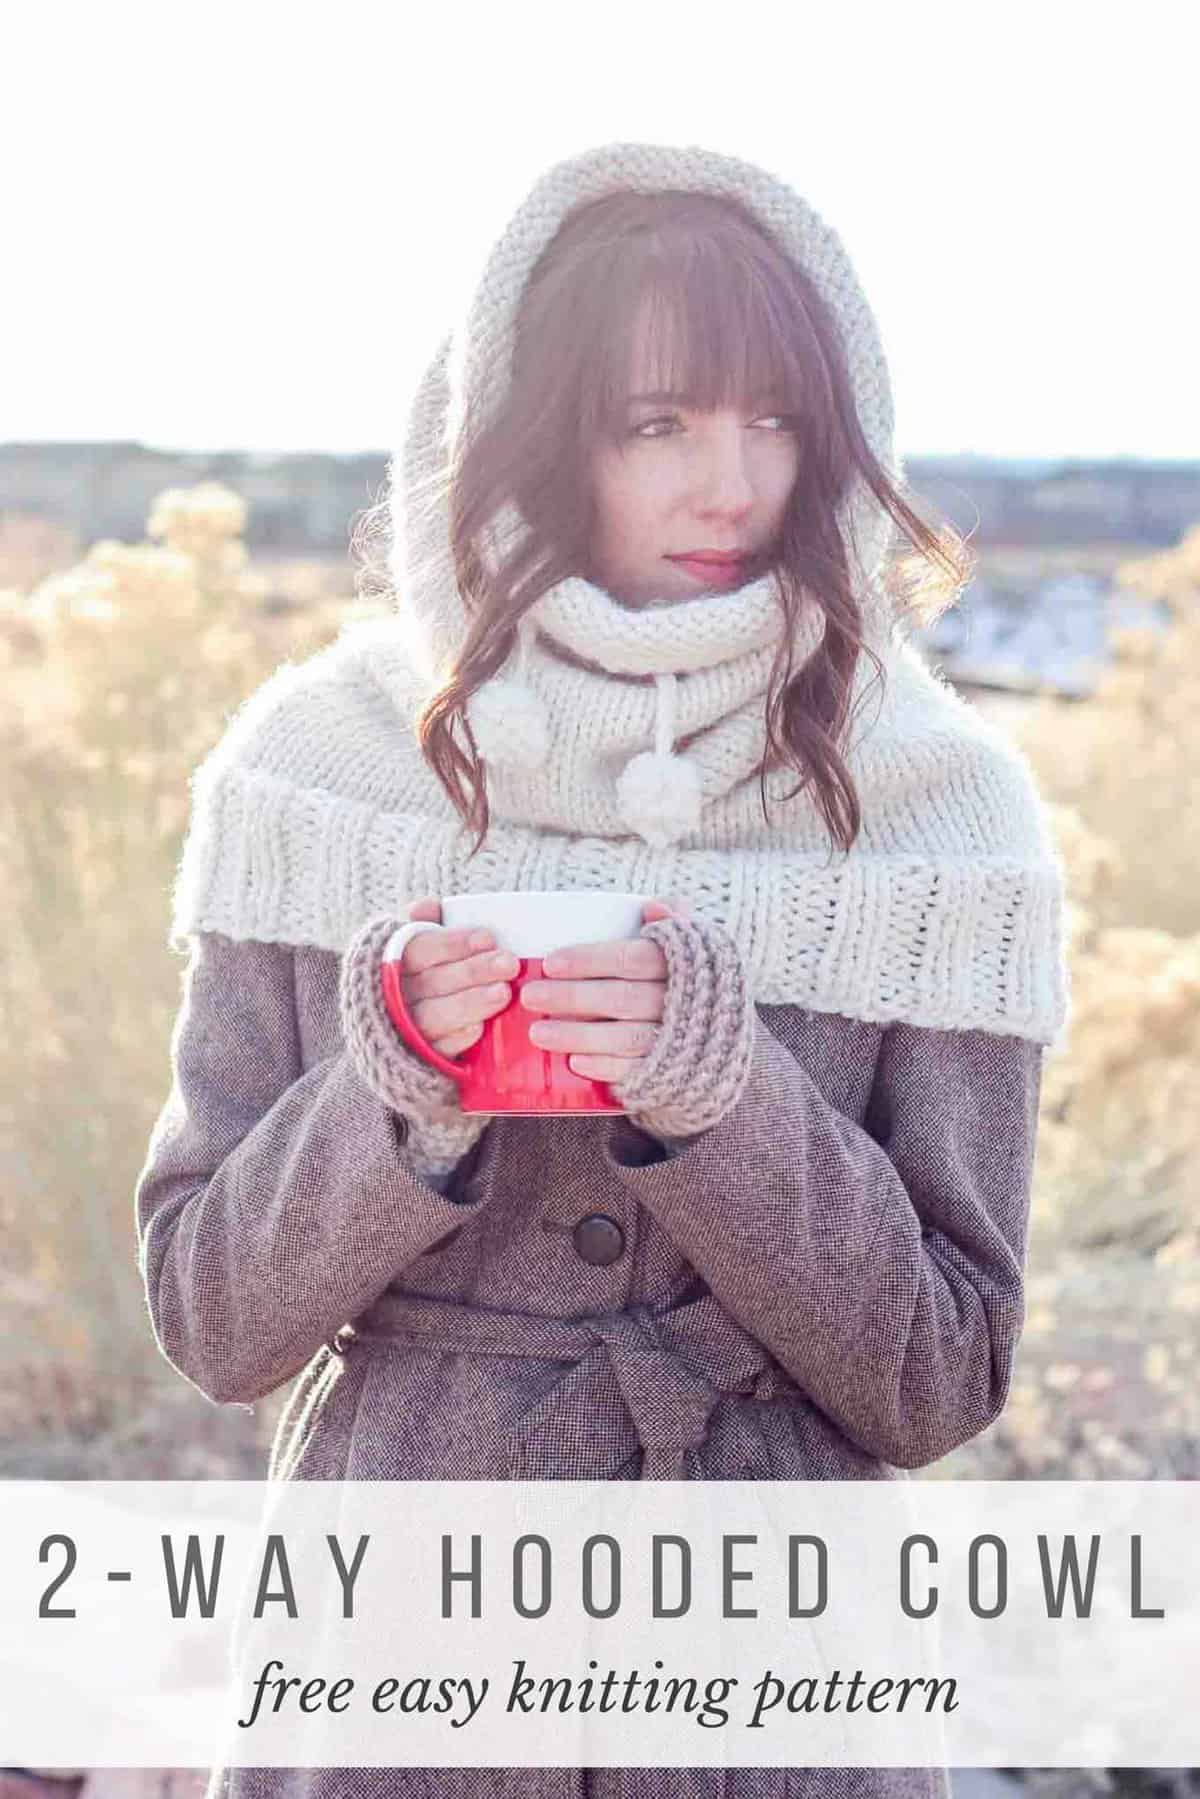
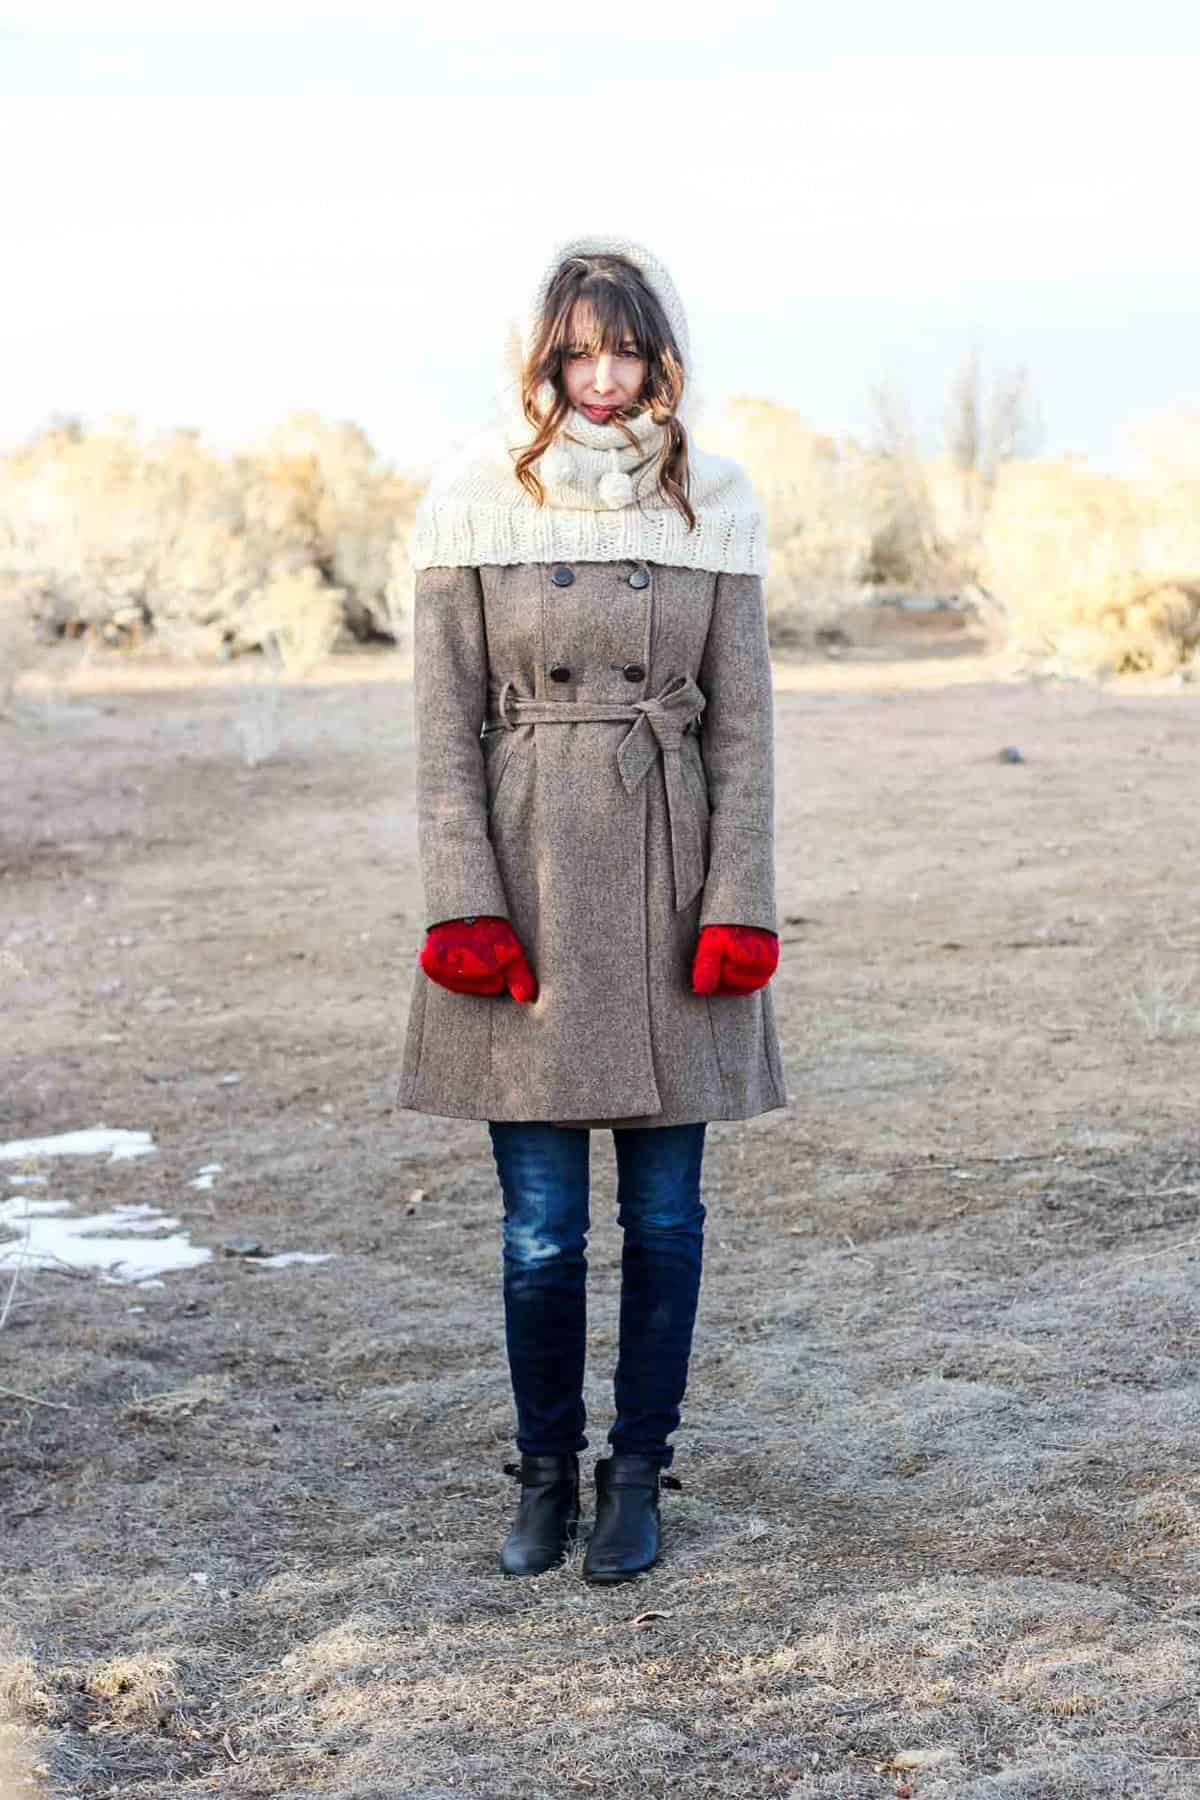
This hooded cowl free knitting pattern is a true showstopper! Even in all it's oversized glory, this statement piece is very simple to create which makes it a great introduction to knitting in the round. As always, you'll find the free pattern below or you can purchase the inexpensive, printable PDF here.
 This easy beginner's knitted cowl pattern is a collaboration with my friends at Lion Brand Yarn. This post contains affiliate links.
Super warm. Super stylish. Super easy. What more could you want? This free hooded cowl pattern is like that friend who has really good teeth and a husband who loves to vacuum.
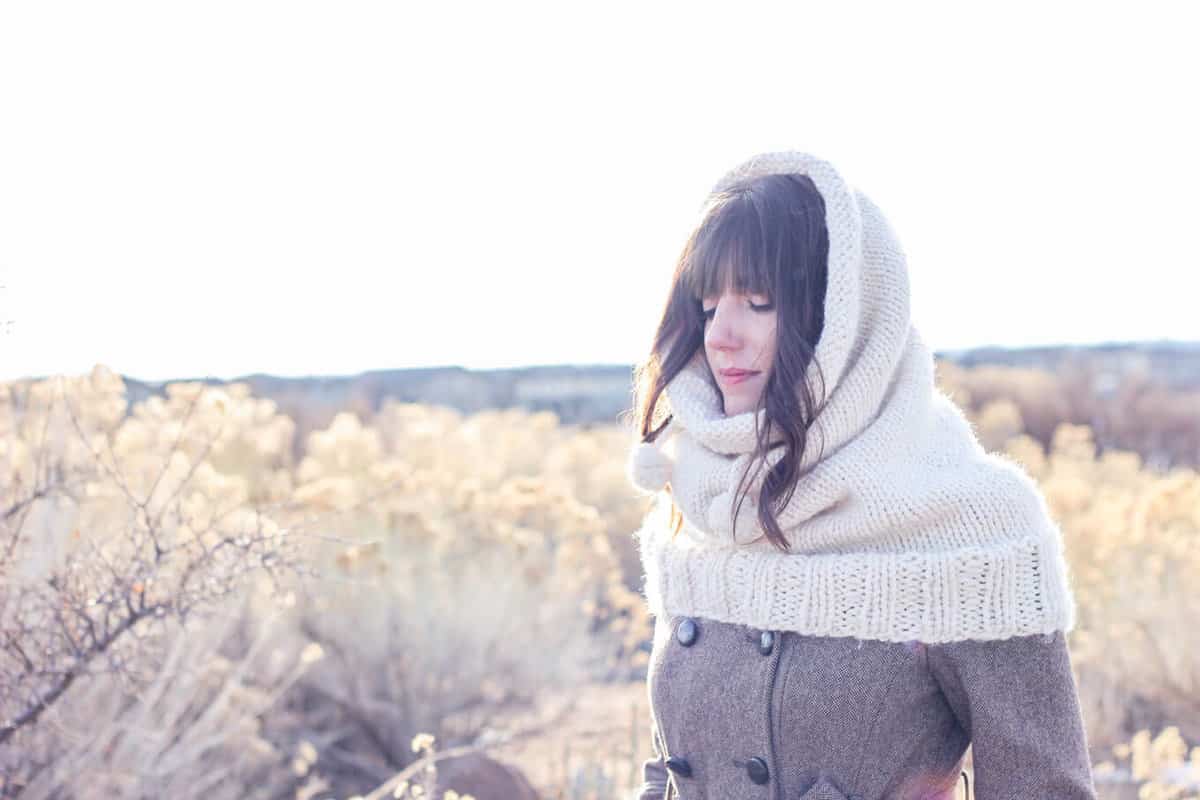
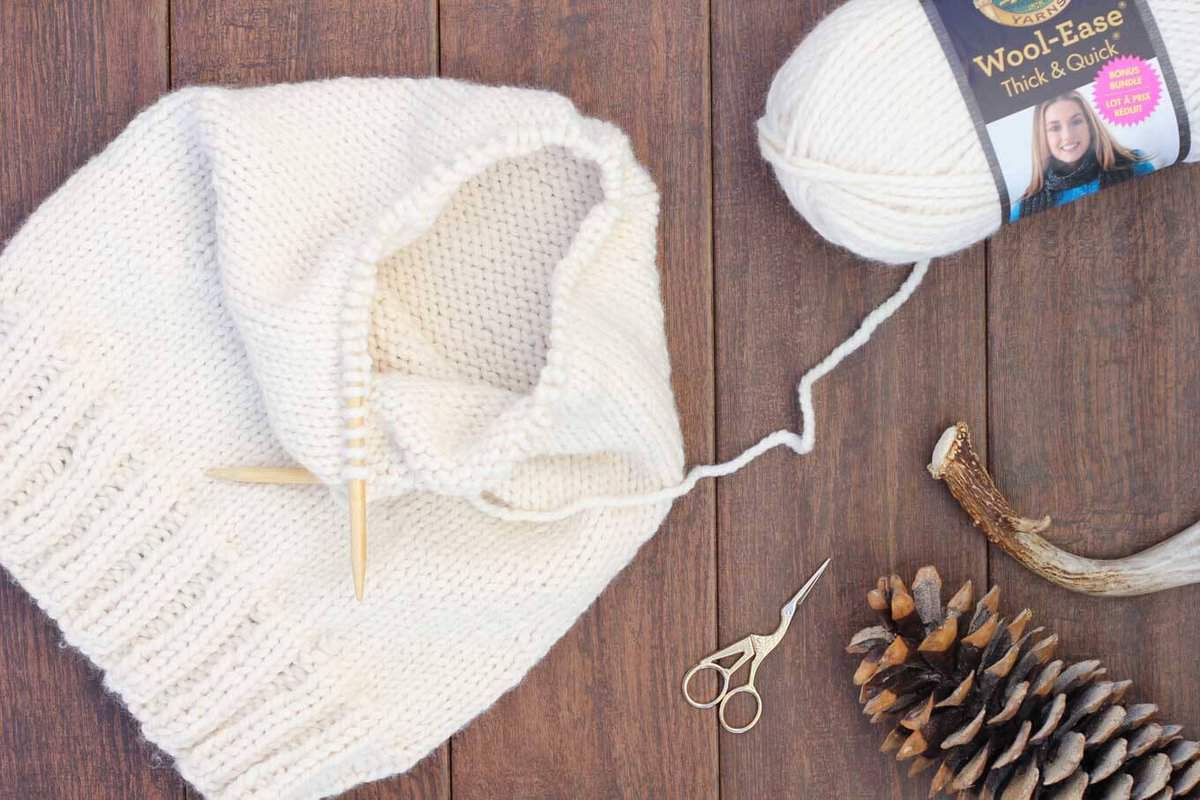
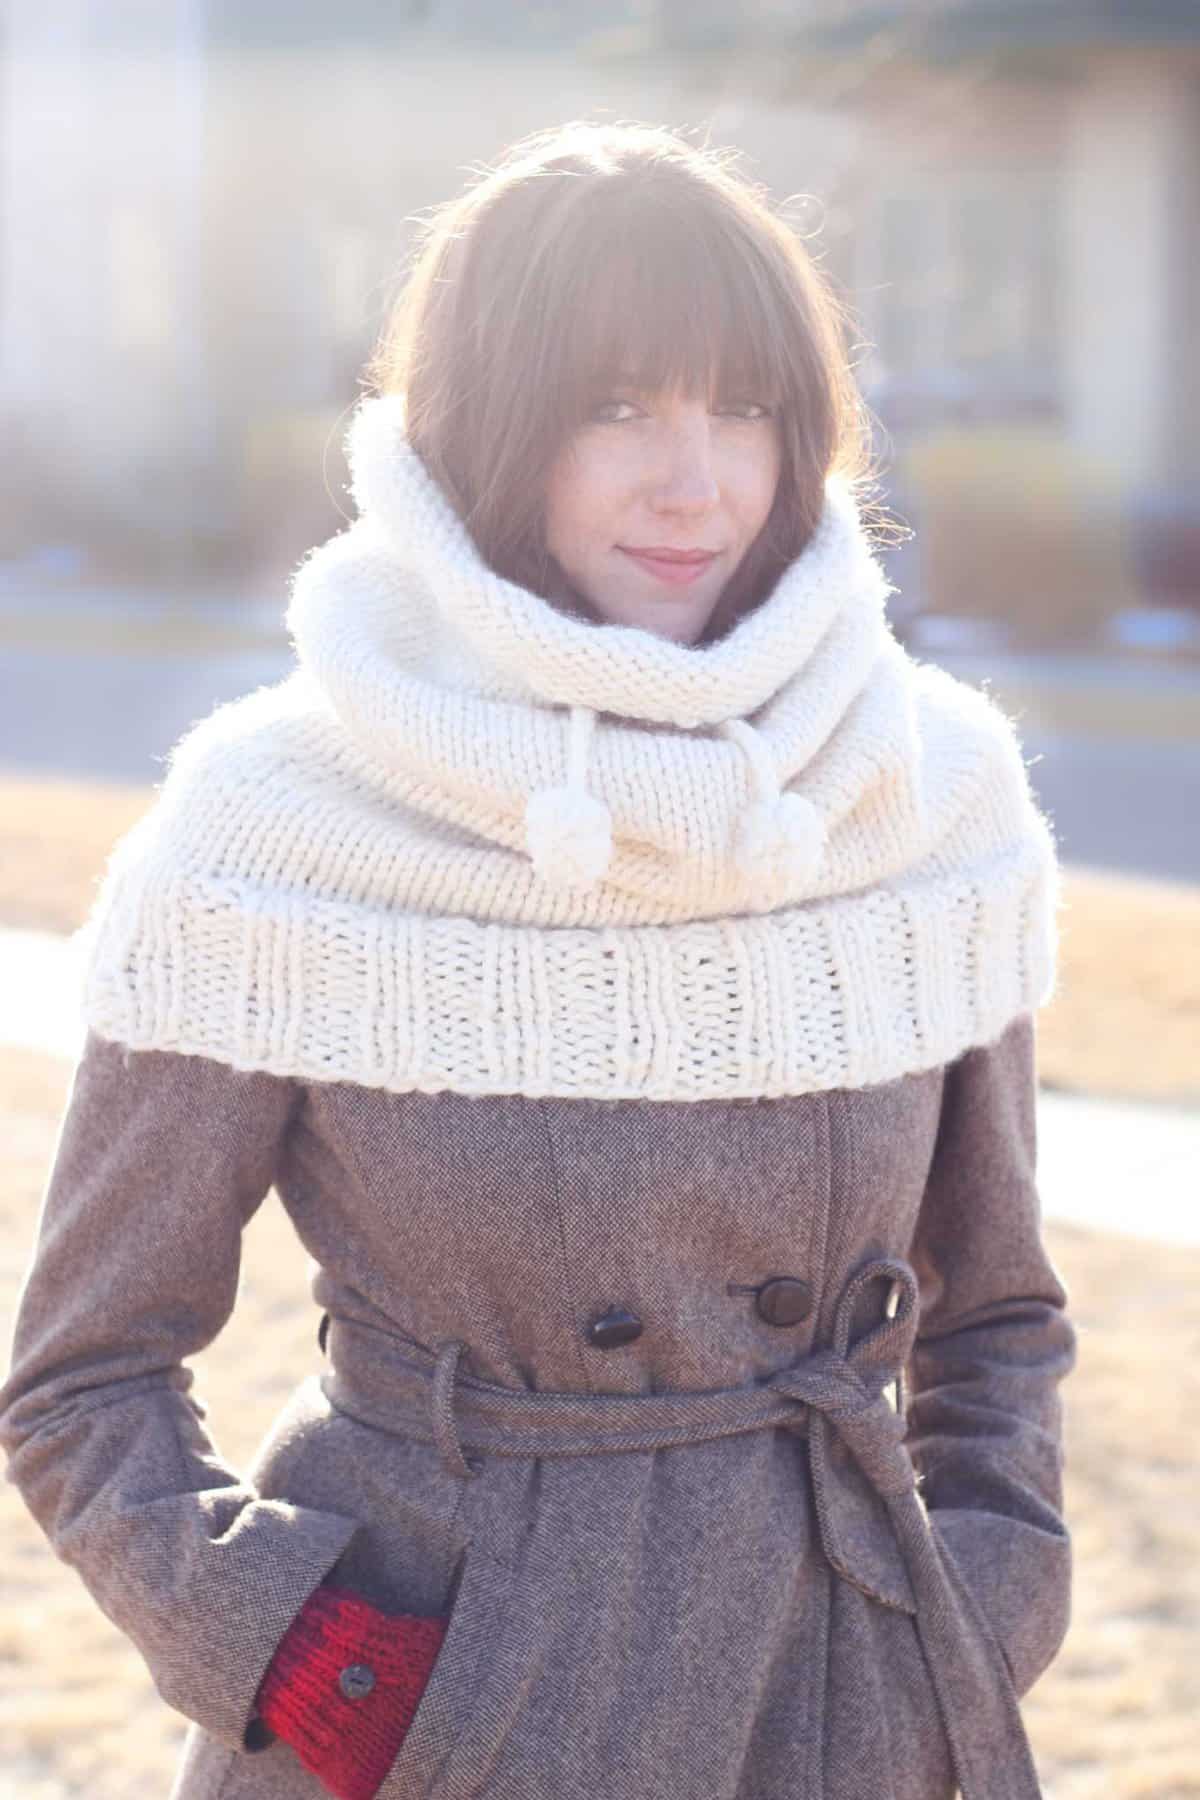
It's a cowl. It's a hood. It's crazy cozy wrapped around your neck. Sounds pretty "huggle"-ish to me.
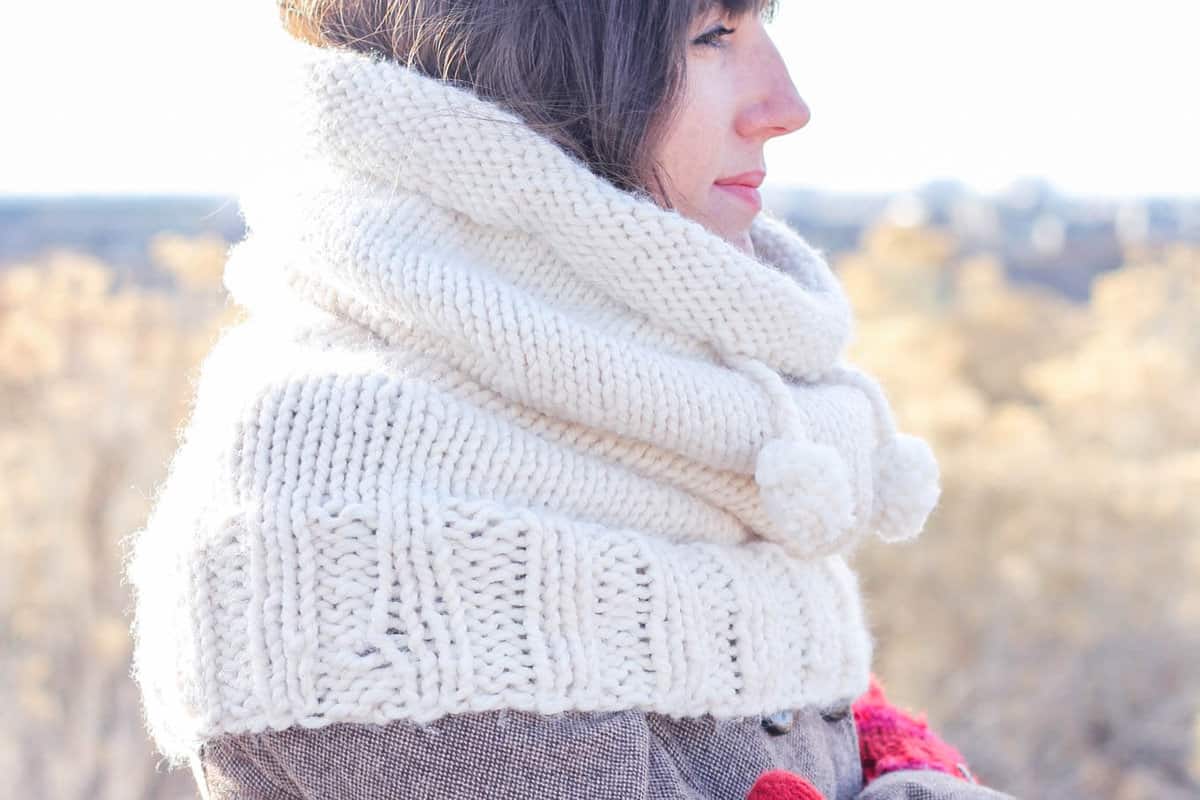
UPDATE: Lion Brand has created a kit that includes all the yarn you need to make this knit hooded cowl as well as a copy of the printable pattern. You can score the kit for 20% off through March 19, 2017! Check out the Huggle Hooded Cowl kit here.
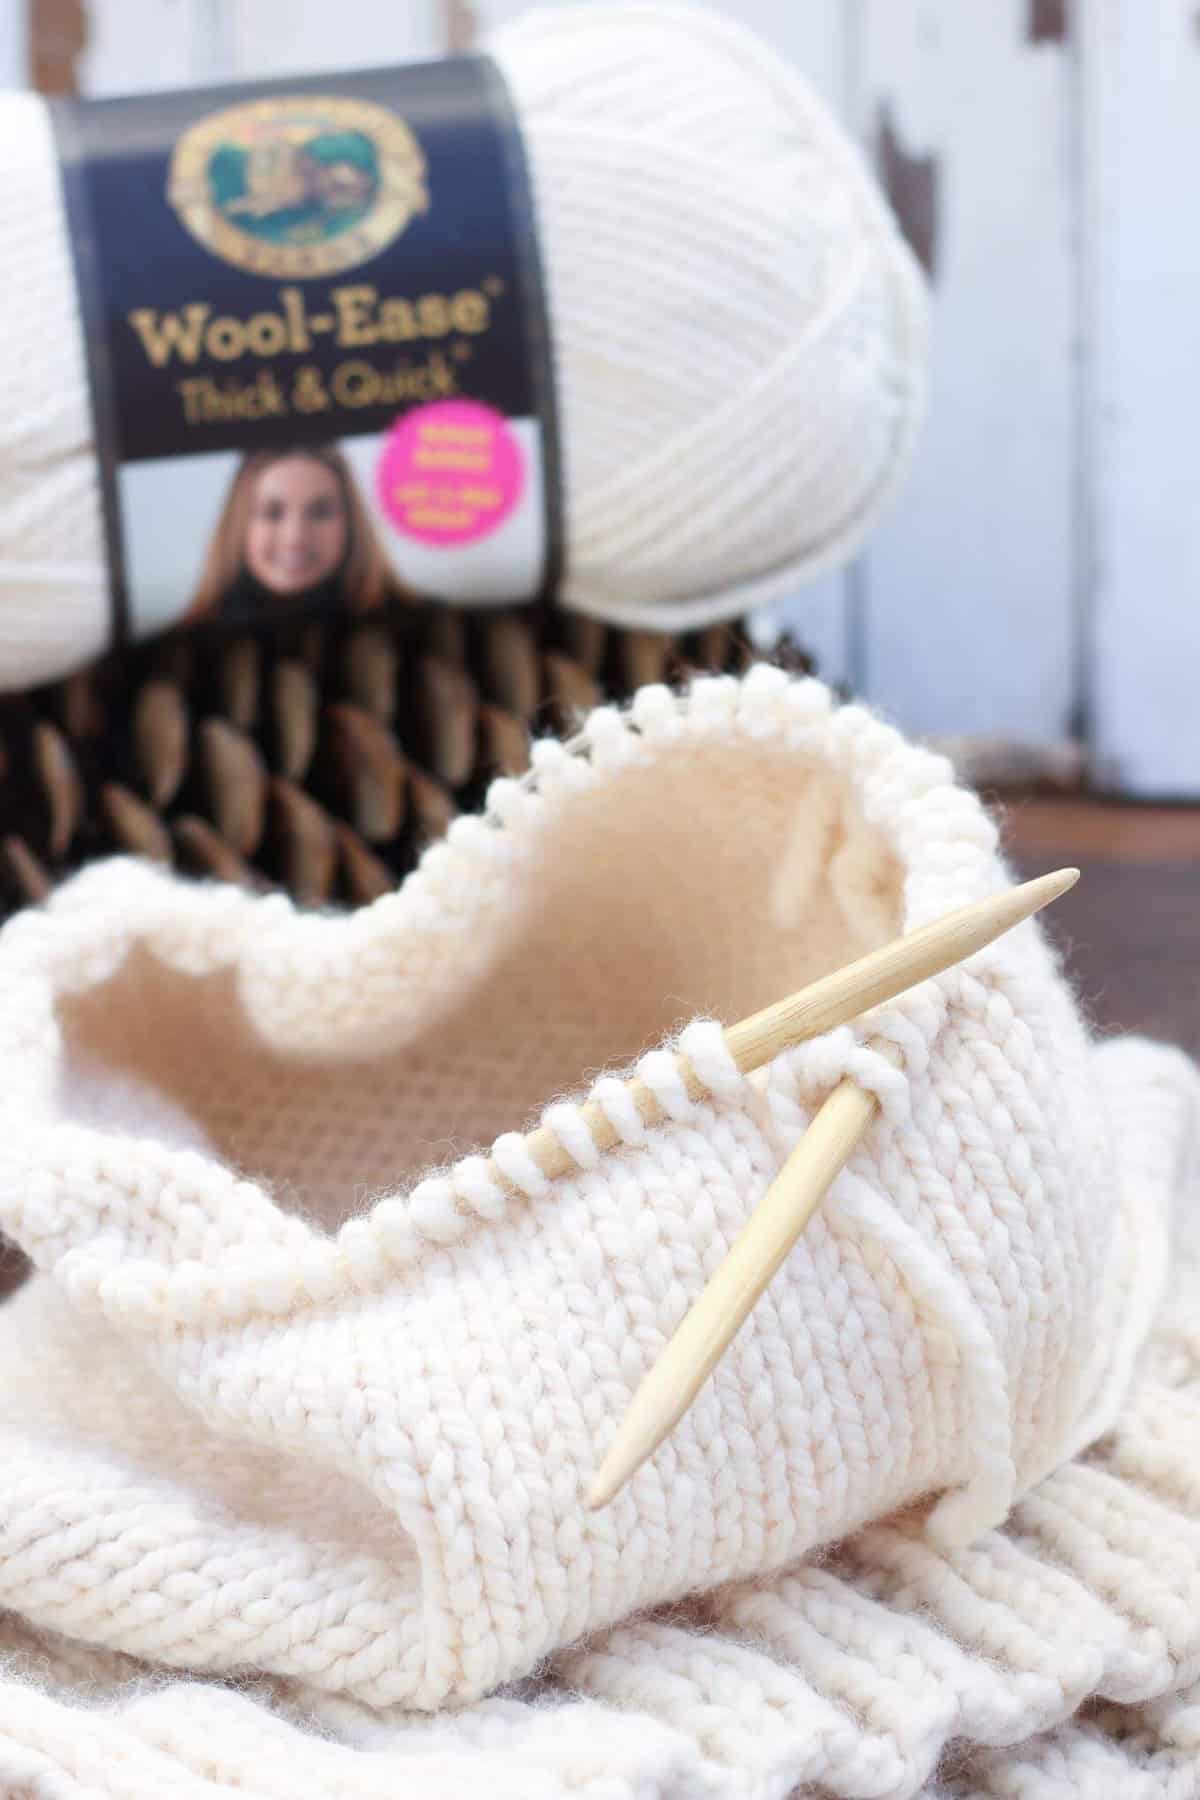
Thanks to Lion Brand Yarn for sponsoring this post and enabling more free patterns on Make & Do Crew. All opinions and ideas are my own.
“The Huggle” Hooded Cowl Free Knitting Pattern
Purchase the ad-free printable PDF of this pattern here.
Add this pattern to your Ravelry favorites here.
Sizes + Measurements:
One size fits most adults
• 25” long
• 30” circumference around shoulders (unstretched)
Supplies:
So you can spend more time being cozy and less time shopping, this pattern contains affiliate links at no extra cost to you.
• (2) Lion Brand Wool-Ease Thick & Quick Bonus Bundle in “Fisherman” - approx. 400 yards/680 g (Alternatively you can use 4 balls of Wool-Ease Thick & Quick)
• Tapestry needle
• Size 13 [9mm] 24" circular knitting needles
• Sewing needle and thread to match yarn (for attaching pop poms)
• Scissors
• Stitch markers
• 2.5”x5” piece of cardboard for making pom poms (or pom pom maker)
Gauge:
• 9.5 stitches = 4”, 15 rows = 4” worked in stockinette
Abbreviations (US Terms):
co – cast on
k – knit
k2tog – knit two together (decrease)
st – stitch
bo – bind off
To Make Hooded Cowl
Notes:
• You want to cast on very loosely. I used the long tail cast on. Holding both needles together and casting around both of them can create nice loose stitches.
Work Ribbing:
Wanna save this pattern?
Cast on 80.
Join for working in the round being careful not to twist stitches. Place marker between first and last stitch.
Round 1: *k2, p2; repeat from * to end of round. (80 stitches)
Continue in ribbing pattern (Round 1) until piece measures 4” from bottom edge.
Work In Stockinette:
Round 2: K each stitch. (80 stitches)
Continue in stockinette pattern until piece measures 7.5” from bottom of ribbing.
Decrease:
Round 3: [K 8, k2tog] 8 times. (72 stitches)
Work In Stockinette:
Continue in stockinette pattern (Round 2) until piece measures 27.5” from bottom of ribbing.
Bind off loosely, leaving a 30” tail for sewing hood cuff.
Finishing
Cut three 50” strands of yarn. Braid the strands and tie a tight knot on either end of the braid, approximately 28” apart. Trim excess braid leaving a 28” braid with a knot at each end.
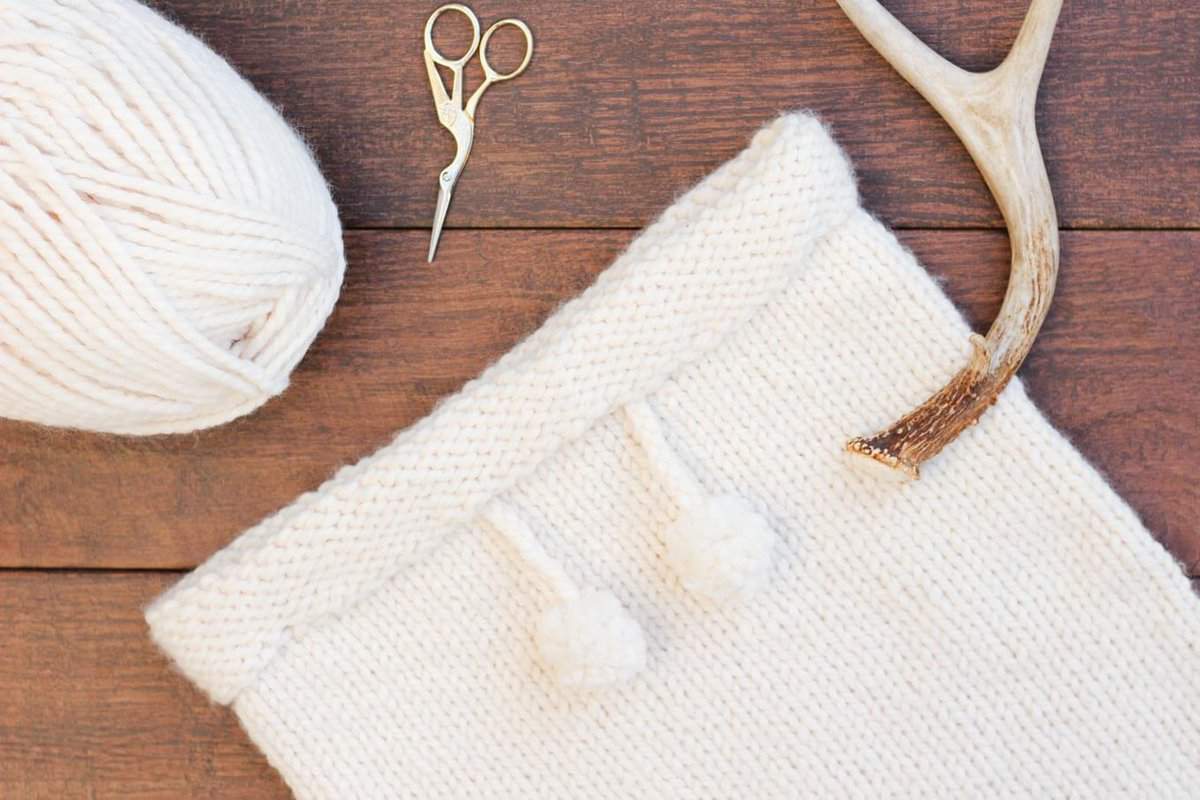
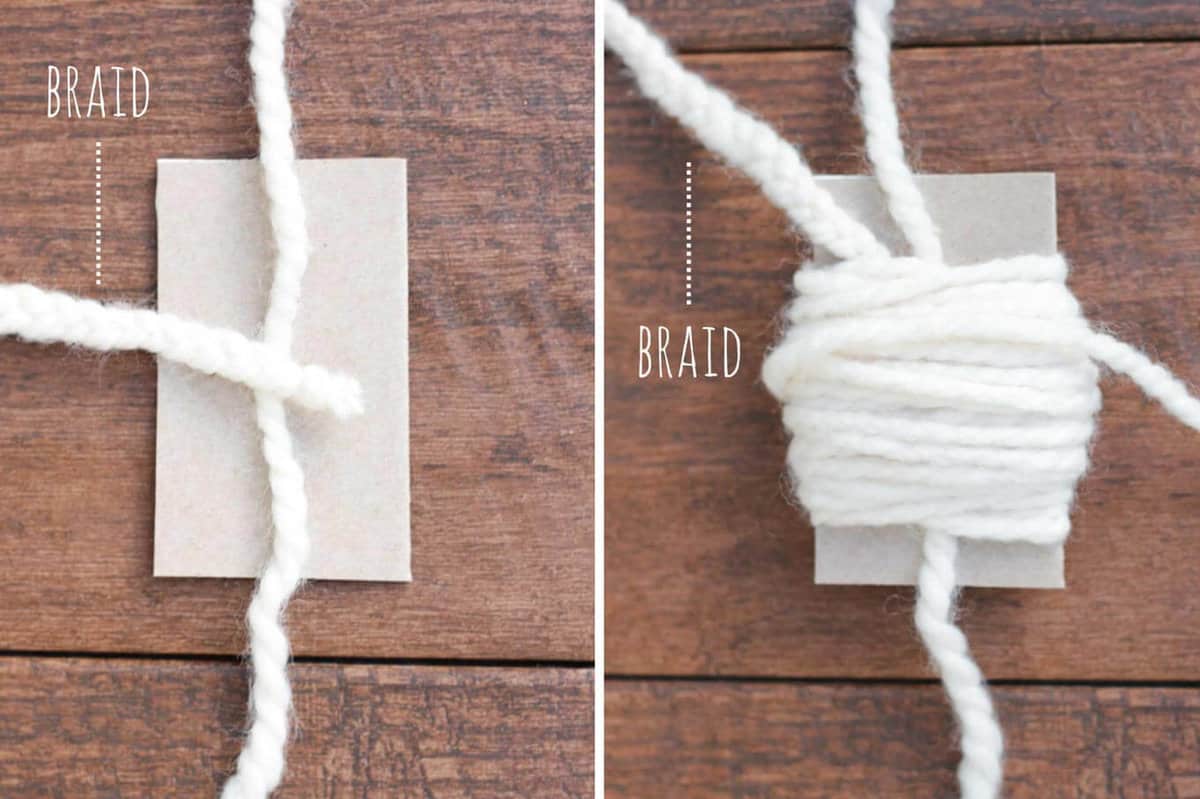
Create two pom poms using either a pom pom maker or a piece of cardboard. (Here’s a tutorial for the cardboard technique.) Lay braid across the foundation piece of pom pom yarn and wrap dozens of times around cardboard. (The point it to secure braid inside pom pom.) See photo below for details. I recommend making your pom poms larger than you think you’ll want and then trimming so that you can create extra dense little fluffy balls.
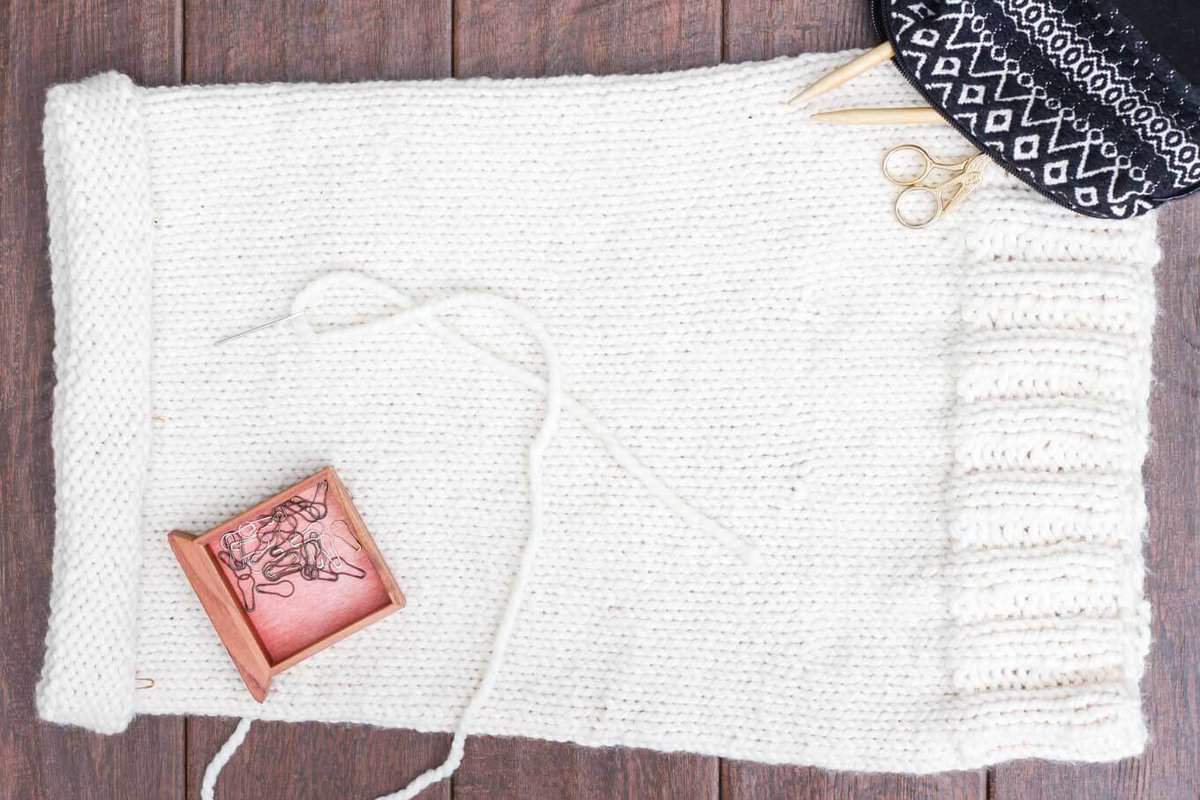
Fold the top of the cowl over so that right sides are facing and the cuff is about 2” tall. Place braid in cuff. Pin down using stitch markers. Using the tail from the stockinette section and a tapestry needle, whip stitch around cuff leaving a 4” opening for the pom pom strands to hang through.
Pop your hood up or down—either way you’ll be the most stylish lady in town!
If you like making your own accessories, you might also like these free patterns:
Nordic Crochet Super Scarf - free pattern
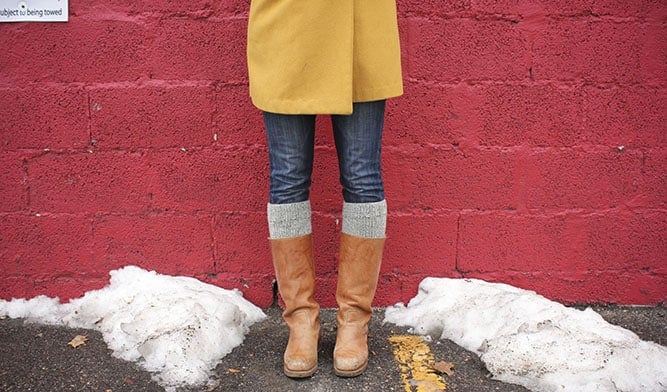
Free Knit Boot Toppers Pattern
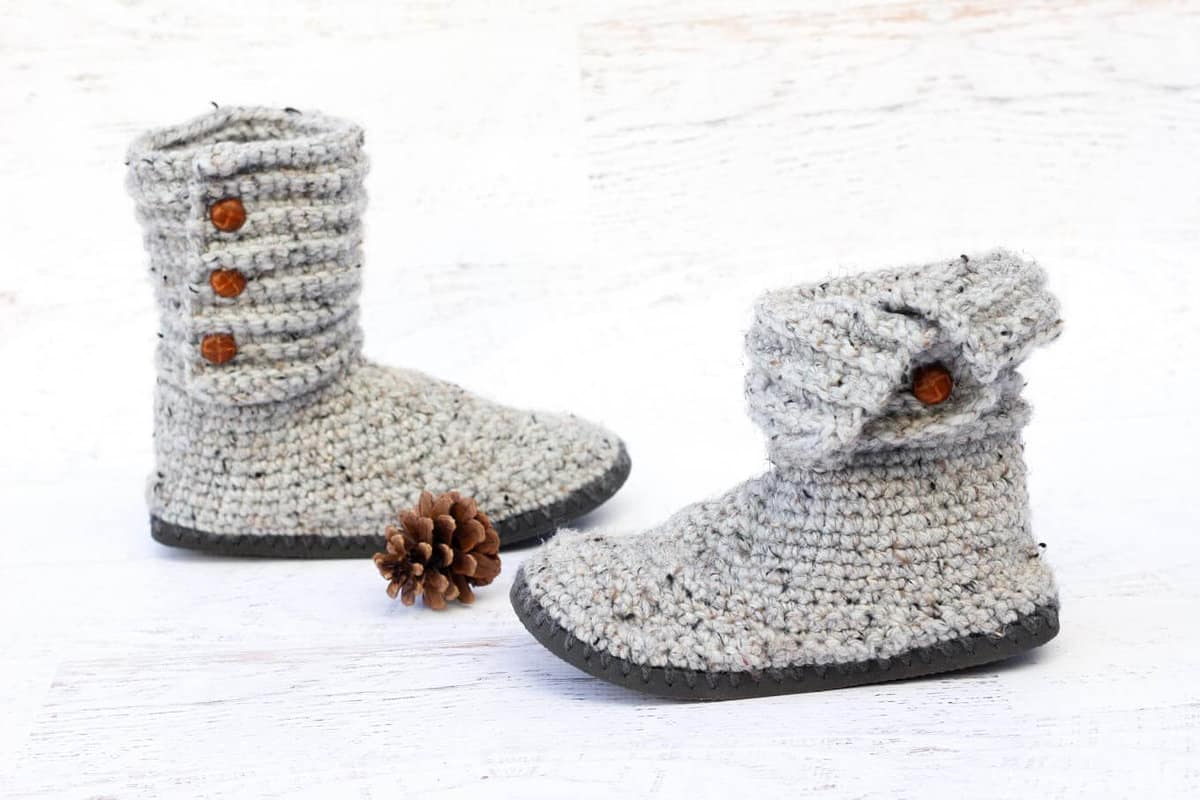
Crochet "Cabin Boots" with Flip Flop Soles - free pattern and video tutorial

Alyce says
Is there a crochet version of this pattern? I don't knit but this pattern seems to call to me 😀
Carol says
Is it possible to turn this pattern into crotchet. I don't know knitting!
Kay says
I live on a tiny island that doesn't have stores to carry knitting needs.
I have a set of size 8 round needles & I am wondering if I can & how I would modify this pattern to suit my needs.
Jess @ Make and Do Crew says
Hey Kay,
If you have some yarn that is appropriate for those needles (maybe like a worsted weight?), you could just cast on enough stitches until you meet the pattern measurements for circumference. To make it easy, I'd cast on an increment of 10 stitches (so like 100, 110, 120) and then when the piece is measuring long enough to move onto the decrease section, I'd decrease every 10 stitches (so k 8, k2tog, k 8, k2tog). Then continue in stockinette until you've reached the final measurements.
I hope that makes sense! I'd love to see a photo if you decide to experiment!
Jess