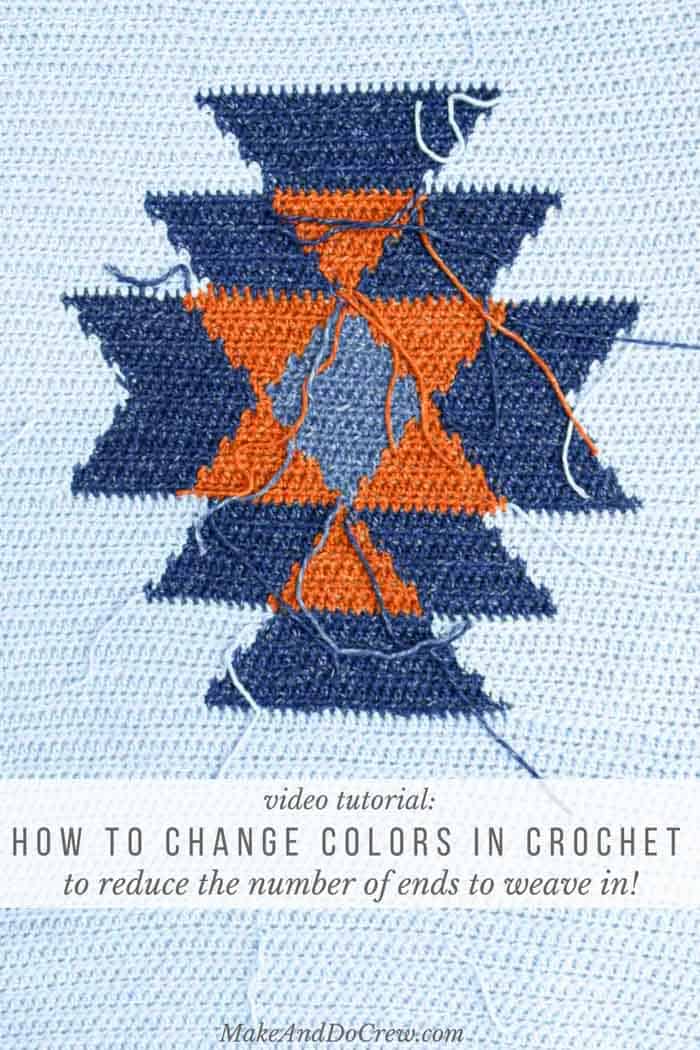
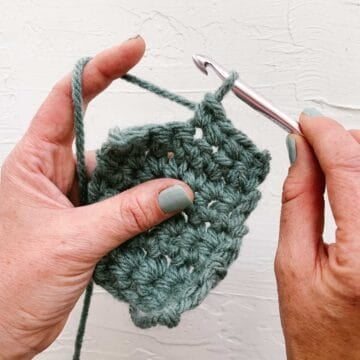
Learn how to change colors in crochet without cutting yarn to create fewer tails and more crochet time. If you'd rather crochet than weave in ends, this video tutorial is for you!
 This post contains affiliate links.
I'm guessing most of us didn't get into this business of crocheting to spend hours upon hours weaving in yarn tails. A closet full of almost-finished projects will tell you that I don't have much patience for the tedious tasks related to finishing a crochet project (or just about anything else!)
I've always been intimidated by doing any crochet project involving a lot of color changes just because of the sheer number of tails that could be left at the end.
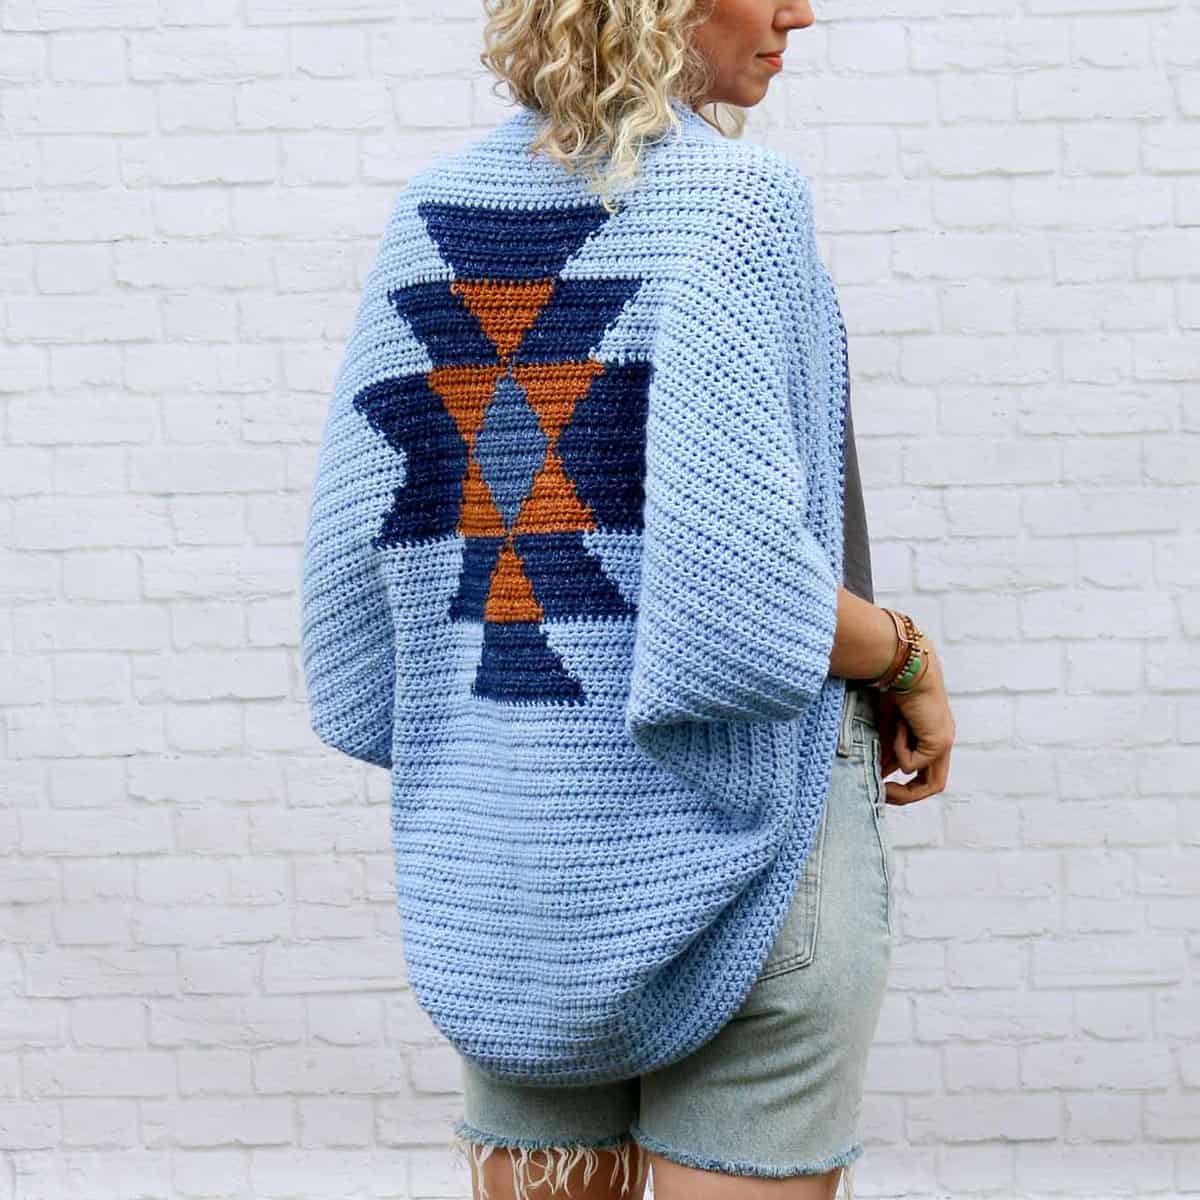
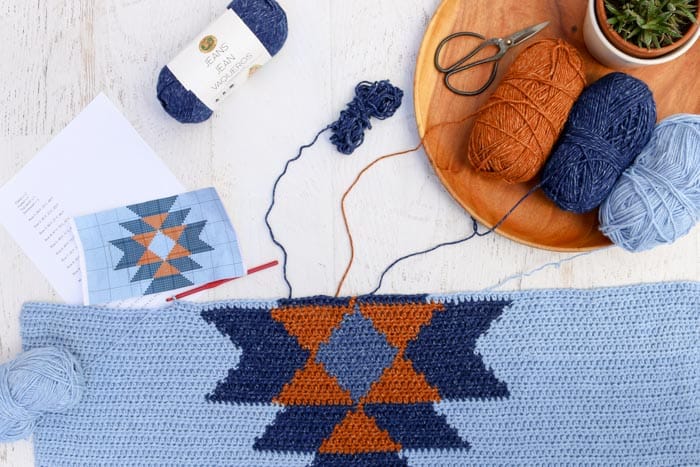
So when I started experimenting with the Navajo Blanket Shrug design, I knew I needed to figure out some tricks for how to change colors without cutting my yarn. Since this was my first time doing crochet color work of this sort, I really just experimented to find the intersection of saving time and making something that didn't look weird when it was finished.
While I don't think any of this tips on how to change colors in crochet without cutting yarn are anything revolutionary, I decided to put them together in brief video tutorial in case you, too, are intimidated by tackling a project with mid-row color changes like the Navajo Blanket Shrug.
Wanna save this pattern?
Thanks to Lion Brand Yarn for providing the Jeans yarn for this video tutorial! (Jeans is one of my favorite yarns I've tried this year! I also used it for the Stonewash Shrug pattern last month. 🙂 )
One note: These concepts assume that your project will have one "right" side and one "wrong" side, allowing for a little bit of fudging on the back, which won't get seen often. If you're making something like a blanket that you want to look just as good on the back as it does on the front, you can still use many of these tips, you may just find that you need to cut your yarn a little more often.
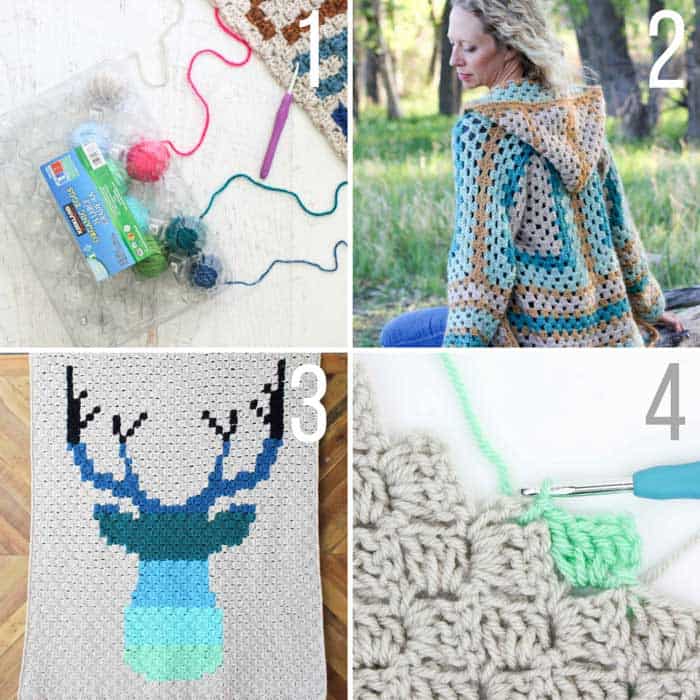
You might also enjoy these other tutorials and free crochet patterns from Make and Do Crew:
1. DIY Yarn Holders Made from Household Items (keep your yarn from tangling while you do crochet or knitting color work!)
2. The Campfire Cardigan free crochet pattern
3. The Be a Deer corner to corner crochet afghan pattern



Sophia says
At 5:20 in the video, couldn't you have you pulled over the darker yarn and crocheted over? Thanks
Jess says
Thanks for the great tips! My favorite was how you went under the little section of yarn that was stretched to the new area and competely hid it! I wouldn't have thought of doing that.
Jess @ Make and Do Crew says
Oh yeah, I know what you mean. Sometimes you just learn these things by goofing around with the yarn enough. I'm glad you found the video helpful, Jess! 🙂