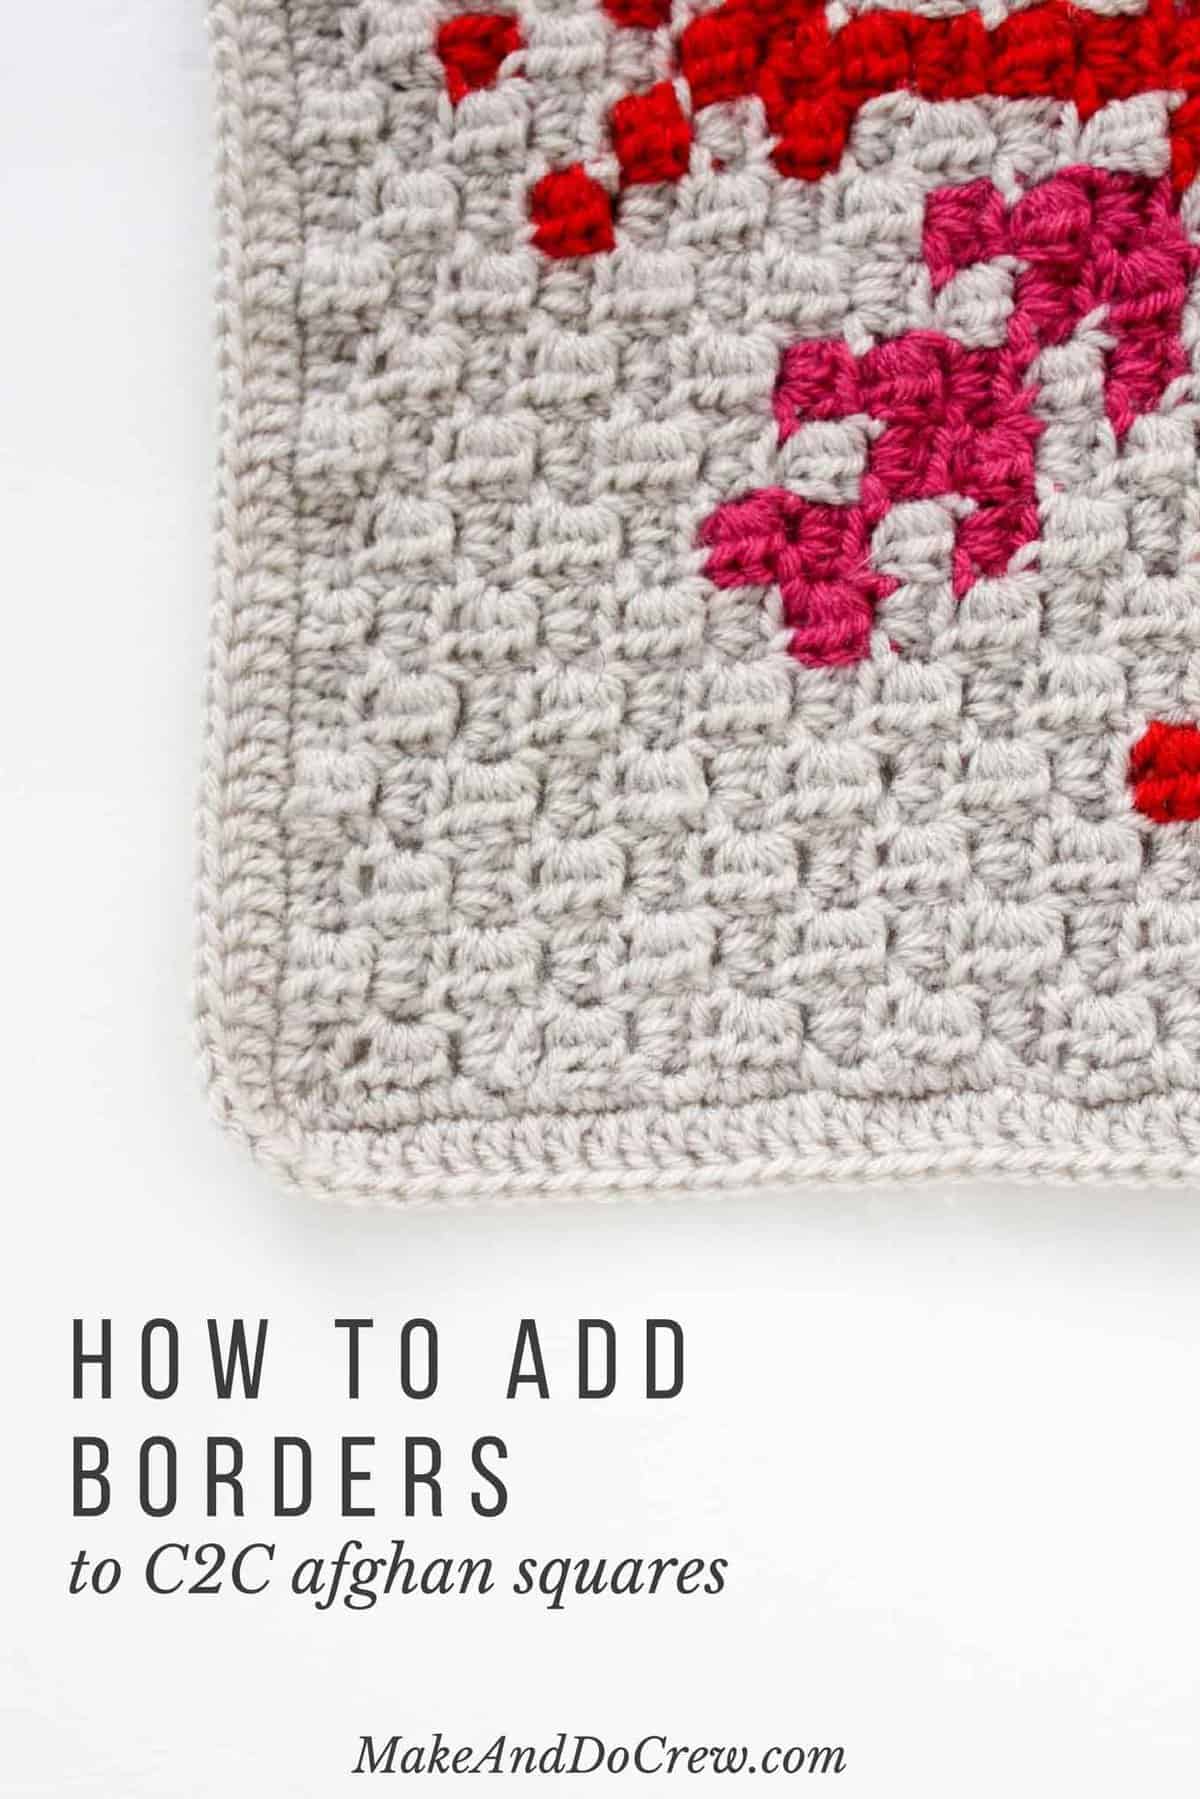
You've worked diligently on creating corner-to-corner crochet squares and now you're wondering what to do with them, right? This tutorial will show you how to add a border to a C2C afghan block so that it's ready to be sewn together into a blanket.
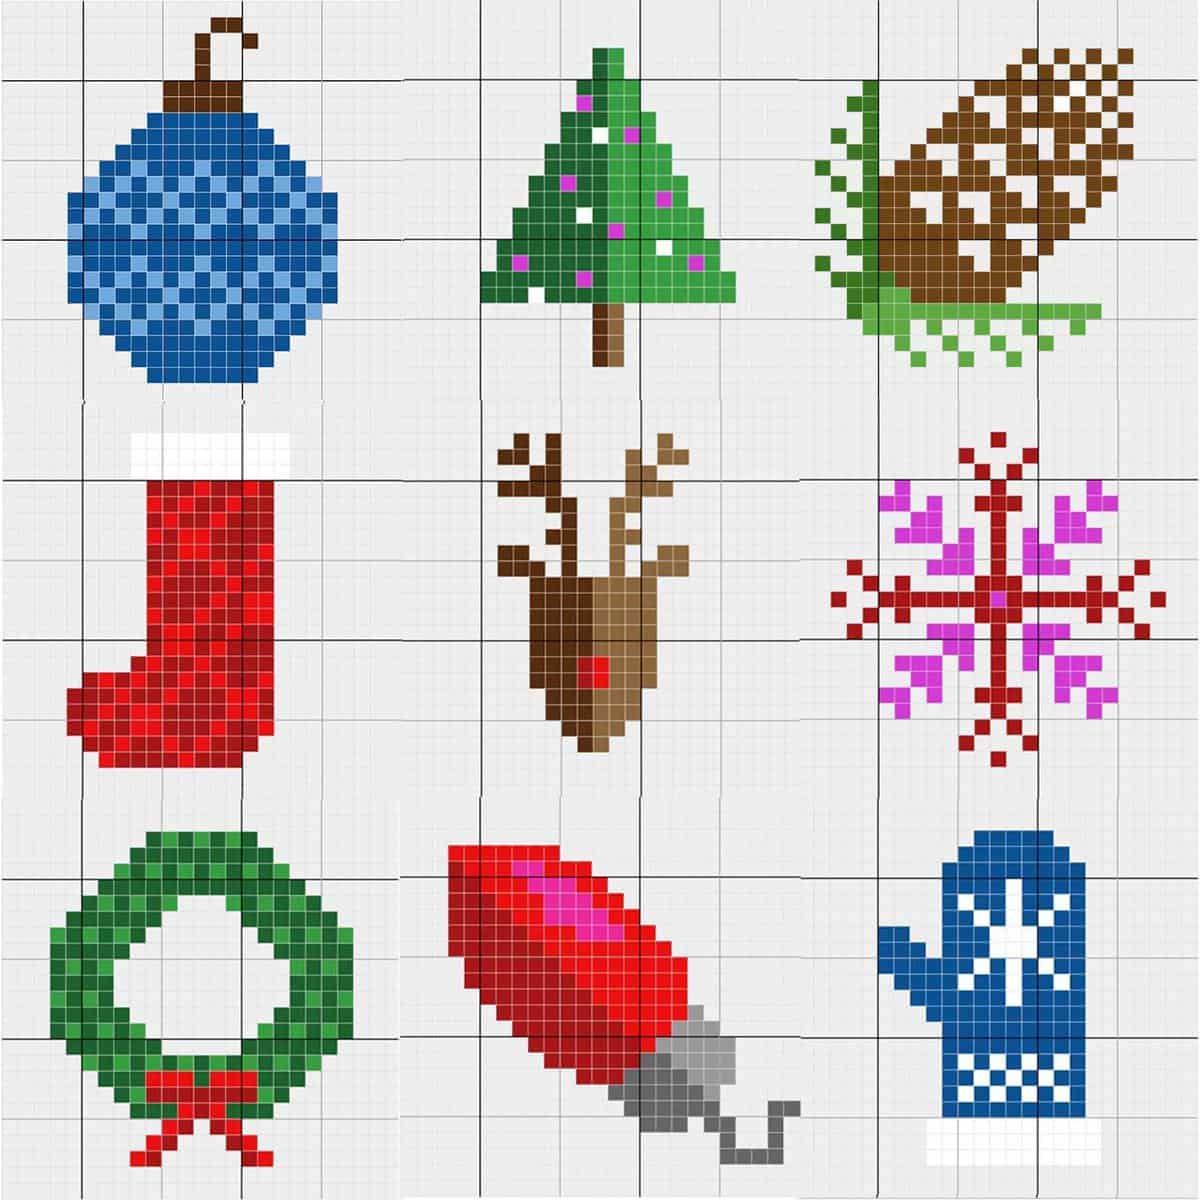
 If you've been following along for a while, you know that I started a C2C Christmas grafghan in the dead of summer with the hopes of having it done in time for afghan season. (And if you haven't been following along, you can get all nine free patterns right here. Go ahead! I'll wait for you.)
 As long as I keep plugging away on the less glamorous parts of finishing this thing off (hello, borders), I think I will actually make my winter deadline!
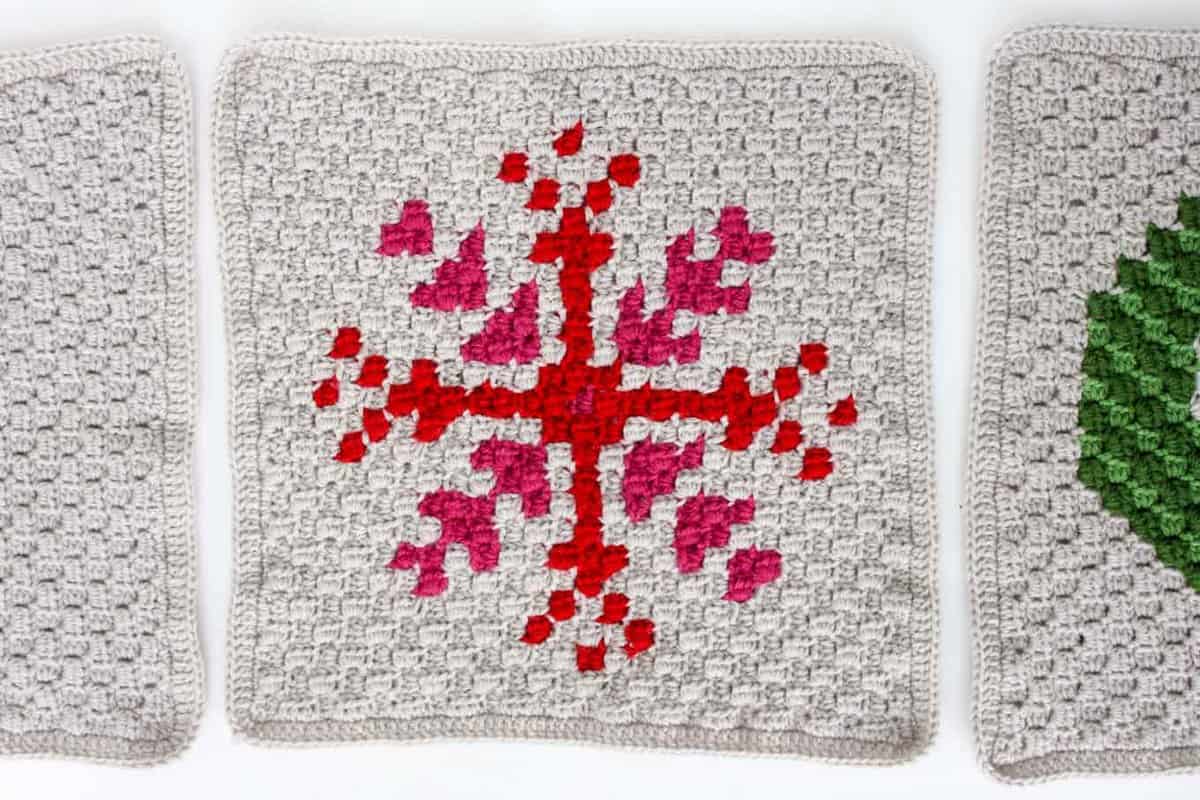
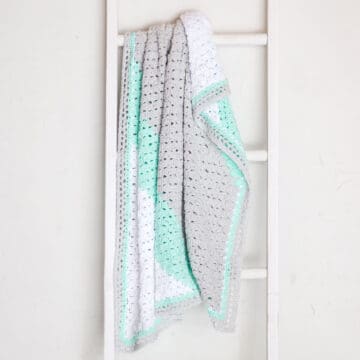
In this photo tutorial, I'm sharing how I created a basic border around each block in order to tidy them up for sewing them together.
I opted for a border in the same color as the background of my blocks because I wanted a clean, minimalist look, but you could also work the double crochet portion of the border in a contrasting color if you want each square to be clearly defined. (Work the first row of single crochet in the same color as the background so that you have a clean line to begin with.)
For clarity, when when I mention a "block" below, I'm talking about the actual 15x15" section of the afghan that has one graphic on it. When I say a "square," I'm talking about of of the many tiny c2c sections of the overall afghan block.
 I'd also like to add that the numbers of stitches I mention below are geared toward a c2c method where you've created each square with half double crochets and not double crochets. I used half double crochets throughout so that my overall blocks would be smaller. Read more about that here.
You can still follow this tutorial if your blocks were made with double crochets, but you might need to add an extra single crochet in the short side of each square as you work around the border. (See step 2 below for what I'm talking about.)
How To Add a Border to a C2C Afghan Block
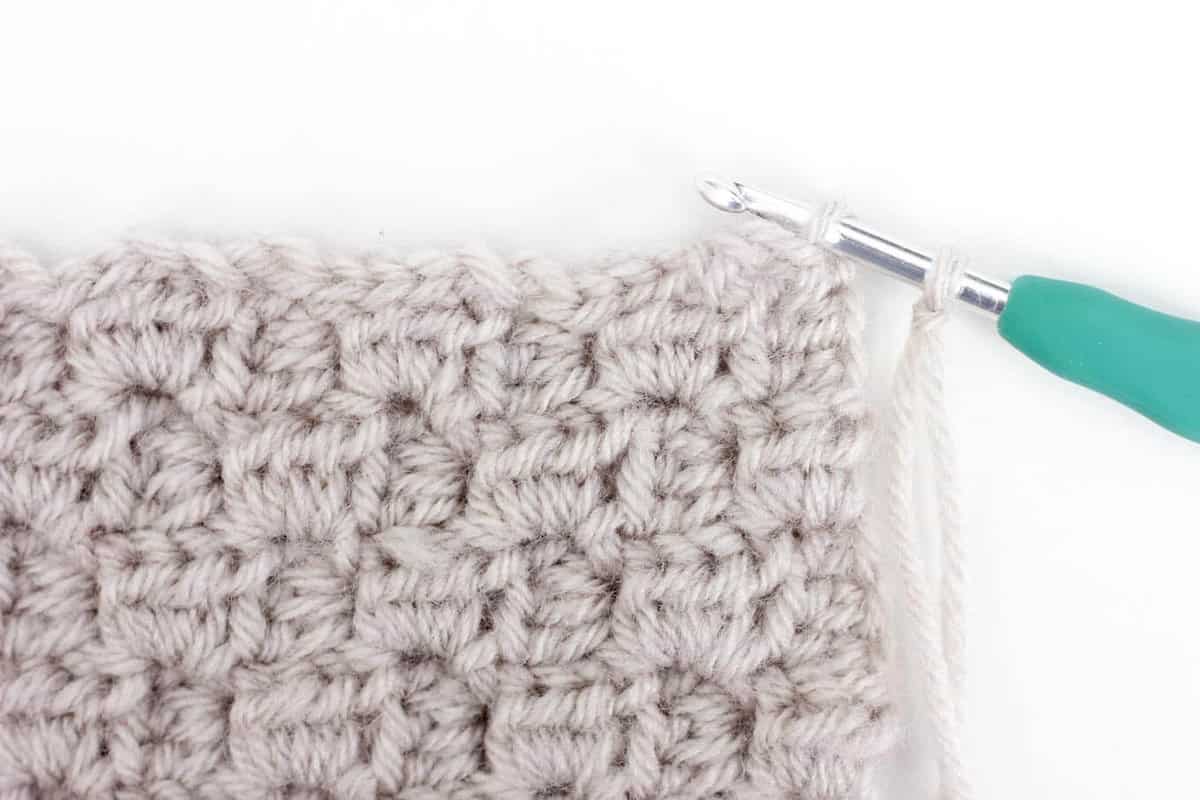 1. Attach the yarn to the hook using a slip stitch. Beginning at any corner, insert the hook under the first stitch of the row and pull your working yarn through both the existing stitch as well as the loop of the slip stitch. Your yarn is now attached.
Wanna save this pattern?
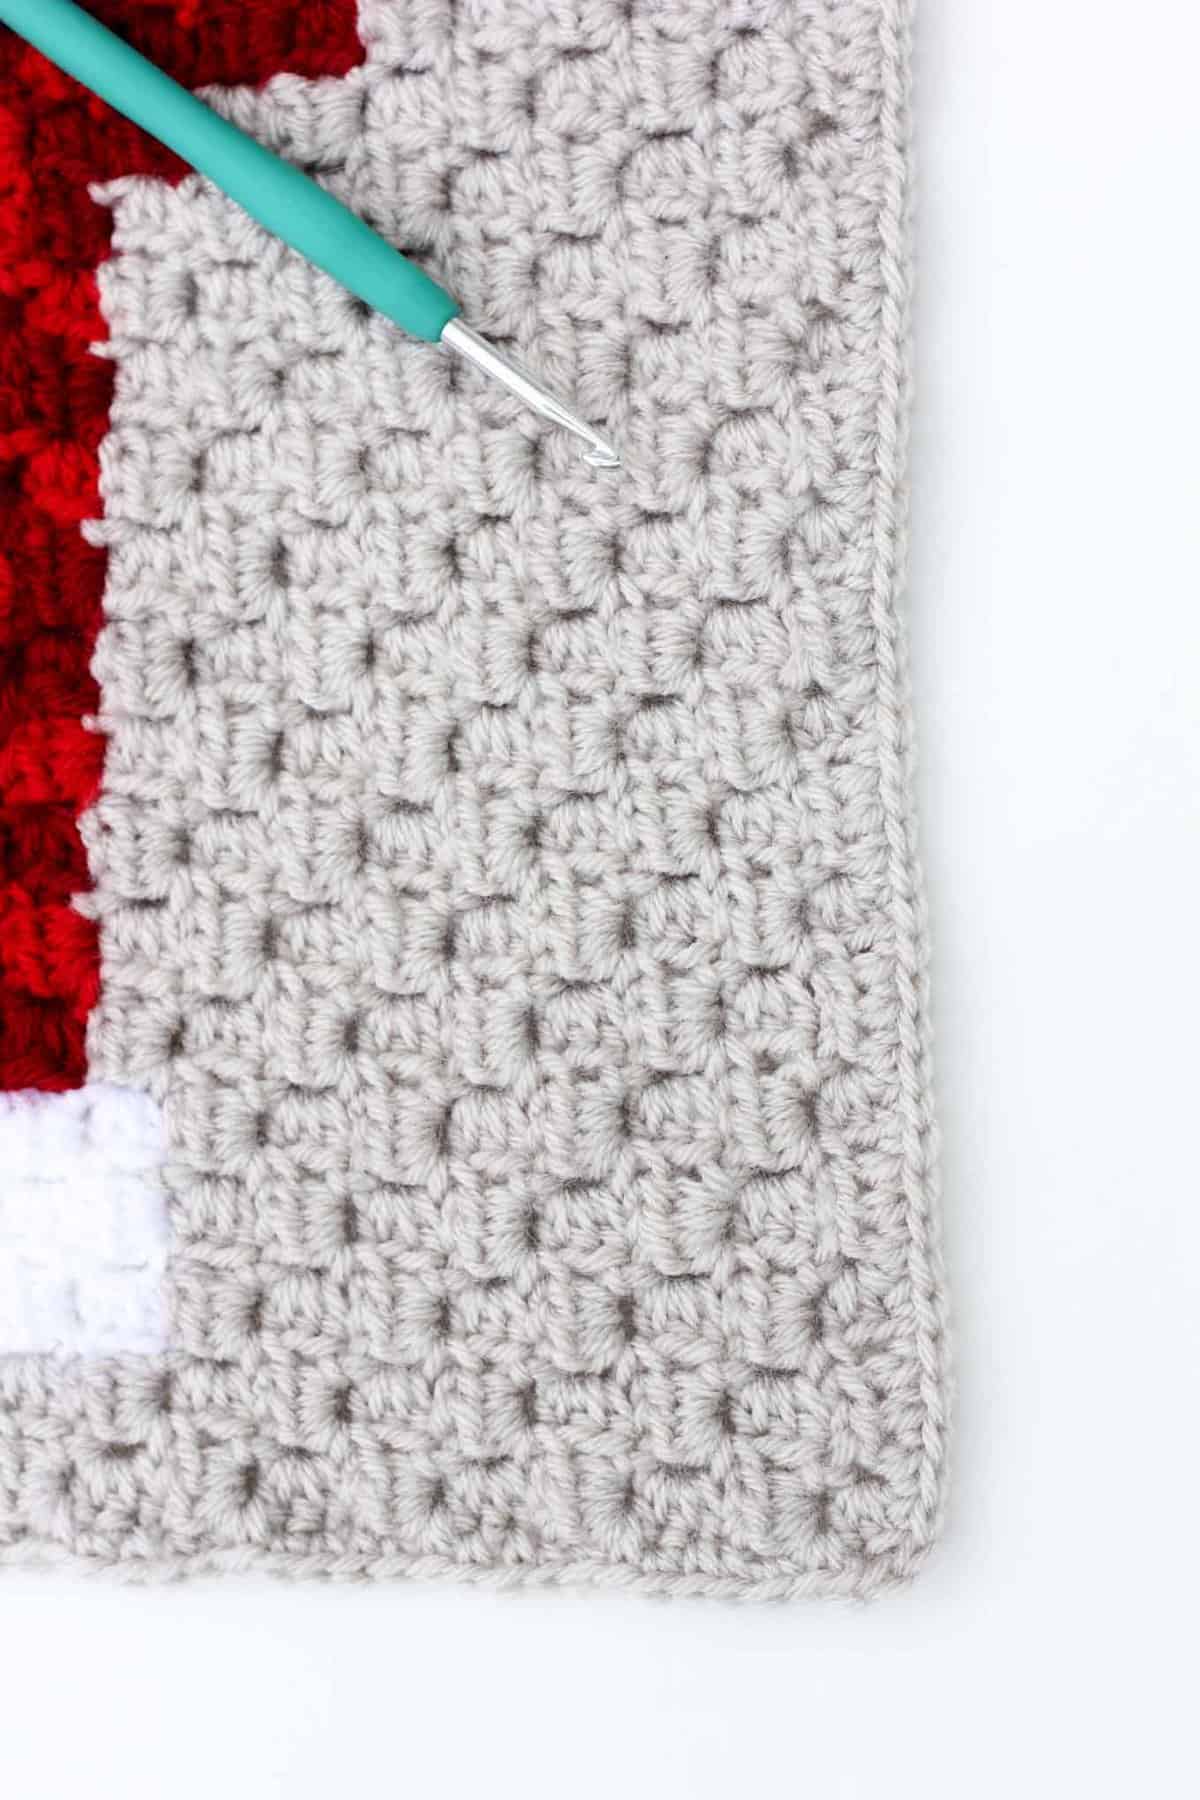
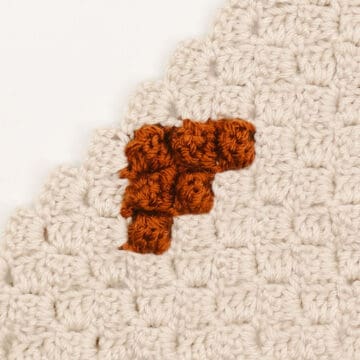
Examine your small squares to see if you're starting on a long edge or a short edge. If it's a short edge, sc 2 into that square and if it's a long edge, sc 3 into that square. (Basically put the stitches anywhere you can find room--the corners are a little less clear than the general edges of your block).
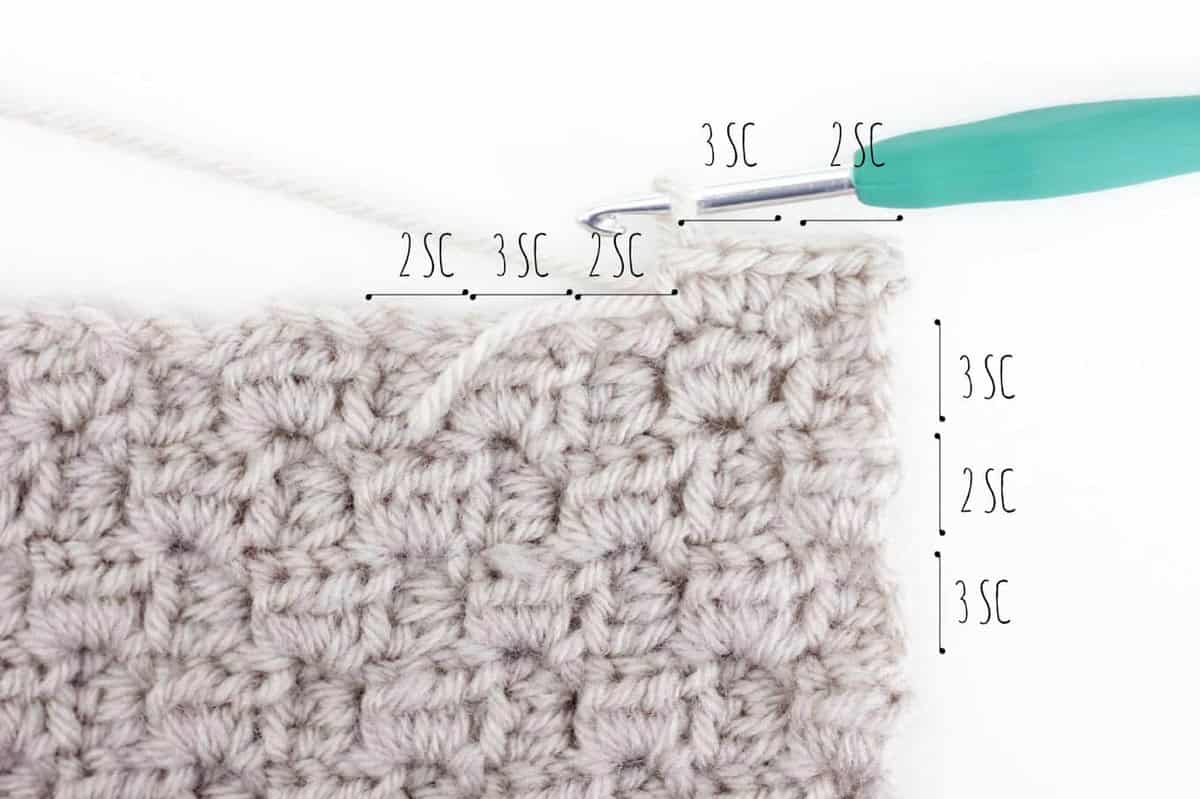
 2. Continue in this way, sc 2 into the short sides of the squares and 3 into the long sides until you reach your first corner.
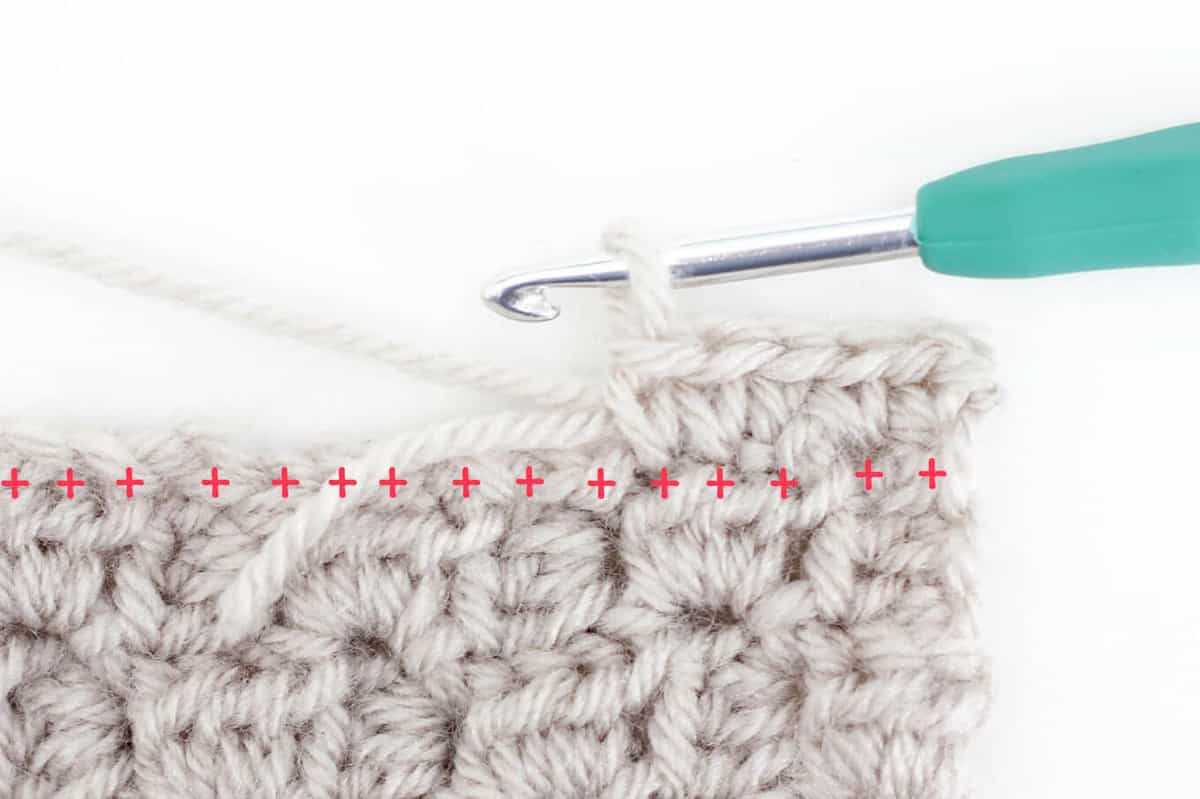
Check out the photo above with the pink plus signs for approximate placement of my stitches. In an attempt to space them out evenly across the side of the block, so I usually worked one single crochet into the gap between the squares and then one or two single crochets into the actual square depending on if it was a long or short side.
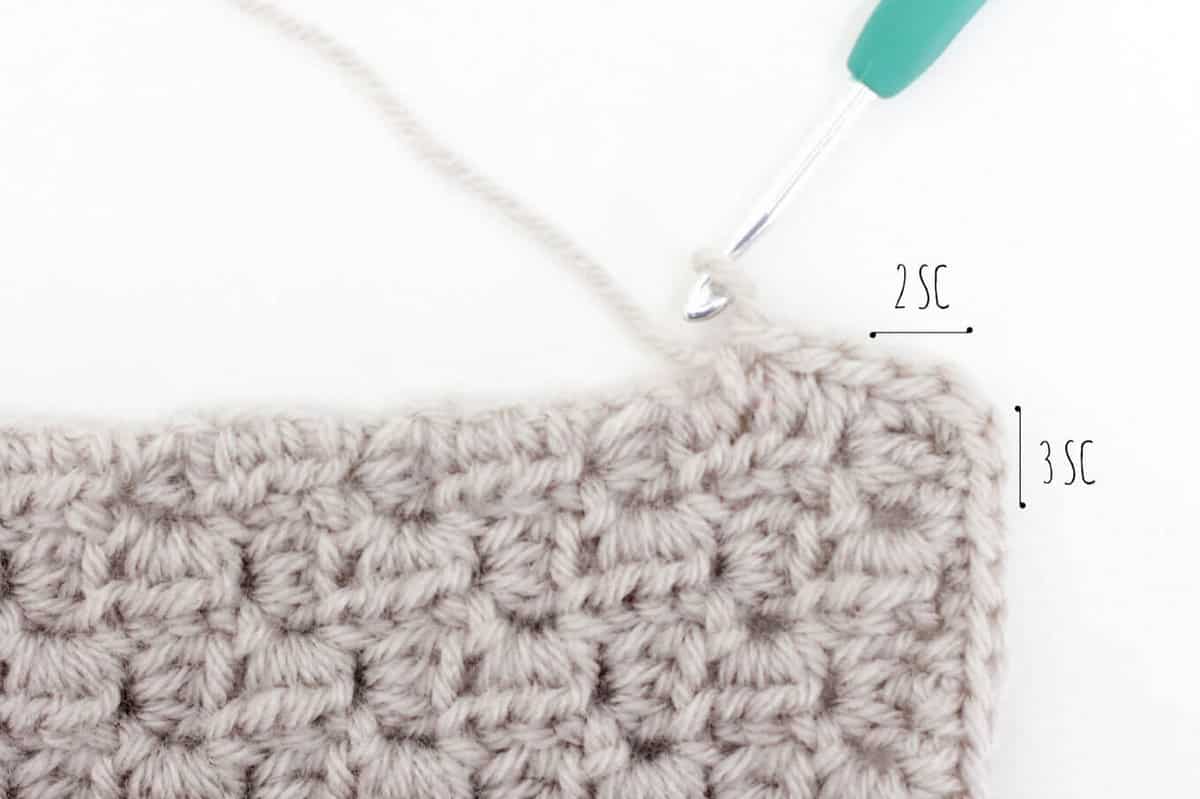
3. When you come to a corner, you don't need to add any extra single crochets. Simply work two sc into the short side of the square and three sc into the long side. I found that it was hard to find the appropriate holes for each sc, so I usually just put them wherever I could find room.
4. Continue in single crochet around the block until you reach the corner you started in. Slip stitch into the first single crochet you worked.
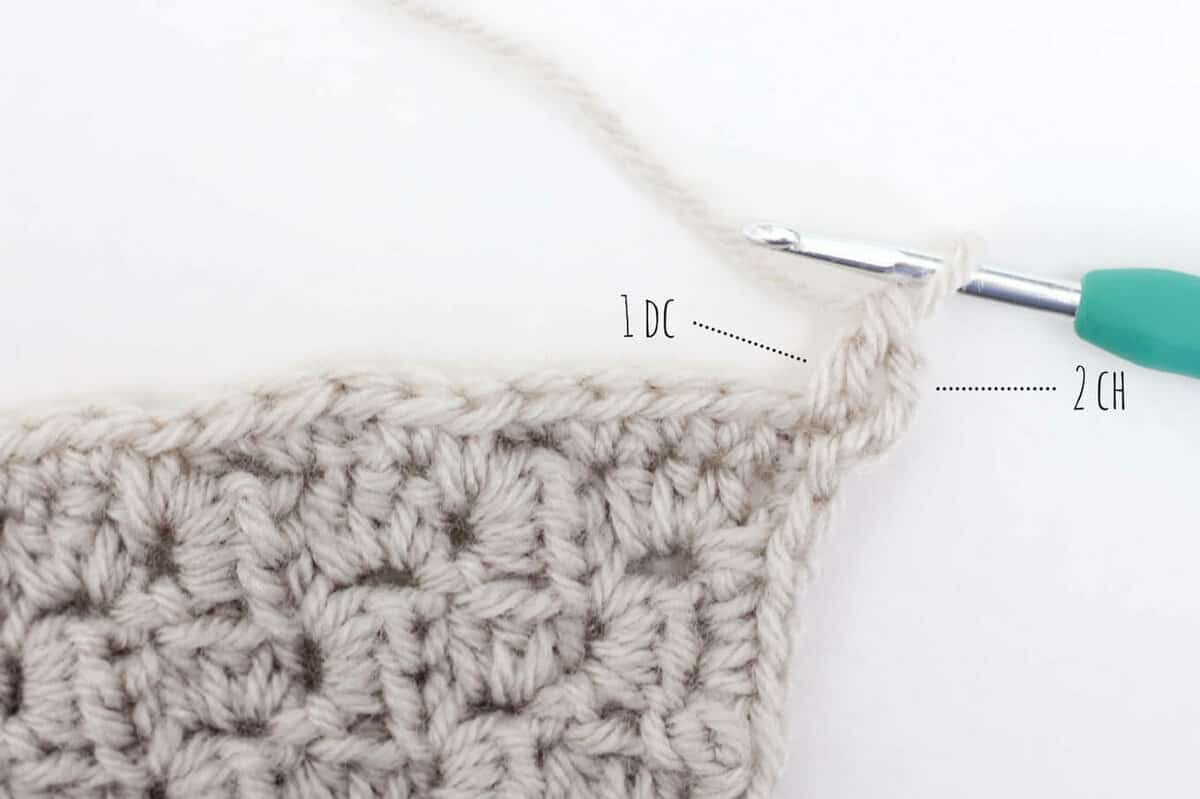 5. For the second row, you will chain 2 and then work a double crochet into the first corner stitch of the round. (Counts as two dc.)
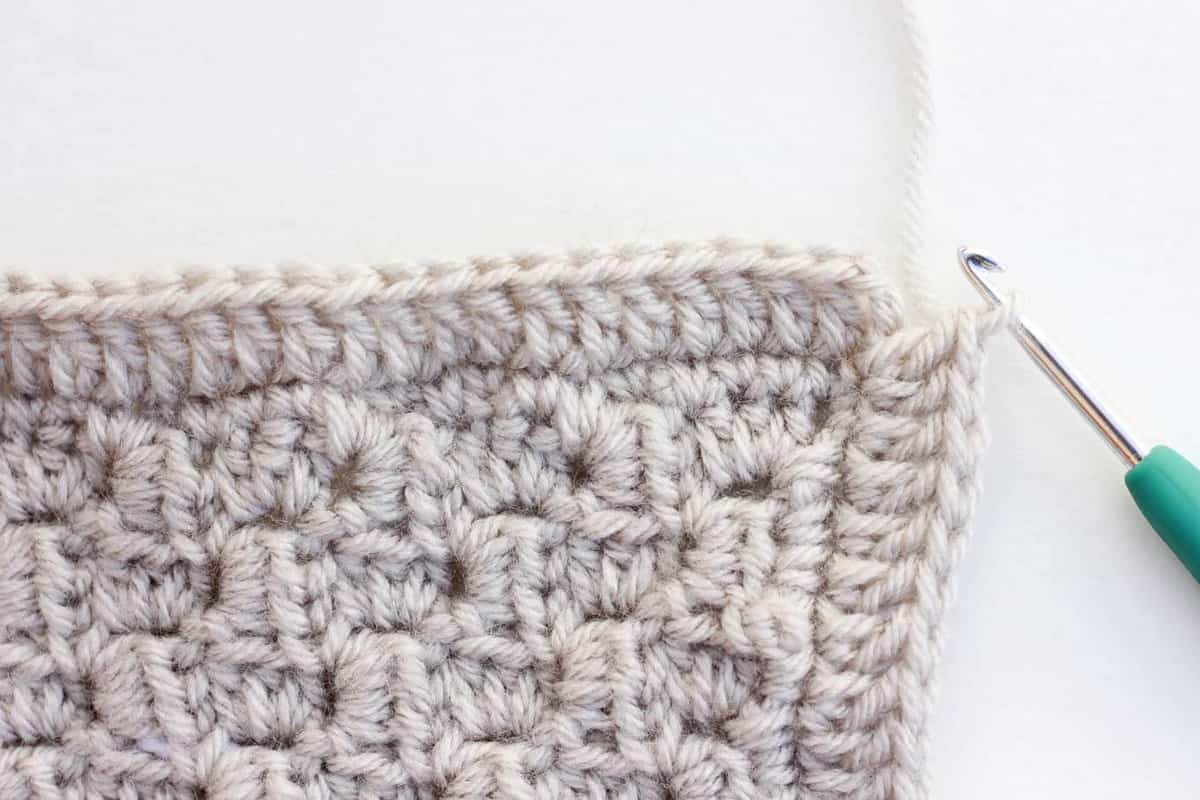
6. Continue with one dc in each dc, except at the corners, work two dc in the two corner stitches. (So you'll be adding two total stitches per corner.)
7. When you finish the round, work two dc into the last corner stitch and slip stitch into the chain from the beginning of the round.
 8. Fasten off, leaving a tail that's two or three feet long to sew the blocks together.
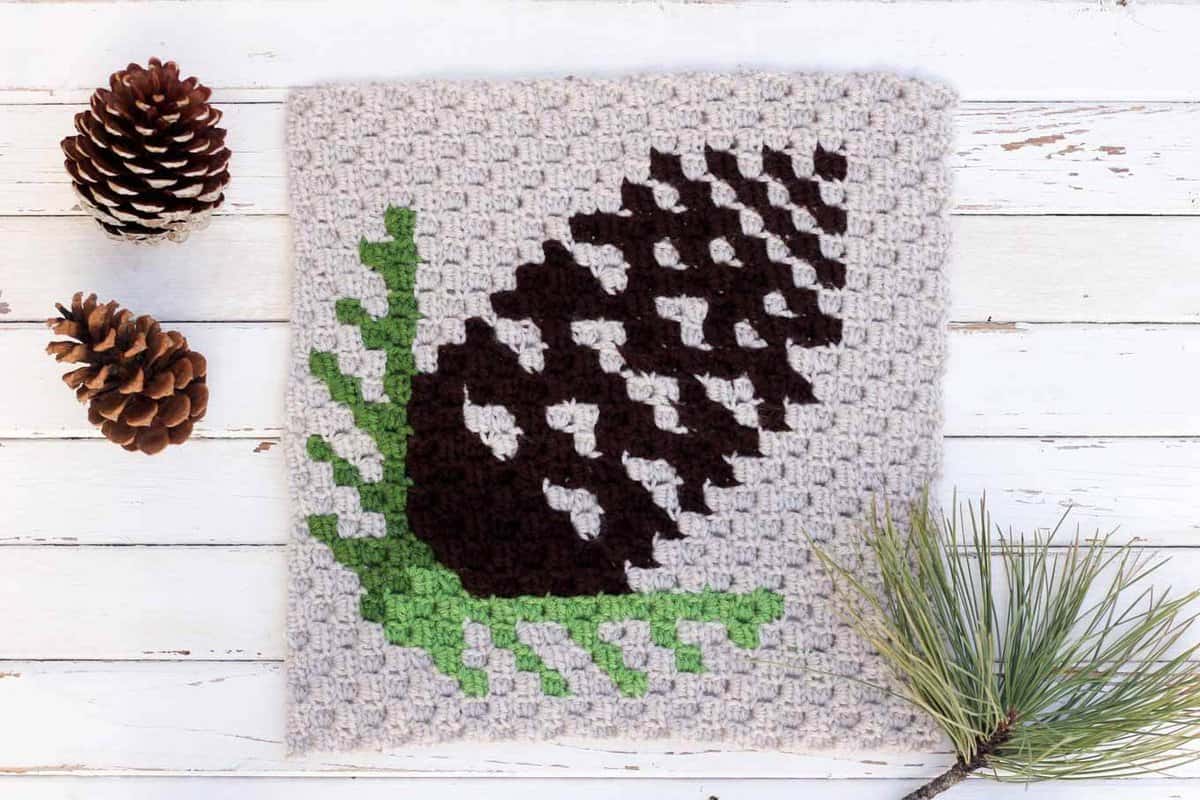
Next up is blocking these puppies so that they're ready to be sewn together!
Have you started making your Christmas graphgan? If so, please let me know in the comments if there's anything in particular you'd like me to cover about the process of finishing the blanket off. 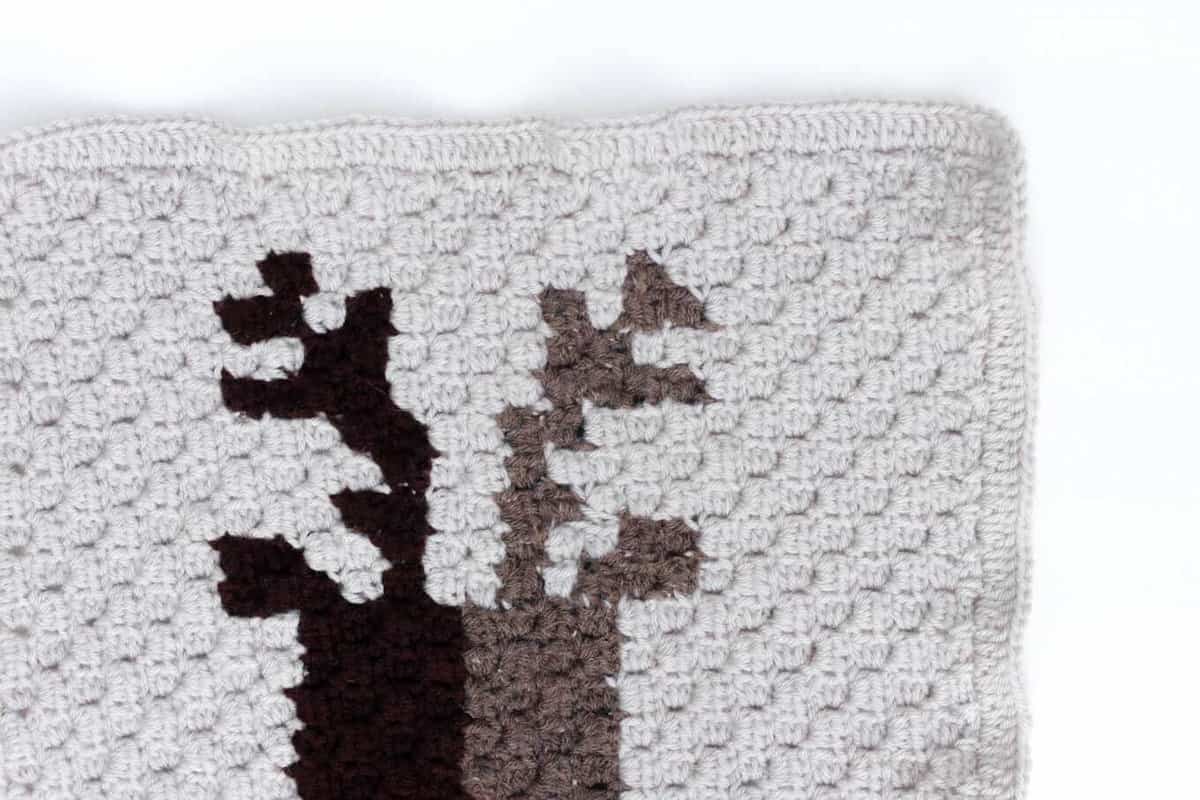 [convertkit form=4896756]
GENOVEVA says
mIL GRQACIAS SUS INDICACIONES SON EXCELENTES VOY A TRATAR DE HACER LAS MANTAS PARA MI NIETO QUE LLEGA EN ABRIL 1917, SALUDOS DESDE PERU, GENOVEVA
Susanne says
Loved the patterns, but as usual didn't read the whole pattern before starting so all my blocks are BIG. Do you have a border around the whole afghan?
Jess @ Make and Do Crew says
Ha--well, you'll have even MORE holiday cheer! 🙂
I am just about to add a double crochet border to the entire afghan in the same way I did it on these blocks. (I'm not adding a wider border though.)
April says
I've never done blocking before... can someone elaborate? I've read some things about steaming and about washing them and letting them air dry. My squares are a little lopsided and look more like diamonds. I'm wondering what the best course of action would be.
Jess @ Make and Do Crew says
I had that same diamond issue, April! I contemplated writing a post about blocking, but wasn't sure if people would find it useful or not. I'll def do one in the future now.
Here's what I did: I laid towels out on my carpeting and used T-pins to pin them to the carpet. (I'm not sure this is recommended, but it's how I've always done it! 🙂 I made sure they were square and used a large ruler to try to make them each about 16.5" square. Then I used the steam setting on my iron and hovered the iron over the squares, steaming them thoroughly. (DON'T touch the iron to the yarn though if you used acrylic yarn.) Then I let them dry and stay pinned down for about 24 hours. For the most part, they're pretty square now!
I hope that's helpful. Let me know if you have any other questions!
Jess
Ida Mathis says
I used a towel put on top of my square. Then I ran my iron over the top of my square, barely touching the towel, using mostly just the steam, to block my squares.
Jess @ Make and Do Crew says
Great idea, Ida! I'm just in the process of blocking mine right now and I'm attempting to steam them too. The towel is a smart thought. Thanks for sharing!
Patti Frost says
I'm a little confused about the "long" side and "short" side. If the block is 15"x15", aren't both sides the same size?
Jess @ Make and Do Crew says
Hey Patti,
The "long" and "short" side reference the small c2c squares within the 15x15" block. For the purposes of this tutorial, I'm calling one individual c2c pixel a "square" and the total 15x15" section a "block." It's all a little confusing, I know! So each "square" has one side that's a little longer and one side that's a little shorter.
Does that make sense?
Arlene Slobecheski says
I forgot to add about notifications
Arlene Slobecheski says
I love your site and your instructions are so helpful.
A few years ago I belonged to Crochet Square Exchange group and now have hundreds of Christmas squares, flower squares and granny squares. I have tried putting them together but many of them are slightly smaller or larger than the original size. How do I compensate for this even with a border?
Jess @ Make and Do Crew says
Thanks, Arlene! I'm so happy my site has been helpful.
That square exchange group sounds amazing! I think that if I were you, I might measure the largest square and then attempt to add enough borders to all the others to make them the same size as the largest square (+ a border on that one too, if you want.) I think you could use the basic principles of this tutorial to add borders, either in sc, hdc or dc depending on what thickness you want for your borders.
I'd love to see a photo when you sew everything together. It sounds like this will be one incredible project!