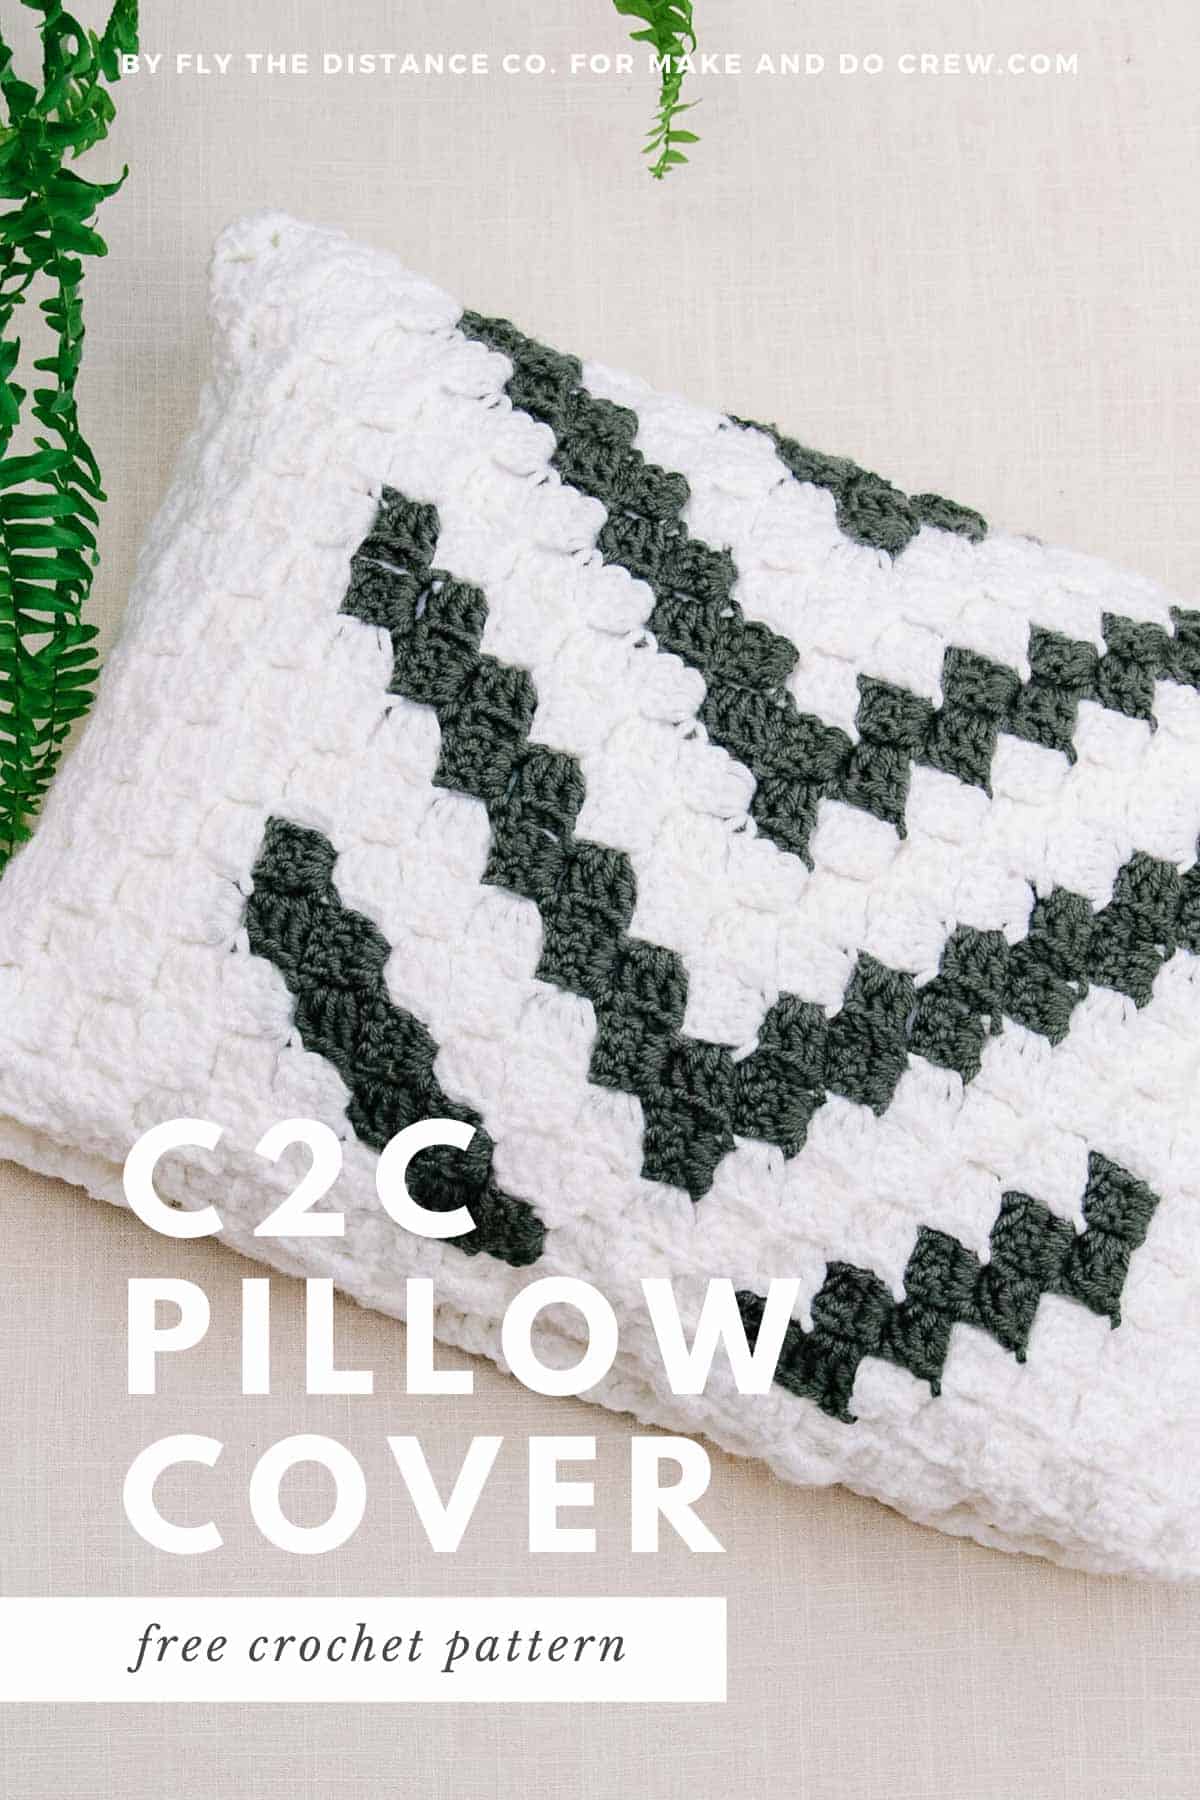
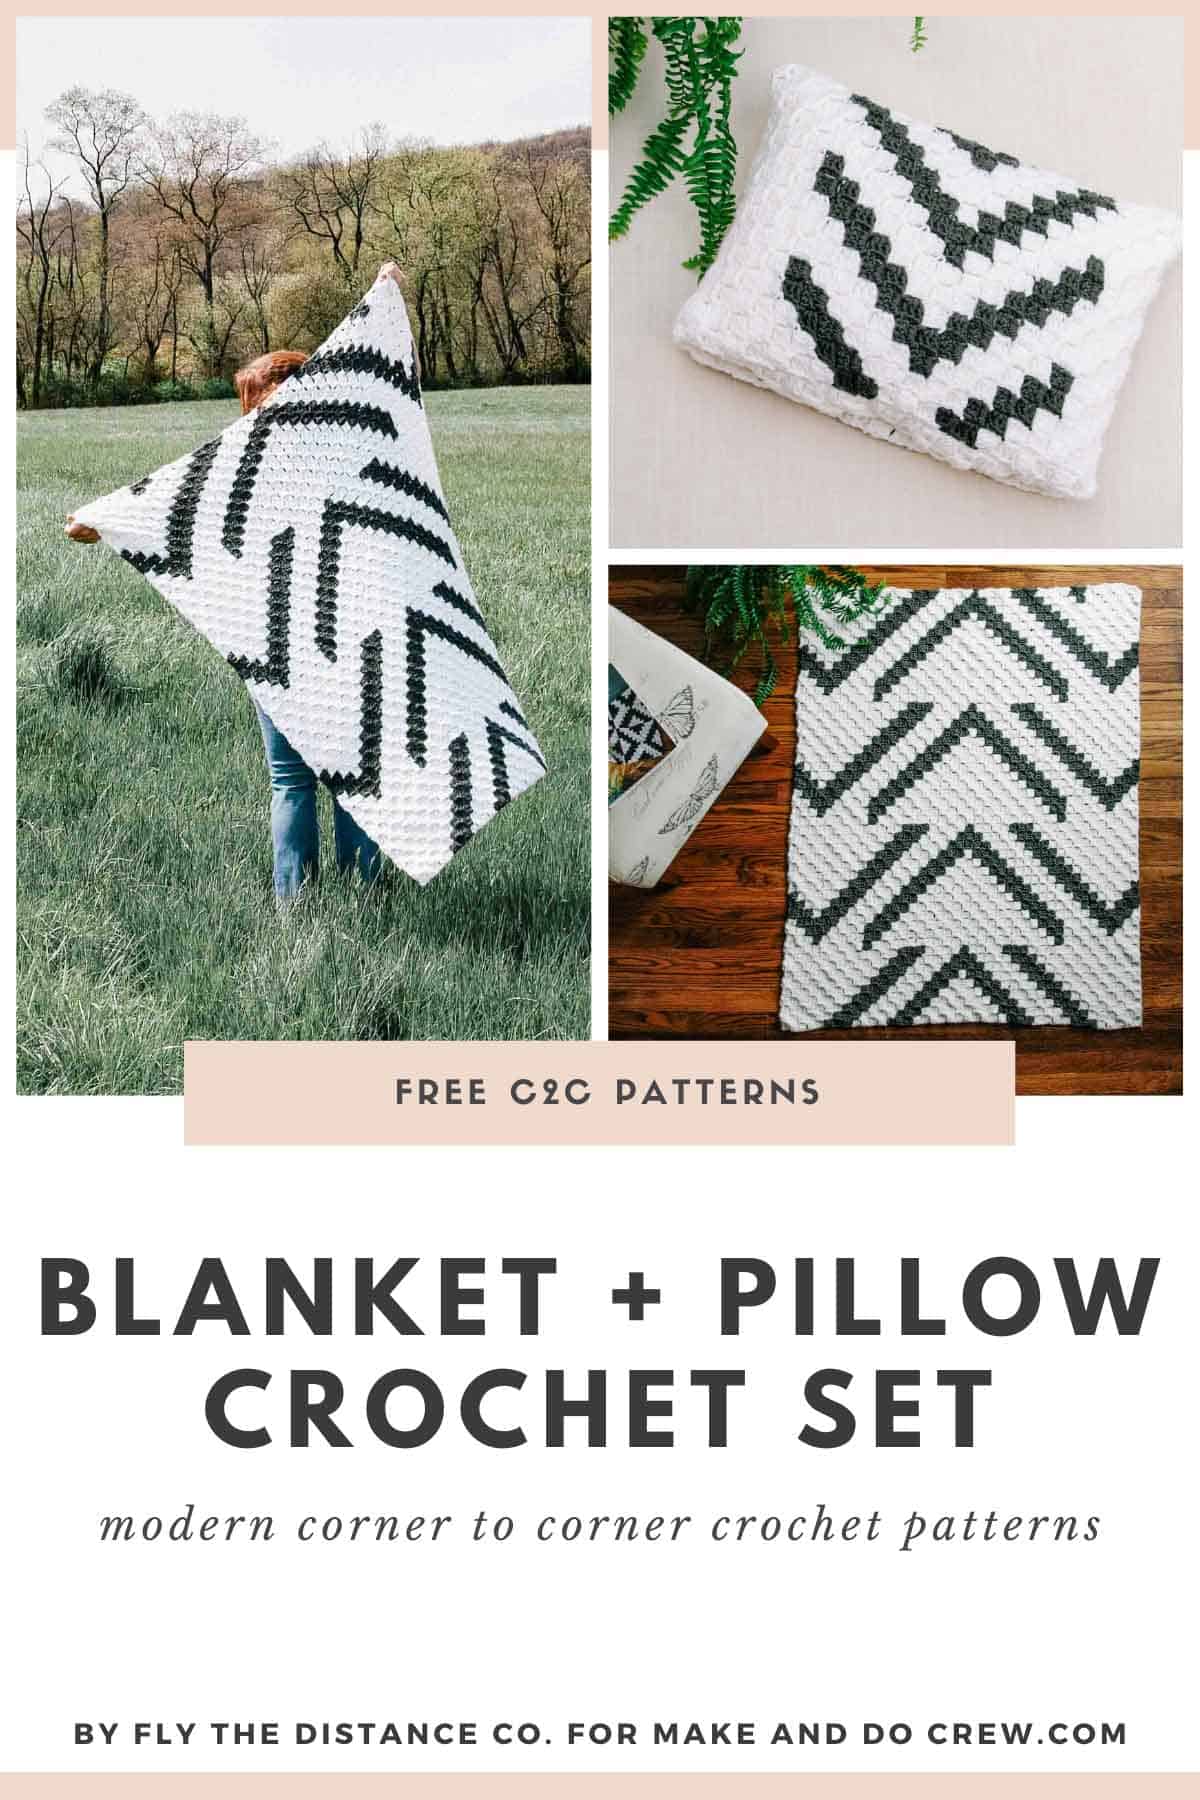
This free C2C crochet pillow cover pattern stands on it own or works perfectly as storage for the Muddy Pines Blanket. Scroll down for the free pattern or purchase the ad-free, printable PDF of the pillow and blanket set here.
Thanks to Lion Brand Yarns for providing the yarn for this C2C crochet pillow cover pattern. This post contains affiliate links.
Welcome back to the Make & Do Crew guest designer series where talented designers from across the internet share their free patterns with you, right here on Make & Do Crew.
Today Jessie from Fly The Distance Co. is back with her free C2C crochet pillow cover pattern! You can see lots of of Jessie’s crochet patterns her blog, Fly The Distance Co. And be sure to check her out on social media too: Instagram and Pinterest. Jessie, take it away!
Why I Designed a Crocheted Pillow Cover
Hi there! Jessie from Fly the Distance Co. here again bringing you Part Two of the Muddy Pines Corner to Corner Crochet Pattern Set!
So, why have a pillow cover as Part Two instead of Part One? Because if you are anything like me, your closet, ottomans and couches are piled, stuffed and overloaded with crocheted blankets. Eventually you run out of room and need to get a little creative with storage.
Related: X Marks the Spot C2C Blanket and Pillow Set
That’s how I came up with the idea of the Muddy Pines Pillow Cover . . . it was made and designed to fit the dimensions of the Muddy Pines Lapgan to act as a storage unit in plain sight. The blanket can be stuffed inside of the pillow cover and removed when needed!
What Yarn Should I Use?
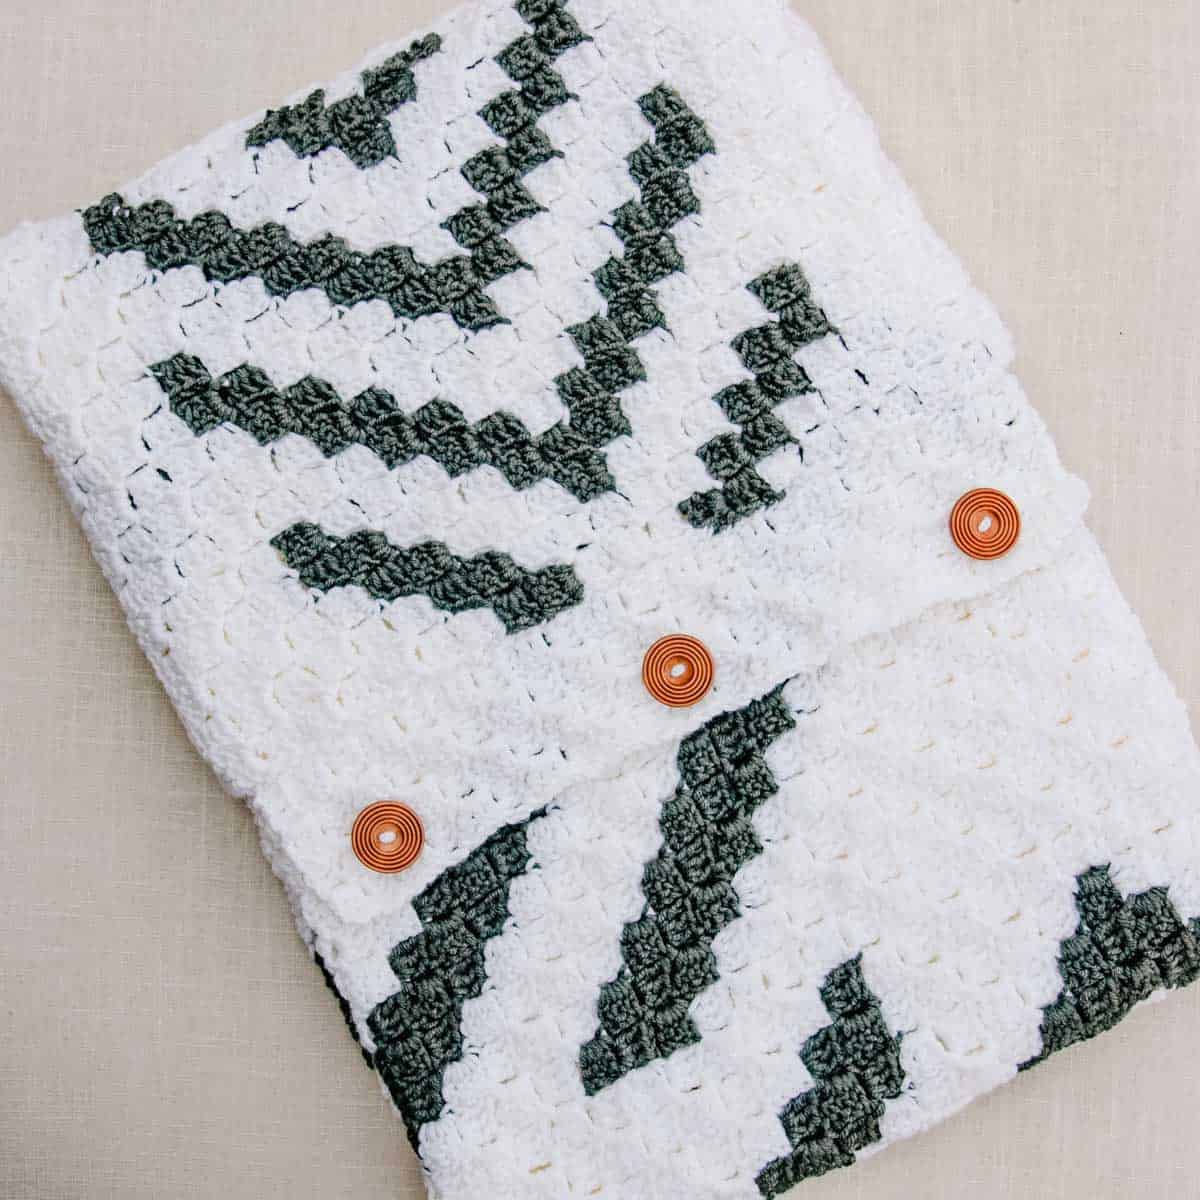
Just because something is functional doesn’t mean it can’t be fun and beautiful! Just like the blanket, this C2C crochet pillow cover was also made with Lion Brand’s Color Made Easy. The bulkiness of the yarn allows it to work up quick even though this pattern calls for a drop in the hook size from K (6.5mm) to J (6.0mm) compared to the lapgan.
To make a tighter c2c grid, and to tighten up the natural gaps between c2c tiles, I lowered the hook size. This, along with the #5 yarn made for a great panel with minimal tile gaps usually found in corner to corner.
Pillow Cover Construction
With such a small size and contrasting colors, this pillow really works as the perfect little accent. Tackling the chevron design of this pattern could be a great first project if you are new to corner to corner! It also makes great practice before taking on the larger lapgan found in part one.
With few color changes and options for creating a pillow unique to you even if you are an experienced stitcher, this is a great quick gift or storage compartment for your Muddy Pines Lapgan!
Modern, Scandinavian Design Elements
While this pattern was created as part of the Muddy Pines C2C set, I wanted it to stand alone in uniqueness should anyone decide tackling the blanket in part one was a bit more than they could handle at the moment. So, keeping with the geometric theme, I created this pillow with two possible options for your modern flare.
Muddy Pines Pillow Option 1: Removable Cover for Blanket Storage (Left)
If you decide on this option, create the front panel with the chevron, geometric design element. Then, create a monochrome back panel in your color choice.
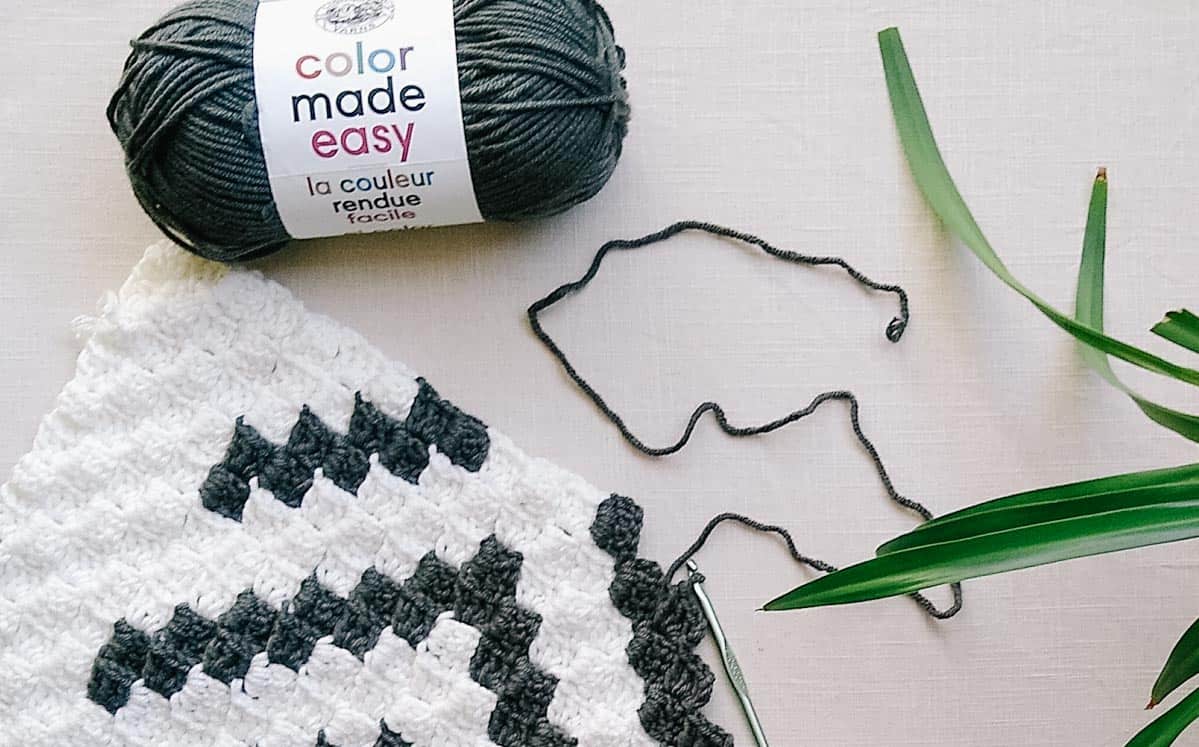
You will also need to create a button flap in that same color. Creating these pieces, and stitching them together creates the removable cover option for a pillow insert or for folding up your Muddy Pines Lapgan into.
This option uses slightly more yarn in your main background color so be sure to check the yarn amounts needed below.
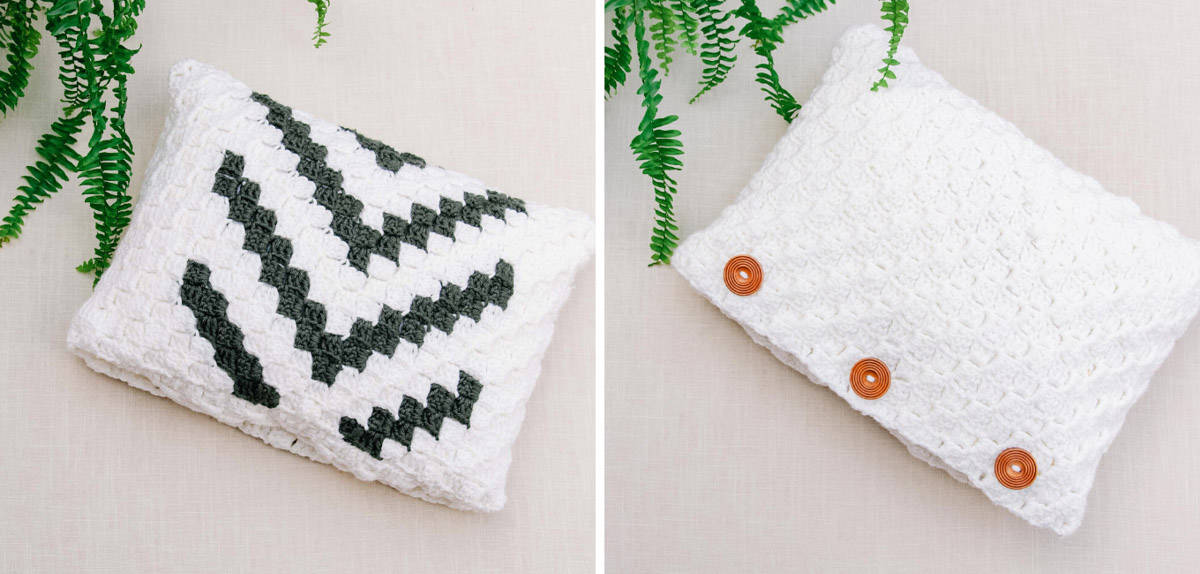
Muddy Pines Pillow Option 2: Create a Standard Pillow (Right)
The pattern for the design element was set up so that it is continuous. If you love the chevron look, create two panels of the design element. Then, match up the chevrons so they create a continuous pillow design by having one panel with the right side facing out, and then flipping the other panel upside down, with the wrong side facing out.
While you can do this for removable cover option as well, the buttons needed to hold the flap together will disrupt the flow of the design a bit. Just something to keep in mind.
I hope you have enjoyed this pattern set! I would love to see how you have customized and made this your own! Be sure to follow on Instagram @flythedistanceco or tag #flythedistancedesign.
click to pin this pattern for later ⇨
More C2C Crochet Patterns
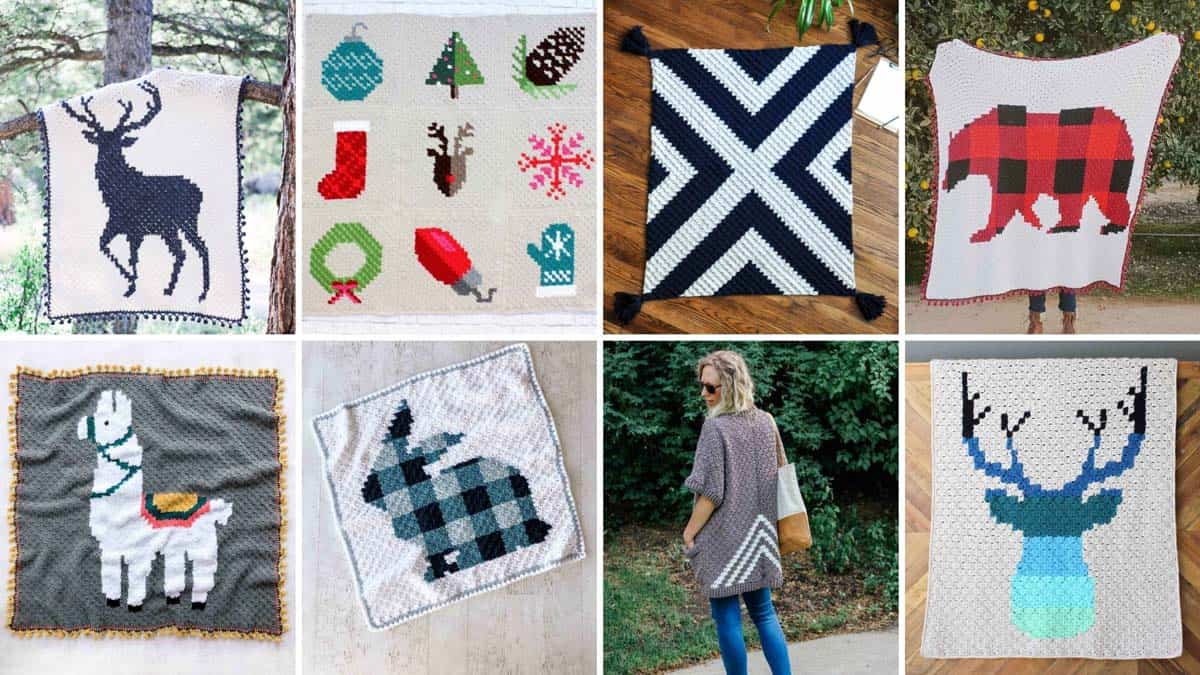
Ready to try your hook at more corner to corner crochet patterns? Don’t miss these M&DC favorites. You can find all our c2c patterns and tutorials here.
Finding Home C2C Crochet Pillow Free Pattern
Purchase a PDF with written, line by line C2C instructions here.
Explanation: Stylish living is easy with this modern, trendy geometric design. Form and function are present in this corner to corner crochet pillow pattern. Whether adorning your sofa or secretly doubling as a storage unit for the Muddy Pines Lapgan, this piece is sure to make a statement with its easily customizable contrasting color scheme!
Supplies:
To make this pillow as shown in this blog post:
• Lion Brand Color Made Easy (Weight: 5/bulky – 247 Yds, 7 oz)
– Birch (#195-100) – 2 balls
– Smoky Quartz (#195-151) – 1 ball
To add optional removable cover flap, you will need 1 extra ball of Birch (#195-100), so 3 balls of Birch total.
• U.S J (6.0 mm) crochet hook
• Yarn needle
• Stitch markers
• 14” x 20” Pillow Insert (Optional). You can fold up your blanket into this pillow cover or buy a travel size pillow for the insert.
• Optional organizational supplies – clipboard, highlighter and c2c yarn holder
Sizes/Measurements:
• 14″ x 20″
Gauge:
• 4 x 4 inches = ~5 x 5 c2c tiles
Abbreviations and Glossary (US Terms):
ch – chain
c2c – Corner to Corner Tile
RS – right side
WS – wrong side
Overall Pattern Notes:
• Staying on gauge will yield a panel that is a little less than 14” x 20”. Color Made Easy is an acrylic yarn and slight stretching will occur, keep your stitches tight or drop a hook size if necessary (exceeding gauge). Have a smaller pillow cover will allow for a fluffier pillow! Gauge is important only if you are creating your pillow cover to fit an insert. If you plan to use the cover to store the Muddy Pines Blanket, then you have a little bit of wiggle room and you gauge is not as important!
Creating the Patterns From the Graphs
Front Panel
Work the graph separately from the bottom right to the top left. Using a clipboard and either a highlighter or pencil and a ruler will help you keep track of your rows! If you would like to create a continuous design, like in Option 2 above, create two panels.
Back Panel
To create the back panel, follow along with the graph using a single color. If making a removable cover to fit the Muddy Pines Blanket, this will be the best option so that the buttons on the flap opening do not disrupt the design.
If you decide to make a reversible pillow and duplicate the design on the front and back, keep in mind you will need more yarn of the design element color you have chosen!
Removable Cover Flap
To create the flap for your removable cover, in your base color, follow along with the small graph to make a completed rectangle of c2c tiles 4 x 21.
Attaching and Finishing the Panels
Standard Pillow Cover
After weaving in all of your ends, begin attaching the panels. If you have decided to create a pillow cover that is not removable then using a single crochet stitch begin in one corner of the right side facing out panels and stitch around three sides. Stitch three single crochets in the corners. Stuff with pillow insert and single crochet along the final side of the panels. Or you can use a whip stitch on the inside of the pillow. Fasten and weave the final ends.
Removable Pillow Cover
Begin by attaching the Removable Cover Flap to the FRONT panel. With right sides face out, single crochet along the long edge only. Fasten and weave in the ends.
Next, with the two panels right side facing in, starting in the bottom right corner, whip stitch around the three sides of the pillow.
Be careful to NOT crochet the flap between the front and back panels! You want the flap to be able to swing as if it is hinged to only the front panel!
Using 3 – 5 (your preference!) large buttons attach to the small flap along the second row from the crocheted edge. The natural opening of the c2c tiles will act as your button holes to secure your pillow closed. The extra tiles you created on your flap will help to hide any of the pillow insert peeking through, as well as, help to hold the blanket in!
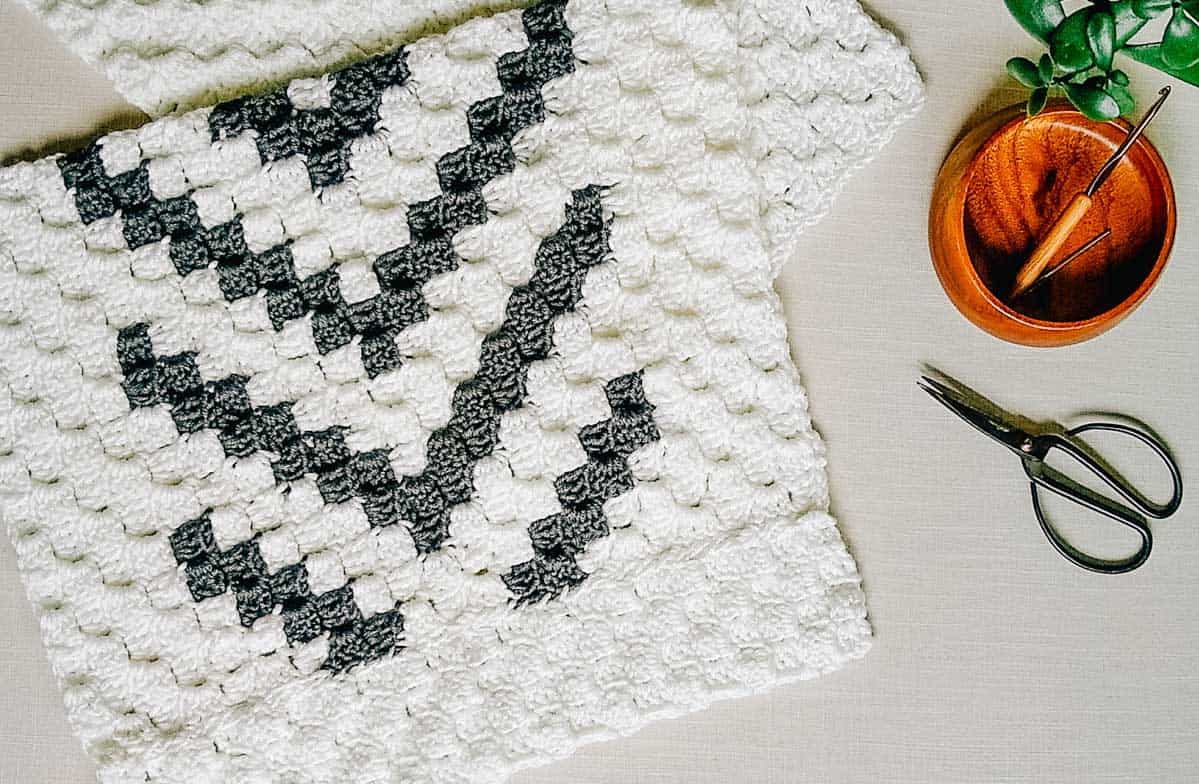
Thanks again to Jessie from Fly The Distance Co. for sharing this free corner to corner pillow cover pattern! Be sure to check out Jessie’s blog for lots more free modern crochet patterns!
More Free Home Decor Crochet Patterns
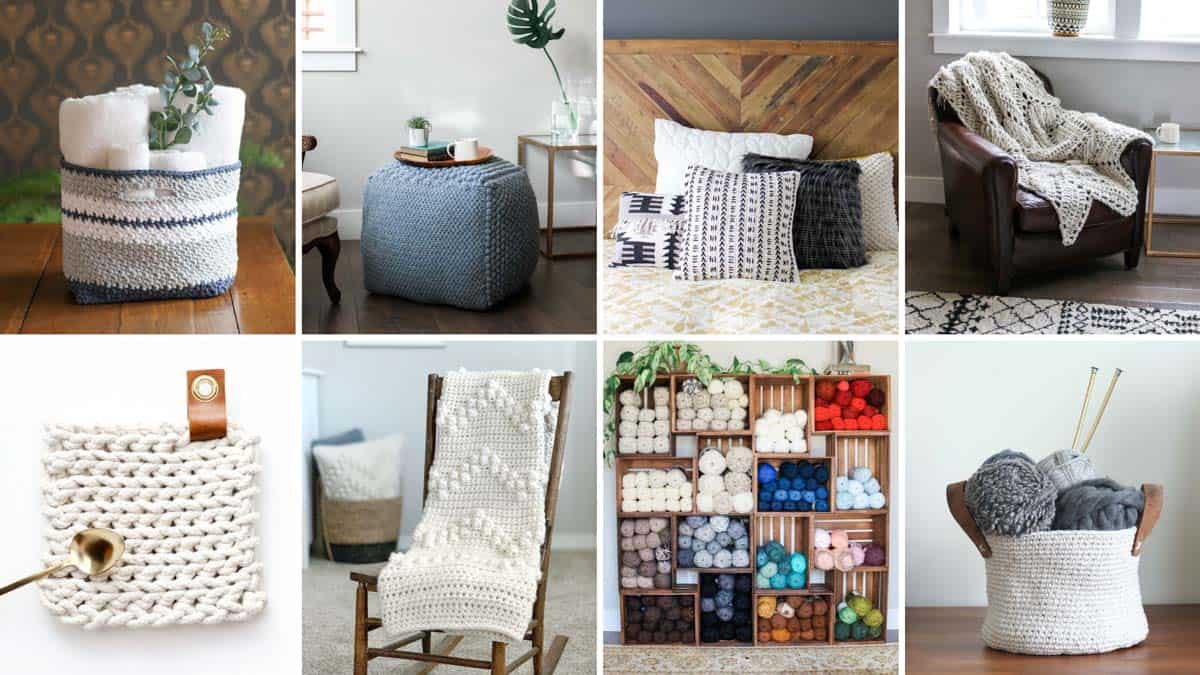
Ready to add more handmade touches to your casa? You can find all our free crochet patterns for your home here.


Leave a Reply