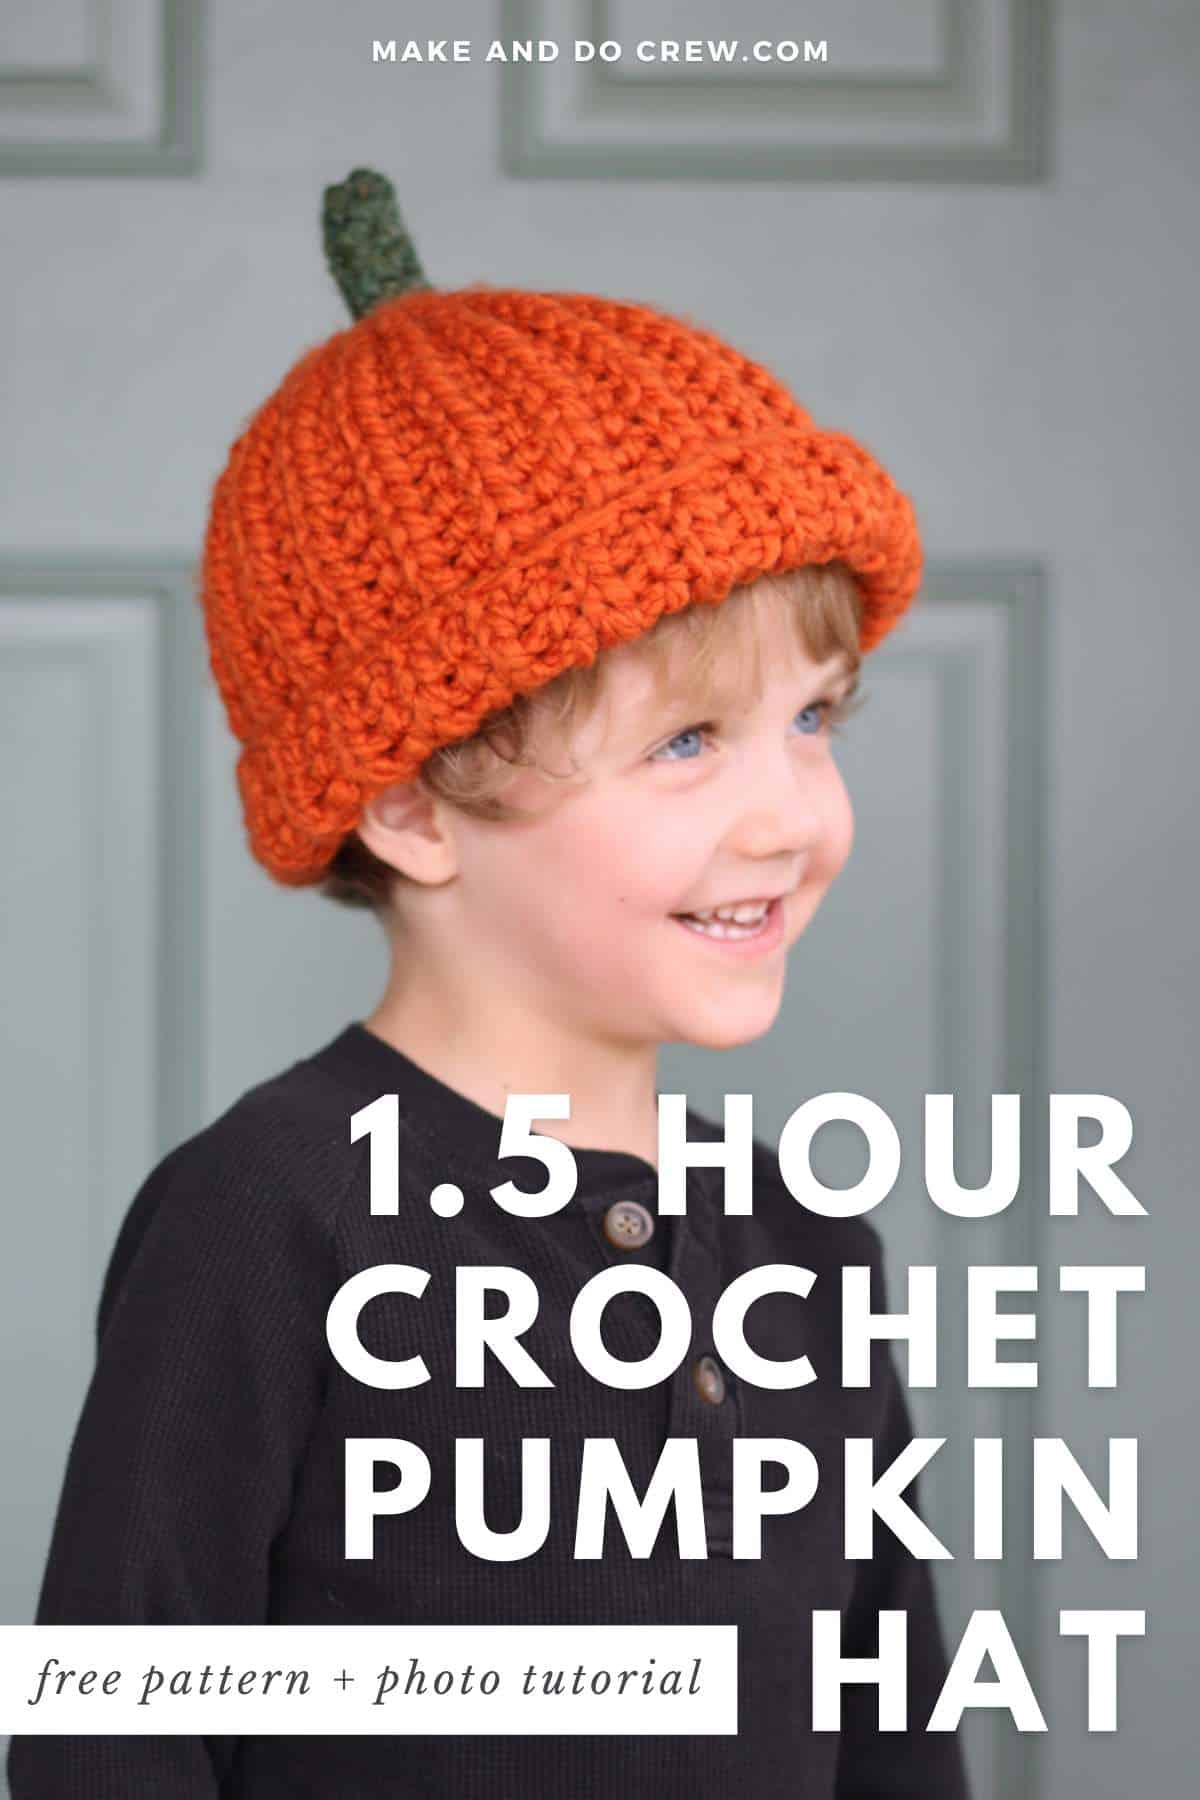
Can you finish a crocheted pumpkin beanie in an hour and a half? You betcha! This free crochet pumpkin hat pattern's gotcha covered whether you're dressing up an infant for Halloween or adding some fall flair to an adult outfit.
Follow the free pumpkin hat crochet pattern below in sizes baby-adult, or purchase the ad-free, printable PDF here.
This free crochet pumpkin beanie pattern is part of a collaboration with Lion Brand Yarns. This post contains affiliate links.
Jump to:
Fast and Easy Pumpkin Crochet Hat
If you're just learning how to crochet, or like me, wait till the last minute for everything, this is an easy crochet pumpkin hat you can finish in the time it takes to watch a scary Halloween movie.
And this beginner beanie pattern is perfect if you want to crochet a pumpkin hat without a bunch of counting, increasing, or decreasing.
Keep reading for more yarn and inspiration details, or jump down to the free pattern.
Crochet Skills You'll Practice
You'll find the skills used in this pumpkin beanie pattern very beginner-friendly. This is definitely a manageably-sized project to learn a new technique or two if any of these skills are new to you.
Here are the skills you'll use to make your pumpkin hat:
- Chain stitch (ch)
- Single crochet (sc)
- Slip stitch (slst)
- Yarn over slip stitch (yoslst)
- Crocheting through the back loop
- Basic seaming
- Weaving in ends
Why you'll love this pumpkin hat!
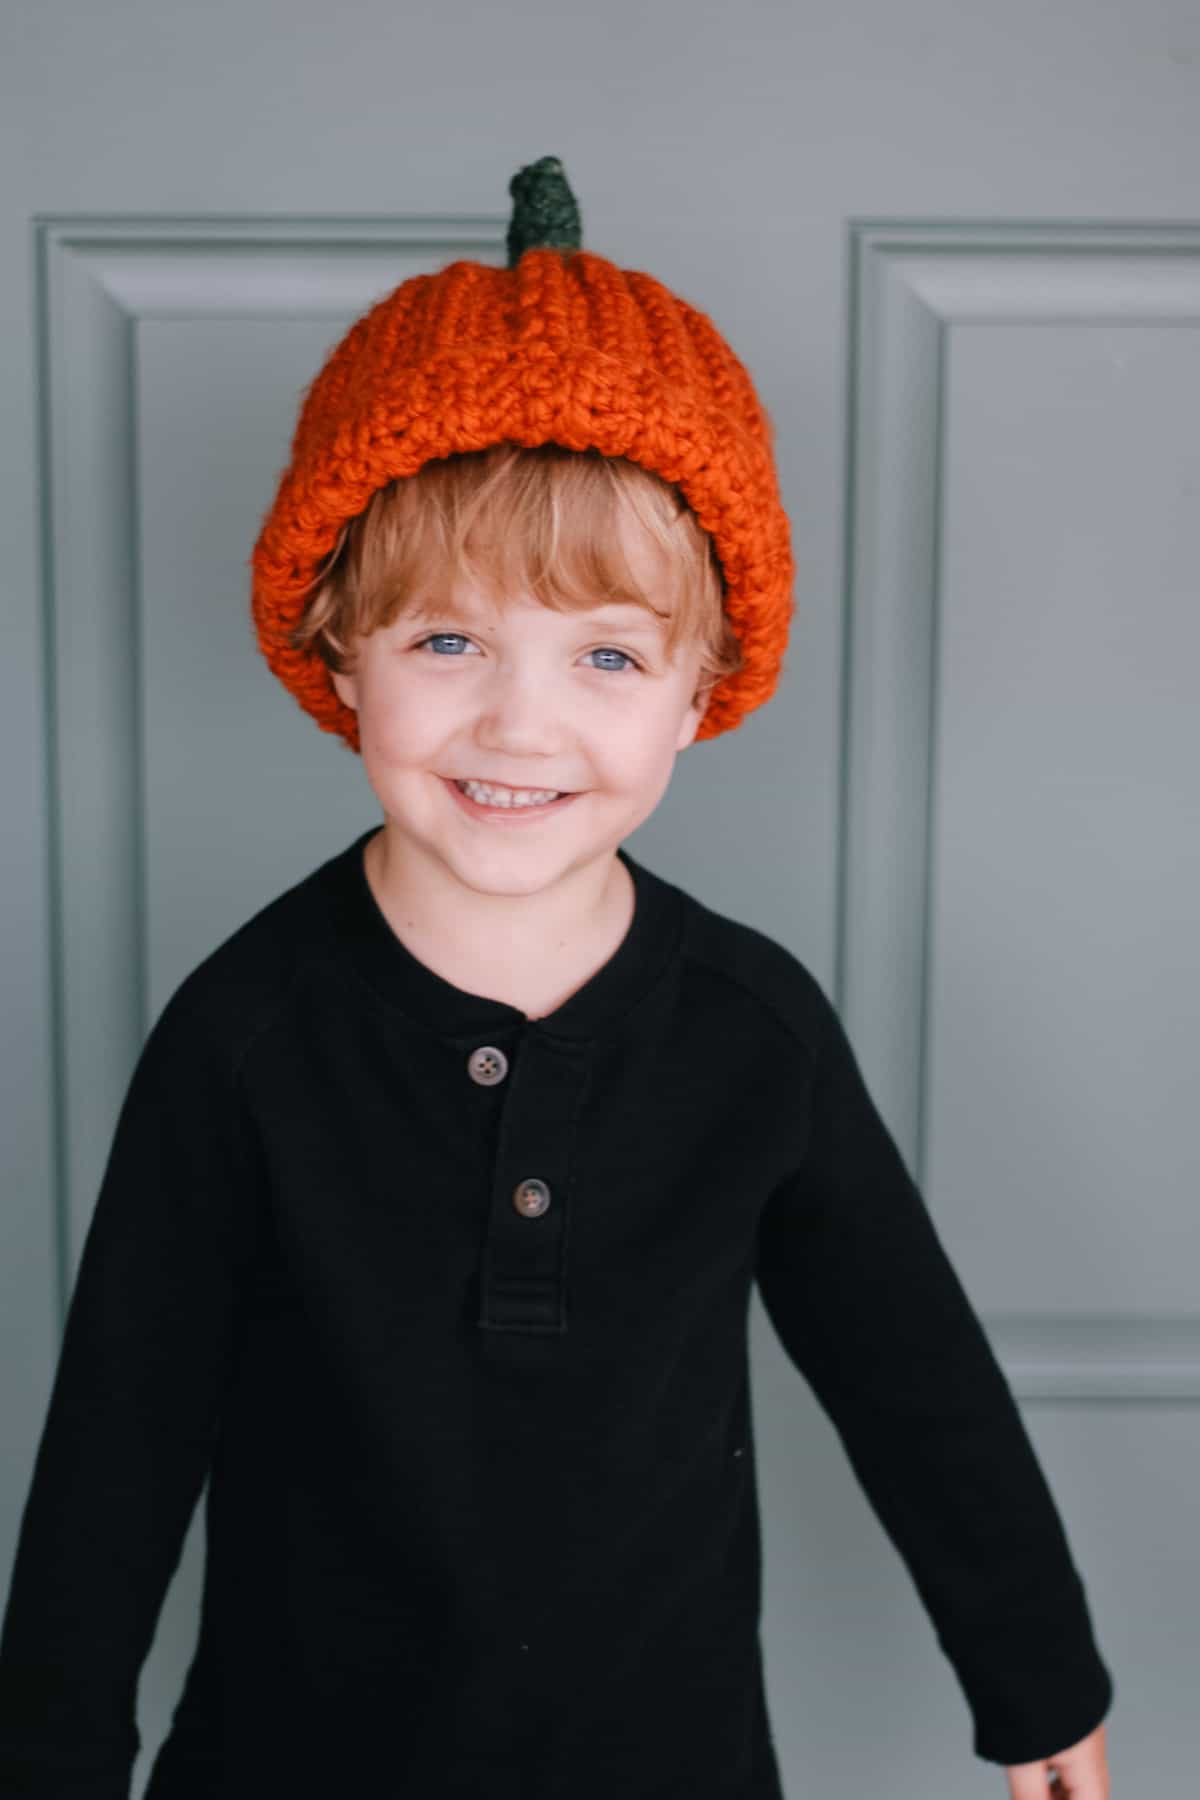
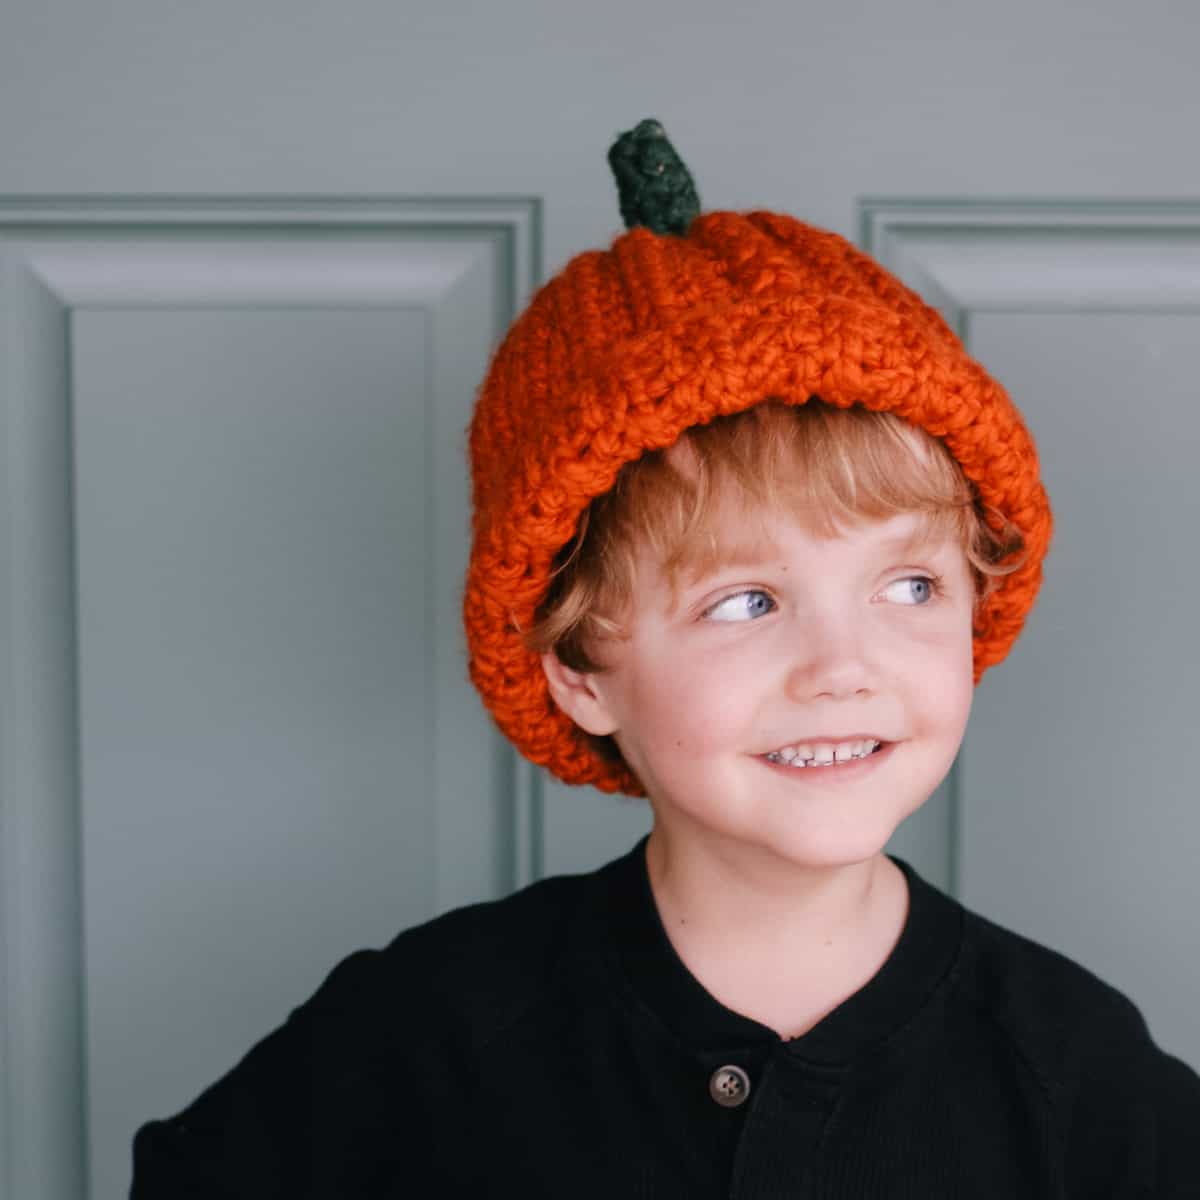
Child size hat pictured on a 4-year-old with a 20” head circumference.
Child size hat pictured on a 10-year-old with a 21” head circumference.
Customizing the Pattern Sizing
You'll find the sizing very forgiving in this pumpkin hat pattern, making it an almost-fool-proof project for beginners.
The free pattern below is written in eight sizes (Preemie, Baby, Toddler, Child, Tween, Womens, Mens, and Extra Large Adult). In practically though, any of these sizes can fit a wide range of head circumferences.
If you get to the end of your rectangle and the sizing is off, add or eliminate rows to get the perfect fit. Just be sure to end with a wrong side row to make the hat seaming more invisible.
How to Crochet a Pumpkin Hat
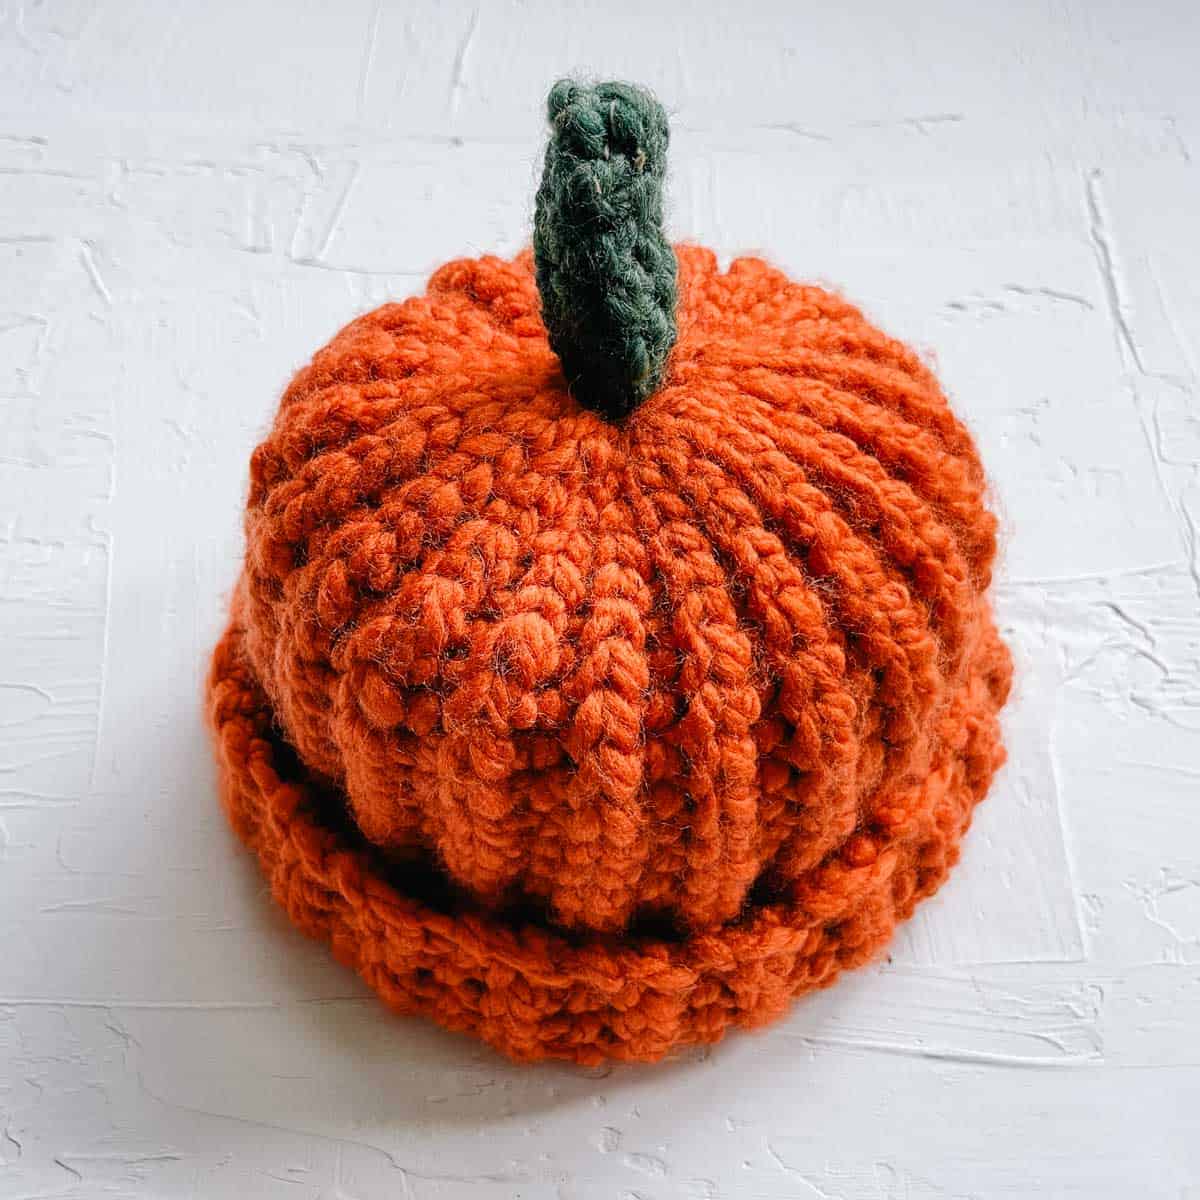
To crochet this beginner pumpkin hat pattern, you'll make a flat rectangle using chunky yarn and basic crochet stitches, seam it into a tube, and top if off with a simple stem.
Here are the basic steps to crochet a pumpkin hat:
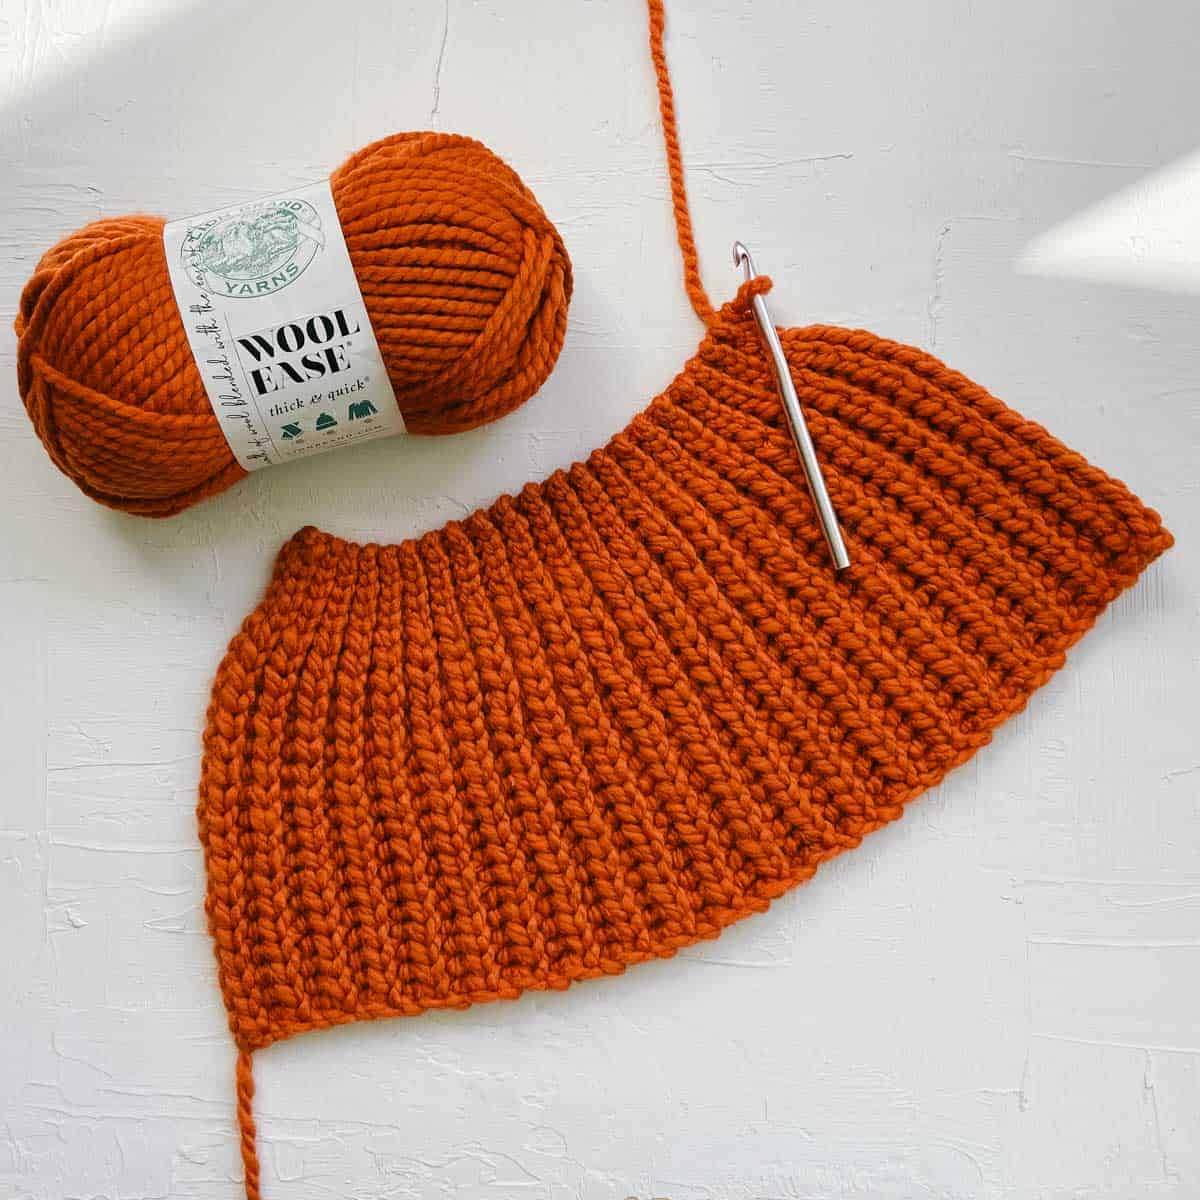
- Crochet a flat rectangle using yarn over slip stitches (yoslst) and a few shorter slip stitches at one edge to create a tapered trapezoid.
- Seam the rectangle into a tube.
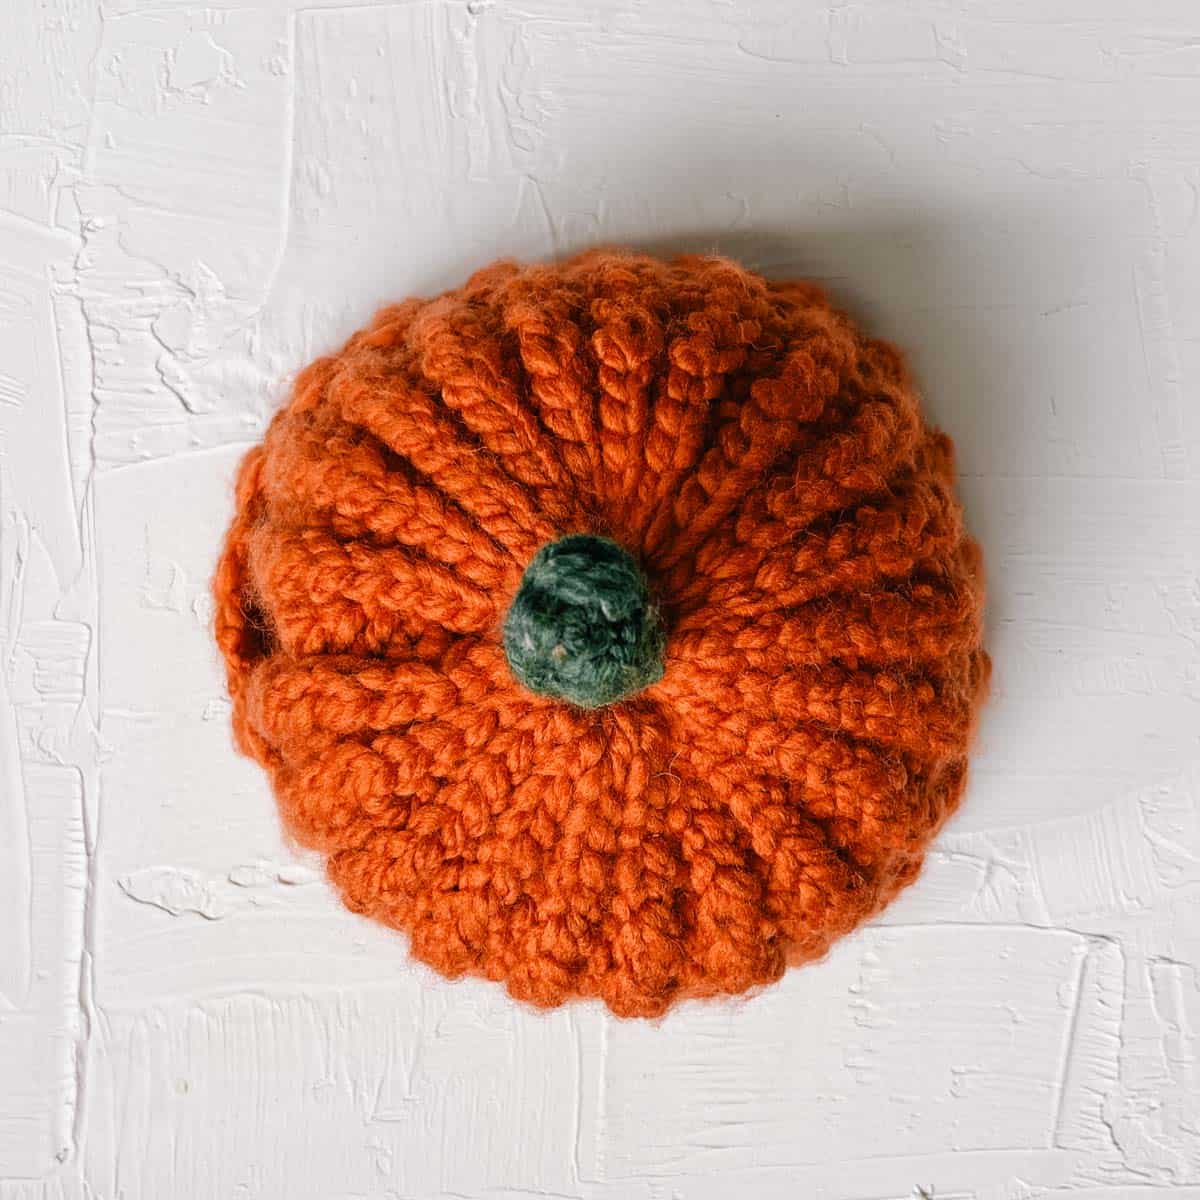
- Insert the crocheted stem into the top of the tube, and close the hat around it. Secure it in place using yarn and a tapestry needle.
- Add a crocheted pumpkin leaf and curly vines, if desired.
Effortless Decreasing: Slip stitches are used to create a natural taper at the top of the hat so no decreasing is required.
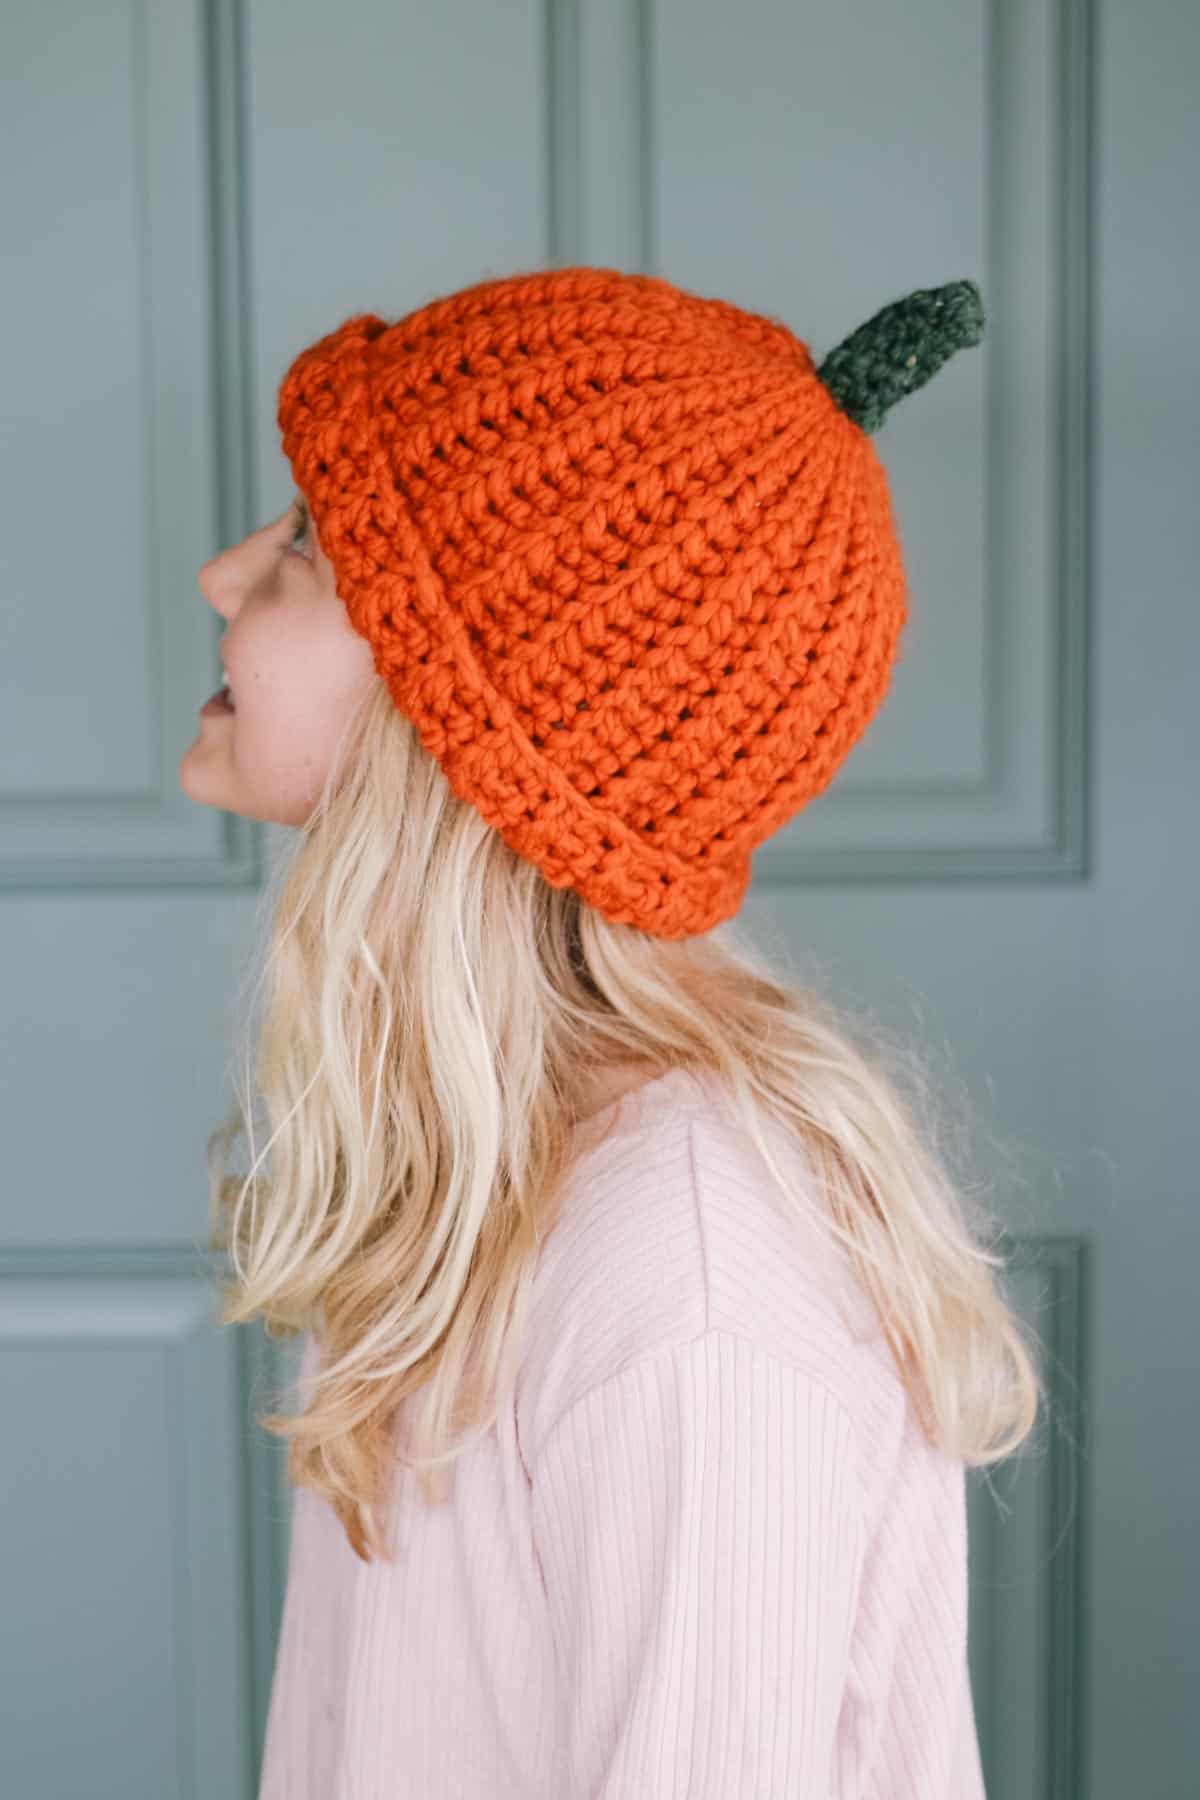
Optional Brim: The hat can be worn with the brim down for a slouchier look, or folded up for more of a “skull cap” look.
Chunky Pumpkin-Colored Yarn
When I set out to design this pumpkin hat pattern, I knew I wanted it to be a very quick project. My favorite yarn for making fast progress is always Lion Brand's Wool-Ease Thick & Quick and it just happens to come in the perfect orange color, aptly named "Pumpkin."
You'll need approximately 30-187 grams of orange yarn to crochet your own pumpkin hat, which means all the sizes except for the men's and adult XL can be completed with a single skein of yarn.
The simple stem and optional leaf each use 4-5 grams of green yarn.
Substituting Yarn
You can substitute any orange category 7 weight yarn in this pattern. In any case, you'll find it helpful to make a gauge swatch following the instructions included in the pattern to determine if you need to adjust your hook size.
Pro Tip: The Pick-A-Pumpkin Hat can be a good way to use up scrap yarn. If you only have lighterweight yarn in your stash, you can hold multiple strands together to create the thickness of a category 7 yarn. Try combining:
- 4 strands of DK/lightweight yarn
- 3 strands of worsted-weight yarn
- 2 strands of chunky weight yarn
Print this Pattern
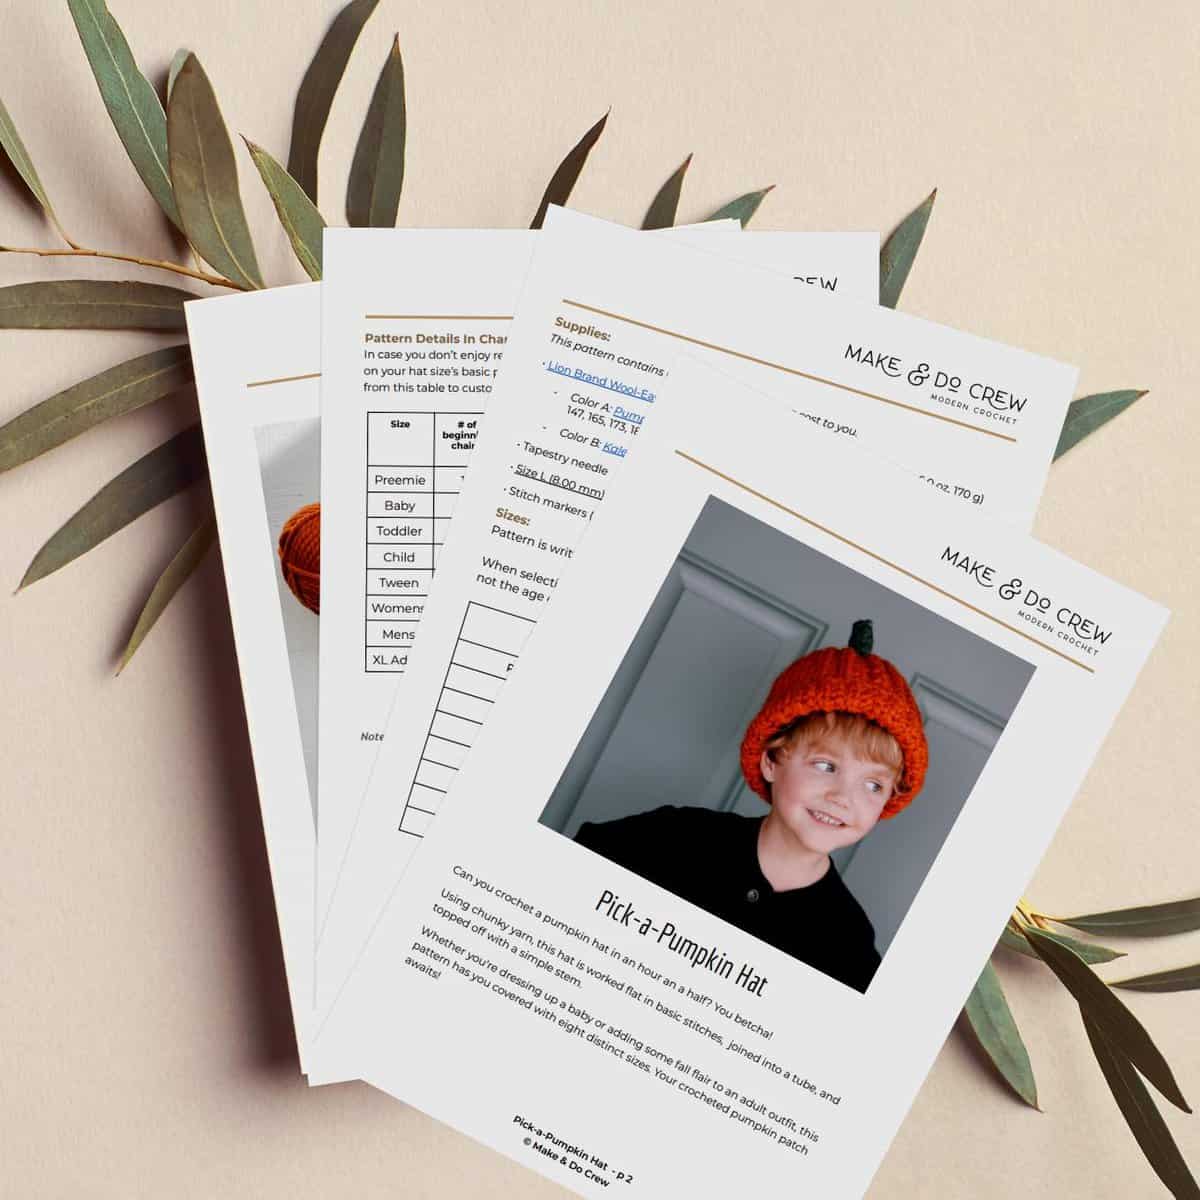
Prefer to crochet on the couch (or on a hayride!)? Need a portable, printable pattern? You'll love the premium PDF!
This ad-free, large-type PDF is formatted for easy printing. In addition to the written crochet pumpkin hat pattern, you'll find a stitch chart summary, optional crochet leaf instructions, and several step-by-step photos showing how to make this easy pattern.
More Fast Free Crochet Patterns
Add a few of our favorite free crochet patterns to your project queue!
See more fast crochet patterns →
Pick-a-Pumpkin Hat - Free Pattern
Supplies + Materials
• Lion Brand Wool-Ease Thick & Quick (Weight: 6/super bulky - 107 yds, 6.0 oz, 170 g)
- Color A: Pumpkin [640-133A] – 1 (1, 1, 1, 1, 1, 2, 2 ) skeins [(approx. 30 (60, 98, 125, 147, 165, 173, 187 g)]
- Color B: Kale [640-172K] – 1 skein for all sizes [(approx. 4 (5, 5, 5, 5, 5, 5, 5) g)]
• Tapestry needle
• Size L (8.00 mm) crochet hook or size needed to obtain gauge
• Stitch markers (optional)
Sizes:
Pattern is written in eight sizes below, but is also very easy to customize.
When selecting a size, choose based on the actual head circumference and not the age of the recipient.
| Size | Actual Head Circumference (inches) | Pumpkin Yarn Needed (g) |
|---|---|---|
| Preemie | 9-12 | 30 |
| Baby | 14-16 | 60 |
| Toddler | 16-18 | 98 |
| Child | 18-20 | 125 |
| Tween | 20-22 | 147 |
| Womens | 21-23 | 165 |
| Mens | 22-24 | 173 |
| Extra Large Adult | 24+ | 187 |
Abbreviations + Glossary
(US Terms)
ch – chain
rep – repeat
RS – right side
sk – skip
slst – slip stitch
yoslstblo – slip stitch through the back loop only
st(s) – stitch(es)
WS – wrong side
yo – yarn over
Gauge
as measured in yarn over slip stitches only
10 yoslsts = 4”
8 rows of yoslsts = 4
Skill Level
This is an Advanced Beginner level crochet pattern that uses easy skills and construction to create a pumpkin hat.
Permissions + Copyright:
Please do not publish or share this pattern as your own. You may make items to sell with this pattern. In exchange, please link back this post. Do NOT use our photos as your own sales photos.
An Easy Pumpkin Hat Formula:
This hat is worked sideways and consists of two types of stitches in each row. The main hat section is worked in yarn over slip stitches and the top edge is worked in slip stitches.
Because the slip stitches are shorter than the yarn over slip stitches, they create a natural decrease shape at the crown of the hat without any actual decreasing. Pretty “spooky,” huh?
Overall Pattern Notes
- Pattern is written for smallest size with larger sizes following in parentheses. If working from the printed crochet pattern, it can be helpful to circle the stitch counts pertaining to your size before beginning. Preemie (Baby, Toddler, Child, Tween, Women, Men, Extra Large Adult)
Print This Pattern: purchase the ad-free, printable PDF
!! Gauge Check !!
While this hat sizing is very forgiving, working a quick gauge swatch can help your hat fit as expected and use the amount of yarn listed above.
To check gauge, with color A:
Foundation Row: Ch 15.
Row 1 (RS): Sk first ch, yoslst in each chain; turn. (15)
Row 2 (WS): Ch 1, yoslst in each st; turn.
Repeat Row 2 eight more times.
Measure center four inches of swatch vertically and horizontally. Compare to pattern gauge listed above.
Wanna save this pattern?
- If there are too many stitches in 4” horizontally, increase your hook size and re-swatch.
- If there aren’t enough stitches in 4” horizontally, decrease your hook size and re-swatch.
- If swatch is measuring too small vertically, make a deliberate effort to pull loops up a bit higher before completing each half double crochet.
- If swatch is measuring too large vertically, make an effort to work the loops of each half double crochet a little tighter.
- This video is incredibly helpful if you’re having trouble achieving the correct vertical gauge:
Pumpkin Hat Crochet Chart
In case you don’t enjoy reading patterns, follow the chart below to get the “cliff notes” on your hat size’s basic pattern. Adventurous crocheters may even mix and match from this table to customize an extra slouchy pumpkin hat.
| Size | beginning chains | slip stitches in each row | yoslsts in each row | total rows | visual “bumps” in ribbing | width of finished rectangle |
|---|---|---|---|---|---|---|
| Preemie | 12 | 3 | 8 | 20 | 10 | 10” |
| Baby | 18 | 4 | 13 | 26 | 13 | 13” |
| Toddler | 22 | 4 | 17 | 34 | 17 | 17” |
| Child | 24 | 4 | 19 | 40 | 20 | 20” |
| Tween | 27 | 5 | 21 | 42 | 21 | 21” |
| Womens | 29 | 5 | 23 | 44 | 22 | 22” |
| Mens | 29 | 5 | 23 | 46 | 23 | 23” |
| XL Adult | 30 | 5 | 24 | 48 | 24 | 24” |
Want some company while you crochet?
Get support (and camaraderie!) in the Make & Do Crew community. Join for free here.
Premium PDF
easier and faster with fewer mistakes.
- Complete pattern + photo tutorials
- Instant download
- Formatted for easy printing
Main Pumpkin Hat Rectangle
Notes:
- Row 2 and beyond are worked into the back loop only of each slip stitch (slst) and yarn over slip stitch (yoslst). The back loop is always the loop that’s farthest away from you, regardless of which way your project is facing.
- The only exception to this is the final yoslst of each right side (odd number) row. In the final stitch, insert your hook under both the middle and back loop of the yoslst from the previous row. This helps to create a tidy looking edge on the pumpkin hat brim.
- Work the slip stitches quite loosely or they will become difficult to insert hook into on return row. I like to use a hook with a fairly pointy tip for projects like this as I find it makes the stitches easier to work into.
Foundation Row: Ch 12 (18, 22, 24, 27, 29, 29, 30).
Row 1 (RS): Sk first ch, slst in next 3 (4, 4, 4, 5, 5, 5, 5), yoslst in each ch to end of row; turn. [11 (17, 21, 23, 26, 28, 28, 29) stitches total]
Row 2 (WS): Ch 1, yoslst in each yoslst, slstblo in each slst, yoslst under both loops of last slst; turn.
Row 3 (RS): Ch 1, slstblo in each slst, yoslst in each yoslst; turn.
✨Unlock this free subscriber-exclusive pattern ✨
Follow these steps to view the full free pattern below
Rep Rows 2 and 3 to create a total of 20 (26, 34, 40, 42, 44, 46, 48) rows in the rectangle. You should be ending with a wrong side row. (This means the final row will end on the opposite side from the tail of the starting chain.)
Checkpoint: There should be 10 (13, 17, 20, 21, 22, 23, 24) visual bumps created by the ribbing rows when looking at the right side of the piece.
Fasten off leaving a 25” tail of yarn for seaming.
Our Latest Crochet Inspiration:
Here are a few more free crochet patterns and tutorials that are hot off the presses.

Pumpkin Stem
Using Color B, create a slip knot leaving a 20” tail. This will serve as the stem stuffing.
Foundation: Chain 4 (5, 5, 5, 6, 6, 6, 6).
Row 1: Skip first ch, sc in each ch to end of row; turn.
Row 2: Ch 1, sc in each sc to end of row; turn.
Row 3: Repeat Row 2. Preemie size stop here. All other sizes proceed to Row 4.
Row 4: Repeat Row 2.
Fasten off leaving a 15” tail for seaming.
Seaming Stem:
- Thread 15” tail on tapestry needle.
- Bring the first and last stem rows together to roll the rectangle into a tube.
- Stuff the extra tail from the foundation chain into the tube to plump up the stem as desired.
- Whip stitch first and last rows together to create finished stem.
- Weave in yarn tail while tapestry needle is still attached. Fasten off.

Pumpkin Stem Rectangle: Using existing yarn tail to stuff stem while seaming into a tube.

Optional Leaf: Add a leaf or two to your pumpkin hat if desired. (See instructions below.)
Joining Hat Piece Into a Tube
Tip for determining the right side of the rectangle: Place the tail from the starting chain on the same side as your dominant hand. The right side of your pumpkin rectangle is now facing up.
Creating Hat Tube: With RS facing out, fold piece into a tube so that last row overlaps first row. Stitch markers can be helpful “pins” in this situation to hold the edges together.
Using existing yarn tail and a tapestry needle, seam toward crown with the basting stitch, working into the first and last row of the hat. (See photo tutorial below.) Tie a few knots to secure seam before moving onto next step. Keep tapestry needle threaded and yarn attached.
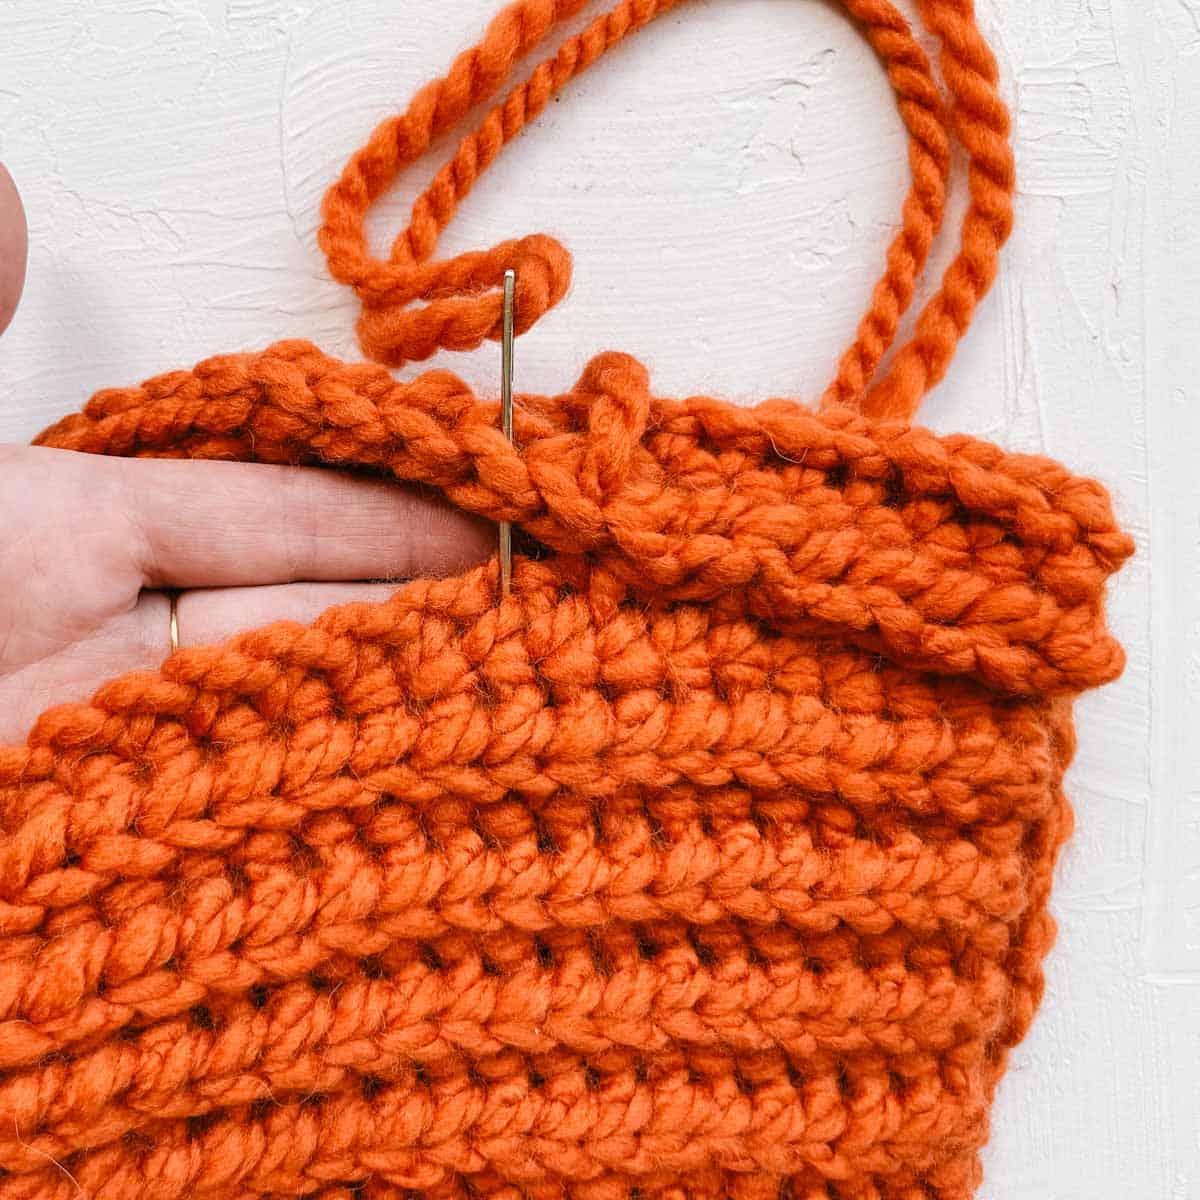
Seaming Hat Step 1: Insert needle through bottom loop of foundation chain. Pull through to inside of tube.

Seaming Hat Step 2: Insert needle through next foundation chain and under both loops of yoslst in last row.
Obsessed with finding the best free crochet patterns?
Check out these collections of handpicked patterns to find your next project.
Attaching Stem + Closing Hat Top
Turn pumpkin hat inside out.
Cinching Hat Top: Thread tapestry needle and yarn through the turning chain of each visual ridge of ribbing. Pull gently until top has partially closed.
Attaching Stem: Insert stem into opening so that most of the length is inside the hat. (This will ensure it’s on the outside when your hat is flipped rightside out.)
Tighten hat top as much as possible. Using existing Color A yarn tail and tapestry needle, sew through center of stem several times. Pick up loops of hat opening as you pass back and forth.
Weave in tail and fasten off.
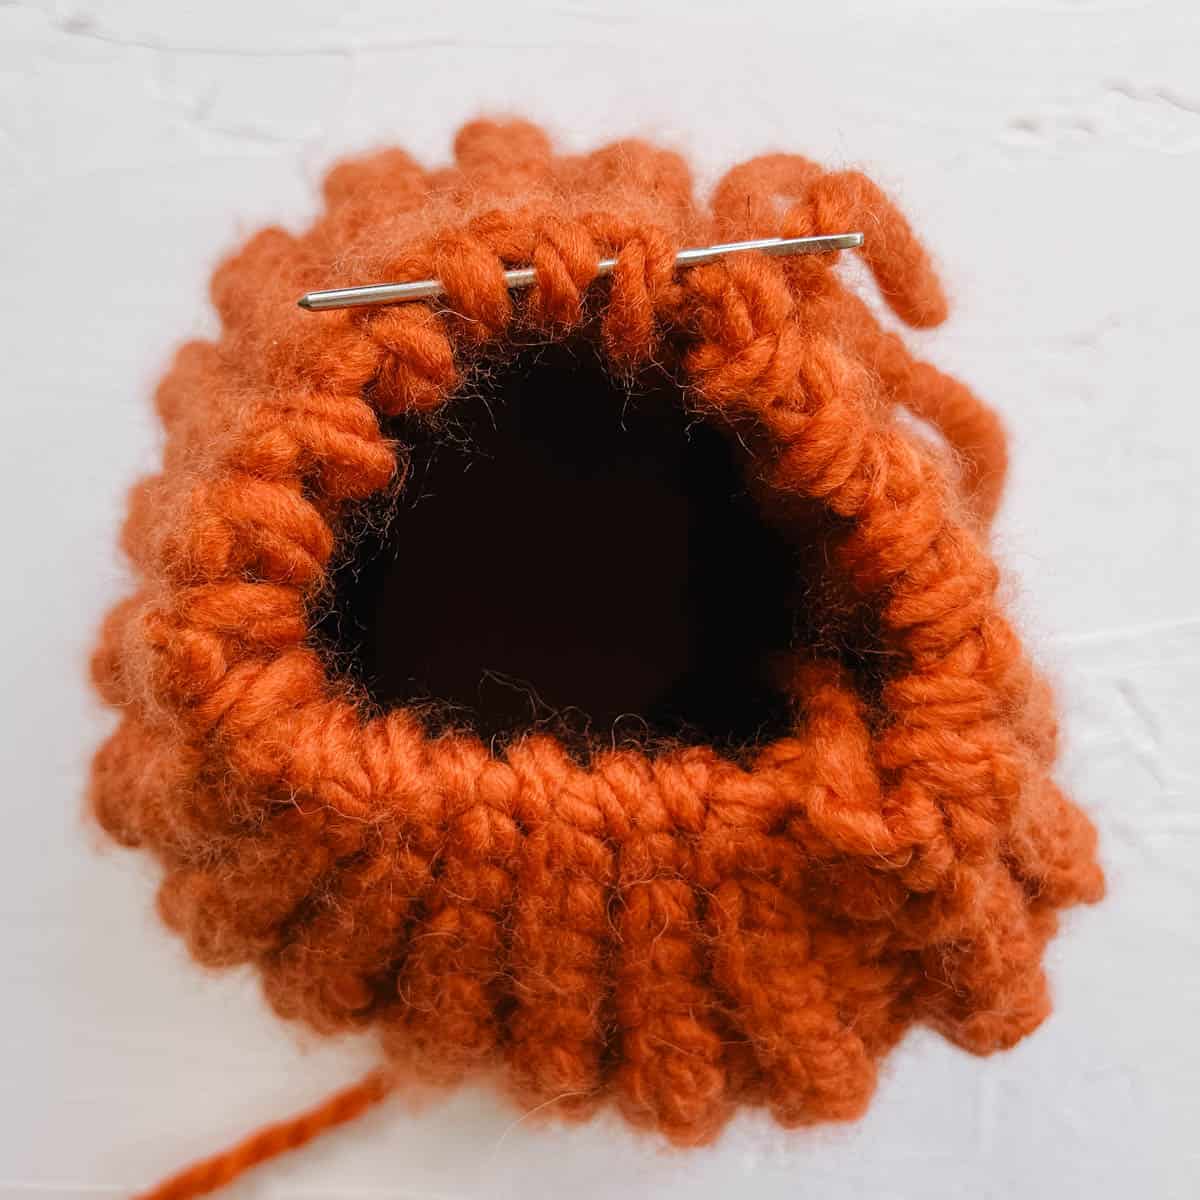
Closing Top: Insert needle through each turning chain in preparation to close top of beanie.

Attaching Stem: With pumpkin inside out, pull hat top closed around stem. Use tapestry needle to sew stem in place.
Optional: Adding a Pumpkin Leaf
Here’s how to crochet a leaf for your pumpkin hat if desired.
Using Color B yarn:
Foundation: Make a magic ring.
Row 1: Ch 3 (does not count as a dc), 9 dc in magic ring; turn. (9 dc)
Row 2: Ch 2 (counts as a hdc), hdc in first st, 2 hdc in next st, 2 dc in each of next 2 sts, 2 tr in next st, 2 dc in each of next 2 sts, 2 hdc in of next 2 sts. (18 sts)
Fasten off leaving a tail for seaming.
Using tapestry needle and existing yarn tails, sew leaf to pumpkin hat as desired.
Use your leftover orange yarn to make a hat for your closest pumpkin pal!
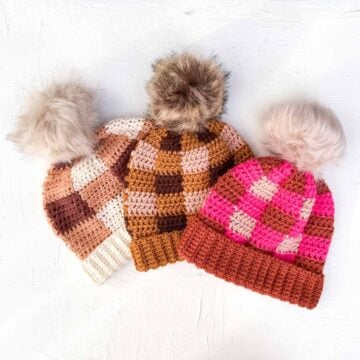
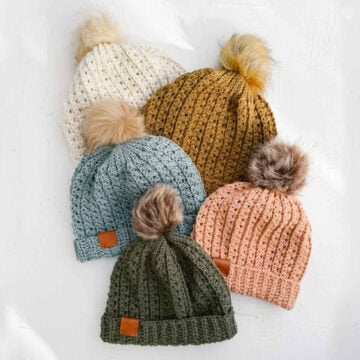
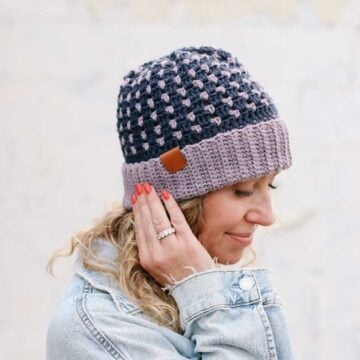
More Crochet Hat Free Patterns
Our free crochet headband, beanie, and sunhat patterns will ensure your head is never uncovered again! Load up your Pinterest crochet board or Ravelry queue with some new projects.
That was so fun! Now what?
Invitation to our Facebook group
Come discuss crochet pumpkin hat patterns and lots of other projects and techniques in our Make & Do Crew Facebook group. Here thousands of helpful crocheters answer each other's questions and share their stitches. Join us!
Leave a Reply