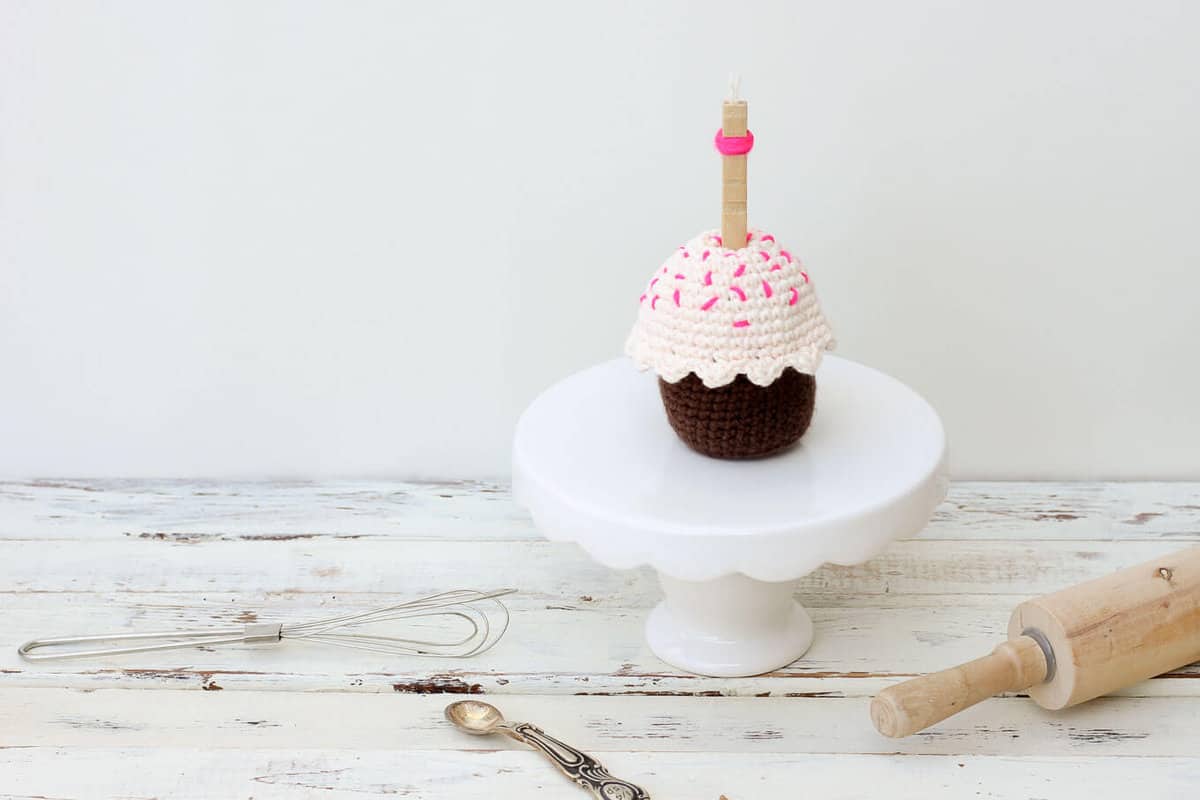
If you’ve never tried to take a picture of a crocheted cupcake or a book with a hole in the middle of it, let me tell you, it ain’t easy. It makes me wonder how in the world anyone takes stunning images of food. Or animals. Or actual, living, breathing, moving people. I’m not there yet.
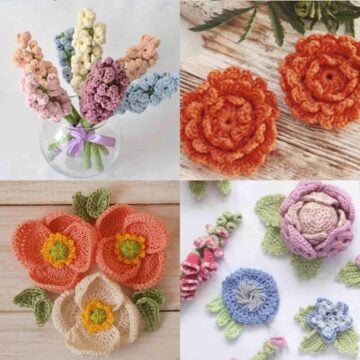
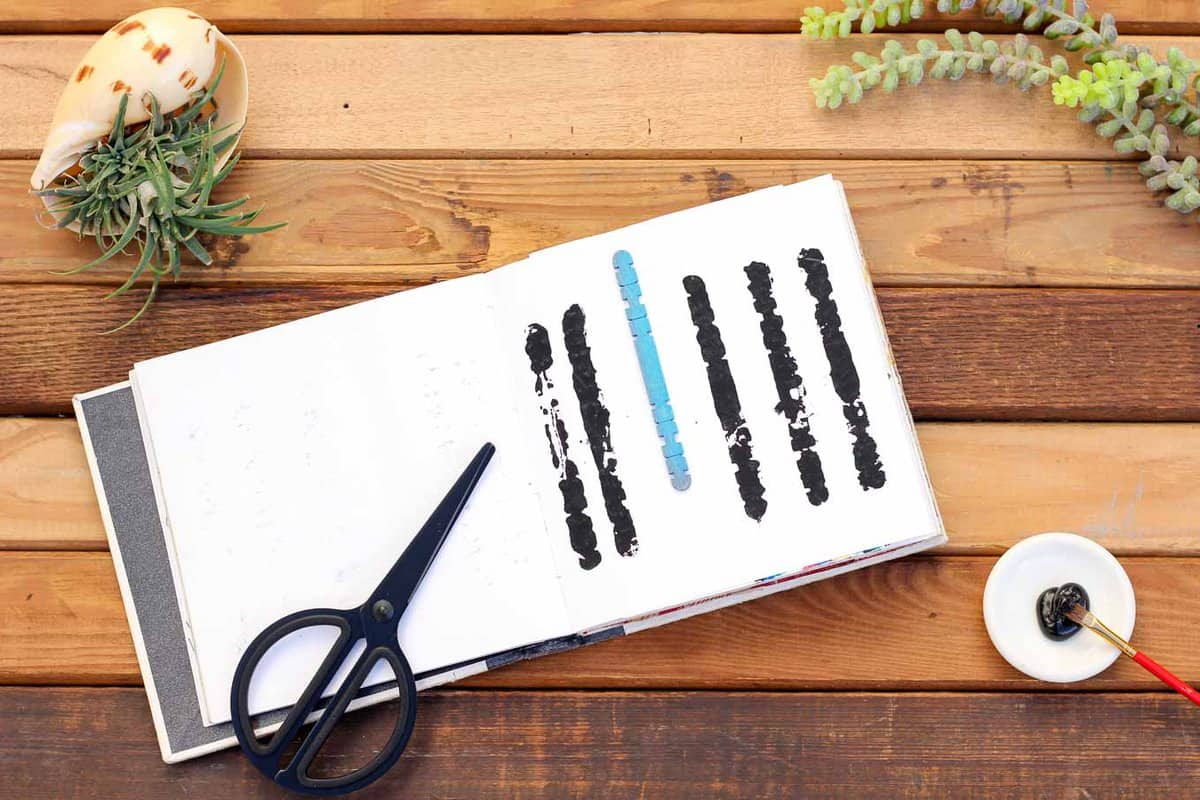 But I do photograph DIY projects and I am trying to get better at it. For me, a big part of that is finding a photography background that adds some visual interest but doesn’t compete with the star of the show, the actual craft being photographed. (Let’s be honest, those crocheted cupcakes are divas.)
 So today, I’m going to share how I went about building a DIY photography background for blog photos. If you don’t have a blog, a camera, or eyes, feel free to skip this post.
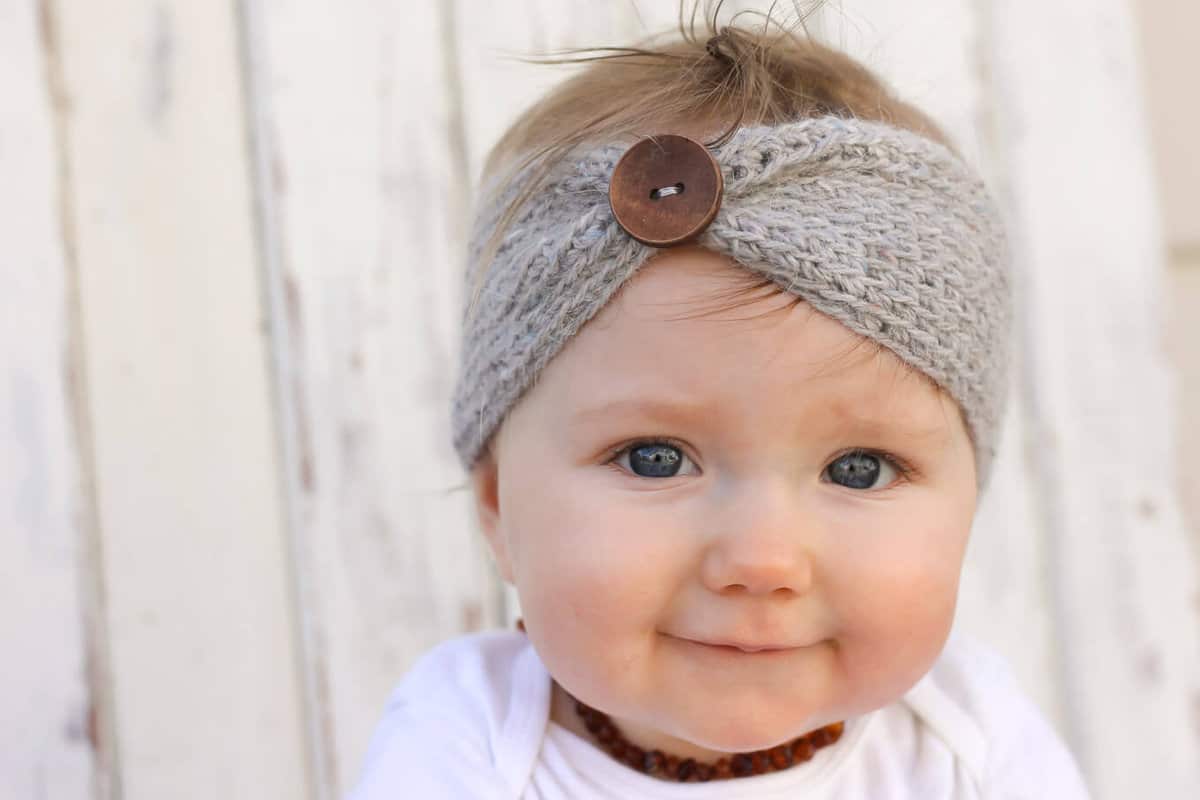
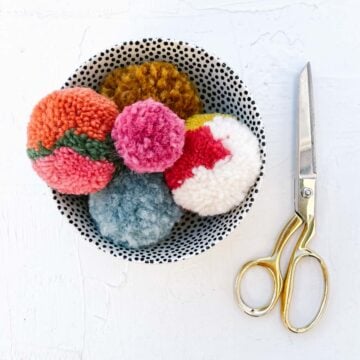
Juuuust kidding. A photography backdrop isn’t just for those of us who make things so that we can make photos so that we can make websites. A photography backdrop can add instant polish to Instagram shots or monthly snaps of your cute, doughy baby. (Psst--here's how to make that simple crocheted headband!)
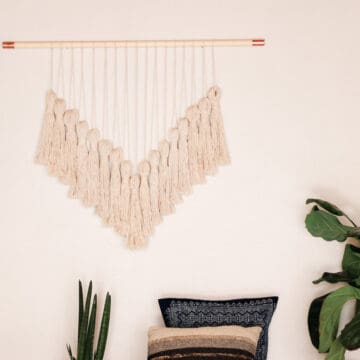
 A backdrop like this would also add a lot of charm to a wedding photo booth if you're not in your baby-making years yet.
This tutorial will show you how to make your photography background double-sided because, if you’re going to store a big wall of wood somewhere in your house, it might as well earn its keep by providing you with a couple of options.
DIY PHOTOGRAPHY BACKGROUND SUPPLIES
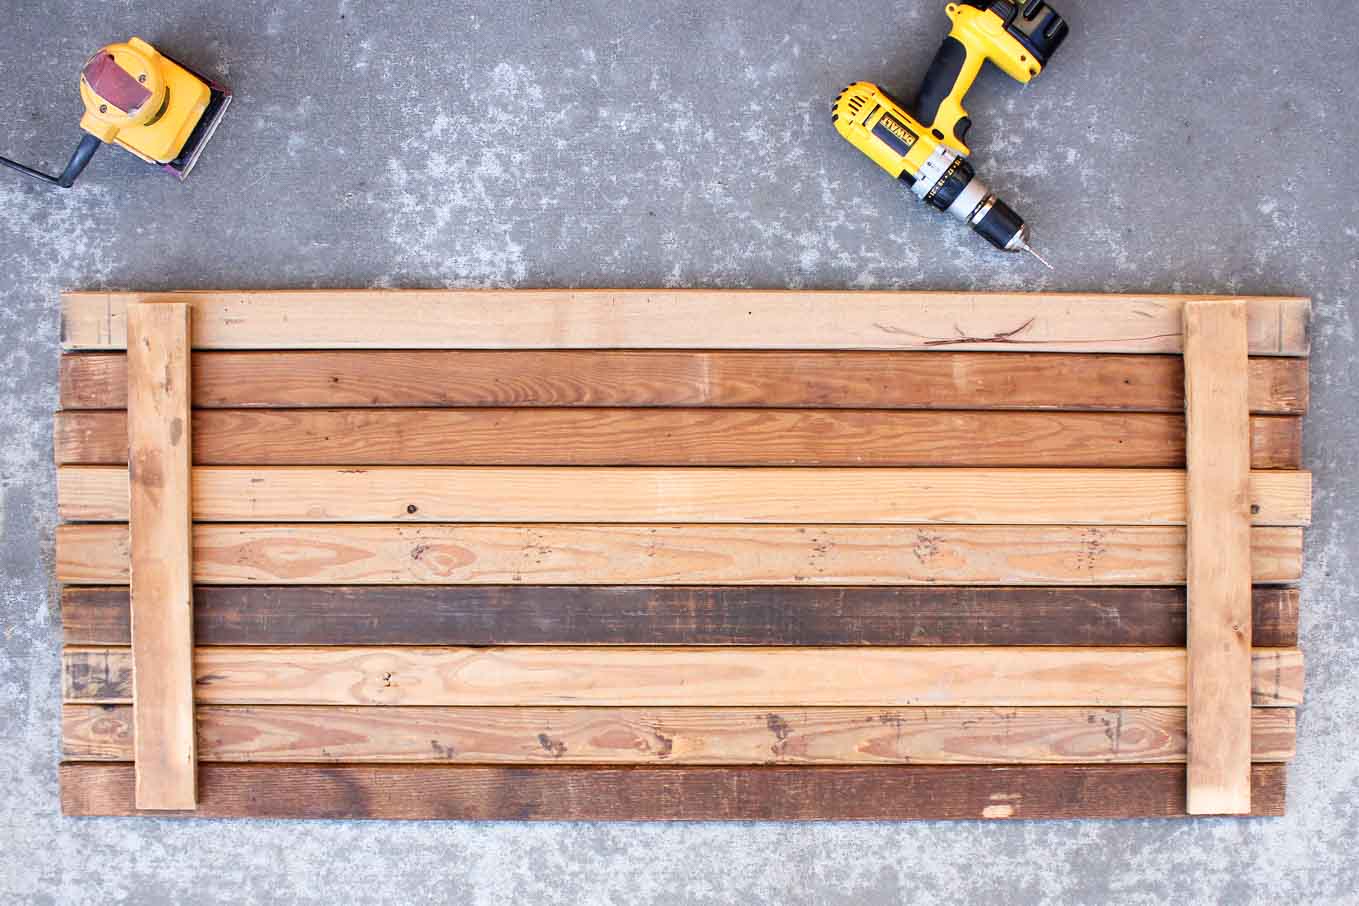
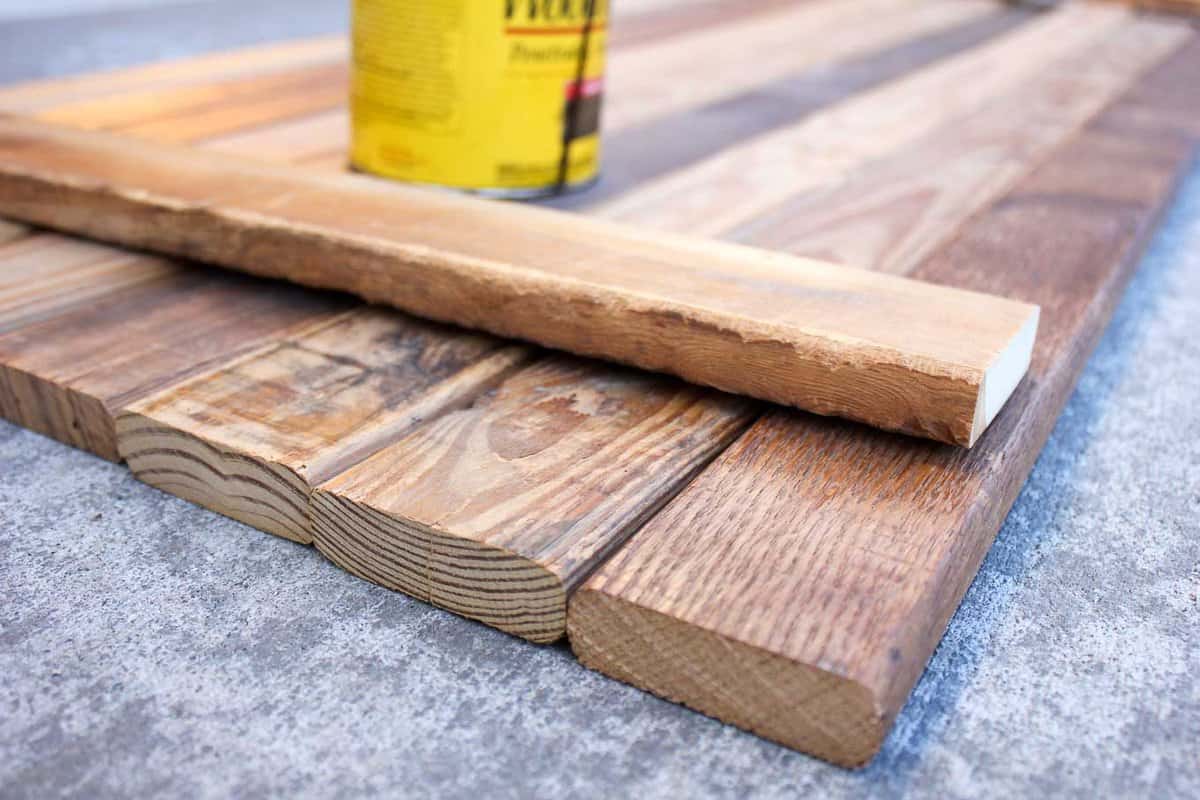 I claimed this reclaimed wood from my dad’s shop. These boards had previously been the slats that supported a bed. I love how they are varied in color and show some signs of a lived life.
If you don’t have a dad who hoards awesome things like this, you can buy some new 1x2s and scuff them up yourself. I’m a fan of just taking one of everything in the toolbox and beating it against the wood until it looks broken in. Sand the edges to make them a bit rounder and just like that, you’ve got 25 years of character in 30 minutes.
Wanna save this pattern?
1x2” boards cut to 4' each (You'll need six 8' boards, cut in half to make a backdrop the same width as mine--about 24".)
drill
screws
sandpaper or electric sander
wood stain (optional—I intended to use it, but decided not to)
paint brush or rag to apply stain
white paint
coconut oil
paint brush
INSTRUCTIONS
1. If wood is reclaimed, trim all boards to the same length.
2. Line up all the boards and measure their combined width. Subtract 1.5”. Cut two brace boards this length.
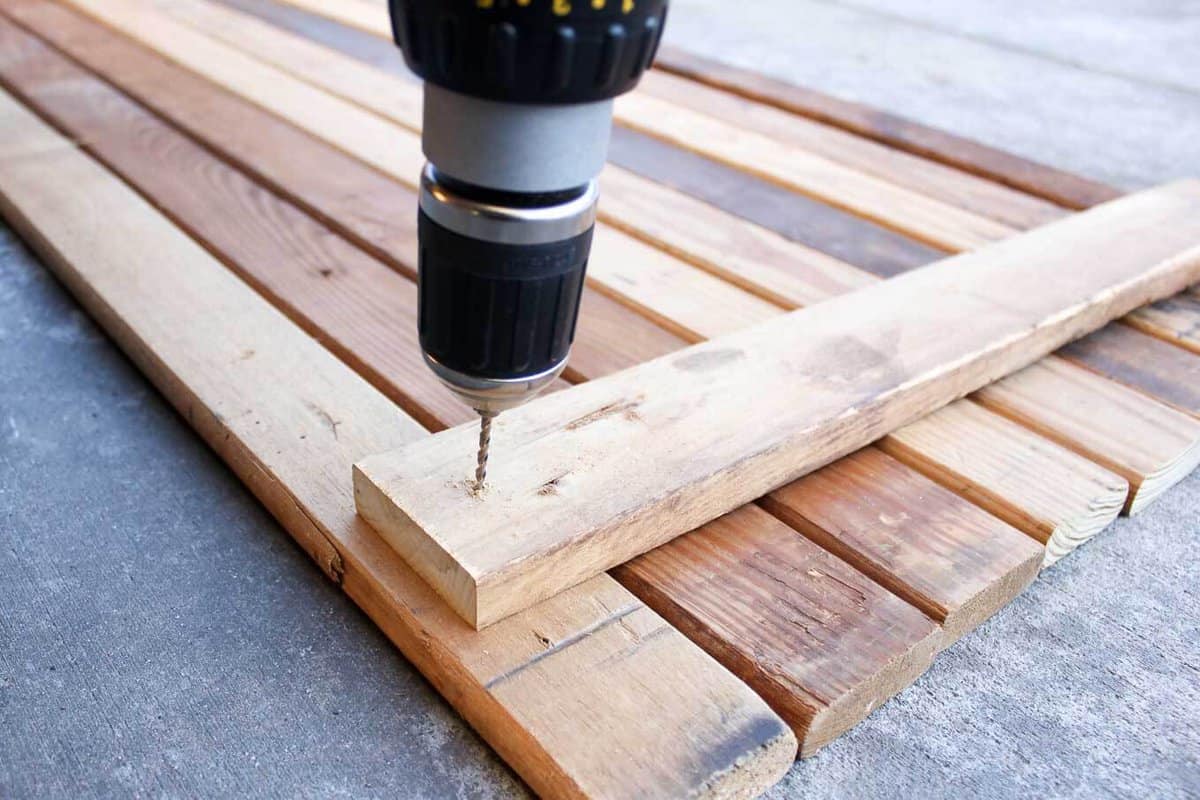
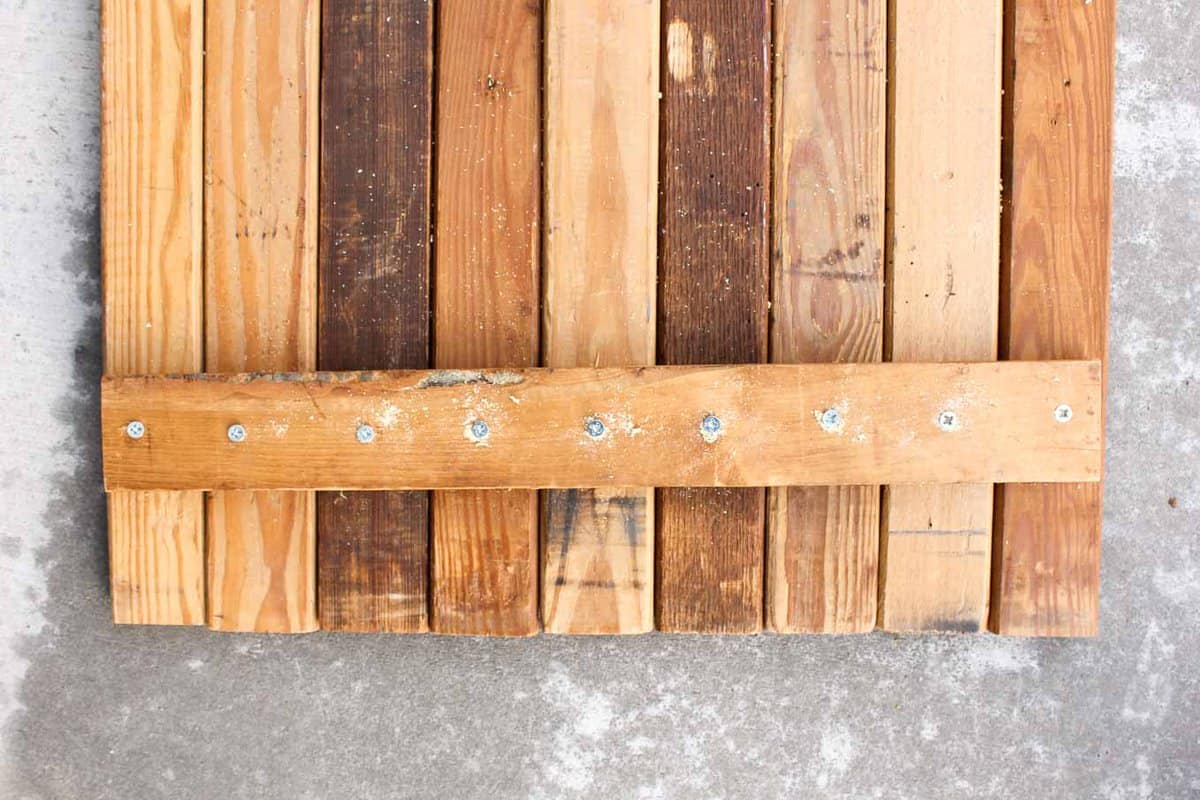
 3. Drill pilot holes through the brace into each board. (Be careful not to go all the way through.) Screw in screws.
 4. Depending on the condition of your wood, you might choose to sand everything a bit at this point. I’m
 lazy a minimalist when it comes to extra work, so I skipped this step.
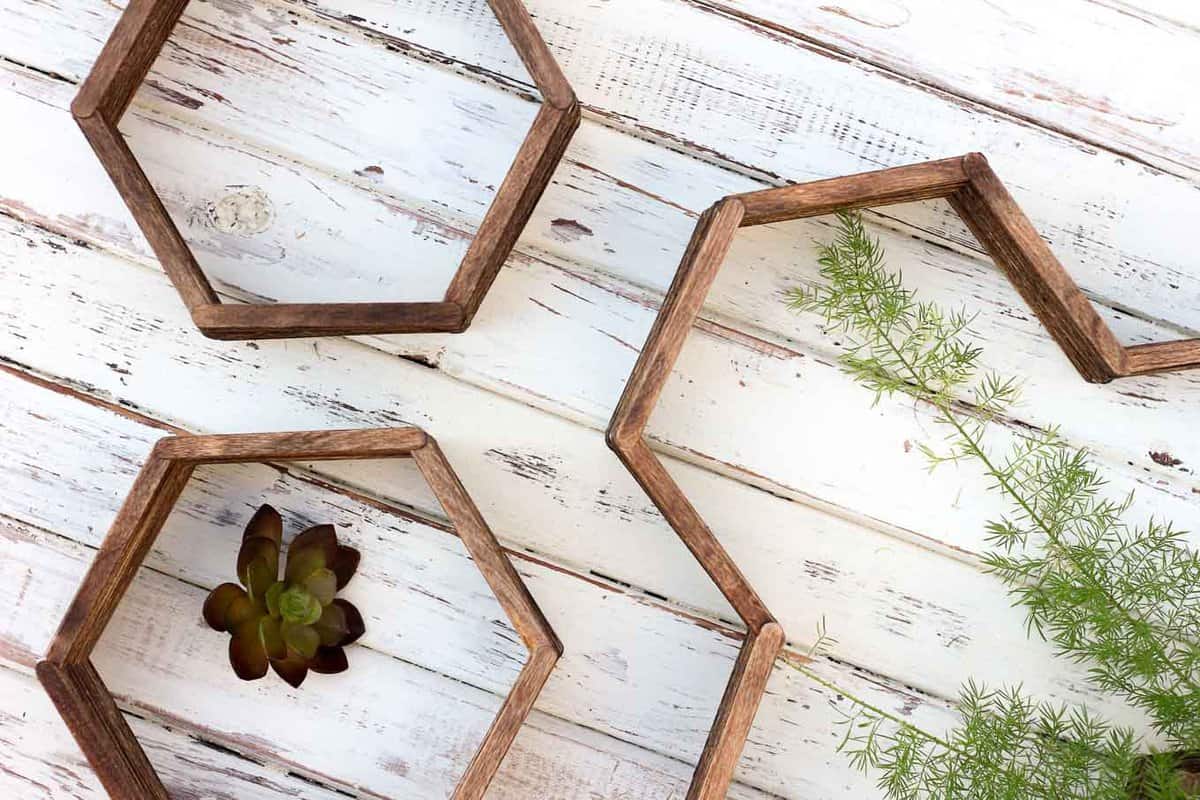
5. Apply your finish of choice to each side. Try distressing one side with paint and coconut oil, like I did. Or add a coat of stain, like I intended to do, but didn't. (I'm kind of liking the un-stained, so one side is going to stay bare naked. At least for now.)
 6. Plop your newest blog creation, Esty offering or doughy baby on top and get to photographing!
If you'd like to see more shots of this photography background in action, check out these posts:
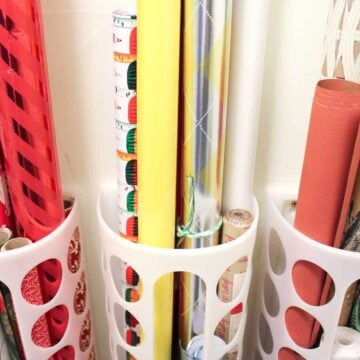
DIY Honeycomb Shelves
How To Make a Memory Jar (+ Printable Label!)
Amigurumi Crochet Cupcake Pattern (With Birthday Candle!)
DIY Gift Box (Made From a Vintage Book!)
Michael Peterson says
Helpful post about dia photography background. Many many thanks for sharing with us.
Jess says
You're welcome!
Kim says
Hi Jess my name is Kim, I wanted to take a moment to thank you for All you do. Your awesome! All the free beautiful patterns. I'm going to make the messybun hat right now. I was wondering if you have a pattern in crochet for the little hooded vowel? I Love it but don't knit. Thanks again for being you ,and sharing.
Jess @ Make and Do Crew says
Hey Kim,
Thanks so much for your kind words! I appreciate you taking the time to write such a sweet note.
Which pattern are you looking for a crochet version of? I think autocorrect might have un-corrected your comment. 😉
Jess
Allicy says
I love Diy and when it comes to pictures of background, the tips are much more beautiful because they are unique and a highlight in spectacular pictures .. great post!
Jess @ Make and Do Crew says
I agree, Allicy! It's all those little details that really help a project feel inspiring and doable 🙂
Deepa says
Great post! I also love such type photography and the photos shared in this blog are awesome. I enjoyed them. Keep posting such amazing blogs.
Tim Handley says
Hey, great share.....
Great DIY!! I am very fond of clicking photographs. I also want this sort of photo background for my photographs. Capturing a moment in time isn't just about securing a memory—it can help you appreciate your life more every day.
Thanks for sharing this post. Keep sharing more....
Cheers!!
Jess @ Make and Do Crew says
I agree, Tim! I've really enjoyed taking (almost daily) photos of my projects because they are so fun to look back on and realize everything that I've made.
Happy photographing!
Jess