 Long before toddlers understand how to sneeze into their elbows or take only the appropriate amount of toilet paper, they understand birthdays. Well, at least my toddler does. She started making "decorations" for her third birthday party in August. She turned three at the end of November.
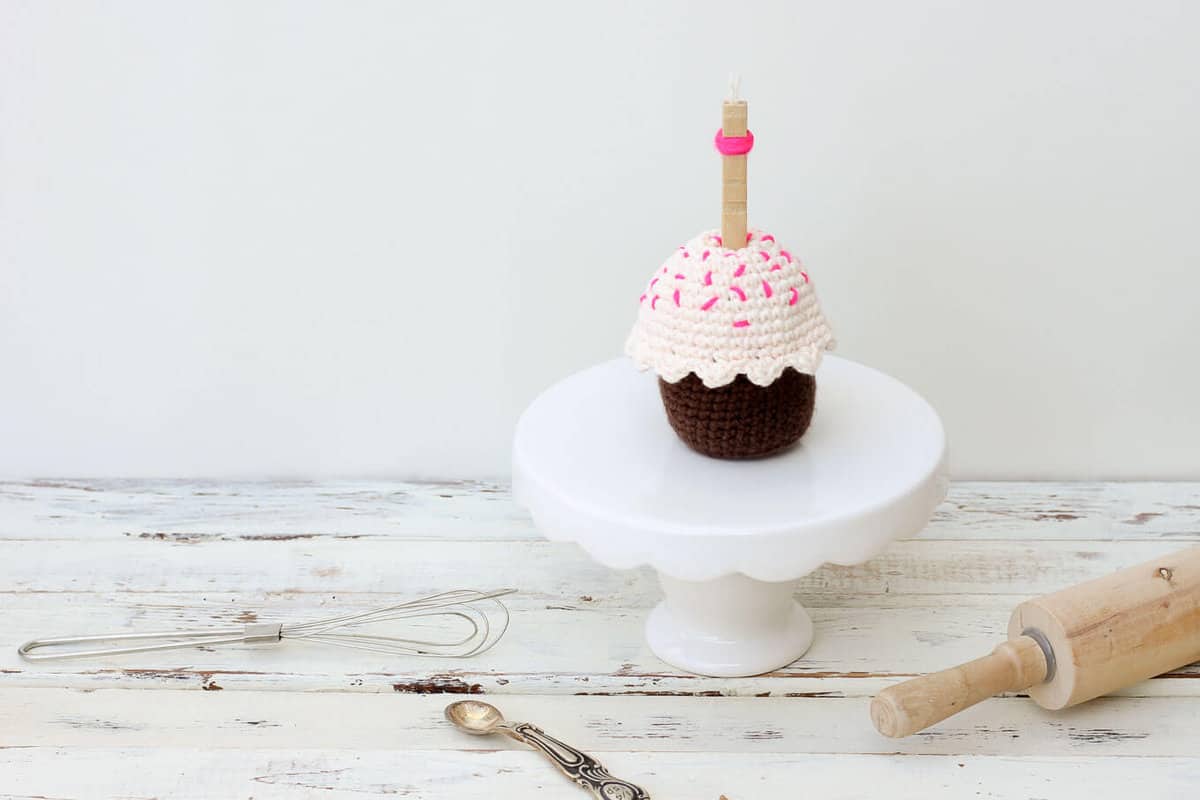
So this year, as I was thinking about DIY Valentine's Day Gifts, I decided to make something for Mo that she can use of for her next 10 months of party planning: an amigurumi cupcake, complete with a birthday candle. I don't care to buy a lot of gifts for secondary holidays like Valentine's Day, but a little handmade love bomb feels like a sweet way to say, "I love you. And your obsession with party planning." And while I crocheted this cupcake for Valentine's Day, it would make a perfect DIY birthday gift for a kiddo as well.
I know that if I made a set of these and gave them to Mo with a muffin tin, she'd get almost as excited as if they were made from sugar and flour instead of yarn and stuffing. I love the idea of making a new crochet cupcake part of an annual birthday tradition. 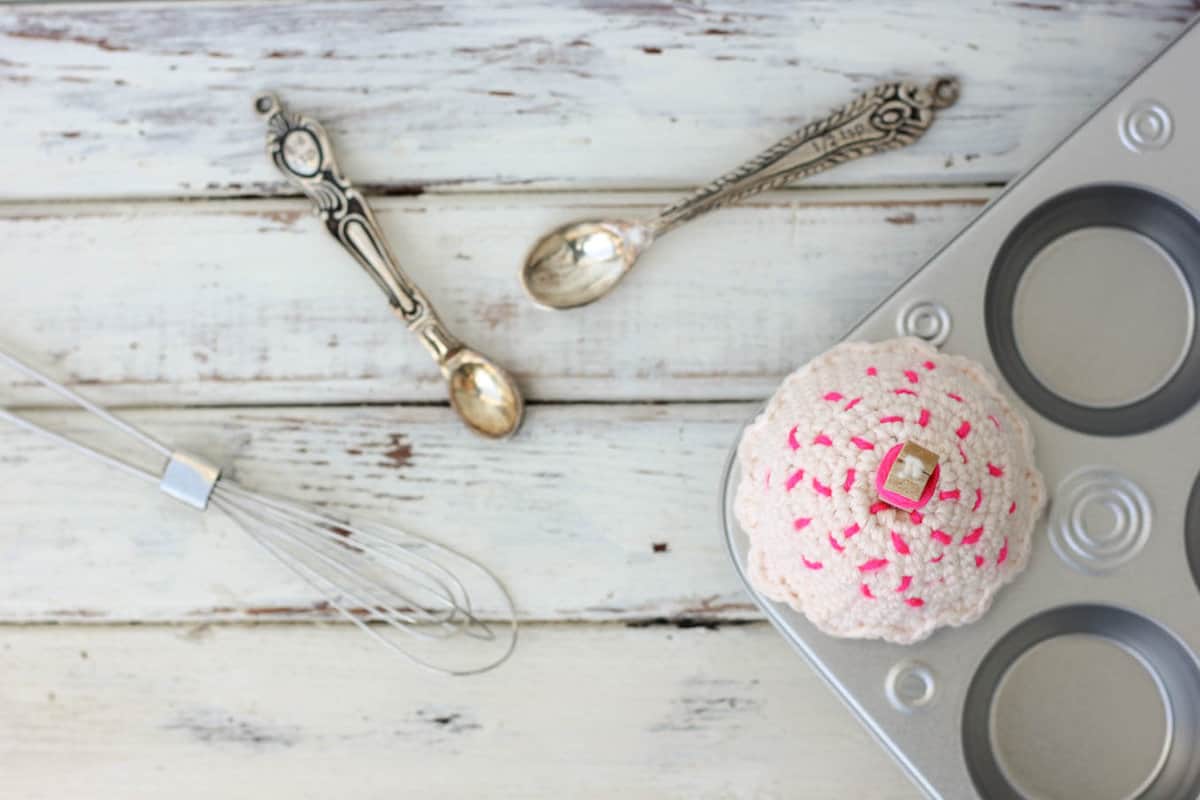
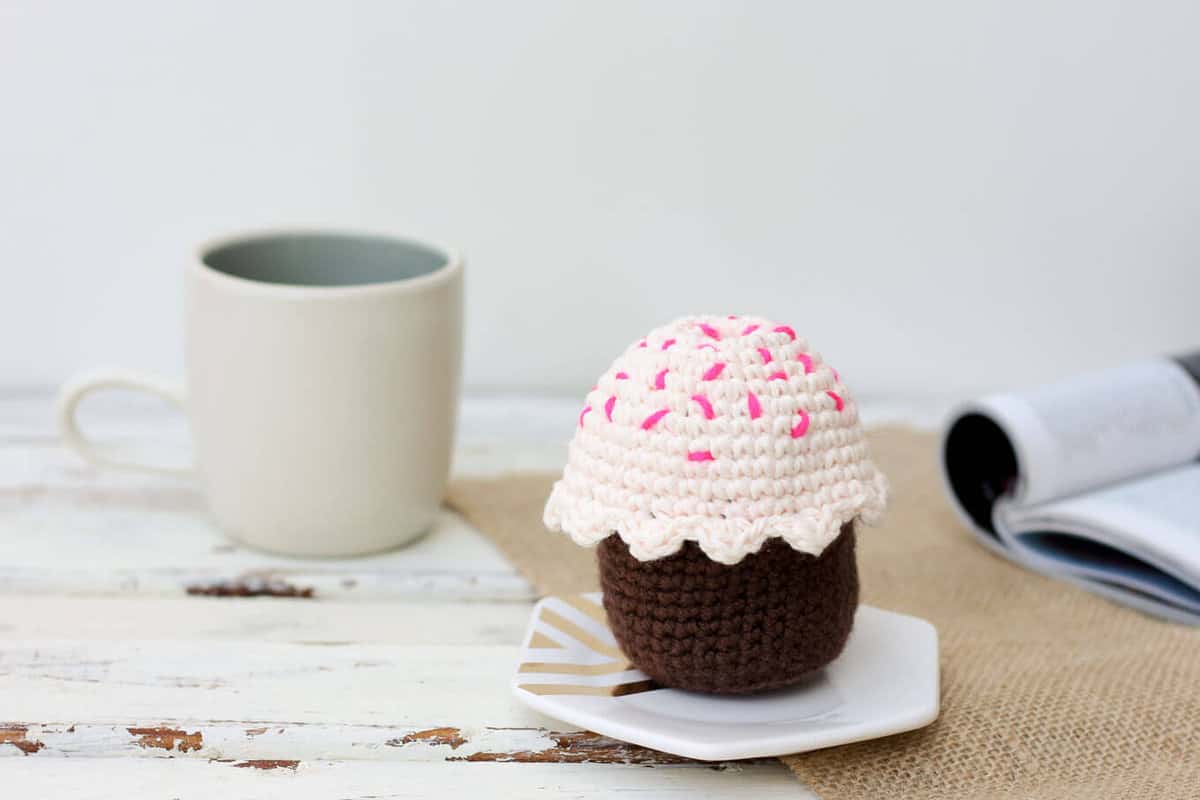
Bottom line--this crocheted cupcake pattern is endlessly customizable, so get creative and make one of each flavor! (And here are even more of our free crochet patterns if cupcakes aren't your current craving.)
 FREE CROCHET CUPCAKE PATTERN
So you can spend more time crocheting and less time shopping, this post contains affiliate links at no extra cost to you. Thanks for supporting M&DC!
Supplies:
• worsted weight yarn for the cupcake top and bottom (I used Debrah Norville Worsted Weight Solids in Chocolate + Sugar and Creme in Chamomile.)
• scrap of accent yarn for the sprinkles and candle • size f/5 crochet hook (use a few sizes smaller than the yarn gauge calls for to keep the stuffing from popping out)
• fiber-fill stuffing
• tapestry needle
• wooden clothespin
• tacky glue
Abbreviations: sc - single crochet
dc - double crochet
sc-blo - single crochet back loop only
sl st – slip stitch ch - chain
Cupcake Top (Frosting): NOTE: When tightening the magic ring in round 1, leave a .25" hole for the birthday candle.
Round 1: Magic ring, chain 1 and make 8 sc in ring, join to first sc with sl st, place a scrap of yarn to denote beginning of round (8 sc total)
Round 2: (2 sc in each stitch) repeat around (16 sc total)
Round 3: (2 sc in first stitch, 1 sc in next stitch) repeat around (24 sc total)
Round 4: (2 sc in first stitch, sc in next 2 stitches) repeat around (32 sc total)
Round 5: (2 sc in first stitch, sc in next 3 stitches) repeat around (40 sc total)
Round 6-9: sc around (40 sc total)
Round 10: (Edging) sl st 1, [sl st 1, (sc, dc, sc in next stitch) sl st 1] repeat around (13 scallops total)
Cupcake Bottom (Cake) Round 1: Magic ring, chain 1 and make 8 sc in ring, join to first sc, place a scrap of yarn to denote beginning of round (8 dc total)
Round 2: sc in each stitch (2 sc in first stitch, sc in next stitch) repeat around (16 sc total)
Round 3: (2 sc in first stitch, sc in next 2 stitches) repeat around (24 sc total)
Round 4: (2 sc in first stitch, sc in next 3 stitches) repeat around (32 sc total)
Round 5: (2 sc in first stitch, sc in next 7 stitches) repeat around (36 sc total)
Round 6: (to begin heading upward and begin making the "walls" of the cake) sc-blo around
Round 7-12: sc around
Round 13: sc around, fasten off
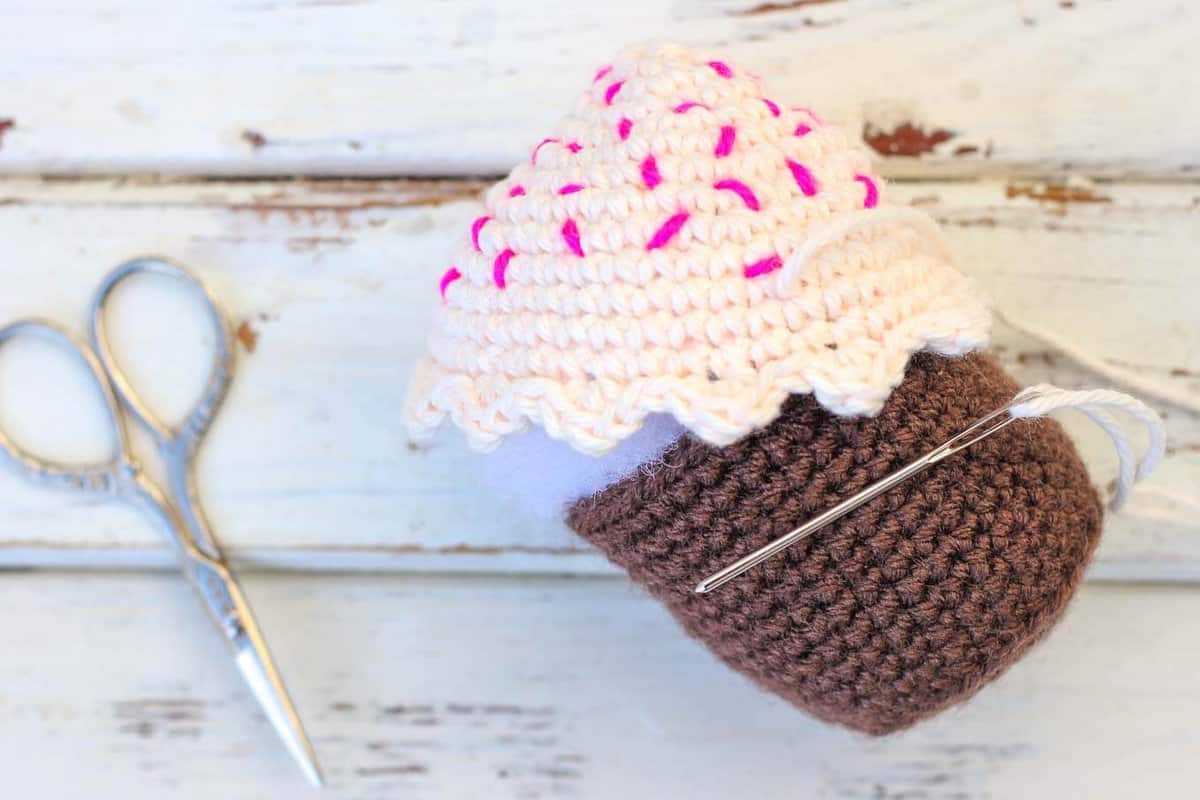
Finishing: Adding sprinkles: Using a tapestry needle and accent color yarn add sprinkles by sewing small straight stitches around the frosting top.
Sewing together: Tightly compress enough stuffing into the cupcake bottom so that it will fill the top once it fully expands. Using a tapestry needle and the frosting yarn color, sew the frosting to the cake by going back and forth between the top edge of the cake and the middle area of the frosting (where they naturally meet).
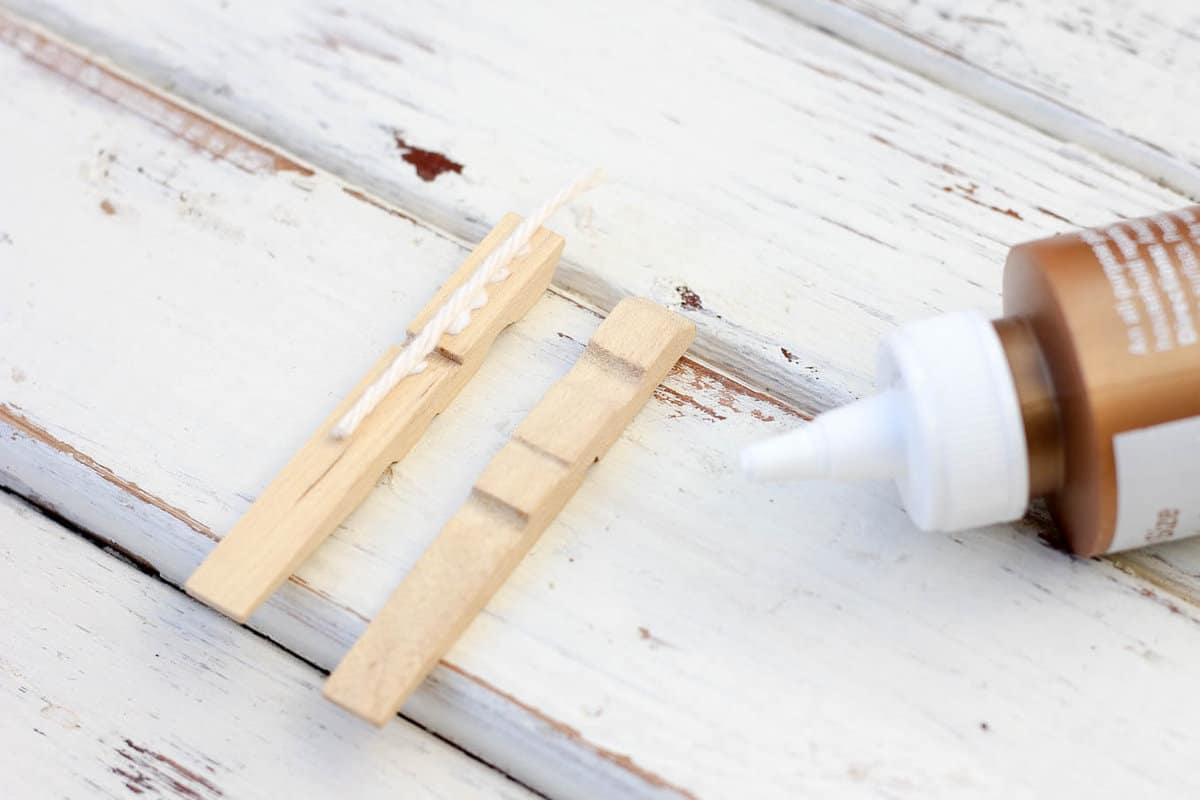
Making the birthday candle: Remove the metal spring from the clothespin. Add a thin line of tacky glue to the flat edge of one of the pieces. Press the other wooden piece on top.
With accent yarn color, tie yarn around the clothespin, wrap a few times and tie off, tucking the tail thread under the wrapped yarn. Use a dot of glue to secure it.
There you go--a big yarn-y yum for the sweetie in your life! Make one for your mom's birthday, your stuffed animal's snack, or your friend's bat mitzvah. You can't never go wrong with a crocheted cupcake!
More Valentine's Day Crafts to Make
For more handmade Valentine's Day ideas, check out these projects:
- DIY Wooden Valentines
- 3D Paper Heart Garland
- Geometric Heart Wall Art
- Crochet Heart Pillow

 FREE CROCHET CUPCAKE PATTERN
Leave a Reply